Articles
How To Remove Air Vent From The Ceiling
Modified: August 27, 2024
Learn how to remove air vents from the ceiling with our informative articles. Find step-by-step instructions and helpful tips to complete the task easily.
(Many of the links in this article redirect to a specific reviewed product. Your purchase of these products through affiliate links helps to generate commission for Storables.com, at no extra cost. Learn more)
Introduction
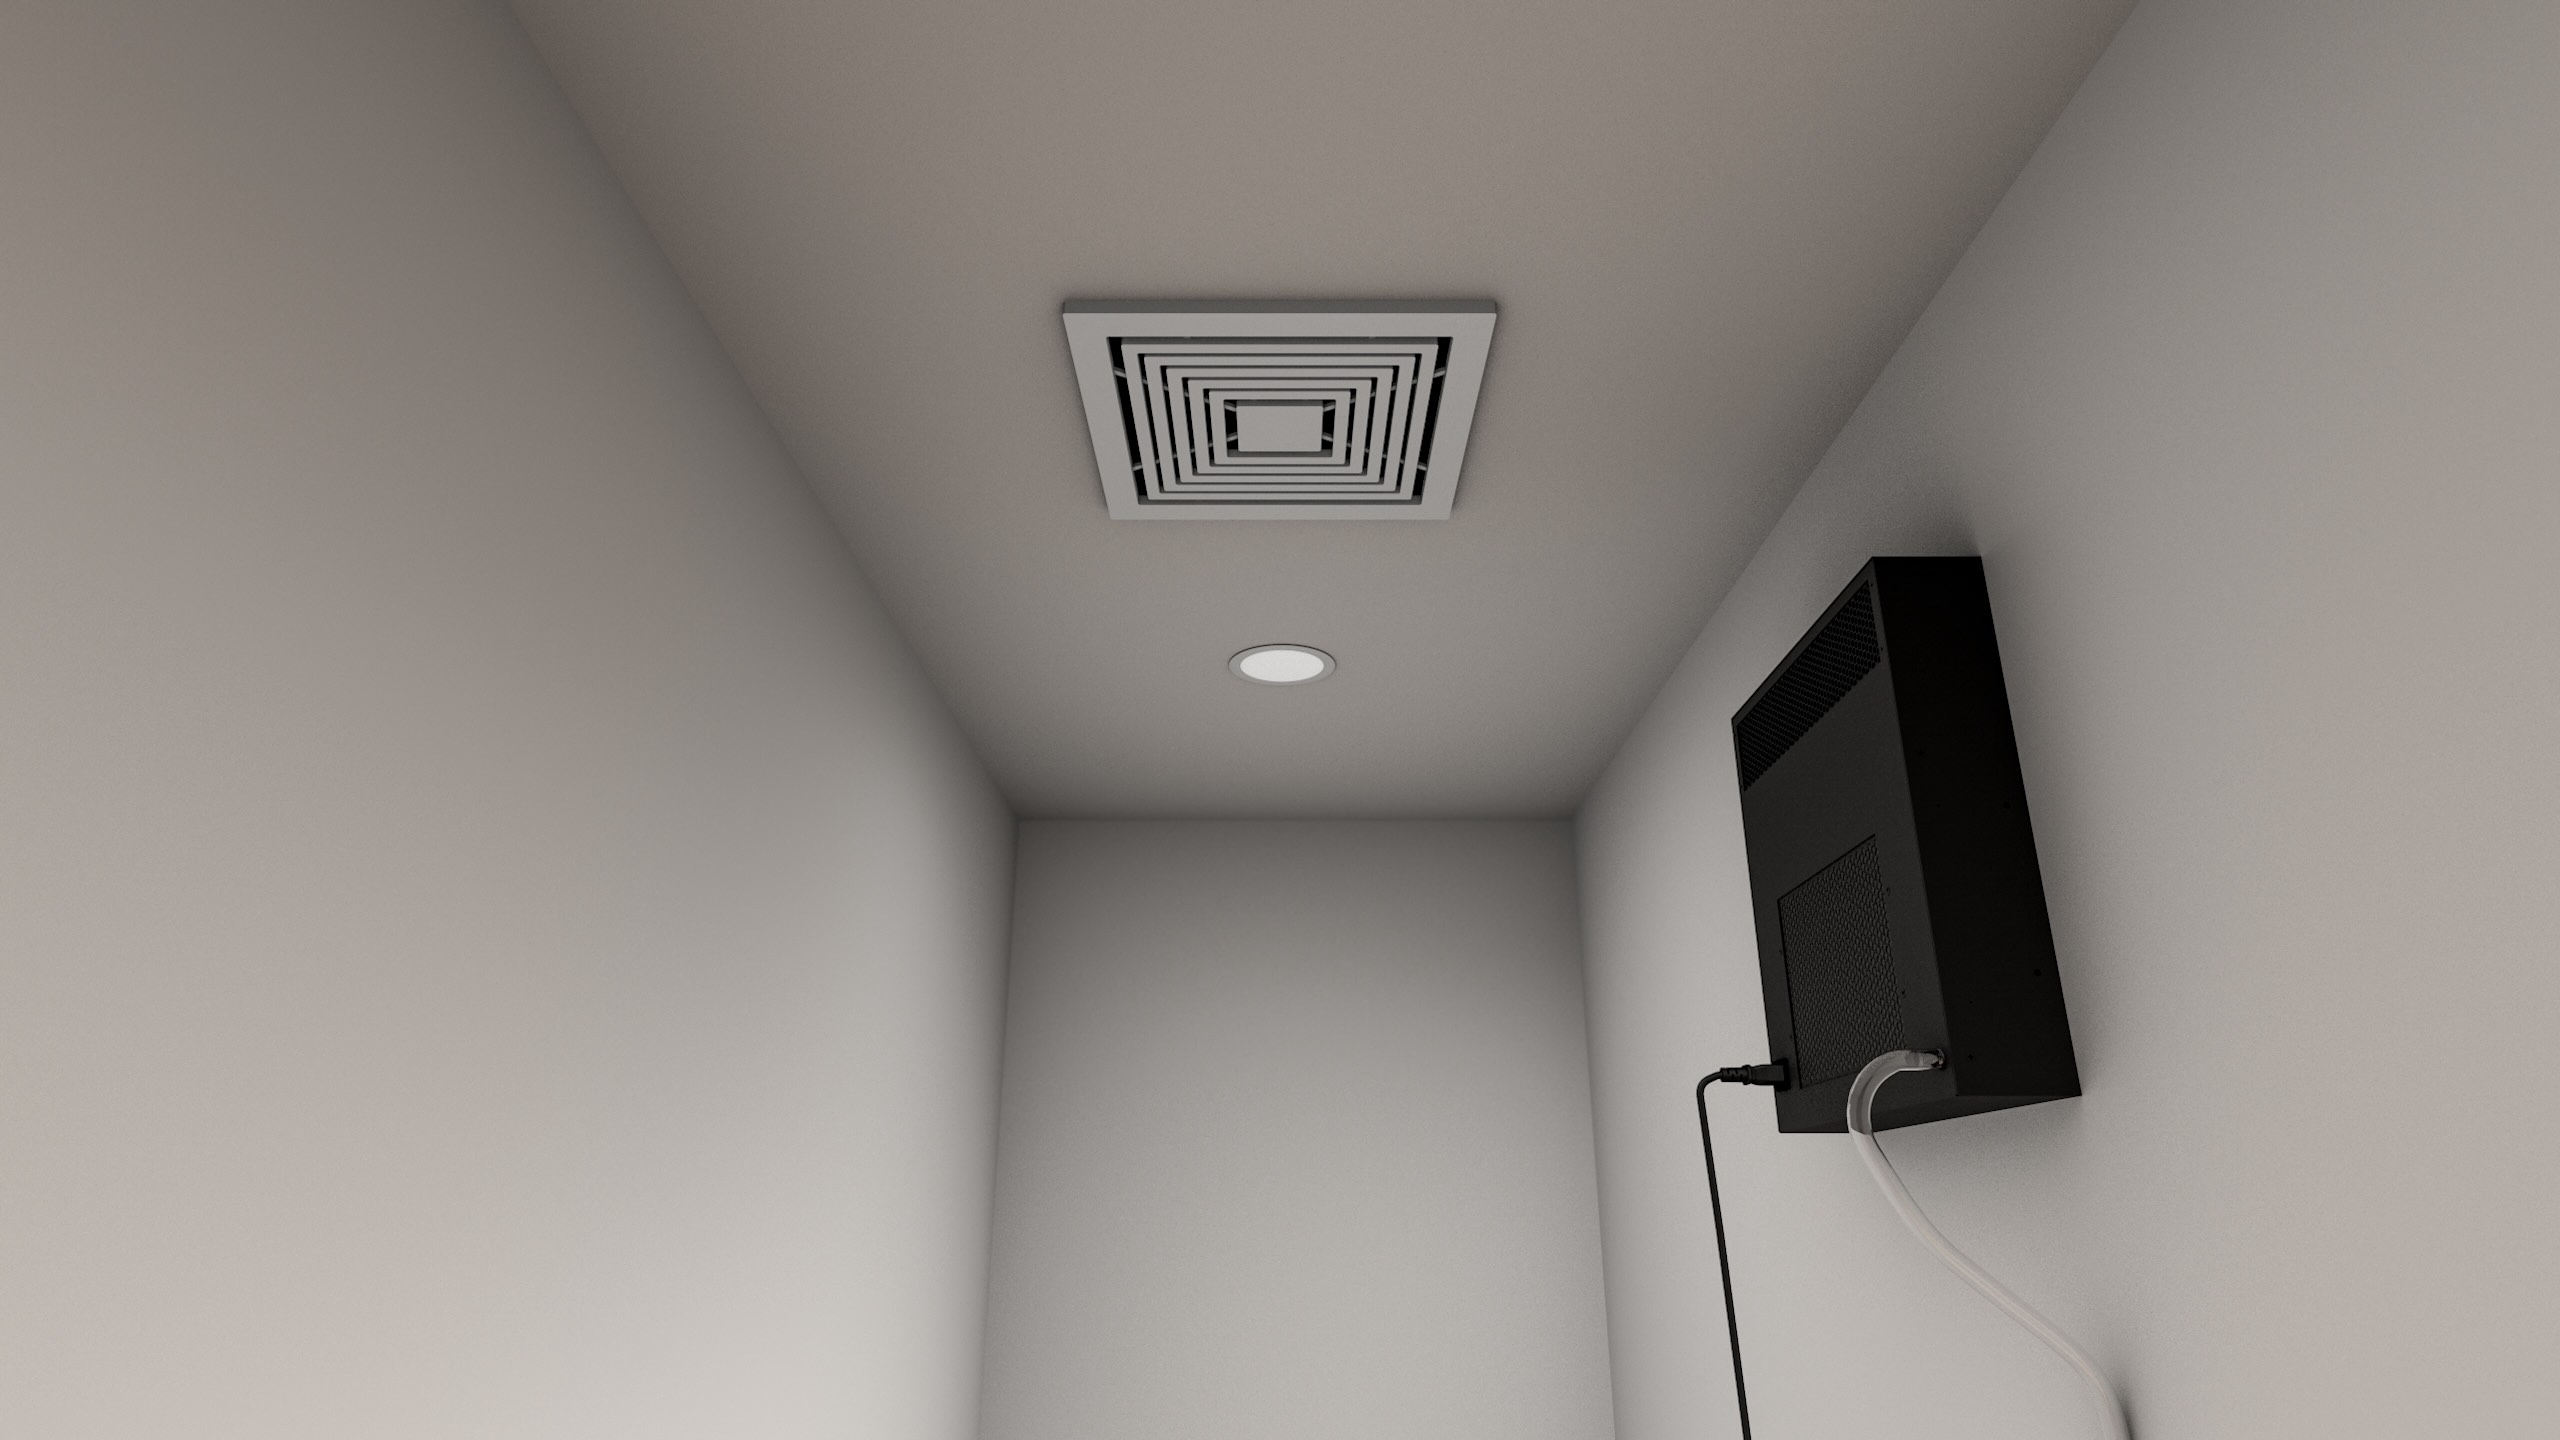
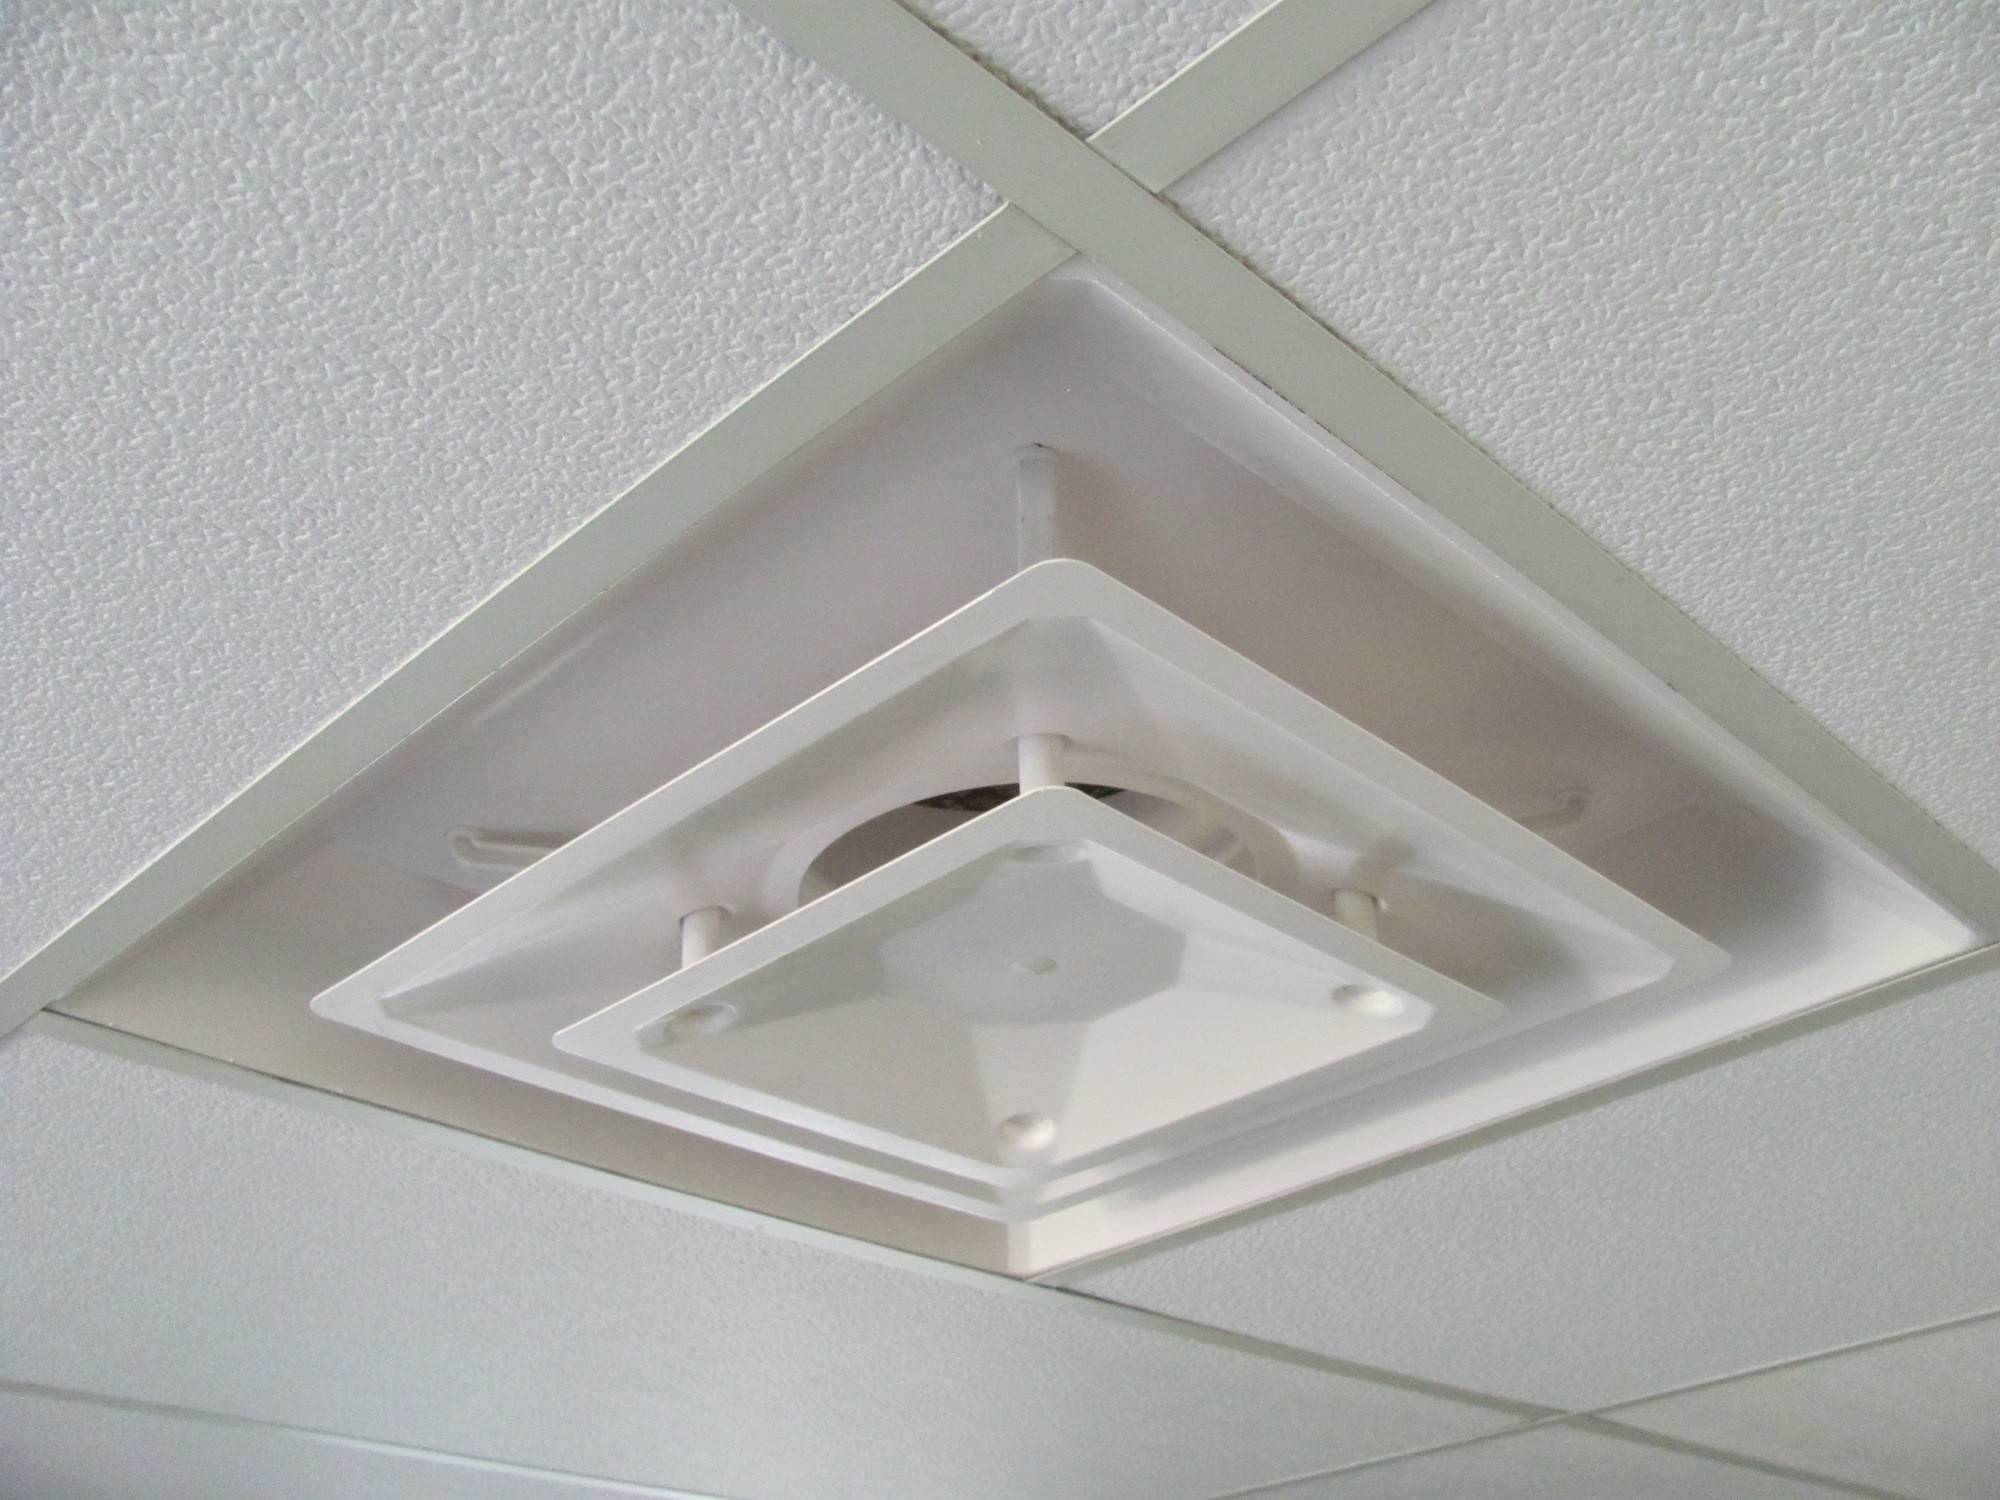
Are you looking to remove an air vent from your ceiling? Whether you’re replacing it with a new one or simply need to clean it, removing an air vent can seem like a daunting task if you’re not familiar with the process. However, with the right tools and a little guidance, you’ll be able to successfully remove an air vent from your ceiling in no time.
In this article, we will walk you through the step-by-step process of removing an air vent from your ceiling. We’ll also provide you with a list of the tools and materials you’ll need to get the job done. So, let’s get started!
Key Takeaways:
- Safely remove an air vent from your ceiling by following step-by-step instructions, ensuring power is off, disconnecting wires, and cleaning the vent for improved airflow and ventilation.
- Gather necessary tools, turn off power, remove vent cover, loosen mounting screws, disconnect wires, clean and inspect the vent, and reinstall it securely for optimal functionality and improved indoor air quality.
Read more: How To Remove Air Conditioning Vents
Tools and Materials Needed
Before you begin removing the air vent from your ceiling, it’s important to gather the necessary tools and materials. Here’s a list of what you’ll need:
- Screwdriver (flathead or Phillips, depending on the type of screws)
- Pliers
- Flashlight
- Masking tape
- Electrical tester
- Dust mask
- Gloves
- Step stool or ladder
Additionally, you may need the following materials:
- Clean cloth or sponge
- Mild detergent
- Waterproof caulking (if reinstalling the vent cover)
Make sure you have all the necessary tools and materials at hand before proceeding with the vent removal process. This way, you’ll have everything you need and won’t have to interrupt the process to search for missing items.
Step 1: Turn off the Power
The first step in removing an air vent from your ceiling is to ensure that the power to the vent is turned off. This is essential for your safety and to prevent any electrical mishaps. Here’s how to do it:
- Locate the circuit breaker box in your home.
- Open the circuit breaker box and identify the circuit that powers the air vent.
- Turn off the corresponding circuit breaker by flipping the switch to the “Off” position.
- For added safety, use an electrical tester to double-check that the power is indeed off. Simply hold the tester against the vent’s wiring or outlet box. If there’s no power, the tester won’t light up or make any noise.
By following these steps, you can ensure that there’s no electrical current running through the vent, making it safe for removal.
Note: If you’re unsure about which circuit breaker controls the vent, you may need to turn off the power to the entire house or seek assistance from a professional electrician.
Step 2: Remove the Vent Cover
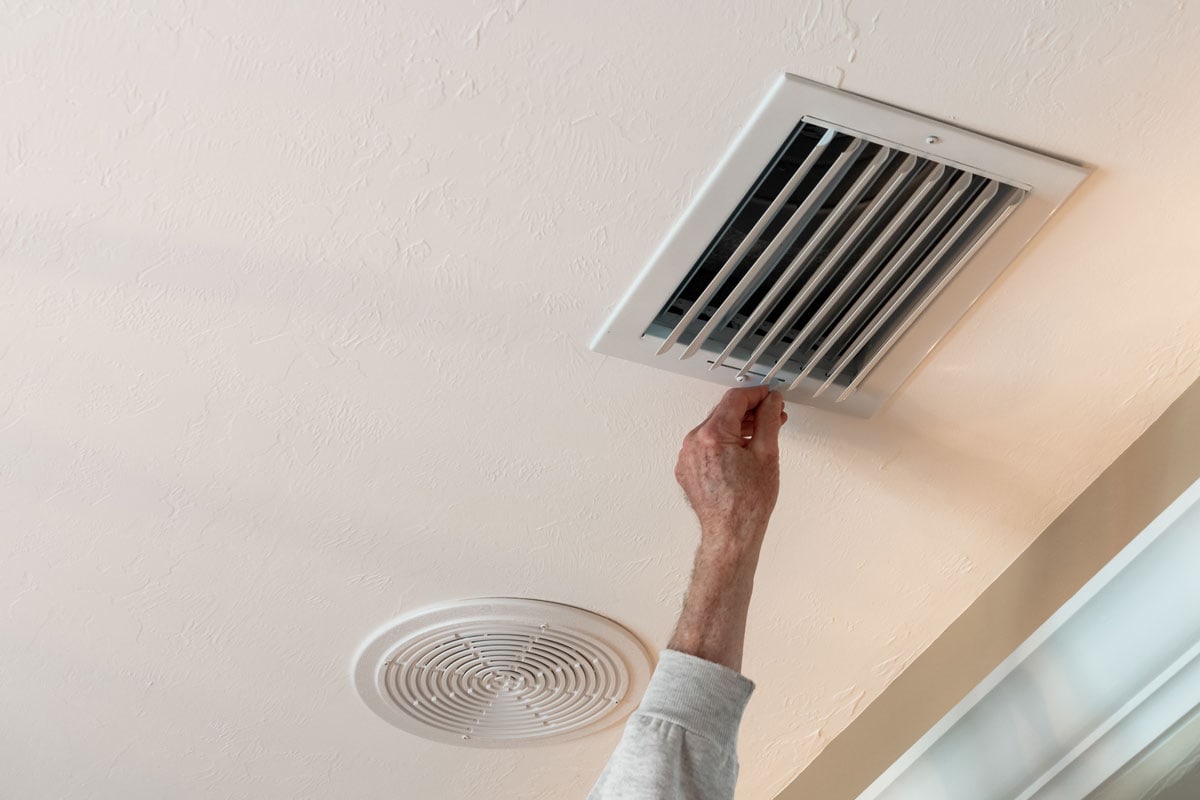
Once you’ve turned off the power and confirmed that there’s no electrical current flowing to the air vent, it’s time to remove the vent cover. Follow these steps to successfully remove the cover:
- Inspect the vent cover for any screws or fasteners holding it in place. These are typically located around the perimeter of the cover.
- Using a screwdriver (flathead or Phillips, depending on the type of screws), carefully unscrew the fasteners and set them aside in a safe place.
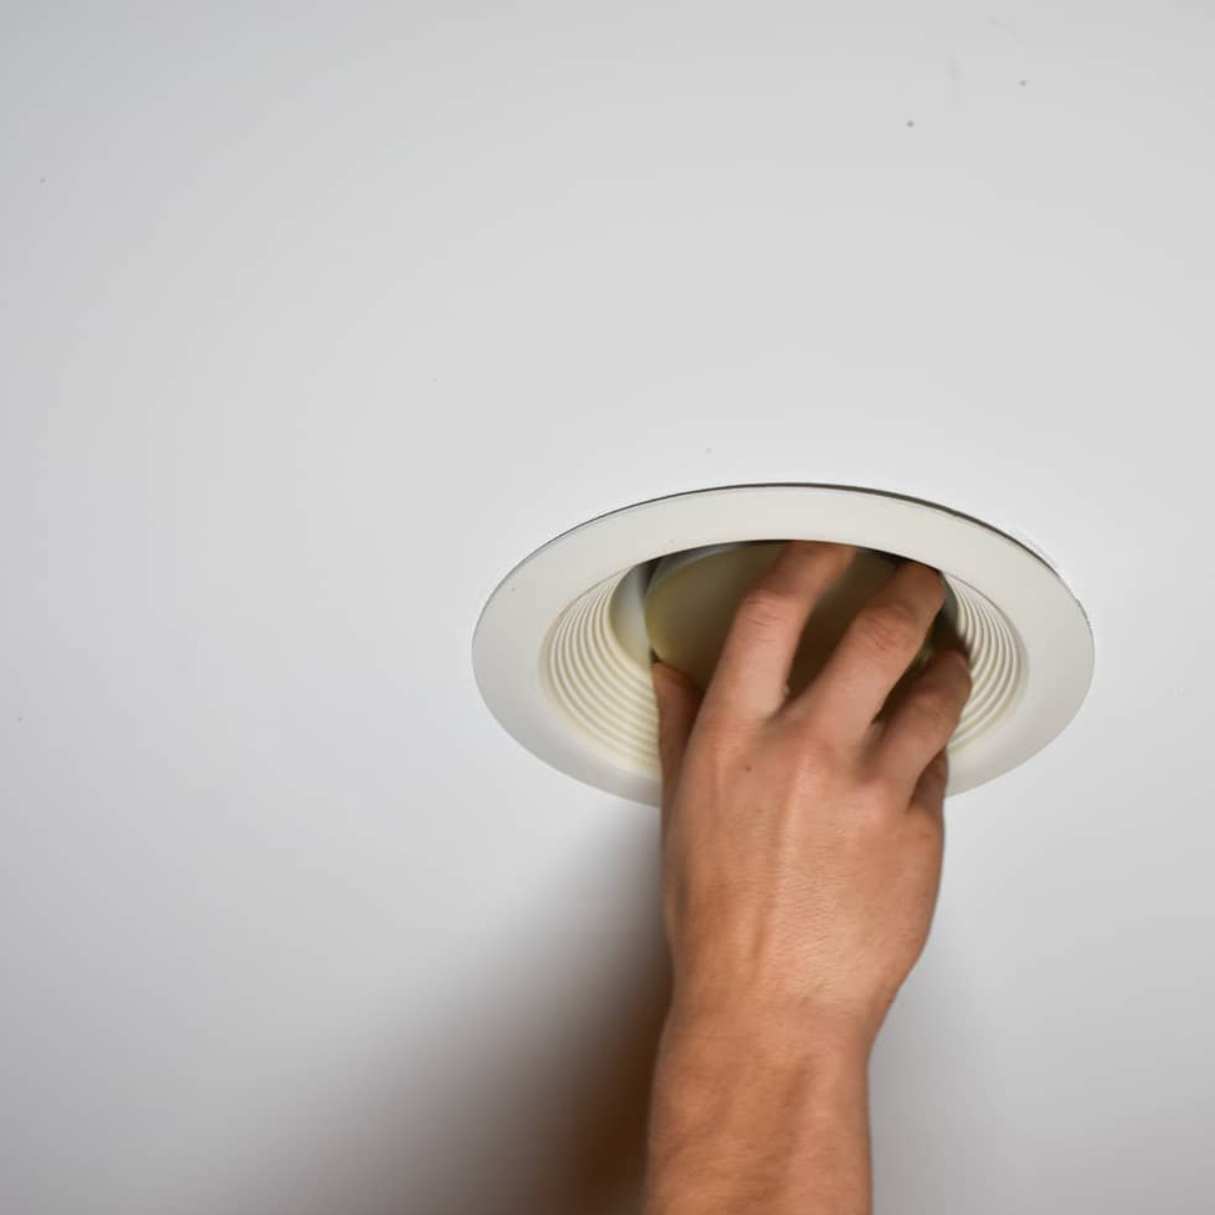
- If the vent cover doesn’t have visible screws, it may be held in place by spring clips. In this case, gently pry the cover away from the ceiling using a flathead screwdriver or your fingers. Apply even pressure on all sides until the cover pops out.
- Once the screws or clips are removed, carefully lift the vent cover straight up to detach it from the ceiling.
Be cautious when removing the vent cover to avoid damaging the surrounding ceiling or any connected ductwork. Take your time and use gentle force when necessary. If the cover seems stuck, double-check for any hidden screws or clips that may be holding it in place.
With the vent cover successfully removed, you can now move on to the next step: loosening the mounting screws.
Step 3: Loosen the Mounting Screws
After removing the vent cover, the next step is to loosen the mounting screws that secure the air vent to the ceiling. Here’s how to do it:
- Inspect the sides of the air vent for any visible screws or fasteners holding it in place.
- Using a screwdriver, carefully loosen the screws by turning them counterclockwise. If the screws are difficult to turn, you can use pliers to get a better grip.
- If the air vent is attached to the ceiling via brackets, use a screwdriver or pliers to loosen the brackets and detach them from the ceiling.
- Once the screws or brackets are loosened, gently pull the air vent away from the ceiling. Be cautious not to exert too much force to avoid causing any damage.
Depending on the design and installation of the air vent, there may be variations in how the screws or brackets are positioned. Take your time to carefully identify and loosen all the necessary fasteners before attempting to remove the air vent completely.
If you encounter any difficulties or if the vent feels firmly attached to the ceiling, double-check for any hidden screws or additional fasteners that may be securing it in place. It’s important to completely loosen all connections before proceeding to the next step.
Once the mounting screws or brackets are loosened, you’re ready to move on to disconnecting any wires.
Use a screwdriver to remove the screws holding the air vent in place. Once the screws are removed, gently pull the vent cover down to release it from the ceiling. Be careful not to damage the surrounding area.
Read more: How To Remove An Animal From A Dryer Vent
Step 4: Disconnect Any Wires
Before removing the air vent from the ceiling, it’s important to check if there are any wires connected to it. In some cases, the vent may be powered by an electrical connection for functions such as a fan or a built-in light. Follow these steps to safely disconnect any wires:
- Turn on your flashlight and carefully inspect the inside of the air vent. Look for any wires or electrical connections.
- If you see any wires, make a note of their position and how they are connected. Take a photo if necessary.
- Using pliers or your fingers, gently detach any wire connectors or terminals holding the wires in place.
- If the wires are connected to screw terminals, use a screwdriver to loosen the screws and remove the wires.
- Once the wires are disconnected, carefully guide them out of the air vent to prevent them from getting tangled or damaged.
It’s crucial to exercise caution when working with electrical connections. Make sure the power is turned off before attempting to disconnect any wires. If you’re unsure about handling electrical components, it’s always recommended to seek assistance from a qualified electrician.
Once all wires are safely disconnected, you’re now ready to proceed with removing the air vent from the ceiling. This will be covered in the next step.
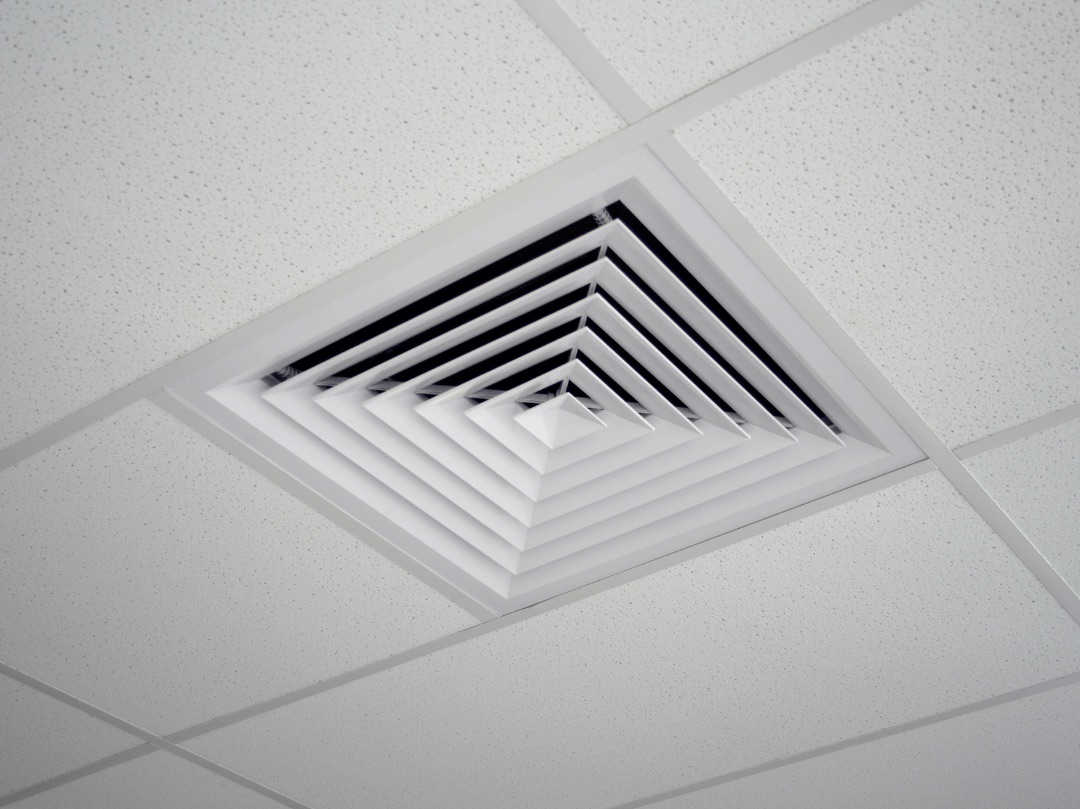
Step 5: Remove the Air Vent from the Ceiling
With the vent cover, mounting screws, and wires disconnected, you’re now ready to remove the air vent from the ceiling. Follow these steps to safely remove the vent:
- Gently pull the air vent away from the ceiling, applying even pressure on all sides.
- If the vent feels stuck, use a flathead screwdriver or your fingers to carefully pry it away from the ceiling.
- As you remove the vent, be mindful of any ductwork or insulation that may be attached. Slowly detach and maneuver the air vent to avoid causing damage.
- If the vent is connected to flexible ductwork, use pliers to loosen the clamp and disconnect the vent from the duct.
- Once the air vent is completely detached, set it aside in a safe location away from your working area.
During the removal process, take your time to ensure that the vent is removed smoothly without causing any damage to the surrounding ceiling or ductwork. Be cautious of any sharp edges or protrusions on the vent, as they can pose a risk of injury.
It’s a good idea to have a clean cloth or sponge nearby to wipe away any dust or debris that may have accumulated on the vent. Cleaning and inspecting the vent will be covered in the next step.
Step 6: Clean and Inspect the Vent
Now that you have removed the air vent from the ceiling, it’s time to clean and inspect it before reinstalling or replacing it. Follow these steps to effectively clean and inspect the vent:
- Using a clean cloth or sponge, wipe down the surface of the vent to remove any dust or debris.
- If the vent is particularly dirty, you can mix a mild detergent with water and gently scrub the surface to remove stubborn stains.
- Rinse the vent thoroughly with clean water to remove any soap residue.
- Inspect the vent for any signs of damage, such as cracks, bent fins, or loose components.
- If the vent is damaged beyond repair, it may be necessary to replace it with a new one. Take note of the vent size and specifications for purchasing a suitable replacement.
- If the vent is in good condition, check the flaps or louvers to ensure they open and close properly.
- Allow the vent to air dry completely before proceeding with installation or reinstalling it back into the ceiling.
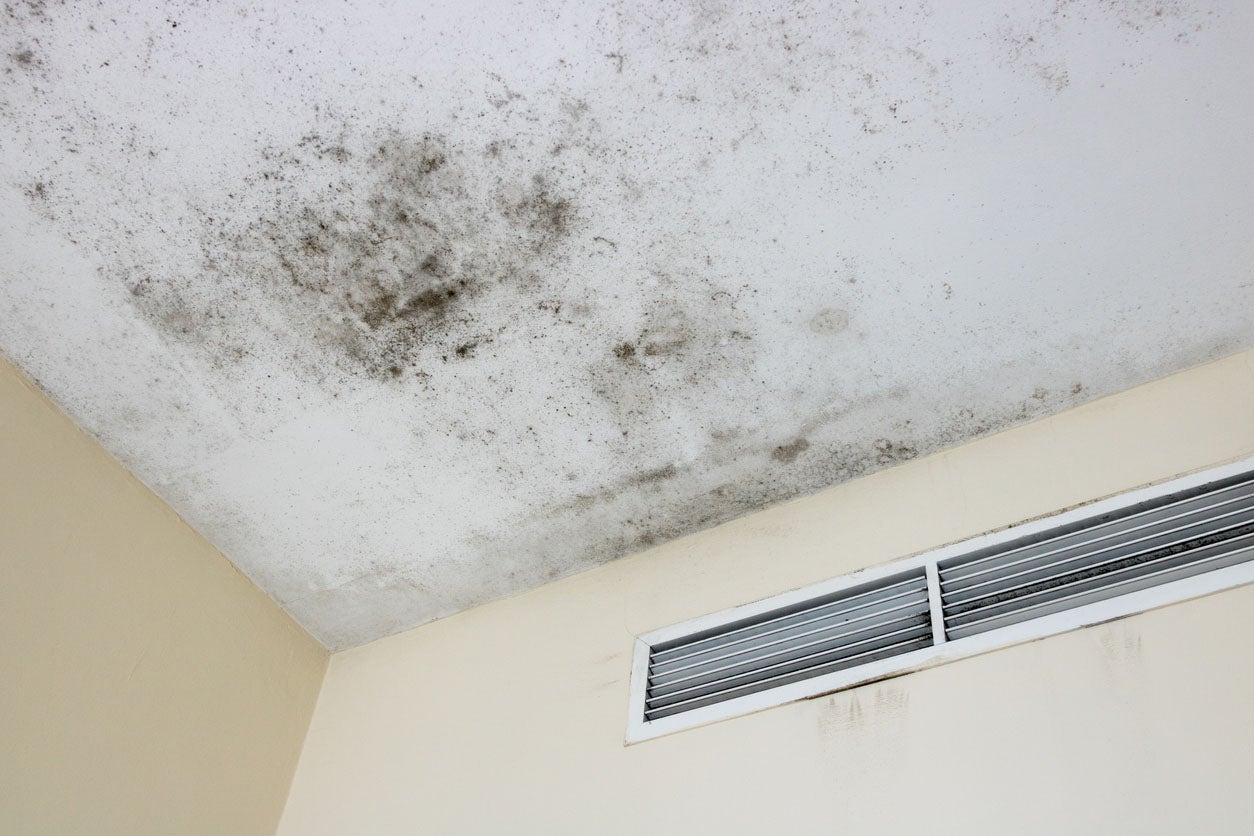
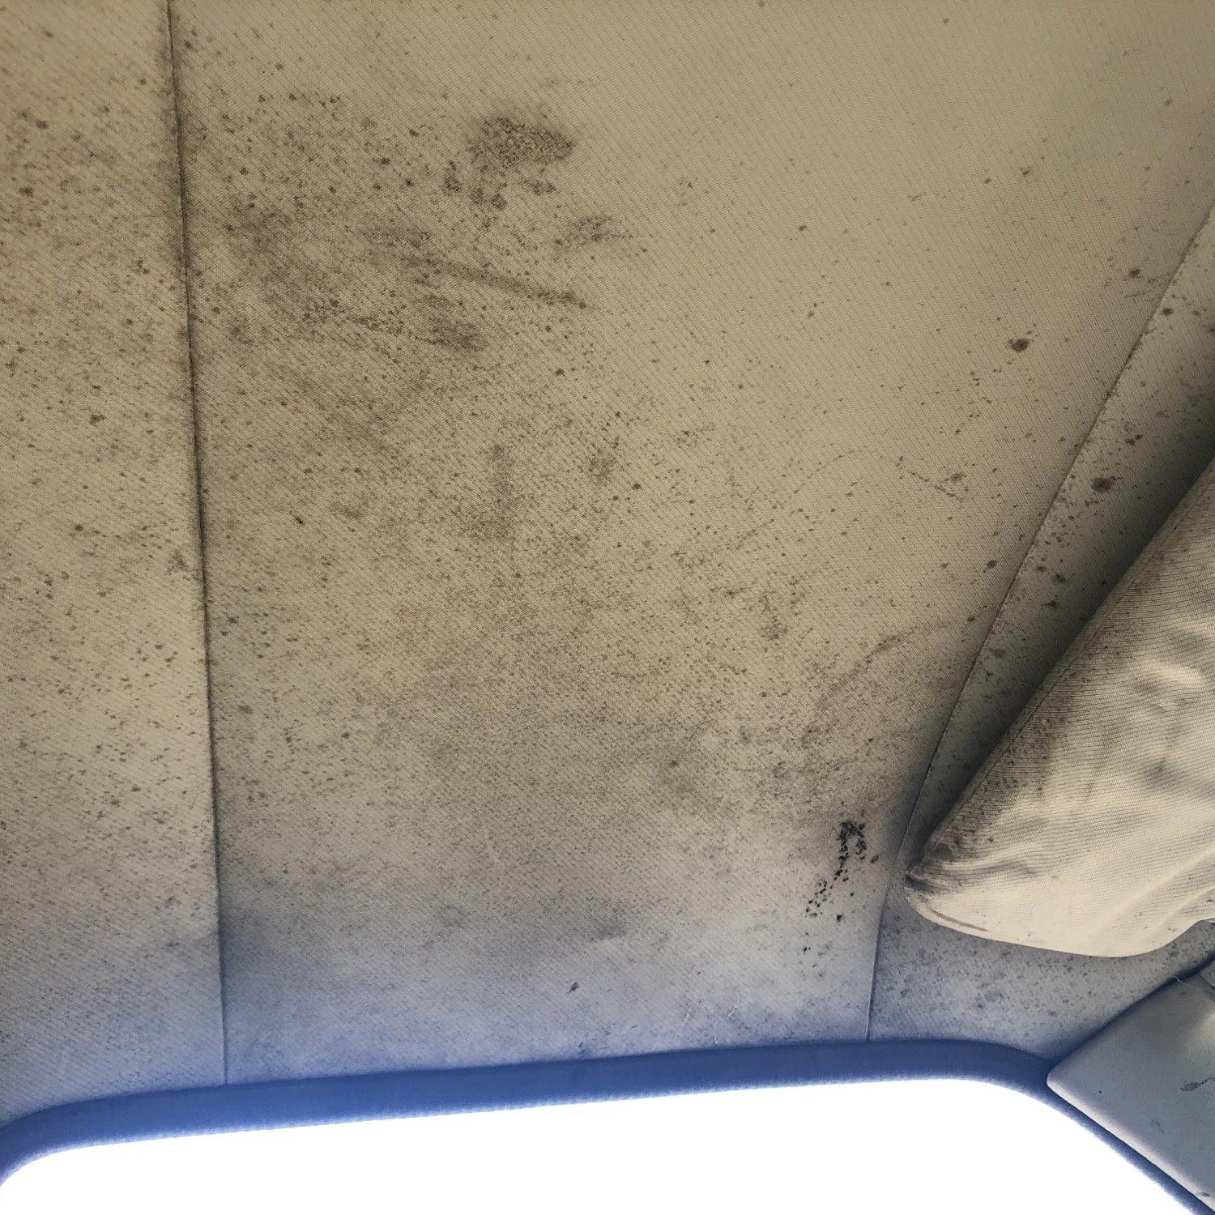
By cleaning and inspecting the vent, you ensure that it functions properly and maintains optimal airflow in your space. A clean vent also contributes to better indoor air quality by preventing the buildup of dust and allergens.
Step 7: Reinstall the Air Vent
After cleaning and inspecting the air vent, you’re now ready to reinstall it back into the ceiling. Follow these steps to effectively reinstall the air vent:
- Position the air vent over the opening in the ceiling.
- If the vent is connected to flexible ductwork, ensure that the vent is aligned with the duct.
- Align the screw holes on the vent with the corresponding holes in the ceiling.
- Insert the mounting screws and tighten them using a screwdriver. If the vent uses brackets, attach them securely to the ceiling.
- If you had disconnected any wires, follow the notes or photo you made earlier to reconnect them properly. Make sure the connections are secure and tight.
- If necessary, apply a waterproof caulking around the edges of the vent to ensure a tight seal. This will prevent air leakage.
- Once everything is securely in place, replace the vent cover by aligning it with the vent and screwing or snapping it back into place.
During the reinstallation process, be careful not to overtighten the screws as it may cause damage to the vent or ceiling. Use the appropriate amount of force to ensure a secure and stable installation.
Once the air vent and cover are reinstalled, turn on the power and test the functionality of the vent, such as airflow and any additional features like a fan or light. Ensure that everything is working properly before considering the task complete.
Congratulations! You have successfully removed, cleaned, and reinstalled the air vent in your ceiling. Enjoy improved airflow and ventilation in your space!
Conclusion
Removing an air vent from the ceiling may seem like a daunting task, but with the right tools and step-by-step guidance, it can be a straightforward process. By following the steps outlined in this article, you can safely remove an air vent from your ceiling, whether it’s for cleaning, replacement, or maintenance purposes.
Remember to always prioritize safety by turning off the power and double-checking for electrical currents before starting the removal process. Take your time and be mindful of any hidden screws or clips that may hold the vent in place.
Once the vent cover is removed, loosen the mounting screws or brackets and disconnect any wires before fully removing the vent from the ceiling. Take caution not to damage the surrounding ceiling or ductwork during the process.
After removing the vent, cleaning and inspecting it is essential. This ensures proper functionality and prevents the buildup of dust and allergens. If the vent is damaged beyond repair, consider replacing it with a suitable new one.
When reassembling the vent, make sure it is aligned correctly, and all connections are secure. Use caulking to provide a tight seal if necessary. Finally, test the vent’s functionality before considering the task complete.
Now, armed with this knowledge and the tools needed, you can confidently remove air vents from your ceiling, promoting better airflow and ventilation in your space. Enjoy the benefits of a clean and well-maintained air vent!
Frequently Asked Questions about How To Remove Air Vent From The Ceiling
Was this page helpful?
At Storables.com, we guarantee accurate and reliable information. Our content, validated by Expert Board Contributors, is crafted following stringent Editorial Policies. We're committed to providing you with well-researched, expert-backed insights for all your informational needs.


0 thoughts on “How To Remove Air Vent From The Ceiling”