Articles
How To Clean Air Vents In Ceiling
Modified: August 30, 2024
Learn how to clean air vents in the ceiling with these informative articles. Improve indoor air quality and prevent dust build-up.
(Many of the links in this article redirect to a specific reviewed product. Your purchase of these products through affiliate links helps to generate commission for Storables.com, at no extra cost. Learn more)
Introduction
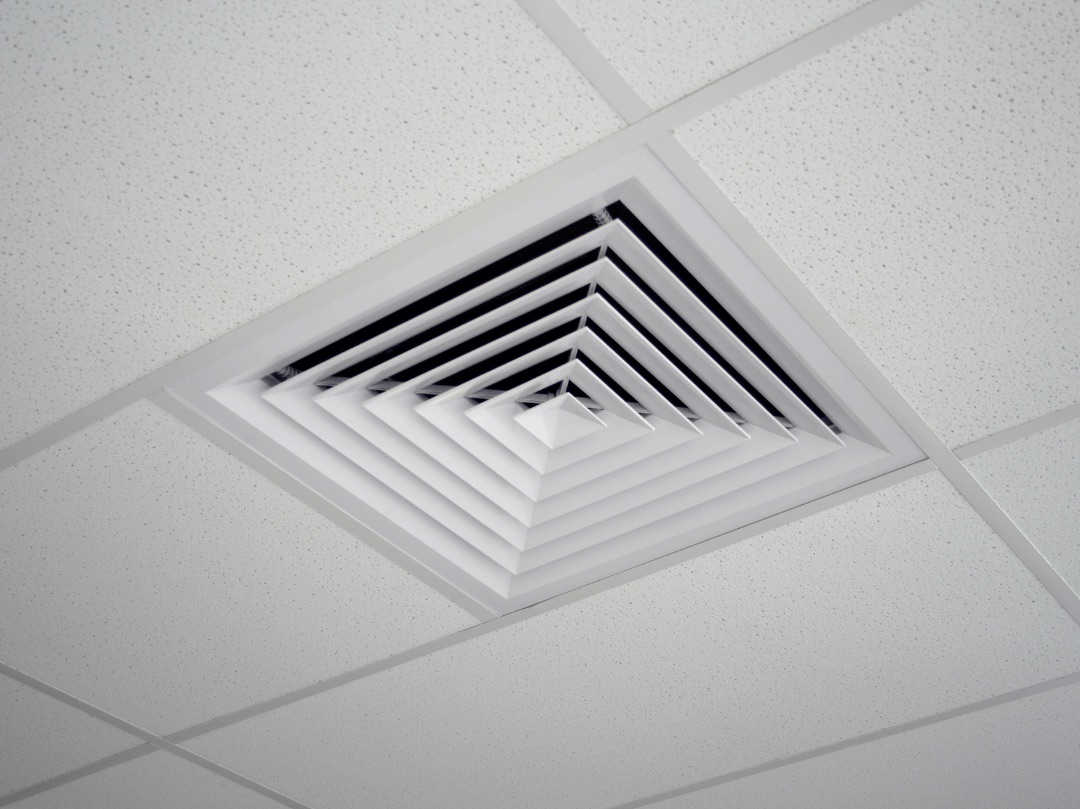
Proper maintenance of air vents in the ceiling is essential to ensure good air quality and efficient airflow throughout your home or office. Over time, dust, dirt, and debris can accumulate in these vents, leading to restricted airflow and potentially affecting the performance of your HVAC system.
Keeping your air vents clean not only helps maintain a healthy environment but also improves the overall efficiency and longevity of your heating and cooling system. In this article, we will guide you through a step-by-step process on how to clean air vents in the ceiling effectively.
Before we begin, it is important to note that working with your HVAC system and electrical components can be hazardous. Therefore, it is crucial to follow safety precautions at all times and, if needed, consult a professional HVAC technician.
Key Takeaways:
- Regularly cleaning air vents in the ceiling improves air quality, HVAC efficiency, and overall environment. Prioritize safety, use proper tools, and follow the step-by-step process for optimal results.
- Turning off the HVAC system, removing and cleaning vent covers, and inspecting for mold or damage are crucial steps in the air vent cleaning process. Following safety precautions and using the right tools ensures a successful and safe cleaning experience.
Read more: How To Remove Air Vent From The Ceiling
Safety Precautions
Prior to cleaning your air vents in the ceiling, it is important to take necessary safety precautions to ensure your well-being. Follow these guidelines to minimize any risks:
- Turn off the power: Before starting any cleaning procedure, turn off the power supply to your HVAC system. This will prevent any electrical shocks or accidents while working with the vents.
- Wear protective gear: Always wear protective gear such as gloves, safety goggles, and a face mask to protect yourself from dust, allergens, and other potential harmful particles. This is particularly important if you have allergies or respiratory issues.
- Use a secure ladder: If your air vents are located on high ceilings, use a secure and stable ladder to access them. Make sure the ladder is placed on a flat surface and follow proper ladder safety procedures.
- Be cautious with chemicals: If you decide to use cleaning agents or chemicals, make sure to read and follow the manufacturer’s instructions carefully. Avoid using harsh chemicals that may damage the vent covers or the ventilation system.
- Avoid overexertion: Cleaning air vents can be physically demanding. Take regular breaks to prevent overexertion, especially when working at heights or handling heavy vent covers.
- Inspect for mold or asbestos: Before cleaning, inspect the vent covers and the surrounding area for any signs of mold or asbestos. If you suspect the presence of either, it is best to contact a professional to handle the situation.
- Keep children and pets away: Ensure that children and pets are kept away from the work area to avoid any accidents or exposure to potentially harmful substances.
By following these safety precautions, you can minimize the risks associated with cleaning your air vents and ensure a safe and successful cleaning process.
Tools and Materials
Before you begin cleaning your air vents in the ceiling, gather the necessary tools and materials. Having these items ready will make the process more efficient. Here’s a list of the tools and materials you’ll need:
- Screwdriver: You’ll need a screwdriver to remove the vent covers. Determine the type and size of screwdriver required based on the screws used to secure the covers.
- Vacuum cleaner with attachments: A vacuum cleaner with a brush attachment or a long, narrow nozzle will help you remove dust and debris from both the vent covers and the ventilation ducts.
- Bucket or basin: Prepare a bucket or basin filled with warm water and mild soap for cleaning the vent covers.
- Clean cloth or sponge: Use a clean cloth or sponge to wipe down the vent covers after you’ve cleaned them with soap and water.
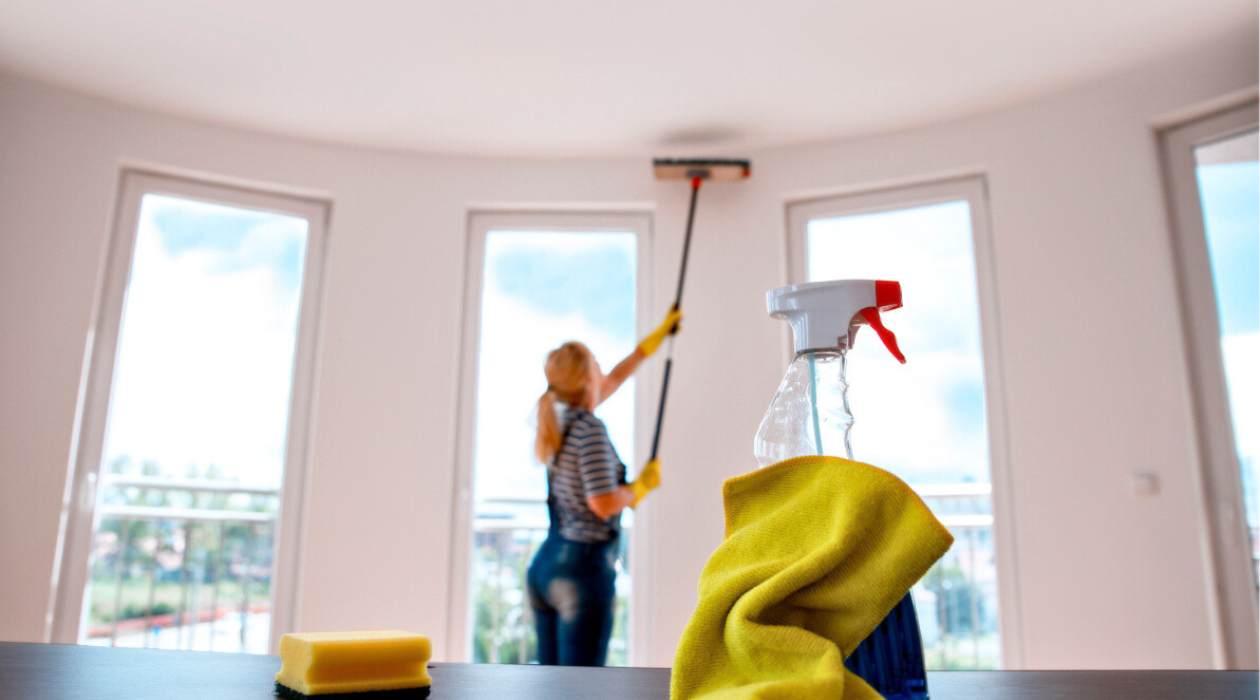
- Extension pole: If you have high ceilings and are unable to reach the vents with just a ladder, consider using an extension pole with a brush attachment to remove dust and debris.
- Dust mask: A dust mask will help protect you from inhaling dust and allergens while cleaning the vents. It’s particularly important for individuals with respiratory issues or allergies.
- Gloves: Wear gloves to protect your hands from dirt, dust, and potential cleaning agents.
- Ladder: Choose a stable and secure ladder that allows you to safely access the ceiling vents. Ensure that it can support your weight and is positioned on a flat surface.
Having these tools and materials readily available will streamline the cleaning process and ensure that you can effectively clean your air vents in the ceiling.
Step 1: Turn Off the HVAC System
Before you start the cleaning process, it’s important to turn off the HVAC system to ensure safety and prevent any potential accidents. Follow these steps to turn off your HVAC system:
- Locate the thermostat: Find the thermostat in your home or office. It is usually located on a wall and controls the heating and cooling settings.
- Set the thermostat to “Off”: Turn the thermostat to the “Off” position to shut down the airflow and prevent the HVAC system from running during the cleaning process. Make sure the system is completely turned off.
- Turn off the power: Locate the circuit breaker panel or fuse box that supplies power to the HVAC system. Flip the circuit breaker or remove the fuse that powers the system to ensure it is completely turned off.
- Verify the power is off: Double-check that the HVAC system is powered off by trying to adjust the temperature on the thermostat and ensuring it remains off. You can also listen for any sounds coming from the ventilation system to confirm that it is not running.
By turning off the HVAC system, you eliminate the risk of any moving parts while cleaning the air vents in the ceiling. This is crucial for your safety and allows for a more effective cleaning process. Once you have completed the cleaning, you can proceed to turn the system back on.
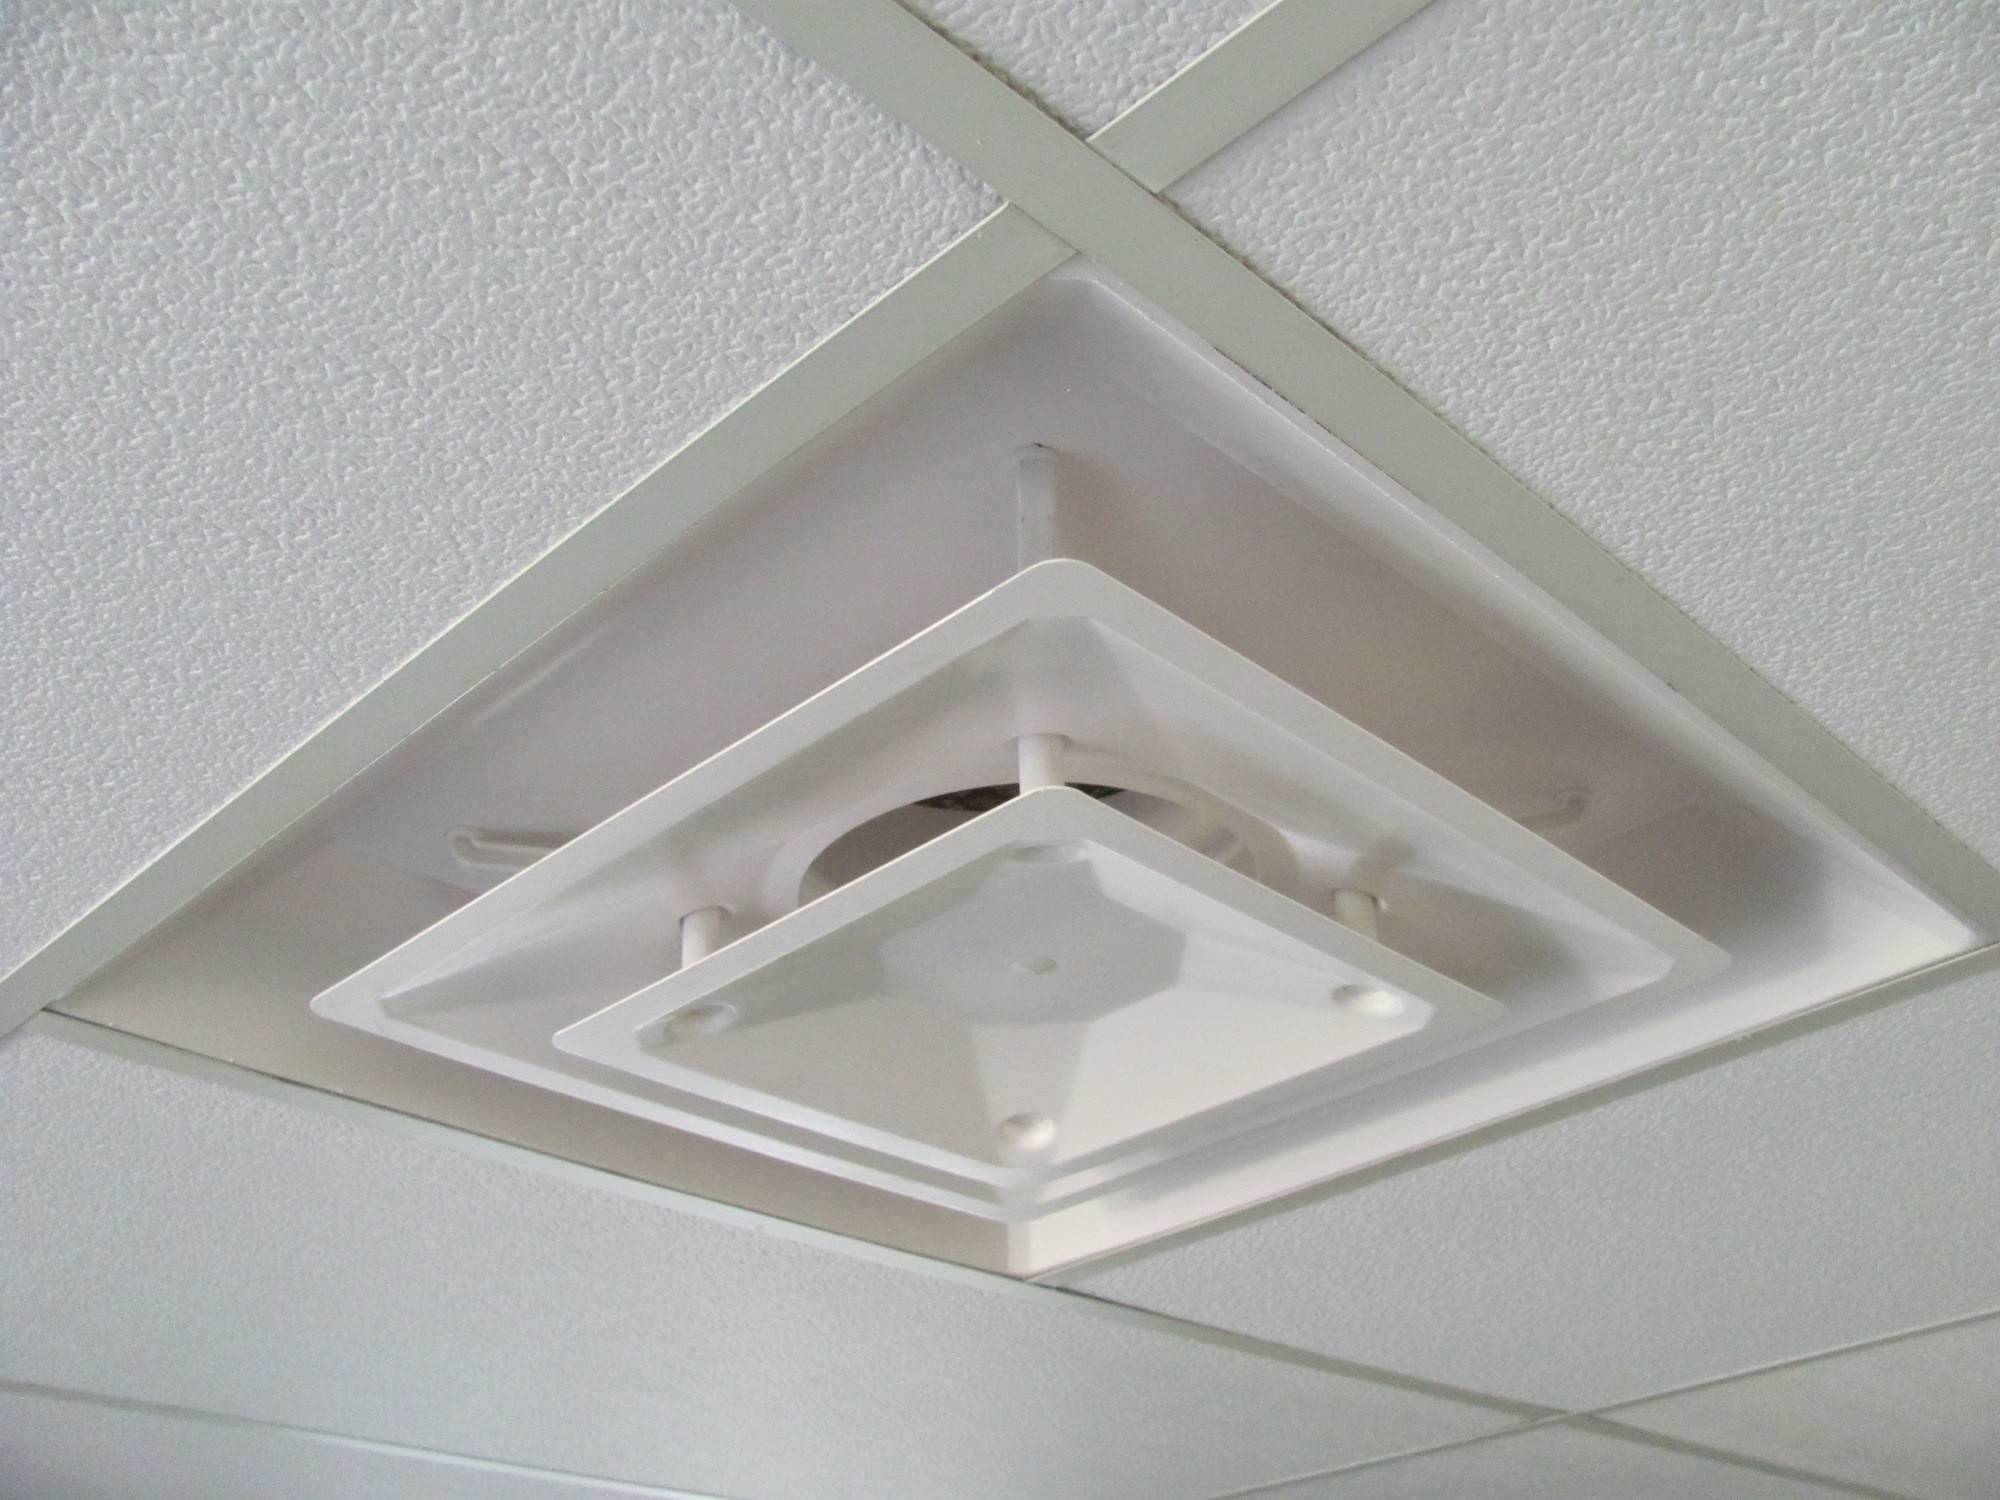
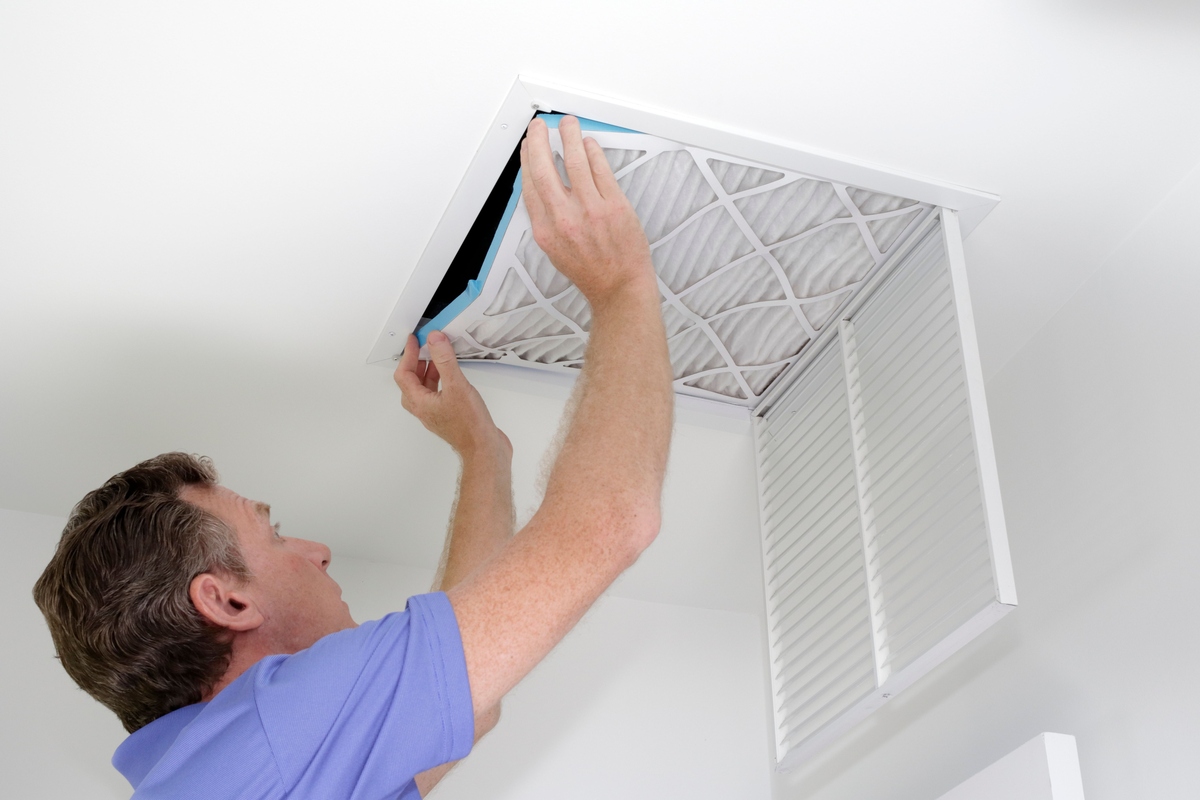
Step 2: Remove the Vent Covers
Once you have turned off the HVAC system, it’s time to remove the vent covers before you can begin cleaning them. Follow these steps to safely remove the vent covers:
- Locate the screws: Inspect your vent covers to identify the screws that secure them in place. The number and location of screws may vary depending on the design of your vents.
- Use a screwdriver: Select the appropriate sized screwdriver and carefully unscrew each screw one at a time. Place the screws in a safe location so they don’t get lost.
- Gently pry the vent cover: Once the screws are removed, gently pry the vent cover away from the ceiling. Be cautious to avoid causing any damage to the surrounding area.
- Set aside the vent cover: Place the vent cover in a safe and clean area, away from any potential debris or dirt.
Continue these steps for each vent cover in the room. It’s important to remove all vent covers before proceeding to the next step.
Removing the vent covers allows you access to the interior of the ventilation ducts where dust and debris may have accumulated. With the vent covers removed, you’re now ready to progress to the next step and start cleaning.
Read more: How To Clean Air Conditioning Vents At Home
Step 3: Vacuum the Vent Covers
Now that the vent covers are removed, it’s time to give them a thorough cleaning using a vacuum cleaner. Follow these steps to properly vacuum the vent covers:
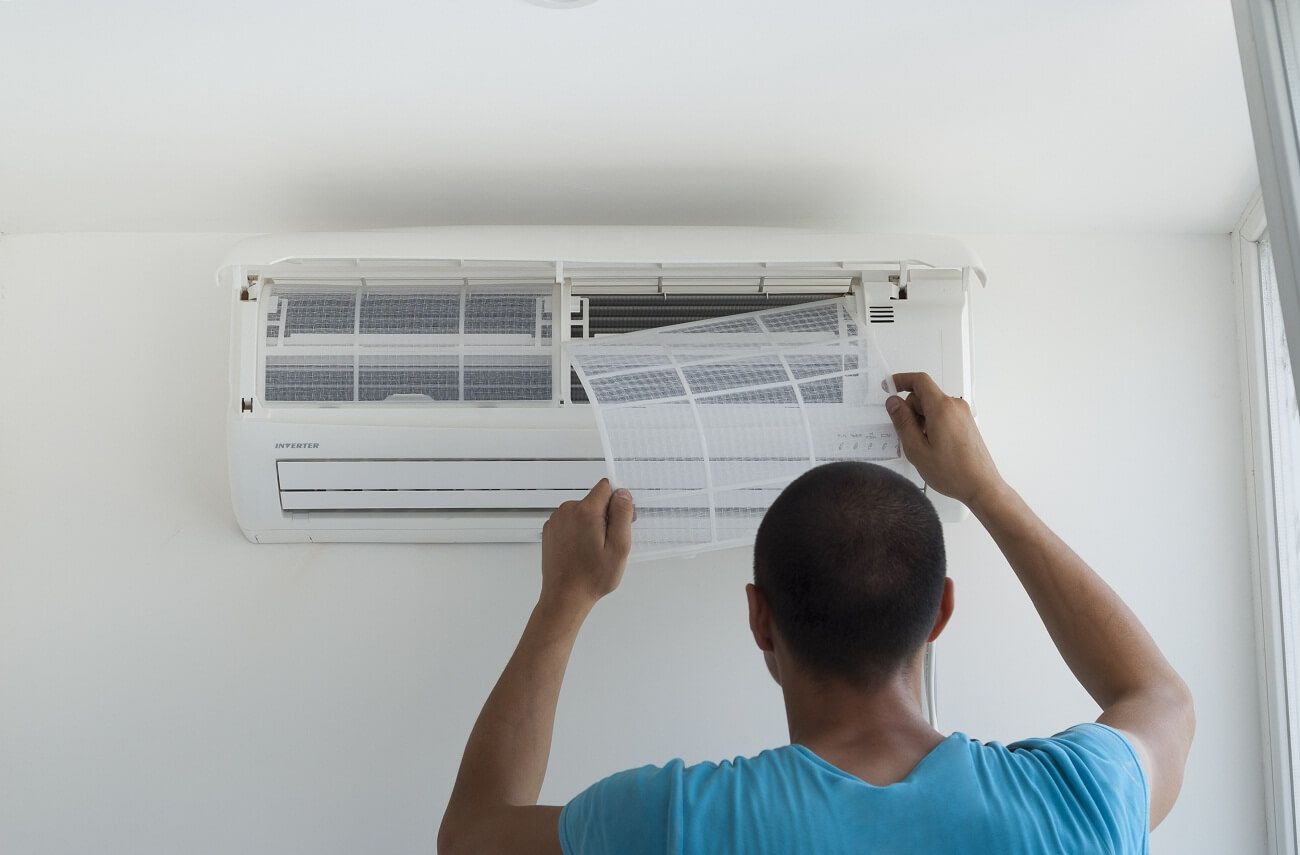
- Attach the brush attachment: Attach the brush attachment to the hose of your vacuum cleaner. This will help loosen and remove any loose dust and debris from the vent covers.
- Gently brush the vent covers: Starting from one end, use the brush attachment to gently brush the surface of the vent cover. Move the attachment back and forth to dislodge any dust or debris that may be stuck.
- Work in sections: If your vent cover is large, it’s best to work in sections. Focus on one section at a time, making sure to thoroughly brush the entire surface.
- Pay attention to crevices: Use the brush attachment to carefully clean any crevices or hard-to-reach areas on the vent covers. These areas tend to collect more dust and debris, so a thorough cleaning is important.
- Vacuum the loosened debris: As you brush the vent cover, the loosened dust and debris will be sucked up by the vacuum cleaner. Ensure that the brush attachment is close to the surface to catch all the debris effectively.
- Repeat for all vent covers: Repeat the process for each vent cover in the room. Take your time to ensure they are thoroughly cleaned.
Vacuuming the vent covers helps remove the initial layer of dust and debris, making the subsequent cleaning steps more effective. Once you have completed vacuuming the vent covers, you can proceed to the next step of the cleaning process.
Use a vacuum with a brush attachment to remove dust and debris from the air vents in the ceiling. You can also use a damp cloth to wipe down the vent covers for a thorough clean.
Step 4: Clean the Vent Covers with Soap and Water
After vacuuming the vent covers, it’s time to give them a deeper cleaning using a solution of soap and water. Follow these steps to effectively clean the vent covers:
- Prepare the cleaning solution: Fill a bucket or basin with warm water and add a few drops of mild soap or dish detergent. Mix the solution gently to create a soapy mixture. Avoid using harsh chemicals or abrasive cleaners that may damage the vent covers.
- Dip a clean cloth or sponge: Take a clean cloth or sponge and dip it into the soapy water. Ensure that the cloth or sponge is saturated but not dripping with water.
- Wipe down the vent covers: Starting from one end, gently wipe down the surface of the vent cover using the damp cloth or sponge. Move in circular or back-and-forth motions to effectively remove any remaining dust, dirt, or grime.
- Pay attention to crevices and corners: Use your fingers or a soft-bristled brush to clean any hard-to-reach crevices or corners of the vent covers. Be thorough in removing any build-up or debris in these areas.
- Rinse with clean water: Once you have finished cleaning the vent covers with the soapy solution, rinse them with clean water to remove any soap residue. This will prevent streaks or sticky surfaces.
- Wipe dry with a clean cloth: Use a clean, dry cloth to wipe down and dry the vent covers. Ensure that they are completely dry before moving on to the next step.
Cleaning the vent covers with soap and water helps to remove any stubborn dirt or grime that may have accumulated over time. It also helps to improve the overall cleanliness and appearance of the vent covers. Once you have completed this step, you can proceed to clean the inside of the ventilation ducts.
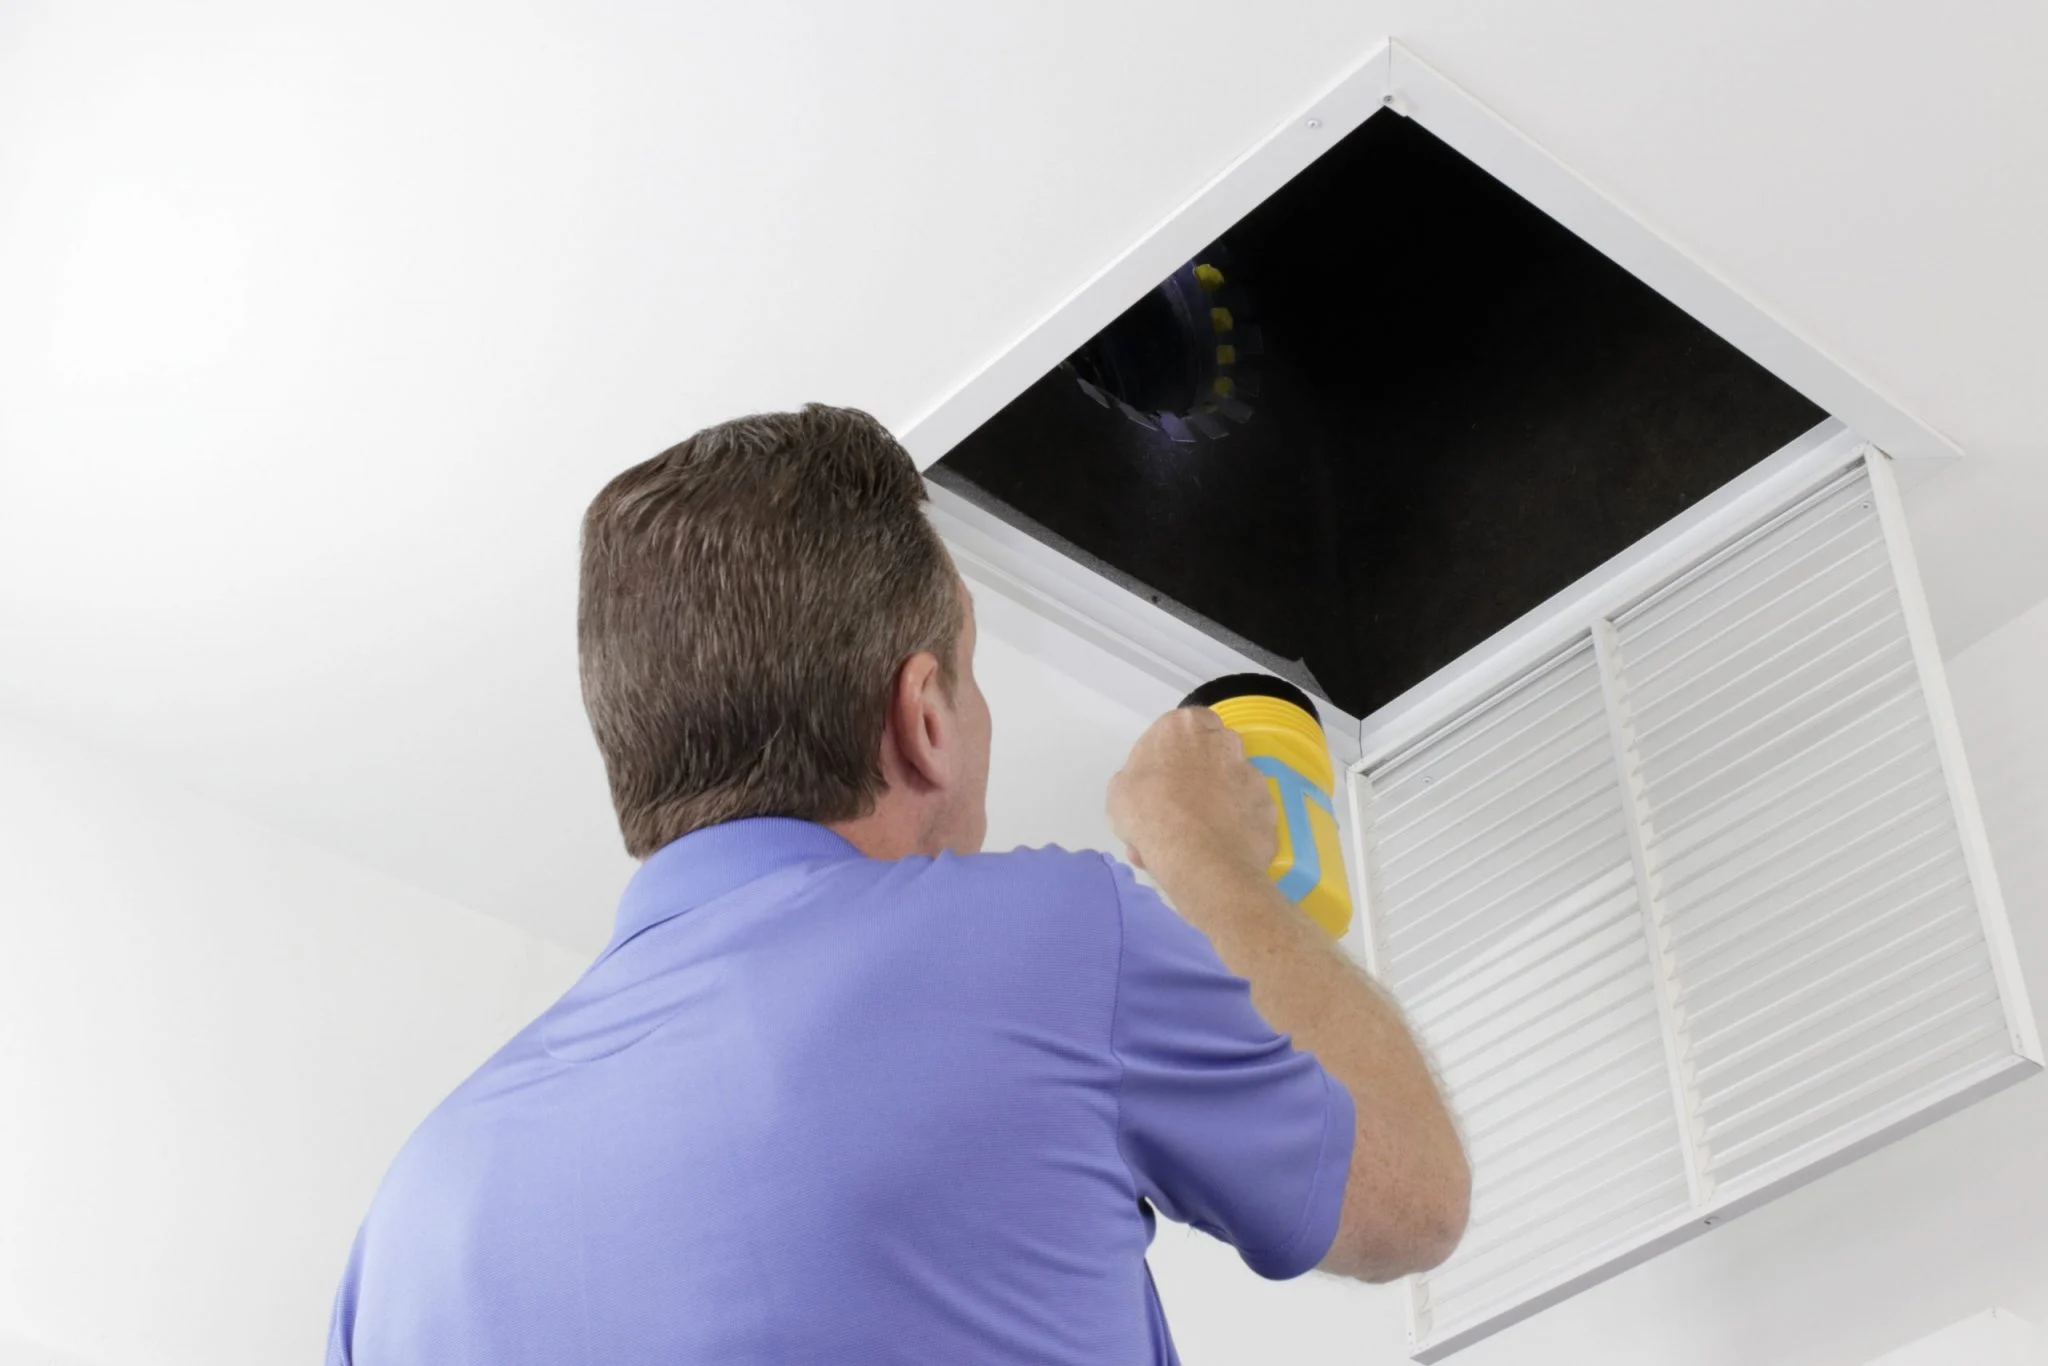
Step 5: Clean Inside the Ventilation Ducts
Now that you have thoroughly cleaned the vent covers, it’s time to focus on cleaning the inside of the ventilation ducts. Follow these steps to effectively clean inside the ducts:
- Attach a long, narrow nozzle to your vacuum cleaner: To reach inside the ventilation ducts, attach a long, narrow nozzle to the hose of your vacuum cleaner. This will allow you to suction out any dust, dirt, or debris that may have accumulated.
- Insert the nozzle into the duct: Carefully insert the nozzle into the ventilation duct through the opening where the vent cover was located. Be cautious not to damage the duct or force the nozzle further than necessary.
- Move the nozzle in a back-and-forth or circular motion: Once the nozzle is inside the duct, slowly move it in a back-and-forth or circular motion to dislodge and collect any dust or debris. Pay attention to areas with visible build-up or blockage.
- Advance the nozzle further into the duct: Gradually advance the nozzle further into the duct, working section by section. Be thorough in cleaning the entire length of the duct.
- Repeat the process for all ventilation ducts: Repeat the cleaning process for each ventilation duct in the room. Take your time to ensure that all ducts are properly cleaned.
- Inspect for any signs of mold or damage: While cleaning the ducts, keep an eye out for any signs of mold growth or damage. If you notice anything suspicious, it is recommended to seek professional assistance for further evaluation and remediation.
Cleaning the inside of the ventilation ducts helps to remove built-up dust and allergens, improving the overall air quality and airflow in your space. Once you have completed this step, you can proceed to reattach the vent covers.
Step 6: Replace the Vent Covers
After cleaning the vent covers and inside the ventilation ducts, it’s time to reattach the vent covers to complete the cleaning process. Follow these steps to replace the vent covers:
- Align the vent cover: Position the vent cover over the opening in the ceiling, ensuring it is properly aligned with the duct.
- Insert the screws: Take the screws that were removed earlier and insert them back into their respective holes in the vent cover. Use a screwdriver to tighten them securely, but be cautious not to overtighten and damage the cover.
- Repeat for all vent covers: Repeat the process for each vent cover in the room, ensuring they are all securely attached to the ceiling.
By replacing the vent covers, you restore proper airflow and ensure a clean and aesthetically pleasing appearance in the room. After completing this step, you are ready to move on to the final step of the cleaning process.
Read more: How To Close Ceiling Vents
Step 7: Turn On the HVAC System
Now that you have successfully cleaned the air vents and replaced the vent covers, it’s time to turn on the HVAC system to resume normal operation. Follow these steps to safely turn on the HVAC system:
- Make sure all vents and covers are securely in place: Double-check that all vent covers are properly attached and secured to the ceiling. Ensure that there are no gaps or loose covers that may affect the efficiency of the HVAC system.
- Reset the thermostat settings: If you turned off the thermostat during the cleaning process, reset it to your desired temperature settings. Make sure that the thermostat is set to the appropriate cooling or heating mode.
- Turn on the power: Locate the circuit breaker panel or fuse box that supplies power to the HVAC system. Flip the circuit breaker or insert the fuse that powers the system to turn it back on.
- Listen for the HVAC system to start: Once the power is restored, listen for the sound of the HVAC system starting up. You may hear the fan or the compressor kicking in, indicating that the system is operating.
- Check the airflow: Walk around the room and feel the airflow coming from each vent. Ensure that the airflow is consistent and strong. If you notice any issues with the airflow, contact a professional HVAC technician for further inspection.
- Monitor the system for a few cycles: Keep an eye on the HVAC system for a few cycles to ensure it is operating smoothly and efficiently. Check for any unusual noises, odors, or fluctuations in temperature.
By following these steps, you can safely turn on the HVAC system and enjoy clean and fresh air flowing through your newly cleaned air vents. Regular maintenance and cleaning of your HVAC system will help ensure its longevity and enhance the air quality in your living or working environment.
Conclusion
Cleaning the air vents in the ceiling is a crucial task that promotes better air quality and enhances the efficiency of your HVAC system. By following the step-by-step process outlined in this article, you can ensure that your air vents are free from dust, dirt, and debris, allowing for optimal airflow in your home or office.
Remember to always prioritize safety when cleaning air vents. Turn off the HVAC system and follow necessary precautions before starting the cleaning process. Use the appropriate tools and materials, such as a vacuum cleaner with attachments, a screwdriver, and a cleaning solution of soap and water.
Begin by removing the vent covers and vacuuming them to remove loose debris. Then, clean the vent covers with a soapy solution, ensuring all dirt and grime are thoroughly removed. Afterward, use a long, narrow nozzle and a vacuum cleaner to clean the inside of the ventilation ducts, removing any accumulated dust and allergens.
Once the cleaning is complete, carefully replace the vent covers and make sure they are securely attached. Finally, turn on the HVAC system and monitor its operation to ensure everything is functioning correctly.
Regularly cleaning your air vents will not only improve the air quality but also extend the life of your HVAC system. It is recommended to clean the air vents at least once a year, or more frequently if you live in an area with high dust or allergen levels.
By taking the time to clean your air vents and maintain your HVAC system, you can enjoy cleaner air, better airflow, and a healthier living or working environment. So, roll up your sleeves, follow the steps in this article, and give your air vents the attention they deserve.
Frequently Asked Questions about How To Clean Air Vents In Ceiling
Was this page helpful?
At Storables.com, we guarantee accurate and reliable information. Our content, validated by Expert Board Contributors, is crafted following stringent Editorial Policies. We're committed to providing you with well-researched, expert-backed insights for all your informational needs.


0 thoughts on “How To Clean Air Vents In Ceiling”