Articles
How To Close Attic Ladder
Modified: October 18, 2024
Learn how to close your attic ladder safely and securely with these informative articles. Find step-by-step guides and tips to ensure a hassle-free experience.
(Many of the links in this article redirect to a specific reviewed product. Your purchase of these products through affiliate links helps to generate commission for Storables.com, at no extra cost. Learn more)
Introduction
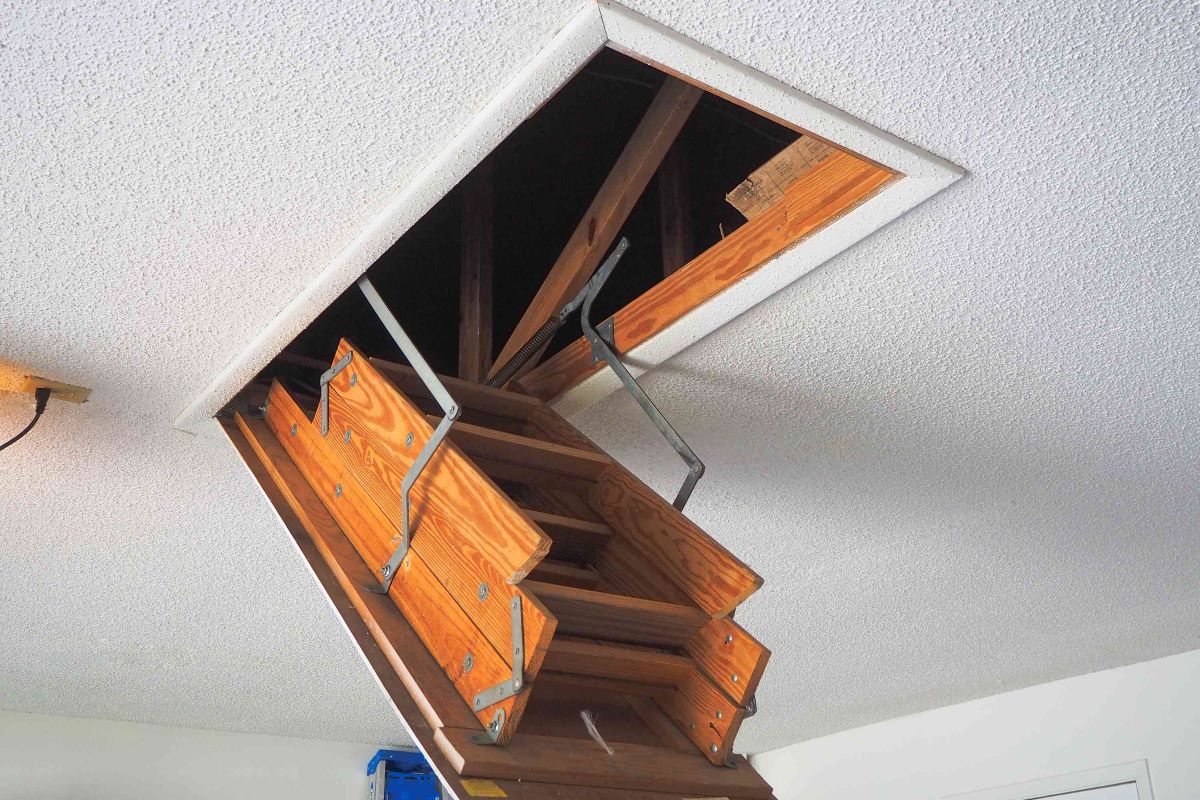
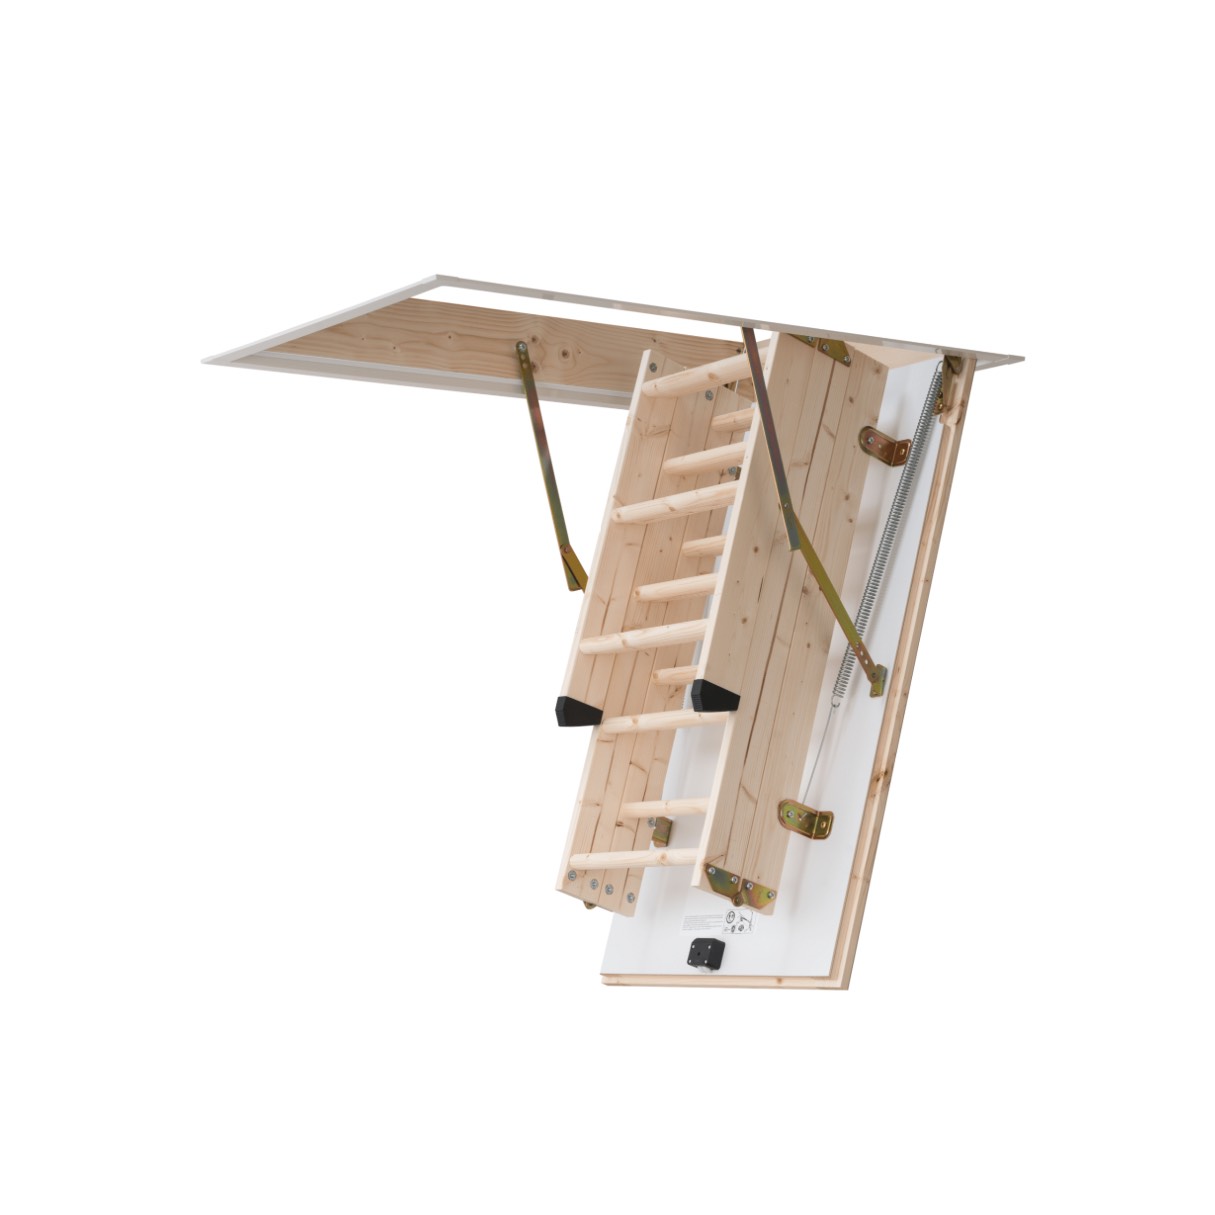
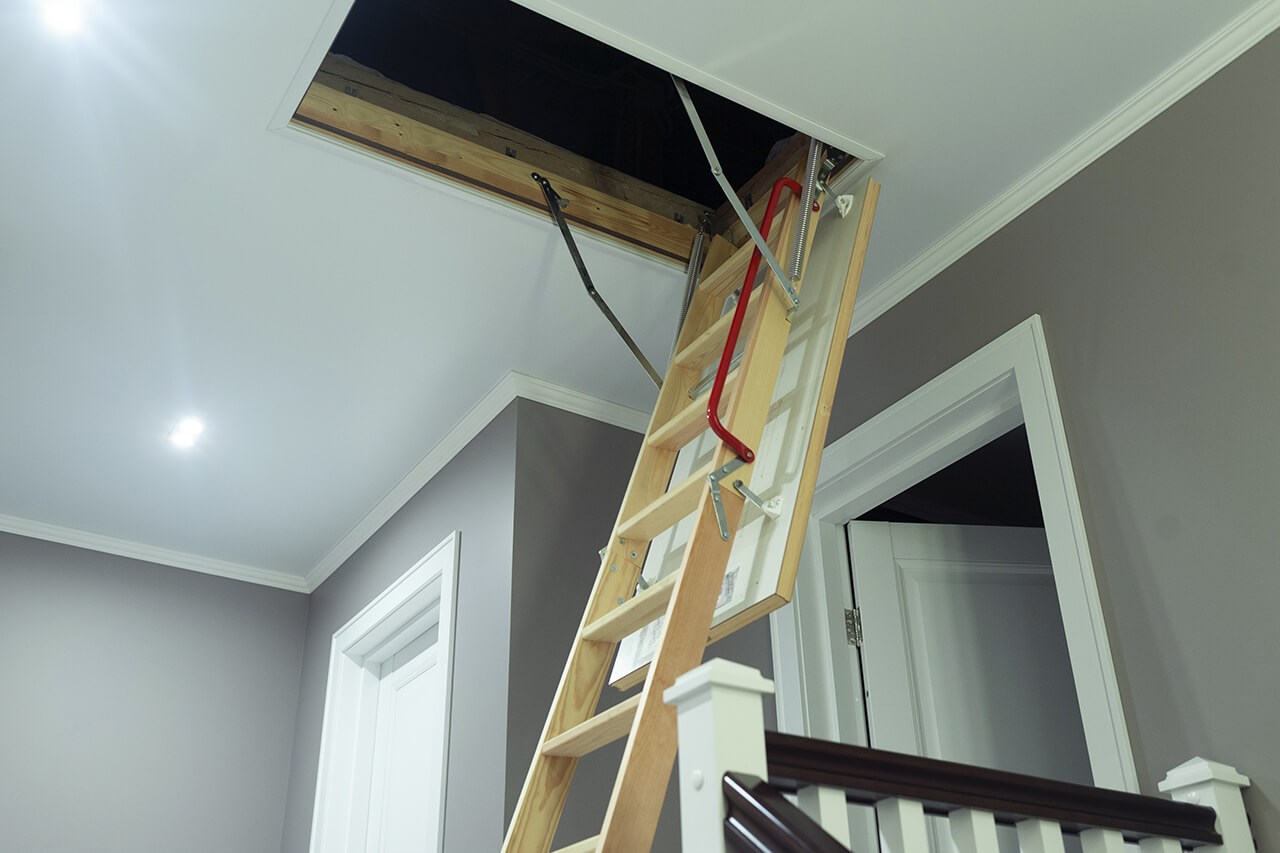
Many homes are equipped with an attic ladder, also known as a pull-down ladder, to provide easy access to the attic space. However, there may come a time when you no longer need access to the attic or want to close off the opening for various reasons. Whether you’re planning to convert the attic into a living space or simply want to seal it off for energy efficiency purposes, knowing how to close an attic ladder is essential.
Closing an attic ladder involves a series of steps to ensure the ladder is safely removed and the attic opening is securely sealed. This article will guide you through the process, providing a step-by-step approach to closing an attic ladder. By following these instructions and taking the necessary precautions, you can effectively seal off the attic and enhance the safety and energy efficiency of your home.
Before we delve into the steps, it’s important to note that attic ladders come in various types, such as folding ladders or telescopic ladders. The specific type of ladder you have may affect the approach to closing it. Refer to the manufacturer’s instructions or seek professional guidance if you’re uncertain about the type of ladder installed in your attic.
Now, let’s proceed to the first step of closing an attic ladder.
Key Takeaways:
- Safely and effectively close your attic ladder by following a step-by-step process, ensuring a secure seal and improved energy efficiency in your home.
- Prioritize safety, prepare the area, and test the closure to maximize living space and enhance the safety and functionality of your home.
Read more: How To Close Step Ladder
Step 1: Gather the necessary tools and materials
Before you begin the process of closing an attic ladder, it’s important to gather all the necessary tools and materials. Having everything you need at hand will help streamline the process and ensure a smooth transition. Here’s a list of tools and materials you will need:
- Screwdriver or drill
- Utility knife
- Measuring tape
- Safety goggles
- Dust mask
- Sealant or insulation material (if needed)
- Plywood or drywall (if needed)
- Screws or nails (if needed)
Ensure that you have these tools readily available before proceeding with closing the attic ladder. If any additional tools or materials specific to your ladder type are required, refer to the manufacturer’s instructions or seek professional advice.
Once you have gathered all the tools and materials, you’re ready to move on to the next step:
Step 2: Prepare the area and ensure safety
Before starting the process of closing an attic ladder, it’s crucial to prepare the area and take necessary safety precautions. This step will help ensure a smooth and accident-free process. Here’s what you need to do:
- Clear the surrounding area: Remove any objects, debris, or obstacles near the attic ladder. This will create a clear workspace and prevent any accidents or damage to the items around.
- Put on safety gear: Wear safety goggles to protect your eyes from any debris that may come loose during the process. Additionally, it’s important to wear a dust mask to avoid inhaling any dust or insulation particles.
- Secure the ladder: If there is a lock or latch mechanism on the attic ladder, ensure it is securely locked or latched. This will prevent the ladder from accidentally opening or collapsing while you’re working on it.
- Use a stable work platform: If required, place a stable work platform beneath the attic ladder. This will provide a safe and secure surface to stand on while working on the ladder.
- Turn off the electricity: If there are any electrical wires or fixtures near the attic opening, turn off the power to eliminate the risk of electrical shock.
By taking these precautions and preparing the area properly, you will ensure your safety during the process of closing the attic ladder. Now, you’re ready to move on to the next step.
Step 3: Unlock and lower the attic ladder
Now that you have prepared the area and ensured safety, it’s time to unlock and lower the attic ladder. Follow these steps:
- Locate the locking mechanism: Examine the attic ladder to locate the locking mechanism. It is usually a latch or lever that holds the ladder in its closed position.
- Unlock the ladder: Use a screwdriver or drill (depending on the type of locking mechanism) to release the latch or lever and unlock the ladder. Make sure to hold the ladder securely as you do this to prevent any accidental movements.
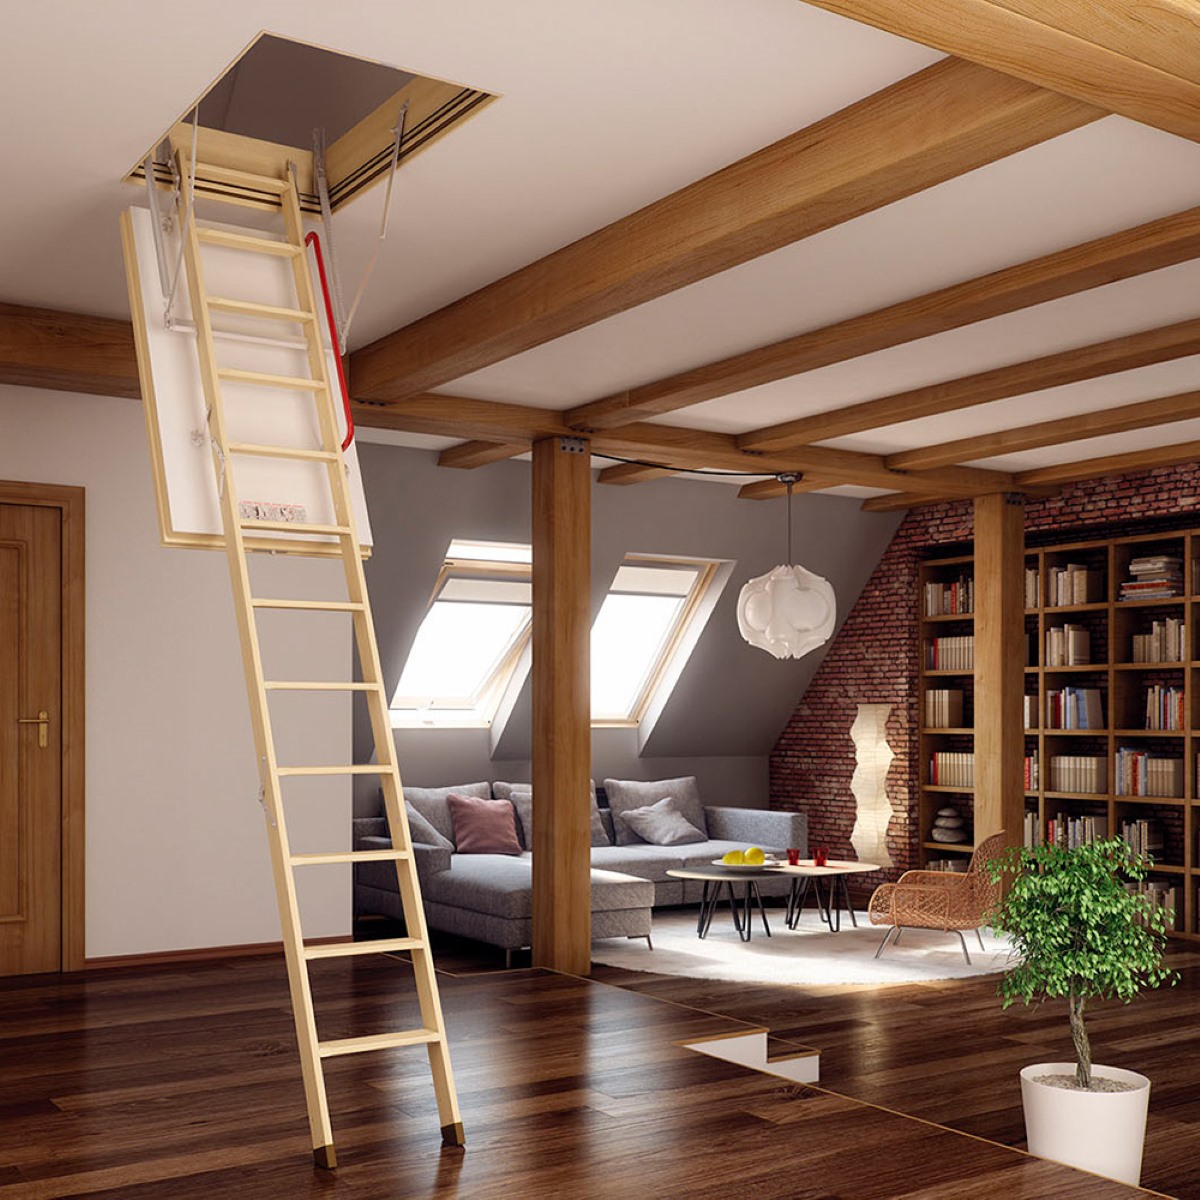
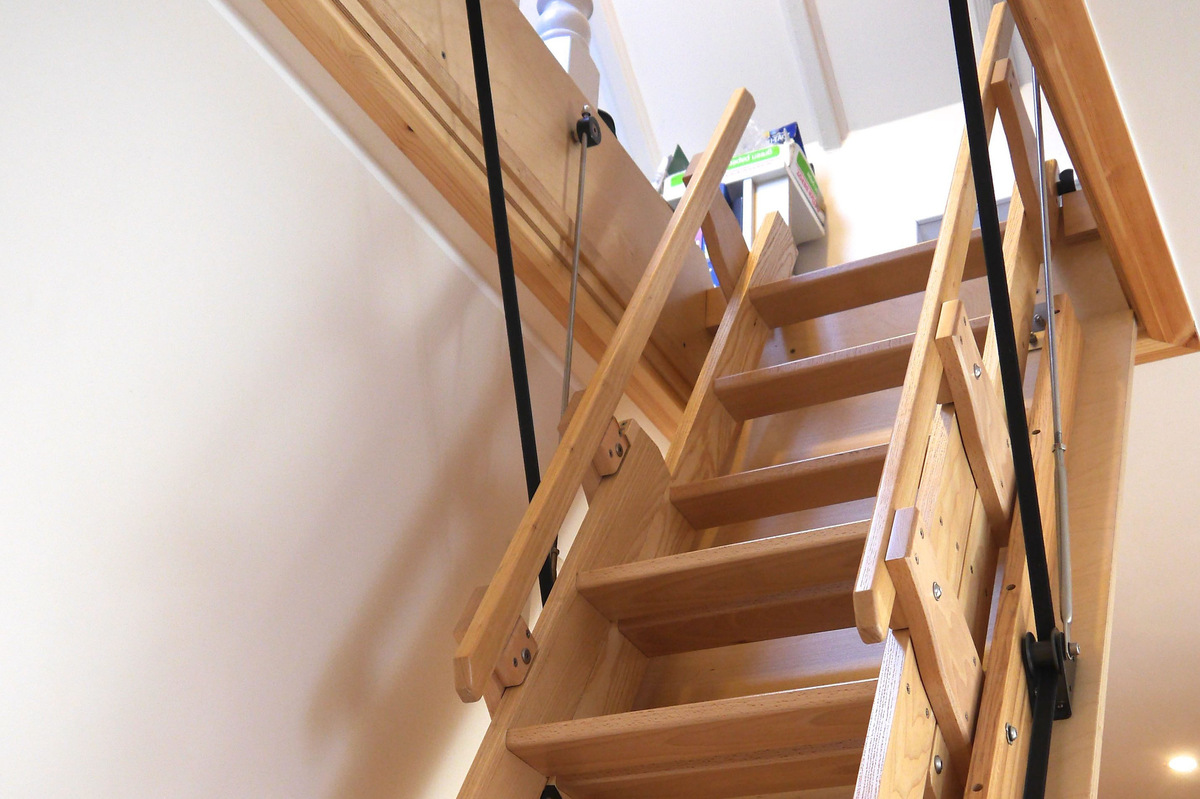
- Lower the ladder: Slowly lower the attic ladder by pulling it down. Be cautious of any potential obstructions or hazards, and ensure that the ladder unfolds smoothly and fully extends to its maximum length.
- Secure the ladder in its lowered position: Once the ladder is fully extended and in its lowered position, ensure it is locked in place. Some attic ladders have a support rod or brace that keeps the ladder stable when fully extended. If your ladder has this feature, make sure it is securely in place.
By following these steps, you can successfully unlock and lower the attic ladder. This will allow easier access as you proceed with the subsequent steps of closing the attic ladder.
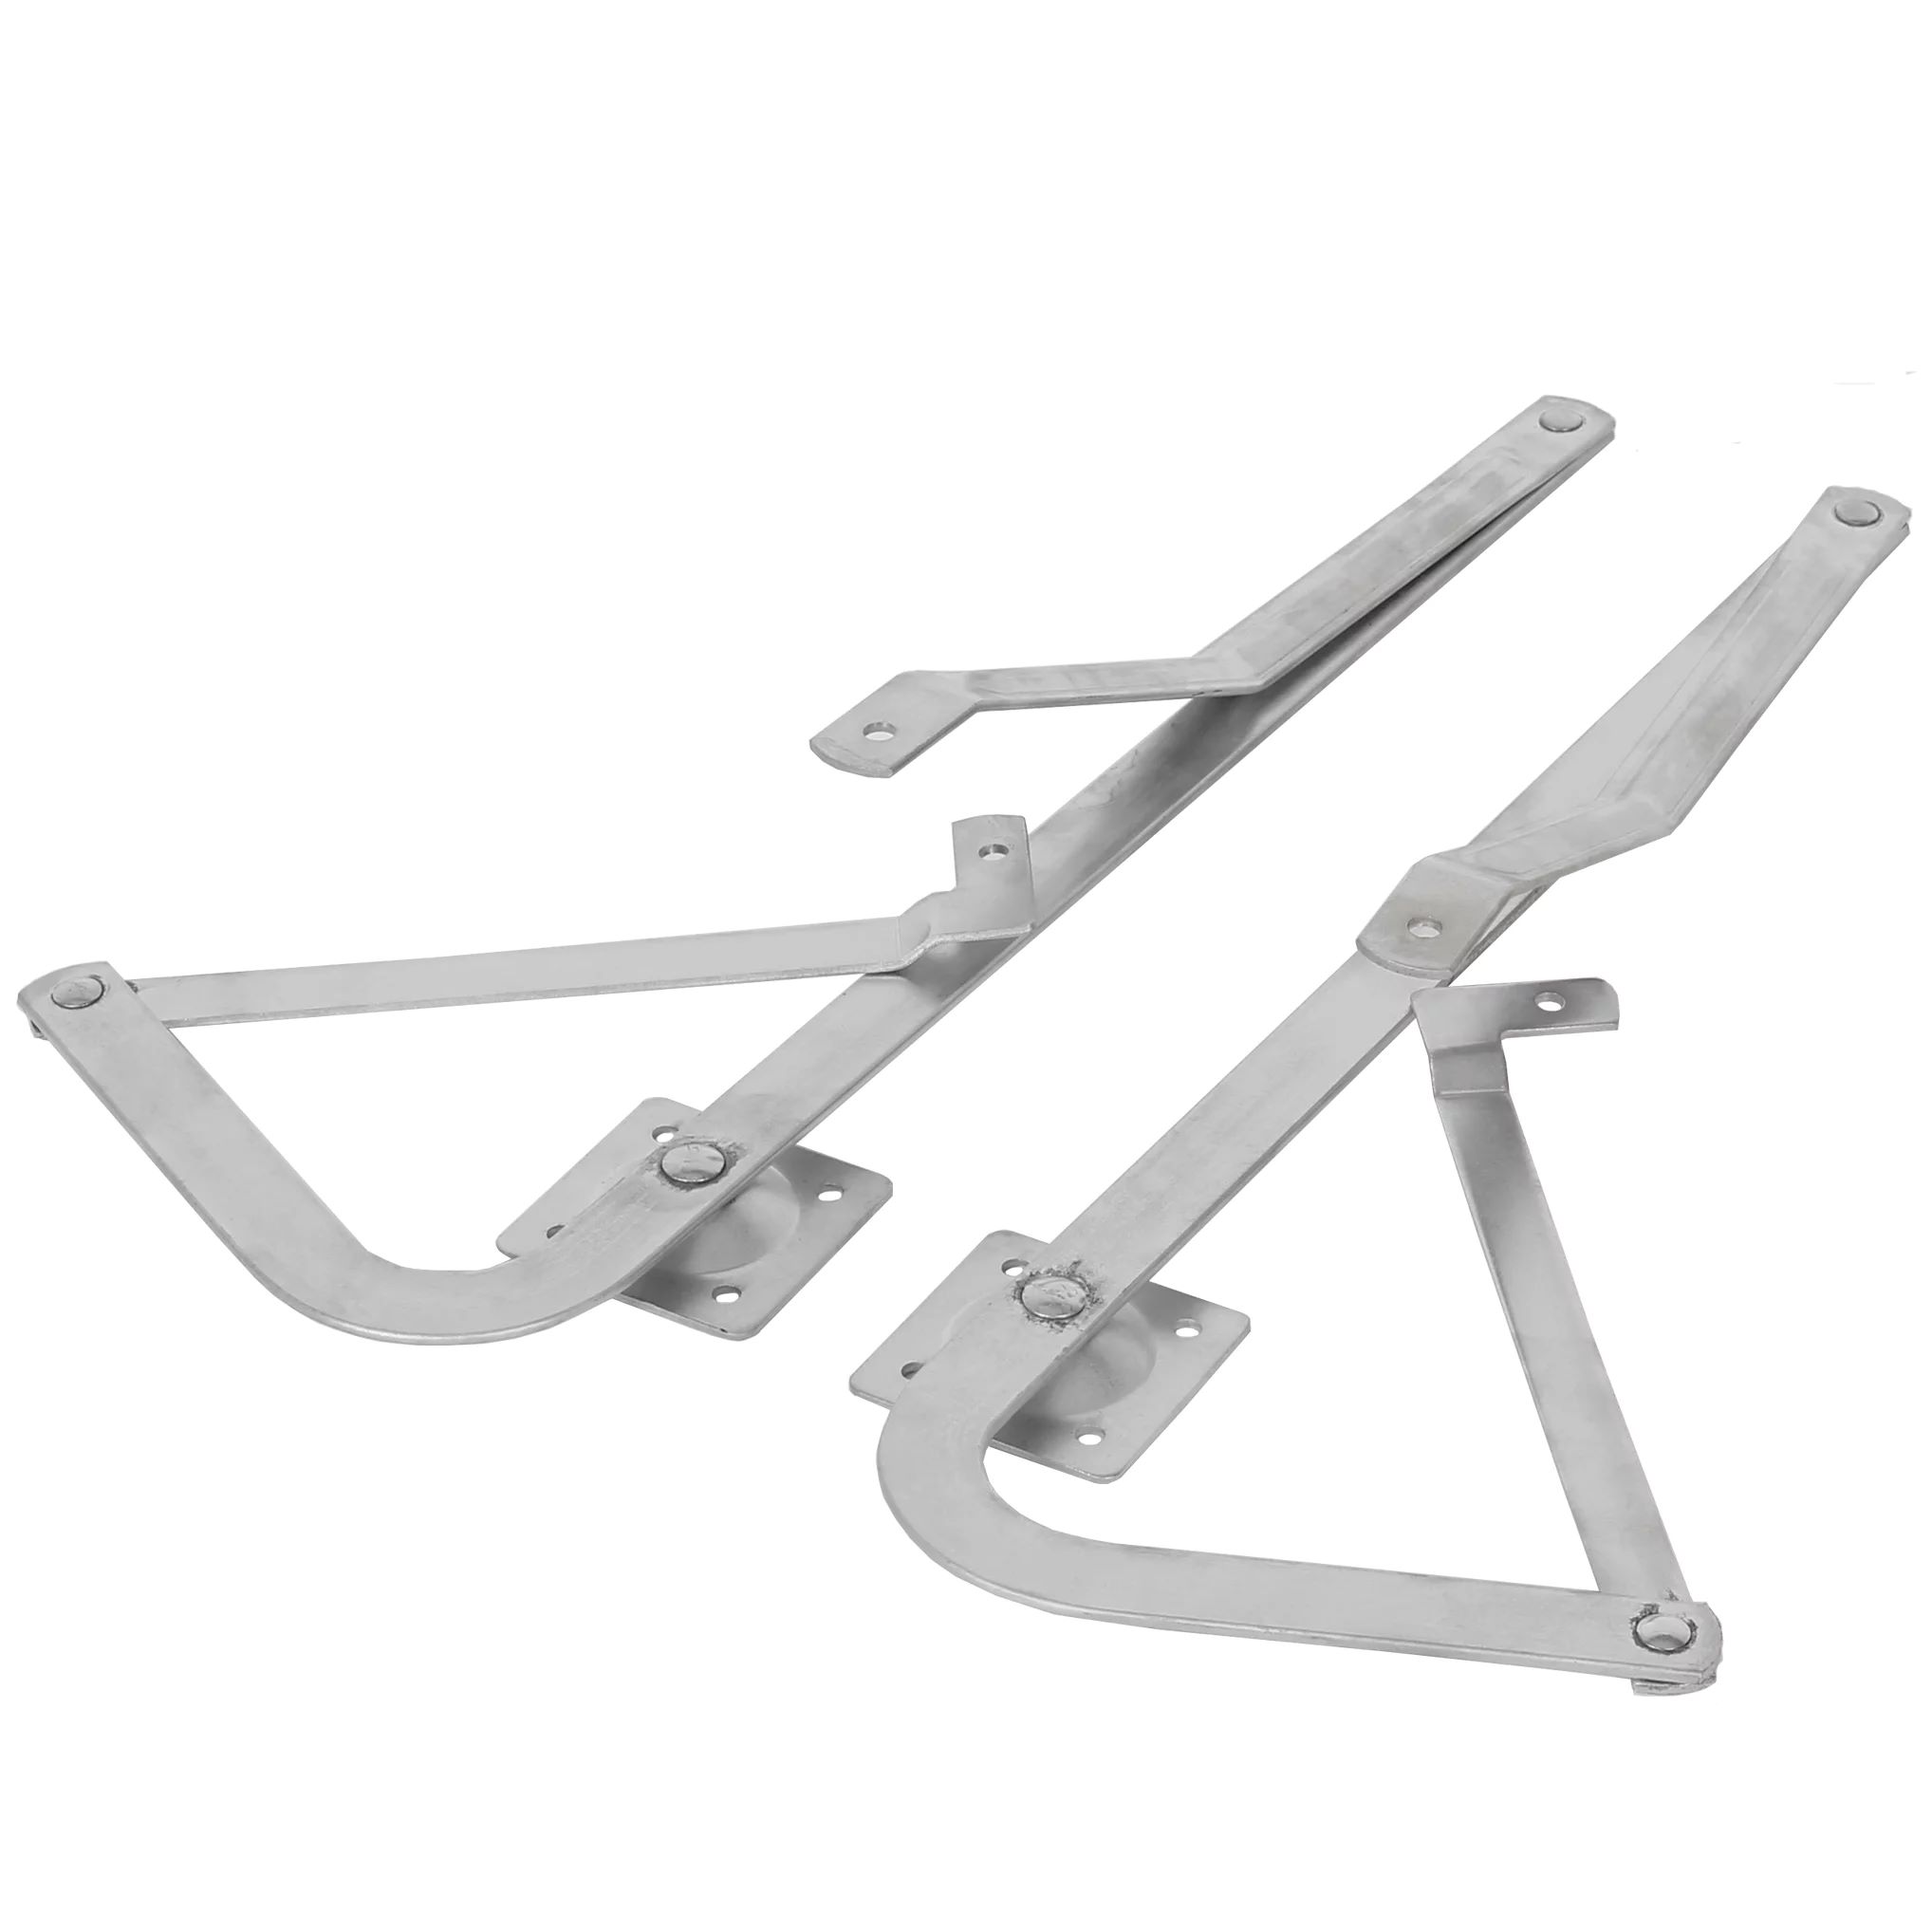
Step 4: Detach any support or braces
Once the attic ladder is unlocked and lowered, the next step is to detach any support or braces that are holding it in place. Here’s how to proceed:
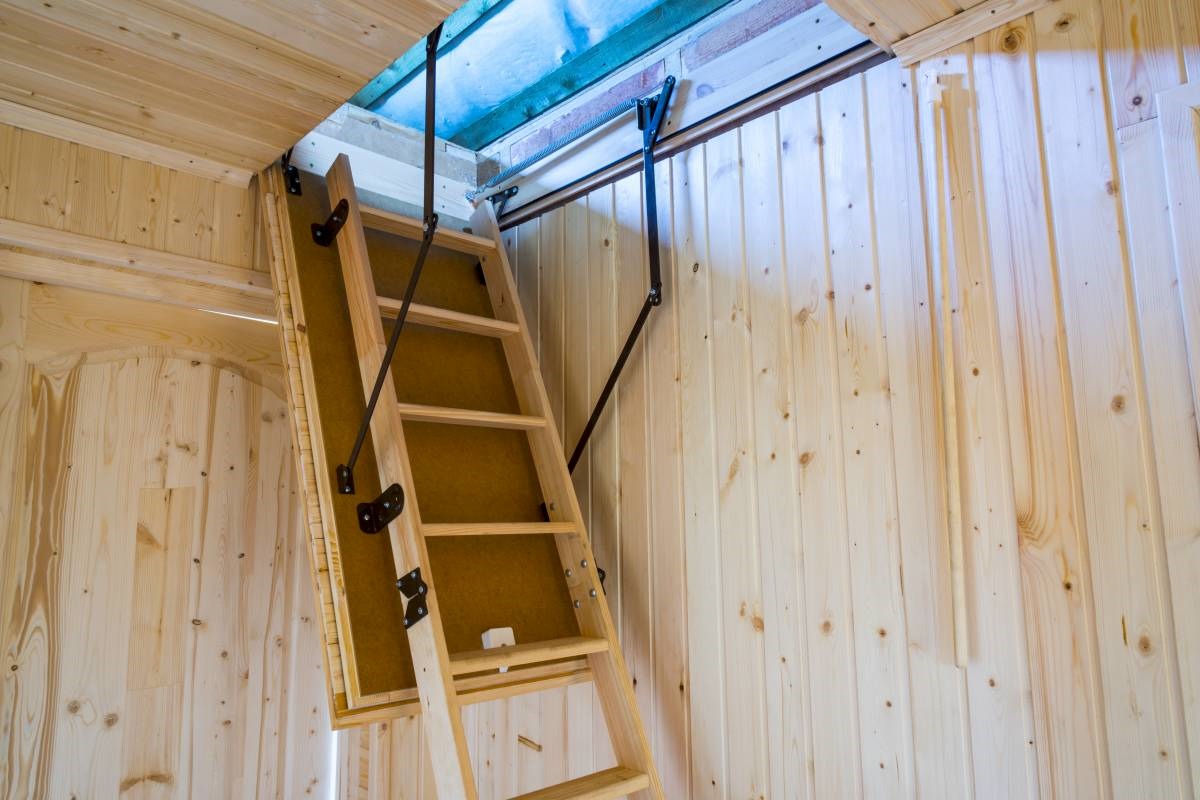
- Inspect the ladder for any supports or braces: Examine the attic ladder and look for any additional supports or braces that may be holding it in place. These supports are typically located near the bottom of the ladder or on the sides.
- Remove the screws or fasteners: Use a screwdriver or drill (depending on the type of fasteners used) to remove any screws or fasteners that are attaching the supports or braces to the ladder or the attic opening.
- Detach the supports or braces: Once the screws or fasteners are removed, carefully detach the supports or braces from the ladder. Take note of the position or location of each support for easier reinstallation, if necessary.
- Set aside the supports or braces: Keep the supports or braces in a safe place for future use, if needed. It’s essential to store them in a labeled container or bag to ensure they don’t get lost or misplaced.
By following these steps, you can effectively detach any supports or braces that are securing the attic ladder. This will allow for easier removal of the ladder in the next step of the process.
When closing an attic ladder, make sure to securely lock it in place to prevent any accidents. Always double-check that the ladder is fully retracted and the hatch is closed tightly before leaving the area.
Read more: How To Measure An Attic Ladder
Step 5: Remove the ladder from the attic opening
With the supports or braces detached, it’s now time to remove the attic ladder from the opening. Here’s how to do it:
- Ensure a secure footing: Stand on the stable work platform or a ladder positioned safely below the attic ladder. This will provide you with a secure footing and allow you to safely access the ladder.
- Release any remaining locks or clasps: Check the attic ladder for any additional locks or clasps that may be holding it in place. Release them using a screwdriver or by following the manufacturer’s instructions.
- Take assistance if needed: If the attic ladder is heavy or difficult to handle, it’s recommended to have someone assist you during the removal process. This will ensure that the ladder is lifted and maneuvered safely.
- Lift and remove the ladder: Carefully lift the attic ladder upwards, taking care not to damage any surrounding structures or objects. Lift it clear of the attic opening and set it aside in a safe location.
Removing the attic ladder from the opening may require some physical strength and coordination, so take your time and proceed with caution. By following these steps, you can successfully remove the ladder and continue with closing off the attic space.
Step 6: Clean and organize the attic space
Now that the attic ladder has been removed, it’s an ideal time to clean and organize the attic space before closing it off. Here are some steps to help you with this process:
- Clear out any debris: Remove any clutter, dust, or debris that may have accumulated in the attic. Use a broom or a vacuum cleaner to thoroughly clean the space, ensuring it is free from dirt and dust particles.
- Sort and organize belongings: If there are any items stored in the attic, take this opportunity to sort through them and organize them more efficiently. Consider donating or discarding any items that are no longer needed or have been damaged.
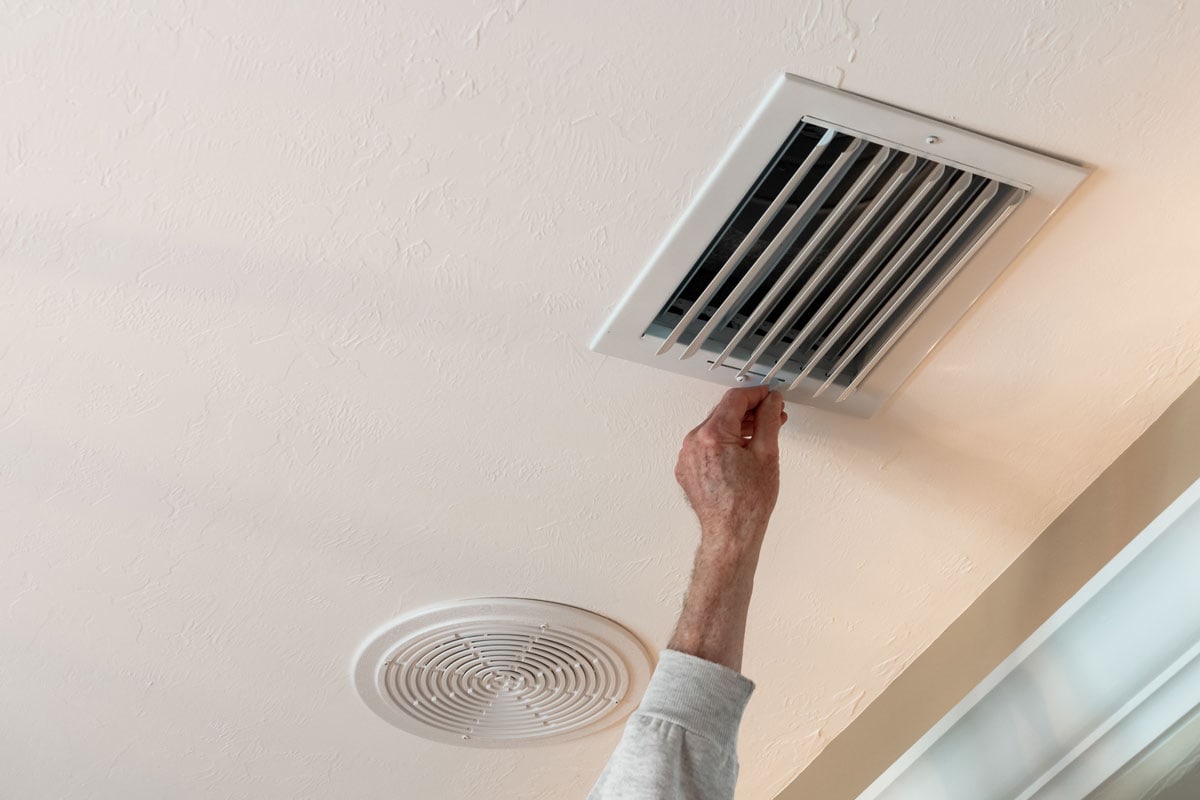
- Consider insulation or sealing: Assess the insulation in the attic and determine if any improvements are needed. This is also a good time to check for any air leaks or gaps that may need to be sealed to improve energy efficiency.
- Create storage solutions: If you plan to continue using the attic for storage purposes, consider installing shelving units, storage bins, or racks to maximize the space and keep it well-organized.
- Clean or treat surfaces: Depending on the condition of the attic surfaces, you may need to clean or treat them. This could involve wiping down walls, treating wooden surfaces, or applying a fresh coat of paint, if necessary.
By cleaning and organizing the attic space, you can ensure a neat and well-maintained area, whether it will be closed off permanently or still used for storage purposes. This step will help improve the overall functionality and aesthetics of the attic space.
Step 7: Close and secure the attic opening
After cleaning and organizing the attic space, it’s time to properly close and secure the attic opening. Follow these steps to ensure a tight seal and enhanced safety:
- Measure the attic opening: Use a measuring tape to determine the dimensions of the attic opening. This will help you choose the appropriate materials for closing it off.
- Choose the closing material: Based on the measurements and your preference, select the closing material. This can be plywood, drywall, or any other suitable material that will provide a sturdy barrier.
- Cut the closing material: Measure and cut the chosen material to fit the dimensions of the attic opening. Use a utility knife or a saw, ensuring precise and clean cuts.
- Attach the closing material: Secure the cut material to the attic opening using screws or nails. Make sure it is aligned and level with the surrounding walls or ceiling.
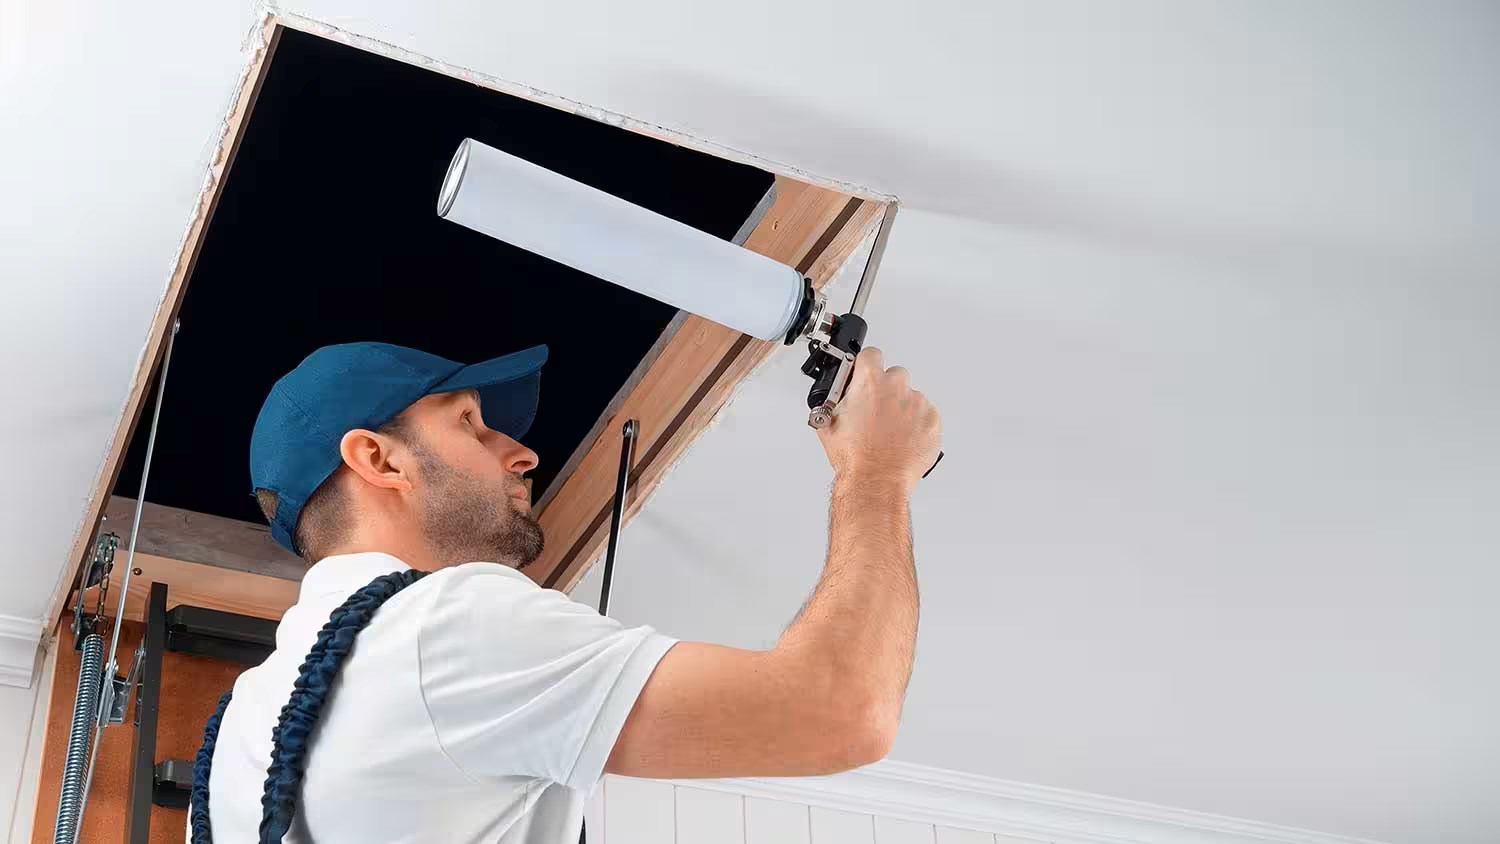
- Seal for insulation (if needed): If insulation is desired, apply a suitable sealant or insulation material around the edges of the closing material. This will help prevent air leakage and maintain energy efficiency.
- Add finishing touches: Depending on the aesthetic preferences, you can paint or decorate the closing material to match the surrounding decor. This will ensure a seamless integration of the closed attic opening.
By following these steps, you can effectively close and secure the attic opening. This will prevent access to the attic space while maintaining a clean and visually appealing look in your home.
Step 8: Test the closure and ensure proper functioning
Once you have closed and secured the attic opening, it’s important to test the closure to ensure that it functions properly. Follow these steps to check the effectiveness of the closure:
- Inspect the seal: Examine the edges of the closed attic opening to ensure a tight seal. Look for any gaps or areas where air may potentially leak through.
- Check for any loose or unstable parts: Verify that the closing material is securely attached and free from any loose screws or nails. If necessary, tighten or replace them to ensure stability.
- Attempt to open the closure: Test the closure by attempting to open it. Apply gentle pressure or force to ensure that it remains sealed and doesn’t easily open or shift.
- Listen for any unusual sounds: While testing the closure, listen for any strange sounds or vibrations. These may indicate potential issues with the closure or its installation.
- Verify insulation and energy efficiency: If you have added insulation during the closure process, monitor the temperature and energy efficiency in your home. Check for any noticeable improvements in insulation and reduced heat loss.
By thoroughly testing the closure of the attic opening, you can ensure that it is securely sealed and functioning properly. This step is crucial in maintaining the safety, energy efficiency, and functionality of your home.
Read more: How To Build An Attic Ladder
Conclusion
Closing an attic ladder is an important step in improving the safety, energy efficiency, and overall functionality of your home. By following the step-by-step process outlined in this article, you can successfully close and secure your attic opening with ease.
Throughout the process, it’s crucial to prioritize safety and take necessary precautions. Use the recommended tools and safety gear to protect yourself from any potential hazards. Additionally, seek professional guidance or consult the manufacturer’s instructions if you have any specific concerns or questions about your attic ladder.
Remember to prepare the area, unlock and lower the ladder, detach any supports or braces, remove the ladder from the opening, clean and organize the attic space, and finally, close and secure the attic opening. Testing the closure and ensuring proper functioning is essential to ensure a tight seal and efficient insulation.
Closing off your attic ladder not only prevents access to the attic, but also allows you to maximize the use of your living space and improve energy efficiency. Whether you plan to convert your attic into a functional living area or simply seal it off for insulation purposes, following these steps will help you achieve your goal.
With proper closure and sealing, you can enhance the safety of your home, prevent energy loss, and even potentially lower your utility bills. Enjoy the benefits of a well-sealed attic and a more comfortable living environment.
By taking the time to close your attic ladder correctly, you can ensure a smoother transition and optimize the space in your home. So, roll up your sleeves, gather your tools, and get started on closing your attic ladder today!
Frequently Asked Questions about How To Close Attic Ladder
Was this page helpful?
At Storables.com, we guarantee accurate and reliable information. Our content, validated by Expert Board Contributors, is crafted following stringent Editorial Policies. We're committed to providing you with well-researched, expert-backed insights for all your informational needs.


0 thoughts on “How To Close Attic Ladder”