Articles
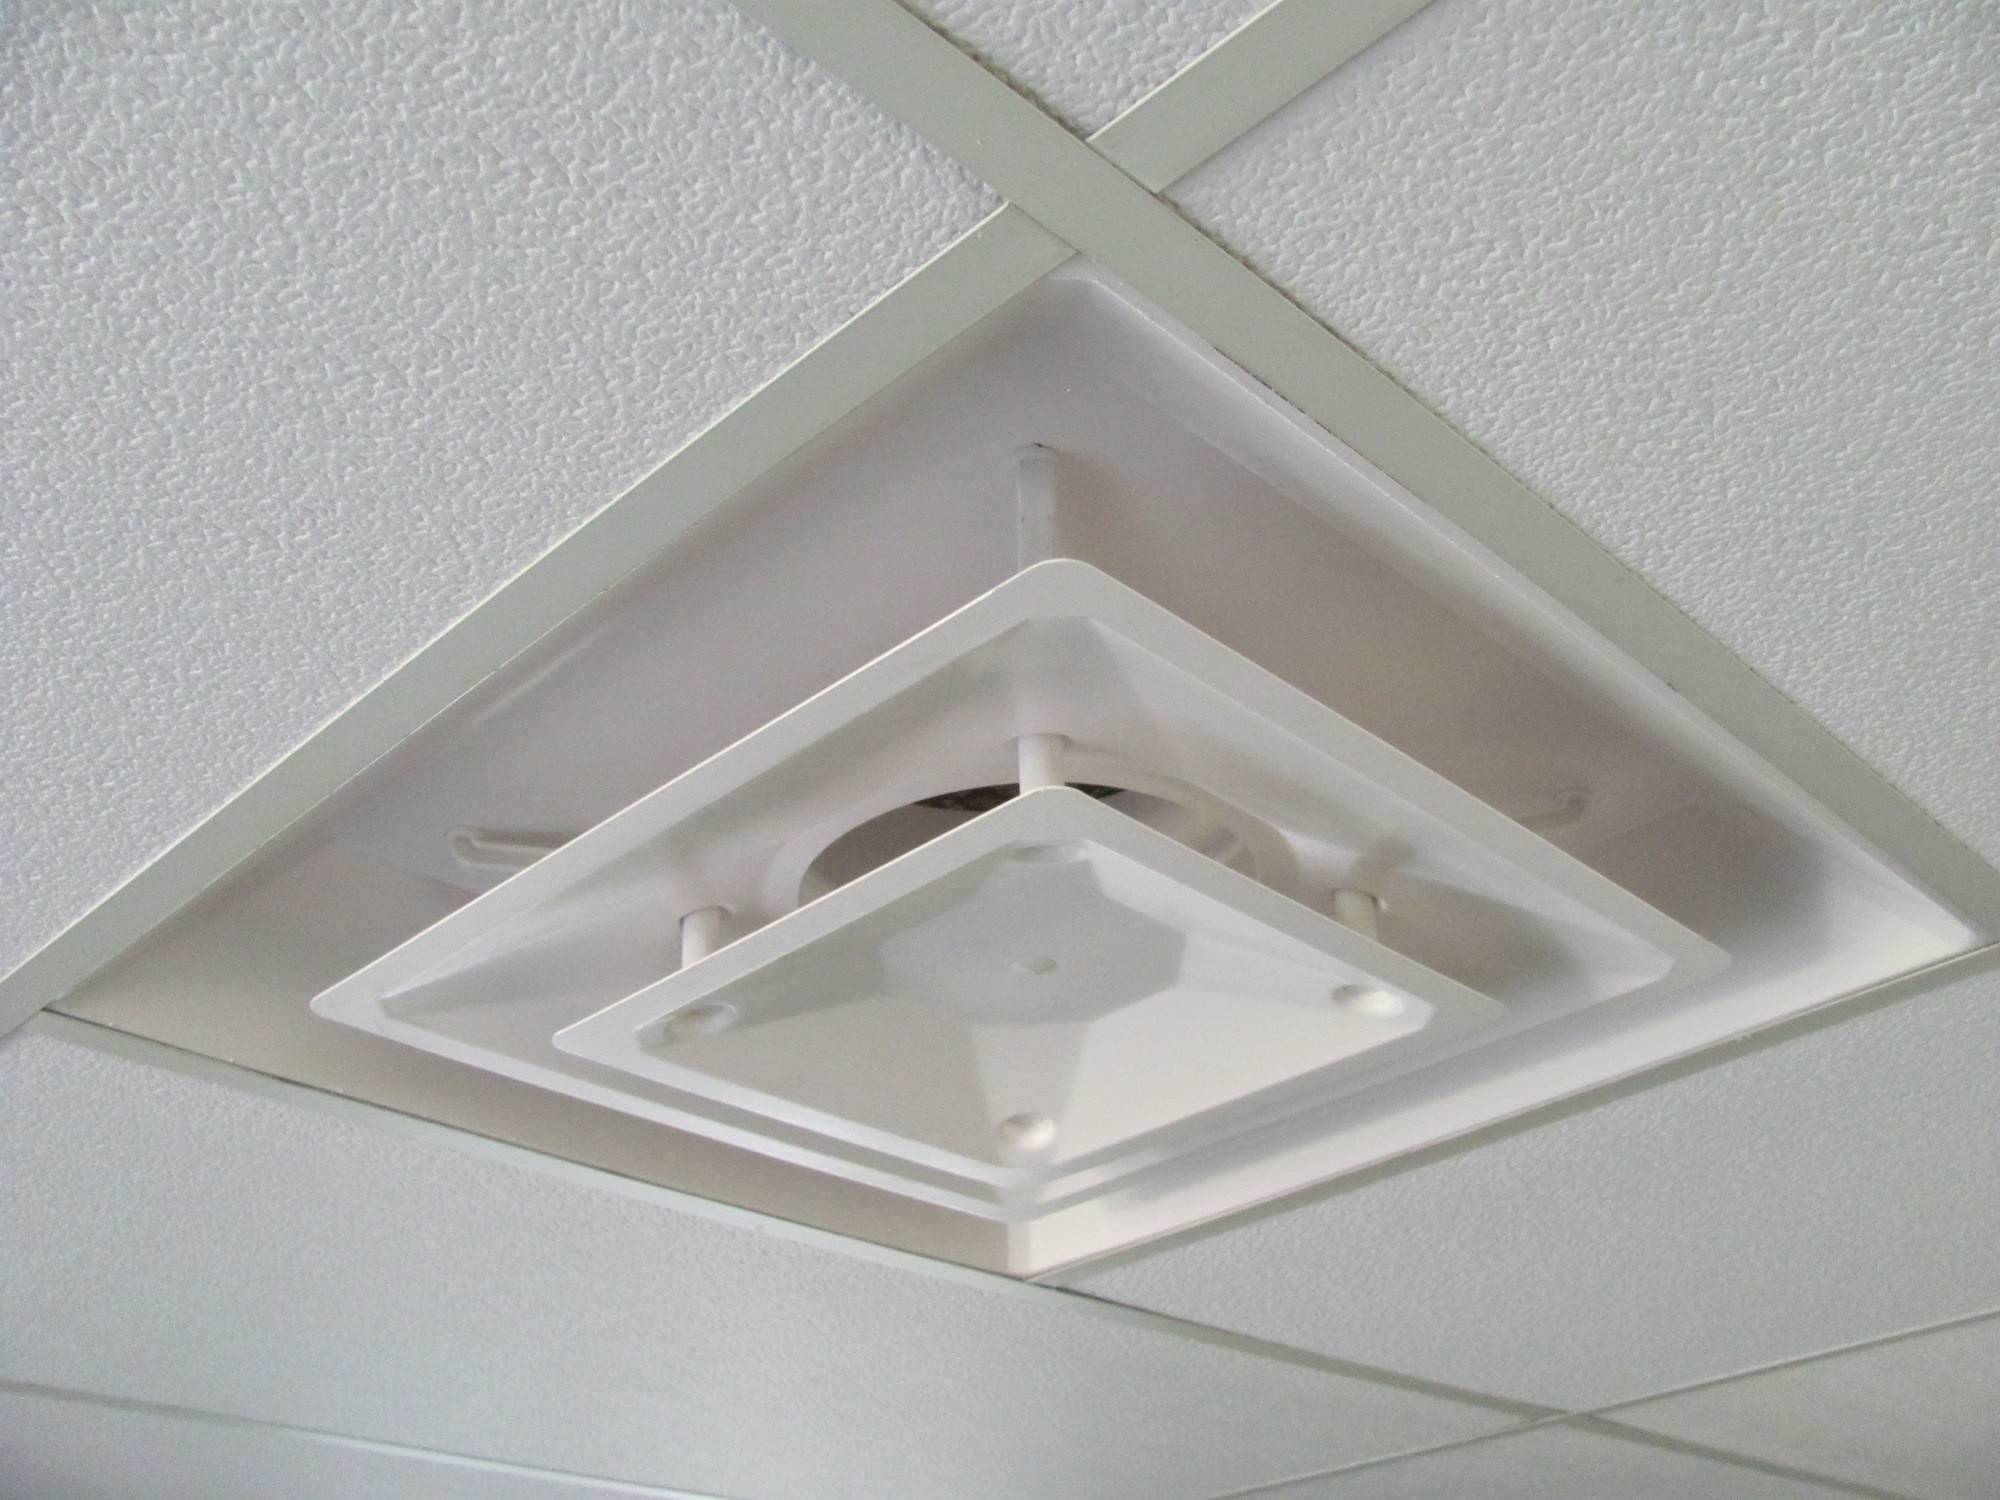
How To Cover A Vent On The Ceiling
Modified: August 30, 2024
Learn how to cover a vent on the ceiling with these helpful articles. Find step-by-step guides and expert tips for a seamless solution.
(Many of the links in this article redirect to a specific reviewed product. Your purchase of these products through affiliate links helps to generate commission for Storables.com, at no extra cost. Learn more)
Introduction
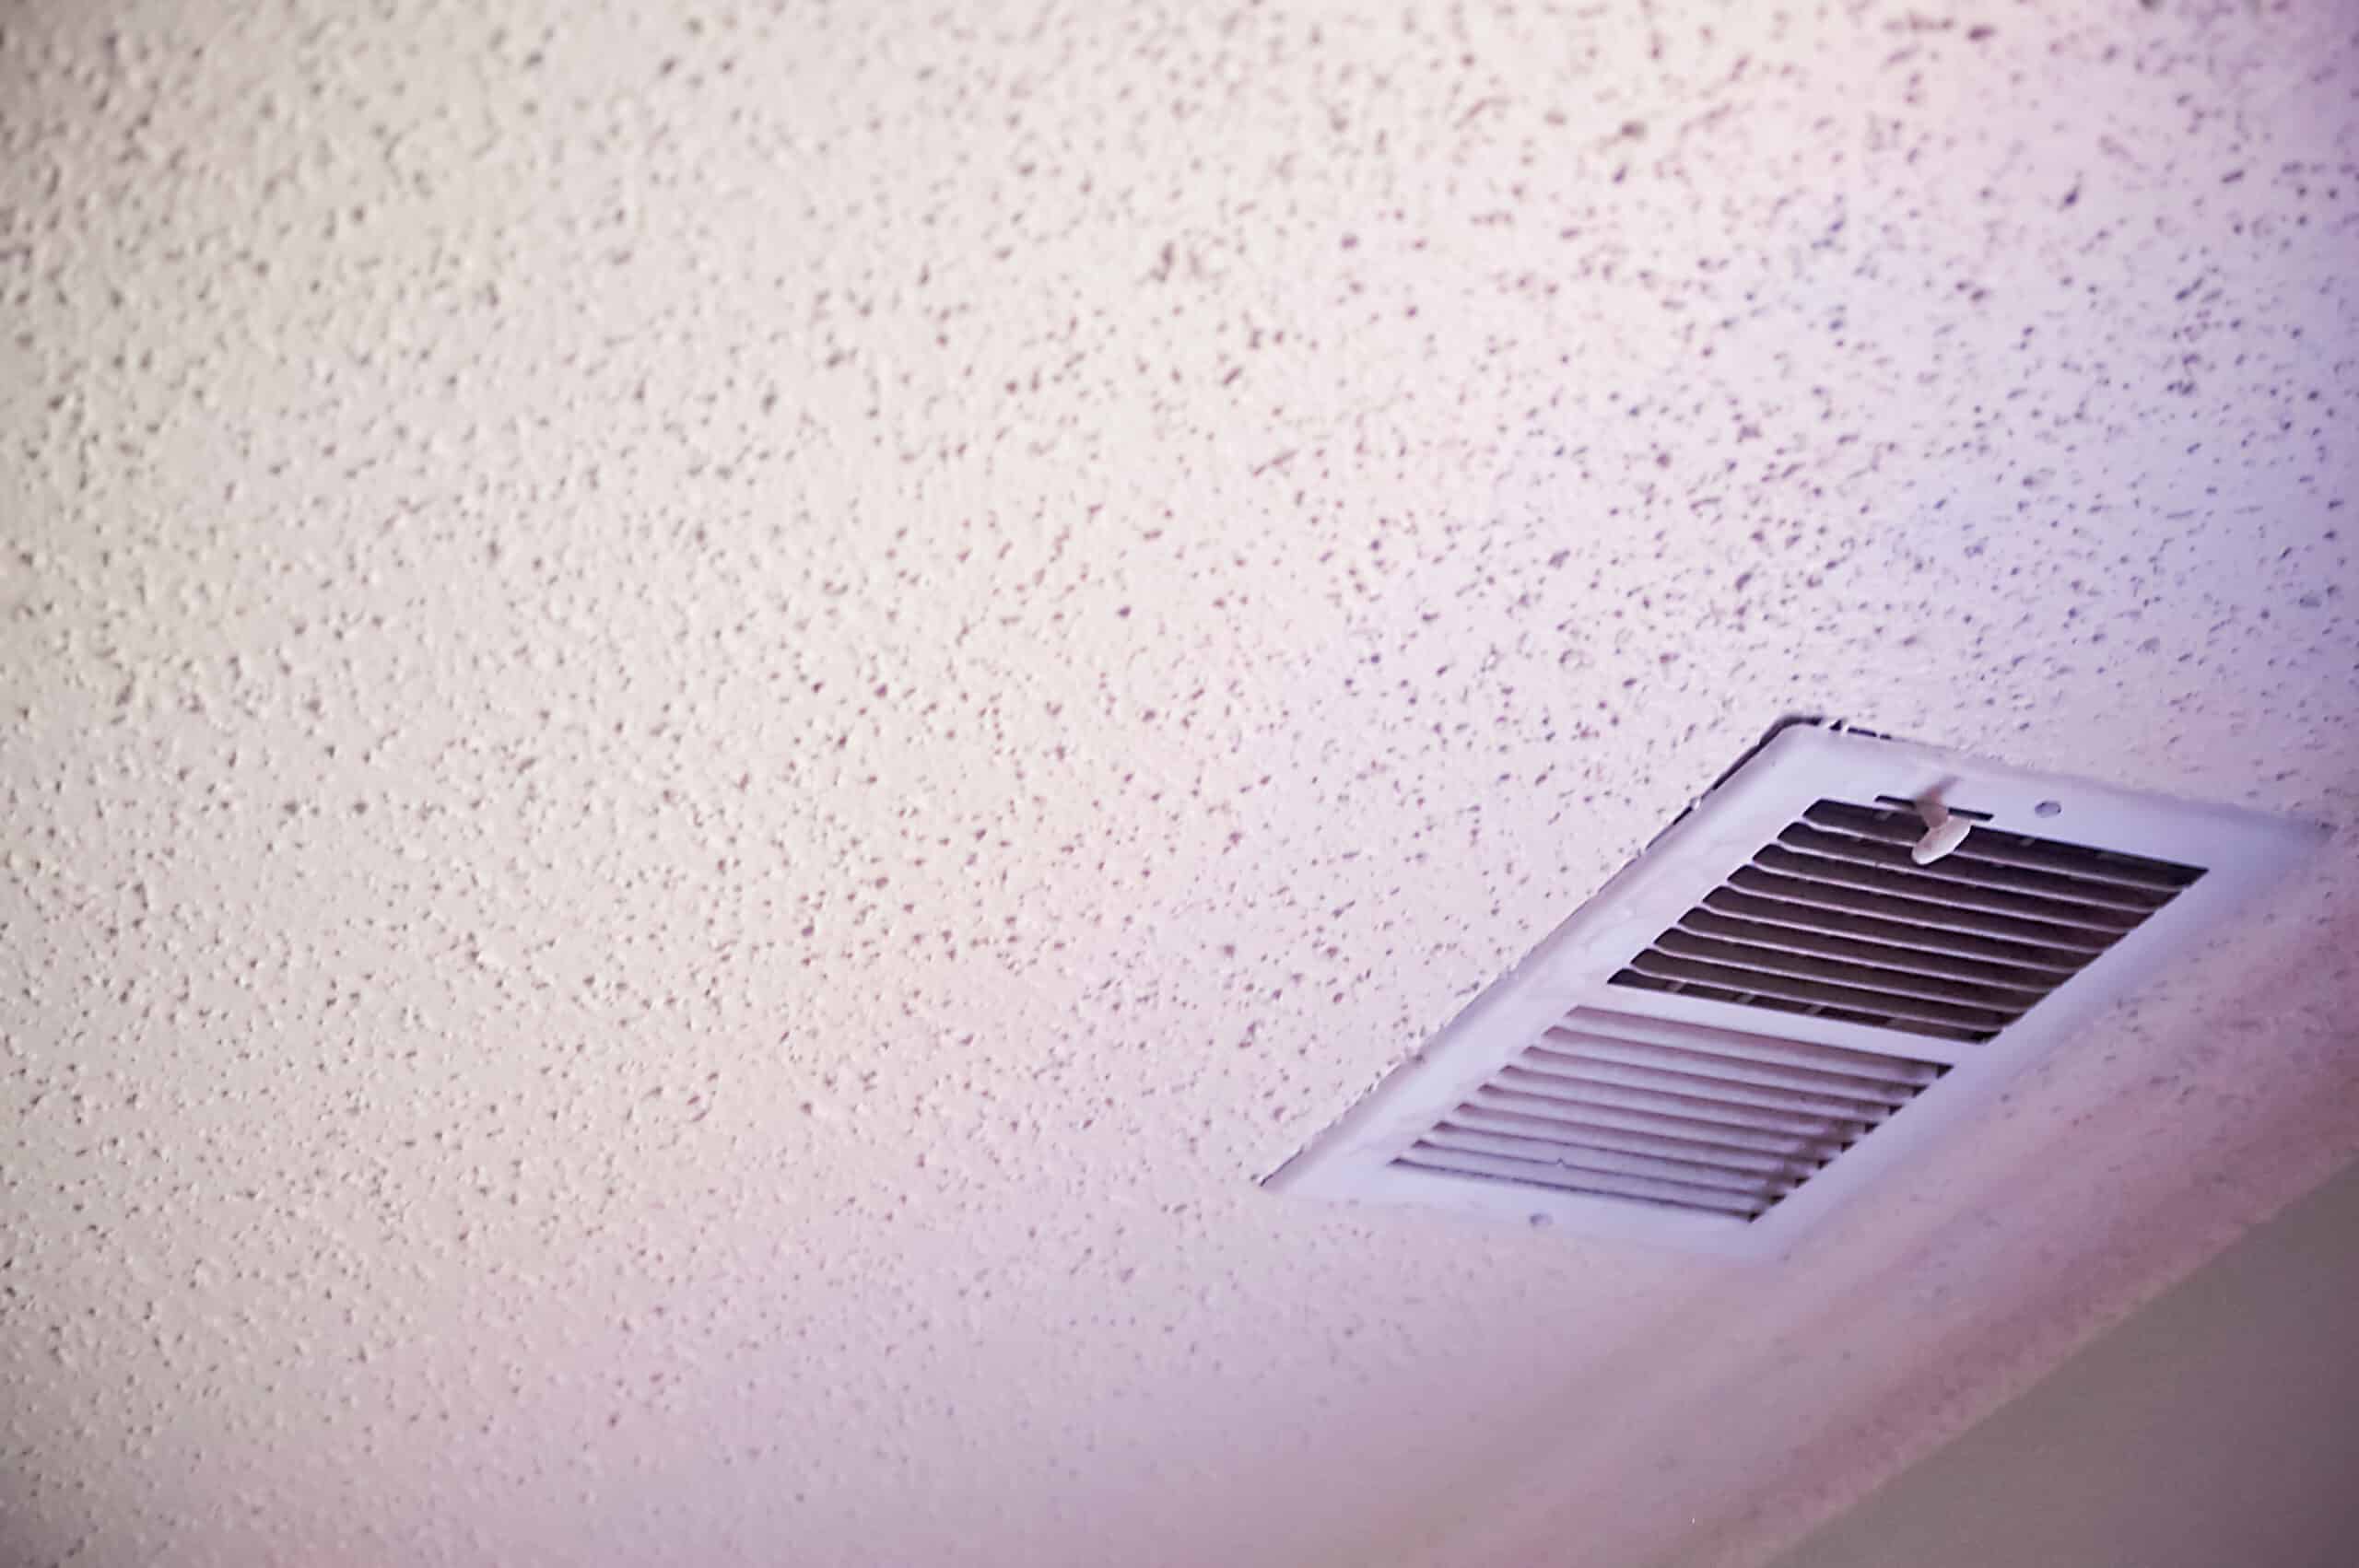
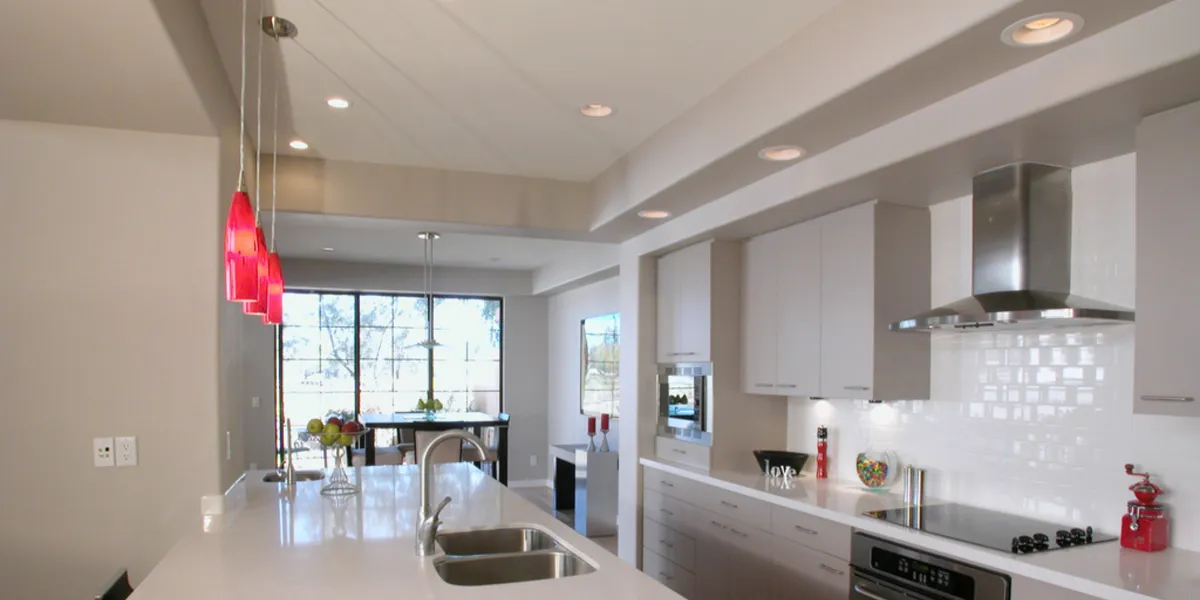
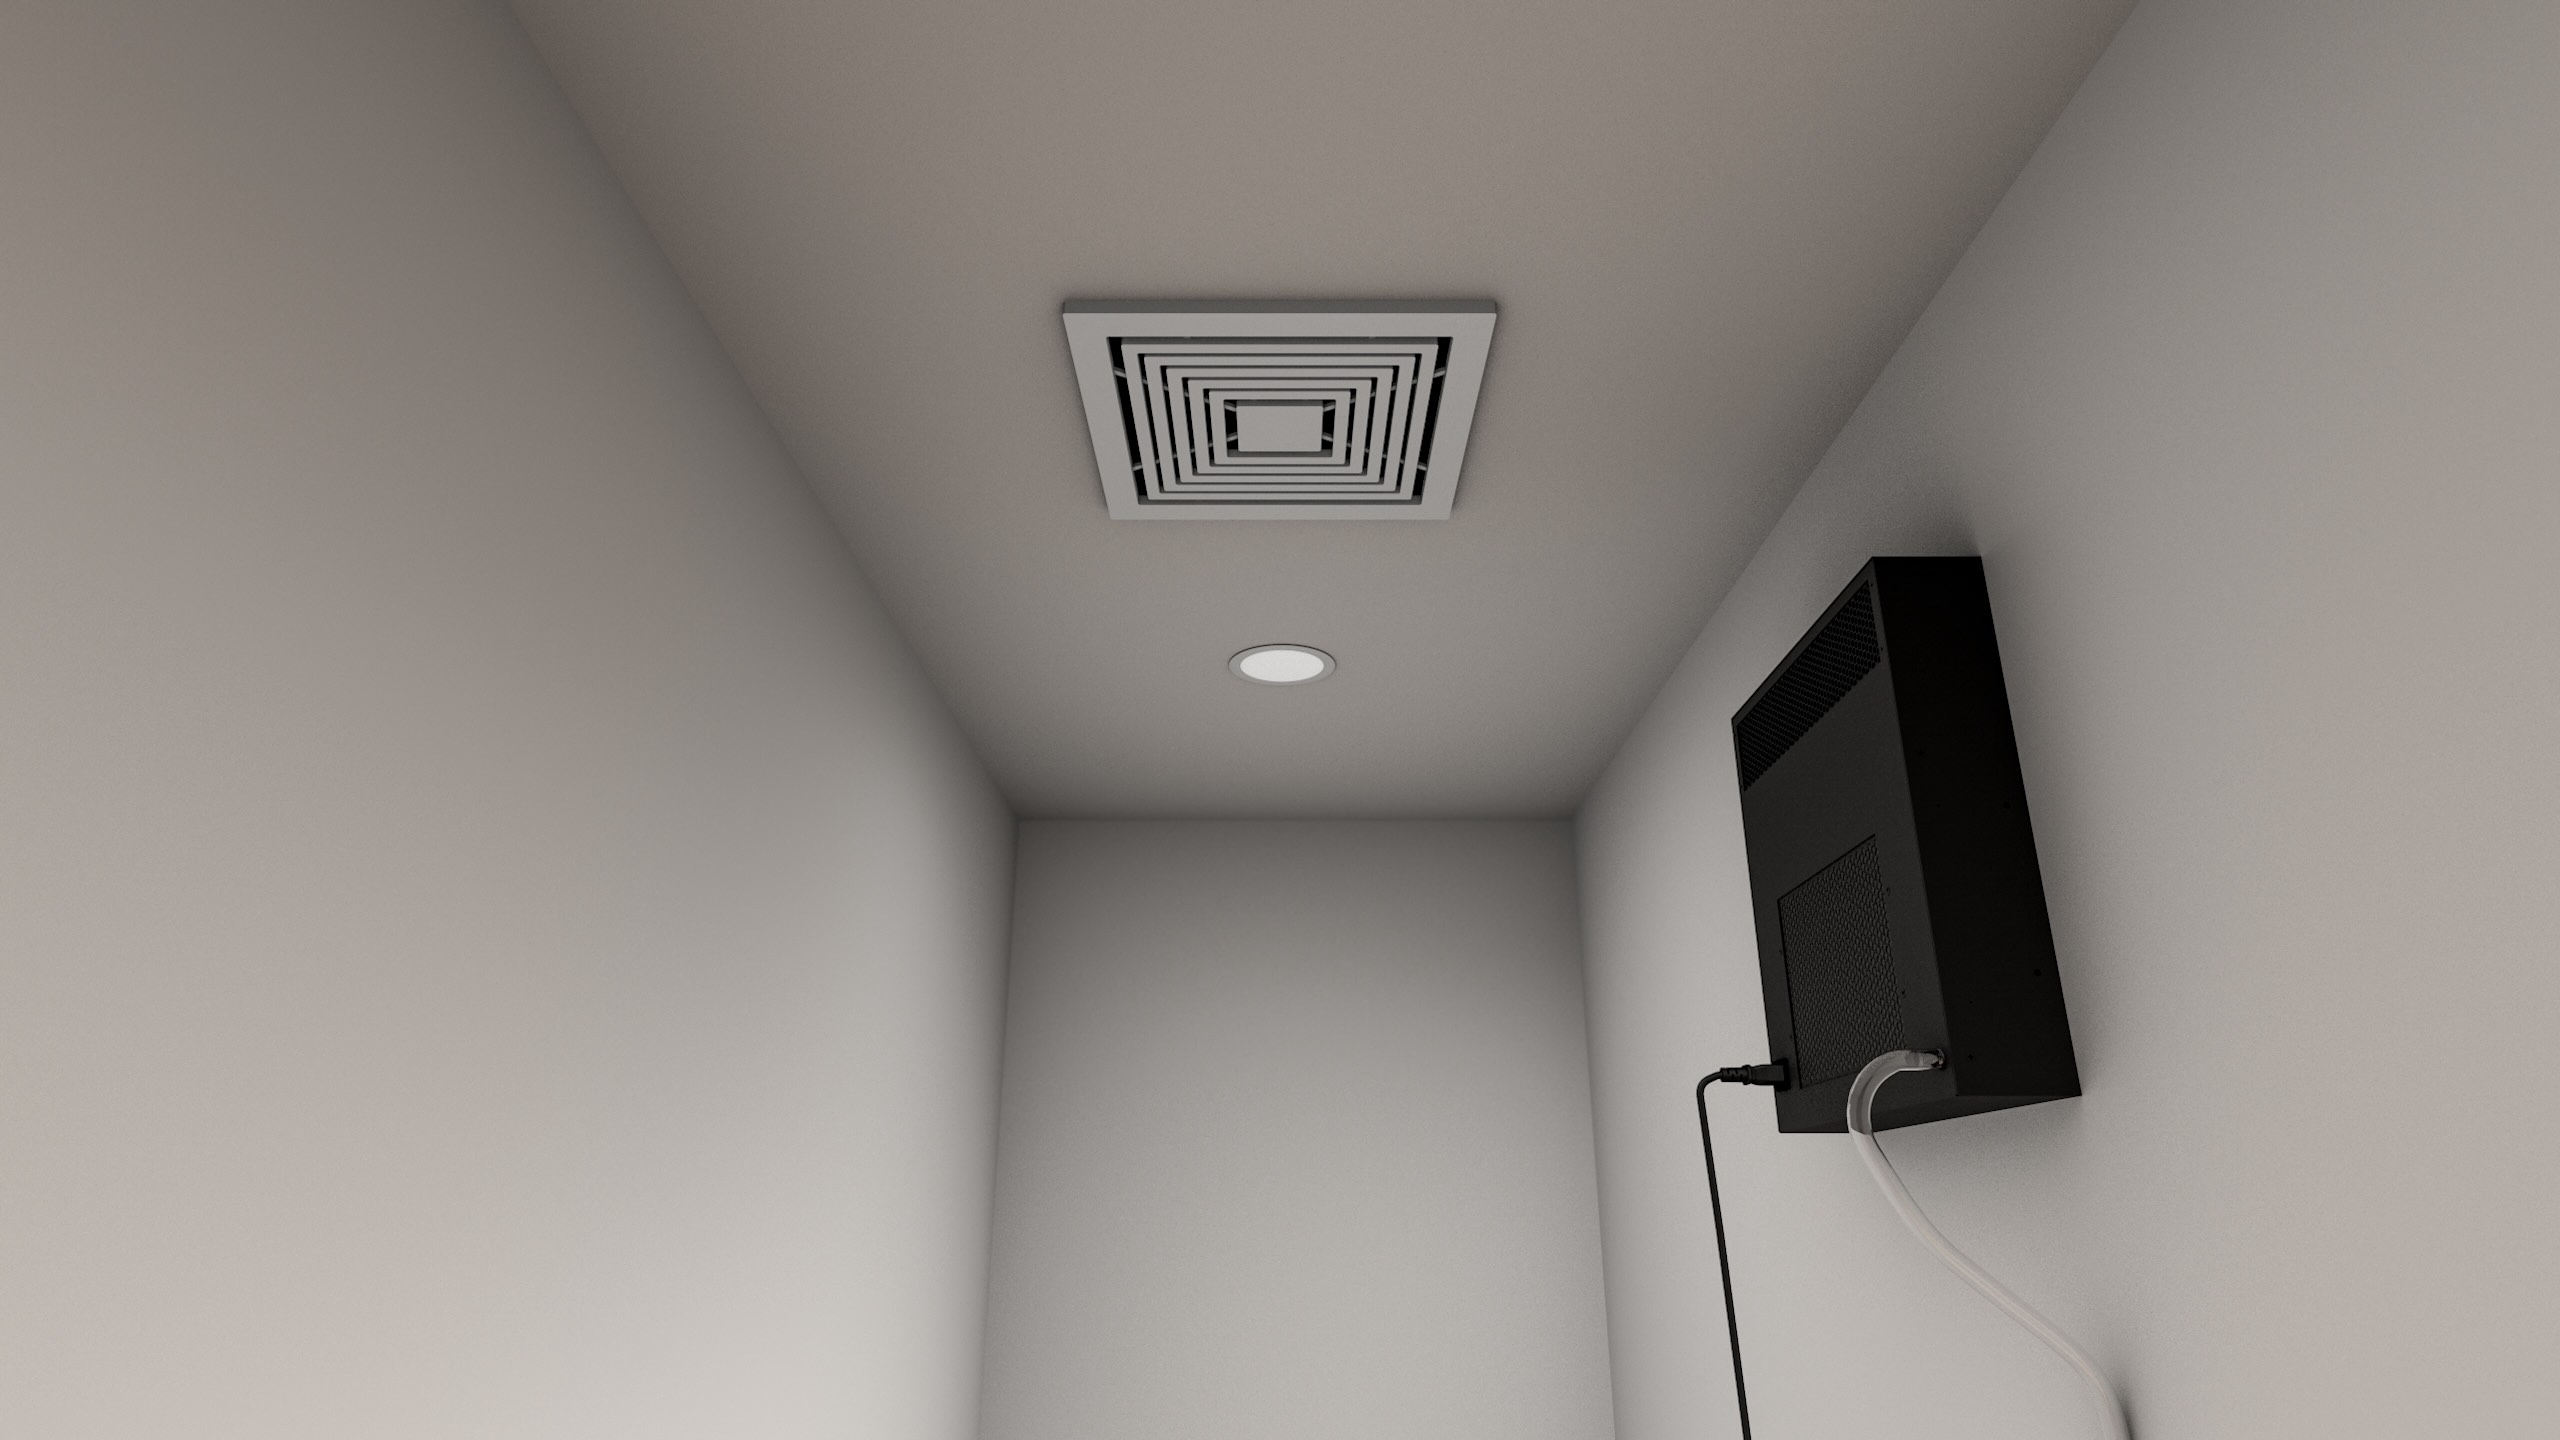
When it comes to home decor and design, even the smallest details can make a big difference. One such detail that often goes unnoticed but can significantly impact the overall aesthetics of a room is the ceiling vent. Although these vents play a crucial role in maintaining proper air circulation and temperature control in your home, they can sometimes be an eyesore.
Whether it’s an old and worn-out vent or one that simply doesn’t match the style of your space, covering a vent on the ceiling can be a great solution to improve the visual appeal of your room. By concealing the vent, you can create a more cohesive and harmonious look that complements your interior design.
In this article, we will discuss the reasons why you might want to cover a vent on the ceiling, the tools and materials you’ll need, and provide you with a step-by-step guide to help you cover your vent effectively. We will also explore alternative options for vent covering and share some helpful tips and precautions to ensure a successful project.
So, if you’re ready to transform your ceiling vents from functional eyesores to seamless design elements, let’s dive into the world of vent covering!
Key Takeaways:
- Transform your space by covering ceiling vents to enhance aesthetics and achieve design consistency, while also concealing damage and reducing noise for a more harmonious and polished look.
- Prioritize proper airflow and ventilation when covering a vent on the ceiling, and consider alternative options such as ceiling medallions, custom-built enclosures, faux beams, decorative screens, and hanging decorations to add a unique touch to your space.
Read more: How To Close Ceiling Vents
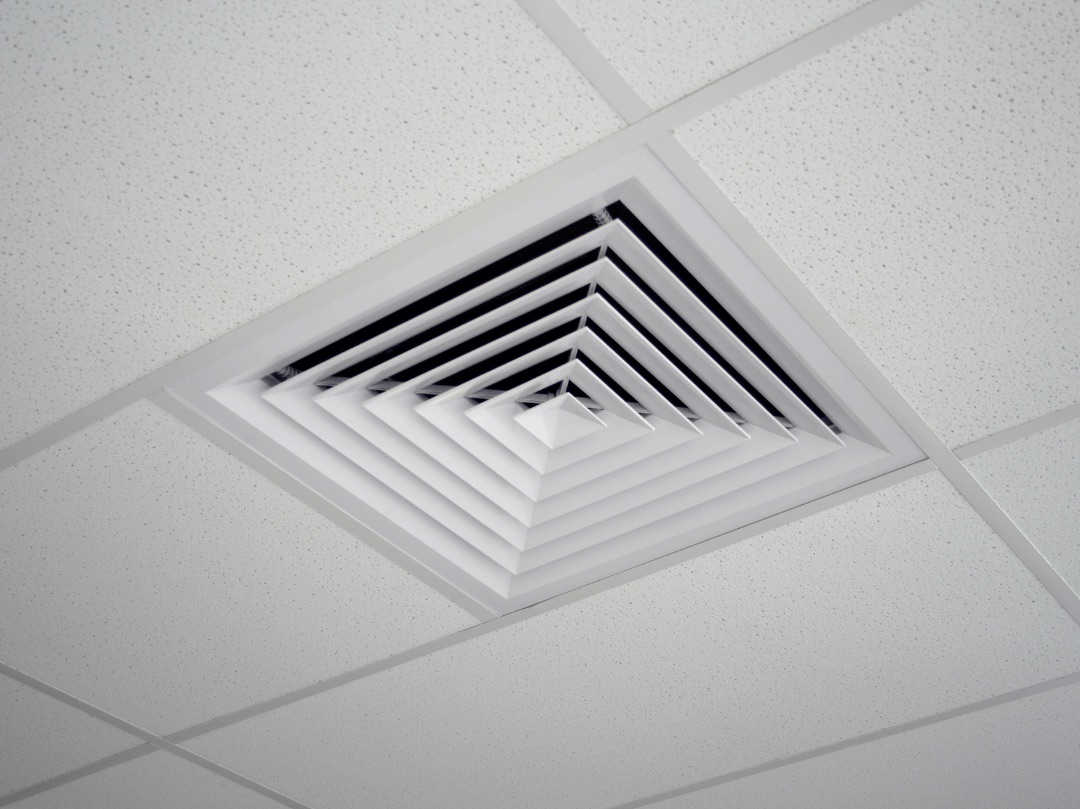
Reasons for Covering a Vent on the Ceiling
There are several reasons why you might consider covering a vent on the ceiling. Here are a few common scenarios where vent covering can be beneficial:
1. Aesthetics: One of the primary reasons homeowners opt to cover a vent on the ceiling is to improve the overall aesthetics of a room. Ceiling vents, especially older ones, can be unsightly and disrupt the flow of a well-designed space. By covering the vent, you can create a seamless look that complements your room’s decor.
2. Design Consistency: If you’ve invested time and effort into creating a cohesive interior design scheme, a mismatched vent can be a significant distraction. By covering the vent, you can ensure that every aspect of your room works together harmoniously, promoting a sense of unity and balance.
3. Concealing Damage: Over time, vents can become damaged or discolored due to wear and tear or water damage. Instead of replacing the vent, covering it can be a cost-effective solution to hide any unsightly marks or imperfections, giving your ceiling a fresh and uniform appearance.
4. Noise Reduction: Depending on the location and design of your vents, you might experience unwanted noise coming from your HVAC system. By covering the vent, you can help reduce the noise transmission and create a more peaceful and quiet environment within your home.
5. Customization: Some homeowners prefer to cover their vents to add a personalized touch to their ceiling. With various options and materials available, you can create unique designs or incorporate decorative elements that enhance the overall look and feel of your space.
While covering a vent on the ceiling can be a fantastic way to improve the aesthetics of your room, it’s important to note that you should never completely block airflow. Ensure that you choose a vent covering option that allows for adequate air circulation to maintain a healthy and comfortable environment in your home.
Tools and Materials Needed
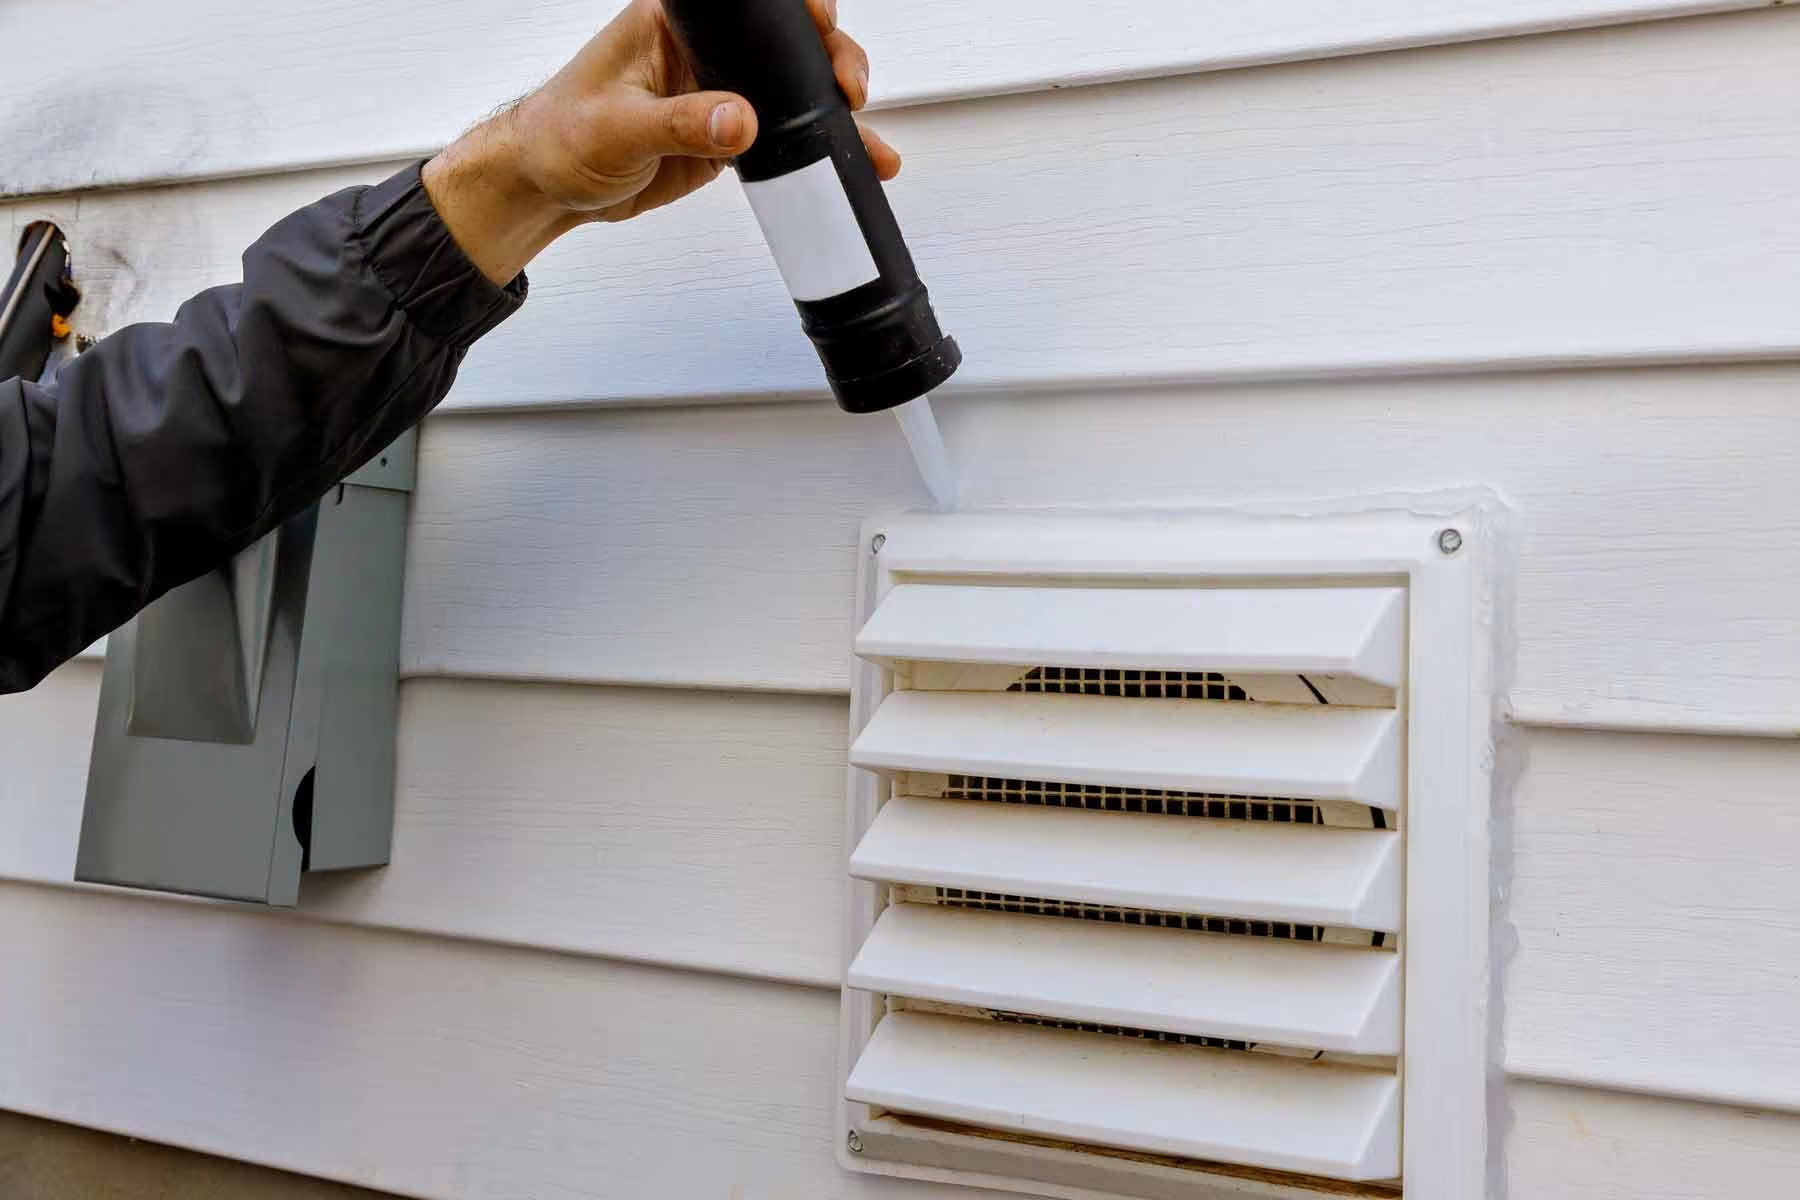
Before you start covering a vent on the ceiling, it’s essential to gather the necessary tools and materials to ensure a smooth and successful project. Here’s a list of items you’ll need:
1. Vent cover: Choose a vent cover that matches your preferred style and fits the dimensions of your existing vent. You can find a variety of vent covers in different materials and designs, such as metal, plastic, or wood. Ensure that the vent cover you choose allows for proper airflow.
2. Measuring tape: Use a measuring tape to accurately measure the dimensions of your existing vent. This will help you select the correct size vent cover and ensure a proper fit.
3. Screwdriver: Depending on the type of vent cover you choose, you may need a screwdriver to remove the existing vent and install the new cover. Make sure you have the appropriate size and type of screwdriver for the job.
4. Level: A level will ensure that your vent cover is installed correctly and evenly. This will help you achieve a professional and polished look.
5. Paint and brush: If you’re planning to paint the vent cover to match your ceiling or room color, you’ll need paint and a small brush for the job. Make sure you select a paint that is suitable for the material of the vent cover.
6. Drill (optional): In some cases, you may need a drill to install the new vent cover securely. Check the installation instructions for your specific vent cover to determine if a drill is necessary.
7. Painter’s tape: Painter’s tape can be handy when painting the vent cover or protecting the surrounding areas from accidental paint splatters.
8. Safety equipment: It’s important to prioritize safety during any home improvement project. Wear appropriate protective gear, such as safety glasses and gloves, to protect yourself from potential hazards.
These are the basic tools and materials you’ll need to cover a vent on the ceiling. However, it’s always a good idea to check the specific requirements for your chosen vent cover and consult the manufacturer’s instructions for any additional tools or materials that may be required.
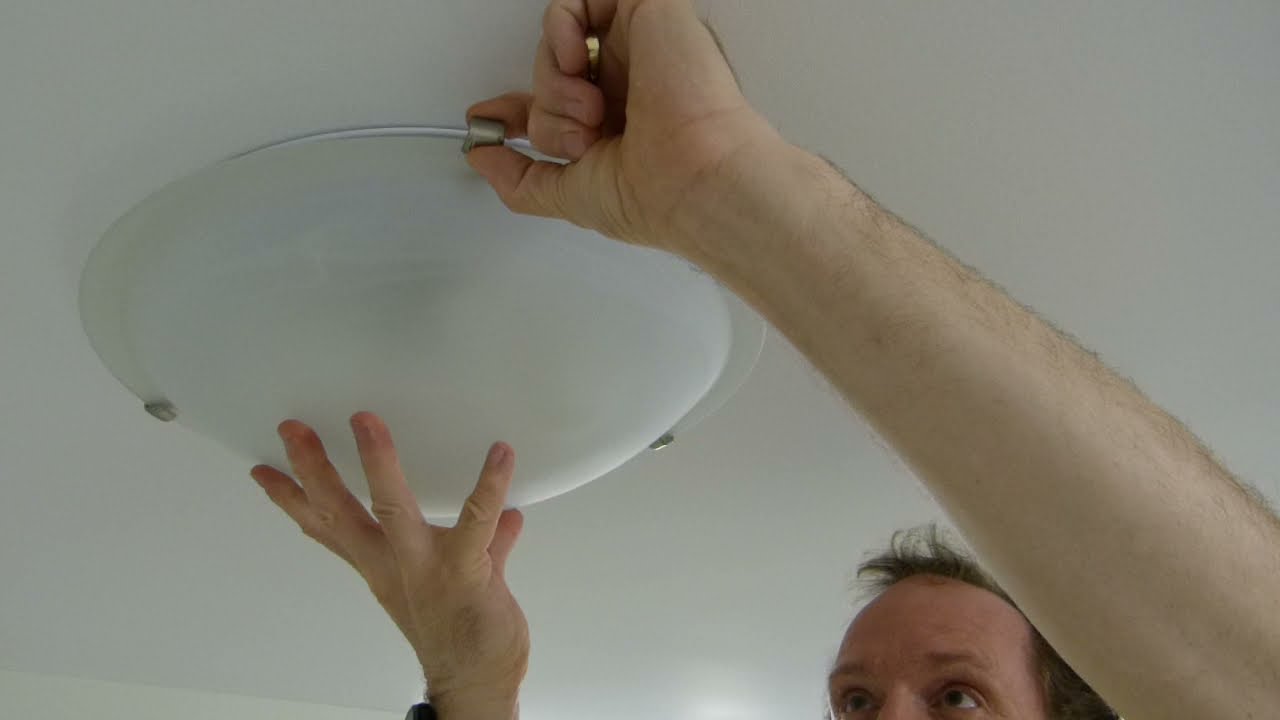
Step-by-Step Guide to Covering a Vent on the Ceiling
Now that you have gathered all the necessary tools and materials, let’s dive into the step-by-step process of covering a vent on the ceiling:
- Measure the vent: Use a measuring tape to carefully measure the dimensions of your existing vent. Write down the measurements to ensure that you choose the correct size vent cover.
- Remove the existing vent: If your vent has screws holding it in place, use a screwdriver to remove them. Gently lift the vent cover to detach it from the ceiling. Set the old vent cover aside.
- Clean the area: Before installing the new vent cover, make sure to clean the area around the vent opening. Remove any dust or debris using a duster or a damp cloth. This will help ensure a smooth and secure installation.
- Paint the vent cover (optional): If you prefer to paint the vent cover to match the color of your ceiling or room, now is the time to do so. Use a small brush and apply paint evenly, allowing it to dry according to the manufacturer’s instructions.
- Position the vent cover: Place the new vent cover over the vent opening, ensuring that it aligns properly with the surrounding ceiling. Use a level to check if it is straight and balanced.
- Secure the vent cover: Depending on the type of vent cover you have, you may need to secure it in place. If it requires screws, use a screwdriver to carefully attach the vent cover to the ceiling. Follow the manufacturer’s instructions to ensure proper installation.
- Double-check the airflow: Before considering the project complete, make sure that the vent cover allows for adequate airflow. Ensure that there are no obstructions or blockages that could hinder the proper circulation of air in the room.
- Clean up: Once you are satisfied with the installation, clean up any remaining paint, debris, or tools from the area. Dispose of any packaging materials properly.
- Enjoy your new vent cover: Step back and admire your handiwork! Your newly covered vent on the ceiling not only enhances the overall aesthetics of the room but also adds a touch of style and customization.
Remember, if at any point during the installation process you encounter difficulties or have questions, consult the manufacturer’s instructions or seek assistance from a professional.
You can cover a vent on the ceiling by using a magnetic vent cover or a decorative vent cover. Make sure to measure the vent size before purchasing a cover to ensure a proper fit.
Alternative Options for Vent Covering
While using a vent cover is the most common method for covering a vent on the ceiling, there are alternative options available that can provide unique and creative solutions. Here are a few alternative options to consider:
- Ceiling Medallions: A ceiling medallion is a decorative element that can be installed around a vent opening to create an elegant and sophisticated look. Choose a medallion that matches the style of your room, whether it’s modern, traditional, or vintage. This option not only covers the vent but also adds a touch of architectural interest to your ceiling.
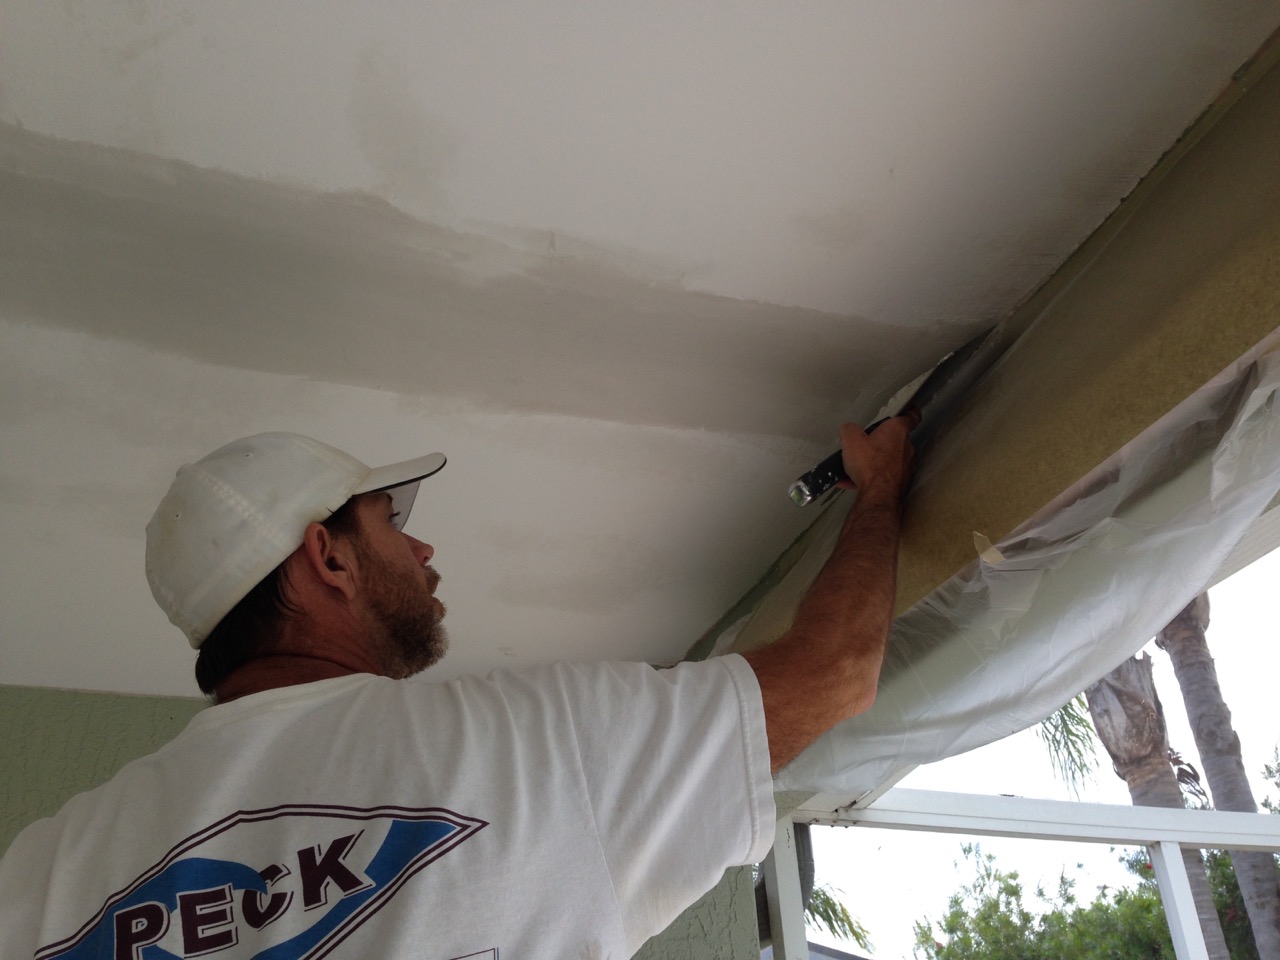
- Custom-built Enclosures: For a more personalized and customized approach, you can create a custom-built enclosure to hide the vent on the ceiling. This can be done using materials such as wood, metal, or drywall. A custom enclosure allows you to integrate the vent seamlessly into the overall design of the ceiling, making it virtually invisible.
- Faux Ceiling Beams: If you want to add a rustic or traditional touch to your space, you can install faux ceiling beams that encompass the vent location. These beams not only cover the vent but also create a unique architectural feature that adds character and charm to the room.
- Decorative Screens: Another creative option is to use decorative screens or room dividers to cover the vent. These screens come in various designs, patterns, and materials, allowing you to select one that suits your room’s style. Not only do they conceal the vent, but they also add visual interest and create an element of privacy.
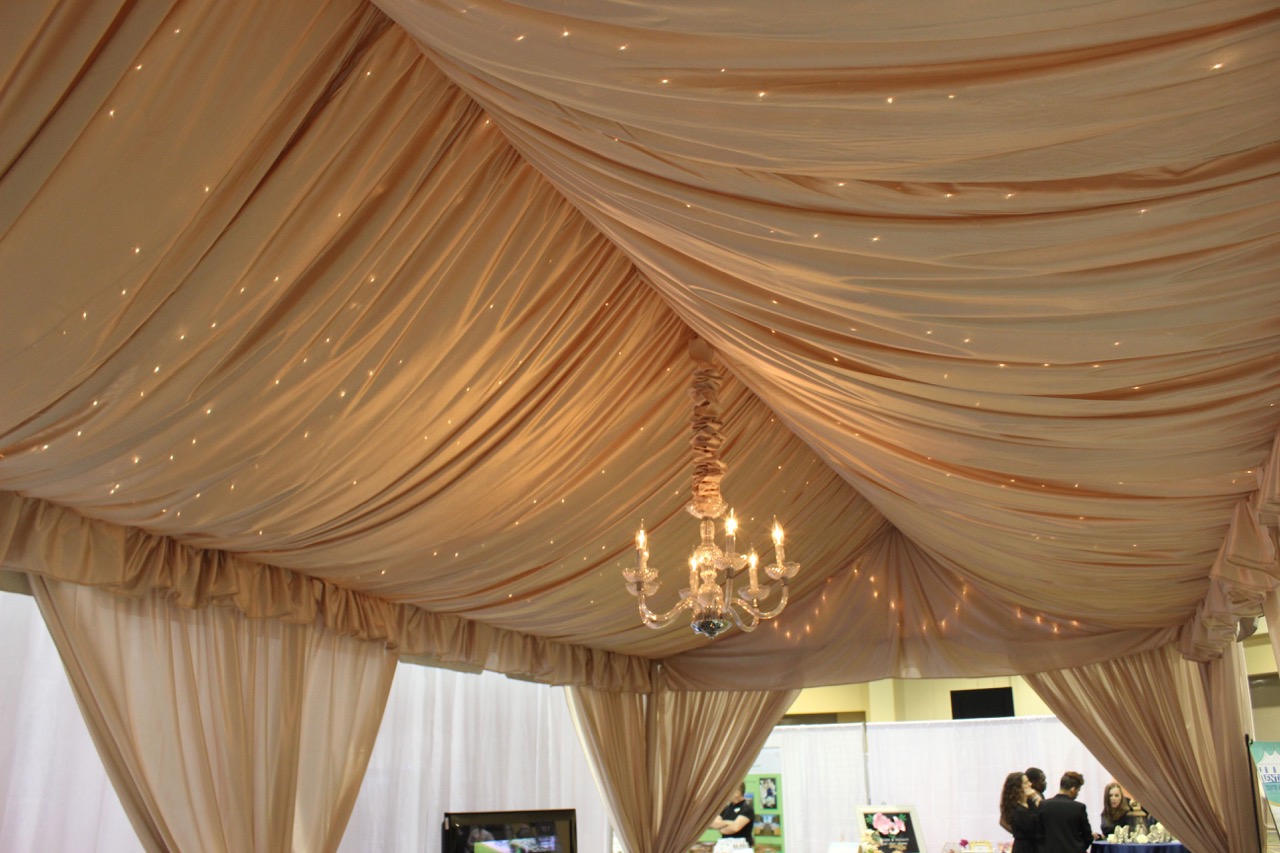
- Hanging Decorations: If you prefer a more temporary solution, you can hang decorative items such as tapestries, curtains, or artwork to cover the vent. This option allows for easy removal and provides an opportunity to showcase your personal style while still effectively concealing the vent.
When exploring alternative options for vent covering, consider not only the aesthetics but also the practicality and functionality. Ensure that whatever option you choose still allows for proper airflow and ventilation.
Ultimately, the choice of vent covering method will depend on your personal style preferences, budget, and the overall design of your room. Don’t be afraid to think outside the box and get creative to find the perfect solution for your ceiling vent covering needs!
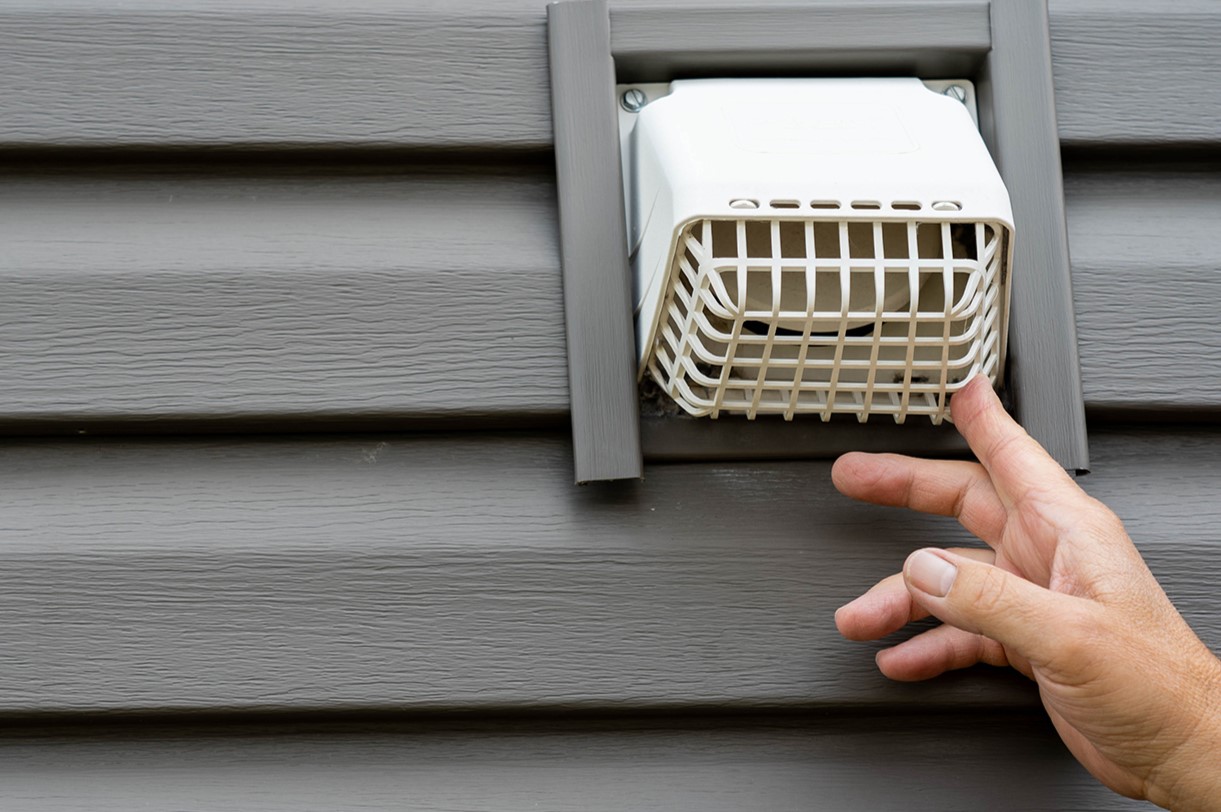
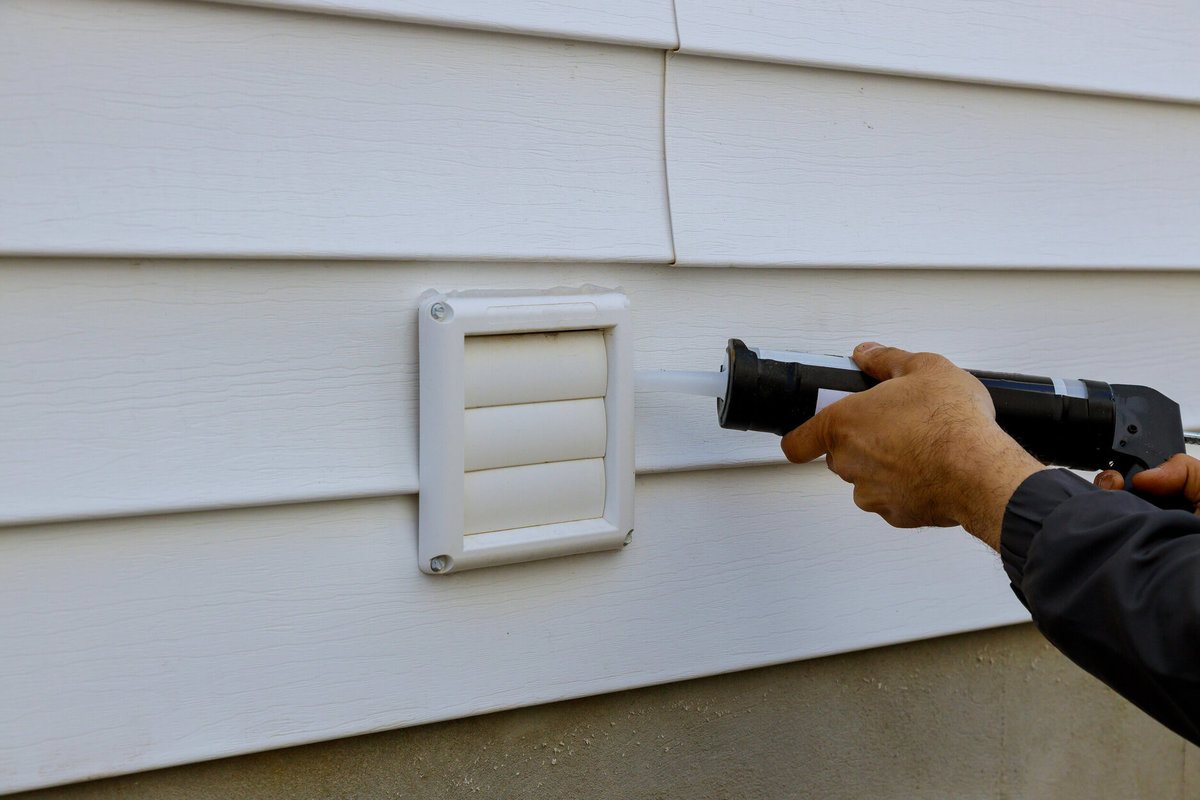
Read more: How To Cover Outdoor Vents
Tips and Precautions
Before you embark on covering a vent on the ceiling, here are some essential tips and precautions to keep in mind:
- Measure accurately: Ensure that you measure the dimensions of your existing vent accurately before purchasing a vent cover. Choosing the wrong size can lead to an improper fit and may require additional modifications or replacements.
- Check for proper airflow: When installing a vent cover, ensure that it allows for adequate airflow. Blocking the vent completely can cause ventilation issues and negatively impact the performance of your HVAC system. Select a vent cover that is designed to allow optimal airflow.
- Consider paint and finish: If you plan on painting the vent cover, choose a paint and finish that is suitable for the material of the cover. This will ensure a durable and long-lasting finish that blends seamlessly with your ceiling or room decor.
- Follow manufacturer’s instructions: Carefully read and follow the instructions provided by the manufacturer of the vent cover you choose. Different vent covers may have specific installation requirements and guidelines for proper usage.
- Safety first: When working on any home improvement project, prioritize safety. Wear appropriate protective gear such as safety glasses and gloves, especially if you are using tools or handling materials that can cause injury.
- Consult a professional if necessary: If you are unsure about the installation process or encounter any difficulties, it is always best to consult a professional. They can provide guidance, ensure proper installation, and address any concerns you may have.
- Regular maintenance: Once your vent cover is installed, make sure to clean it regularly to maintain its appearance and functionality. Dust and debris can accumulate over time, obstructing airflow and diminishing the effectiveness of the vent.
By following these tips and taking the necessary precautions, you can ensure a successful vent covering project that enhances the aesthetics of your room while maintaining proper airflow and functionality.
Conclusion
Covering a vent on the ceiling is a simple yet effective way to enhance the aesthetics and overall design of your room. By concealing an unsightly vent, you can create a more cohesive and polished look that complements your existing decor. Whether it’s for the sake of improving aesthetics, achieving design consistency, or hiding damage, there are various reasons why you might want to cover a vent on the ceiling.
In this article, we discussed the reasons for covering a vent on the ceiling, the tools and materials needed for the project, and provided a step-by-step guide to help you through the process. We also explored alternative options such as using ceiling medallions, custom-built enclosures, faux beams, decorative screens, and hanging decorations to cover vents. Additionally, we shared some important tips and precautions to ensure a successful and safe vent covering project.
Remember, when covering a vent, always prioritize proper airflow to maintain a healthy and comfortable living environment. Choose a vent cover that allows for adequate ventilation and consult the manufacturer’s instructions for installation guidelines. If you’re unsure or encounter difficulties, don’t hesitate to seek professional assistance to ensure the job is done correctly.
Now that you have the knowledge and tools to cover a vent on the ceiling, it’s time to get started. Transform your space and enjoy the seamless and harmonious look that a covered vent can bring to your room. Whether you opt for a vent cover, a decorative screen, or a custom-built enclosure, embrace your creativity and make your ceiling vents a stylish addition to your overall interior design.
Happy vent covering!
Frequently Asked Questions about How To Cover A Vent On The Ceiling
Was this page helpful?
At Storables.com, we guarantee accurate and reliable information. Our content, validated by Expert Board Contributors, is crafted following stringent Editorial Policies. We're committed to providing you with well-researched, expert-backed insights for all your informational needs.
0 thoughts on “How To Cover A Vent On The Ceiling”