Home>Articles>How To Plug Top Of Kegerator After Door Tap Conversion
Articles
How To Plug Top Of Kegerator After Door Tap Conversion
Modified: February 28, 2024
Learn how to plug the top of your kegerator after converting the door tap with this helpful article. Keep your beer fresh and your setup secure.
(Many of the links in this article redirect to a specific reviewed product. Your purchase of these products through affiliate links helps to generate commission for Storables.com, at no extra cost. Learn more)
Introduction
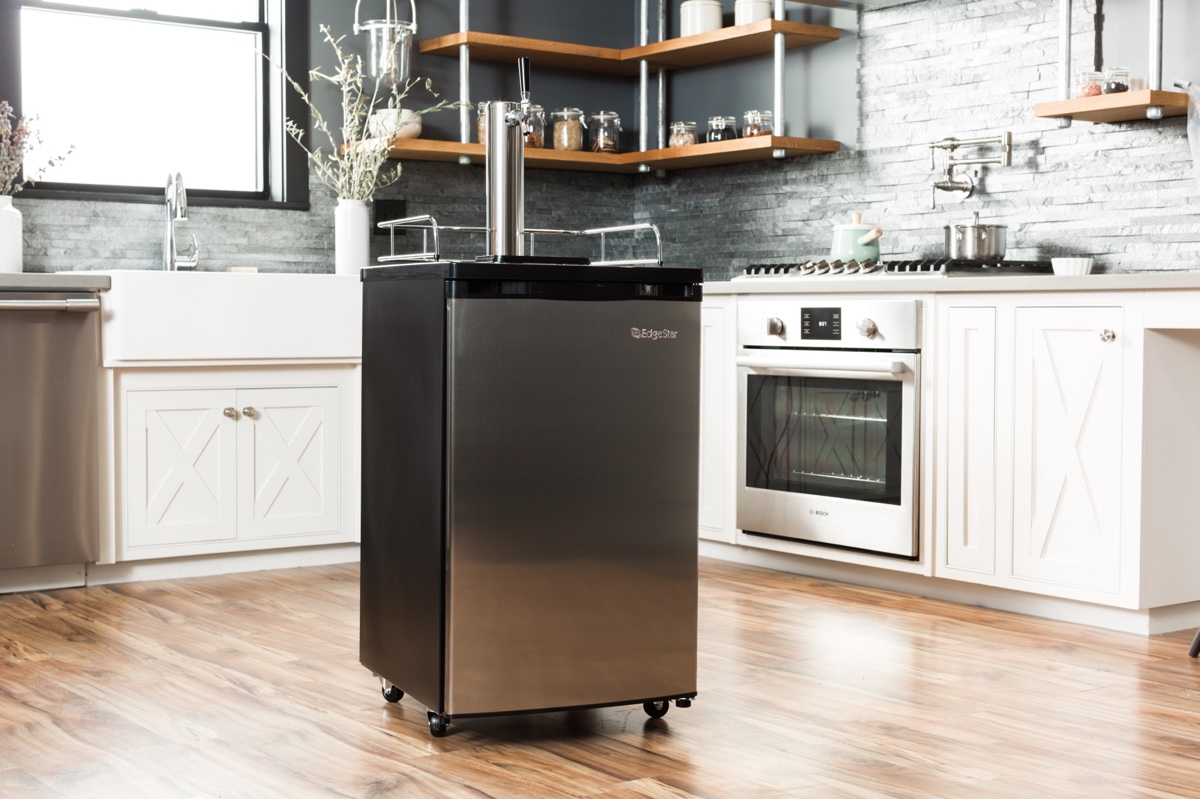
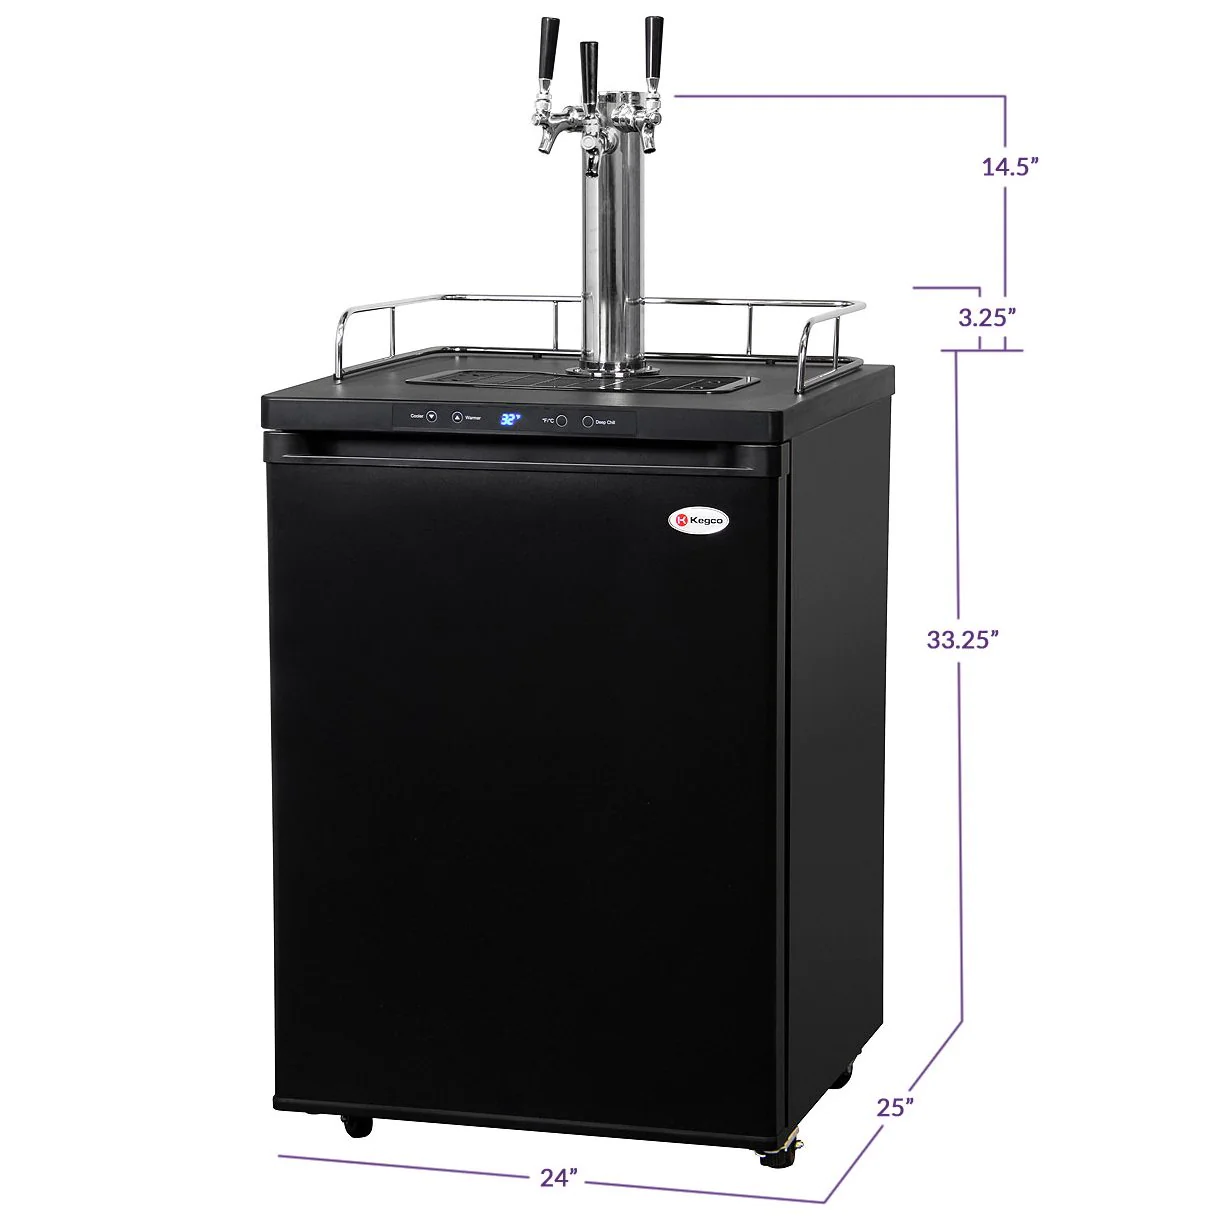
Converting a kegerator into a door tap system can be a fantastic way to enjoy draft beer at home. However, there may be times when you want to temporarily plug the top of the kegerator and remove the door tap system. Whether it’s for cleaning or maintenance purposes, plugging the top of the kegerator is a straightforward process that ensures the kegerator stays in optimal condition until you’re ready to reattach the door tap.
In this article, we will guide you through the step-by-step process of plugging the top of a kegerator after a door tap conversion. We will discuss the materials needed, the necessary measurements, and the techniques you can use to create an airtight seal. With these instructions, you’ll have a functional and protected kegerator for those times when you want to temporarily remove the door tap system.
So, let’s dive into the process and learn how to effectively plug the top of a kegerator!
Key Takeaways:
- Properly plugging the top of a kegerator after a door tap conversion is essential for maintaining its integrity and functionality. By following the step-by-step process and testing the seal, you can ensure a secure and airtight closure.
- Selecting the right plug, measuring the tap hole accurately, and testing the seal for potential leaks are crucial steps in the plugging process. With the appropriate materials and careful attention to detail, you can confidently maintain your kegerator for temporary non-tap use.
Materials Needed
Before you begin, gather the following materials:
- Measuring tape or ruler
- Plastic or rubber plug
- Teflon tape
- Clean cloth or paper towels
- Optional: Food-safe silicone sealant
These materials are essential for measuring the tap hole and selecting the appropriate plug. The Teflon tape helps create a tight seal, while the clean cloth or paper towels are useful for wiping any excess moisture or debris. The food-safe silicone sealant is optional but can provide additional security in creating an airtight seal.
Once you have gathered all the necessary materials, you’re ready to move on to the step-by-step process of plugging the top of your kegerator.
Step 1: Prepare the Kegerator
Before starting the actual plugging process, it’s important to prepare the kegerator for the task at hand. Follow these steps:
- Ensure that the kegerator is completely turned off and unplugged to avoid any accidental power supply.
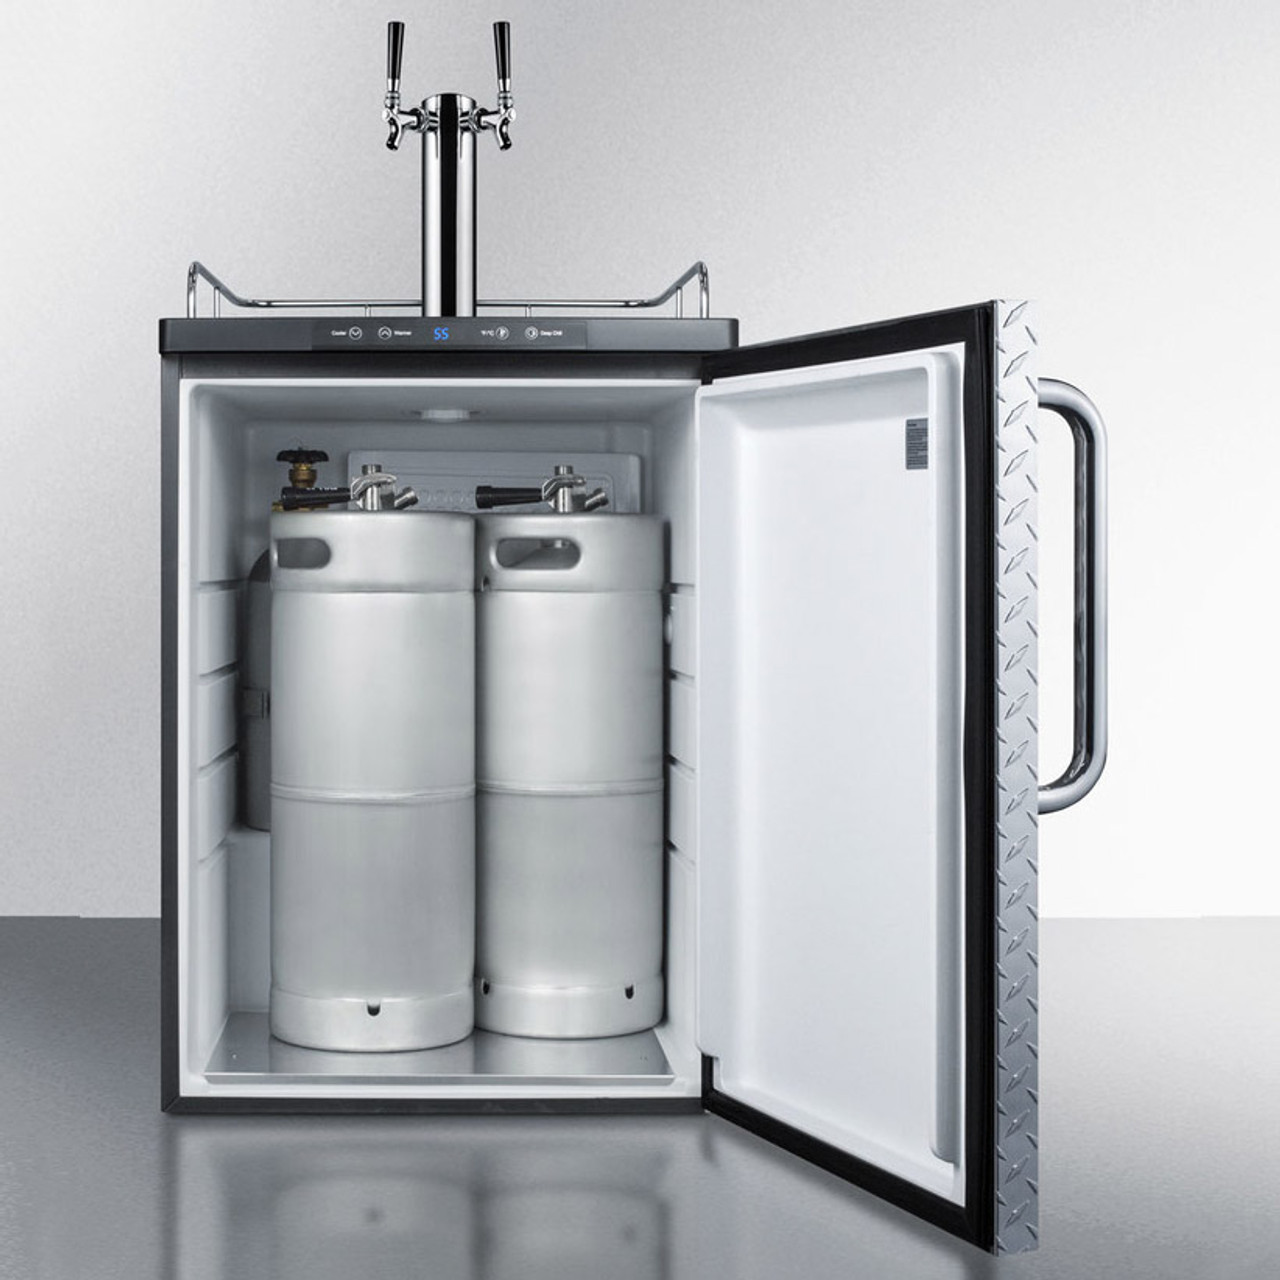
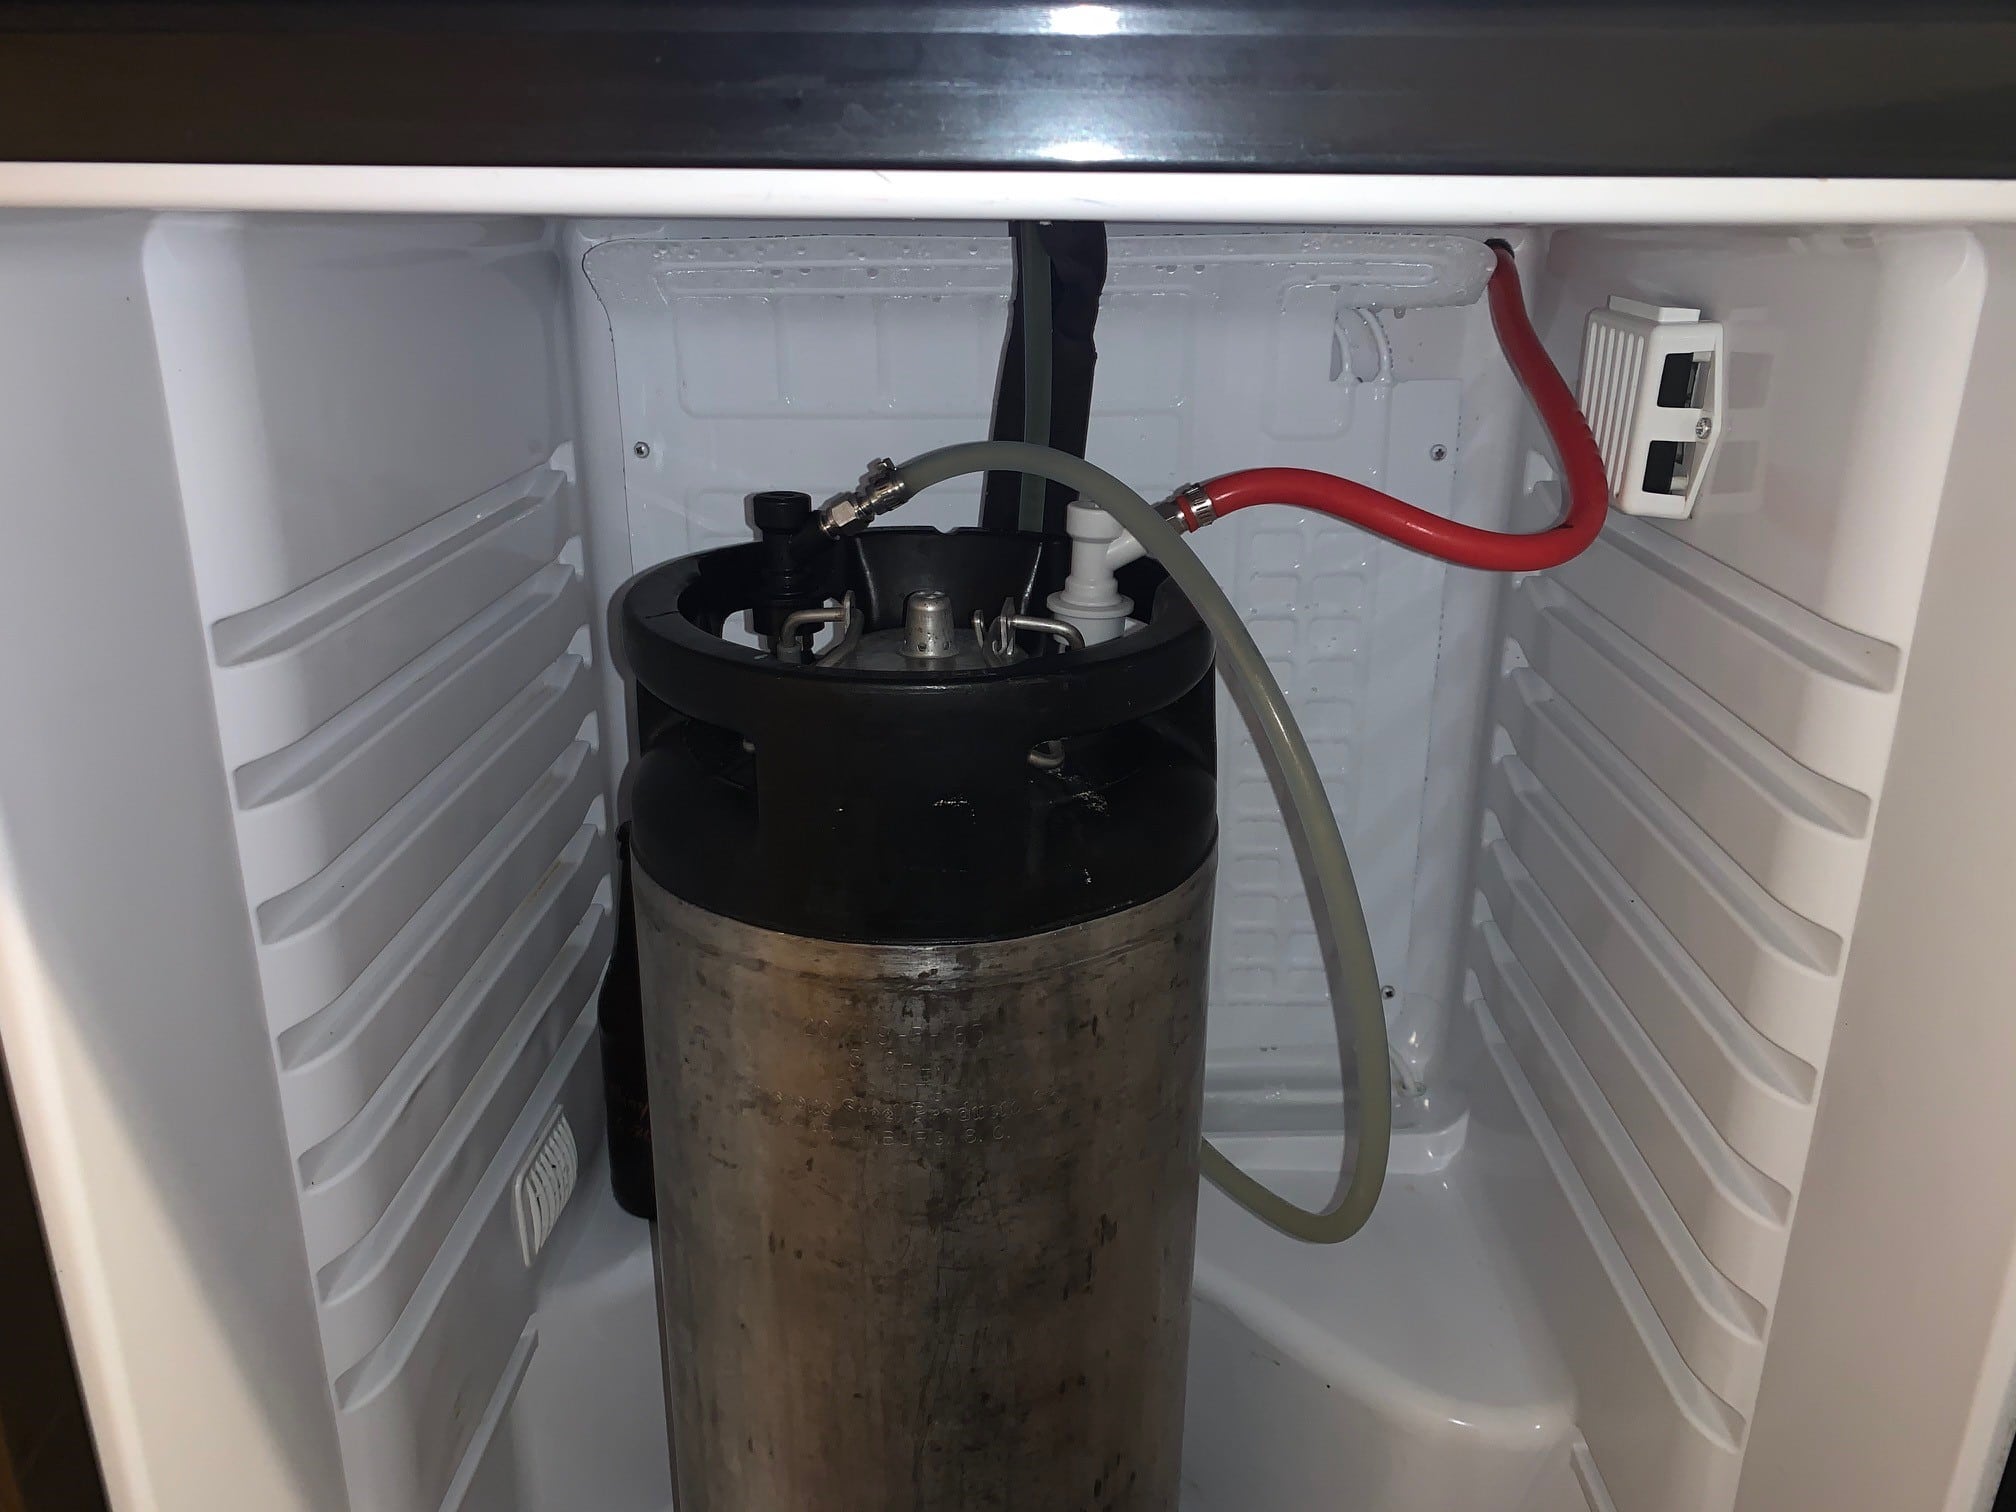
- Remove any kegs or beverage lines from inside the kegerator to create a clear working space.
- Use a clean cloth or paper towel to wipe the inside and outside of the kegerator, removing any dirt, dust, or residue.
- Inspect the top of the kegerator where the tap was previously attached. Ensure that it is clean and free from any debris.
By preparing the kegerator, you’ll ensure a clean and optimal working environment for the plugging process. Once the kegerator is ready, you can proceed to the next step of removing the door tap.
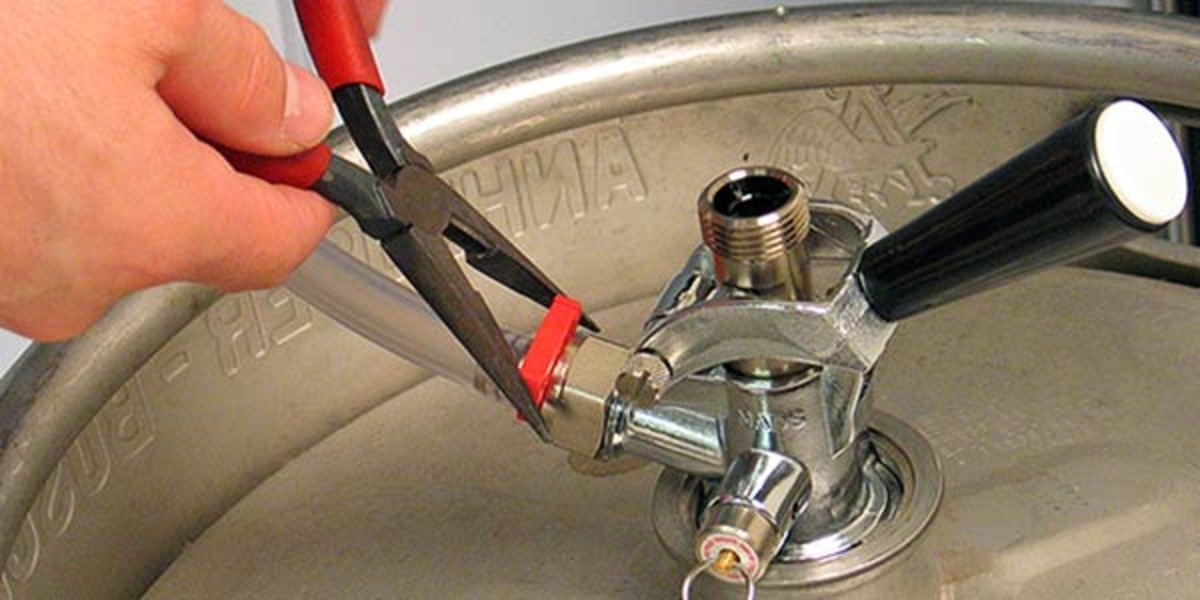
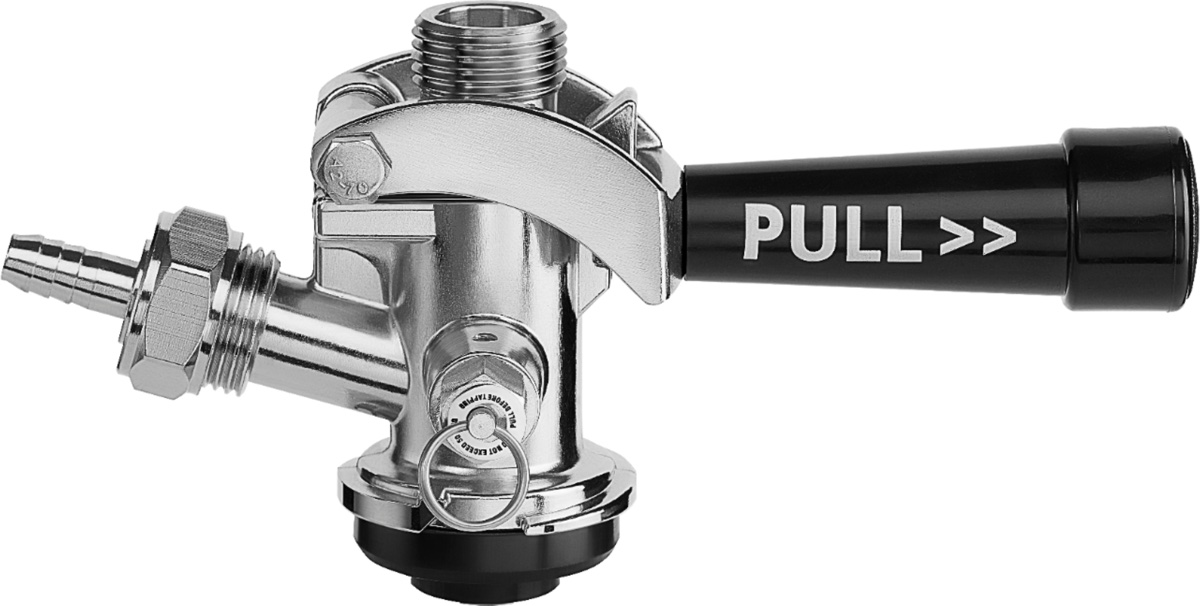
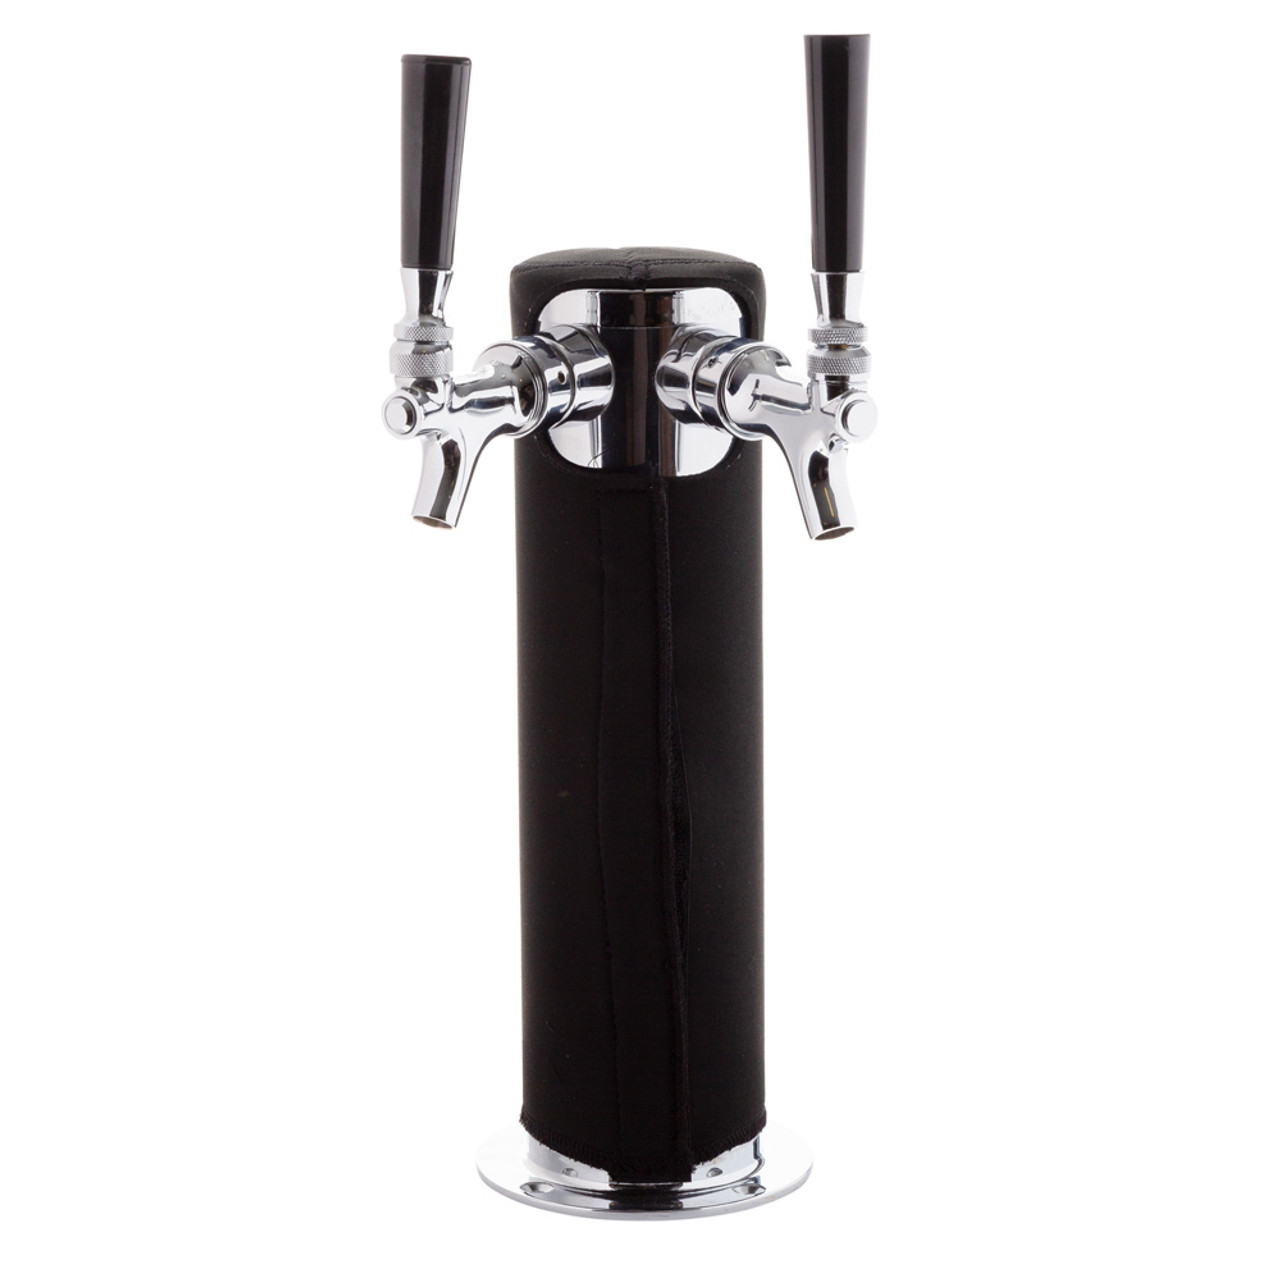
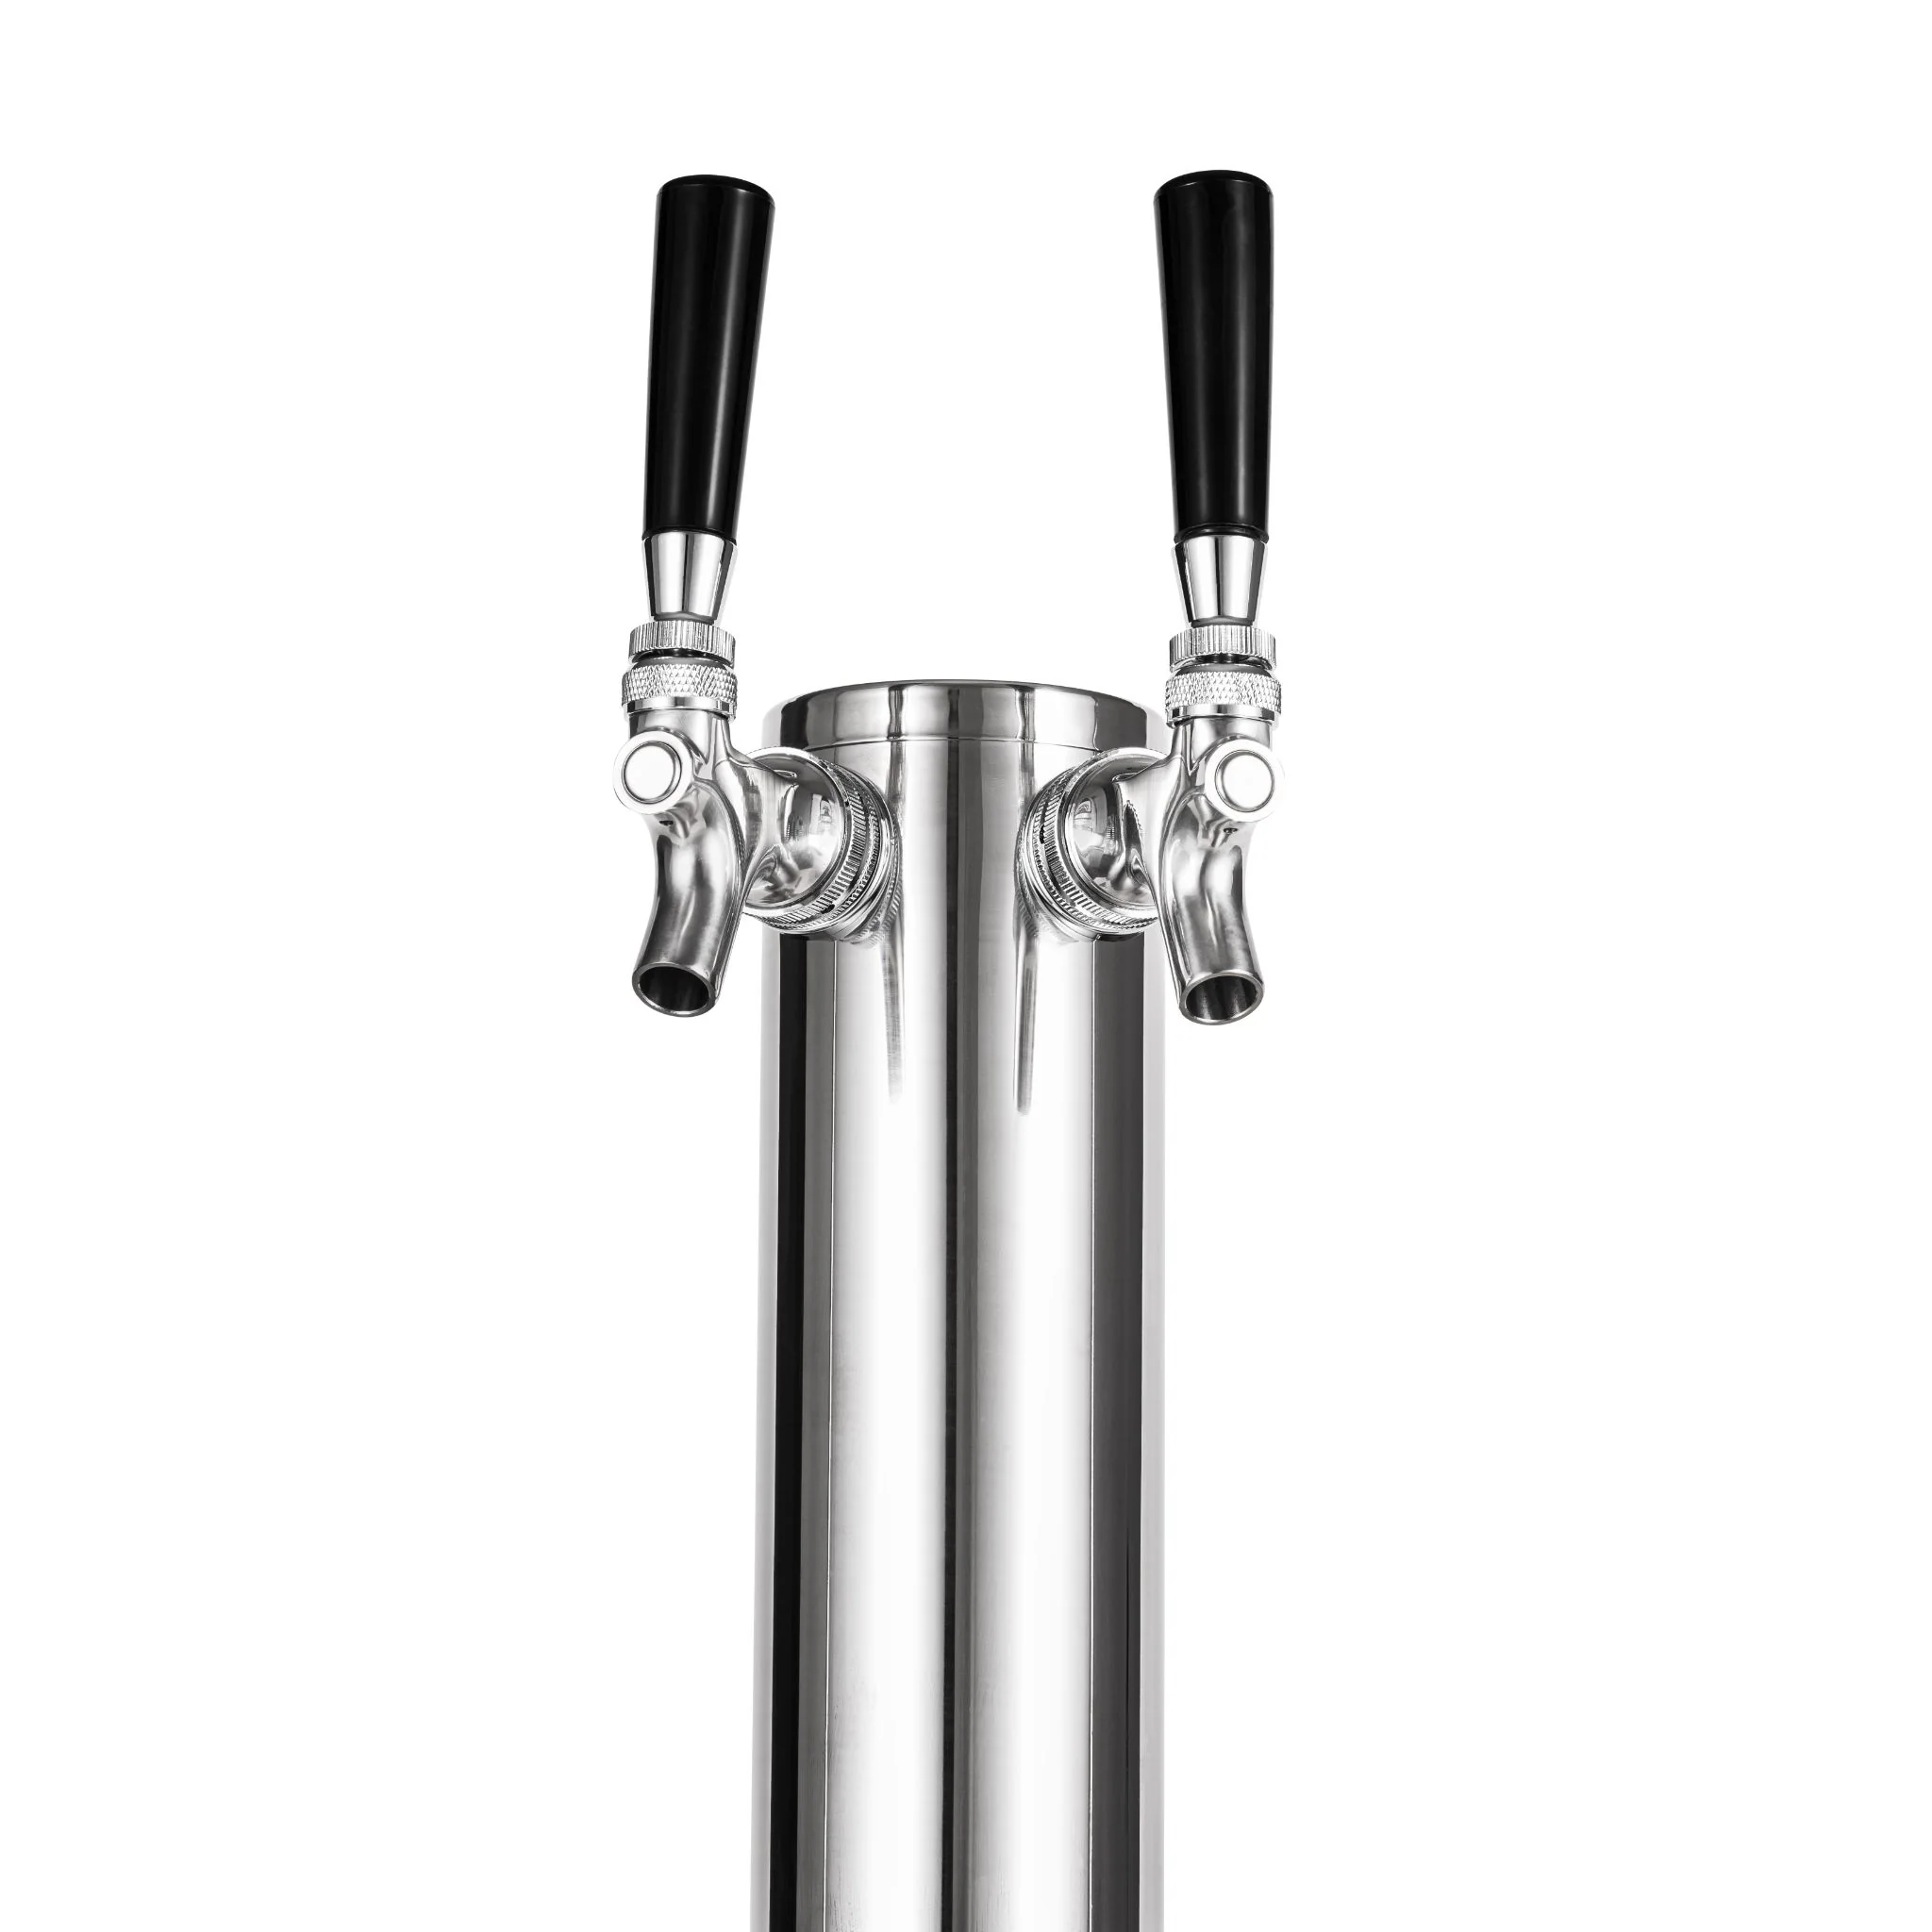
Step 2: Remove the Door Tap
Now that the kegerator is prepared, you can proceed to remove the door tap. Follow these steps:
- Locate the screws or bolts that hold the door tap assembly in place. These are typically found on the inside of the kegerator door.
- Using a screwdriver or wrench, carefully remove the screws or bolts, taking care not to damage the surrounding surfaces.
- Gently pull out the door tap assembly from the kegerator door. Be cautious not to damage any wires or connections attached to the assembly.
- Set aside the door tap assembly in a safe place to avoid any damage or misplacement.
By removing the door tap, you create an opening at the top of the kegerator that needs to be properly sealed. This opening will be used to insert the plug in the next step. Make sure to handle the door tap assembly carefully to avoid any unnecessary damage.
Now that the door tap is removed, it’s time to measure the tap hole to ensure the right size plug is selected.
Step 3: Measure the Tap Hole
In order to select the appropriate plug for your kegerator, you need to measure the tap hole accurately. Follow these steps:
- Take out your measuring tape or ruler and place it against the edges of the tap hole.
- Measure the diameter of the tap hole to determine the size of the plug needed.
- Note down the measurement, ensuring it’s accurate to the nearest millimeter or fraction of an inch.
It’s essential to measure the tap hole carefully to ensure a snug fit for the plug. If the plug is too small, it may not create a proper seal, risking air leakage. On the other hand, if the plug is too large, it may be difficult to insert or remove.
Once you have obtained the measurement, you can proceed to the next step of selecting the appropriate plug for your kegerator.
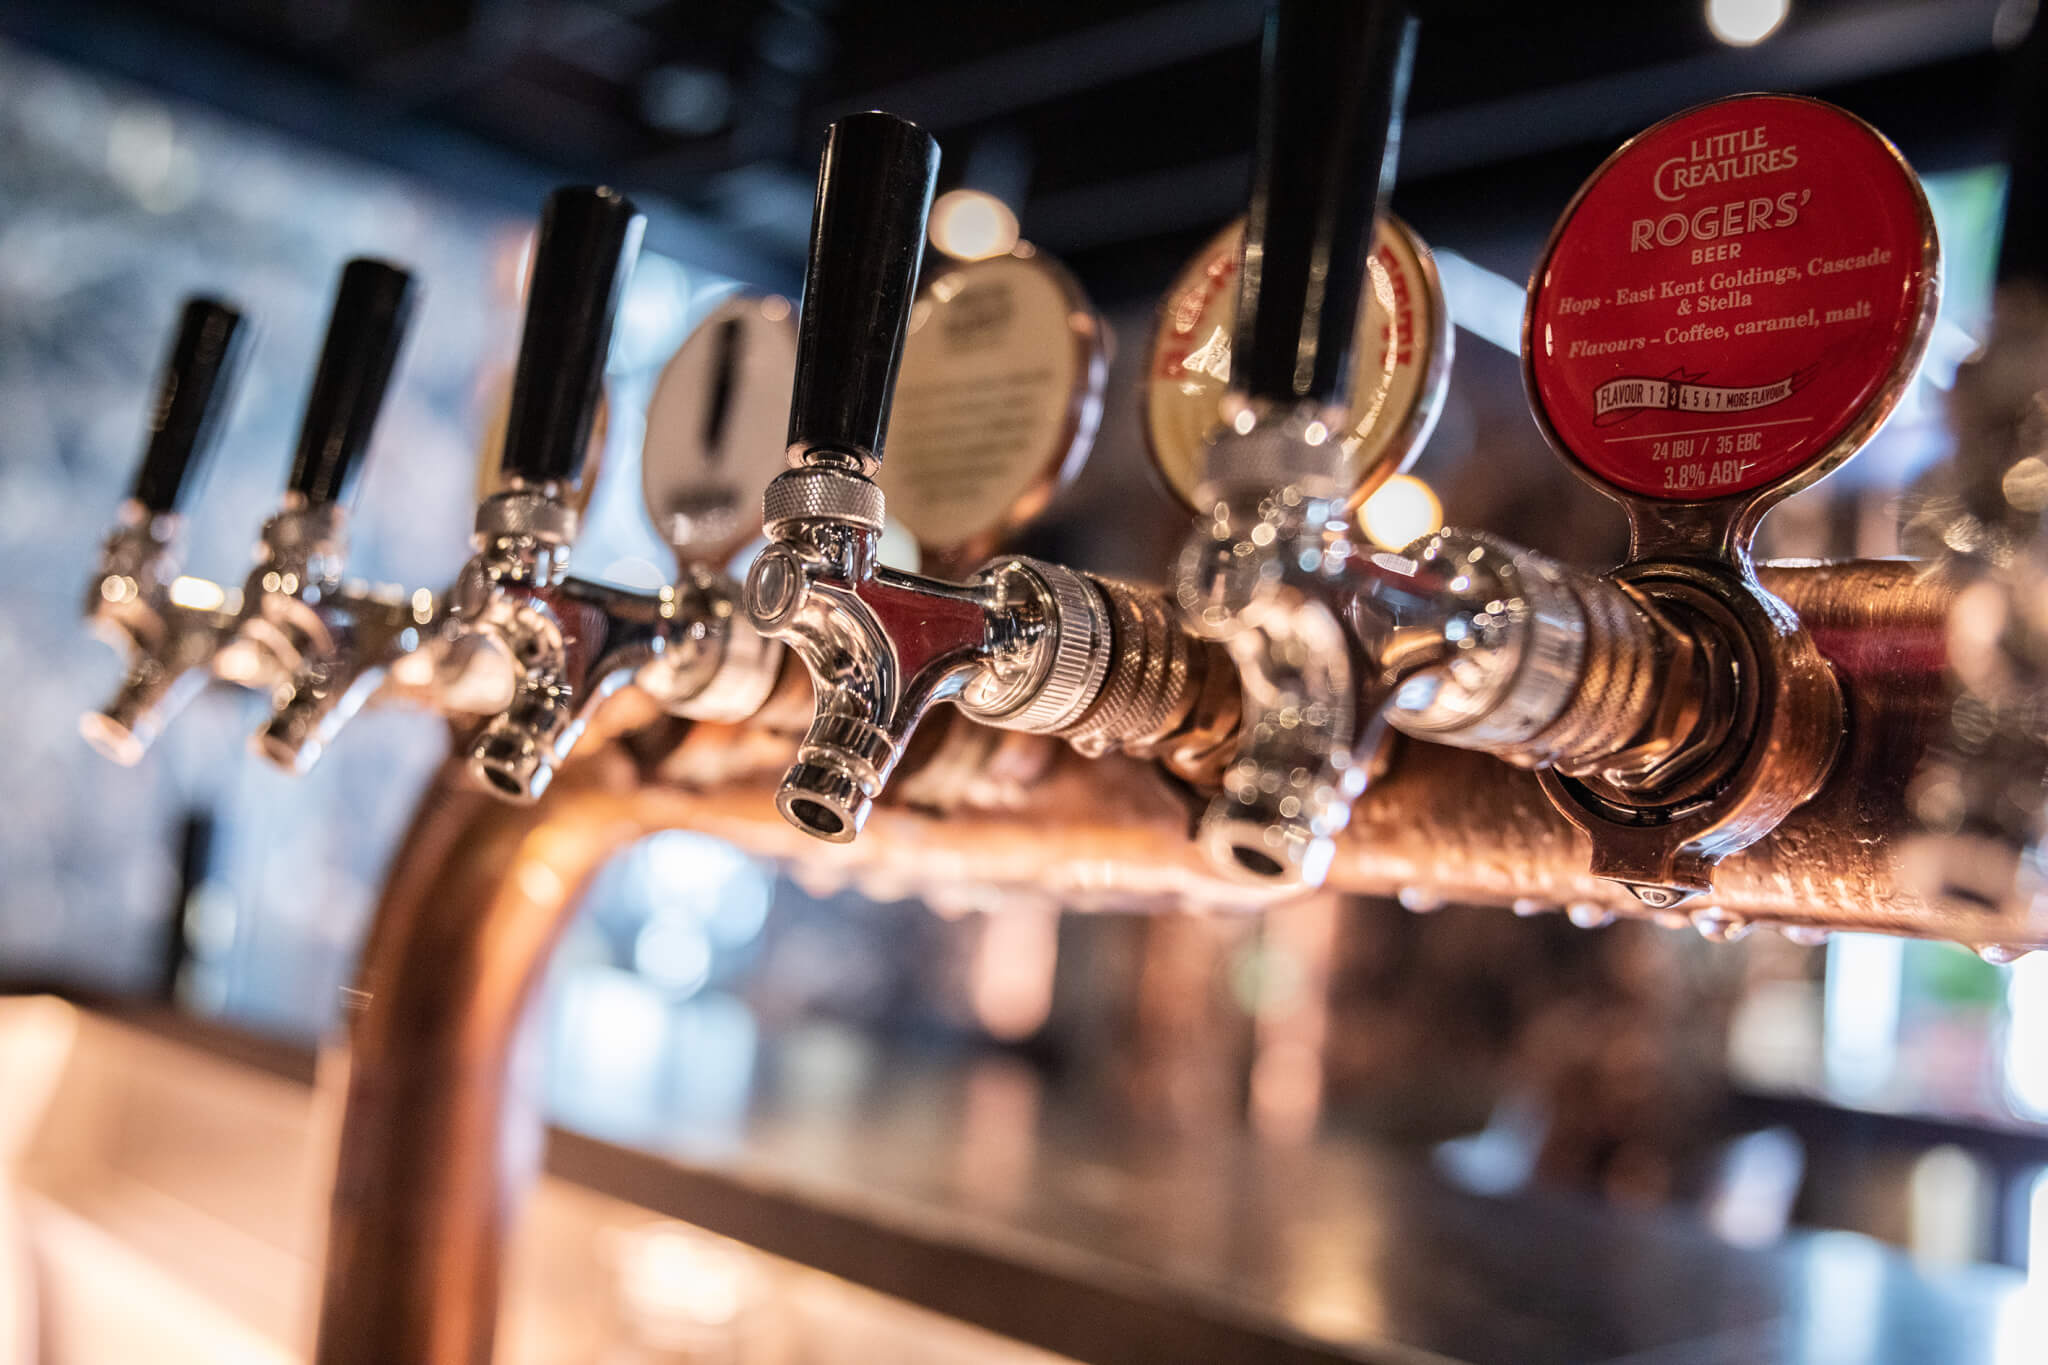
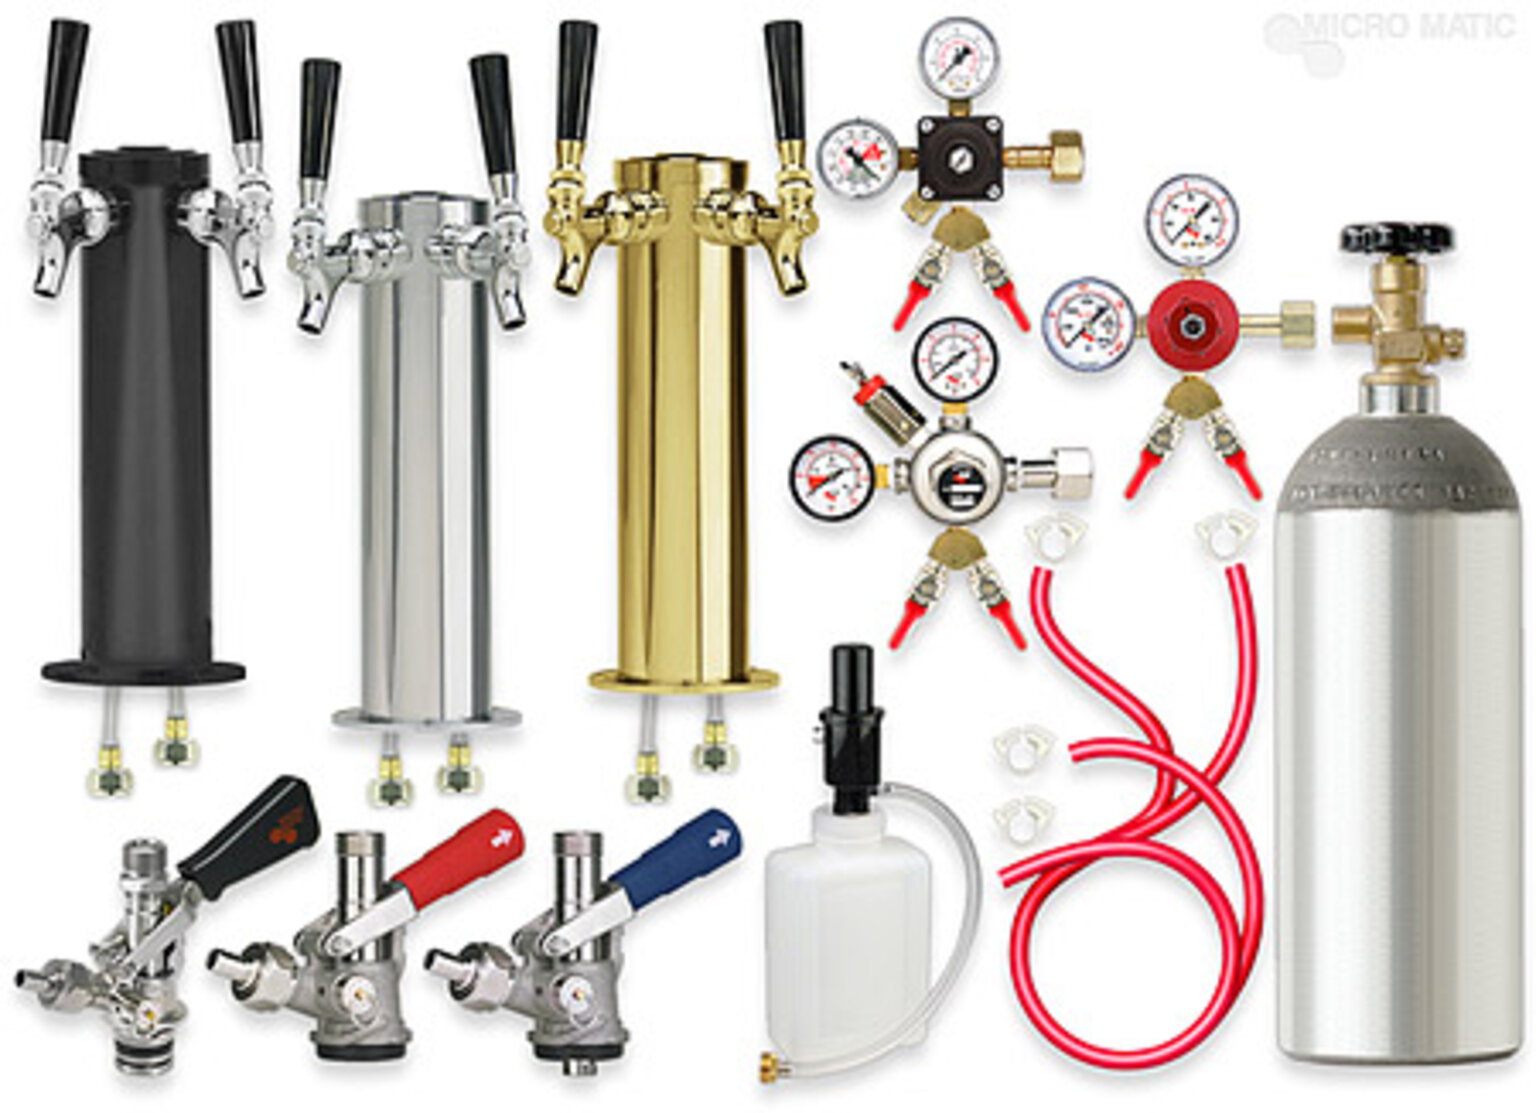
You can use a rubber stopper or a plug specifically designed for kegerators to seal the top of the kegerator after converting the door tap. Make sure the plug is airtight to maintain the carbonation of your beer.
Read more: How To Tap Keg In Kegerator
Step 4: Select the Plug
With the tap hole measurement in hand, you can now select the appropriate plug for your kegerator. Consider the following factors:
- Material: Choose a plug made of plastic or rubber, as these materials are durable and provide a good seal. Avoid plugs made of metal, as they can scratch or damage the kegerator surfaces.
- Size: Ensure that the plug size matches the tap hole measurement you obtained in the previous step. It should fit securely without being too loose or too tight.
- Tapered or flat plug: Depending on the shape of the tap hole, you may need to choose between a tapered or flat plug. Tapered plugs gradually increase or decrease in size, allowing for a better fit in irregularly shaped holes. Flat plugs are better suited for perfectly circular tap holes.
Once you have selected the appropriate plug, check if it comes with any accompanying instructions or recommendations for installation. If there are specific guidelines, make sure to follow them during the plugging process.
Now that you have the plug ready, it’s time to proceed to the next step and insert it securely into the tap hole.
Step 5: Plug the Hole
With the selected plug in hand, it’s time to insert it securely into the tap hole of your kegerator. Follow these steps:
- Ensure that the plug is clean and free from any dirt or debris. Wipe it down if necessary.
- Apply a thin layer of Teflon tape around the base of the plug. This tape helps create a tight seal and prevents any potential leaks.
- Gently insert the plug into the tap hole, ensuring that it fits snugly and forms a complete seal. Use a little bit of pressure if needed, but be careful not to damage the plug or the kegerator surfaces.
- Give the plug a slight twist to further secure it in place.
By following these steps, you will effectively seal the tap hole and prevent any unwanted air leakage. The Teflon tape adds an extra layer of security to ensure a tight and reliable seal.
If you want additional security, you can consider applying a food-safe silicone sealant around the edges of the plug. This will further enhance the seal, but keep in mind that it may make future removal slightly more difficult.
Now that the plug is in place, it’s time to proceed with a crucial step: testing the seal for any potential leaks.
Step 6: Test the Seal
After plugging the hole, it’s important to test the seal to ensure there are no leaks. Follow these steps:
- Fill a spray bottle with a mixture of water and dish soap.
- Spray the soapy solution around the edges of the plug and the tap hole.
- Observe for any bubbles or air escaping, which would indicate a leak.
- If you notice any bubbles or air escaping, adjust the plug or add additional Teflon tape to create a tighter seal.
Continue spraying the soapy solution and making the necessary adjustments until you achieve a completely airtight seal. It’s crucial to test the seal thoroughly to prevent any potential loss of carbonation or unwanted air intake.
Once you are satisfied with the seal and there are no signs of leaks, you can move onto the final step of finalizing the kegerator conversion.
Step 7: Finalize the Conversion
With the plug securely in place and a tested seal, you can now finalize the conversion of your kegerator. Follow these final steps:
- Clean the exterior of the kegerator, removing any fingerprints or residues.
- Reassemble any components that were removed during the plugging process, such as shelves or drip trays.
- Ensure that all connections and fittings are reattached properly.
- Plug in the kegerator and turn it on, if necessary.
- Perform a final check to ensure that the plug is still securely in place and there are no signs of leaks.
By following these steps, you have successfully plugged the top of your kegerator after a door tap conversion. Your kegerator is now ready for temporary use without the door tap system, ensuring that it stays clean and protected until you decide to reattach the tap.
Remember, if you plan to remove the plug and reattach the door tap system in the future, keep the plug in a safe and easily accessible place to avoid misplacement.
Congratulations on completing the plugging process and finalizing the kegerator conversion!
Read more: How To Take Apart A Kegerator Tap
Conclusion
Converting a kegerator into a door tap system offers the convenience of having draft beer at your fingertips in the comfort of your own home. However, there may be times when you need to temporarily remove the door tap and plug the top of the kegerator. Whether for cleaning, maintenance, or other reasons, it’s important to perform this process correctly to maintain the integrity of your kegerator.
In this article, we have provided a comprehensive guide on how to plug the top of a kegerator after a door tap conversion. By following the step-by-step instructions, you can effectively prepare the kegerator, remove the door tap, measure the tap hole, select the appropriate plug, and securely seal the opening. We’ve also emphasized the importance of testing the seal for any potential leaks and provided tips for finalizing the kegerator conversion.
Remember, throughout the process, it’s essential to use the appropriate materials and take care to avoid damaging the kegerator or the plug. By doing so, you’ll ensure an airtight and secure seal, protecting your kegerator and preserving the quality of your beer.
Now that you have the knowledge and understanding of how to plug the top of a kegerator after a door tap conversion, you can enjoy the flexibility of temporarily removing the door tap system whenever needed. Whether you want to clean, perform maintenance, or simply take a break from using the tap, this process allows you to maintain the functionality and integrity of your kegerator.
So go ahead and confidently plug the top of your kegerator, knowing that you have the skills to do it right!
Frequently Asked Questions about How To Plug Top Of Kegerator After Door Tap Conversion
Was this page helpful?
At Storables.com, we guarantee accurate and reliable information. Our content, validated by Expert Board Contributors, is crafted following stringent Editorial Policies. We're committed to providing you with well-researched, expert-backed insights for all your informational needs.


0 thoughts on “How To Plug Top Of Kegerator After Door Tap Conversion”