Articles
How To Bend Plastic Electrical Conduit
Modified: January 6, 2024
Discover helpful articles on how to bend plastic electrical conduit with ease. Gain valuable insights and expert tips from industry professionals to ensure efficient installation.
(Many of the links in this article redirect to a specific reviewed product. Your purchase of these products through affiliate links helps to generate commission for Storables.com, at no extra cost. Learn more)
Introduction
Welcome to this comprehensive guide on how to bend plastic electrical conduit. Whether you are a seasoned electrician or a DIY enthusiast, understanding how to properly bend conduit is a critical skill to have. It allows for the efficient installation of electrical wiring in both residential and commercial settings.
Bending plastic electrical conduit may seem like a daunting task, but with the right tools, materials, and techniques, it can be accomplished with ease. This guide will take you through the step-by-step process, providing helpful tips and troubleshooting advice along the way.
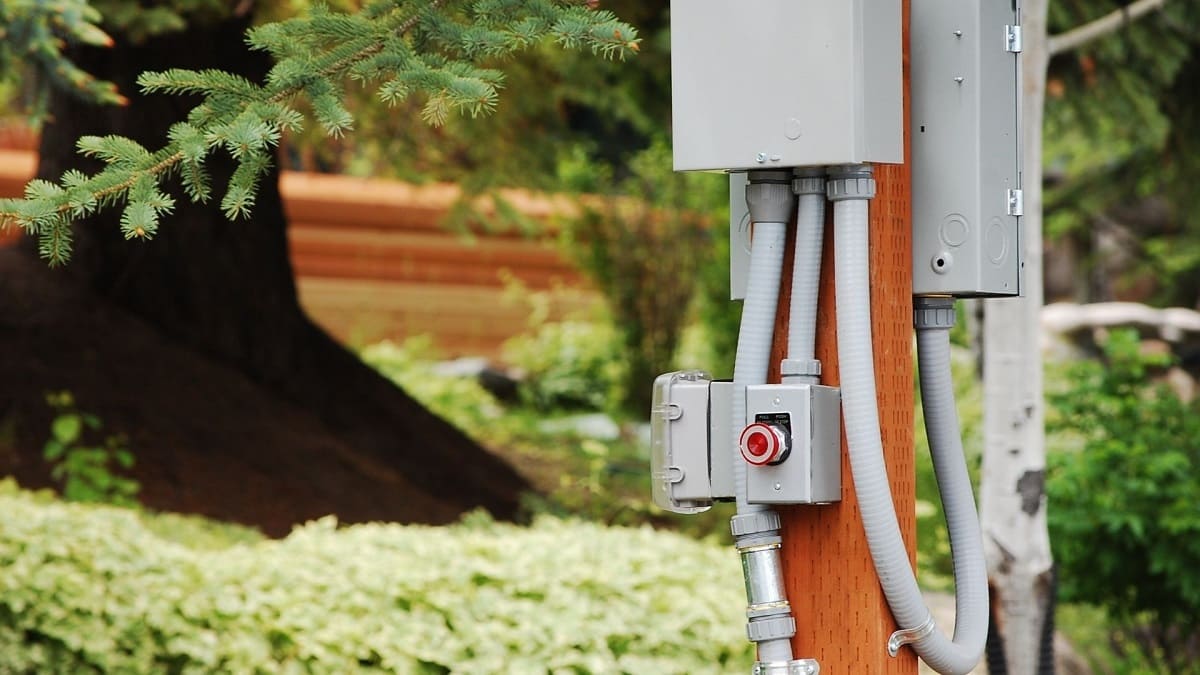
Before we dive into the details, it’s important to understand the significance of conduit bending. Electrical conduits are protective piping systems that house and protect electrical wires. They ensure the safety and functionality of the electrical system by safeguarding the wires from damage and providing a clear pathway for them to follow.
While metal conduits can be bent using manual or mechanical methods, plastic conduits are typically bent using heat. The heat softens the plastic, allowing it to be easily formed into the desired shape without compromising its structural integrity.
Throughout this guide, we will discuss the tools and materials required, the preparation steps, bending techniques, how to check the bend for accuracy, and troubleshooting common issues that may arise during the bending process.
So, if you are ready to learn how to bend plastic electrical conduit like a pro, let’s get started with selecting the right tools and materials!
Key Takeaways:
- Proper preparation is essential for successful conduit bending. From measuring and marking to deburring and securing the conduit, attention to detail ensures smooth and accurate bends.
- Troubleshooting skills are crucial for overcoming common bending issues. Understanding how to address kinks, cracks, inaccurate bends, and conduit collapse leads to improved bending proficiency.
Read more: How To Bend An Electrical Conduit
Selecting the Right Tools and Materials
Before you begin bending plastic electrical conduit, it’s essential to have the right tools and materials at your disposal. Here are the key items you will need:
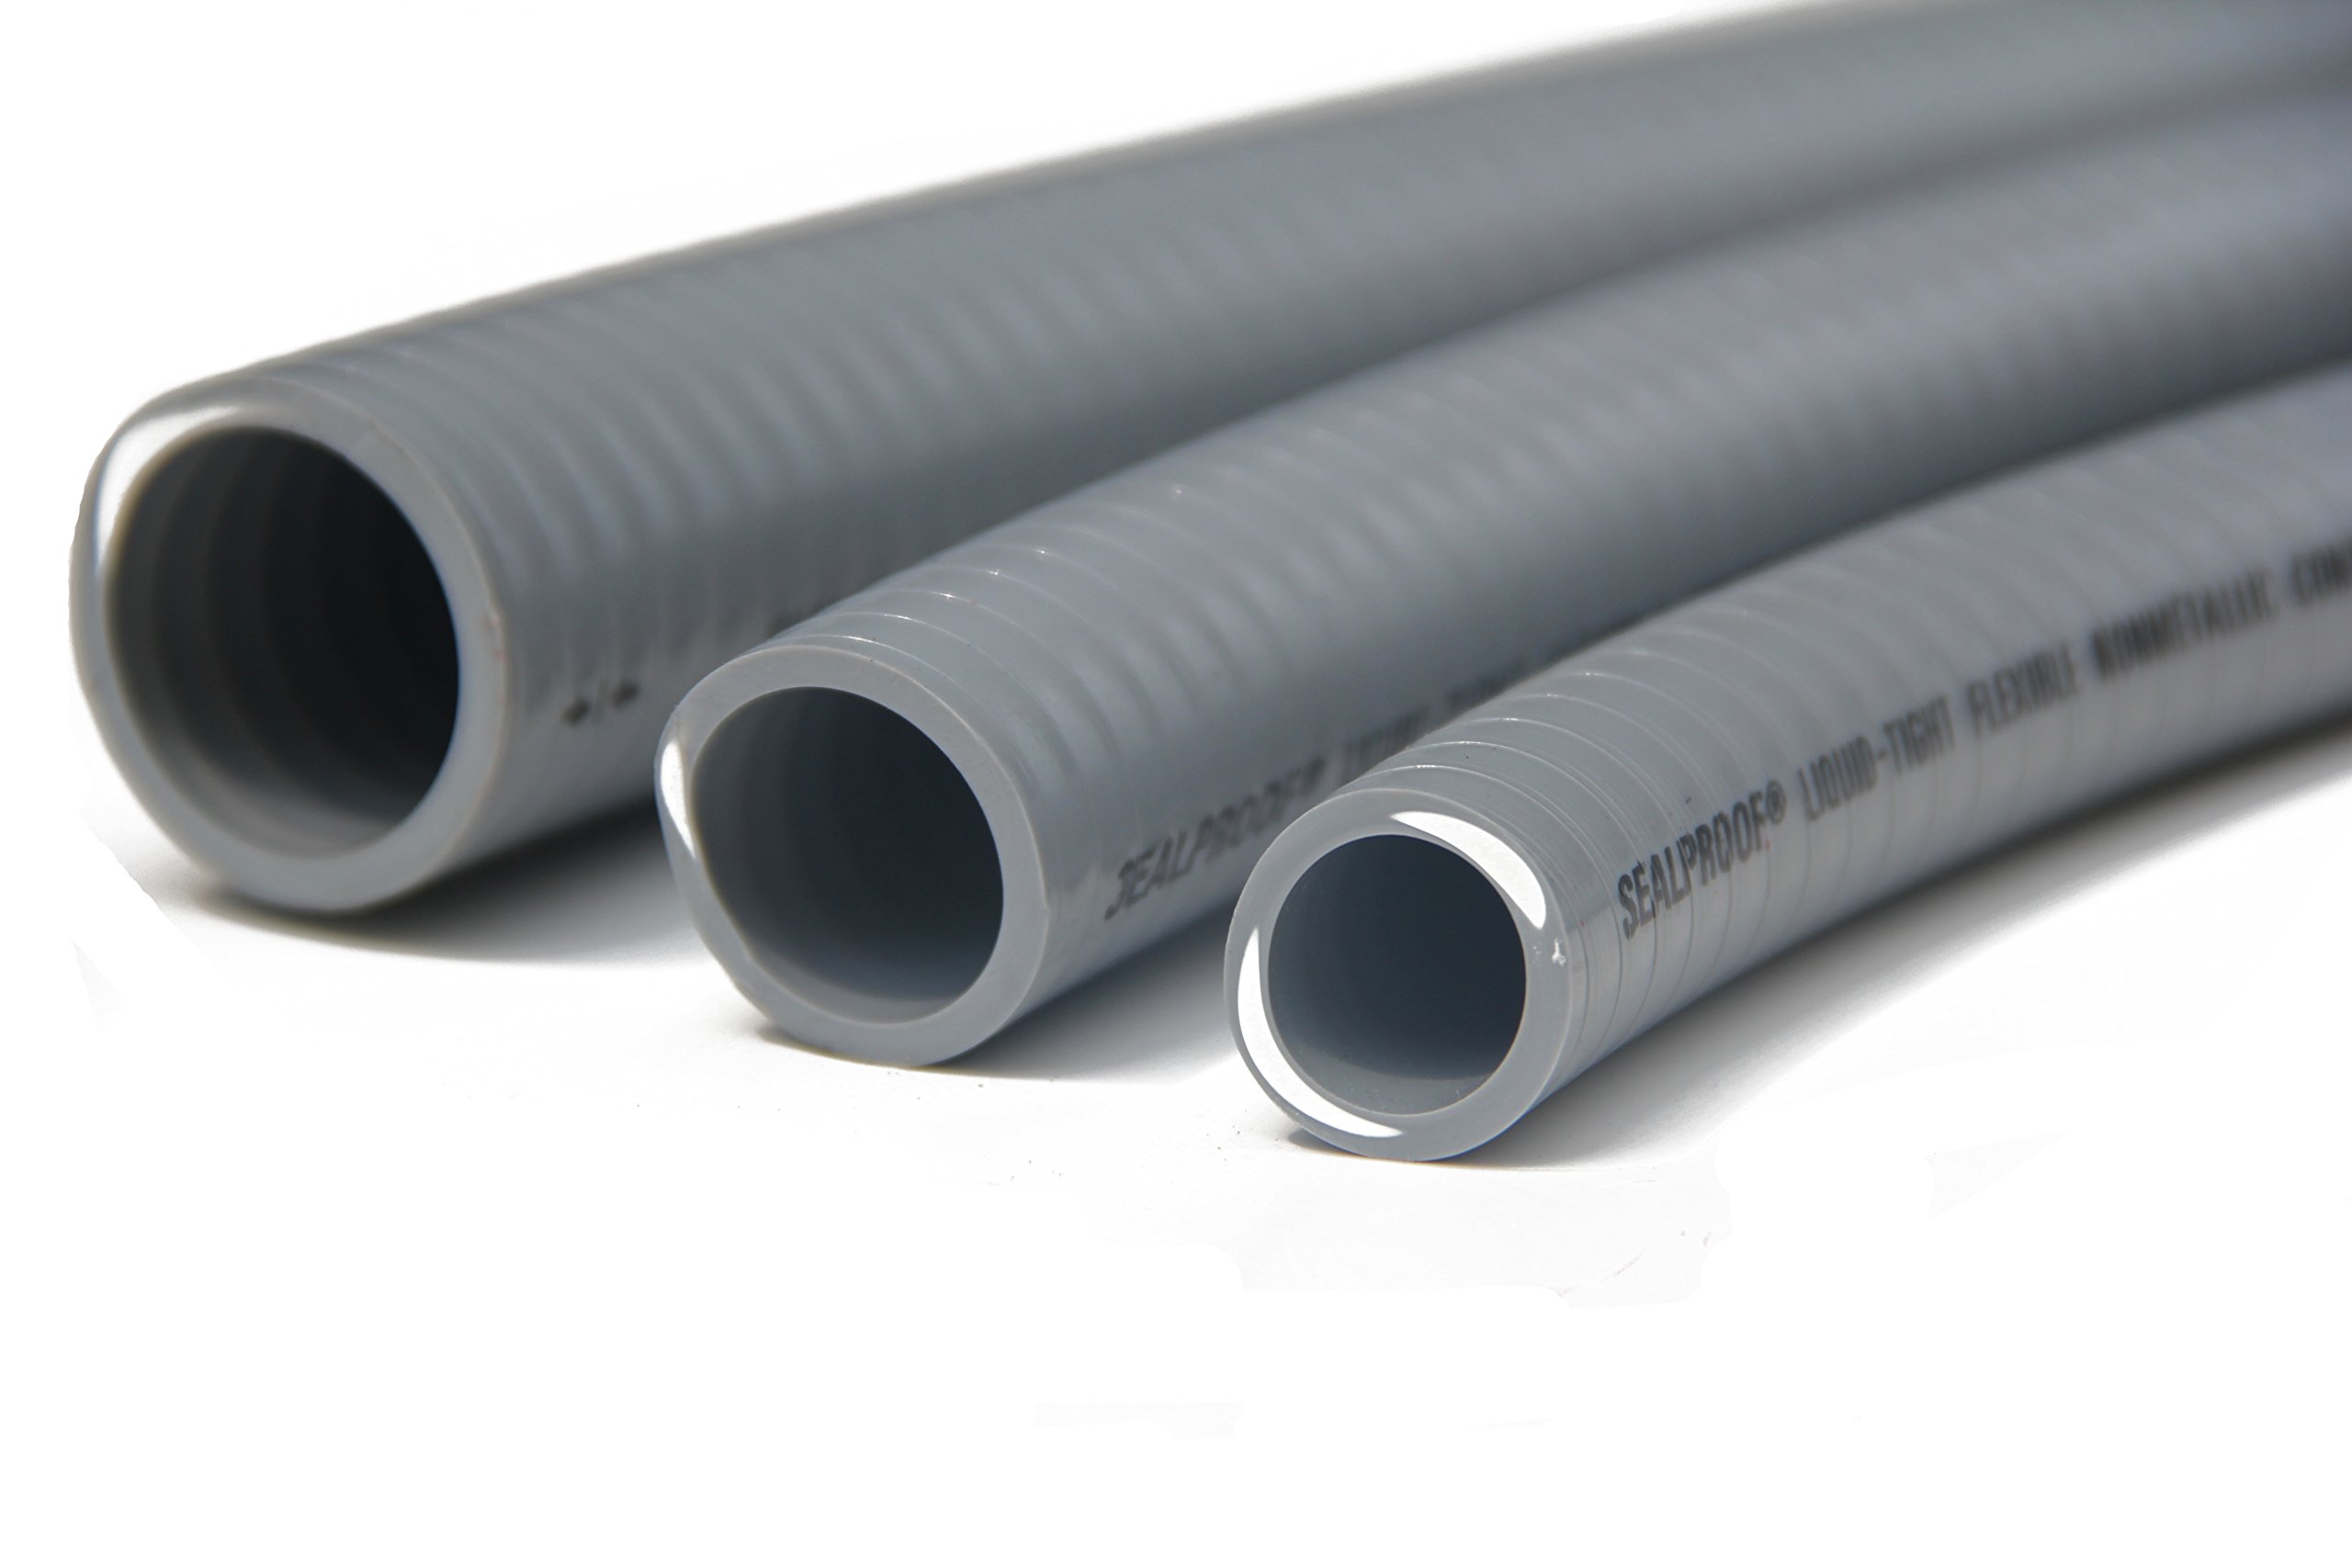
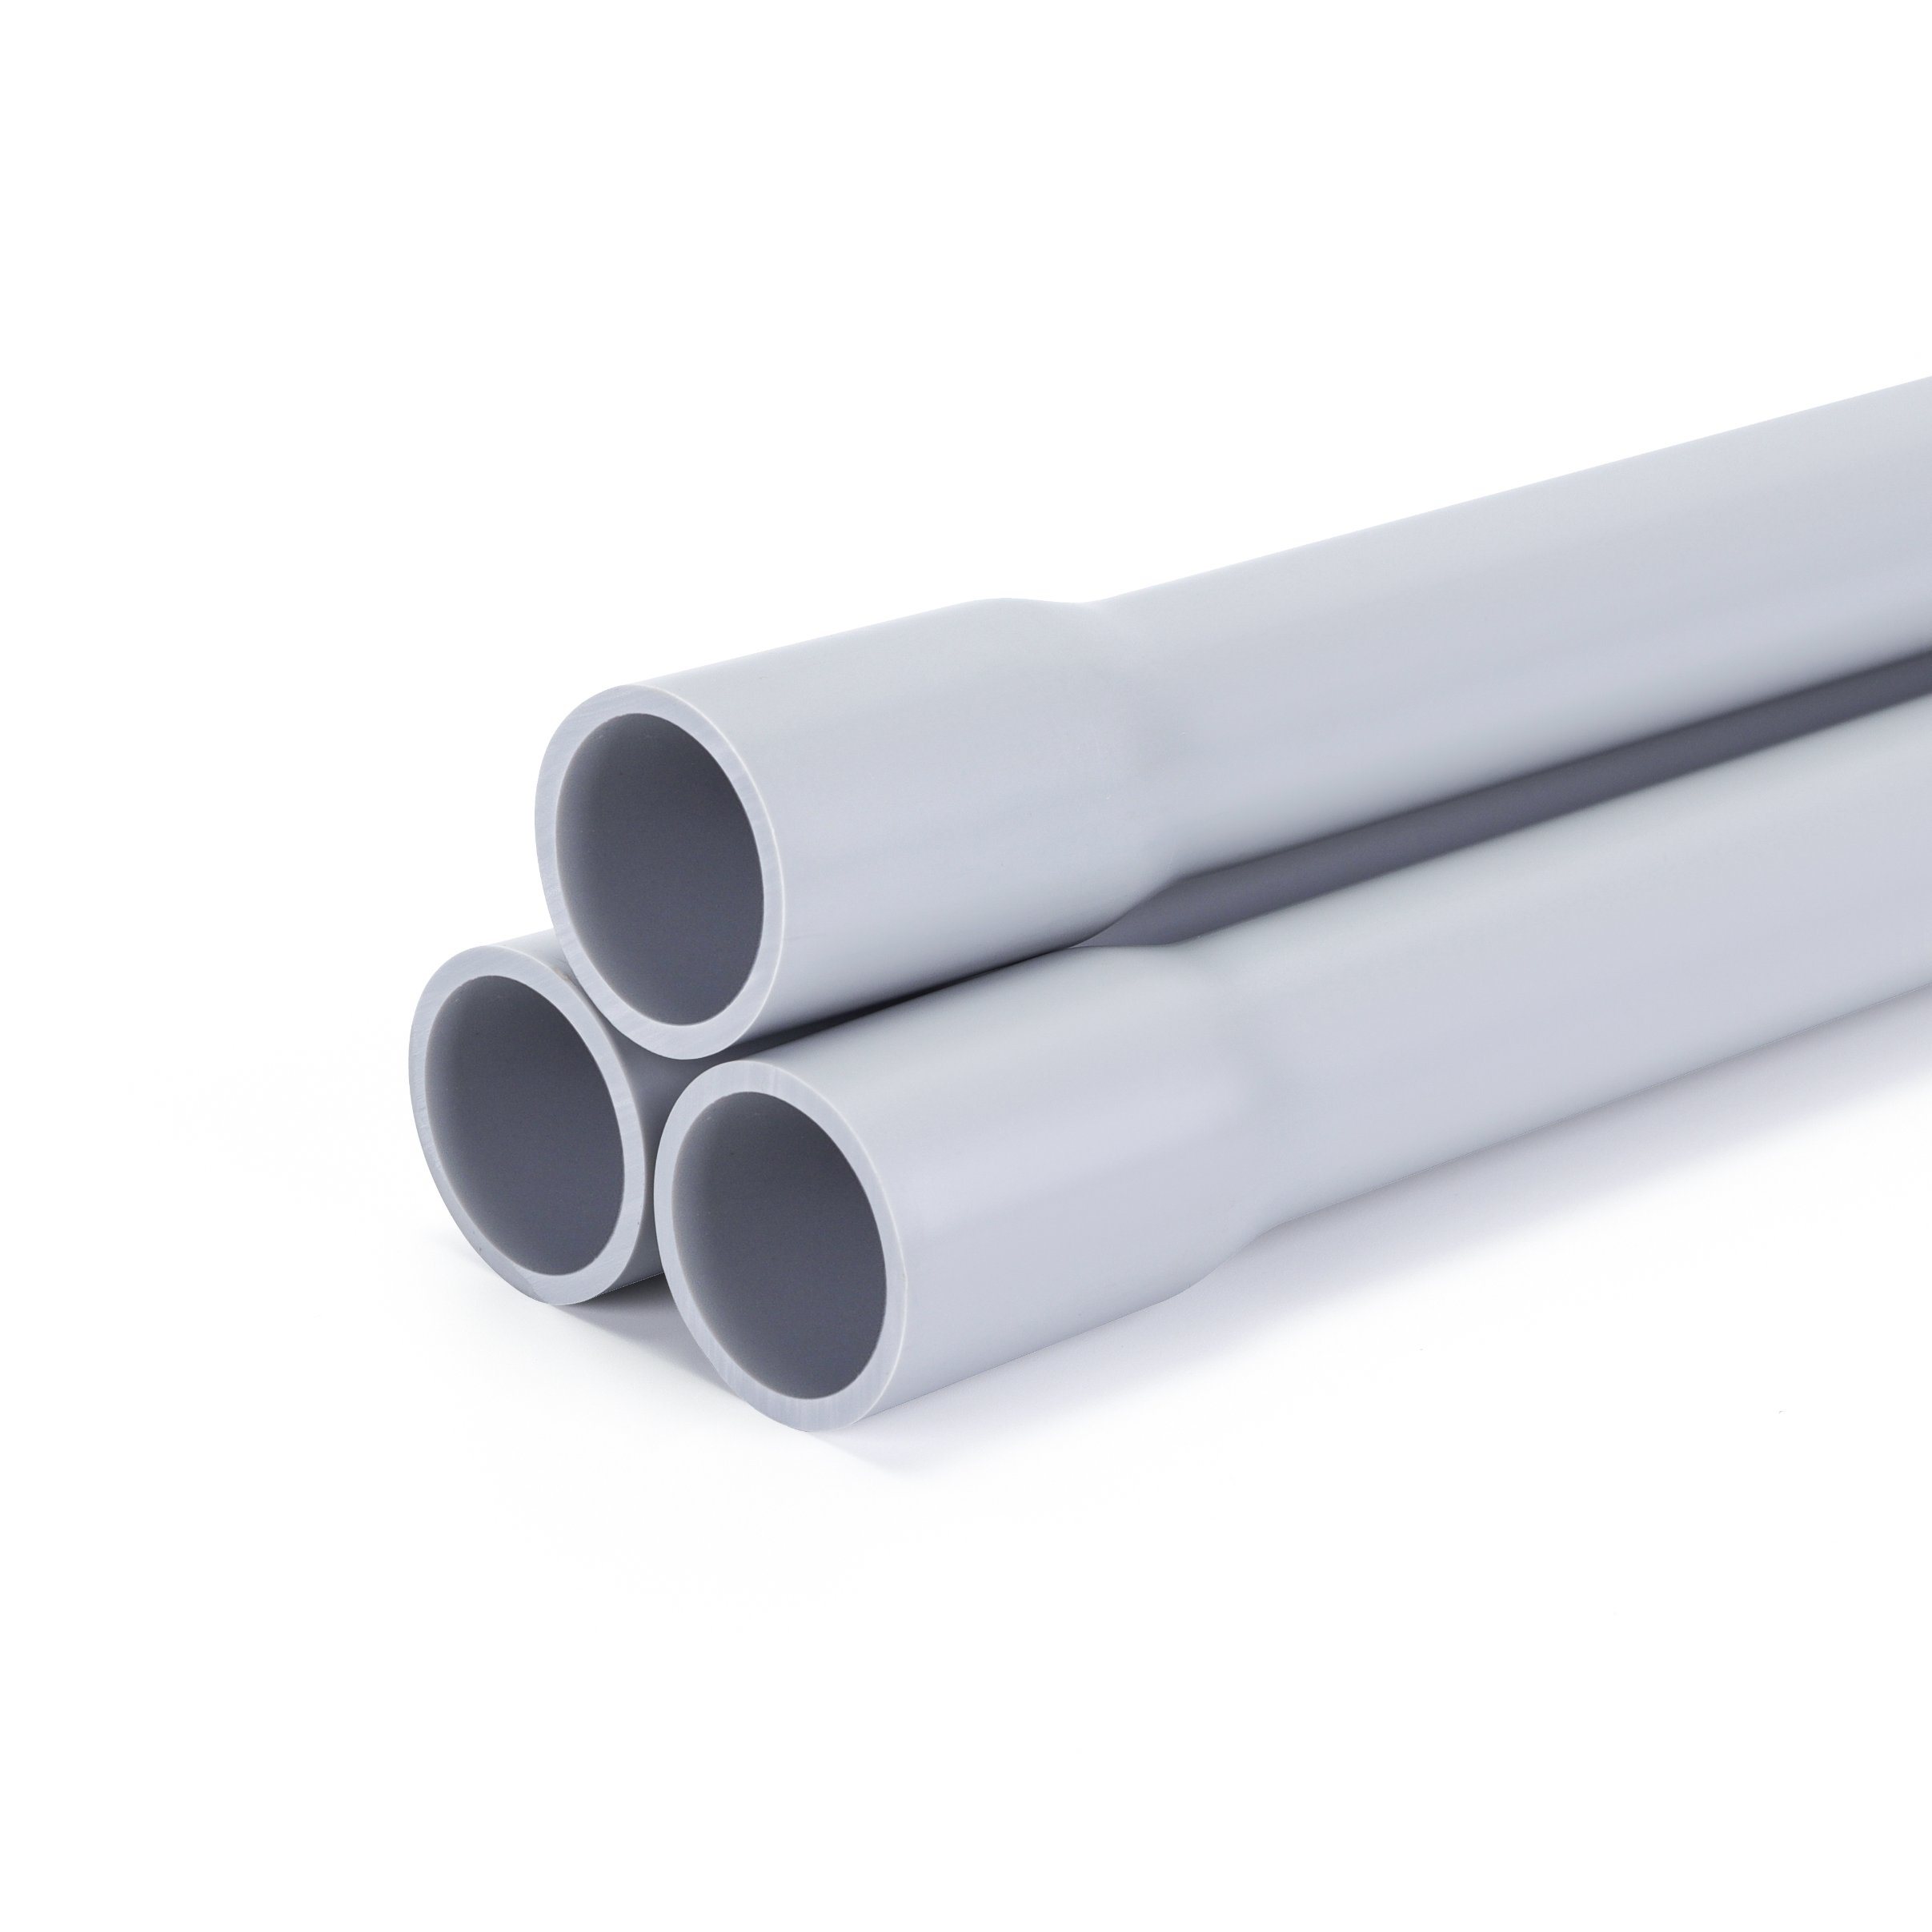
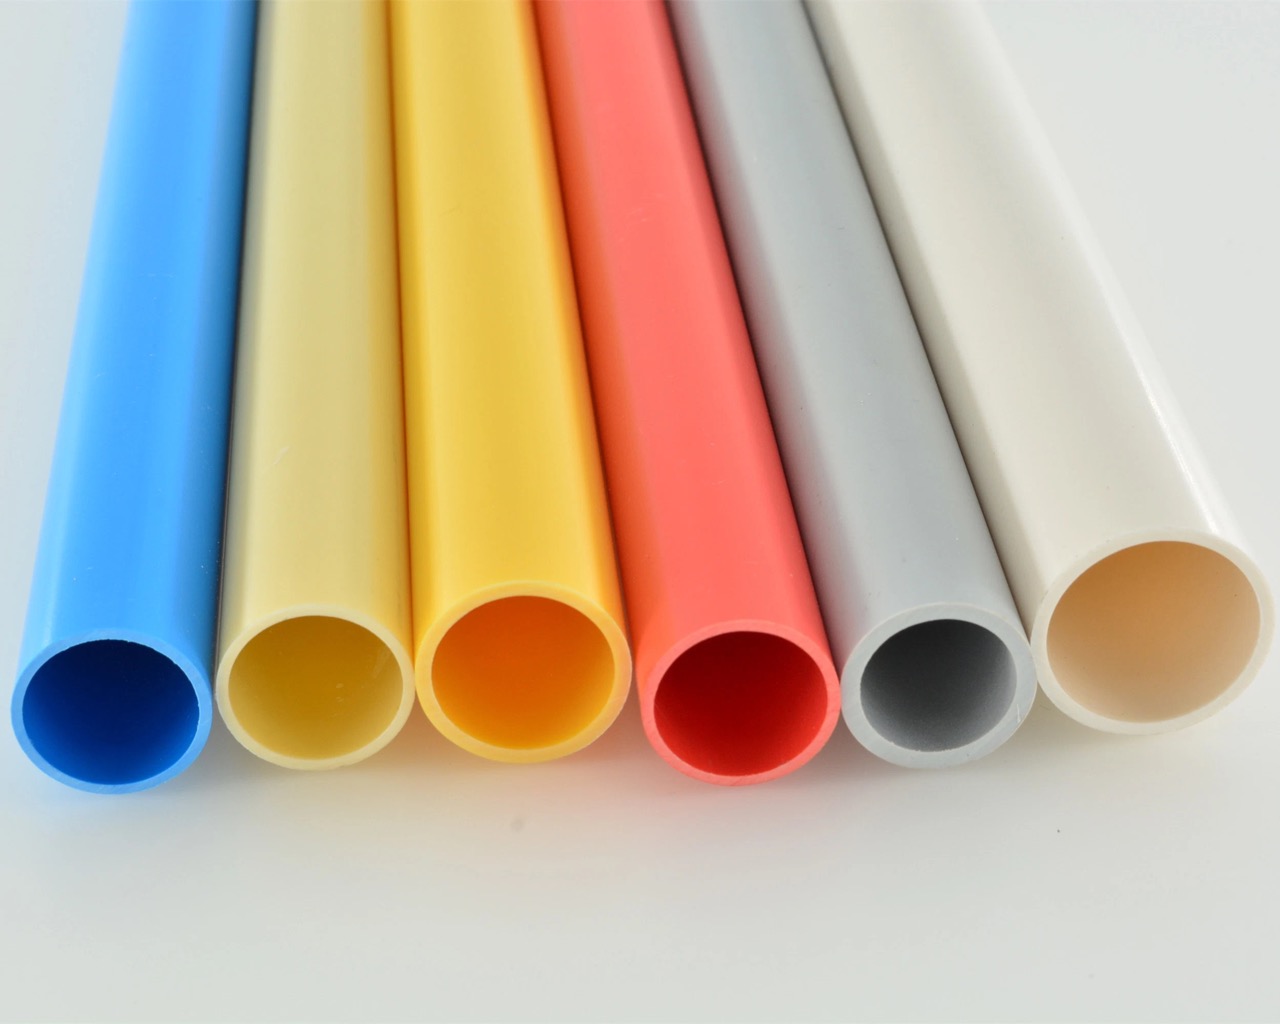
- Plastic Conduit: The first step is to select the appropriate plastic conduit for your specific application. PVC (polyvinyl chloride) conduit is the most common type and is available in various sizes. Make sure to choose a conduit size that matches the electrical wires you will be installing.
- Heat Source: Since plastic conduits require heat to become malleable, you will need a suitable heat source. A heat gun is the preferred tool for this task as it provides a controlled and concentrated stream of hot air. Make sure to choose a heat gun with adjustable heat settings to accommodate different conduit thicknesses and bending requirements.
- Protective Gear: Working with heat carries potential risks, so it’s essential to wear the proper protective gear. This includes heat-resistant gloves to protect your hands from burns, safety glasses or goggles to shield your eyes from any debris or particles, and a respirator mask to filter out any harmful fumes.
- Measuring Tape: Accurate measurements are crucial when bending conduit. A reliable measuring tape will help you ensure precise bends and properly fit the conduit into the desired location during installation.
- Marker: Marking the conduit at the desired bending points is necessary for accurate bends. A permanent marker or a grease pencil will work well for this purpose.
- Bending Spring: To help maintain the internal diameter of the conduit during the bending process, a bending spring is used. This flexible coiled tool is inserted into the conduit and acts as a support to prevent the walls from collapsing.
- Deburring Tool: After making a cut on the conduit, it’s important to remove any rough edges or burrs. A deburring tool will ensure smooth and clean cuts, allowing for a more efficient bending process.
By having these tools and materials ready, you will be well-equipped to start bending plastic electrical conduit. Before you proceed, it’s crucial to prepare the conduit to ensure a successful bending process. We will dive into the preparation steps in the next section.
Preparing the Conduit
Properly preparing the plastic conduit before bending is essential to ensure a smooth and successful bending process. Follow these steps to prepare the conduit:
- Measure and Mark: Begin by measuring and marking the length of conduit that needs to be bent. Use a measuring tape and a marker to indicate the desired bending points on the conduit.
- Cut the Conduit: Once the bending points are marked, use a hacksaw or a pipe cutter to make the necessary cuts. Ensure that the cuts are clean and straight to facilitate smooth bends without any interference.
- Debur the Edges: After cutting the conduit, use a deburring tool to remove any rough edges or burrs. Smooth out the cut ends to prevent any obstructions during the bending process.
- Insert the Bending Spring: If you are working with a longer section of conduit, insert a bending spring into the conduit. The bending spring will provide support to the walls of the conduit, preventing any collapses or deformities during the bending process.
- Secure the Conduit: Before applying heat to the conduit, ensure that it is securely held in place. You can use a vise or clamps to secure the conduit to a stable work surface. This will prevent the conduit from moving or twisting during the bending process.
Remember to follow manufacturer instructions for any specific preparation steps recommended for the type of plastic conduit you are working with. With the conduit properly prepared, it’s time to move on to the bending techniques.
Bending Techniques
When it comes to bending plastic electrical conduit, there are different techniques you can use depending on the desired bend angle and the flexibility of the conduit. Here are the most commonly used bending techniques:
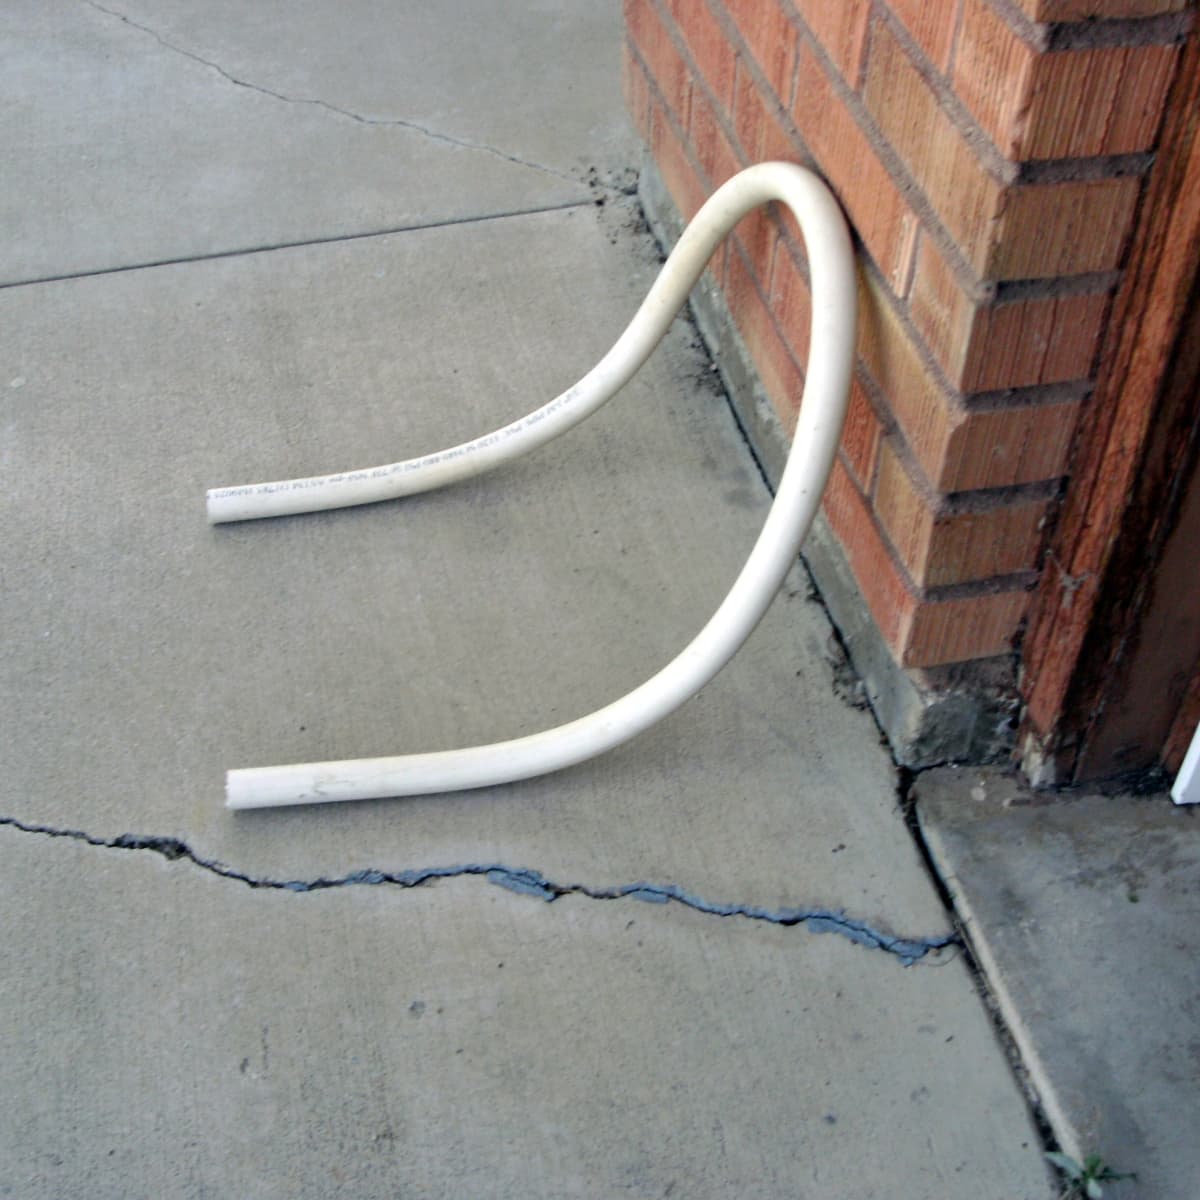
- Heat Bending: Heat bending is the primary method used to shape plastic conduit. Start by positioning the heat gun approximately 2 to 3 inches away from the bending point. Move the heat gun in a circular motion to evenly heat the area. As the plastic becomes soft and pliable, gently apply pressure to bend the conduit to the desired angle. Hold the bend in place for a few seconds to allow the plastic to cool and harden. Be careful not to apply too much pressure, as it may cause the conduit to kink or deform.
- Free-hand Bending: Free-hand bending is a technique that can be used for smaller bends or when precision is not critical. With this technique, you can simply use your hands to gradually bend the conduit to the desired shape. Start by applying gentle pressure and gradually increase it until the desired bend is achieved. This technique works best for more flexible plastic conduits.
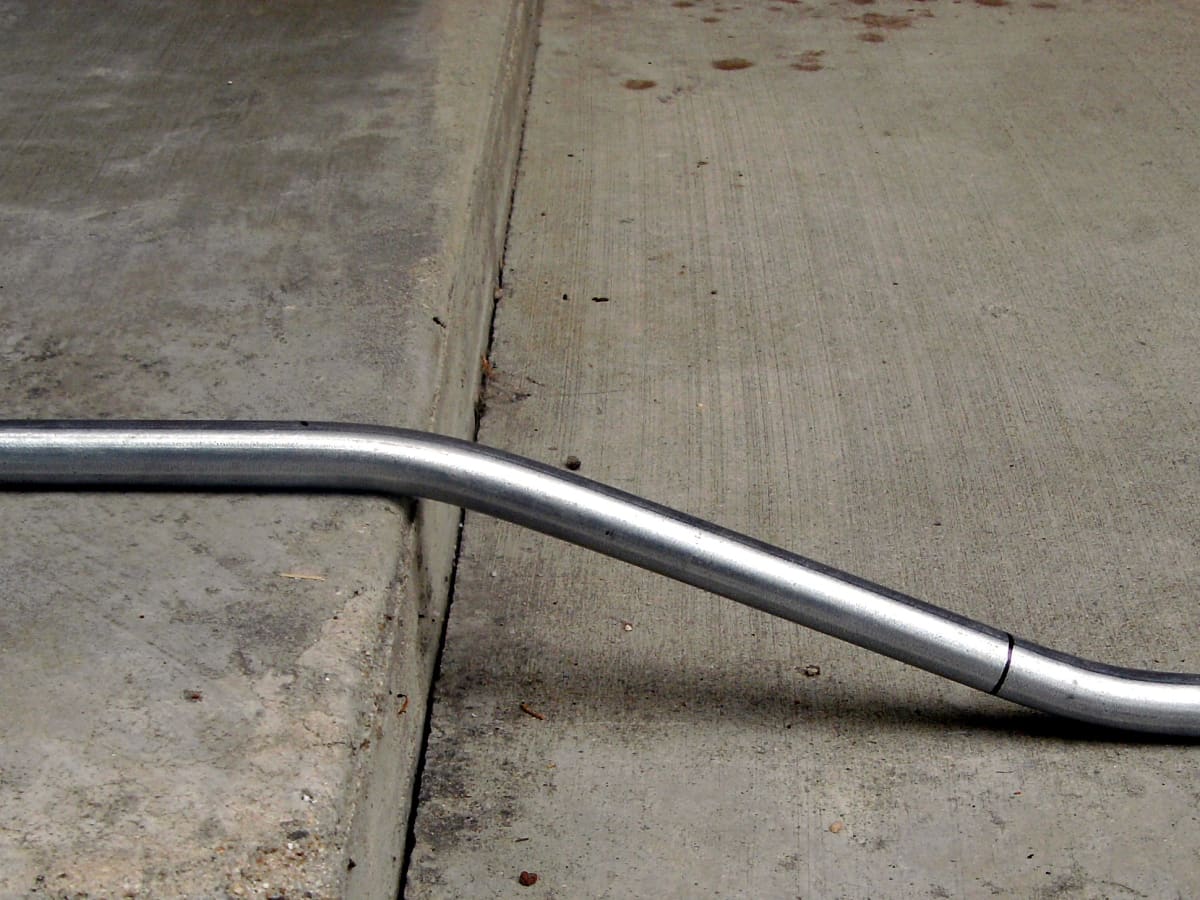
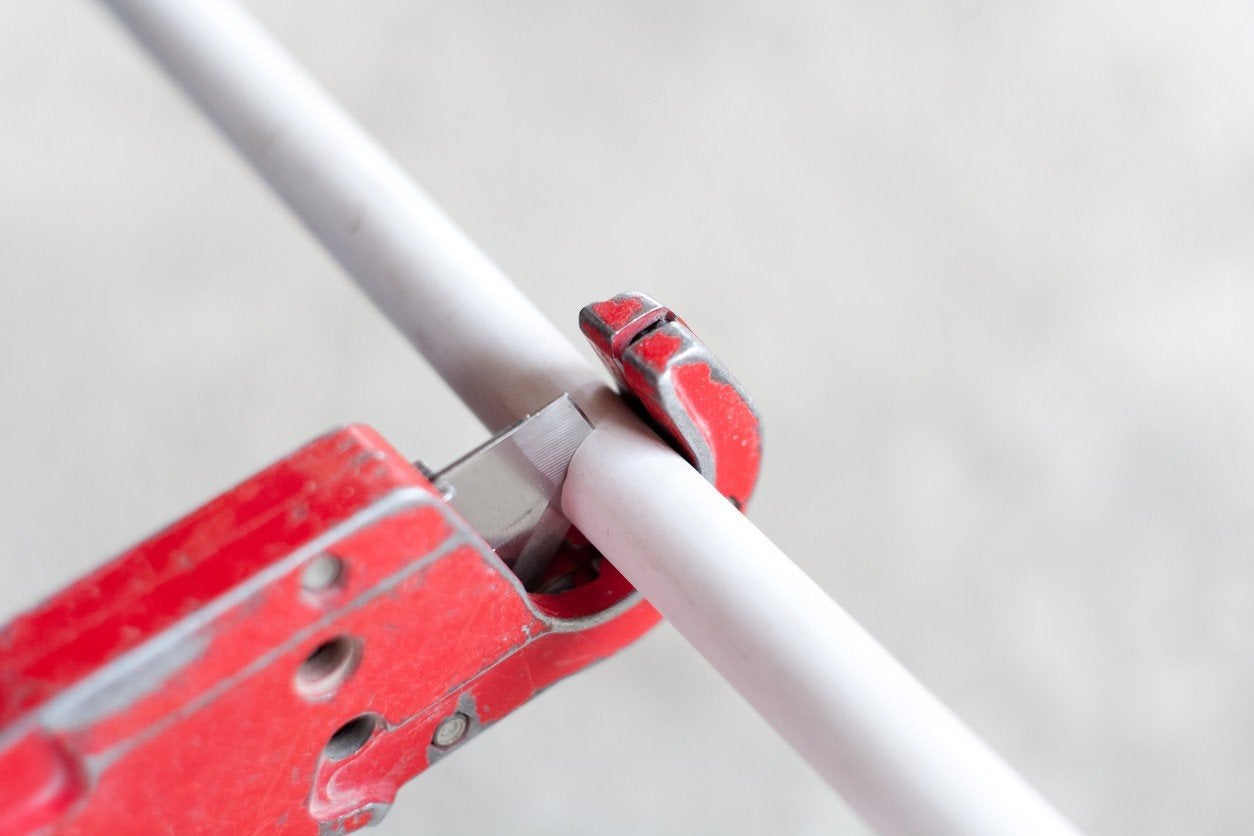
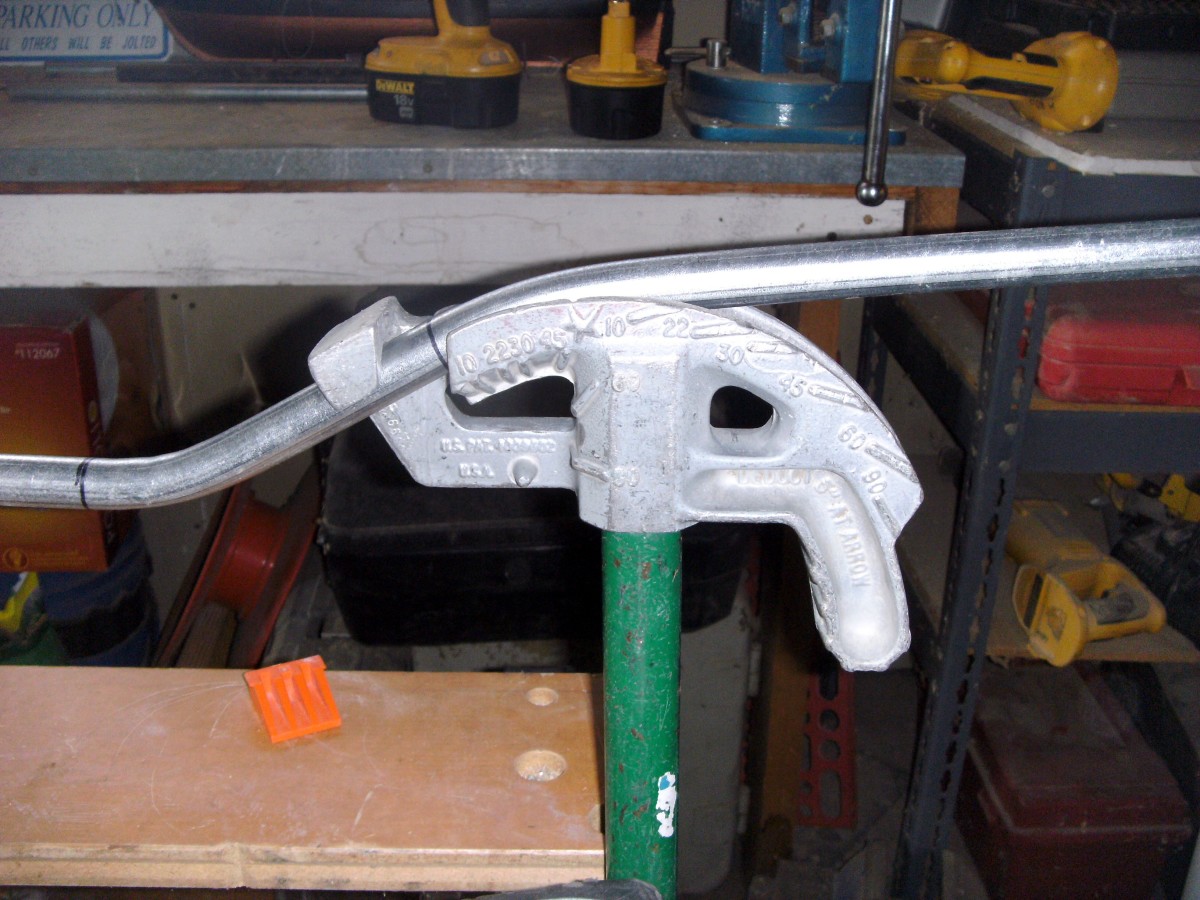
- Using a Bending Tool: For precise and consistent bends, a bending tool can be used. A bending tool is designed to provide leverage and control when bending conduits. Place the conduit in the bending tool, aligning it with the appropriate markings on the tool. With a firm grip, apply pressure to gradually bend the conduit to the desired angle. This technique is particularly useful for larger conduits and complex bends.
Remember to refer to the bending specifications provided by the manufacturer for the specific type of conduit you are using. These specifications will ensure that you achieve accurate bends without compromising the integrity of the conduit.
Always use caution when working with heat or bending tools, and follow safety guidelines to protect yourself and others. With the bending techniques mastered, it’s important to check the bend for accuracy before proceeding with the installation.
When bending plastic electrical conduit, use a heat gun to soften the plastic before bending it to the desired shape. This will prevent the conduit from cracking or breaking.
Checking the Bend
After bending the plastic electrical conduit to the desired shape, it’s crucial to verify the accuracy of the bend before proceeding with the installation. Here are the steps to check the bend:
- Visual Inspection: Start by visually inspecting the bend to ensure that it matches the desired angle and shape. Check for any kinks, twists, or deformities that may affect the functionality or aesthetics of the conduit.
- Measurements: Take measurements of the bent conduit to compare them against the original specifications and ensure it meets the required dimensions. Use a measuring tape or ruler to determine the length and angle of the bend, confirming that they align with the project requirements.
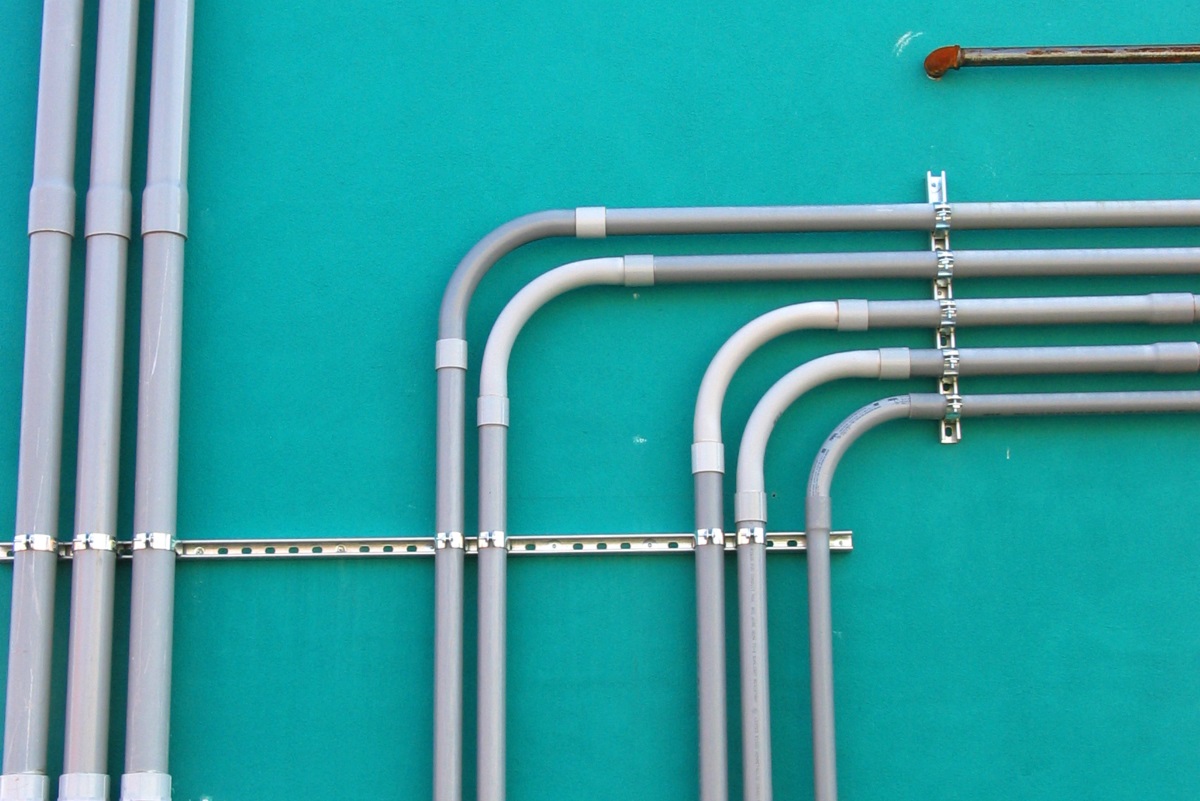
- Fit and Alignment: If possible, test-fit the bent conduit into the intended installation location. Check if it aligns properly with neighboring conduits, fittings, or junction boxes. Ensure that the bend allows for smooth and obstacle-free routing of the electrical wires.
- Flexibility and Strength: Gently flex the bent conduit to test its flexibility. It should retain its shape without any cracking or additional deformation. Also, ensure that the conduit maintains sufficient structural strength to support the electrical wires and withstand any environmental or mechanical stresses it may encounter during its lifetime.
If the bend passes all the checks successfully, you can proceed with the installation confidently. However, if any issues are identified during the inspection, it’s crucial to correct them before proceeding. This leads us to the next section, where we will explore common troubleshooting techniques for issues that may occur during the bending process.
Read more: How To Measure Conduit Bending
Troubleshooting Common Issues
While bending plastic electrical conduit, you may encounter some common issues that can affect the quality and functionality of the bend. Here are a few troubleshooting techniques to overcome these issues:
- Kinks and Deformities: If you notice any kinks or deformities in the conduit after bending, it may be a sign of excessive force or improper technique. To fix this, carefully heat the affected area using a heat gun and gently reshape it using the appropriate bending technique. Remember to apply even pressure and avoid using excessive force, as this can lead to further damage.
- Cracking or Splitting: In some cases, the plastic conduit may crack or split during the bending process, especially if it’s exposed to excessive heat or subjected to too much pressure. If this happens, it’s best to cut off the damaged portion and start the bending process again from a fresh section of conduit.
- Inaccurate Bends: If the bend does not meet the desired angle or shape, it may be due to incorrect measurements or improper bending technique. To rectify this, use a heat gun to soften the conduit and carefully adjust the bend to the correct angle. Take accurate measurements and double-check the alignment to ensure a precise and accurate bend.
- Conduit Collapse: The walls of plastic conduit may collapse during the bending process, resulting in a flattened or wrinkled appearance. To prevent this, always use a bending spring inside the conduit to provide support and maintain its shape during bending. If the collapse has already occurred, it’s best to cut off the affected portion and start bending again with a new section of conduit.
Remember, practice makes perfect when it comes to bending plastic electrical conduit. If you encounter any issues, take the time to analyze and understand the cause before attempting to rectify them. Learning from these troubleshooting experiences will help you improve your bending skills and achieve better results over time.
Now, armed with the knowledge of troubleshooting techniques, you can confidently proceed with bending plastic electrical conduit. In the next section, we will summarize the key points and conclude this guide.
Conclusion
Congratulations! You have reached the end of this comprehensive guide on how to bend plastic electrical conduit. By following the steps outlined in this article and applying the right tools, materials, and techniques, you can successfully bend conduit and ensure the effective installation of electrical wiring in residential or commercial applications.
We started by emphasizing the importance of conduit bending and understanding the different methods required for plastic conduits specifically. We discussed the selection of the right tools and materials, including the heat source, protective gear, measuring tape, marker, bending spring, and deburring tool.
Next, we covered the essential steps for preparing the conduit, including measuring and marking, cutting, deburring, and securing the conduit. These steps are crucial in ensuring the conduit is ready for the bending process.
We then dived into the various bending techniques, such as heat bending, free-hand bending, and using a bending tool. Each technique has its own advantages and considerations, depending on the desired bend angle and the flexibility of the conduit.
To ensure the accuracy of the bend, we explored the importance of visually inspecting the bend, measuring it against specifications, checking the fit and alignment, as well as testing its flexibility and strength. This thorough inspection ensures that the bend meets the necessary requirements for a seamless installation.
Finally, we provided troubleshooting techniques for addressing common issues that may arise during the bending process, such as kinks, deformities, cracking, inaccurate bends, and conduit collapse. Understanding these troubleshooting techniques will allow you to overcome challenges and achieve better results in your bending efforts.
Remember, practice and patience are key when it comes to mastering the art of bending conduit. With time, you will become more proficient and confident in your abilities.
Thank you for joining us on this journey to learn how to bend plastic electrical conduit. Now, armed with this knowledge, go forth and tackle your electrical projects with precision and expertise!
Frequently Asked Questions about How To Bend Plastic Electrical Conduit
Was this page helpful?
At Storables.com, we guarantee accurate and reliable information. Our content, validated by Expert Board Contributors, is crafted following stringent Editorial Policies. We're committed to providing you with well-researched, expert-backed insights for all your informational needs.


0 thoughts on “How To Bend Plastic Electrical Conduit”