Articles
How To Connect Flex Conduit To Junction Box
Modified: August 28, 2024
Learn how to connect flex conduit to a junction box with our informative articles. Find step-by-step guides and expert tips on installing flex conduit for your electrical projects.
(Many of the links in this article redirect to a specific reviewed product. Your purchase of these products through affiliate links helps to generate commission for Storables.com, at no extra cost. Learn more)
Introduction
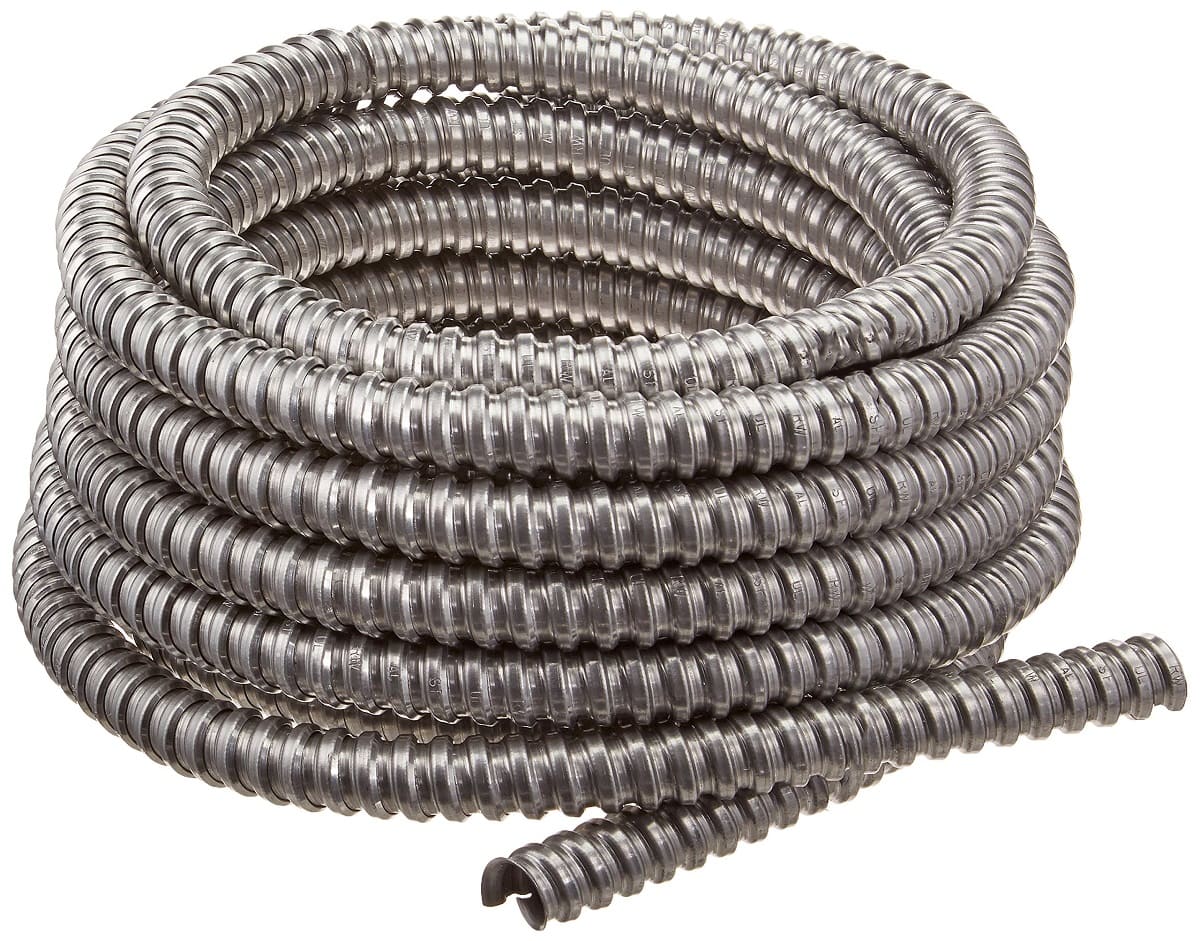
Connecting flex conduit to a junction box is a crucial step when it comes to electrical installations. Flex conduit, also known as flexible metallic conduit (FMC) or greenfield, provides a protective housing for electrical wires and cables. It is a versatile solution that allows for easy installation in a variety of settings, making it ideal for both residential and commercial applications.
In this article, we will guide you through the process of connecting flex conduit to a junction box. We will provide you with step-by-step instructions, along with a list of materials needed to complete the task. By following these instructions, you will be able to make a secure and reliable connection that meets electrical safety standards.
Before we dive into the details, it’s important to emphasize the importance of safety when working with electrical systems. Make sure to turn off the power supply to the junction box and always use appropriate personal protective equipment (PPE), such as gloves and safety goggles. If you are unsure about any step of the process, it’s advisable to consult with a licensed electrician.
Now, let’s gather the necessary materials and tools before we begin the process of connecting flex conduit to a junction box.
Key Takeaways:
- Connecting flex conduit to a junction box requires precise measurements, proper wire stripping, and secure attachment. Prioritize safety, gather the right tools, and follow step-by-step instructions for a reliable electrical connection.
- After connecting the flex conduit, test the electrical connection and troubleshoot if necessary. Always prioritize safety, double-check wire connections, inspect for damage, and consult a licensed electrician for complex issues.
Read more: How To Connect Conduit To Box
Materials Needed
Before you start connecting flex conduit to a junction box, make sure you have the following materials and tools on hand:
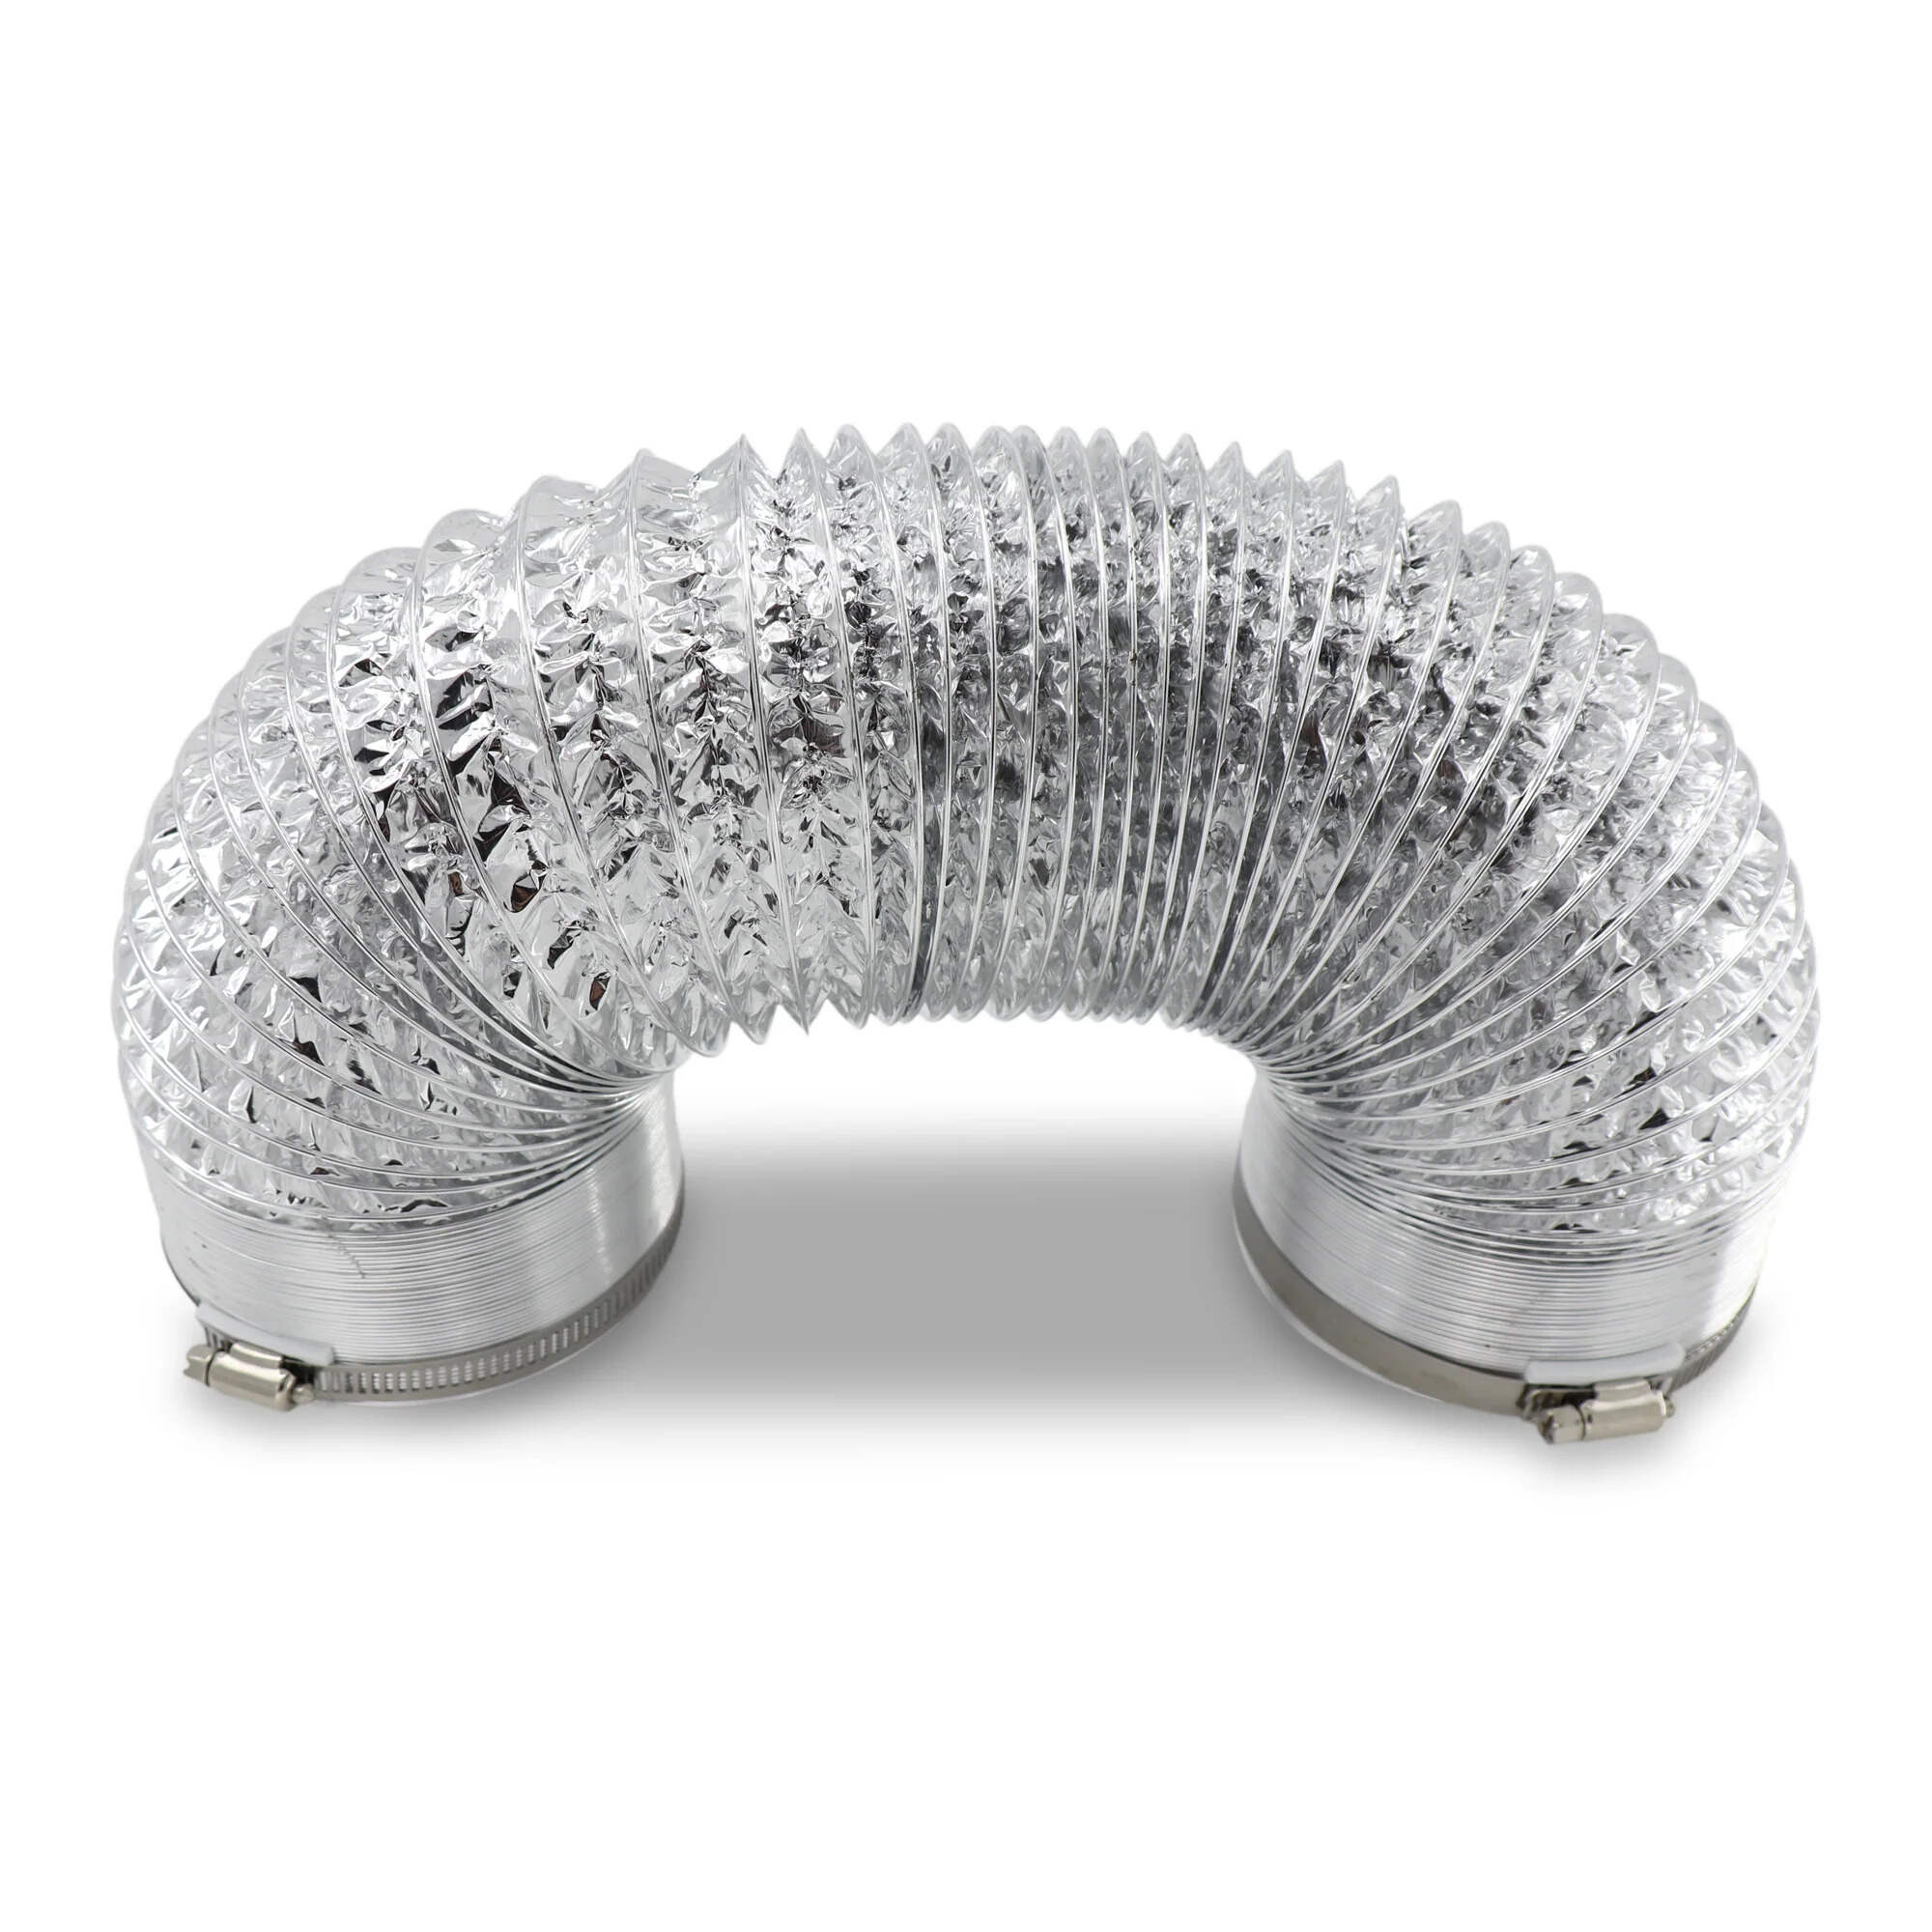
- Flex conduit: Choose the appropriate size and length of flex conduit for your project. It is available in various sizes, typically ranging from ½ inch to 1 inch in diameter.
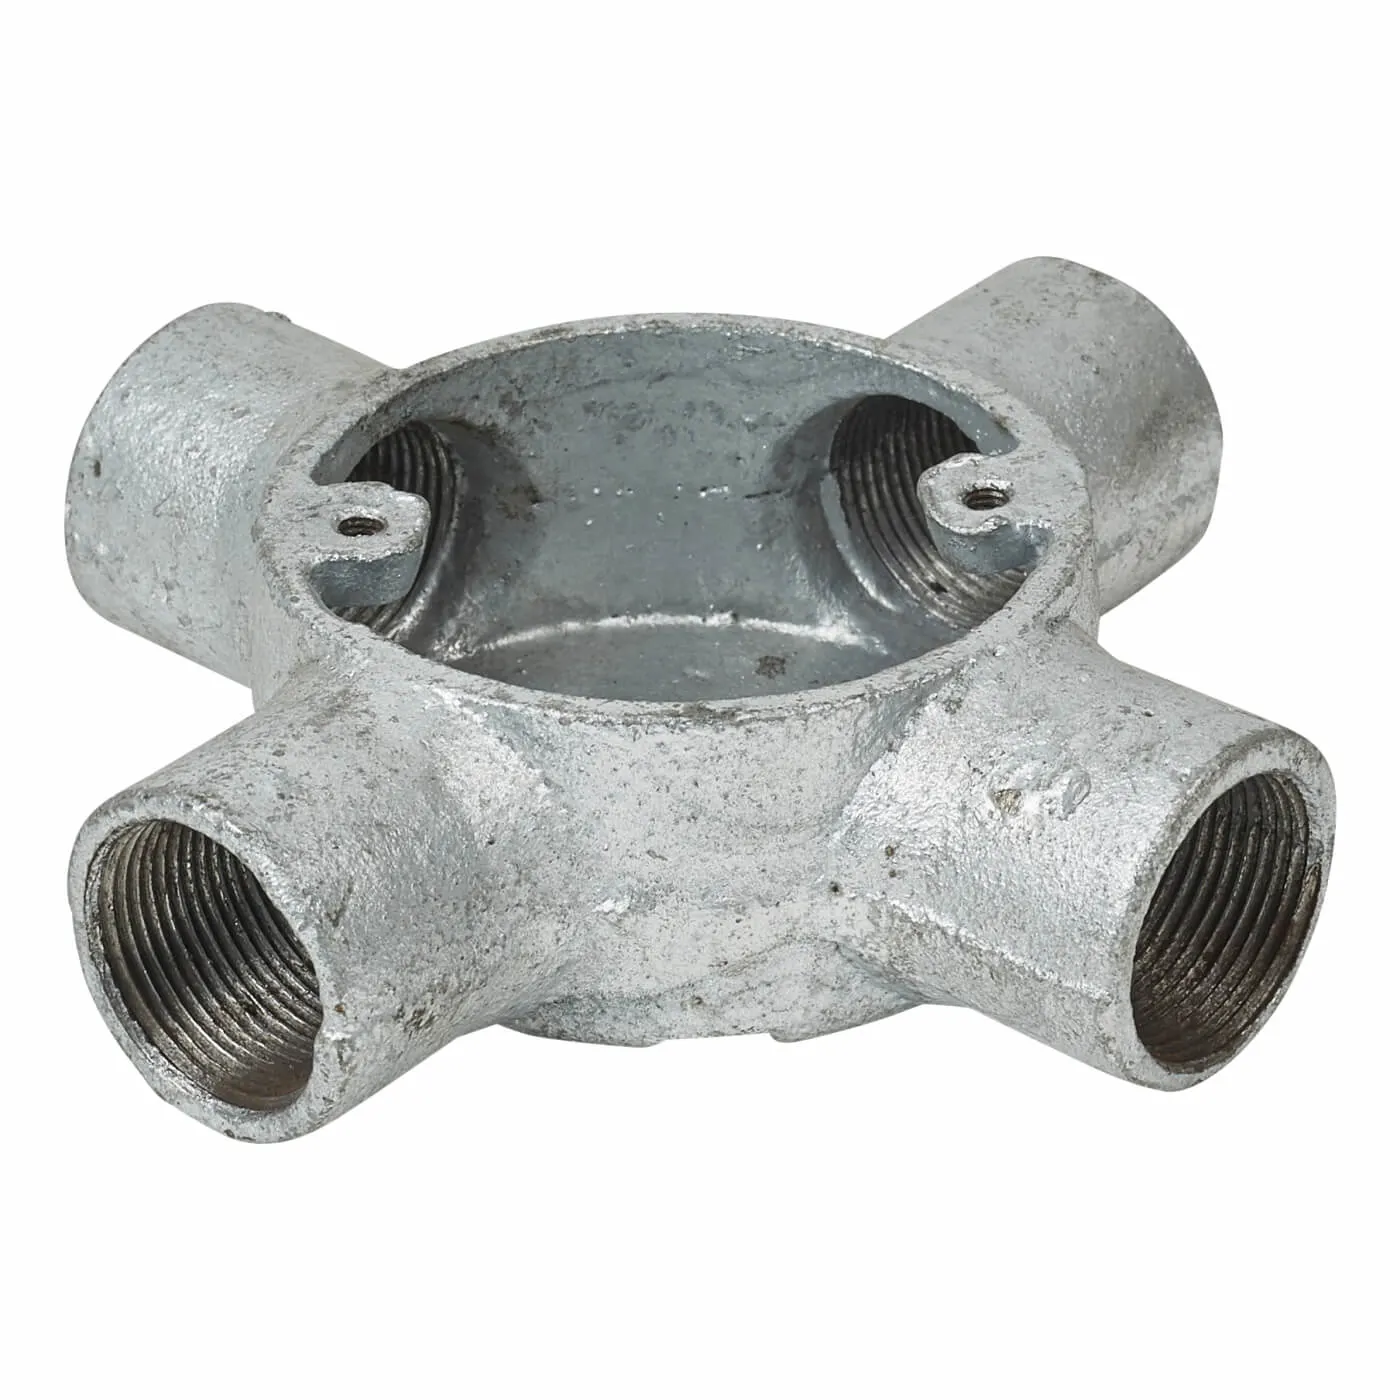
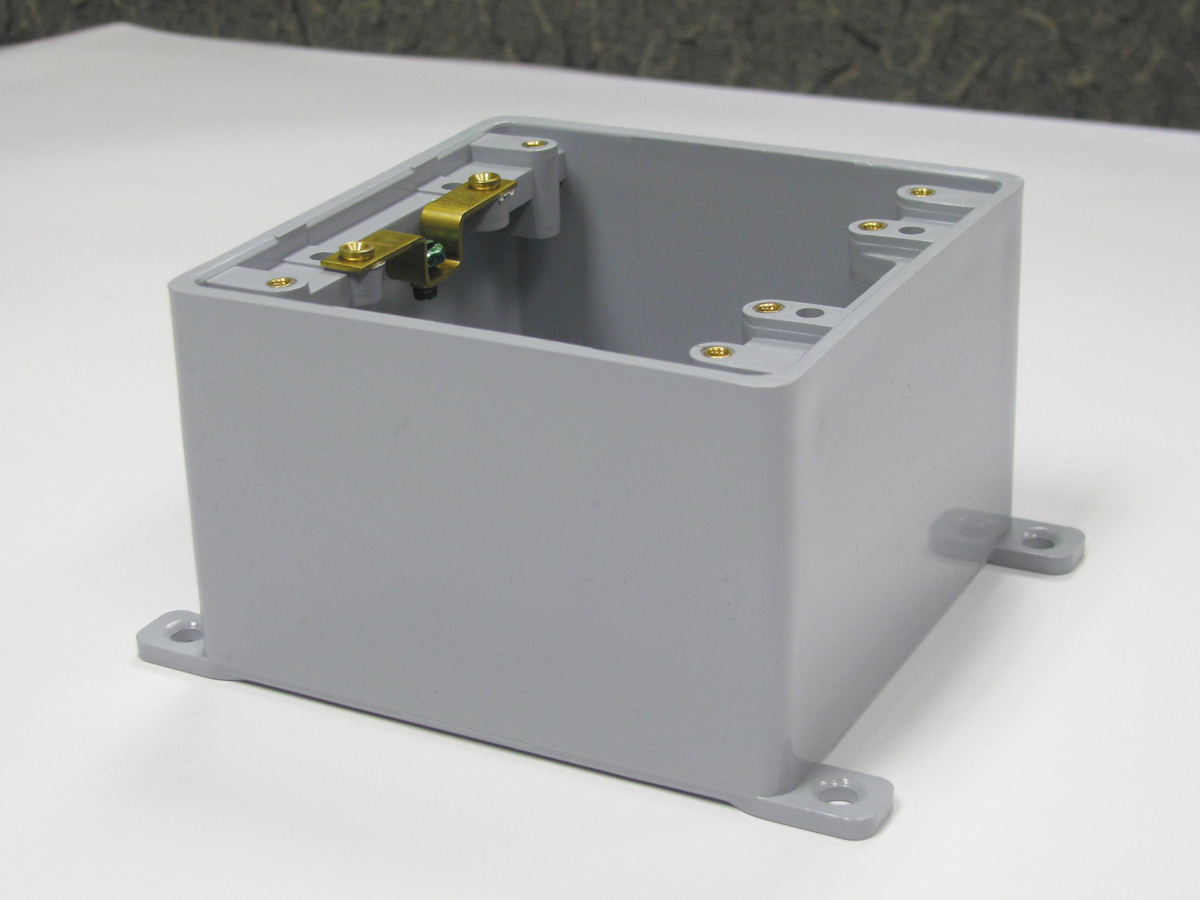
- Junction box: Select a junction box that is compatible with the flex conduit and meets the needs of your electrical installation. Junction boxes come in different sizes and types, such as metal or plastic.
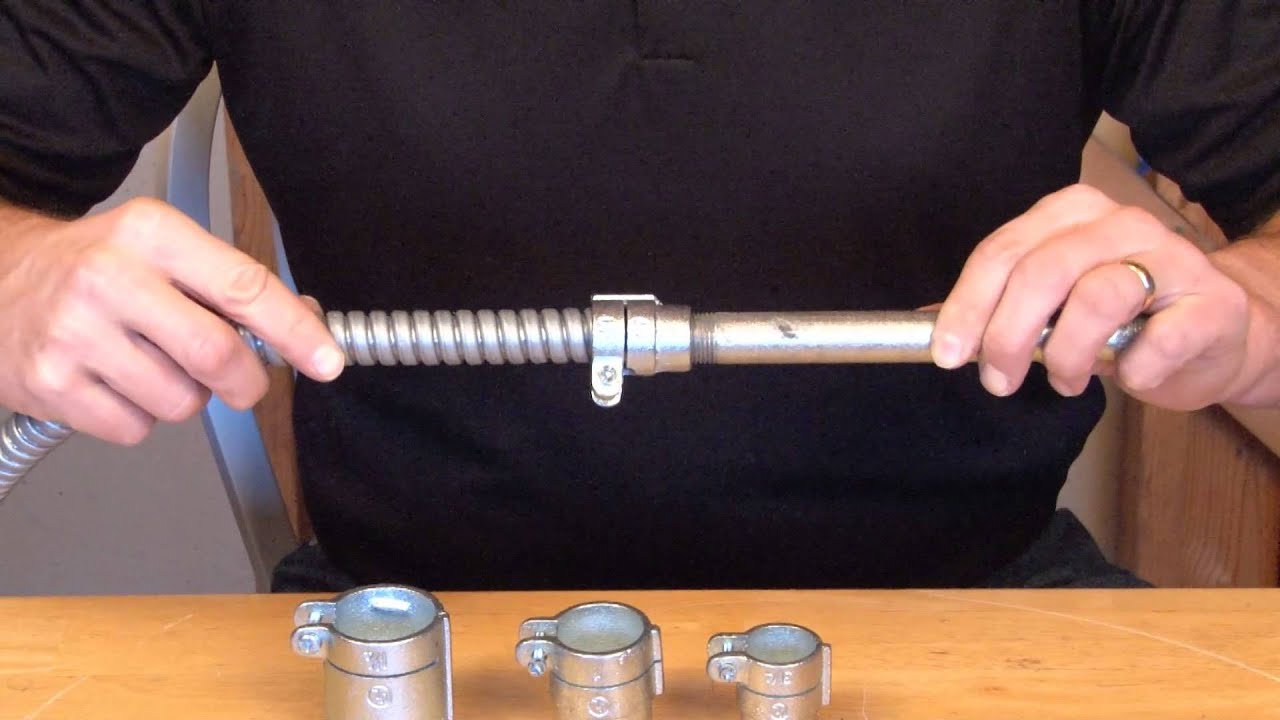
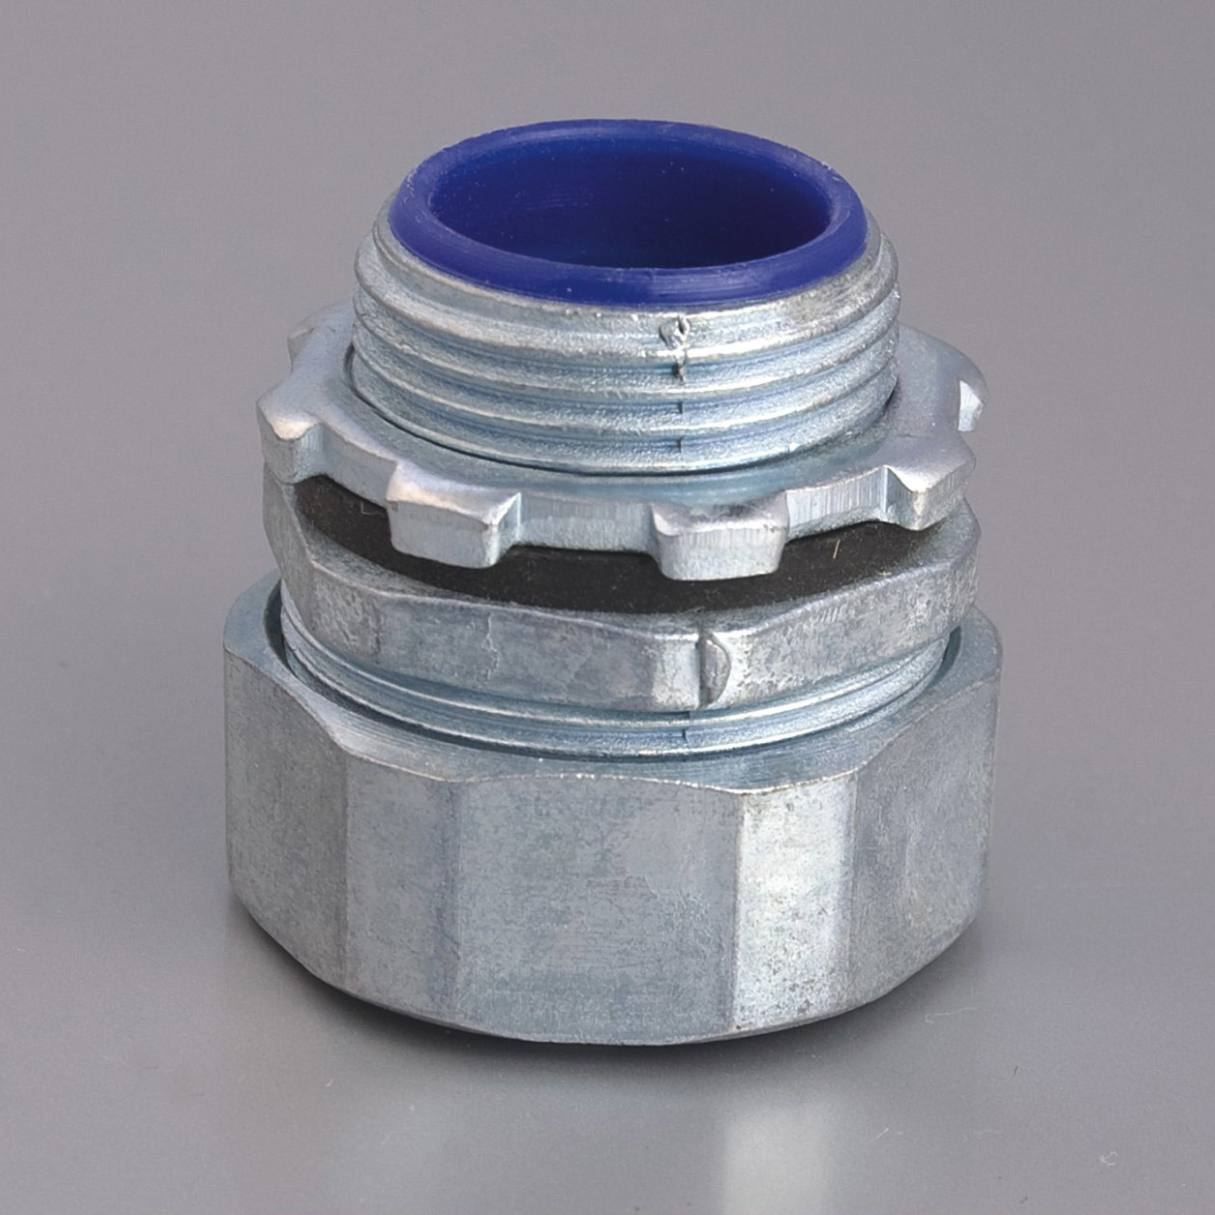
- Conduit connectors: These connectors are used to secure the flex conduit to the junction box. Make sure to choose connectors that are specifically designed for flex conduit.
- Wire cutters/strippers: These tools are essential for cutting and stripping the wires inside the flex conduit. Look for a high-quality wire cutter/stripper that can handle the thickness of the wires.
- Screwdriver: You will need a screwdriver to attach the conduit connectors to the junction box. Choose a screwdriver that matches the type of screws used in the connectors.
- Tape measure: A tape measure is necessary for measuring and cutting the flex conduit to the correct length.
- Electrical wires: Depending on your specific electrical installation, you will need appropriate wires to connect to the junction box. Make sure to choose wires of the correct gauge and type.
- Personal protective equipment (PPE): Always prioritize safety when working with electrical systems. Wear gloves, safety goggles, and other necessary PPE to protect yourself from potential hazards.
Having these materials and tools ready before you start will ensure a smooth and efficient installation process. Now that you have everything you need, let’s move on to the step-by-step instructions for connecting flex conduit to a junction box.
Step 1: Gather the Necessary Tools
Before you begin connecting flex conduit to a junction box, it’s important to gather all the necessary tools. Having these tools ready will ensure a smooth and efficient installation process. Here are the tools you will need:
- Wire cutters/strippers: These tools allow you to cut and strip the wires inside the flex conduit. Choose wire cutters/strippers that are suitable for the thickness of the wires you are working with.
- Screwdriver: A screwdriver is essential for attaching the conduit connectors to the junction box. Make sure you have the appropriate screwdriver that matches the type of screws used in the connectors.
- Tape measure: You will need a tape measure to accurately measure and cut the flex conduit to the correct length.
- Pliers: Pliers can be useful for various tasks during the installation process, such as gripping and twisting wires or tightening connectors.
- Marker: A marker will come in handy for marking the measurements on the flex conduit before cutting.
- Personal protective equipment (PPE): Remember to prioritize your safety. Wear gloves, safety goggles, and any other necessary PPE to protect yourself from potential hazards during the installation process.
By having these tools ready, you will be well-equipped to complete the task of connecting flex conduit to a junction box. Make sure your tools are in good condition and within reach before you begin the installation process. With all the necessary tools gathered, you are now ready to move on to the next step: measuring and cutting the flex conduit.
Step 2: Measure and Cut the Flex Conduit
Once you have gathered the necessary tools, it’s time to measure and cut the flex conduit to the proper length. This ensures a clean and precise installation. Follow these steps:
- Measure: Use a tape measure to measure the distance from the junction box to the starting point where the flex conduit will be connected. Add a few extra inches to allow for flexibility and adjustments.
- Mark: Use a marker to mark the measured length on the flex conduit. Make sure the mark is clear and visible.
- Cut: Using wire cutters or a hacksaw, carefully cut the flex conduit at the marked point. Take your time to ensure a clean and straight cut.
- Deburr: After cutting the flex conduit, use a file or deburring tool to remove any burrs or rough edges from the cut end. This will prevent any damage to the wires or injury during the installation process.
It’s important to note that when cutting the flex conduit, it’s better to cut it slightly longer than needed. You can always trim it down if necessary. It’s always better to have a little extra length than not enough.
Once you have measured and cut the flex conduit, you are now ready to proceed to the next step: stripping the wires.
Step 3: Strip the Wires
After cutting the flex conduit to the proper length, the next step is to strip the wires inside the conduit. This will expose the bare ends of the wires, allowing for proper connection to the junction box. Follow these steps to strip the wires:
- Identify the wires: Take a close look at the wires inside the flex conduit. There are typically three types of wires: the black (hot) wire, the white (neutral) wire, and the green or bare (ground) wire.
- Choose the right tool: Select the appropriate wire cutter/stripper for the job. The tool should be compatible with the wire gauge you are working with.
- Measure and strip: Using the wire cutter/stripper, carefully strip off approximately 1 inch of the outer insulation from each wire. Be cautious not to damage the inner conducting wires while stripping. Remember to follow the manufacturer’s instructions for the specific wire cutter/stripper you are using.
- Inspect the wires: After stripping the wires, visually inspect them for any signs of damage or fraying. If you notice any damaged sections, trim them off and strip the wires again if necessary.
It’s crucial to ensure that the wires are stripped to the correct length and free of any damage or loose strands. This will guarantee a solid and secure electrical connection in the next steps of the installation process.
With the wires properly stripped, you are now ready to move on to the next step: inserting the wires into the flex conduit.
When connecting flex conduit to a junction box, make sure to use a proper connector designed for flex conduit. This will ensure a secure and reliable connection while also providing strain relief for the wires inside the conduit.
Read more: How To Connect PVC Conduit To Electrical Box
Step 4: Insert the Wires into the Flex Conduit
With the wires stripped and ready, the next step is to insert them into the flex conduit. Follow these steps to properly insert the wires:
- Organize the wires: Arrange the stripped wires in the order they will be connected to the junction box. The black (hot) wire is typically connected to the brass screw terminal, the white (neutral) wire to the silver screw terminal, and the green or bare (ground) wire to the green grounding screw terminal.
- Start with one wire: Take one end of a wire and carefully insert it into the opening of the flex conduit. Gently push the wire further into the conduit until it reaches the other end.
- Repeat for other wires: Follow the same process for each remaining wire, inserting them one by one into the flex conduit. Make sure the wires are arranged neatly and do not overlap or twist inside the conduit.
- Ensure proper positioning: As you insert the wires, periodically check to ensure they are positioned correctly and extend evenly along the length of the flex conduit. This will prevent any kinks or bends that could affect the integrity of the electrical connection.
When inserting the wires, be gentle and avoid any excessive force that could damage the insulation or the conductors. Take your time to get the wires properly positioned inside the flex conduit before moving on to the next step.
Now that the wires are securely inserted into the flex conduit, you are ready to proceed to the next step: attaching the flex conduit to the junction box.
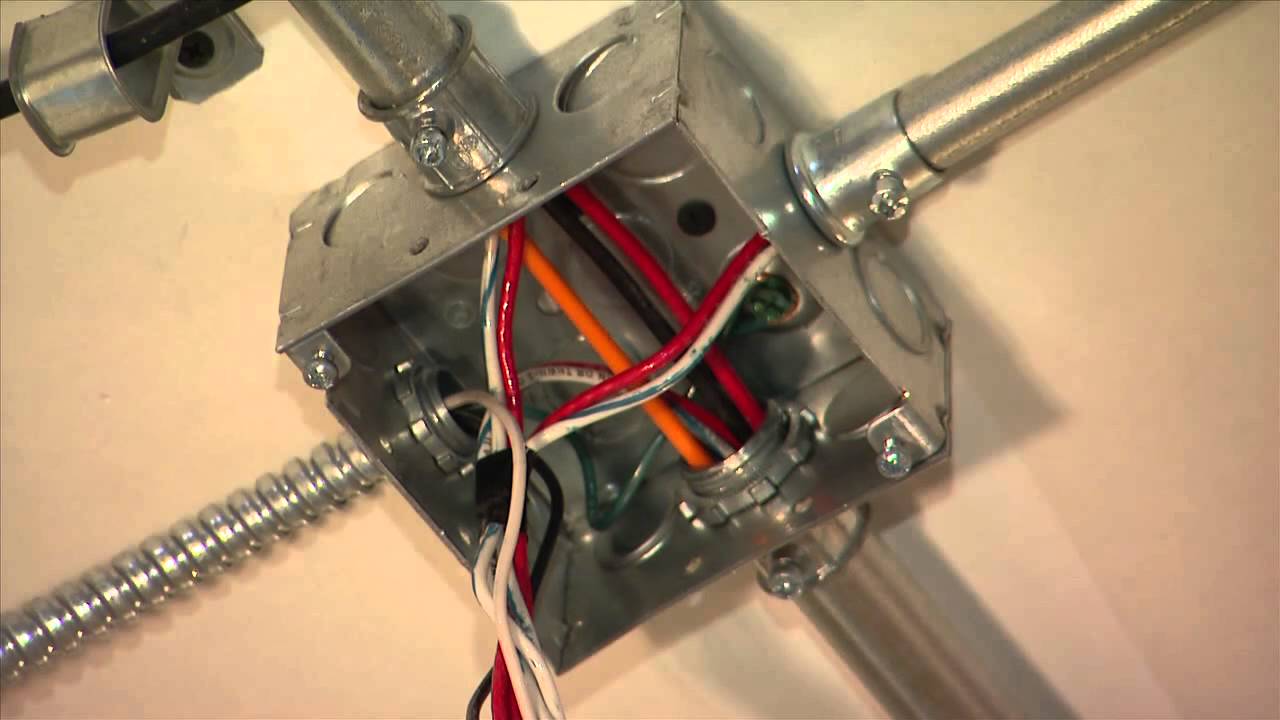
Step 5: Attach the Flex Conduit to the Junction Box
Now that the wires are inserted into the flex conduit, it’s time to attach the flex conduit to the junction box. Follow these steps to ensure a secure connection:
- Position the conduit connectors: Take the flex conduit and position one end of it near the knockout hole on the junction box. Make sure the conduit connectors are attached to the junction box and aligned with the knockout holes.
- Insert the conduit into the connector: Gently insert the end of the flex conduit into the conduit connector. Push it in until it is fully seated into the connector.
- Secure the conduit connector: Use a screwdriver to tighten the screws on the conduit connector. This will secure the flex conduit to the junction box, ensuring a stable connection.
- Repeat for other end: If you have another end of the flex conduit to connect to the junction box, follow the same process for that end as well. Position the conduit connector, insert the conduit, and tighten the screws to secure it.
When attaching the flex conduit to the junction box, make sure the connectors are properly aligned with the knockout holes. This will allow for a clean and seamless connection. Be careful not to overtighten the screws on the conduit connectors, as this can damage the conduit or the junction box. Tighten the screws until they are securely in place, but avoid applying excessive force.
With the flex conduit securely attached to the junction box, you are now ready to move on to the next step: securing the flex conduit and junction box connection.
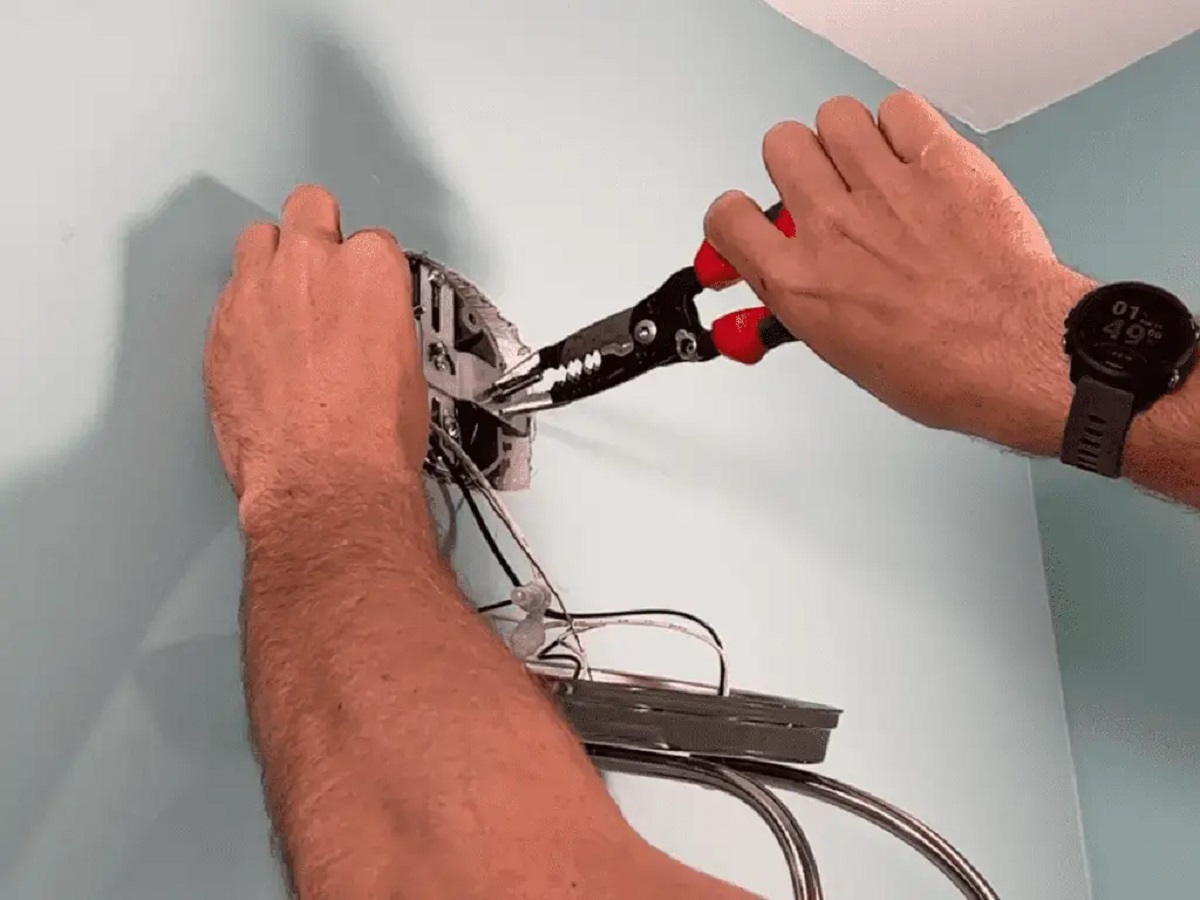
Step 6: Secure the Flex Conduit and Junction Box Connection
Securing the flex conduit and junction box connection is crucial for a safe and reliable electrical installation. Follow these steps to ensure a secure connection:
- Tighten the conduit connectors: Use a screwdriver to ensure the screws on the conduit connectors are tightened securely. This will prevent any movement or loosening of the flex conduit.
- Check for stability: Once the conduit connectors are tightened, gently tug on the flex conduit to ensure it is held firmly in place. It should not move or come loose from the junction box.
- Inspect for gaps: Carefully examine the connection between the flex conduit and the junction box. Look for any gaps or spaces between the conduit connectors and the junction box. If you notice any gaps, tighten the screws on the conduit connectors further to eliminate them.
- Ensure proper grounding: Check that the green or bare wire inside the flex conduit is securely connected to the grounding screw terminal on the junction box. This step is essential for proper grounding and electrical safety.
It’s important to pay attention to the stability of the flex conduit and junction box connection. A loose connection can lead to electrical hazards and compromised performance. Take the time to inspect and secure the connection properly before proceeding.
With the flex conduit and junction box connection securely in place, you are ready to move on to the next step: testing the connection and troubleshooting if necessary.
Step 7: Test the Connection and Troubleshoot if Necessary
After completing the installation of the flex conduit and junction box connection, it’s important to test the electrical connection to ensure everything is working properly. Follow these steps to test the connection:
- Restore power: Turn on the power supply to the junction box by flipping the appropriate circuit breaker or switching on the main power.
- Check for power: Use a voltage tester or a multimeter to check if there is power running through the wires connected to the junction box. Test each wire individually to verify that they are properly functioning.
- Verify functionality: If you are installing specific electrical components, such as outlets or switches, test their functionality by plugging in a device or toggling the switch. Ensure that the connected electrical components are operating as expected.
If you encounter any issues during the testing phase, follow these troubleshooting steps to identify and resolve the problem:
- Check connections: Double-check all your wire connections to ensure they are securely attached to the appropriate terminals in the junction box. Loose connections can cause electrical failures or pose safety hazards.
- Inspect for damage: Inspect the wires, connectors, and the flex conduit for any signs of damage or wear. If you notice any frayed wires, heavily corroded connectors, or other visible damage, they should be replaced or repaired before proceeding.
- Examine the circuit: Verify that the circuit breaker or fuse connected to the junction box is functioning properly. If it has tripped or blown, reset the breaker or replace the fuse as needed.
- Consult an expert: If you are unable to identify or resolve the issue on your own, it’s essential to consult a licensed electrician for further assistance. They have the expertise and knowledge to troubleshoot and rectify complex electrical problems.
Remember, safety is paramount when testing and troubleshooting electrical connections. Always exercise caution and, if unsure, seek professional help to avoid the risk of electric shock or further damage.
With the connection tested and any necessary troubleshooting completed, you have successfully connected the flex conduit to the junction box. Congratulations!
Read also: 14 Amazing Flex Conduit for 2025
Conclusion
Connecting flex conduit to a junction box is an essential step in electrical installations. By following the step-by-step instructions provided in this article, you have learned how to make a secure and reliable connection. Here is a recap of the key steps involved:
- Gather the necessary tools: Ensure you have the appropriate tools such as wire cutters/strippers, screwdriver, tape measure, and personal protective equipment (PPE).
- Measure and cut the flex conduit: Measure the required length and cut the flex conduit accordingly, deburring the edges to prevent damage.
- Strip the wires: Use wire cutters/strippers to remove the outer insulation of the wires, exposing the conductors.
- Insert the wires into the flex conduit: Organize the wires and insert them one by one into the flex conduit, ensuring they are arranged neatly and extend evenly along the length of the conduit.
- Attach the flex conduit to the junction box: Position the flex conduit next to the knockout holes on the junction box, insert it into the conduit connectors, and tighten the screws to secure the connection.
- Secure the flex conduit and junction box connection: Double-check the tightness of the conduit connectors and inspect for stability and proper grounding.
- Test the connection and troubleshoot if necessary: Restore power, test for voltage, and verify the functionality of electrical components. If any issues arise, check connections, inspect for damage, examine the circuit breaker, and consider consulting an expert.
Remember to prioritize safety throughout the entire process, turning off the power supply to the junction box and wearing appropriate PPE. If you are unsure about any step or encounter complex electrical issues, it is recommended to seek assistance from a licensed electrician.
With these instructions and a careful approach, you can confidently connect flex conduit to a junction box, ensuring a reliable and secure electrical installation. By following proper procedures, you contribute to a safe and efficient electrical system in your home or workplace.
Now that you're all set with connecting flex conduit to a junction box, why not tackle more projects to upgrade your home's electrical system? If you're considering extending power to that workshop or cozy retreat in your garage, our guide on running overhead electrical wires offers practical advice and clear instructions. For those interested in a more embedded solution, delve into our detailed steps for seamless conduit installations within walls. Both articles are packed with expert tips to ensure safe and efficient upgrades to your electrical setups.
Frequently Asked Questions about How To Connect Flex Conduit To Junction Box
Was this page helpful?
At Storables.com, we guarantee accurate and reliable information. Our content, validated by Expert Board Contributors, is crafted following stringent Editorial Policies. We're committed to providing you with well-researched, expert-backed insights for all your informational needs.


0 thoughts on “How To Connect Flex Conduit To Junction Box”