Articles
How To Frame A Fireplace
Modified: October 20, 2024
Discover expert tips and techniques for framing a fireplace in our informative articles. Transform your space with a stunning fireplace frame.
(Many of the links in this article redirect to a specific reviewed product. Your purchase of these products through affiliate links helps to generate commission for Storables.com, at no extra cost. Learn more)
Introduction
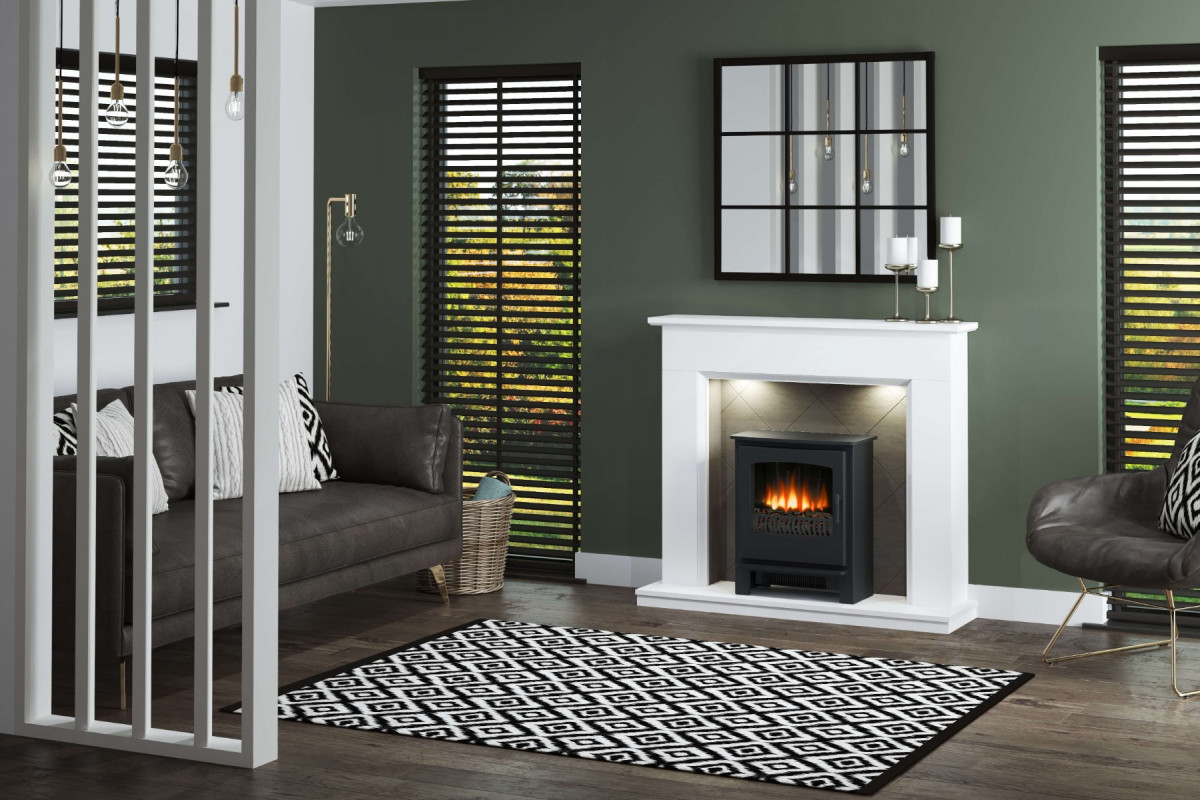
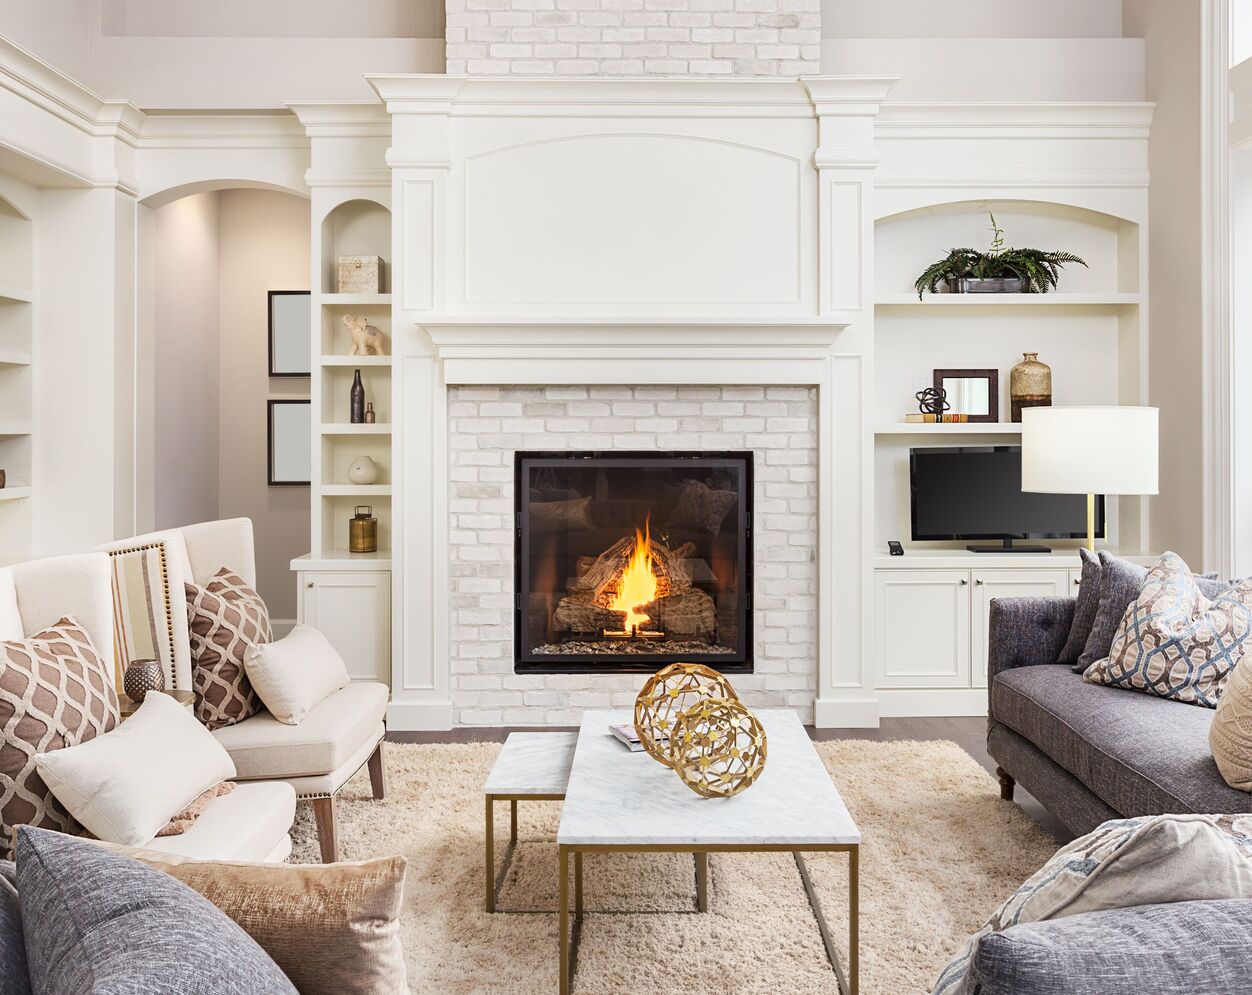
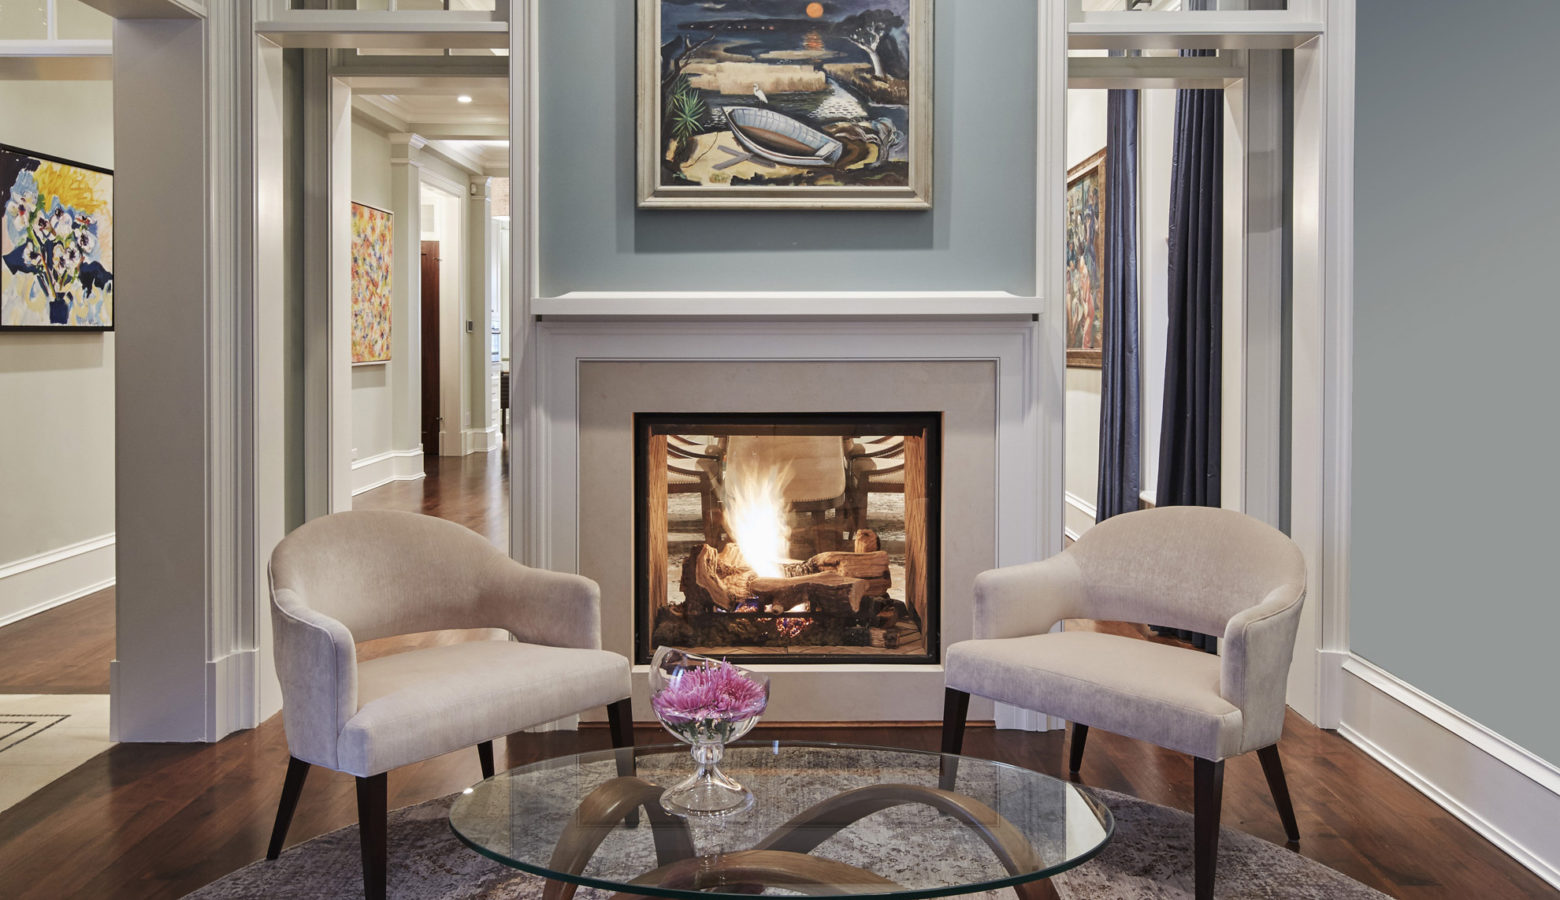
Updating your living space with a fireplace can add warmth, coziness, and a focal point to your home. However, simply adding a fireplace is not enough; you need to frame it properly to create a seamless and polished look. Framing a fireplace involves installing a surround, hearth, mantel, and insert to complete the overall design.
Whether you’re installing a new fireplace or giving your existing one a makeover, this step-by-step guide will walk you through the process. From measuring and marking the wall to connecting the gas or electric supply, we’ll cover everything you need to know to frame a fireplace successfully.
Before we dive into the details, let’s go over the essential materials you’ll need for this project:
Read more: How To Hide A Fireplace
Materials Needed:
- Measuring tape
- Pencil
- Level
- Construction adhesive
- Screws
- Drill
- Screwdriver
- Mantel
- Surround
- Hearth
- Fireplace insert
- Gas or electric supply connections
- Decorative items (optional)
With all the necessary materials listed above, we can now proceed with framing your fireplace. Let’s get started!
Key Takeaways:
- Framing a fireplace involves precise measurements, proper wall preparation, and secure installation of components like the surround, hearth, and mantel. Attention to detail and safety are crucial for a successful DIY project.
- Connecting the gas or electric supply for the fireplace insert requires adherence to safety guidelines and potentially consulting a professional. The finishing touches and decorations add a personalized touch to create a visually appealing and functional fireplace.
Materials Needed
Before you begin framing your fireplace, gather the following materials:
- Measuring tape: This tool is essential for accurately measuring the dimensions of your wall and other components of the fireplace.
- Pencil: A pencil will allow you to mark where the fireplace surround, hearth, and mantel should be placed on the wall.
- Level: Use a level to ensure that your markings and installations are straight and level.
- Construction adhesive: This adhesive will be used to attach the surround, hearth, and mantel to the wall.
- Screws: You’ll need screws to secure the various components of the fireplace, including the surround, hearth, and mantel.
- Drill: A drill is necessary to create pilot holes for the screws and to make any necessary modifications to the wall surface.
- Screwdriver: You’ll need a screwdriver to tighten the screws and secure the components of the fireplace.
- Mantel: The mantel is the decorative shelf that surrounds the top portion of the fireplace. Choose a mantel that complements your overall design and aesthetic preferences.
- Surround: The surround is the border around the fireplace opening. It can be made of various materials, such as wood, stone, or tile. Select a surround that matches your desired style and complements the rest of your home decor.
- Hearth: The hearth is the area on the floor in front of the fireplace. It can be made of stone, tile, or other heat-resistant materials. Choose a hearth that enhances the overall look and feel of your fireplace.
- Fireplace insert: The fireplace insert is the unit that contains the firebox and provides the source of heat. Choose a gas or electric fireplace insert based on your preferences and needs.
- Gas or electric supply connections: Depending on the type of fireplace insert you choose, you’ll need the appropriate gas or electric supply connections to power the unit.
- Decorative items (optional): Once the framing is complete, you can add decorative items such as artwork, mirrors, or candles to enhance the visual appeal of your fireplace.
By gathering these materials in advance, you’ll have everything you need to successfully frame your fireplace and create a stunning focal point in your living space.
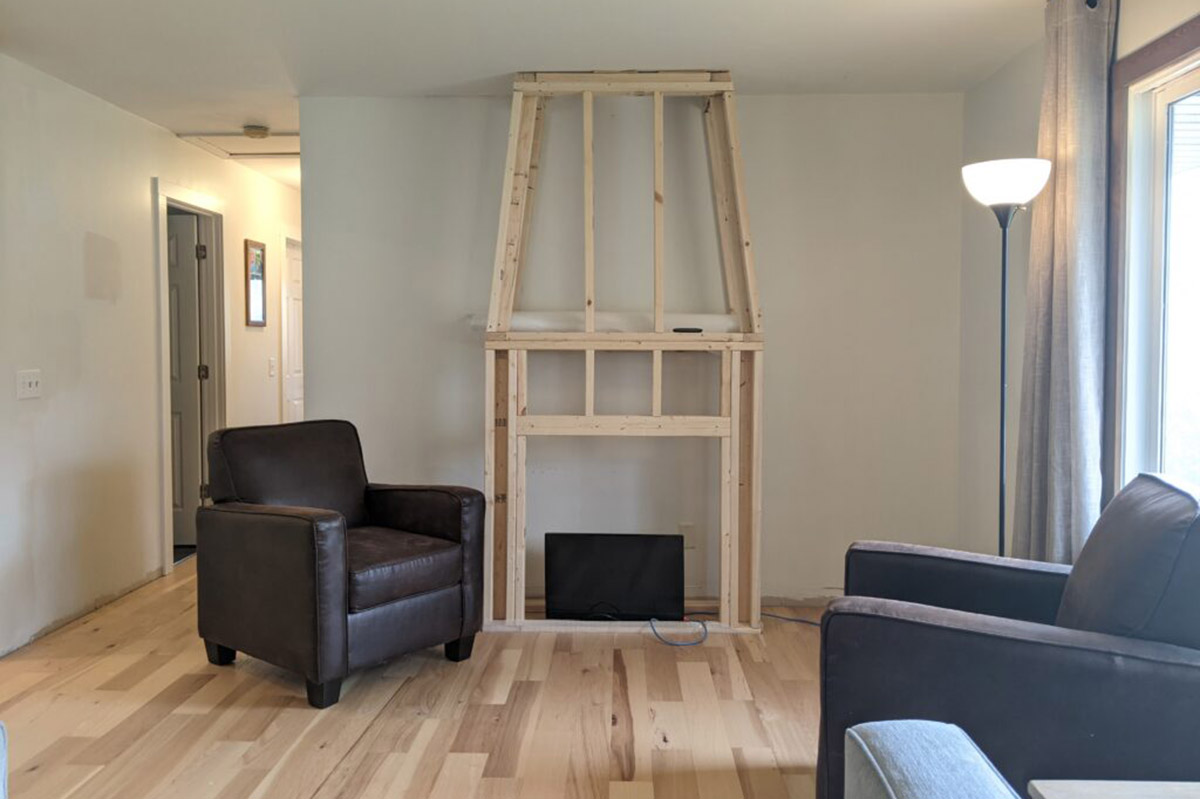
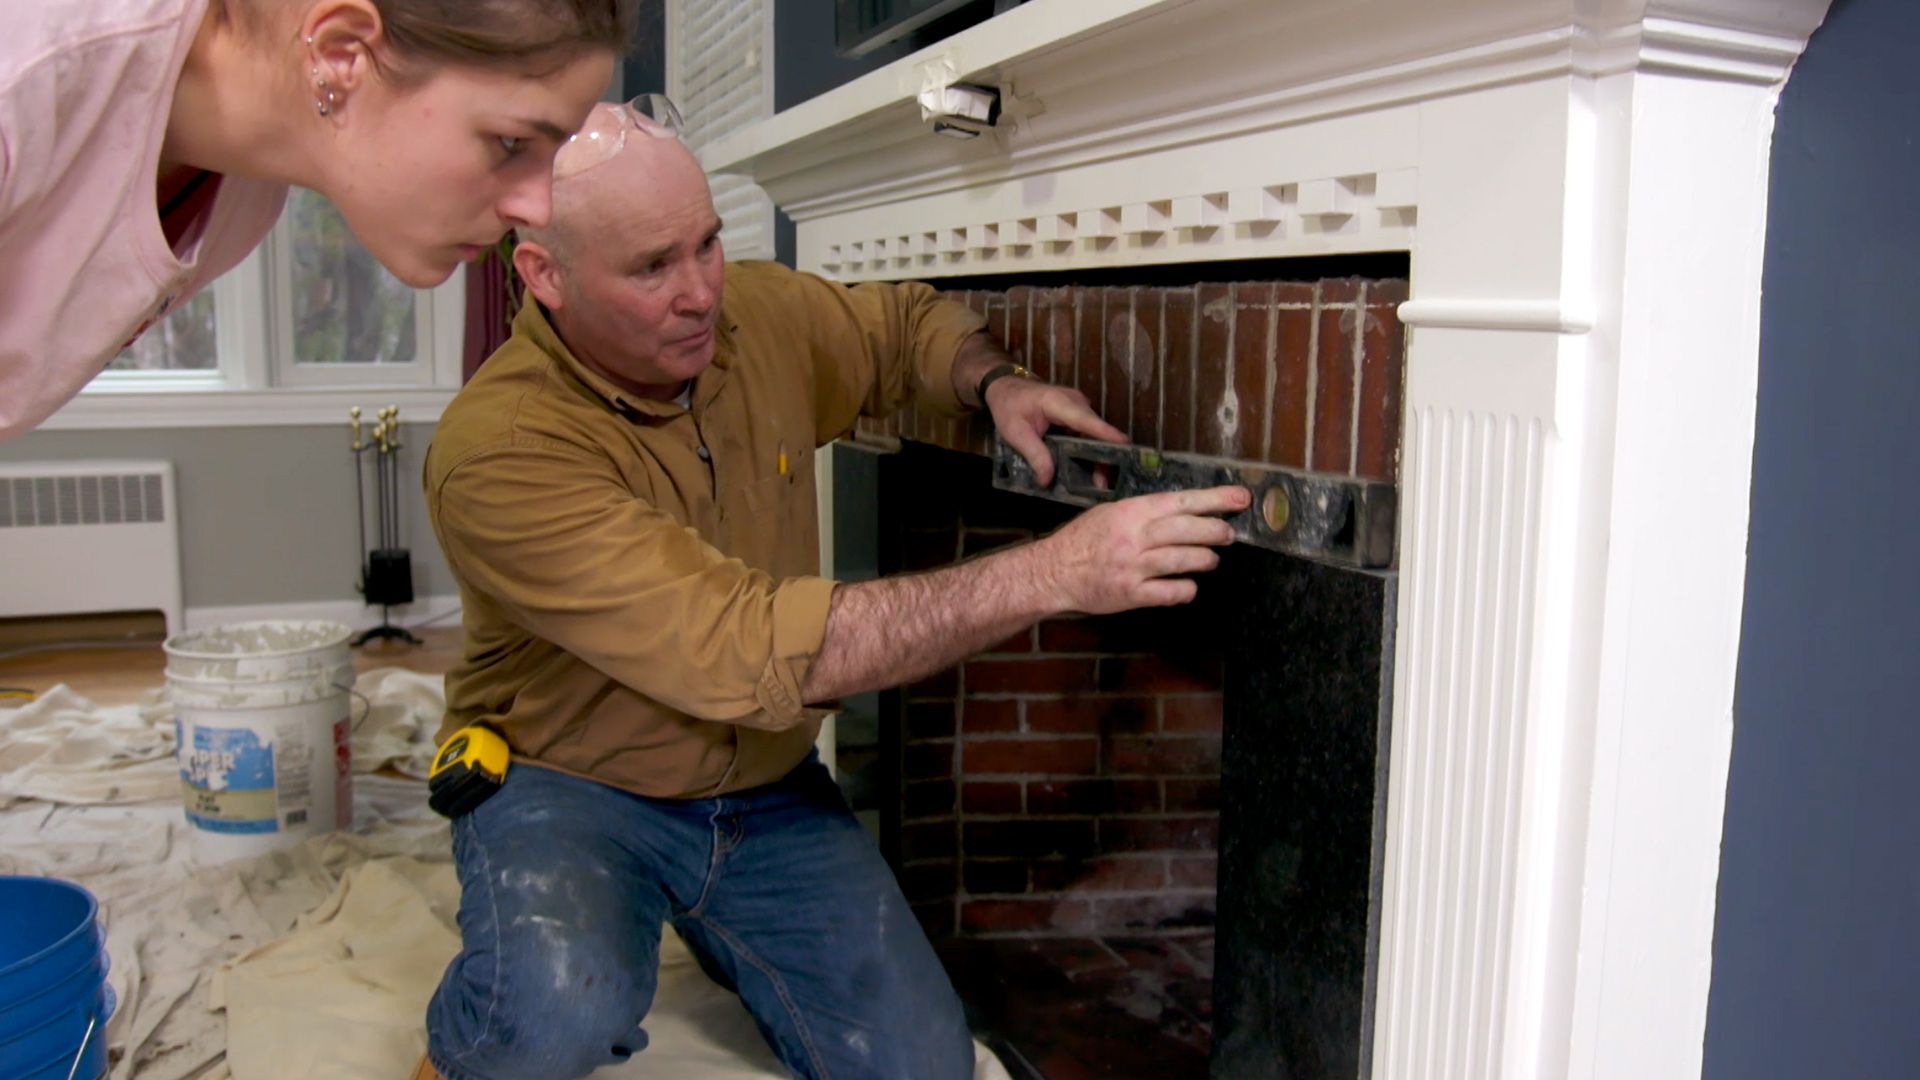
Step 1: Measure and Mark the Wall
The first step in framing your fireplace is to measure the wall where you plan to install it. This will ensure that you have the correct dimensions for all the components.
Start by using a measuring tape to measure the width and height of the wall. Take note of these measurements, as they will determine the size of the fireplace surround, hearth, and mantel.
Next, determine the desired height of the mantel. Generally, the mantel is placed at a height of around 54-60 inches from the floor. Use a pencil to mark this height on the wall, making sure it is level.
If you plan to have a hearth, measure and mark the area on the floor where it will be installed. Ensure that the hearth is centered and aligned with the marked height of the mantel on the wall.
Once you have marked the height and width of the mantel and the area for the hearth, use a level to draw straight lines connecting the marks. This will create a clear outline of where the surround and hearth will be placed.
Additionally, mark the location for the fireplace insert. Keep in mind any necessary clearance requirements specified by the manufacturer. It’s important to ensure that the marked location is centered and appropriately sized for the insert.
By accurately measuring and marking the wall, you will have a solid foundation for the rest of the framing process. Take your time during this step to ensure precise measurements and level markings.
Step 2: Prepare the Wall Surface
Once you have measured and marked the wall for your fireplace, the next step is to prepare the wall surface to ensure a proper and secure installation.
Start by removing any existing wall coverings, such as wallpaper or paint, from the area where the fireplace will be installed. Use a scraper or sandpaper to smooth out any rough patches or imperfections on the wall.
Inspect the wall for any electrical or plumbing elements that may hinder the installation. If necessary, consult a professional to safely relocate or reroute these elements.
If the wall is made of drywall, reinforce the area around the fireplace opening by adding additional studs or using plywood as backing. This will provide extra support for the surround and mantel.
Before proceeding with the installation, ensure that the wall surface is clean and free from any dust or debris. Use a damp cloth to wipe down the area and allow it to dry completely.
If you plan to paint or apply any finishes to the wall, it is recommended to do so before installing the fireplace components. This will make the process easier and ensure a seamless finished look.
Lastly, consider installing a fire-resistant barrier on the wall to protect it from heat and potential fire hazards. This can be accomplished by using cement board or a similar heat-resistant material between the wall and the fireplace components.
By properly preparing the wall surface, you will create a sturdy and secure foundation for the fireplace installation. Take the time to assess the condition of the wall and make any necessary reinforcements or adjustments to support the weight of the components.
Read more: How To Install A Fireplace
Step 3: Install the Surround and Hearth
With the wall surface prepared, it’s time to move on to installing the surround and hearth of your fireplace. The surround is the border surrounding the fireplace opening, while the hearth is the area on the floor in front of the fireplace.
Start by applying construction adhesive to the back of the surround. Carefully position the surround on the marked outline and press it firmly against the wall. Use a level to ensure that it is straight and aligned with the marked height.
Next, secure the surround to the wall by driving screws through the pre-drilled holes, if available. The number of screws needed will depend on the size and weight of the surround. Be sure to use the appropriate length and type of screws for your wall material.
If the surround is made of stone or tile, you may need to use additional adhesive to secure individual pieces. Follow the manufacturer’s instructions for proper installation and allow ample drying time as needed.
Once the surround is securely in place, move on to installing the hearth. Apply construction adhesive to the underside of the hearth and carefully position it on the marked area on the floor. Use a level to ensure that it is level and aligned with the surround.
Just like the surround, secure the hearth to the floor with screws or additional adhesive, depending on the material. Ensure that the screws or fasteners are flush with the surface to avoid any tripping hazards.
After installing the surround and hearth, allow sufficient time for the adhesive to dry and cure before proceeding to the next steps.
By installing the surround and hearth properly, you will create a visually pleasing frame for your fireplace. Take the time to ensure everything is aligned and secured, as this will contribute to the overall aesthetic and safety of the installation.
Step 4: Secure the Mantel
Once the surround and hearth are in place, it’s time to secure the mantel. The mantel is the decorative shelf that sits above the fireplace and adds a finishing touch to the framing.
Start by measuring and marking the desired height for the mantel on the surround. Use a level to ensure that the marks are straight and aligned with the surround.
Next, apply construction adhesive to the back of the mantel. Carefully position the mantel on the marked height and press it firmly against the surround. Check for levelness and make any adjustments as necessary.
Once you are satisfied with the positioning, secure the mantel to the surround using screws. Pre-drill pilot holes to prevent splitting the wood or damaging the surround. Drive the screws through the mantel and into the surround, ensuring a secure fit.
If the mantel is made of heavier materials like stone or concrete, additional reinforcement may be needed. Consult with a professional or follow the manufacturer’s instructions for proper installation.
For added stability, you can also attach brackets or support brackets to the wall and the underside of the mantel. This will provide extra support and prevent the mantel from sagging or moving over time.
Once the mantel is securely in place, take a step back and ensure that it is level and aligned with the rest of the fireplace framing. Make any necessary adjustments and tighten the screws as needed.
Properly securing the mantel will not only give your fireplace a finished look but also ensure its long-term stability and safety. Take the time to measure, position, and secure the mantel correctly for a polished and professionally framed fireplace.
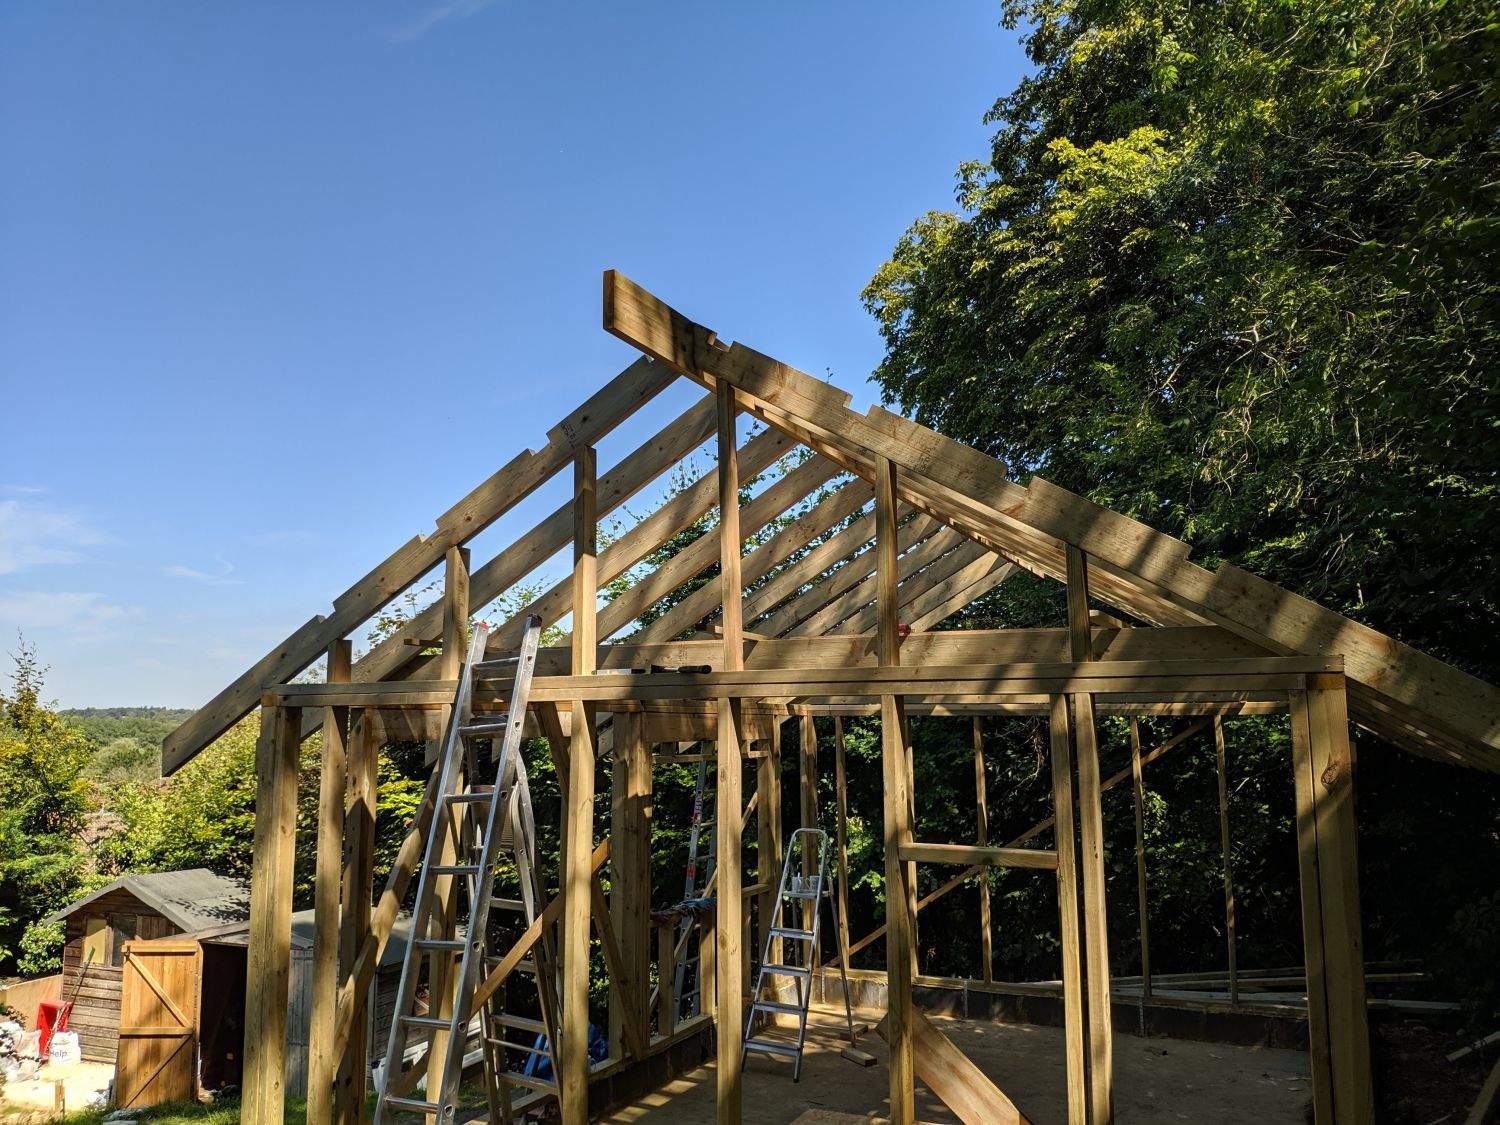
When framing a fireplace, ensure that the framing is sturdy and able to support the weight of the fireplace and surrounding materials. Use pressure-treated lumber for the framing to prevent rot and ensure longevity.
Step 5: Install the Fireplace Insert
With the surround, hearth, and mantel securely in place, it’s time to install the fireplace insert. The fireplace insert is the unit that contains the firebox and provides the source of heat for your fireplace.
If you’re using a gas fireplace insert, start by connecting the gas line to the unit. Follow the manufacturer’s instructions and consult a professional if needed to ensure proper gas line installation and connection. Make sure to check for any gas leaks using a soap and water solution.
If you’re using an electric fireplace insert, ensure that you have a nearby electrical outlet to power the unit. Carefully plug in the insert and ensure that the power cord is safely secured and not in the way of any moving parts or hot surfaces.
Position the fireplace insert within the opening, ensuring that it is centered and aligned with the surround. Use a level to check for straightness and adjust as necessary.
If the insert has adjustable feet or mounting brackets, make sure they are properly positioned and secured to maintain stability. Follow the manufacturer’s instructions for any installation or anchoring procedures specific to your particular fireplace insert.
Check that all controls, vents, and access panels on the fireplace insert are easily accessible and functioning properly. Ensure that the clearance requirements specified by the manufacturer are met to prevent any potential fire hazards.
Once the fireplace insert is installed, test it to make sure it is operating correctly. Turn on the gas supply or plug in the electric fireplace insert to ensure that the flames, heat, and any additional features are functioning as expected.
Take the time to familiarize yourself with the operating instructions and safety precautions provided by the manufacturer. Following these guidelines will help you safely and effectively use your fireplace insert.
By properly installing and connecting the fireplace insert, you’ll have a functional and enjoyable fireplace that adds warmth and ambiance to your home.
Step 6: Connect Gas or Electric Supply
Once the fireplace insert is installed, the next step is to connect the gas or electric supply to power the unit. The type of supply you need will depend on the type of fireplace insert you have.
If you’re using a gas fireplace insert, it’s important to follow safety guidelines and consult a professional if you are not familiar with gas line installation. Start by ensuring that the gas supply is turned off. Then, connect the gas line to the fireplace insert, following the manufacturer’s instructions and any applicable local codes or regulations.
Ensure that all connections are tight and free from leaks. Apply a solution of soapy water to the connections and look for any bubbles indicating a leak. If you detect a leak, turn off the gas supply immediately and consult a professional for assistance.
If you’re using an electric fireplace insert, ensure that you have access to a nearby electrical outlet that can provide the necessary power. Carefully plug in the fireplace insert, making sure the power cord is not twisted or strained, and is safely away from any hot surfaces or moving parts.
If you need to conceal any visible cords or wires, consider using cord covers or running the wires behind walls or furniture for a cleaner installation.
Once the gas or electrical connections are made, test the fireplace insert to ensure that it is functioning as expected. Follow the manufacturer’s instructions for operating and controlling the unit, and adjust any settings or features as desired.
It’s important to prioritize safety when connecting the gas or electric supply. If you have any doubts or concerns, it’s always best to consult with a professional to ensure a correct and safe installation.
By properly connecting the gas or electric supply, you will have a reliable and functional fireplace insert that can provide warmth and ambience to your living space.
Read more: How To Childproof A Fireplace
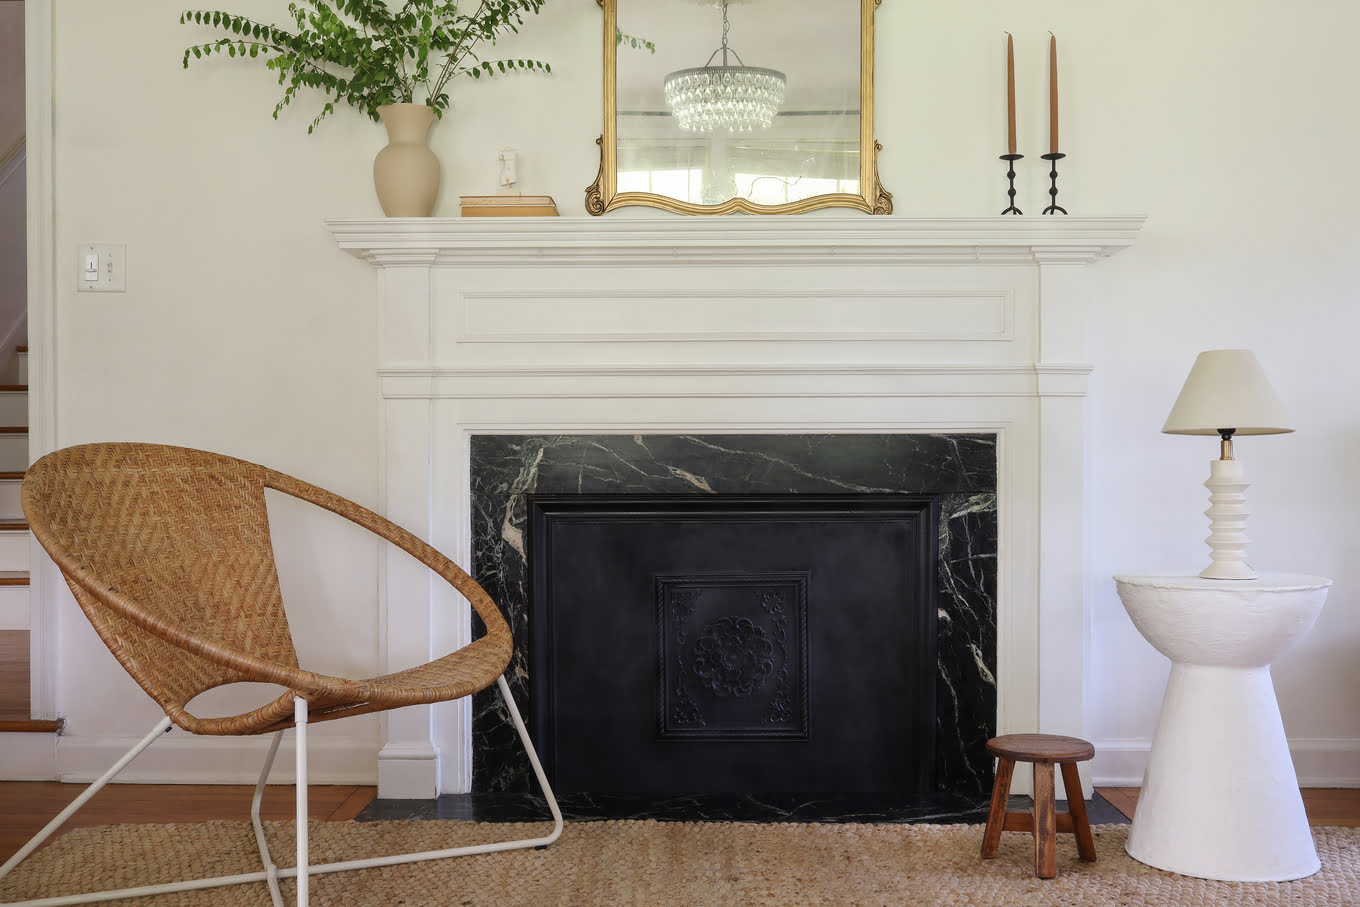
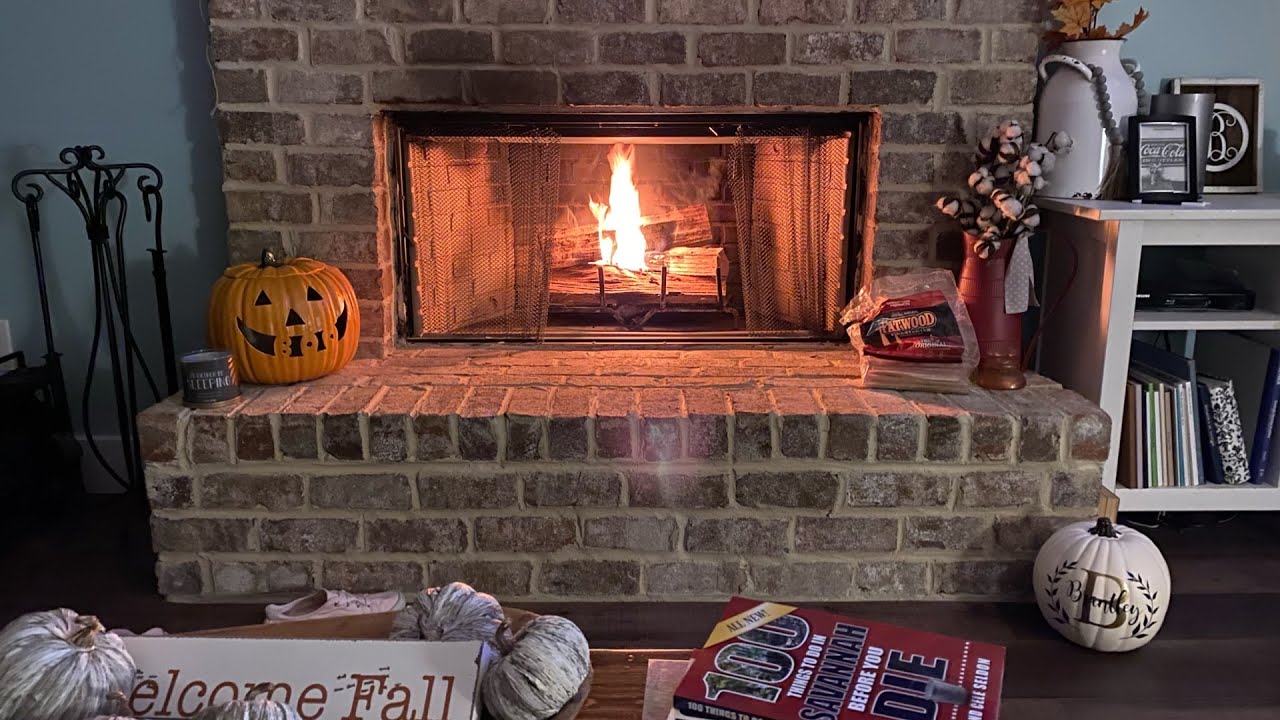
Step 7: Finish and Decorate the Surround
Now that you have installed the fireplace insert and connected the gas or electric supply, it’s time to put the finishing touches on the surround and enhance the overall aesthetic of your fireplace.
Start by ensuring that all the components of the surround and mantel are securely in place. Double-check the screws, adhesive, and brackets to ensure everything is tight and stable.
If the surround or mantel has any unfinished edges or surfaces, consider applying a coat of paint or stain to match your desired style. Choose a color that complements your home’s décor and enhances the overall look of the fireplace.
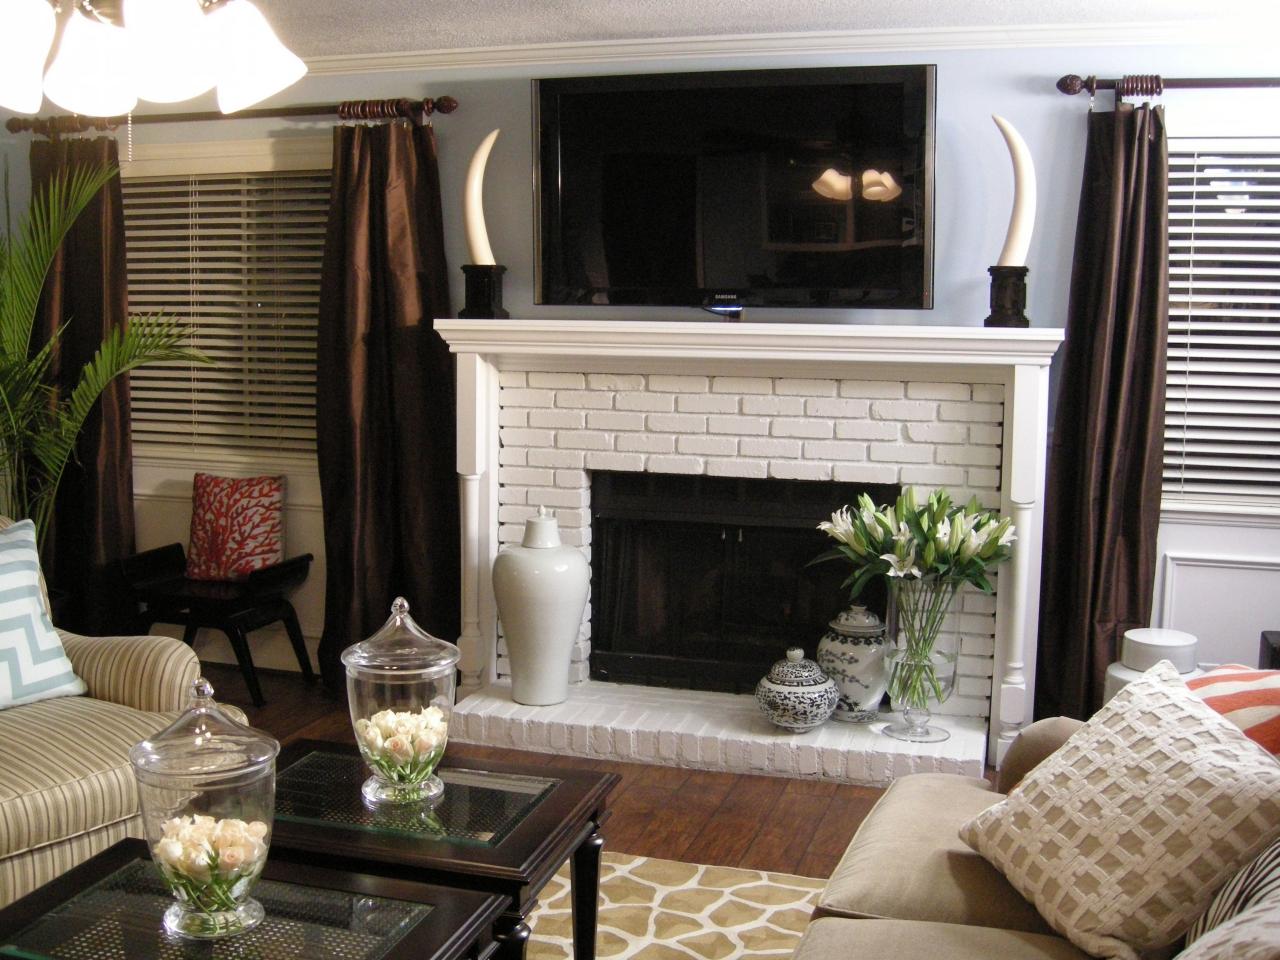
Consider adding decorative elements such as trims, moldings, or accent tiles to the surround. These can enhance the visual appeal and personalization of the fireplace, making it a unique focal point in your living space.
You can also incorporate additional decorative items such as artwork, mirrors, or candles on or above the mantel. These accessories can add personality and warmth to the overall design.
Ensure that any decorations you choose to place near the fireplace are non-combustible and positioned at a safe distance from the heat source. Safety should always be a top priority when decorating your fireplace.
Take a step back and assess the overall appearance and balance of the surround and mantel. It’s important to ensure that the design aligns with your vision and creates a harmonious aesthetic in the room.
Lastly, clean the fireplace surround and mantel regularly to maintain their appearance. Dust and remove any debris or ashes that may accumulate over time.
By taking care of the finishing touches and decorating the surround, you can create a beautiful and personalized fireplace that adds warmth and style to your living space.
Conclusion
Framing a fireplace is a rewarding DIY project that can transform the look and feel of your living space. By carefully following each step, from measuring and marking the wall to finishing and decorating the surround, you can create a polished and visually appealing fireplace that enhances the overall ambiance of your home.
Remember to gather all the necessary materials before you begin, including measuring tools, construction adhesive, screws, and the various components such as the surround, hearth, mantel, and fireplace insert.
When measuring and marking the wall, ensure accuracy and levelness for precise installation. Properly preparing the wall surface and reinforcing it as needed will provide a strong foundation for the fireplace framing.
Installing the surround, hearth, and mantel requires attention to detail and using the correct fixing methods. Take your time to position and secure each component accurately, ensuring stability and aesthetic appeal.
Connecting the gas or electric supply to power the fireplace insert requires adherence to safety guidelines and potentially consulting a professional. Follow the manufacturer’s instructions and check for any leaks or issues before testing the functionality of the insert.
Finally, complete the framing process by finishing and decorating the surround to your desired style. Consider applying paint or stain, adding decorative elements, and incorporating personalized touches to make your fireplace truly unique.
Throughout the entire process, safety should be a top priority. Follow all safety recommendations provided by the manufacturer and consult with professionals as needed to ensure a secure and properly functioning fireplace.
By framing your fireplace with care and attention to detail, you can create a warm and inviting focal point in your home that brings joy and comfort for years to come.
Frequently Asked Questions about How To Frame A Fireplace
Was this page helpful?
At Storables.com, we guarantee accurate and reliable information. Our content, validated by Expert Board Contributors, is crafted following stringent Editorial Policies. We're committed to providing you with well-researched, expert-backed insights for all your informational needs.


0 thoughts on “How To Frame A Fireplace”