Articles
How To Redo Fireplace
Modified: August 27, 2024
Learn how to redo your fireplace with our helpful articles. Get tips, ideas, and step-by-step instructions for a stunning fireplace transformation.
(Many of the links in this article redirect to a specific reviewed product. Your purchase of these products through affiliate links helps to generate commission for Storables.com, at no extra cost. Learn more)
Introduction
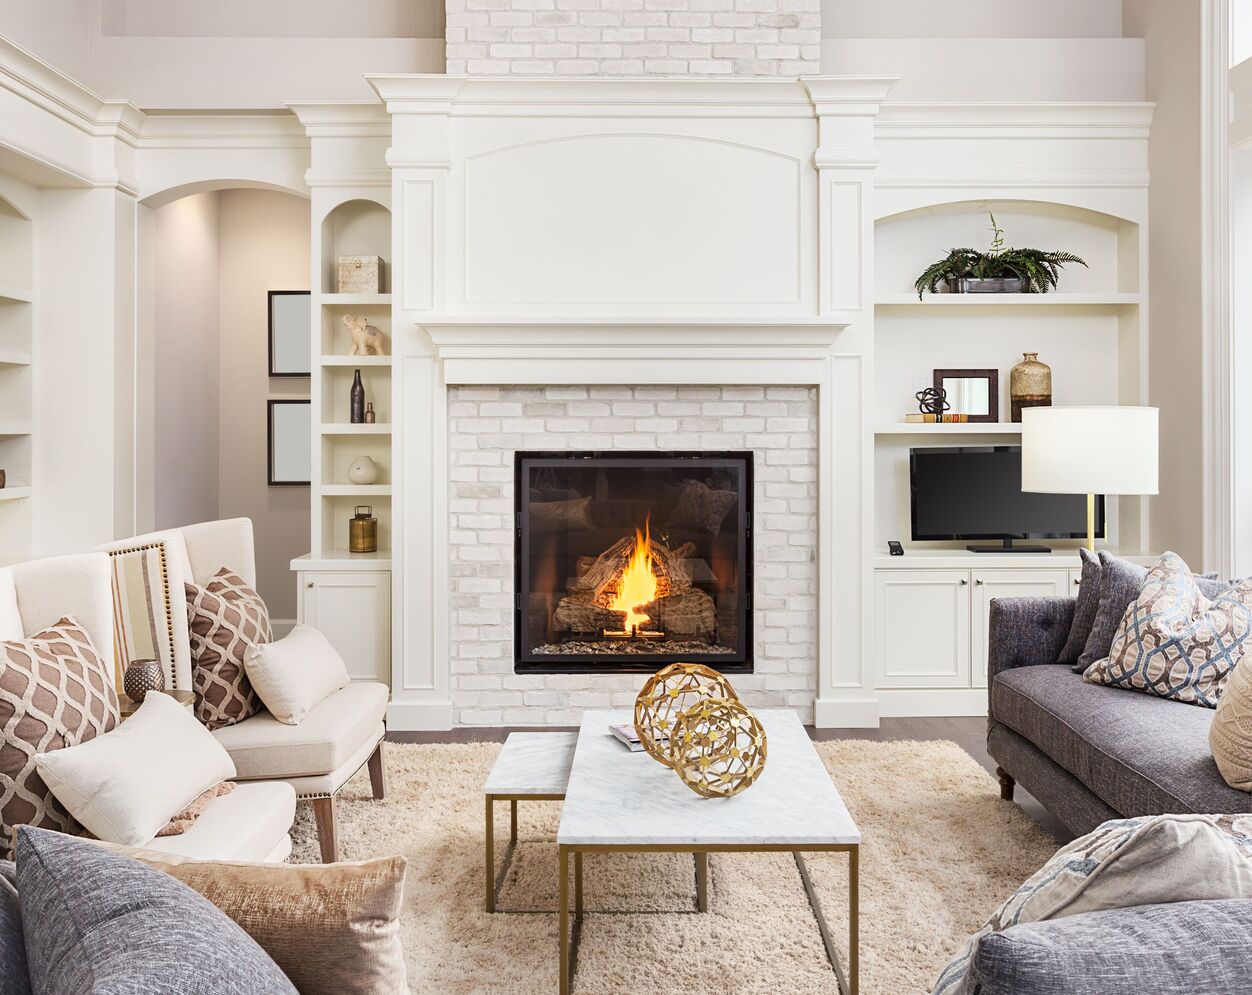
Welcome to the world of fireplace makeovers! A fireplace is the heart of any living space, providing warmth, comfort, and a focal point for gatherings with family and friends. However, over time, your fireplace may start to look outdated, worn, or simply not reflect your personal style. That’s where a fireplace redo comes in.
A fireplace redo is a fantastic way to breathe new life into your living room or any other area with a fireplace. It allows you to transform the look and feel of your space without undergoing a complete renovation. Whether you prefer a modern, sleek design or a more rustic and cozy ambiance, a fireplace redo offers endless possibilities to express your personal style and enhance the overall aesthetics of your home.
In this article, we will guide you through the process of redoing your fireplace, from assessing your current setup to selecting the perfect materials and completing the installation. With some creativity, careful planning, and a few handy tools, you can achieve a stunning fireplace makeover that will be the envy of all who enter your home.
So, if you’re ready to embark on a fireplace redo adventure, let’s dive in!
Key Takeaways:
- Transform your outdated fireplace into a stunning focal point that reflects your personal style and enhances the overall aesthetics of your home with a carefully planned and executed fireplace redo.
- By following the steps outlined in this article, you can create a one-of-a-kind fireplace that reflects your personal style and enhances the overall ambiance of your home.
Read more: How To Redo A Stone Fireplace
Assessing the Fireplace
The first step in redoing your fireplace is to assess its current condition and determine what changes are needed. Take a close look at the existing fireplace surround, mantel, and any other components. Consider the style, material, and overall functionality.
Ask yourself the following questions:
- Is the current fireplace surround outdated or worn out?
- Does the mantel complement the style of the room?
- Are there any safety concerns or issues with the functionality of the fireplace?
Once you have a clear idea of what needs to be addressed, you can move on to the next steps of the fireplace redo process. It’s important to determine your goals and vision for the makeover before proceeding.
Consider the following factors:
- Your personal style: Are you drawn to a specific design aesthetic, such as modern, traditional, or rustic?
- The overall look and feel of the room: Ensure that the fireplace redo aligns with the existing decor and complements the surrounding elements.
- Your budget: Determine how much you are willing to invest in the fireplace redo project, as this will impact the materials and design options available to you.
Taking the time to assess your fireplace and consider your goals will help you make informed decisions throughout the redo process. It will also ensure that you achieve a finished result that not only meets your expectations but also enhances the overall atmosphere of your living space.
Gathering the Necessary Tools and Materials
Before you begin the fireplace redo project, it’s essential to gather all the necessary tools and materials. Having everything on hand will save you time and frustration during the installation process. Here’s a list of common tools and materials you might need:
Tools:
- Measuring tape
- Level
- Hacksaw or reciprocating saw
- Screwdriver
- Hammer
- Chisel
- Putty knife
- Drill
- Stud finder
Materials:
- Fireplace surround of your choice (wood, stone, tile, etc.)
- Mantel or mantel shelf
- Construction adhesive
- Screws
- Wood filler
- Paint or stain (if applicable)
These are just some of the basic tools and materials you might need. Depending on your specific fireplace redo project, you may require additional or specialized tools. It’s always a good idea to consult with a professional or do thorough research to ensure you have everything you need.
Once you have all the necessary tools and materials, organize them in a designated workspace near your fireplace. This way, you’ll have easy access to everything throughout the installation process. Double-check that you have everything on your list before proceeding with the project.
Gathering the necessary tools and materials in advance will set you up for a smooth and efficient fireplace redo. With everything within reach, you’ll be ready to tackle the next steps and transform your fireplace into a stunning focal point.
Removing Existing Fireplace Surround
Now that you have assessed your fireplace and gathered the necessary tools and materials, it’s time to remove the existing fireplace surround. This step is crucial as it provides a clean slate for the new fireplace redo. Follow these steps to safely remove the old surround:
- Clear the area: Remove any furniture, decorations, or objects near the fireplace to create a workspace that is free from obstacles.
- Turn off the gas or electricity: If your fireplace is gas or electric, make sure to turn off the supply before starting the removal process. Safety should always be a priority.
- Protect the surroundings: Place drop cloths or plastic sheets over the floor and surrounding area to protect it from dust and debris.
- Remove the mantel: Depending on the type of mantel, it may be attached to the surround or wall with screws or nails. Use a screwdriver or hammer to remove any fasteners, taking care not to damage the wall.
- Detach the surround: The surround may be secured with screws, adhesive, or both. Carefully examine the attachments and use the appropriate tools to remove them. A screwdriver, chisel, or reciprocating saw may be needed depending on the materials used.
- Inspect the area: Once the surround is removed, inspect the surface of the fireplace to identify any damage or necessary repairs. Fill any holes or cracks with wood filler or appropriate patching compound.
- Clean the area: Take the opportunity to thoroughly clean the fireplace and surrounding area, removing any dust, debris, or residue left from the removal process.
Removing the existing fireplace surround can be a labor-intensive task, especially if it is securely attached. Take your time and exercise caution to avoid damaging the surrounding walls or the fireplace itself. If you are unsure or uncomfortable with this step, it may be wise to seek professional assistance.
With the existing surround removed, you are now ready to move on to the next phase of the fireplace redo: preparing the fireplace surface for the new surround.
Preparing the Fireplace Surface
After removing the existing fireplace surround, it’s essential to properly prepare the fireplace surface for the installation of the new surround. This step ensures a smooth and secure attachment, as well as an optimal finish for your fireplace redo. Follow these steps to prepare the surface:
- Clean the surface: Thoroughly clean the fireplace surface using a brush, vacuum, or damp cloth. Remove any dust, debris, or residue that could hinder the adhesion of the new surround.
- Repair any damage: Inspect the fireplace surface for any cracks, holes, or uneven areas. Repair any damage using an appropriate patching compound or filler. Allow sufficient drying time before moving on to the next step.
- Apply primer (if necessary): Depending on the type of fireplace surface and the materials of the new surround, you may need to apply a primer. This step ensures proper adhesion and helps achieve a smooth, finished look. Consult the manufacturer’s instructions for the recommended primer and application method.
- Measure and mark the installation area: Take accurate measurements of the fireplace surface and mark the desired placement of the new surround. Use a measuring tape, level, and pencil to ensure precise alignment.
- Locate studs (if applicable): If you are installing a heavier fireplace surround, such as a stone or brick surround, it’s important to locate the studs behind the wall. Use a stud finder to identify the stud locations and mark them accordingly. This will provide a secure attachment for the new surround.
By following these preparation steps, you will create a solid foundation for the installation of the new fireplace surround. Taking the time to clean, repair, and prime the surface ensures a professional-looking finish and improves the longevity of the redo project.
Once the fireplace surface is prepared, it’s time to move on to the exciting part—choosing the new fireplace design!
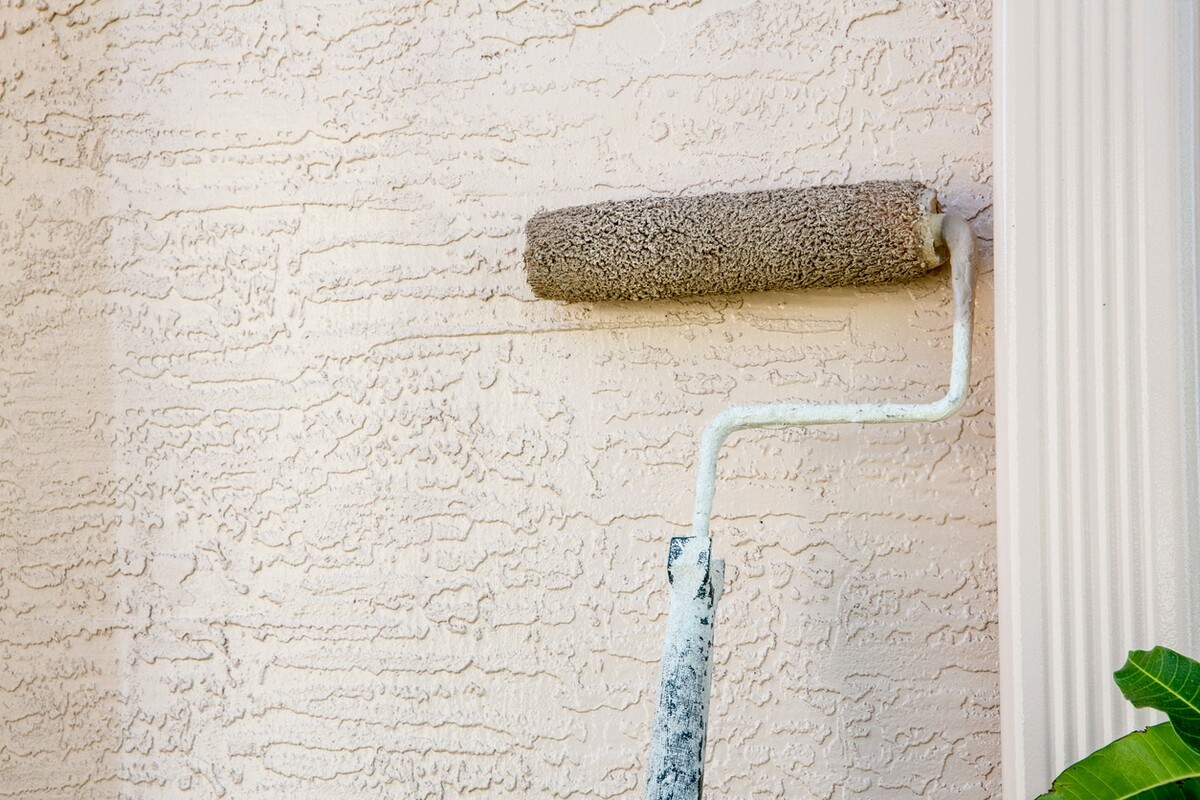
Consider using a heat-resistant paint to give your fireplace a fresh new look. Make sure to clean and prime the surface before applying the paint for best results.
Read more: How To Redo Basement
Choosing the New Fireplace Design
Now comes the fun part of your fireplace redo project—choosing the new design for your fireplace. The design you select will set the tone for the entire space and significantly impact the overall aesthetic of your home. Here are some considerations to keep in mind when choosing your new fireplace design:
1. Style and Theme: Consider the overall style and theme of your home. Do you lean towards a modern and minimalist look, or are you drawn to a more traditional or rustic ambiance? Choose a fireplace design that complements and enhances the existing decor and architectural elements of the room.
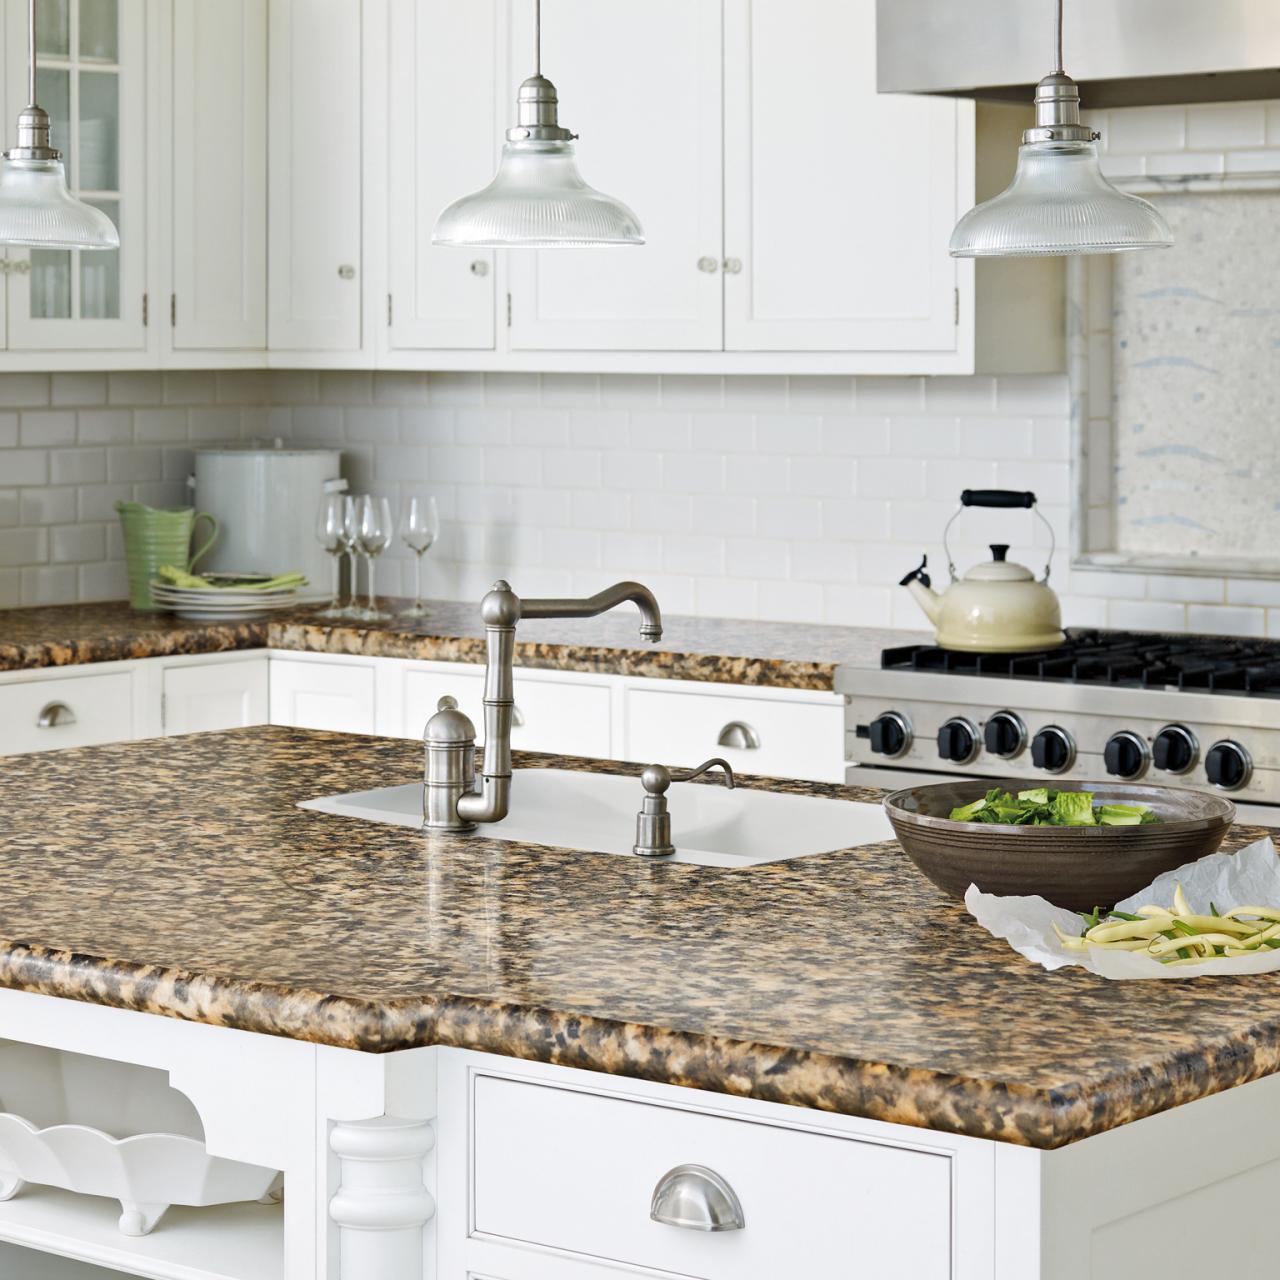
2. Materials: There is a wide variety of materials available for fireplace surrounds, including wood, stone, tile, metal, and more. Each material contributes a unique look and texture to the fireplace. Consider the durability, maintenance requirements, and cost of the materials when making your decision.
3. Color Scheme: Take into account the color scheme of the room where the fireplace resides. Choose a material and color that harmonizes with the existing color palette or creates an eye-catching contrast. Think about how the new fireplace design will impact the overall color balance in the space.
4. Proportion and Scale: Consider the proportions and scale of the fireplace in relation to the room. A large room may accommodate a grand and imposing fireplace, while a smaller room may call for a more compact and understated design. Ensure that the size and scale of the new fireplace design are in harmony with the room’s dimensions.
5. Personal Taste: Ultimately, let your personal taste and preferences guide your decision. Do you want your fireplace to be the focal point of the room, or do you prefer it to be more subtle and blend in with the surroundings? Choose a design that resonates with your personal style and creates a space you’ll love to spend time in.
Take your time exploring different design options, browsing through magazines, home improvement websites, and even visiting showrooms for inspiration. Collect images and ideas that resonate with you, and use them as a reference when making decisions.
By carefully considering these factors, you’ll be on your way to selecting the perfect fireplace design that creates a stunning and inviting centerpiece for your space.
Installing the New Fireplace Surround
With the design chosen, it’s time to bring your fireplace redo vision to life by installing the new fireplace surround. This step requires precision and attention to detail to ensure a secure and seamless installation. Follow these steps to install the new fireplace surround:
- Prepare the materials: Read the manufacturer’s instructions for the fireplace surround and gather all the necessary materials and tools. Ensure you have everything needed for the installation.
- Start with the base: If your fireplace surround consists of multiple components, start by installing the base or bottom part. Use a level to ensure it is perfectly even and aligned.
- Attach the sides: Install the side pieces of the surround, ensuring they are level and aligned with the base. Use construction adhesive to attach the pieces securely, following the manufacturer’s instructions for the specific material.
- Secure the surround: Depending on the material and design of the surround, you may need to secure it further with screws or brackets. If necessary, carefully drill pilot holes and install the screws or brackets according to the manufacturer’s guidelines.
- Install the mantel: Once the surround is securely in place, install the mantel or mantel shelf. Use appropriate fasteners, such as screws or brackets, to secure it to the wall or the surround itself, following the manufacturer’s instructions.
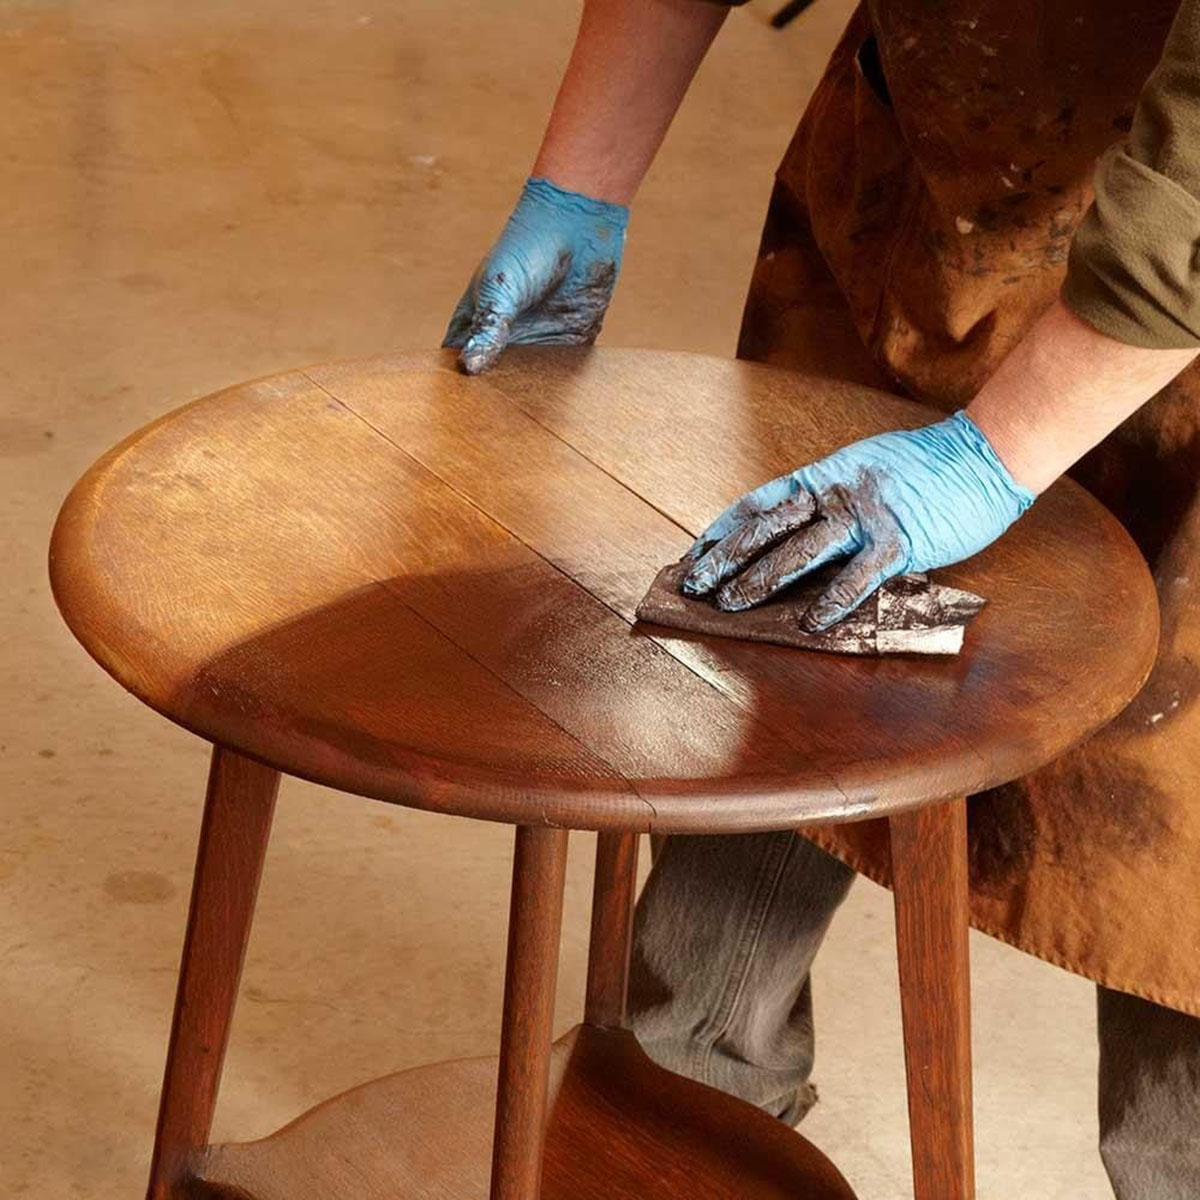
- Finishing touches: Fill any visible screw or nail holes with wood filler and sand it down for a smooth finish. If desired, you can also paint or stain the fireplace surround to match your desired look. Allow the paint or stain to dry completely before moving on.
It’s crucial to follow the manufacturer’s instructions for your specific fireplace surround model and material. Different materials may require different installation techniques or additional steps. If you are uncertain at any point, consult a professional or seek guidance from the manufacturer or an experienced contractor.
Once the new fireplace surround is installed, step back and admire your handiwork. The transformation of your fireplace is well underway, and it’s time to add the finishing touches and decorative elements.
Finishing Touches and Decoration
Now that you have successfully installed the new fireplace surround, it’s time to add the finishing touches and decoration to complete your fireplace redo project. This is where you can truly personalize your fireplace and make it a standout feature in your home. Here are some ideas:
1. Mantel Decor: Style the mantel with decorative items such as artwork, mirrors, vases, or candles. Choose pieces that reflect your personal style and complement the overall theme of the room. Consider layering different textures, heights, and colors for a visually appealing display.
2. Hearth Accessories: Enhance the hearth area by incorporating accessories such as a decorative fire screen, fireplace tools, or a log holder. These functional yet stylish elements add character to the fireplace and create a cohesive look.
3. Lighting: Install lighting fixtures to illuminate your newly redone fireplace. Consider wall sconces or spotlights placed strategically to highlight the elegance of the surround and draw attention to the focal point of the room.
4. Artwork or Mirror: Hang a piece of artwork or a large mirror above the fireplace to create a stunning visual impact. This not only adds personality to the space but also enhances the sense of depth and light reflection.
5. Seasonal Decor: Change up the decorations on your fireplace to match the seasons or holidays. Incorporate wreaths, garlands, or seasonal arrangements to bring a festive vibe to your living space.
Remember to strike a balance between functionality and aesthetics when adding the finishing touches. Ensure that any decorations or accessories are placed safely and do not obstruct the functionality of the fireplace.
Don’t be afraid to experiment and let your creativity shine through in the finishing touches. This is your opportunity to create a one-of-a-kind fireplace that reflects your personal style and enhances the overall ambiance of your home.
With the finishing touches in place, step back and admire your transformed fireplace. Not only have you completed a stunning makeover, but you have also created a cozy and inviting space for family and friends to gather around.
Conclusion
Congratulations on completing your fireplace redo journey! Through careful assessment, planning, and execution, you have successfully transformed your outdated fireplace into a stunning focal point that reflects your personal style and enhances the overall aesthetics of your home.
By following the steps outlined in this article, you were able to assess the condition of your fireplace, gather the necessary tools and materials, remove the existing surround, prepare the surface, choose a new design, install the new surround, and add the finishing touches and decorations. Each step was crucial in creating a cohesive and beautiful fireplace redo.
Remember, as with any home improvement project, safety should always be a priority. If you ever feel unsure or uncomfortable with any aspect of the process, it’s wise to consult with a professional who can provide guidance and expertise.
Now, sit back, relax, and enjoy the warmth and beauty of your newly transformed fireplace. Whether you’re hosting gatherings, cozying up with a book, or simply enjoying the ambiance, your fireplace will undoubtedly become the heart of your living space.
Be proud of your accomplishment and take pride in the fact that you have created a space that is truly yours. Your fireplace redo not only enhances the aesthetics of your home but also adds value and creates a welcoming atmosphere for all who enter.
Thank you for joining us on this fireplace redo journey. We hope this article has provided you with valuable insights and inspiration to create the fireplace of your dreams. Happy redecorating!
Frequently Asked Questions about How To Redo Fireplace
Was this page helpful?
At Storables.com, we guarantee accurate and reliable information. Our content, validated by Expert Board Contributors, is crafted following stringent Editorial Policies. We're committed to providing you with well-researched, expert-backed insights for all your informational needs.


0 thoughts on “How To Redo Fireplace”