Articles
How To Cover A Brick Fireplace
Modified: August 17, 2024
Learn how to cover a brick fireplace with our informative articles. Transform your outdated fireplace with these easy DIY tips and techniques.
(Many of the links in this article redirect to a specific reviewed product. Your purchase of these products through affiliate links helps to generate commission for Storables.com, at no extra cost. Learn more)
Introduction
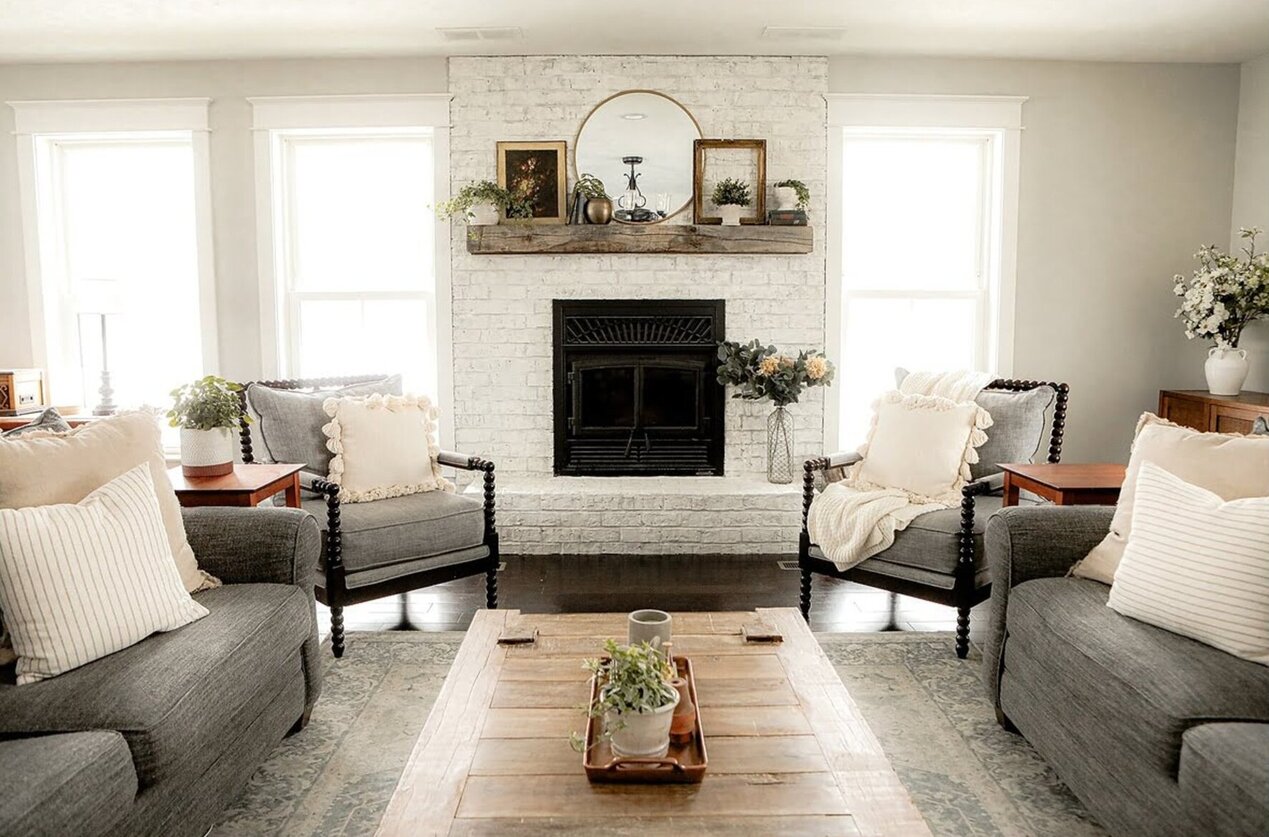
A brick fireplace can be a beautiful and timeless feature in any home, but there may come a time when you want to update its appearance or cover it up completely. Whether you’re looking to modernize your living space or simply change the look and feel of your fireplace, covering it with a new material is a great way to achieve the desired transformation.
In this article, we will guide you through the step-by-step process of covering a brick fireplace, including the materials you will need and the techniques to ensure a successful outcome. By following these instructions, you will be able to give your fireplace a new look that suits your style and enhances the overall aesthetic of your home.
Before you begin, it’s important to note that covering a brick fireplace is a project that requires careful planning and attention to detail. It’s recommended to gather all the necessary equipment and materials before starting, and to take your time to ensure a professional-looking result.
So let’s get started and transform your brick fireplace into a stunning focal point that will enhance the beauty and ambiance of your living space!
Key Takeaways:
- Transform your brick fireplace into a stunning focal point by following the step-by-step process outlined in this article. Take your time, choose high-quality materials, and enjoy the renewed ambiance it brings to your living space.
- Prioritize safety, attention to detail, and follow manufacturer’s instructions for a professional-looking result. Enjoy the rewarding and transformative project of covering your brick fireplace to reflect your personal style and enhance the overall aesthetic of your home.
Read more: How To Cover Brick Fireplace With Concrete
Materials Needed
Before you begin covering your brick fireplace, it’s important to gather all the necessary materials. Here’s a list of the items you’ll need:
- Measuring tape
- Pencil
- Brick cleaner
- Bucket
- Sponge or scrub brush
- Covering material (options include tile, stone veneer, wood, or a fireplace surround kit)
- Adhesive or mortar (depending on the type of covering material)
- Notched trowel
- Level
- Saw or tile cutter
- Grout (if using tile)
- Grout float (if using tile)
- Finishing nails
- Hammer
- Screwdriver
- Paint or stain (if desired for finishing touches)
Having these materials ready before you start will ensure a smooth and efficient covering process. Make sure to choose high-quality materials that suit your style and preferences, and consider the specific requirements of your chosen covering method.
It’s also a good idea to wear protective clothing, gloves, and safety goggles when working with cleaning chemicals or tools to ensure your safety throughout the process. Now that you have all the necessary materials, let’s move on to the step-by-step process of covering your brick fireplace.
Step 1: Prepare the Area
Before you begin covering your brick fireplace, it’s essential to prepare the area to ensure a smooth and successful project. Follow these steps for proper preparation:
- Clear the area: Start by removing any furniture, decorations, or objects near the fireplace to create a safe and clutter-free workspace.
- Protect the surrounding area: Cover the floor and nearby furniture with drop cloths or plastic sheets to prevent any damage from dust, debris, or accidental spills.
- Turn off the fireplace: If your fireplace has a gas or electric insert, be sure to turn off the power source and disconnect it before proceeding. Safety first!
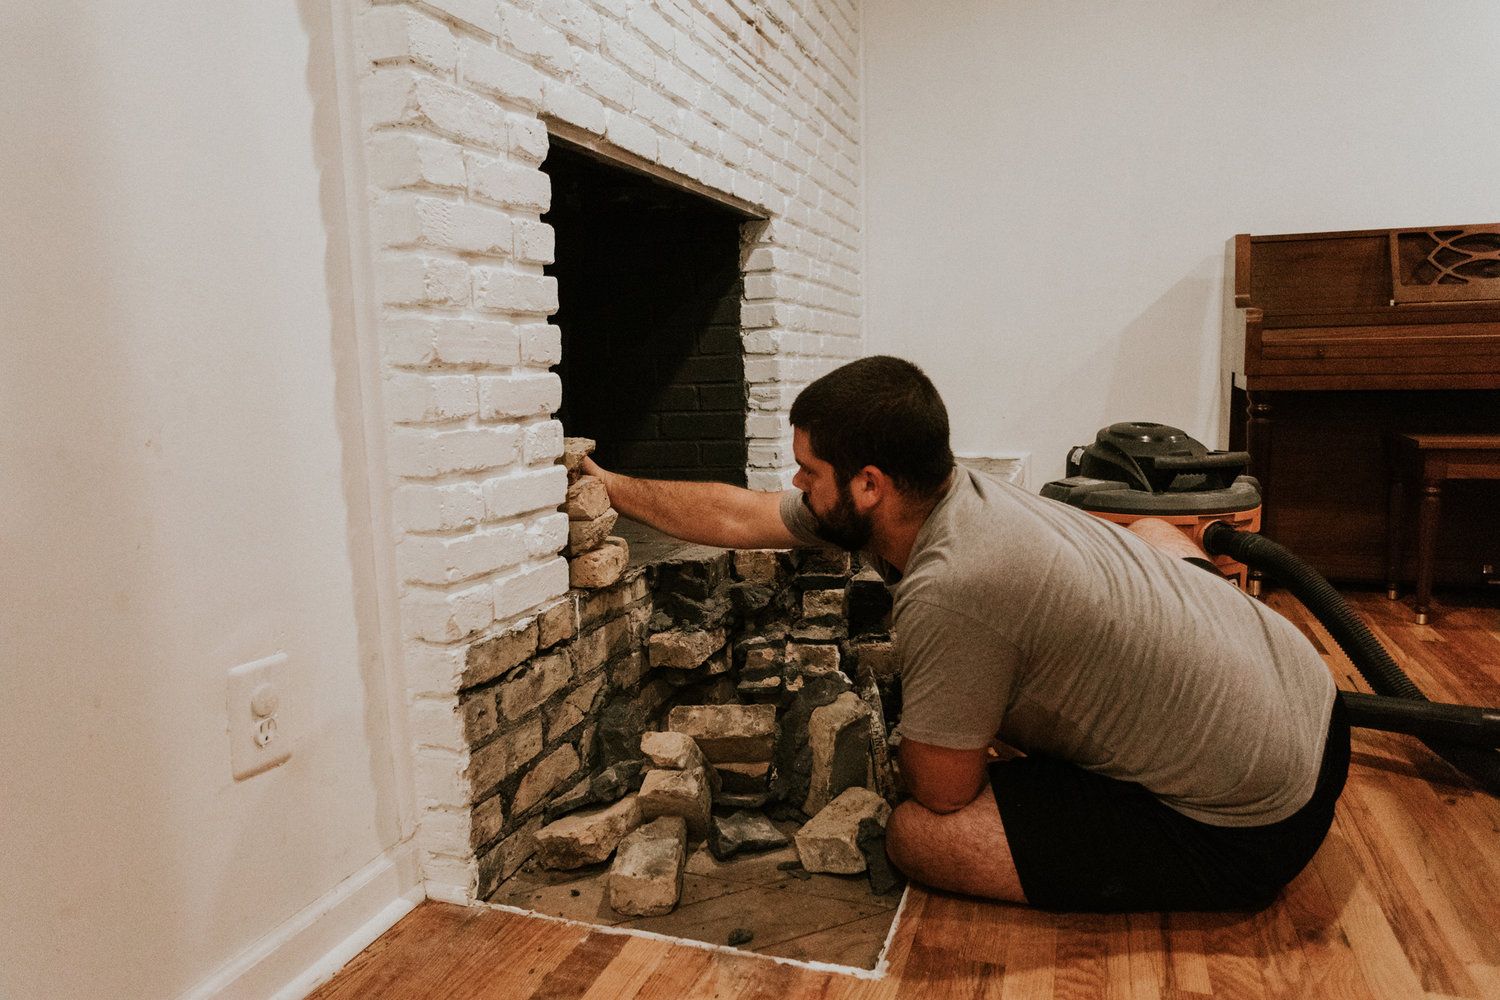
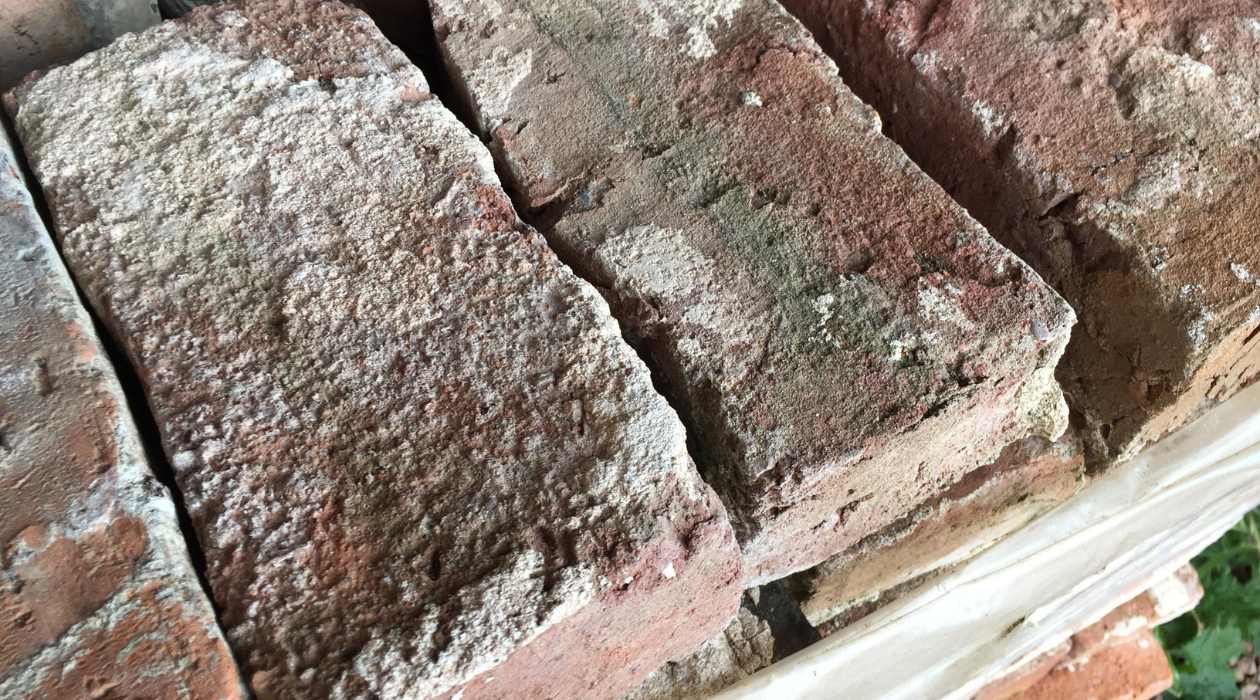
- Inspect the brick surface: Give the brick surface a close inspection to identify any loose or damaged bricks. If you notice any, repair or replace them before moving forward with the covering process.
- Mask off adjacent surfaces: Use painter’s tape to protect adjoining walls, ceilings, and mantels. This will ensure that any excess adhesive, grout, or paint stays within the desired area.
By taking the time to properly prepare the area, you’ll create a clean and organized workspace, minimize the risk of damage, and ensure a smoother covering process. Once you’ve completed these steps, you’re ready to move on to the next stage of the project: cleaning the brick surface.
Step 2: Clean the Brick Surface
Before applying any new covering material to your brick fireplace, it’s crucial to clean the surface to ensure proper adhesion. Over time, brick surfaces can accumulate dirt, grime, and soot, which can affect the bonding of the covering material. Follow these steps to clean the brick surface:
- Prepare the cleaning solution: Mix a solution of brick cleaner and water according to the manufacturer’s instructions. Pour the solution into a bucket.
- Dust off the brick: Use a dry cloth or brush to remove any loose dust or debris from the surface of the bricks.
- Wet the bricks: Dampen a sponge or scrub brush with the cleaning solution and wet the bricks thoroughly, ensuring that the entire surface is covered.
- Scrub the bricks: Use the sponge or scrub brush to scrub the bricks gently, focusing on any areas with stubborn stains or buildup. Work in small sections at a time.
- Rinse the bricks: Once you’ve scrubbed the bricks, rinse them with clean water to remove the cleaning solution. You can use a clean sponge, cloth, or hose for this step.
- Allow the bricks to dry: Give the bricks ample time to dry completely before proceeding to the next step. This usually takes a few hours or overnight.
By thoroughly cleaning the brick surface, you’ll remove any dirt, grime, or residue that could interfere with the adhesion of the covering material. This will ensure a strong and long-lasting bond between the bricks and the new material. With a clean and dry surface, you’re now ready to move on to the next step: choosing the right covering method.
Step 3: Choose the Right Covering Method
When it comes to covering a brick fireplace, there are several methods and materials available that can give your fireplace a fresh new look. The choice of covering method will depend on your preferences, style, and the overall design of your space. Here are a few popular options to consider:
- Tile: Tiles can be an excellent choice for covering a brick fireplace. They come in a variety of colors, shapes, and sizes, allowing you to create a custom design. Ceramic or porcelain tiles are durable and resistant to heat, making them suitable for fireplace applications.
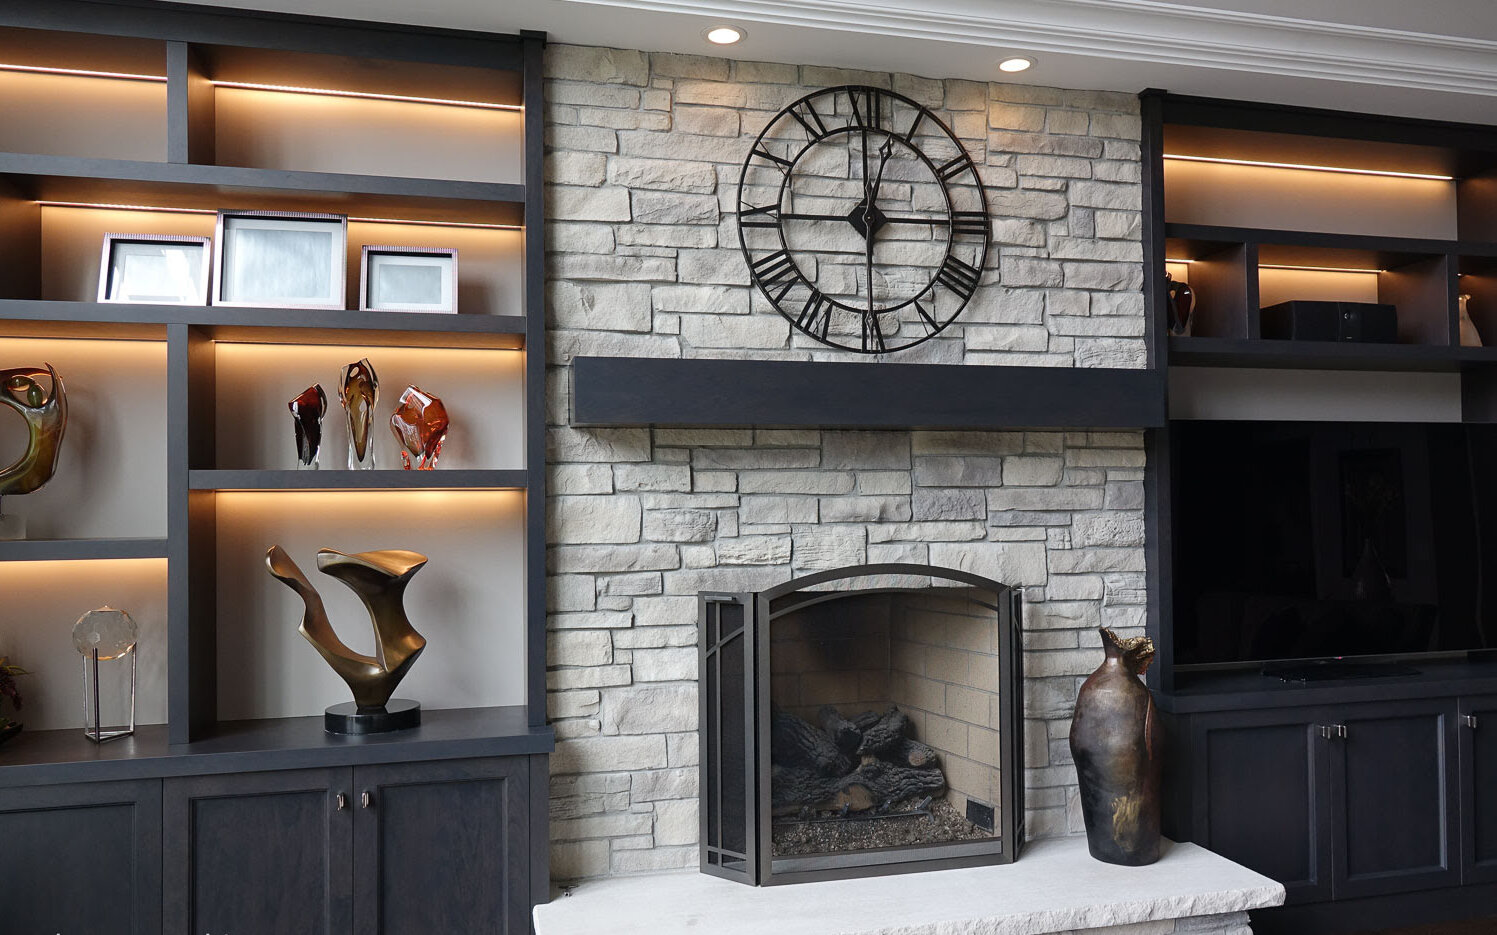
- Stone veneer: Stone veneer is a popular choice for adding a natural and rustic look to a fireplace. It is made from thin slices of natural stone that are adhered to a backing, making it easier to install than traditional stone. Stone veneer comes in a range of styles, from stacked stone to ledge stone.
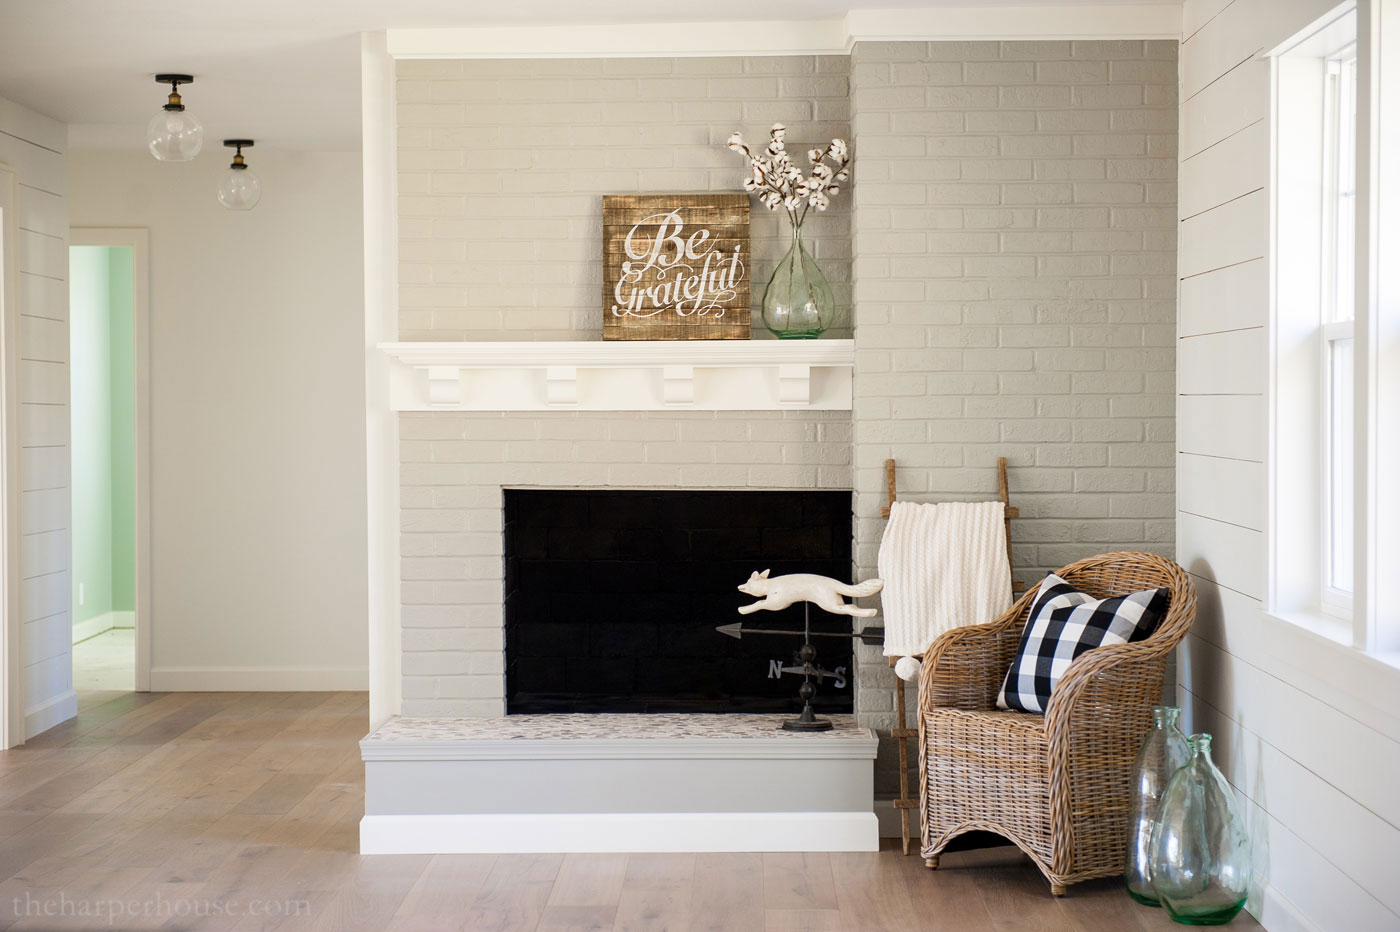
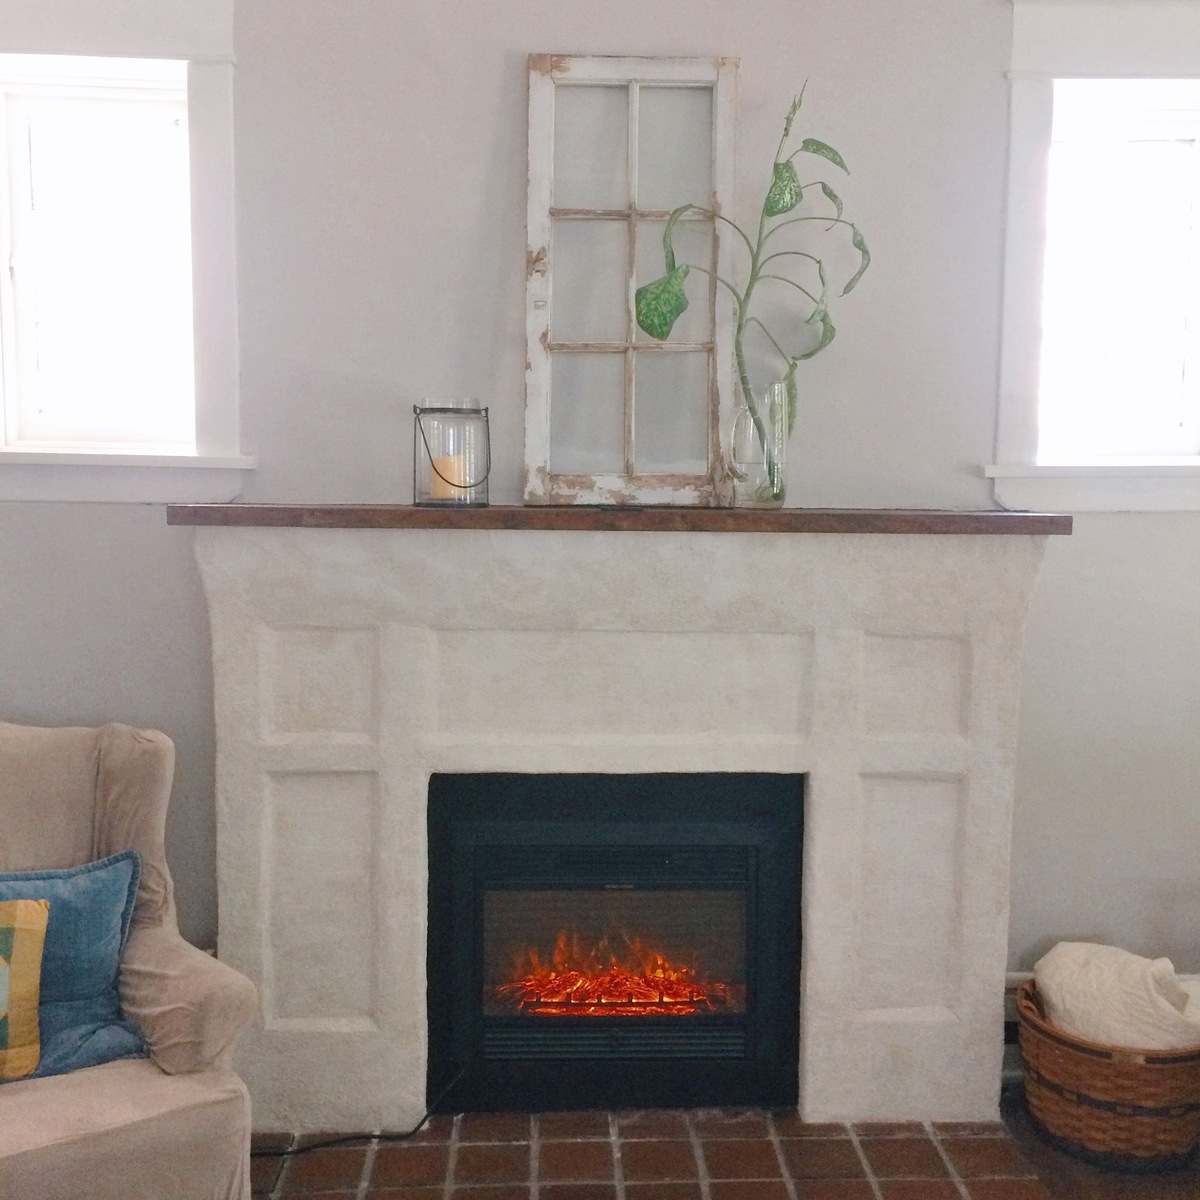
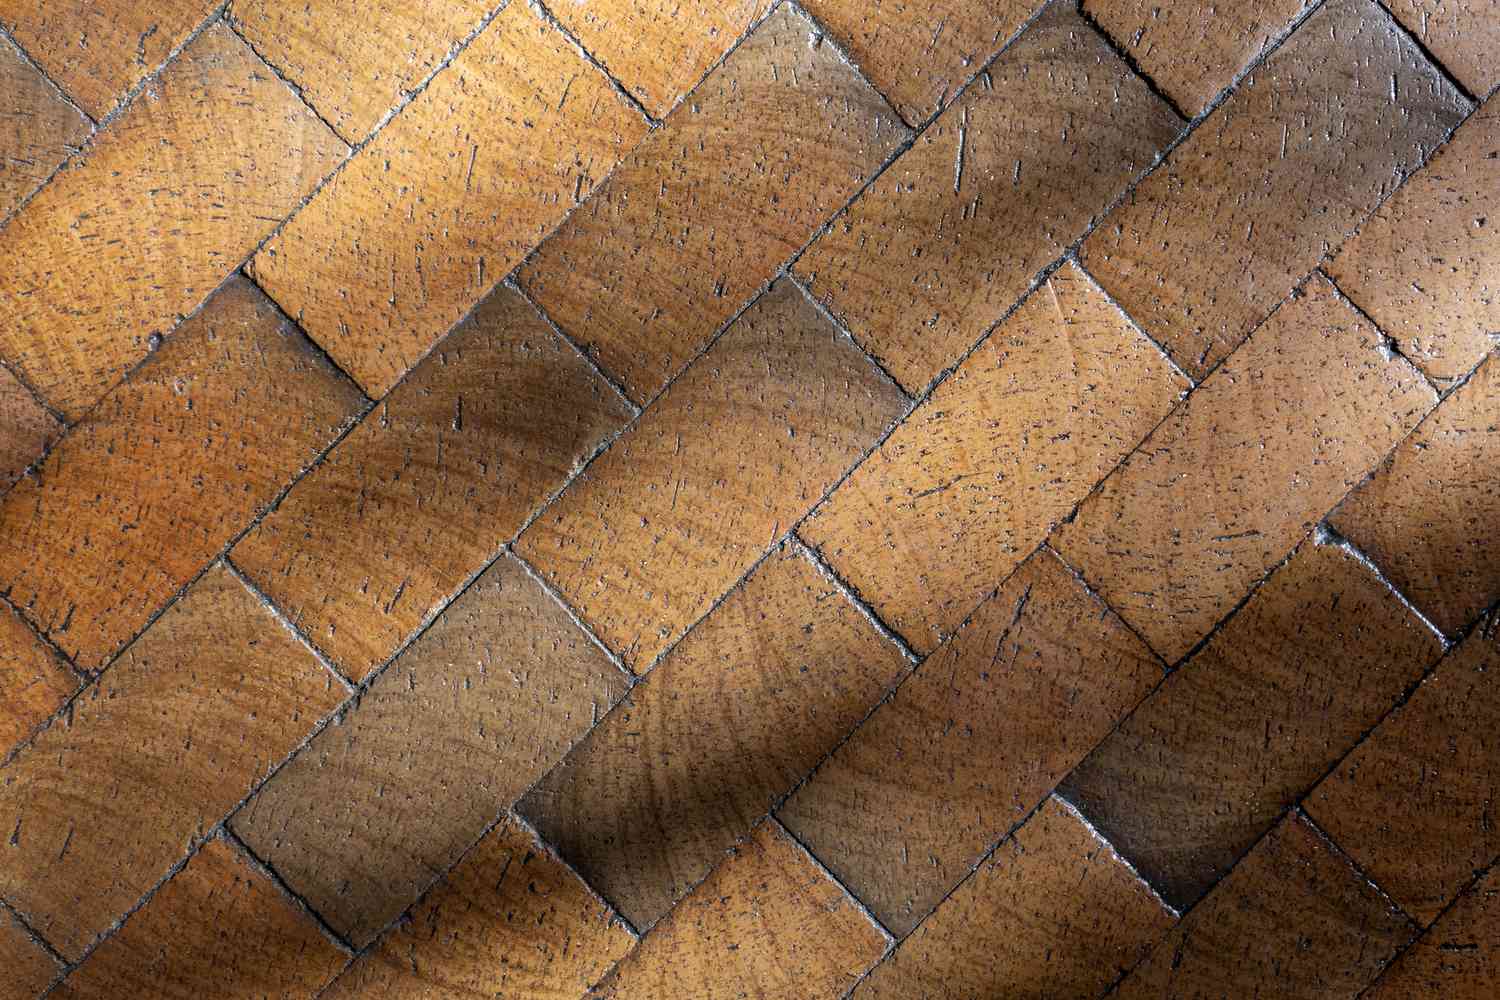
- Wood: If you prefer a more traditional or rustic look, wood can be a great option. You can cover the brick fireplace with reclaimed wood, shiplap, or even create a custom mantel. Just ensure that the wood is properly treated and fire-resistant.
- Fireplace surround kit: Fireplace surround kits offer a convenient and easy-to-install option for covering a brick fireplace. These kits typically include panels made from a variety of materials like wood, metal, or stone. They come in pre-designed styles and can be installed without the need for special tools or skills.
Consider the style of your home, your personal taste, and the overall aesthetic you want to achieve in your space when choosing the covering method. Take the time to explore different options and gather inspiration to ensure you select the best fit for your fireplace.
Once you’ve chosen the covering method, you’re ready to move on to the next step: measuring and cutting the covering material.
Step 4: Measure and Cut the Covering Material
Now that you’ve chosen the covering method for your brick fireplace, it’s time to measure and cut the material to ensure a precise and professional-looking installation. Follow these steps to measure and cut the covering material:
- Measure the dimensions: Use a measuring tape to accurately measure the height, width, and depth of the areas you’ll be covering. Take into account any trim or molding that may affect the measurements.
- Transfer the measurements: Using a pencil, mark the measurements directly on the backside of the covering material. Take care to ensure the marks are clear and accurate.
- Cut the covering material: Depending on the material you’ve chosen, you may need to use different cutting tools. For example, if you’re using ceramic or porcelain tiles, a tile cutter or wet saw may be necessary. If you’re working with wood, a table saw or circular saw can be used. Follow the manufacturer’s instructions and take proper safety precautions when cutting the material.
- Double-check the measurements: Once you’ve cut the covering material, double-check the dimensions to ensure they align with the measurements of your fireplace. Make any necessary adjustments or recuts if needed.
Accurate measurements and clean cuts are key to a seamless installation. Taking the time to measure and cut the covering material properly will ensure a professional-looking result. Remember to use appropriate safety equipment, such as goggles or gloves, when handling cutting tools.
With the covering material ready, you’re now prepared for the next step: applying adhesive or mortar (if applicable) to secure the material to the brick surface.
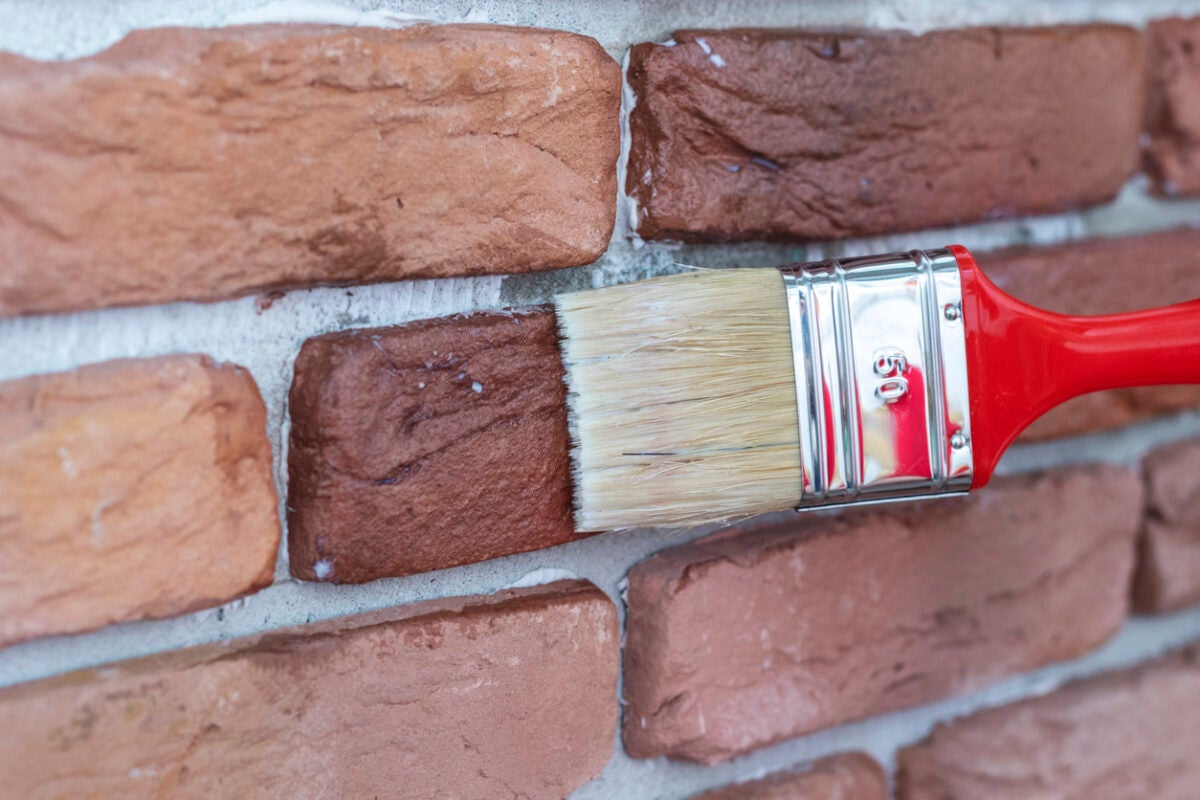
Consider using a heat-resistant paint to cover a brick fireplace. Make sure to clean the bricks thoroughly and use a primer before applying the paint for best results.
Step 5: Apply Adhesive (if applicable)
In this step, we’ll cover the process of applying adhesive to secure the covering material to the brick surface. Note that not all covering methods require adhesive, so skip to the next step if you’ve chosen a material that doesn’t require it.
If your chosen covering material, such as tiles or stone veneer, requires adhesive for installation, follow these steps:
- Prepare the adhesive: Read and follow the manufacturer’s instructions for mixing the adhesive. Some adhesives require water, while others may require a specific additive. Use a mixing bucket and stir the adhesive until it reaches a smooth, lump-free consistency.
- Apply the adhesive: Using a notched trowel, spread a layer of adhesive onto the brick surface. Start at the bottom and work your way up, applying the adhesive in a consistent and even manner. Make sure to only cover a small area at a time, as the adhesive can dry quickly.
- Use the notched side of the trowel: Once you’ve spread the adhesive, run the notched side of the trowel over it to create ridges. These ridges will help the covering material adhere securely to the brick surface.
- Work in sections: Apply adhesive to one section at a time, ensuring that each section is fully covered and evenly spread. Avoid applying adhesive to areas that you won’t cover immediately to prevent it from drying out.
Remember to work carefully and efficiently, as the adhesive can dry rapidly. Follow the manufacturer’s instructions regarding the drying time and any other specific guidelines. Once you’ve applied the adhesive, you’re ready to proceed to the next step: installing the covering material.
Step 6: Install the Covering Material
Now that you’ve prepared the brick surface and applied the adhesive (if applicable), it’s time to install the covering material. Follow these steps for a successful installation:
- Start from the bottom: Begin installing the covering material from the bottom of the fireplace and work your way up. This ensures that each piece overlaps the one below it, creating a secure and seamless look.
- Press and hold: Carefully press each piece of the covering material onto the adhesive, using a gentle but firm pressure. Hold it in place for a few seconds to allow the adhesive to bond.
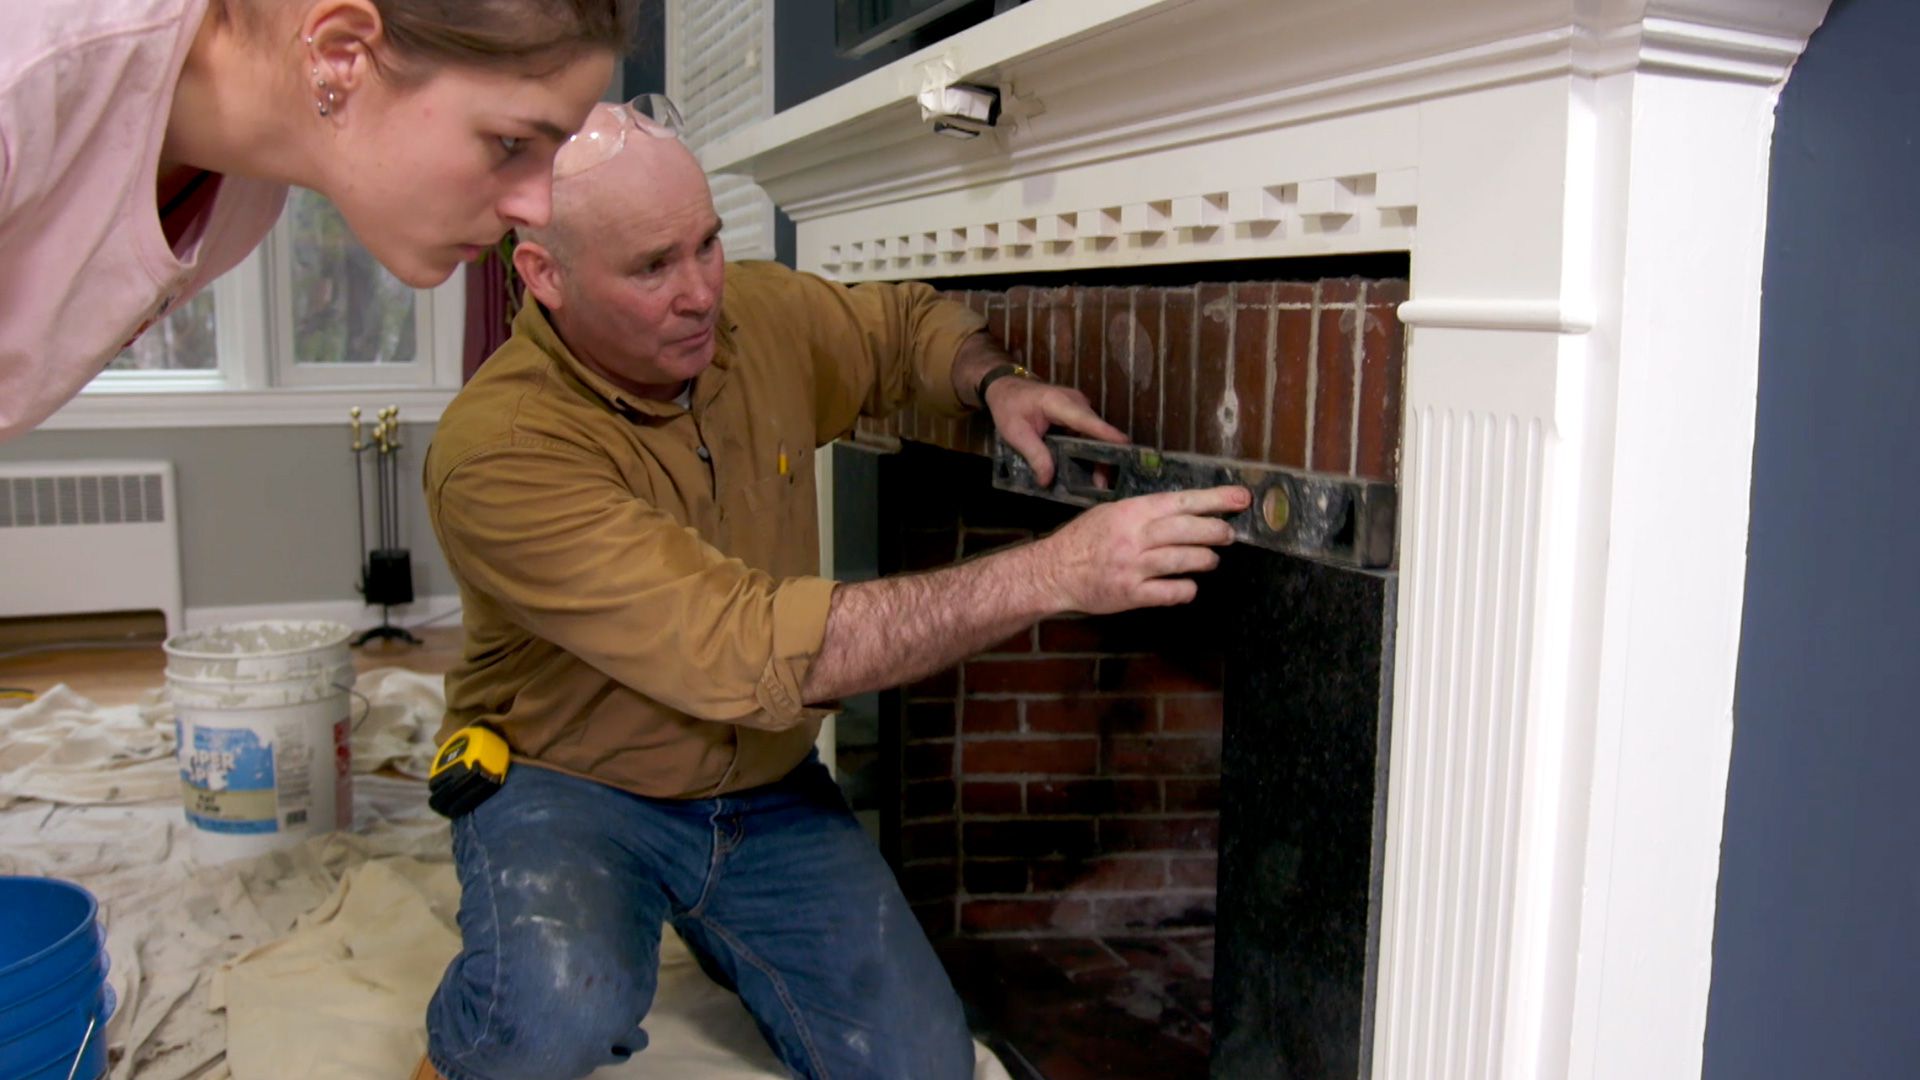
- Check for level and alignment: Use a level to ensure that each piece is installed straight and level. Adjust as needed before the adhesive dries completely.
- Follow the pattern: If you’re using a pattern or specific design, make sure to follow it accurately. Take your time and pay attention to detail to ensure a cohesive and visually pleasing result.
- Trim as necessary: During the installation process, you may encounter areas where the covering material needs to be trimmed to fit. Use a saw, tile cutter, or any appropriate cutting tool to make precise cuts.
- Continue layer by layer: Keep adding more pieces of the covering material, layer by layer, until you reach the top of the fireplace. Take breaks as needed, but aim to complete the installation without prolonged gaps to maintain consistency.
It’s important to work carefully and ensure proper alignment and spacing between the covering pieces. Take your time, step back frequently to assess the overall progress, and make any necessary adjustments along the way.
Once you’ve installed all the pieces, you can move on to the next step: applying finishing touches to complete the transformation of your brick fireplace.
Step 7: Apply Finishing Touches
With the covering material installed, it’s time to add the finishing touches to enhance the aesthetic appeal of your newly transformed brick fireplace. Follow these steps to complete the project:
- Remove excess adhesive: Inspect the surface for any adhesive that may have squeezed out between the covering pieces. Use a damp cloth or sponge to carefully remove any excess adhesive before it dries.
- Add grout (if applicable): If you’ve used tile as your covering material, you may need to apply grout between the tiles to fill the gaps. Mix the grout according to the manufacturer’s instructions and use a grout float to spread it evenly. Wipe away any excess grout with a damp sponge and allow it to dry.
- Make any necessary adjustments: Step back and assess the overall appearance of the fireplace. If there are any visible gaps, uneven edges, or areas that require adjustment, now is the time to address them. Use appropriate tools and materials to make any necessary corrections or refinements.
- Paint or stain (if desired): Depending on your preference and the type of covering material used, you may consider painting or staining the surface for the desired finish. Choose a paint or stain that is suitable for the material and carefully apply it according to the manufacturer’s instructions. Allow sufficient drying time before using the fireplace.
- Reconnect utilities: If you had disconnected any gas or electrical connections during the project, now is the time to reconnect them. Follow the manufacturer’s instructions or consult a professional if you’re unsure about this step.
Take the time to ensure that the finishing touches are done meticulously, as they contribute to the overall look and functionality of your fireplace. Once you’re satisfied with the final result, move on to the last step: cleaning up and maintaining your newly covered brick fireplace.
Step 8: Clean Up and Maintenance Tips
After completing the covering of your brick fireplace, it’s important to clean up the workspace and implement proper maintenance practices to ensure the longevity and appearance of the newly installed material. Follow these steps for a clean and well-maintained fireplace:
- Clean up the workspace: Remove any drop cloths, plastic sheets, or protective coverings from the surrounding area. Dispose of debris and cleaning materials properly.
- Wipe down the covering material: Use a soft, damp cloth to gently wipe down the covering material to remove any dust or debris that may have accumulated during the installation process.
- Follow specific maintenance instructions: Different covering materials may have specific cleaning and maintenance requirements. Consult the manufacturer’s instructions or guidelines to ensure you take the necessary steps to care for your specific covering material. This may include regular dusting, cleaning with appropriate cleaners, or using specific methods for maintenance and repair.
- Inspect regularly: Periodically check the condition of the covering material. Look for any signs of damage, cracks, or loose pieces. Address any issues promptly to prevent further damage or deterioration.
- Protect from excessive heat: If your new covering material is near a fireplace or other heat source, take precautions to protect it from excessive heat. Use a heat-resistant barrier or consider installing a mantel or other decorative element to shield the covering material.
- Keep it clean: Regularly clean the surface of the covering material using mild soap and water or a recommended cleaner. Avoid using abrasive materials or harsh chemicals that may damage the material.
- Address stains promptly: If any stains occur on the covering material, address them promptly using appropriate stain removal techniques or cleaners recommended for the specific material.
- Protect during maintenance or construction: If you plan to do any maintenance or construction work around the fireplace, take measures to protect the covering material from potential damage. Use drop cloths or protective coverings to prevent scratches, spills, or debris.
By following these clean-up and maintenance tips, you’ll keep your newly covered brick fireplace looking its best and ensure its longevity. Regular care and attention will help preserve the beauty and functionality of the covering material for years to come.
With the completion of Step 8, you’ve successfully covered your brick fireplace and gained a beautiful new focal point for your living space. Sit back, admire your work, and enjoy the enhanced ambiance of your transformed fireplace!
Remember, if you’re unsure about any aspect of covering a brick fireplace or if you encounter challenges during the process, don’t hesitate to seek professional assistance. It’s always better to ask for help when needed to ensure a successful and safe project.
Happy decorating!
Conclusion
Covering a brick fireplace can be a rewarding and transformative project that breathes new life into your living space. By following the step-by-step process outlined in this article, you have learned how to prepare the area, clean the brick surface, choose the right covering method, measure and cut the covering material, apply adhesive if necessary, install the covering material, apply finishing touches, and implement proper cleanup and maintenance practices.
Throughout this process, it’s important to take your time, pay attention to detail, and follow manufacturer’s instructions for the specific covering material you’ve chosen. By doing so, you will achieve a professional-looking result that reflects your personal style and enhances the overall aesthetic of your home.
Remember to prioritize safety by wearing protective gear and properly disconnecting any utilities before starting the project. Take breaks when needed, and do not rush through the process. Choose high-quality materials and tools to ensure durability and longevity.
With your brick fireplace now covered, you have created a stunning focal point that reflects your tastes and preferences. Take pride in your accomplishment and enjoy the renewed ambiance and visual appeal it brings to your living space.
Should you have any questions or encounter any challenges along the way, do not hesitate to seek professional guidance. A qualified expert can provide valuable advice and insights to ensure a successful outcome.
So, go ahead, gather your materials, and embark on the journey of transforming your brick fireplace into a captivating feature that will be the envy of all who see it. Happy covering!
Frequently Asked Questions about How To Cover A Brick Fireplace
Was this page helpful?
At Storables.com, we guarantee accurate and reliable information. Our content, validated by Expert Board Contributors, is crafted following stringent Editorial Policies. We're committed to providing you with well-researched, expert-backed insights for all your informational needs.


0 thoughts on “How To Cover A Brick Fireplace”