Articles
How To Update A Fireplace Mantel
Modified: August 17, 2024
Learn how to update your fireplace mantel with these helpful articles. Find tips, ideas, and inspiration to transform your space into a cozy focal point.
(Many of the links in this article redirect to a specific reviewed product. Your purchase of these products through affiliate links helps to generate commission for Storables.com, at no extra cost. Learn more)
Introduction
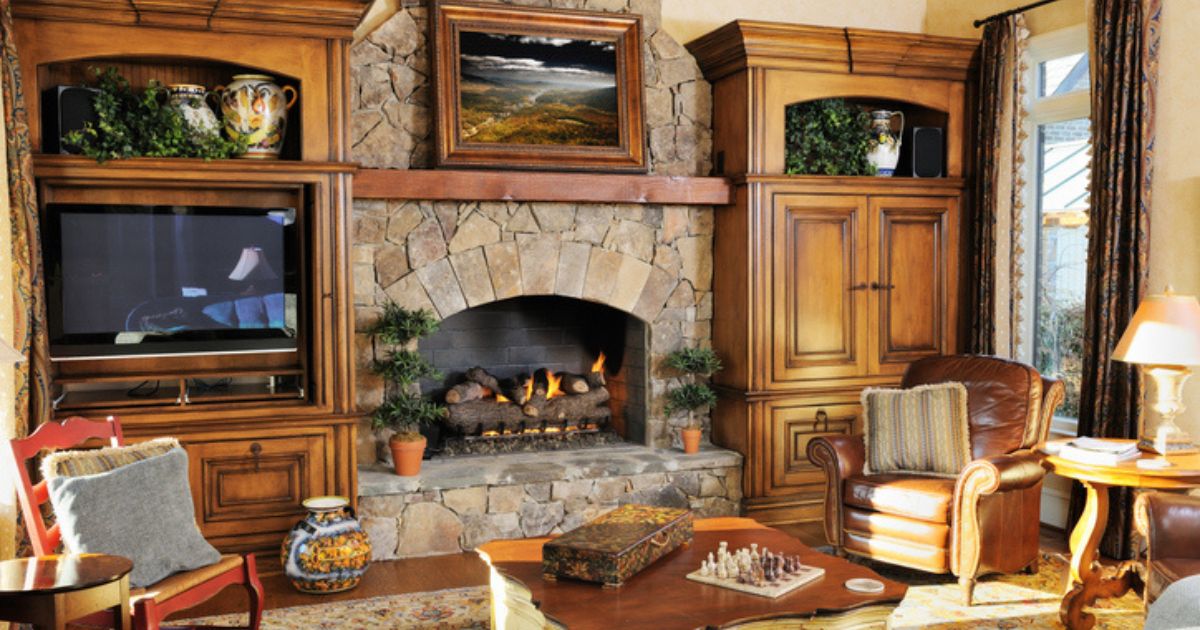
Updating a fireplace mantel can completely transform the look and feel of a room. Whether you’re tired of your old, outdated mantel or you’re simply ready for a change, giving your fireplace a makeover can revitalize the space and become a focal point in your home. With a few simple steps and some creativity, you can update your fireplace mantel to reflect your personal style and enhance the overall aesthetic of your living space.
Before diving into the process, it’s important to take some time to plan and visualize the desired outcome. Consider the existing style and design elements in the room, as well as your personal preferences, to ensure that the new mantel complements the overall look and feel of the space. Additionally, think about the functionality you desire from your fireplace mantel. Will it serve as a decorative display area or provide storage for additional items? Understanding your needs and preferences will guide you in choosing the appropriate materials and design for your updated mantel.
In this article, we will walk you through the step-by-step process of updating a fireplace mantel, from removing the existing mantel to adding the finishing touches. By following this guide, you will not only gain the satisfaction of completing a DIY project but also create a stunning focal point and enhance the ambiance of your living space.
Key Takeaways:
- Transform your living space by updating your fireplace mantel with a new design that reflects your personal style and enhances the ambiance of the room.
- Prioritize safety, accurate measurements, and material selection to ensure a successful fireplace mantel update that creates a warm and inviting atmosphere for years to come.
Read more: How To Paint Fireplace Mantel
Step 1: Removing the existing mantel
Before you can install a new mantel, you’ll need to remove the existing one. Follow these steps to safely and effectively remove the old mantel:
- Prepare the workspace: Clear the area around the fireplace and create a safe working zone. Remove any fragile or valuable items from the vicinity to prevent damage during the removal process.
- Turn off the fireplace: Ensure that the fireplace is turned off and completely cooled down before proceeding with the removal. Safety should always be a top priority.
- Remove any decorative elements: Take off any decorative items, such as candles, picture frames, or artwork, from the mantel. Place them in a safe location to prevent accidents or damage.
- Locate the attachment points: Carefully inspect the mantel to identify the attachment points. Typically, mantels are attached to the wall using screws or brackets. Use a flashlight if needed for better visibility.
- Remove the screws or brackets: Using a screwdriver or appropriate tools, carefully unscrew the screws or remove the brackets that are holding the mantel in place. Make sure to retain any screws or brackets for future use, if necessary.
- Gently detach the mantel: Once the attachment points are taken care of, carefully lift and pull the mantel away from the wall. It might be helpful to have another person assist you in this step, especially if the mantel is heavy.
- Inspect the wall: With the mantel removed, take a moment to inspect the wall surface. Remove any remnants of adhesive or screws, and ensure that the wall is clean and free from any debris.
By following these steps, you can safely remove the old mantel and prepare the fireplace for the installation of a fresh and updated mantel.
Step 2: Preparing the fireplace surface
After removing the old mantel, it’s important to properly prepare the fireplace surface to ensure a smooth and secure installation of the new mantel. Follow these steps to prepare the fireplace surface:
- Clean the fireplace: Thoroughly clean the fireplace to remove any dirt, dust, or residue that may have accumulated over time. Use a soft brush or vacuum cleaner to remove loose debris from the hearth and surrounding areas.
- Inspect the surface: Carefully check the fireplace surface for any cracks, chips, or damages. If you notice any issues, it’s recommended to address them before proceeding with the installation. Consult a professional if necessary.
- Repair and patch: If there are any minor cracks or imperfections on the fireplace surface, consider using a fireplace patching compound or mortar mix to repair them. Follow the manufacturer’s instructions for the best results.
- Sand rough areas: If there are any rough or uneven areas on the fireplace surface, gently sand them down to create a smooth and level base for the new mantel. Use sandpaper or a sanding block to achieve the desired result.
- Prime or seal the surface: Depending on the material of your fireplace, you may need to prime or seal the surface for better adhesion. Consult the manufacturer’s instructions or seek professional advice to determine the appropriate priming or sealing method.
- Measure and mark: Take precise measurements of the fireplace surface and mark the desired height and width for the new mantel. Use a level and measuring tape to ensure accuracy.
By properly preparing the fireplace surface, you create a solid foundation for the installation of the new mantel. This step is crucial for ensuring a secure and long-lasting result.
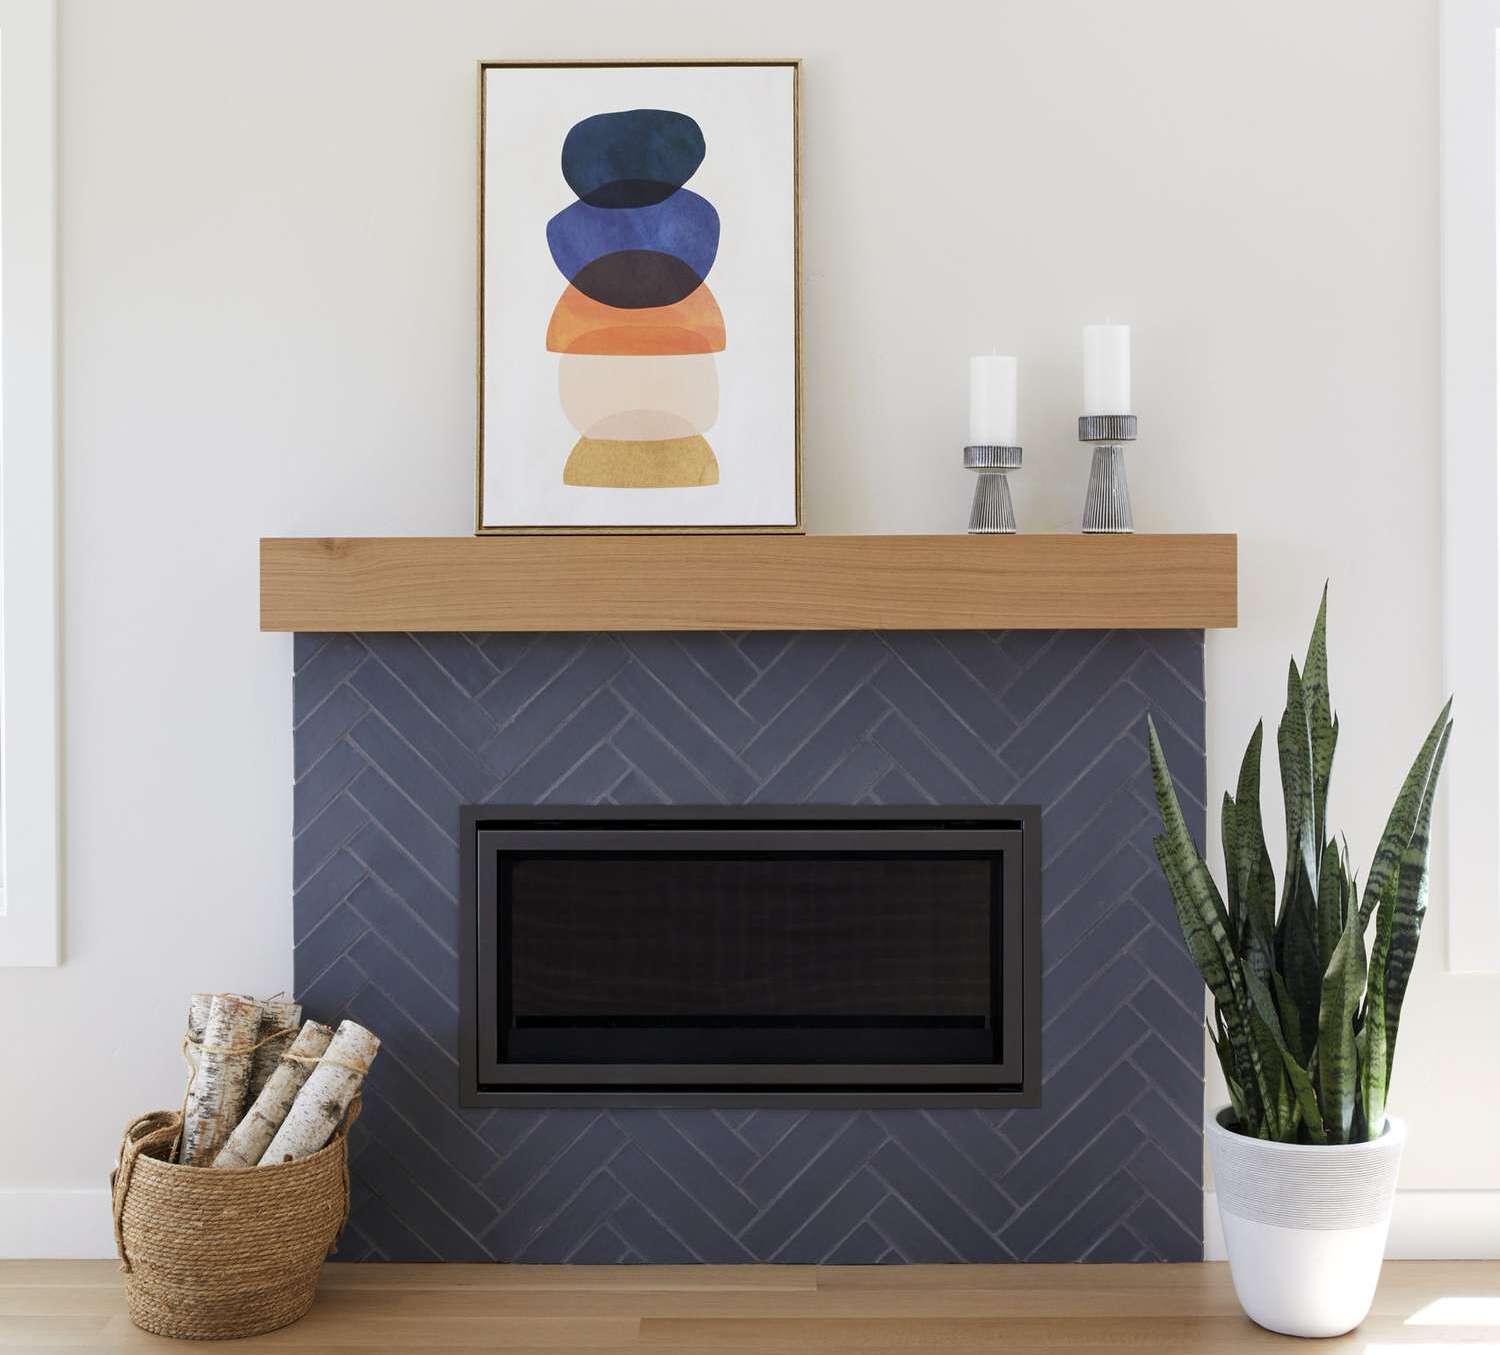
Step 3: Choosing a new mantel design
Choosing the right design for your new mantel is an exciting and important step in the fireplace update process. The design you select will not only enhance the aesthetic appeal of your space but also set the tone for the overall style of the room. Here are some considerations to keep in mind when choosing a new mantel design:
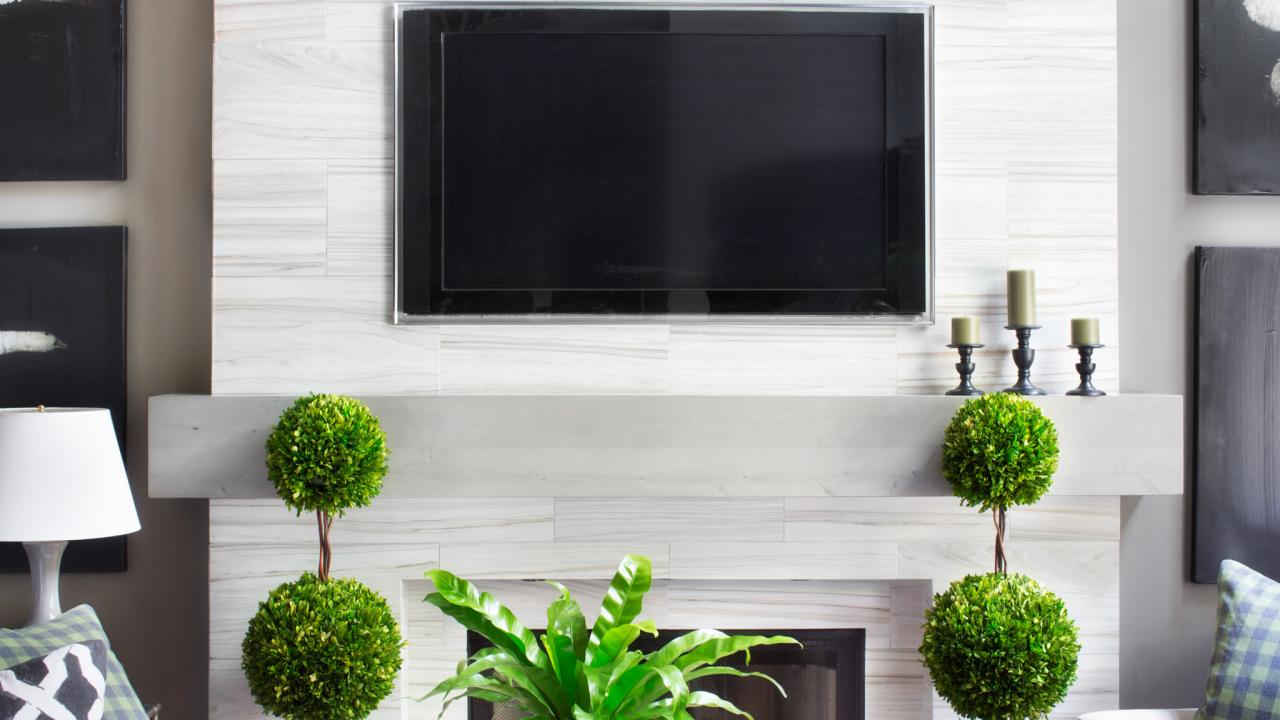
- Consider the overall style: Take into account the existing decor and architectural style of your home. Decide whether you want the mantel to blend seamlessly with the surroundings or make a bold statement as a focal point.
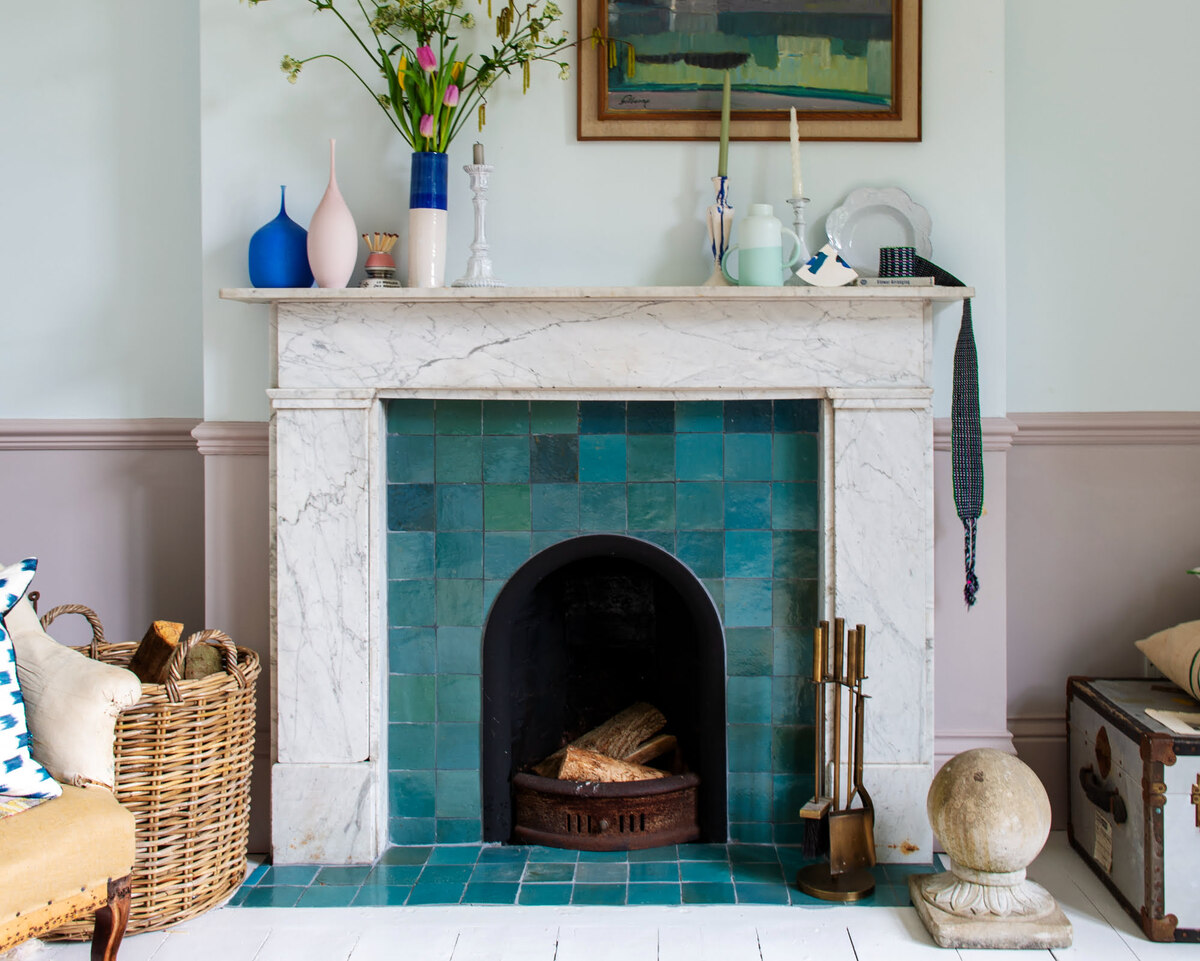
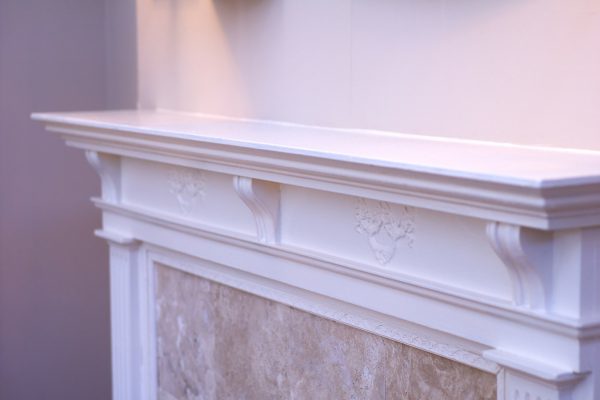
- Material selection: Mantels come in a variety of materials, such as wood, stone, metal, or even reclaimed materials. Each material provides a unique look and feel. Consider the durability, maintenance requirements, and compatibility with your desired style when selecting the material.
- Size and proportion: Measure your fireplace and consider the available space. Determine the appropriate size and proportion for your mantel, ensuring it is not too small or too large for the fireplace and the room. A well-proportioned mantelpiece can create a harmonious balance and enhance the visual appeal.
- Decorative elements: Think about the decorative elements you would like to incorporate into your mantel design. This could include carved details, corbels, brackets, or even built-in shelves. Consider how these elements will complement your existing decor or provide additional functionality.
- Personal taste: Ultimately, choose a mantel design that reflects your personal taste and style preferences. It’s essential that you feel a connection to the design and that it resonates with your vision for the space.
Browsing through home improvement stores, interior design magazines, or online platforms can inspire you and provide ideas for different mantel designs. Take your time to explore various options and gather inspiration before making a final decision.
Remember, the mantel design you choose will greatly impact the overall look and feel of your fireplace. So, take the time to select a design that aligns with your style and enhances the ambiance of your living space.
Step 4: Measuring and cutting the new mantel
Once you’ve chosen the perfect design for your new mantel, it’s time to accurately measure and cut the materials to ensure a precise fit. Follow these steps for measuring and cutting the new mantel:
- Measure the fireplace: Begin by measuring the width, height, and depth of the fireplace opening. Make sure to take into account any decorative elements or design considerations discussed in the previous step.
- Choose the material: Select the material for your new mantel, whether it’s wood, stone, or another suitable option. Ensure you have the necessary tools and equipment for cutting and shaping the chosen material.
- Create a plan: Based on your measurements and the chosen material, create a detailed plan for cutting and shaping the pieces of the mantel. Consider any decorative elements or design features that will be included, and plan for their incorporation into the final product.
- Mark the measurements: Transfer the measurements from your plan onto the material. Use a pencil or marker to clearly mark the areas that need to be cut or shaped.
- Cut the material: Using the appropriate tools, carefully cut the material according to the marked measurements. Take your time to ensure accurate cuts and smooth edges.
- Test the fit: Once the pieces of the mantel are cut, test their fit around the fireplace opening. Make any necessary adjustments to ensure a snug and secure fit.
- Finishing touches: If desired, add any additional decorative elements or design features to the mantel. This could include sanding edges, adding carvings or moldings, or applying a finish or paint color.
Remember to prioritize safety while cutting and shaping the material. Wear appropriate safety gear, follow manufacturer instructions for tools, and take necessary precautions to avoid accidents or injuries.
By carefully measuring and cutting the new mantel, you’ll ensure a precise fit that enhances the overall appearance and functionality of the fireplace.
When updating a fireplace mantel, consider the style and materials that will complement the overall design of the room. Choose a mantel that is proportionate to the size of the fireplace and the space around it.
Read more: Where To Buy Fireplace Mantel
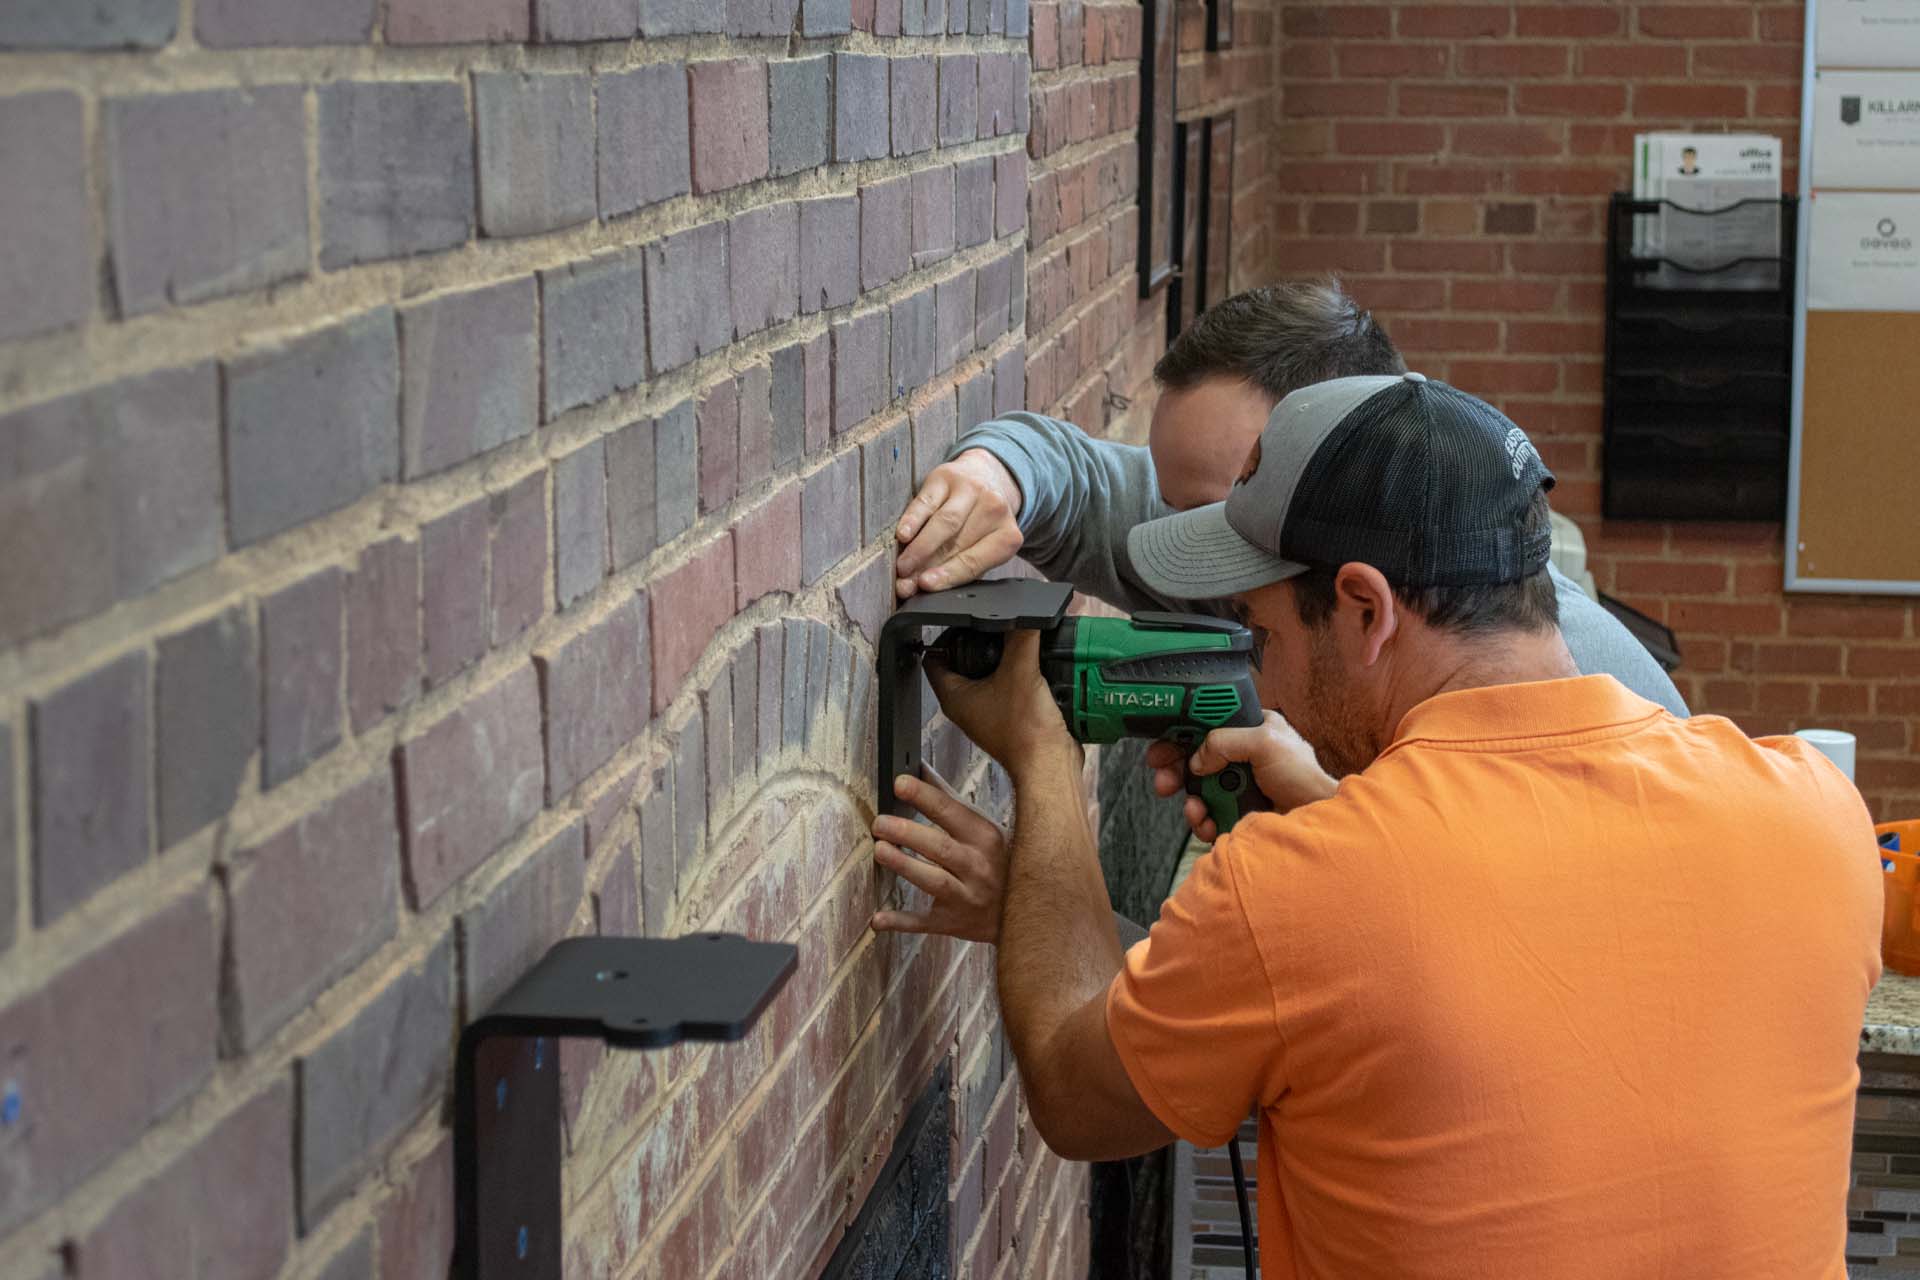
Step 5: Installing the new mantel
With the new mantel properly cut and prepared, it’s time to install it and bring your fireplace update to life. Follow these steps to securely install the new mantel:
- Gather the necessary tools: Before beginning the installation, gather all the tools and materials you’ll need, including a drill, screws, brackets, a level, and a measuring tape.
- Position the mantel: Carefully position the mantel around the fireplace opening, ensuring that it sits evenly and aligns with your desired height and width. Use a level to check for perfect horizontal and vertical alignment.
- Attach brackets or supports: Depending on the design and weight of your mantel, you may need to use brackets or supports to ensure its stability. Follow the manufacturer’s instructions to properly attach these supports to the wall and the mantel.
- Drill pilot holes: To prevent the wood from splitting, drill pilot holes through the mantel into the wall or the supports. These holes will act as guides for the screws during the installation.
- Secure with screws: Insert screws through the pilot holes and fasten them into the wall or the supports. Be cautious not to overtighten, as it may cause damage to the mantel or the wall.
- Check for stability: Once the mantel is securely attached, give it a gentle shake to check for any wobbling or instability. Make any necessary adjustments to ensure a snug and stable fit.
It’s important to follow the manufacturer’s instructions and guidelines specific to your mantel, as installation methods may vary. If you’re uncertain or uncomfortable with the installation process, consider seeking professional assistance to ensure a safe and secure installation.
By following these steps, you’ll be able to successfully install the new mantel and bring your fireplace update one step closer to completion.
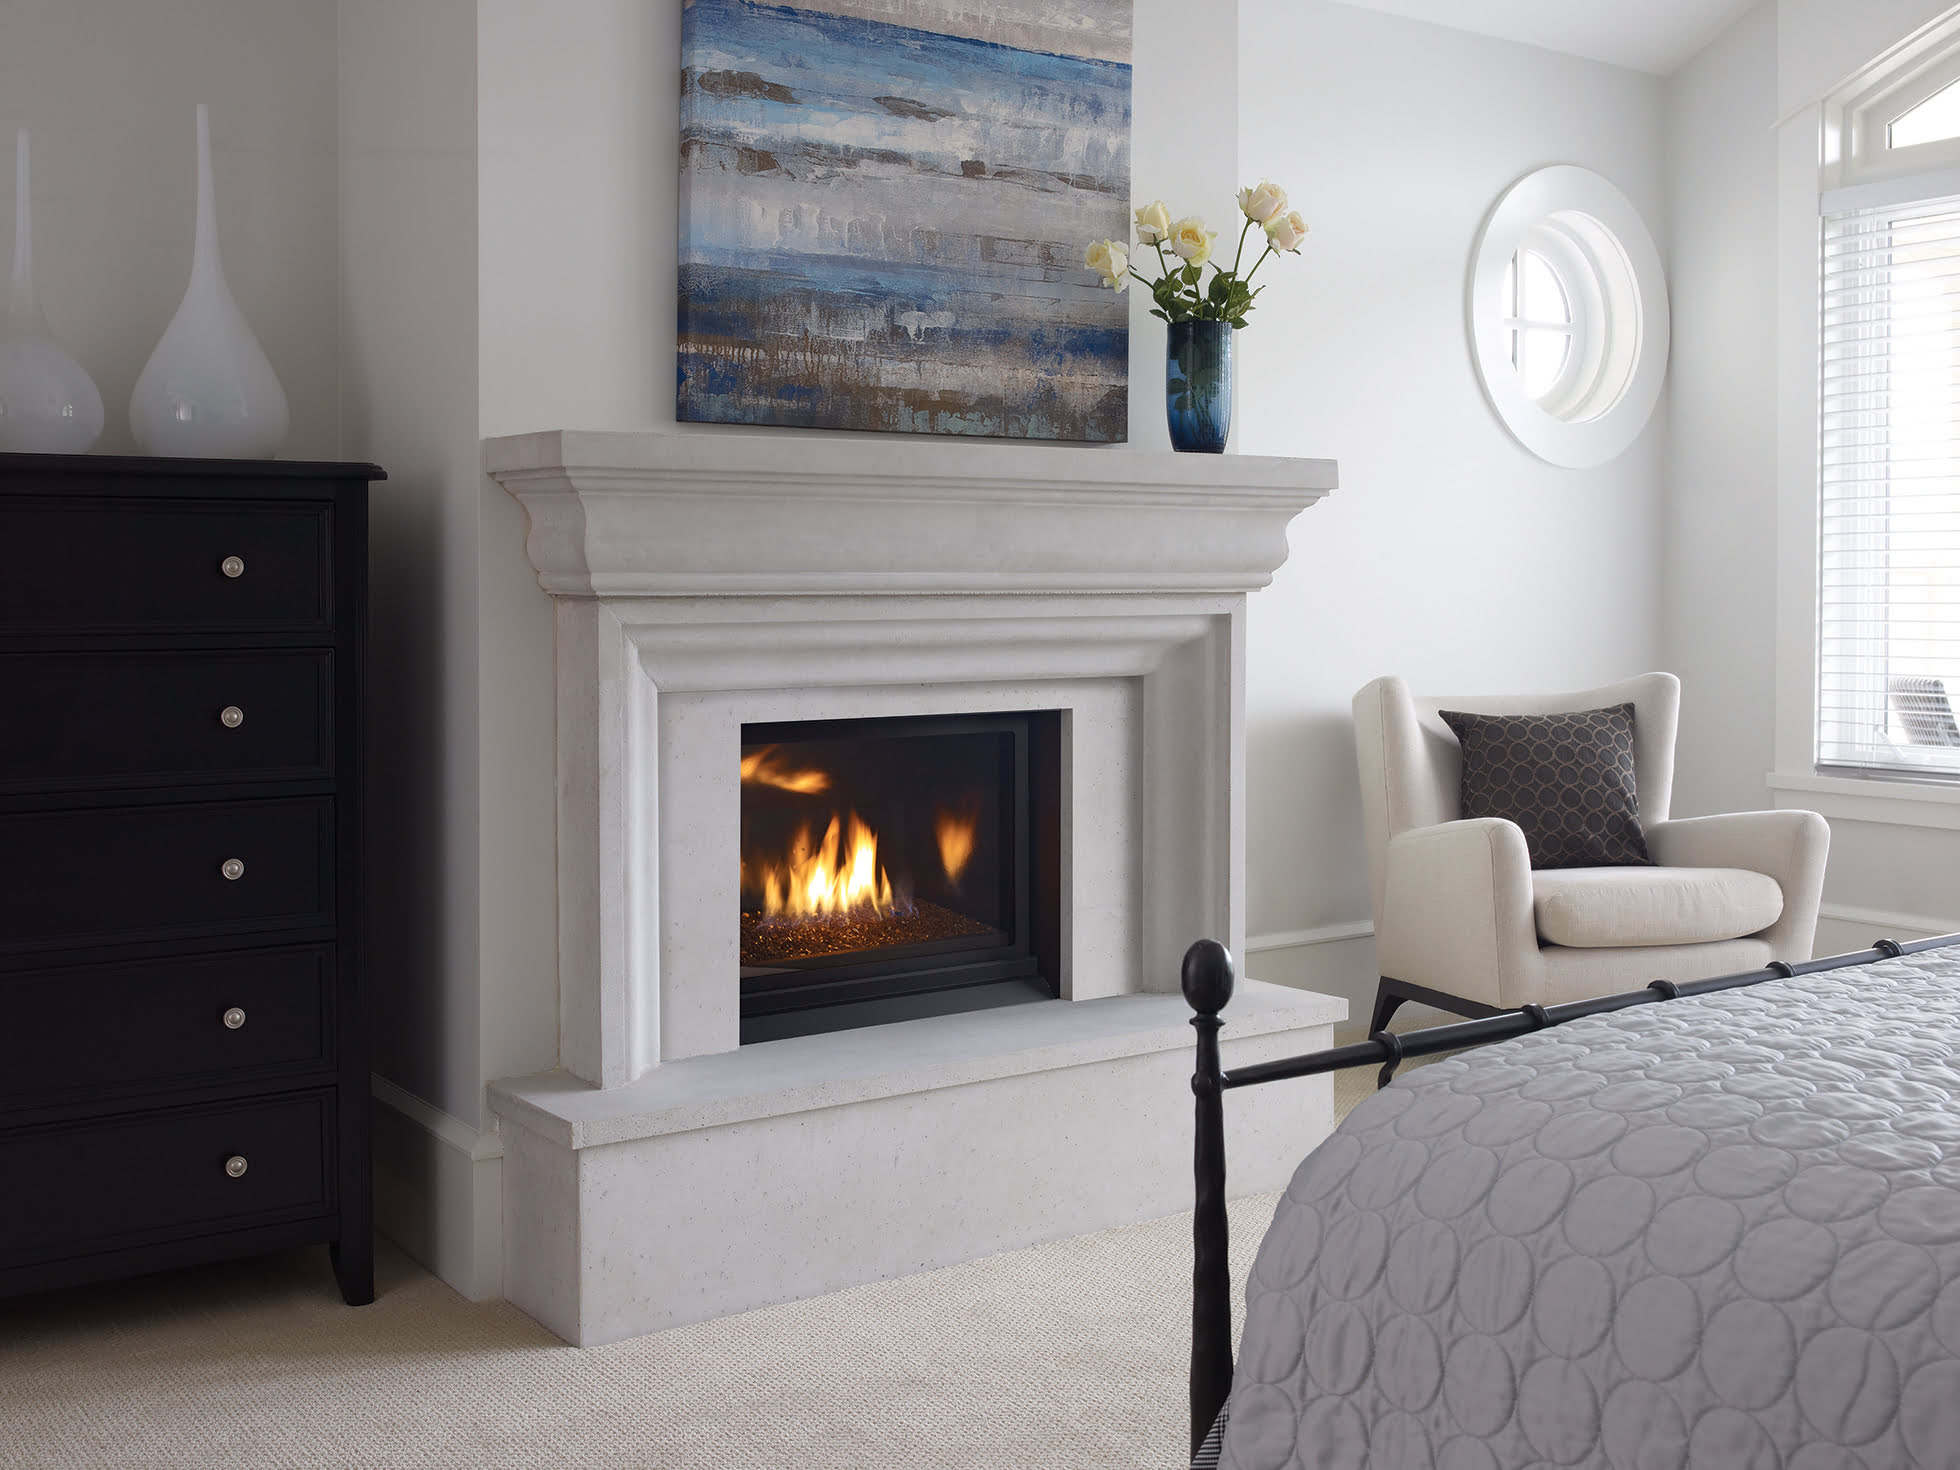
Step 6: Adding finishing touches
Adding the finishing touches to your updated fireplace mantel will enhance its overall appearance and make it truly stand out as a focal point in your home. Here are some ideas for adding those final details:
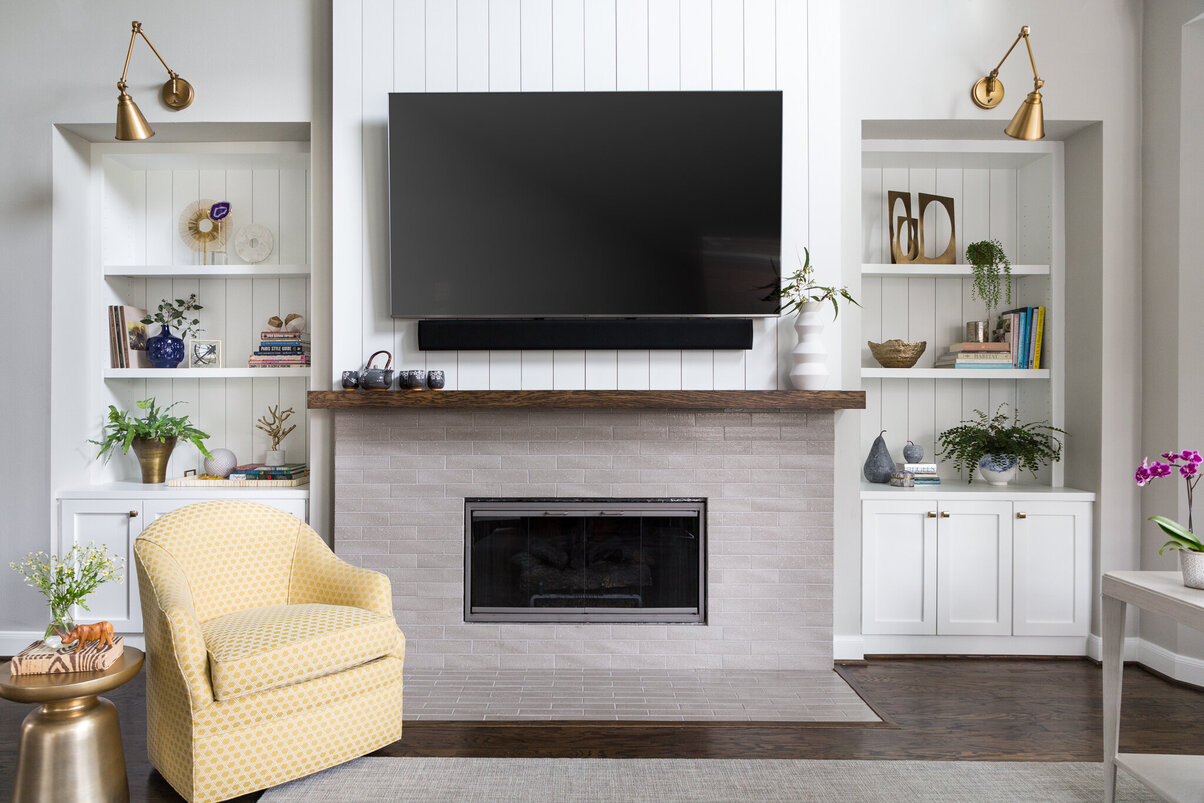
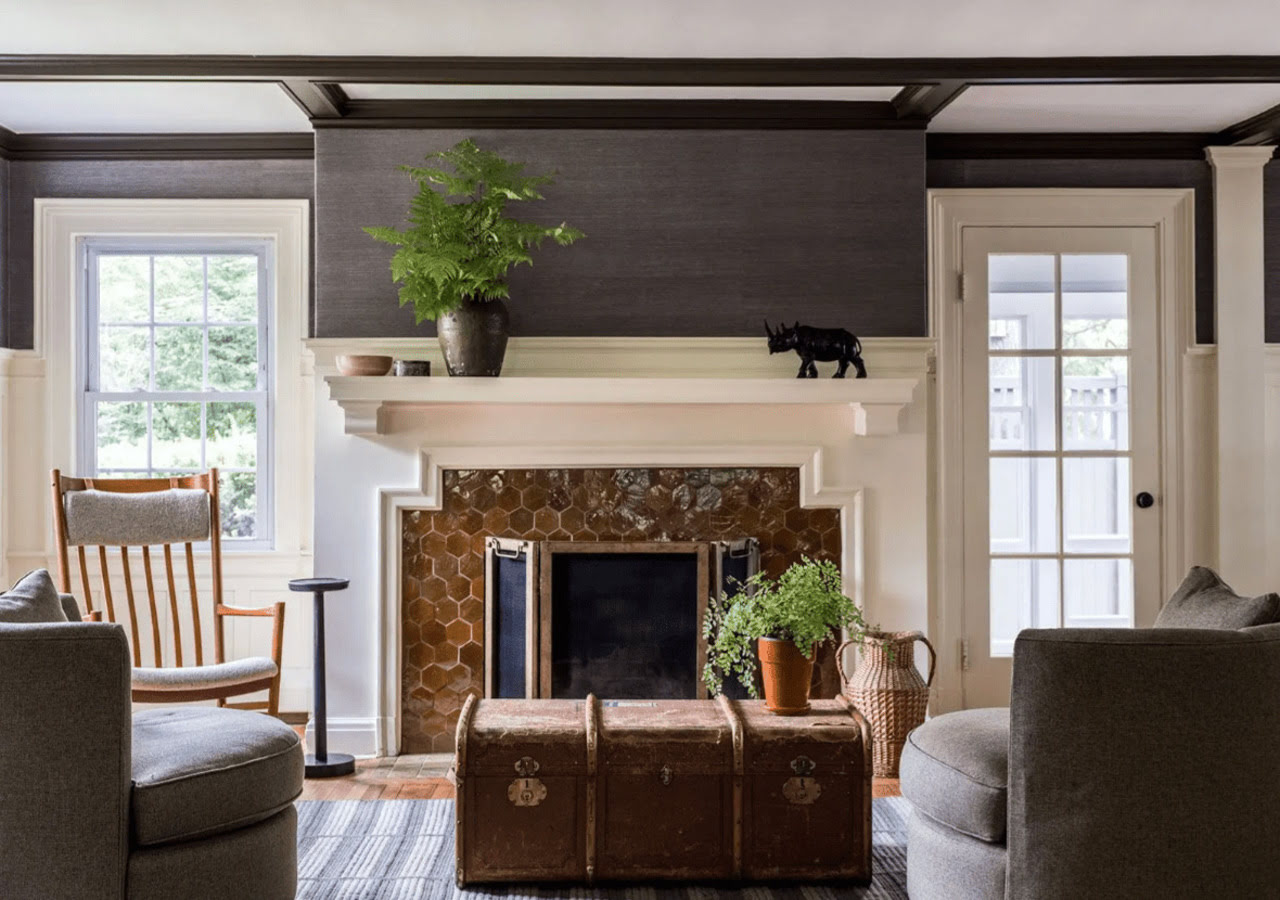
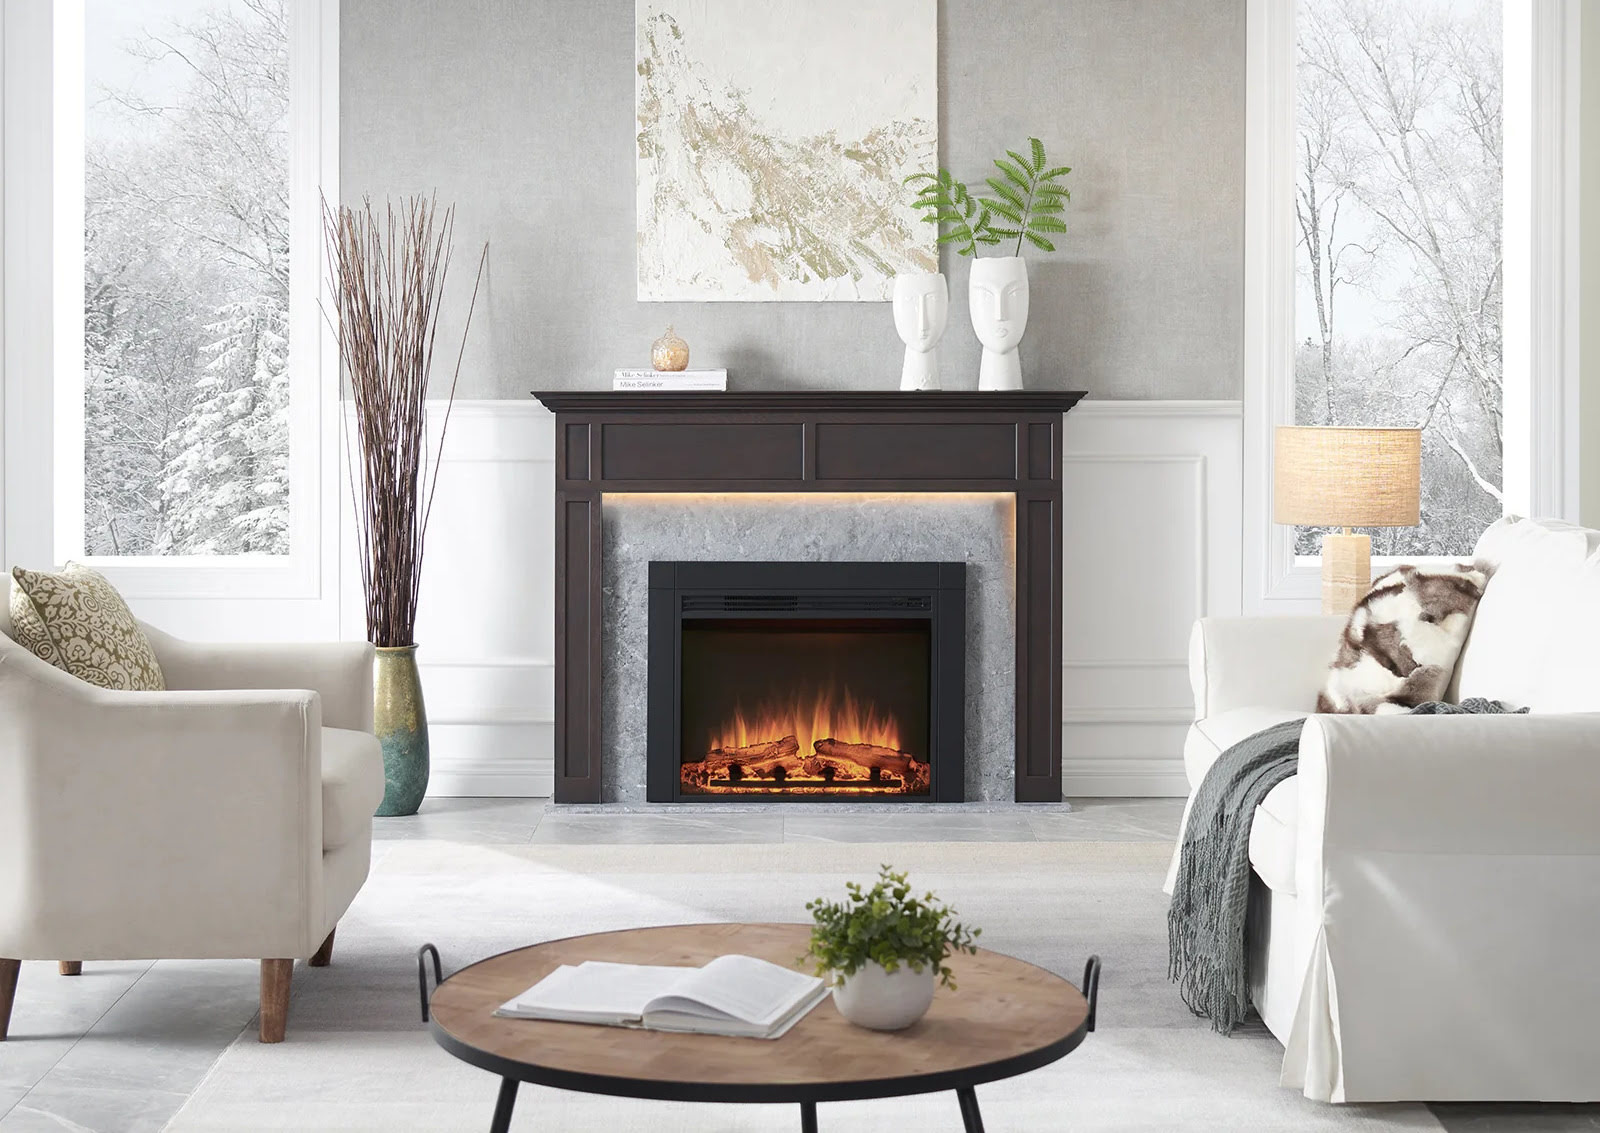
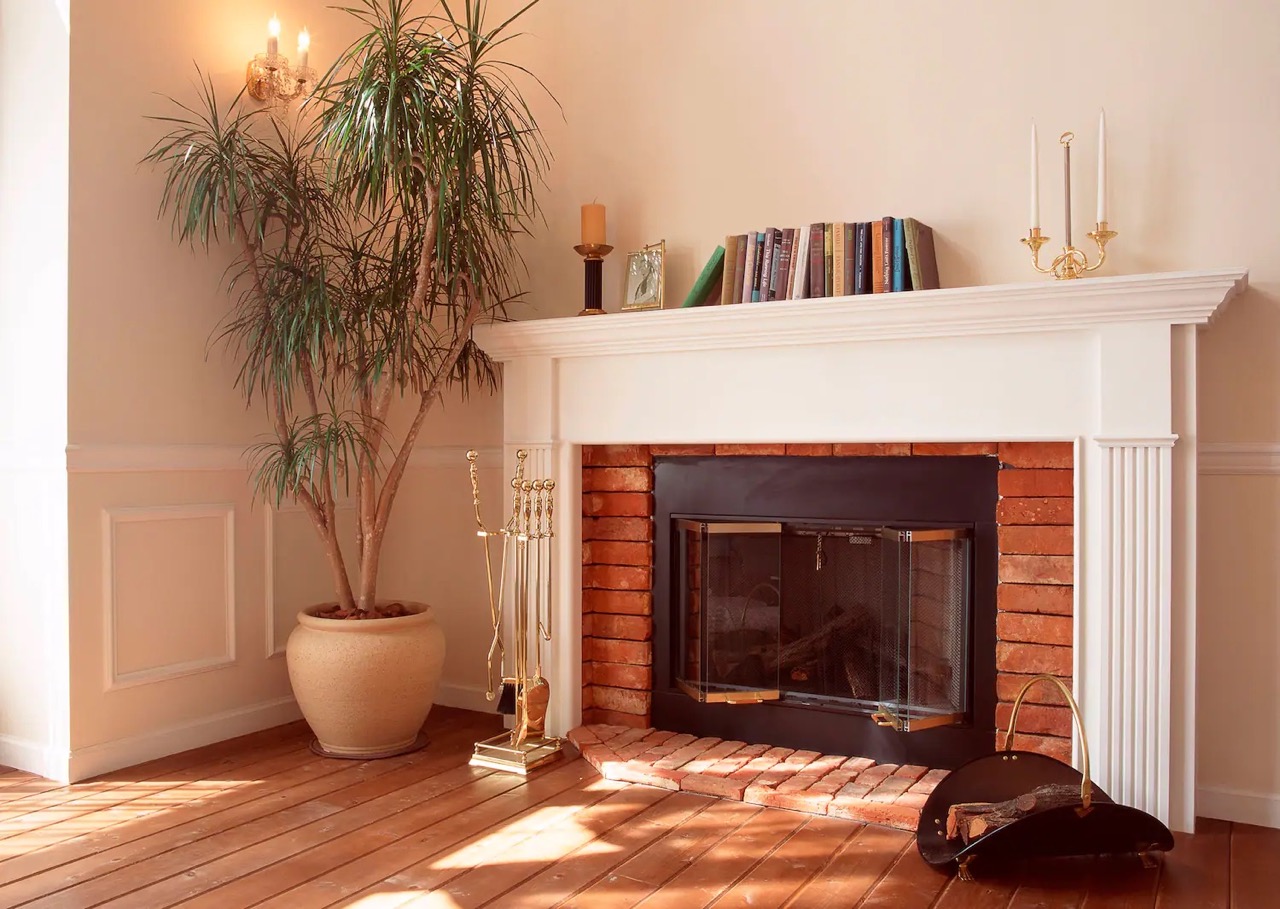
- Decorate the mantel: Place decorative items such as artwork, framed photos, vases, candles, or plants on the mantel to add a personal touch. Consider the overall style and color scheme of the room when selecting these items.
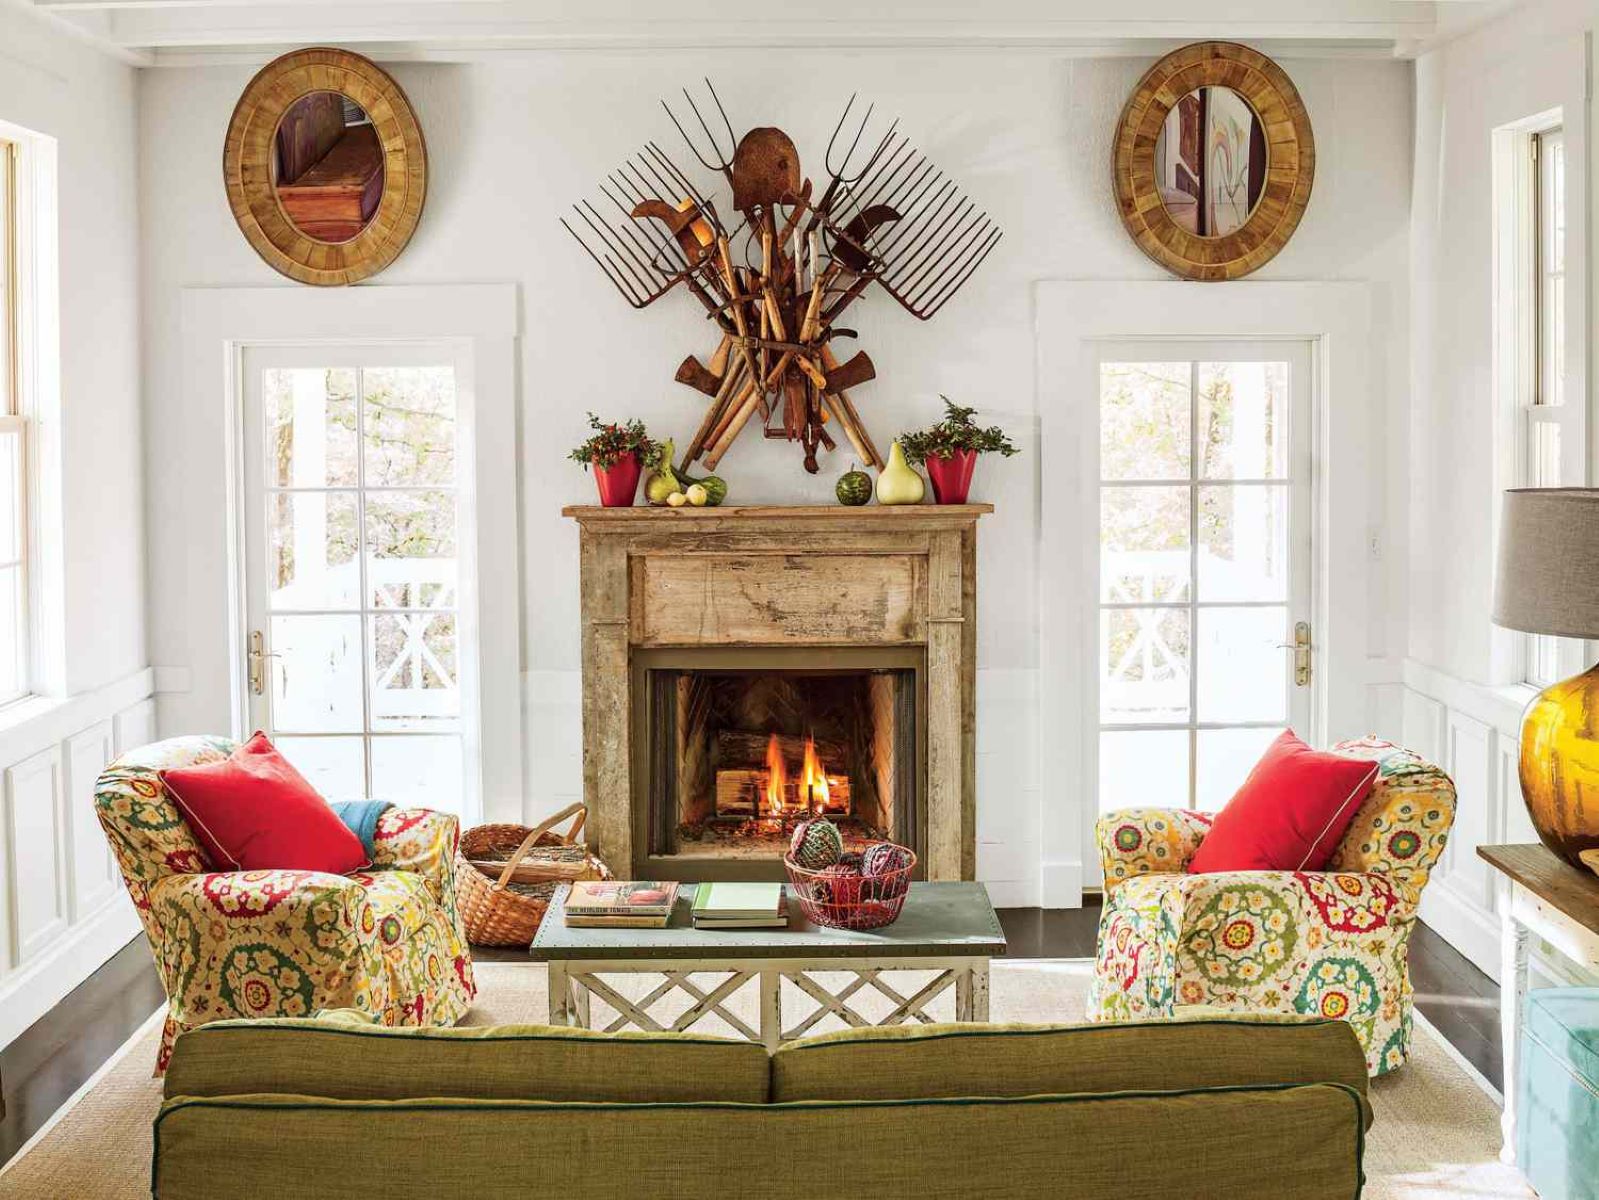
- Hang a mirror or artwork: Above the mantel, hang a mirror or a piece of artwork that complements the design and style of the mantel. This will create visual interest and add depth to the space.
- Add lighting: Install wall sconces or place table lamps on either end of the mantel to provide soft, ambient lighting. This will create a warm and cozy atmosphere in the room.
- Accessorize with mantel decor: Choose decorative items that can be placed directly on the mantel, such as vases, sculptures, or unique trinkets, to complete the look. Arrange them in a visually appealing way, considering varying heights and complementary colors.
- Add a mantel shelf: Consider installing a shelf above the mantel to provide additional display or storage space. This can be useful for showcasing books, small decorative items, or family heirlooms.
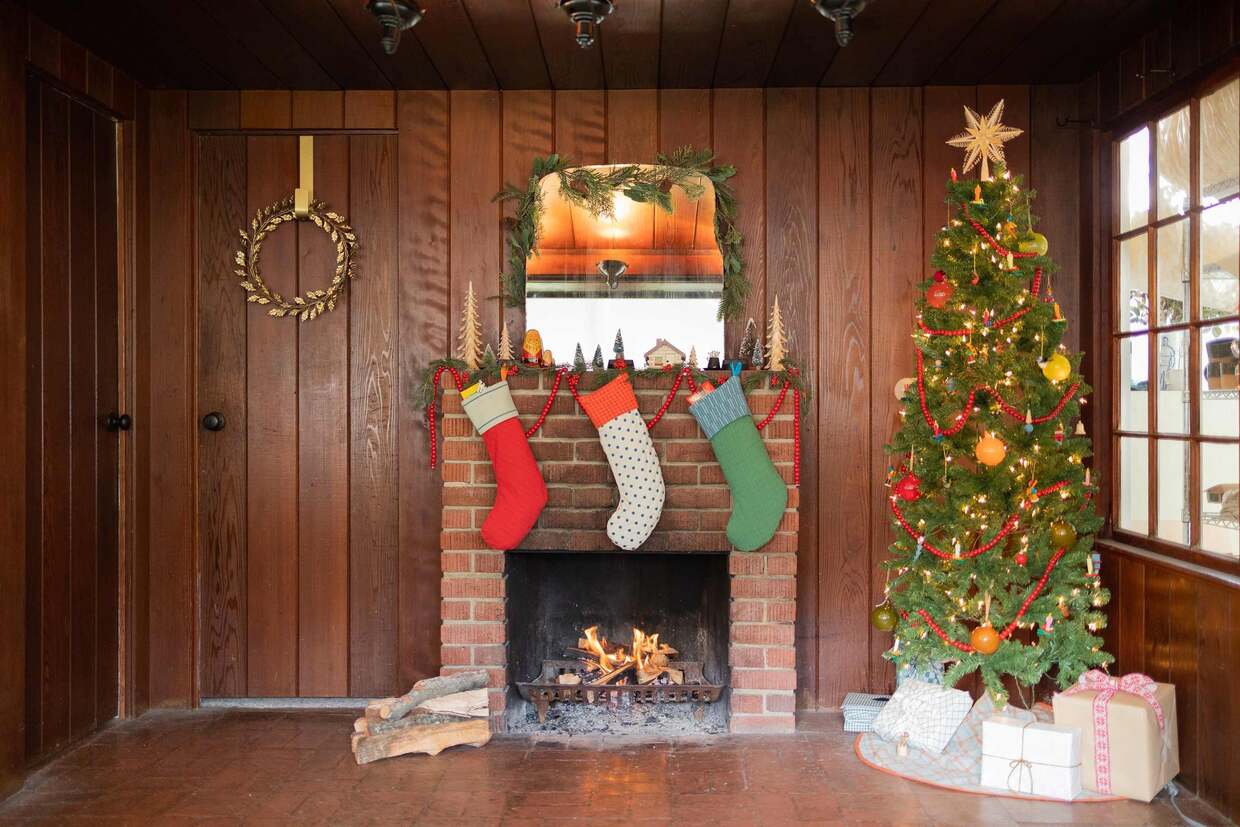
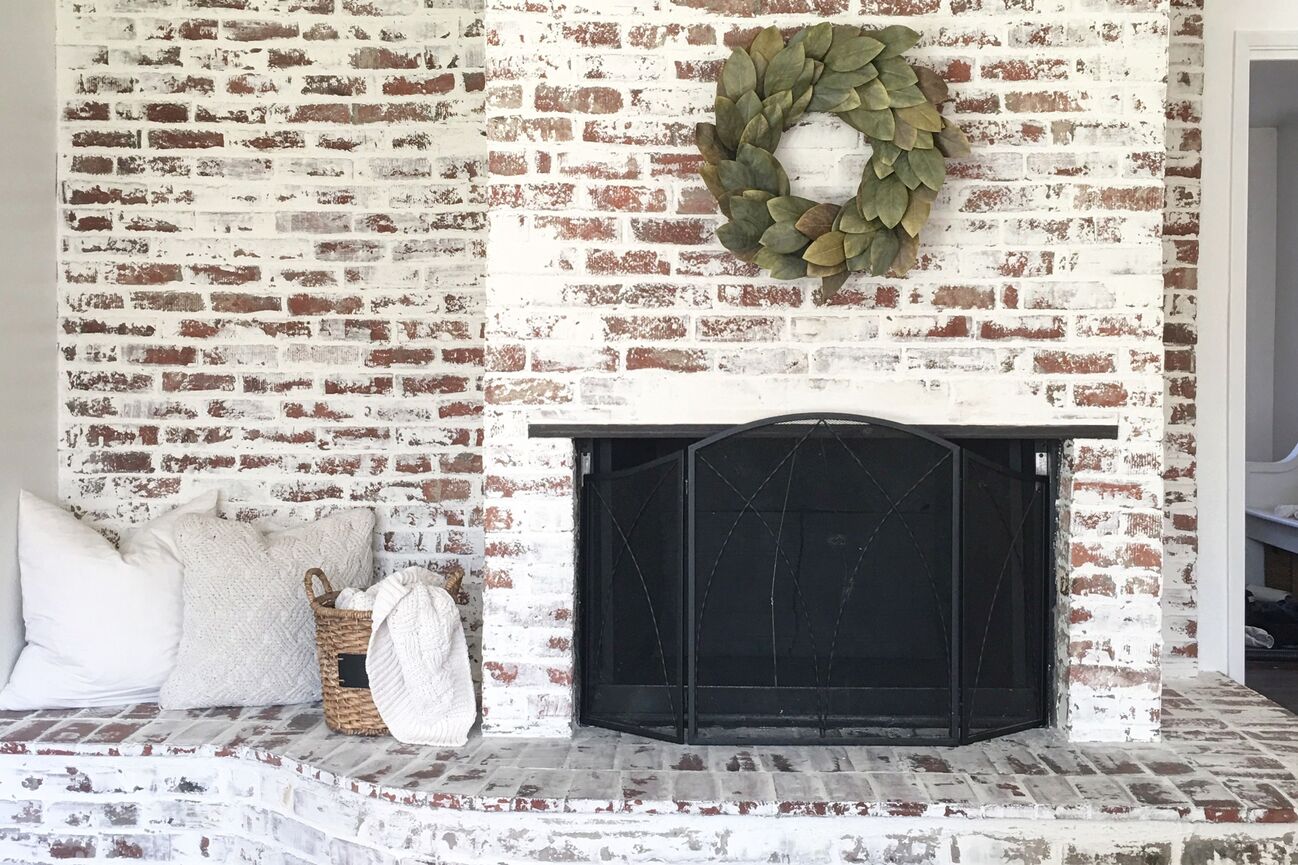
- Consider seasonal decor: Change up the decorations on the mantel according to the seasons or holidays. Incorporate elements like seasonal foliage, wreaths, or themed decor to keep the mantel fresh and inviting throughout the year.
- Maintain cleanliness: Regularly dust and clean the mantel to keep it looking its best. This will ensure that your hard work in updating the mantel remains evident.
Remember, the finishing touches on your mantel should reflect your personal style and create a cohesive look with the rest of the room’s decor. Let your creativity shine through as you add these final details to complete your fireplace update.
Step 7: Finalizing the update
Congratulations! You’re now at the final step of updating your fireplace mantel. It’s time to step back, admire your hard work, and make any necessary final adjustments to ensure a polished and completed look. Follow these steps to finalize the update:
- Step back and assess: Take a moment to step back and assess the overall look and feel of your updated mantel. Make sure it aligns with your initial vision and complements the room’s decor.
- Ensure functionality: Check that the mantel serves its intended purpose. Test the weight-bearing capacity and ensure that any additional features, such as shelves or brackets, are sturdy and secure.
- Touch up or paint: If necessary, touch up any areas that may have been scuffed or damaged during the installation process. Additionally, consider applying a fresh coat of paint or finish to the mantel to give it a polished look.
- Double-check safety: Ensure that your fireplace and mantel meet all required safety standards. Check for any fire hazards, such as flammable materials near the fireplace, and address them immediately.
- Seek feedback: Ask for opinions from family members or friends to get their feedback on the updated mantel. Their fresh perspective may help you identify any areas for improvement or give you a confirmation that you’ve created a stunning focal point.
- Maintain and enjoy: Establish a regular maintenance routine for your mantel to keep it looking its best. Clean it regularly, dust decorative items, and periodically check for any signs of wear and tear that may require attention.
With these final steps, your fireplace mantel update is complete. Take pride in your accomplishment and enjoy the enhanced beauty and functionality that your new mantel brings to your living space. Whether it’s cozy evenings by the fire or gathering with loved ones, your updated mantel will create a warm and inviting atmosphere that you can cherish for years to come.
Conclusion
Updating a fireplace mantel can breathe new life into your living space and elevate the overall aesthetic of your home. By following these step-by-step instructions, you can successfully transform your outdated mantel into a stunning focal point that reflects your personal style and enhances the ambiance of the room.
From removing the old mantel to selecting a new design, measuring and cutting the materials, and installing the new mantel, each step is essential in creating a polished and secure fireplace update. Adding the finishing touches, such as decor, lighting, and personal touches, brings warmth and personality to the space.
Throughout the process, it’s important to prioritize safety, take accurate measurements, and choose materials and designs that align with your style and complement the overall aesthetic of your home. Seek inspiration, gather feedback, and make any necessary adjustments to ensure a flawless end result.
Ultimately, updating your fireplace mantel is a rewarding DIY project that enhances the visual appeal and functionality of your living space. It creates a cozy and inviting atmosphere for you and your loved ones to enjoy, and sets the stage for cherished memories to be made.
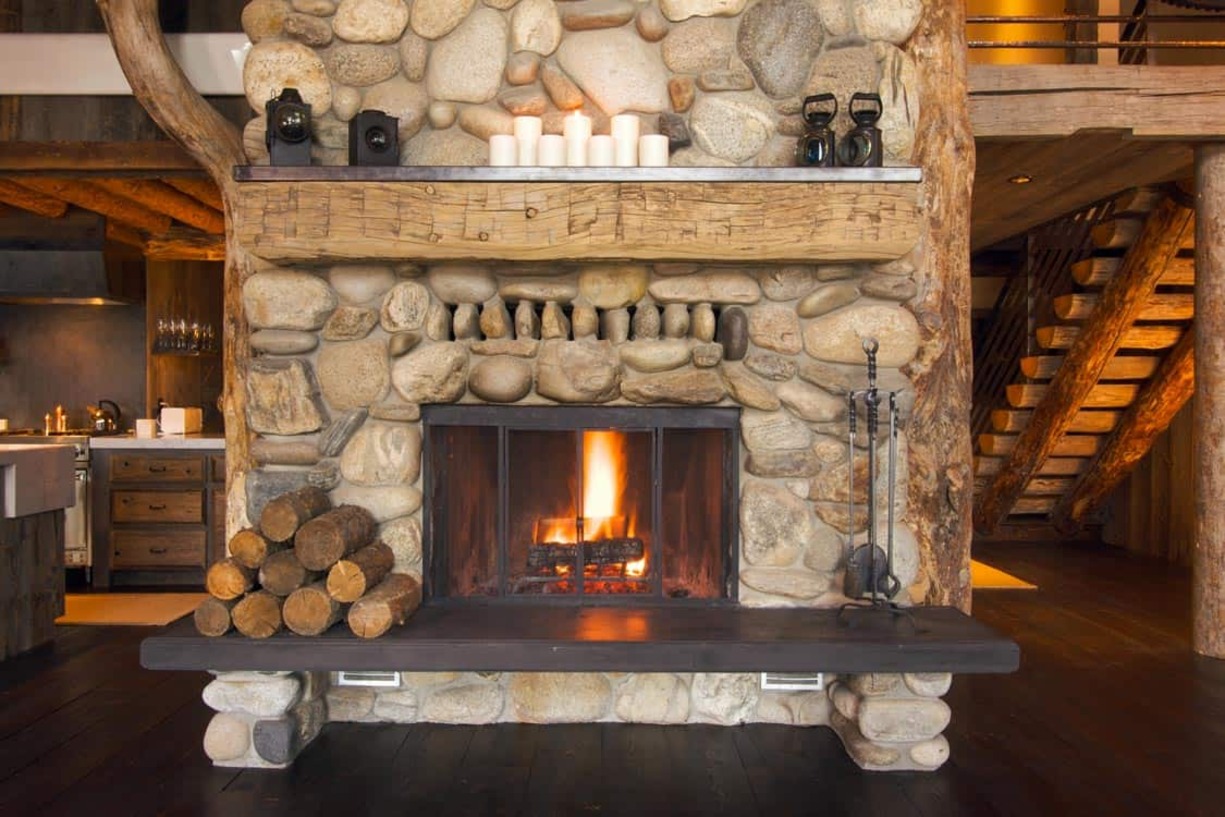
So, whether you’re looking to transform a traditional mantel into a modern centerpiece or add a touch of rustic charm to your space, follow these steps, unleash your creativity, and embark on the journey of updating your fireplace mantel into a stunning focal point that reflects your unique style and enhances the heart of your home.
Frequently Asked Questions about How To Update A Fireplace Mantel
Was this page helpful?
At Storables.com, we guarantee accurate and reliable information. Our content, validated by Expert Board Contributors, is crafted following stringent Editorial Policies. We're committed to providing you with well-researched, expert-backed insights for all your informational needs.
0 thoughts on “How To Update A Fireplace Mantel”