Articles
How To Cover Exposed Insulation
Modified: December 7, 2023
Learn how to cover exposed insulation with our informative articles. Protect your home and improve energy efficiency.
(Many of the links in this article redirect to a specific reviewed product. Your purchase of these products through affiliate links helps to generate commission for Storables.com, at no extra cost. Learn more)
Introduction
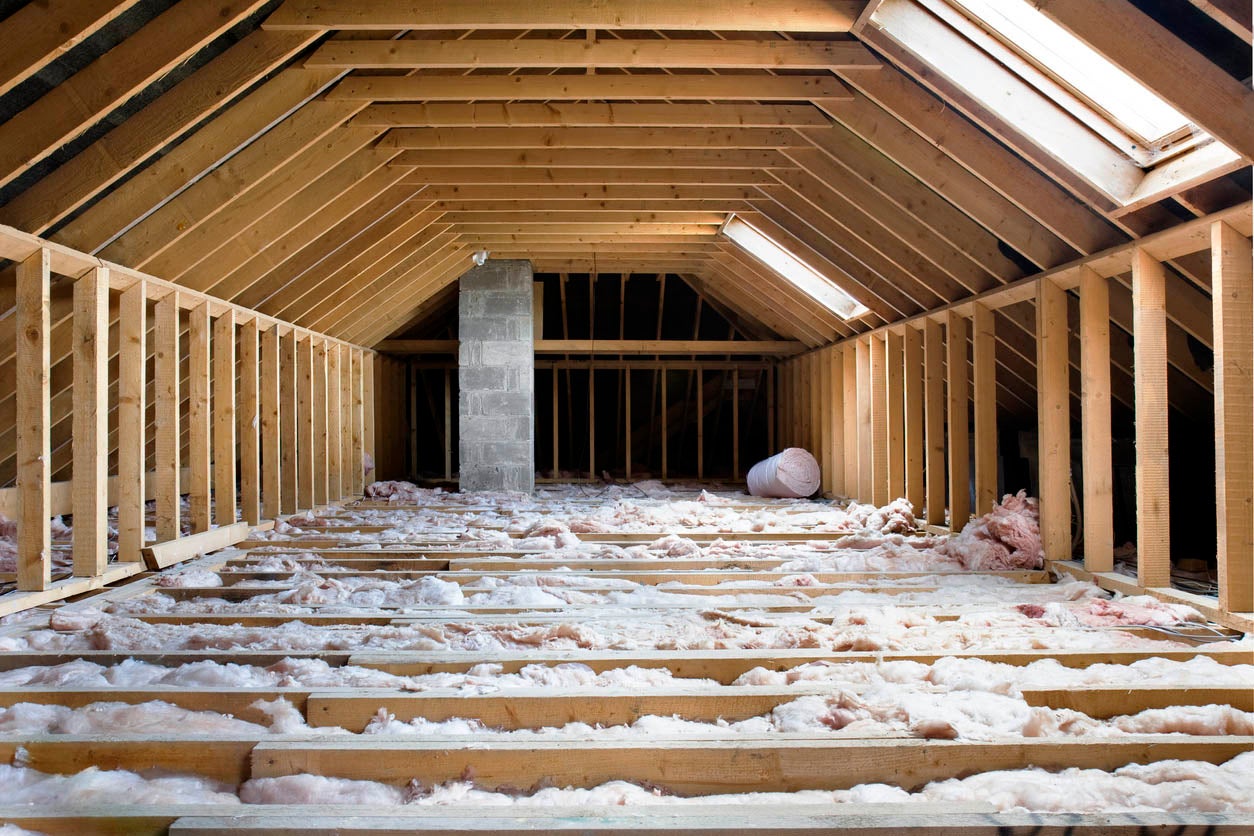
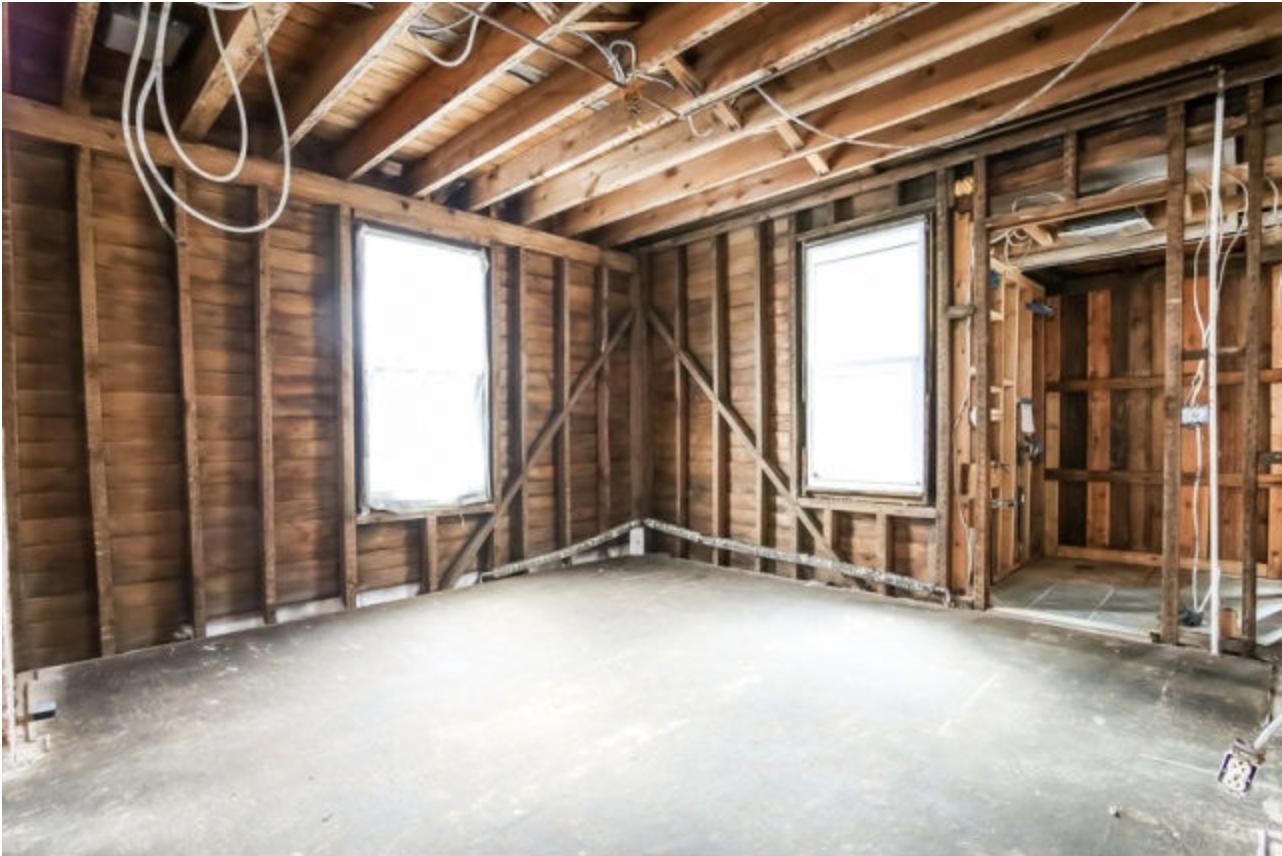
Exposed insulation can be a nuisance and an eyesore in your home or office space. Not only does it detract from the overall appearance of the space, but it can also pose health and safety risks. Insulation is typically used to regulate temperature and provide a barrier against noise, but when left exposed, it becomes vulnerable to damage, deterioration, and even potential health hazards.
In this article, we will explore the steps to cover exposed insulation effectively. Whether you have exposed insulation in your attic, basement, or any other area of your home, we will guide you through the process of selecting the right covering material, preparing the area, and installing the covering to ensure a safe and visually appealing environment.
Before we delve into the step-by-step process, let’s first understand the dangers of leaving insulation exposed and why it is crucial to address it promptly.
Key Takeaways:
- Addressing exposed insulation is crucial for safety, aesthetics, and energy efficiency. By understanding the risks, choosing the right covering material, and ensuring proper installation, you can create a safe and visually appealing environment.
- Regular maintenance of the covering material is essential for longevity and effectiveness. By implementing cleaning, inspection, and addressing potential issues, you can preserve the insulation’s benefits and aesthetic appeal for years to come.
Read more: How To Cover Exposed Brick
Step 1: Understanding the Dangers of Exposed Insulation
When insulation is left exposed, it is susceptible to various dangers that can impact both the integrity of the insulation itself as well as the overall safety of your space. Here are some of the key dangers:
- Health Hazards: Exposed insulation can release harmful fibers and particles into the air, posing a health risk if inhaled. Fiberglass, for example, can cause skin irritation and respiratory problems if proper precautions are not taken.
- Damage and Deterioration: Exposed insulation is more vulnerable to damage from moisture, pests, and general wear and tear. A sagging ceiling or damp walls can accelerate the deterioration of insulation, leading to decreased effectiveness in temperature regulation and increased energy bills.
- Fire Hazards: Certain types of insulation, such as foam insulation, are flammable. When left exposed, they can become ignition sources and increase the risk of fire spread. Covering the insulation helps mitigate this risk by adding a layer of fire resistance.
- Poor Aesthetic Appeal: Exposed insulation is unsightly and can significantly impact the overall aesthetic of a space, especially if it is an area frequently visited by guests or clients. Covering the insulation can help create a clean and polished look.
By understanding these dangers, you can appreciate the importance of covering exposed insulation promptly. Doing so will not only maintain a safe and healthy environment but also preserve the longevity and effectiveness of the insulation itself. Now that we are aware of the risks, let’s proceed to the next step of assessing the type of insulation.
Step 2: Assessing the Type of Insulation
Before you can begin covering your exposed insulation, it’s essential to assess the type of insulation you are dealing with. Different materials require different covering methods and materials. Here are some common types of insulation:
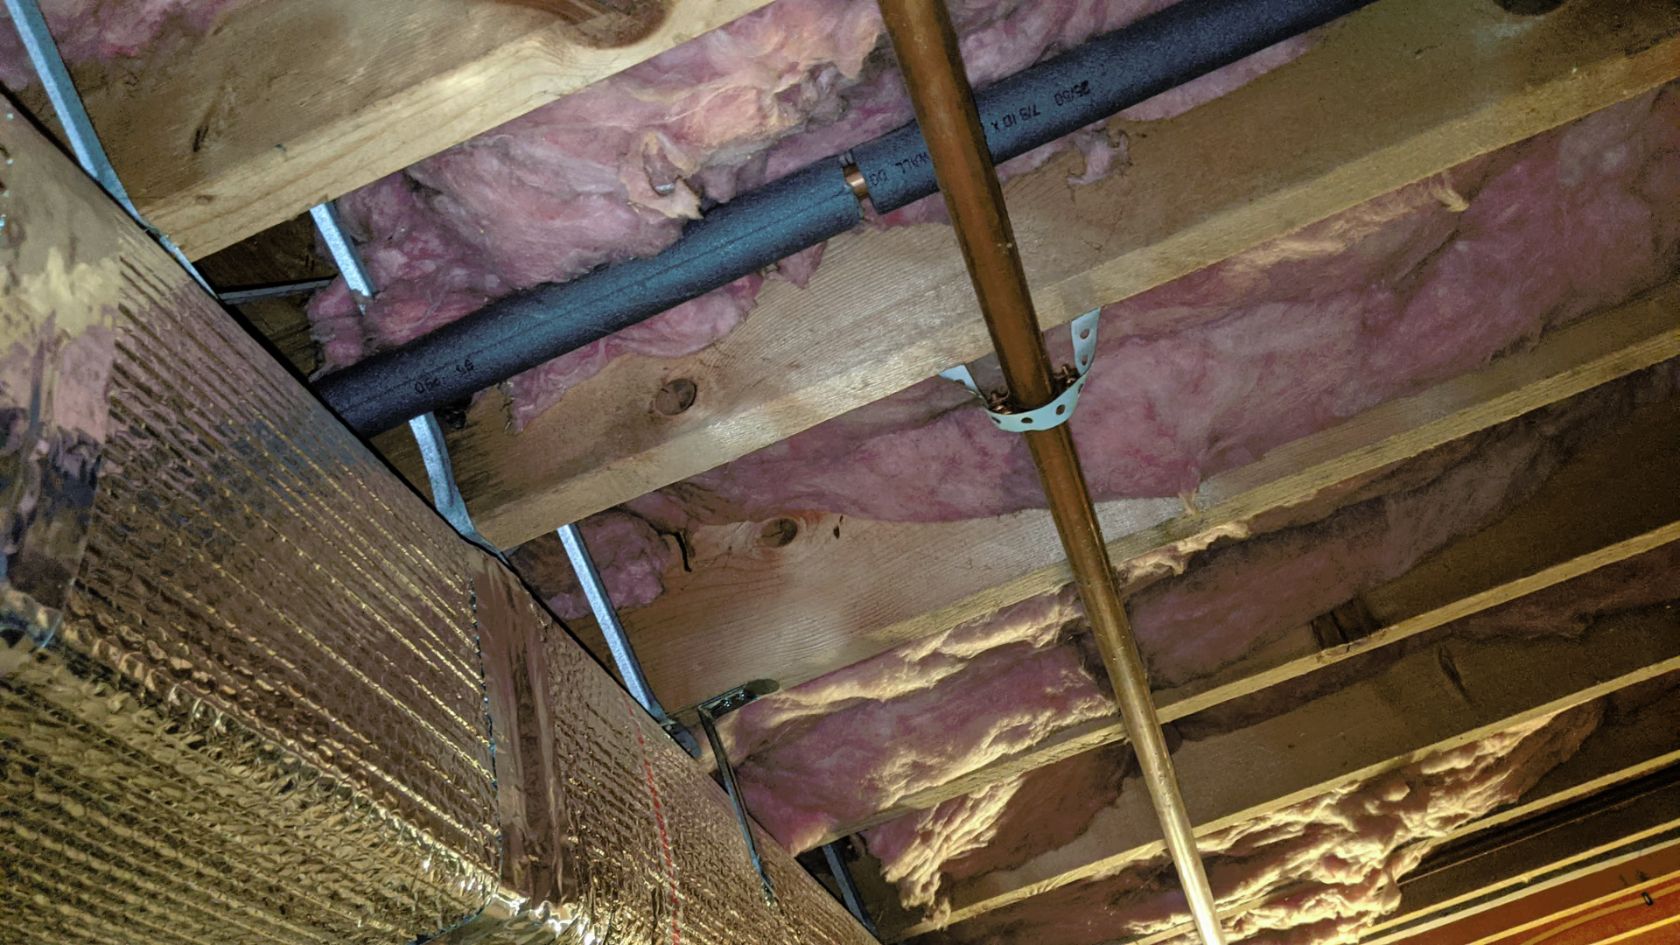
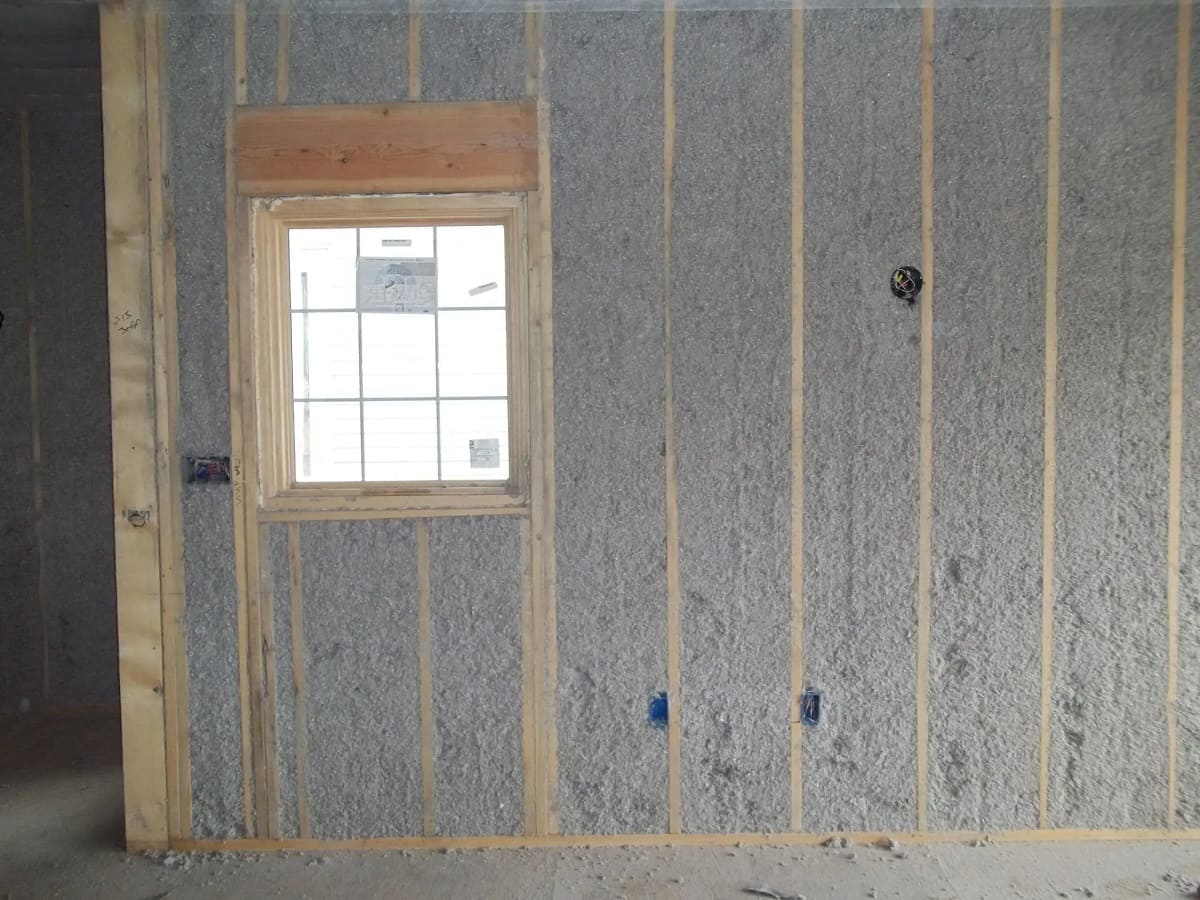
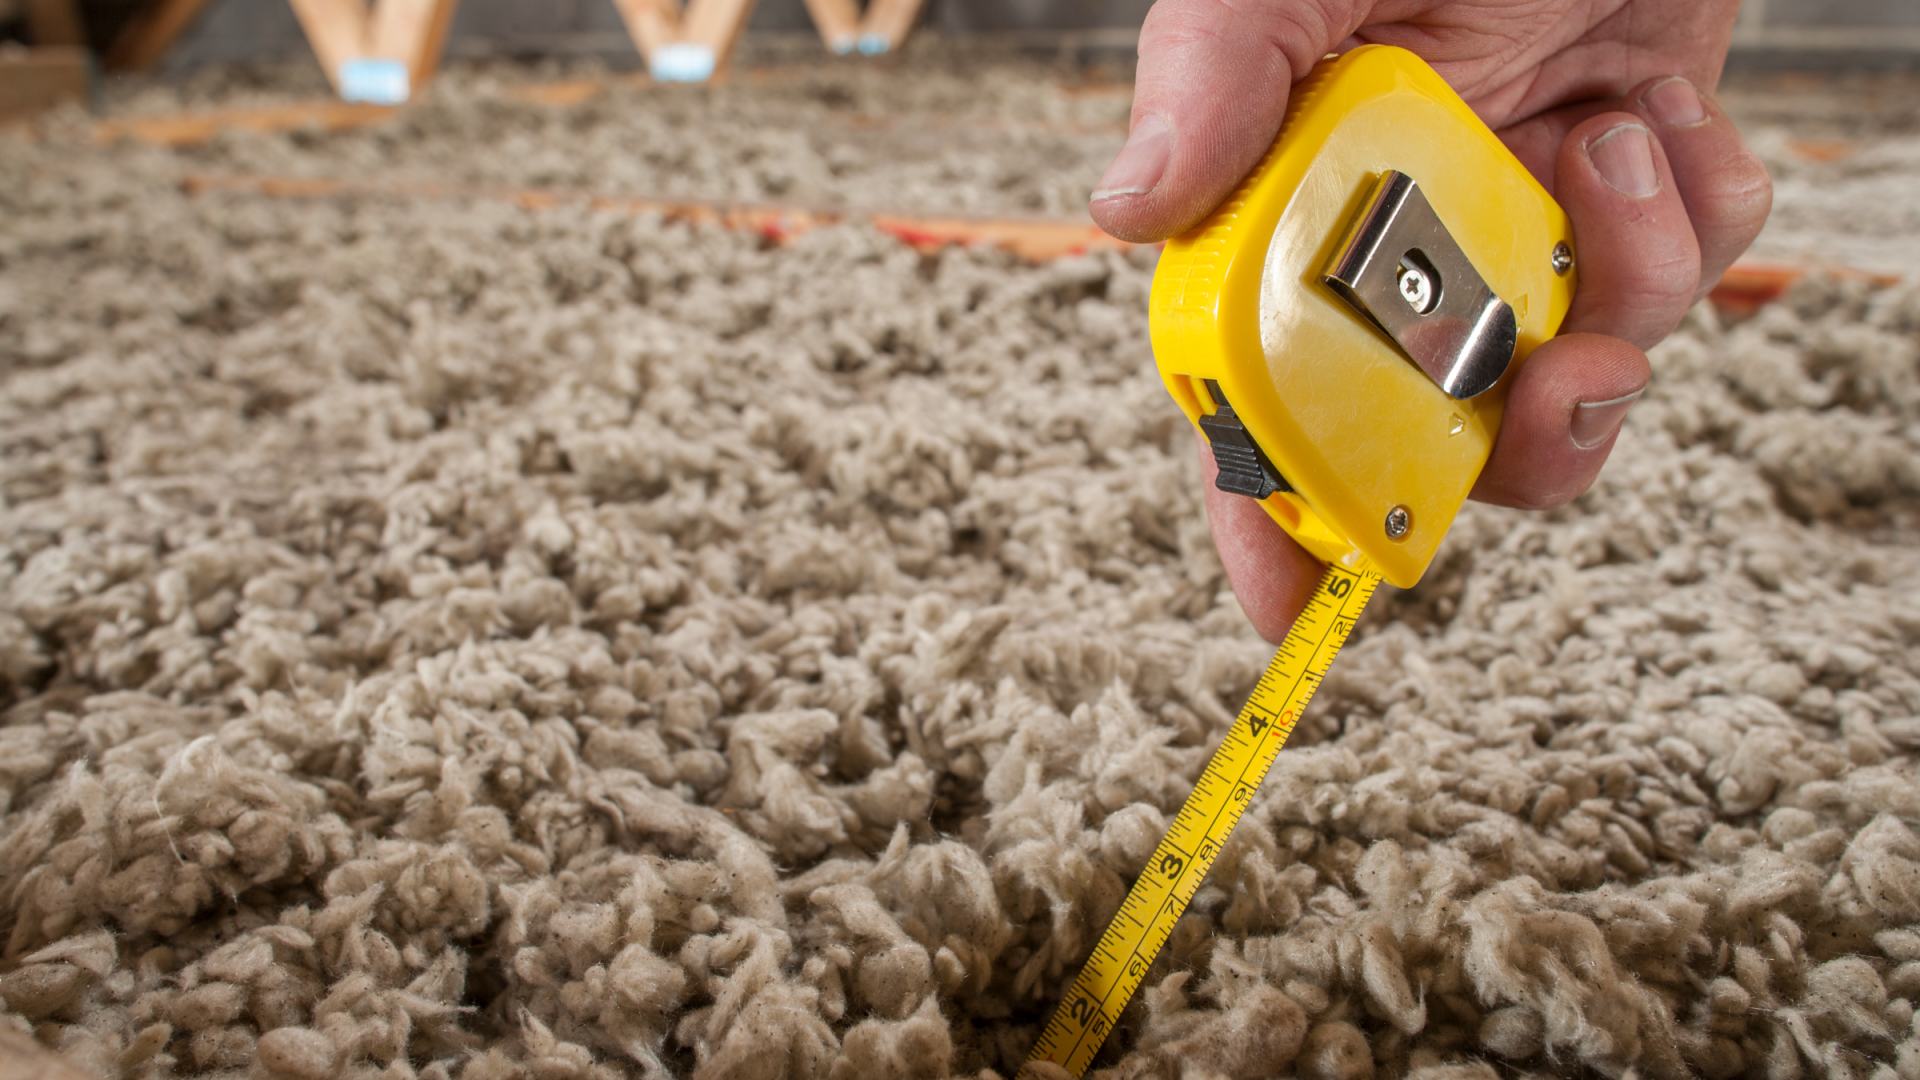
- Fiberglass Insulation: This type consists of tiny glass fibers that are woven together into thick mats or rolls. It is commonly found in attics, walls, and crawl spaces.
- Spray Foam Insulation: This insulation type is made by mixing two chemicals that expand and harden upon application. It is often used in hard-to-reach areas and provides excellent air sealing capabilities.
- Cellulose Insulation: Made from recycled materials like newspaper or cardboard, cellulose insulation is blown or dense-packed into walls and attics. It offers good thermal resistance and soundproofing properties.
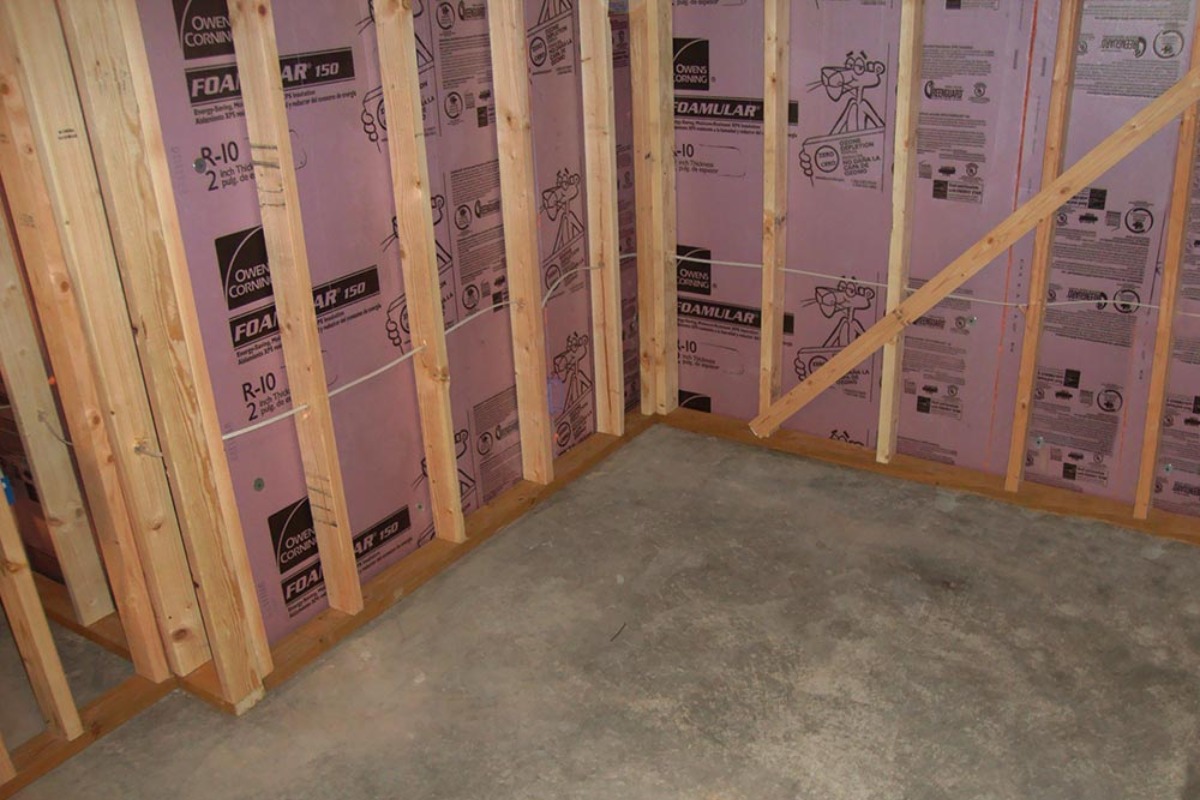
- Rigid Foam Insulation: This insulation is made from polystyrene, polyurethane, or polyisocyanurate and comes in rigid panels. It is commonly used in basements, foundations, and for exterior insulation.
- Rockwool Insulation: Made from melted rock and minerals, this type of insulation is dense and offers both thermal and soundproofing qualities. It is commonly used in walls and floors.
Identifying the type of insulation you have will help you select the appropriate coverings and installation methods. It’s important to consider the specific characteristics of the insulation, such as its thickness, configuration, and any safety guidelines provided by the manufacturer. Additionally, consult with professionals or insulation experts if you are unsure about the type of insulation you have or how to proceed with covering it.
Now that you have assessed the type of insulation, it’s time to move on to the next step: choosing the right covering material.
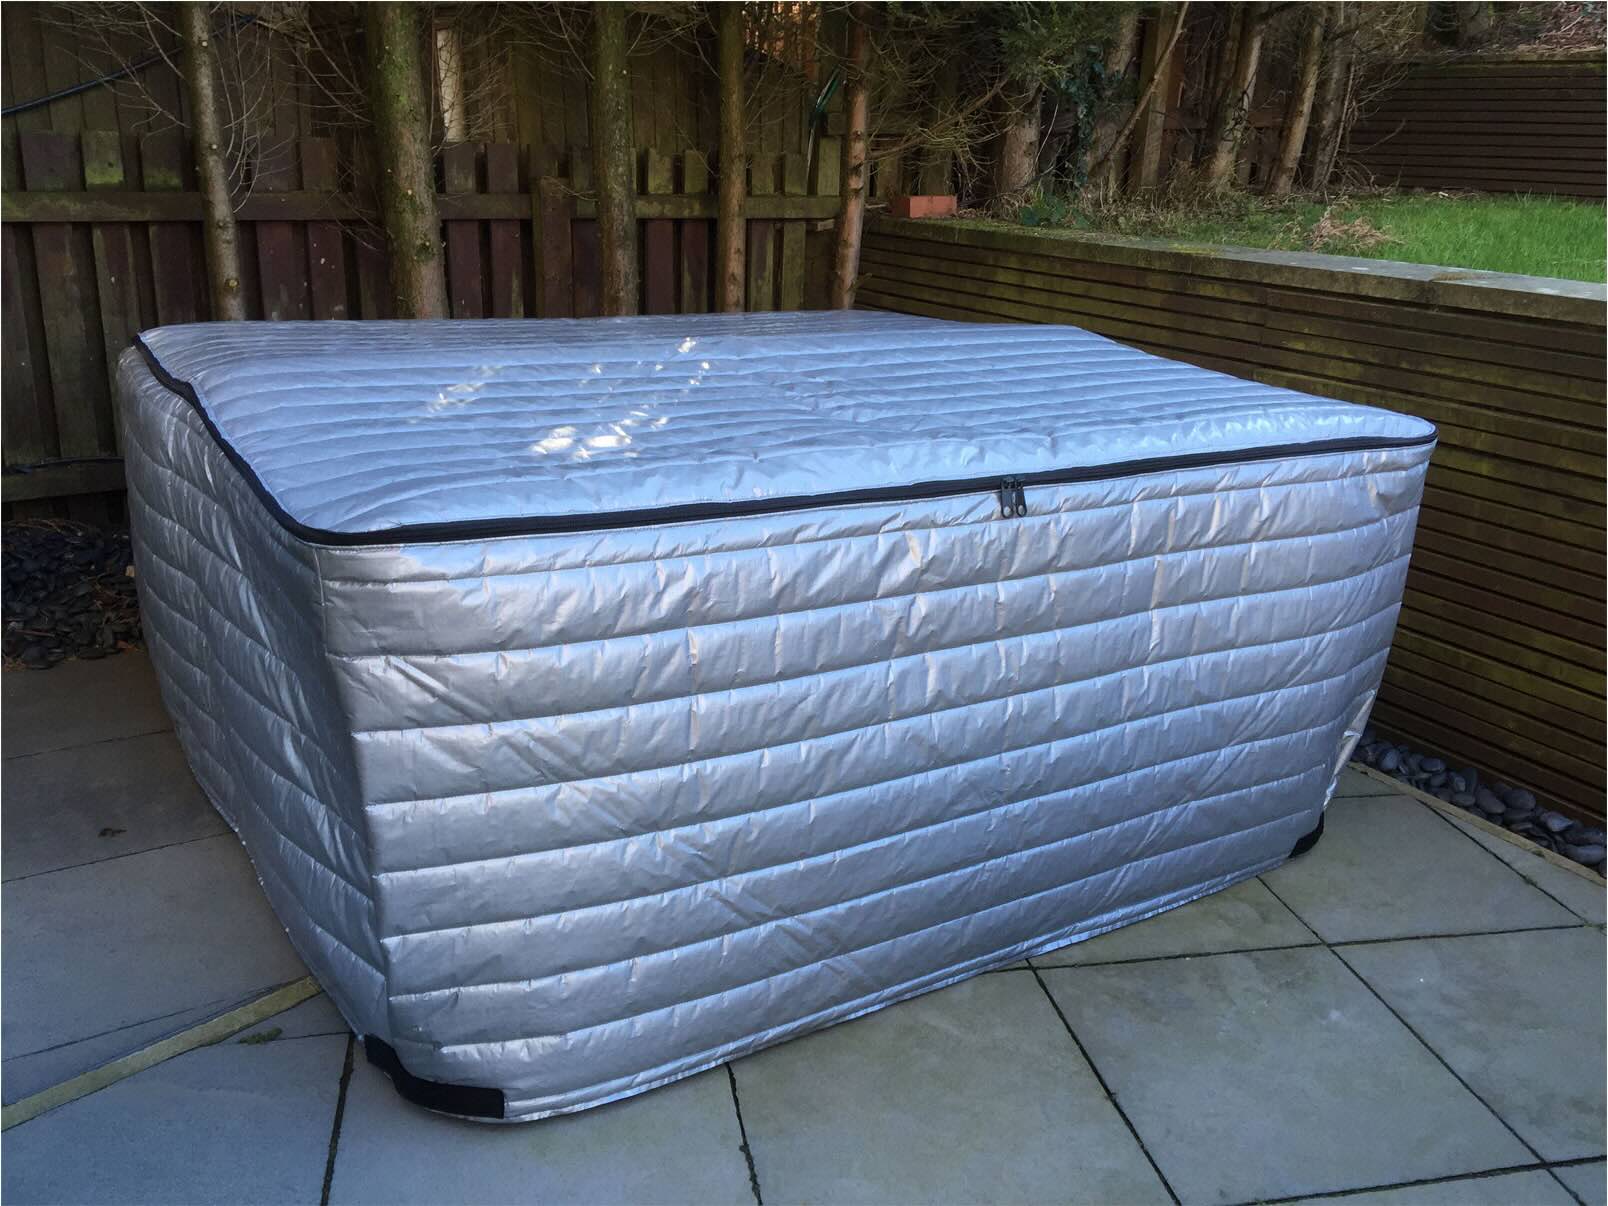
Step 3: Choosing the Right Covering Material
Choosing the right covering material is crucial for effectively covering exposed insulation and ensuring its protection. The ideal covering material should not only provide a barrier for the insulation but also meet safety, durability, and aesthetic requirements. Here are some common covering options:
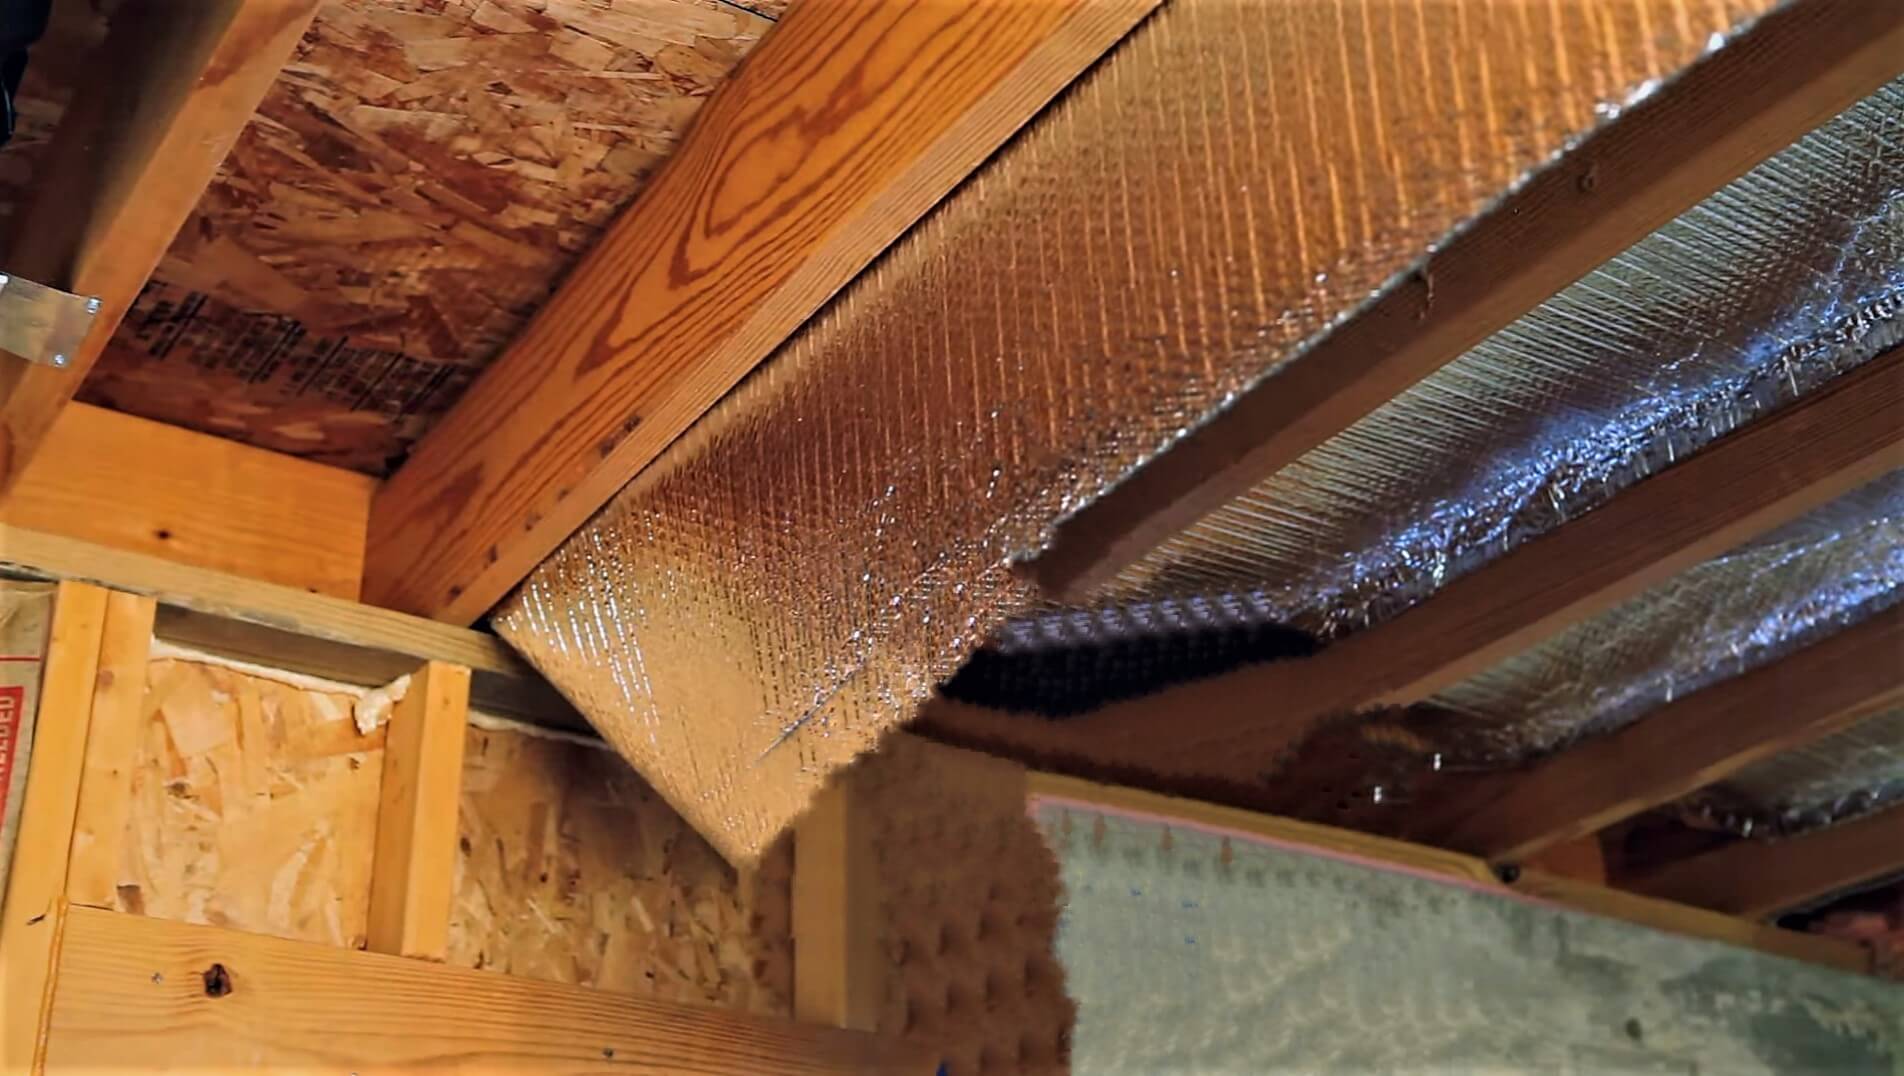
- Vapor Barrier: A vapor barrier is a sheet of material, typically made of plastic or foil, that helps prevent the movement of moisture into the insulation. It is especially important in areas with high humidity levels.
- Fire-Resistant Materials: If you are dealing with insulation that is flammable, such as foam insulation, it is crucial to choose fire-resistant materials to cover it. Look for materials with fire ratings and certifications to ensure safety.
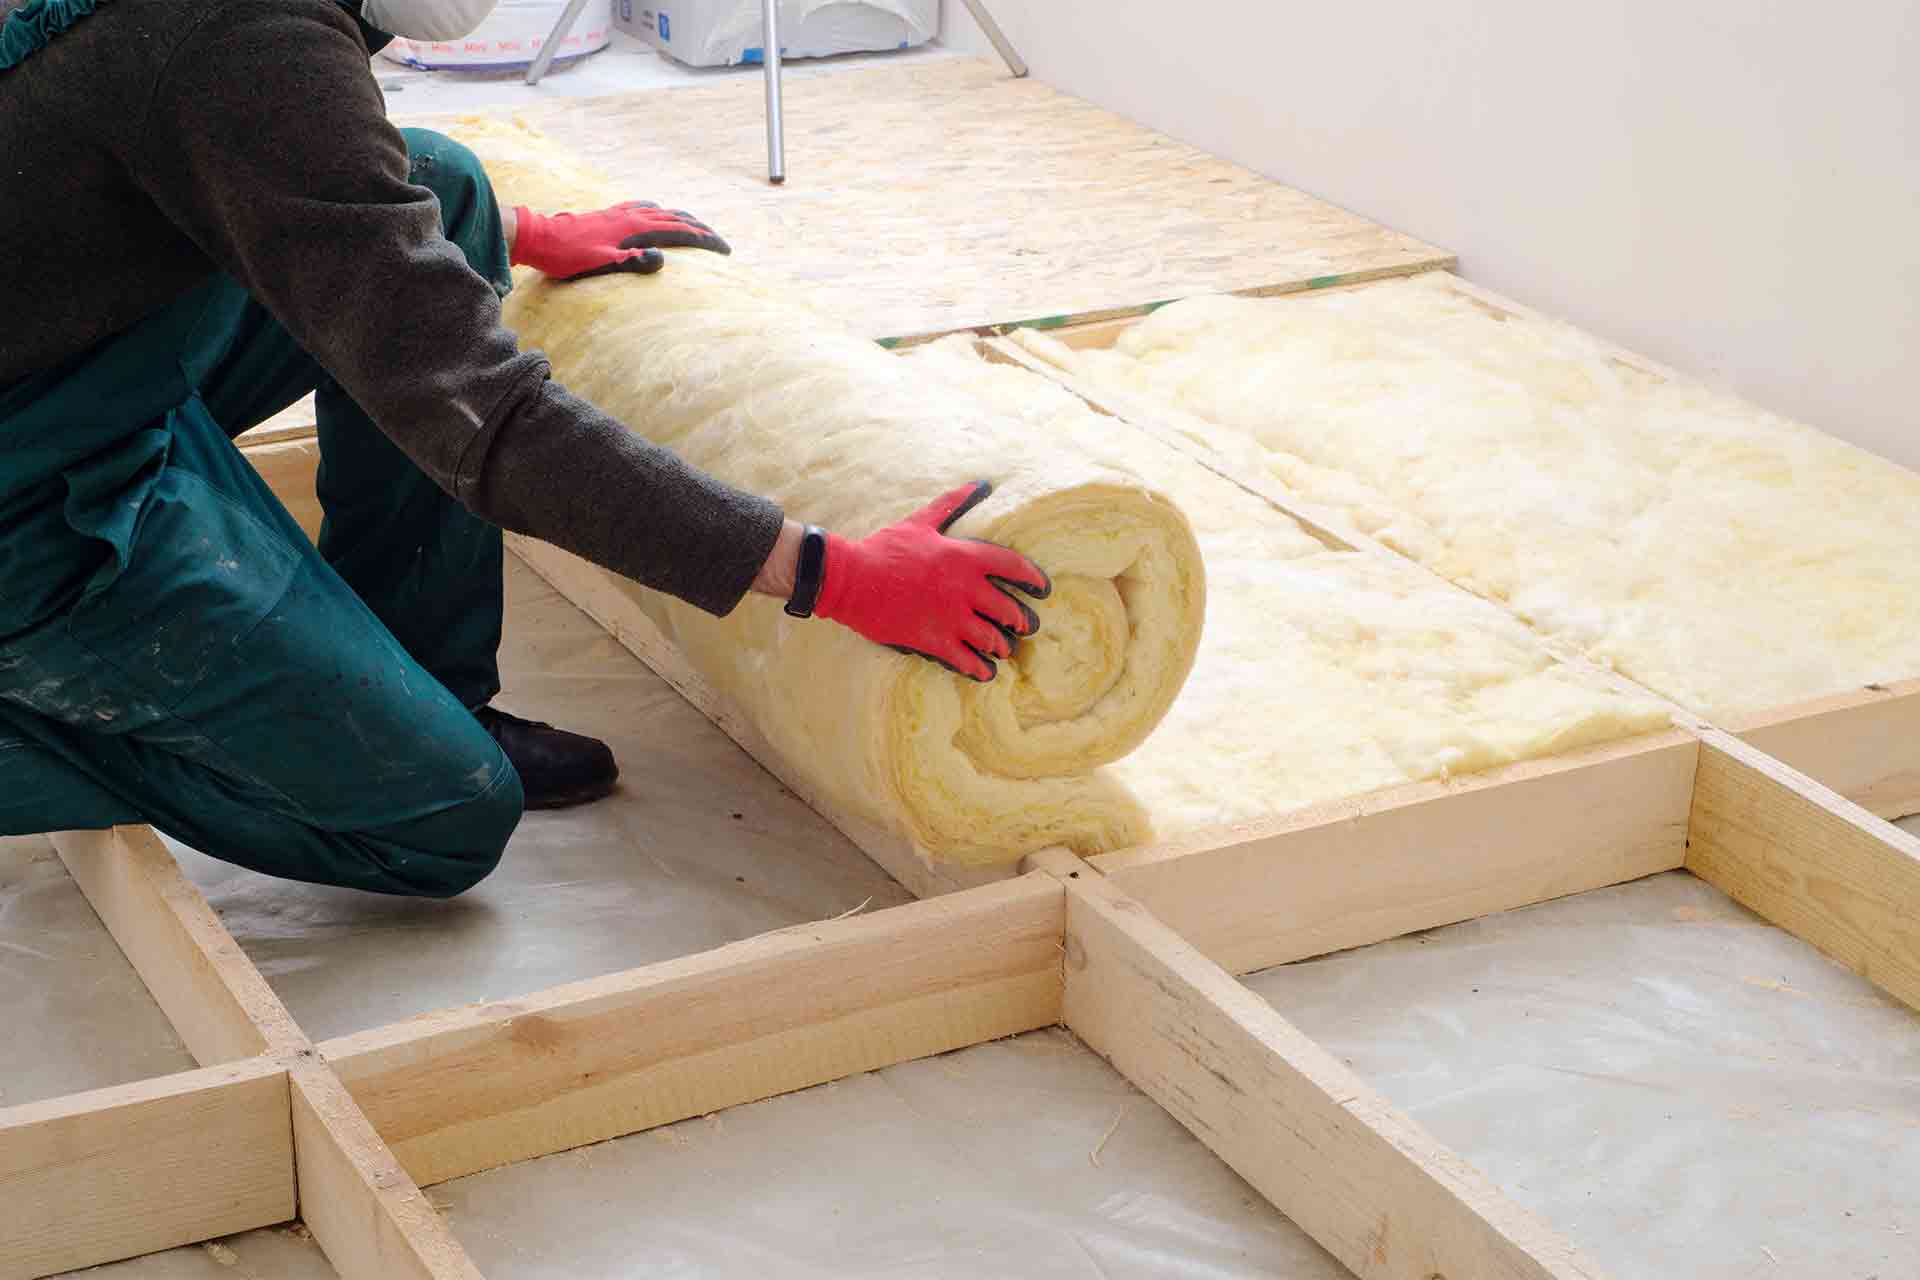
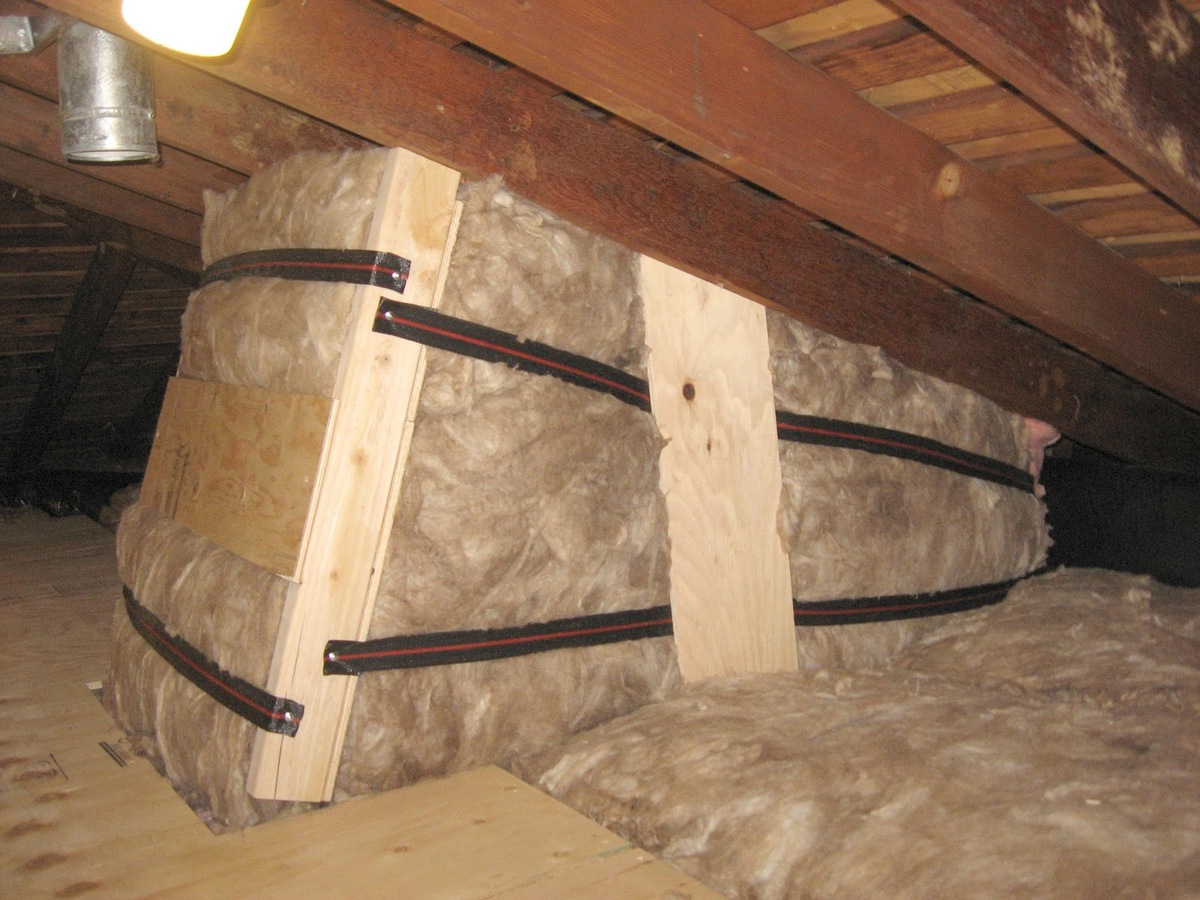
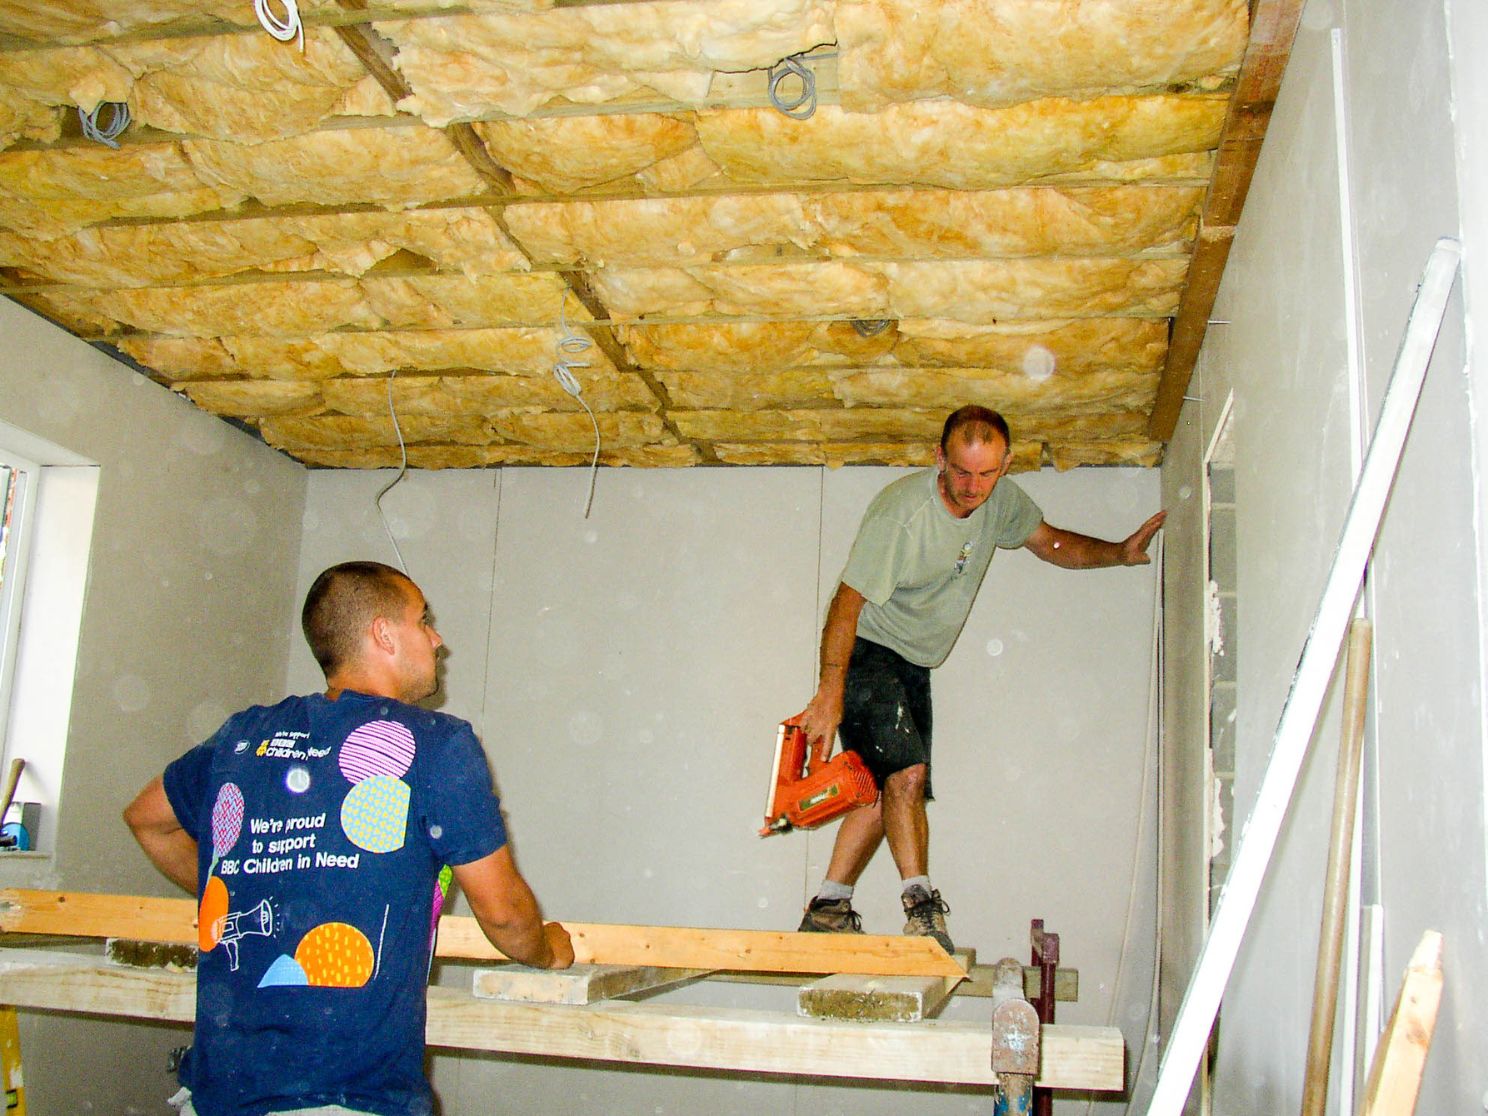
- Insulation Blankets or Batts: Insulation blankets or batts, made of materials like fiberglass or mineral wool, provide both insulation and a covering layer. These are commonly used in attics, where they can be laid on top of exposed insulation.
- Wall Ceilings or Paneling: If your exposed insulation is on walls, consider using wall ceilings or paneling to cover and enhance the appearance of the space. These materials come in various designs and can be easily installed.
- Fabric or Upholstery: In certain areas, such as basements or storage spaces, you might opt for a more flexible covering like fabric or upholstery. These materials can be hung or draped over the exposed insulation to provide a neat and finished look.
When choosing the right covering material, consider factors such as the area where the insulation is located, the specific needs of the insulation type, and your desired aesthetic outcome. It’s also essential to check if the chosen material meets any safety or building code requirements.
Once you have selected the ideal covering material, it’s time to move on to the next step: preparing the area for installation.
Step 4: Preparing the Area
Before you begin installing the chosen covering material, it’s crucial to properly prepare the area to ensure a smooth and effective installation. Here are some steps to follow when preparing the area:
- Clean and Clear the Space: Remove any debris, dust, or loose insulation from the area. Use a vacuum cleaner or a broom to clean the surface thoroughly. Clearing the space will help ensure proper adhesion and coverage of the chosen material.
- Repair Damaged Insulation: If you notice any areas of damaged or deteriorated insulation, it’s important to address them before covering them. Replace or repair the insulation as necessary to ensure optimal function and coverage.
- Mitigate Moisture Issues: If there are any signs of moisture or water damage in the area, address them before covering the insulation. Repair any leaks, improve ventilation, or install a moisture barrier to prevent further damage to the insulation.
- Measure and Cut the Covering Material: Measure the dimensions of the area that needs to be covered and cut the chosen material accordingly. This step ensures a precise fit and minimizes waste during the installation process.
- Inspect Safety Measures: Take this opportunity to review any safety measures required for the installation process. Ensure that you have the necessary tools, safety gear, and knowledge to handle the covering material and complete the installation safely.
Preparing the area properly sets the foundation for a successful installation and ensures that the covering material adheres well and provides optimum protection for the exposed insulation. Once you have completed the necessary preparations, it’s time to move on to the next step: installing the covering material.
Consider using a vapor barrier such as plastic sheeting to cover exposed insulation. This will help prevent moisture buildup and improve the insulation’s effectiveness.
Read more: How To Cover Insulation In Basement Ceiling
Step 5: Installing the Covering
Now that you have prepared the area, it’s time to install the chosen covering material over the exposed insulation. The installation process may vary depending on the type of material you are using and the specific instructions provided by the manufacturer. However, here are some general steps to follow:
- Start from the Bottom: If you are covering insulation on walls or ceilings, start from the bottom and work your way up. This will help ensure proper alignment and avoid overlapping or gaps.
- Secure the Edges: Use appropriate fasteners, such as staples, nails, or adhesive, to secure the edges of the covering material. Make sure the edges are tight and well-attached to prevent any sagging or movement.
- Ensure Proper Coverage: As you install the covering material, ensure that it fully covers the exposed insulation without leaving any gaps or areas exposed. This will ensure maximum protection and insulation performance.
- Apply Proper Sealing: If you are using a vapor barrier or any other material that requires sealing, follow the specific instructions provided by the manufacturer. Use appropriate sealing tapes or adhesives to create an airtight and moisture-resistant barrier.
- Pay Attention to Detail: Take care to trim and finish the edges of the covering material neatly for a professional and polished appearance. Pay attention to corners, seams, and any other areas that may require extra attention.
During the installation process, it’s important to refer to the manufacturer’s instructions for any specific considerations or techniques. Professional help or guidance may be necessary if you are unsure about handling certain materials or if the area is challenging to cover.
Once the covering material is properly installed, it’s time to move on to the next step: ensuring proper insulation coverage.
Step 6: Ensuring Proper Insulation Coverage
After you have installed the covering material, it’s essential to ensure that the exposed insulation is properly covered and protected. Proper insulation coverage is crucial for maintaining energy efficiency, temperature regulation, and overall insulation performance. Here are some steps to help you ensure proper insulation coverage:
- Inspect for Gaps or Exposed Areas: Carefully examine the covered insulation to check for any gaps or areas where the insulation is still exposed. These vulnerable spots can compromise the effectiveness of your insulation, allowing air and heat transfer in and out of your space.
- Check for Compression: If you have used insulation blankets or batts, make sure they are not compressed or overlapping in a way that impacts their performance. Compression can reduce the insulation’s thickness and hinder its ability to regulate temperature effectively.
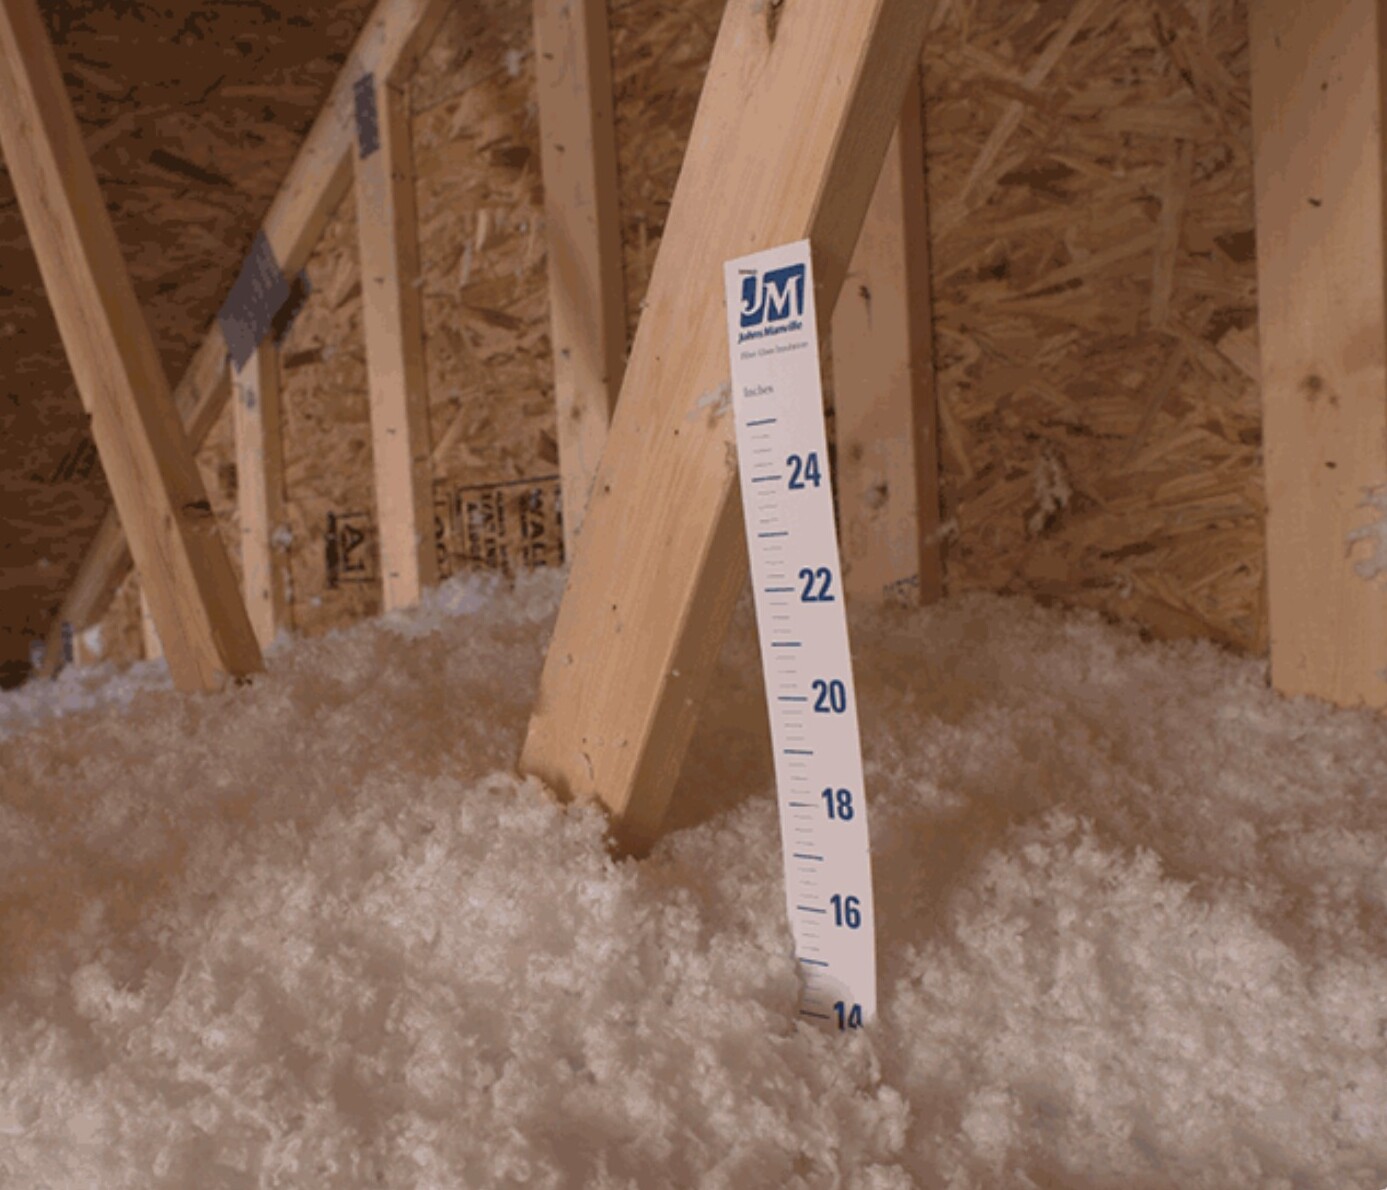
- Ensure Consistent Thickness: Inspect the covered insulation to ensure that it maintains a consistent thickness throughout. Any unevenness or lumps can indicate areas where the covering material has not been installed properly or where the insulation underneath is damaged.
- Address Any Issues: If you notice any gaps, compression, or inconsistencies in the insulation coverage, make the necessary adjustments. Fill in the gaps, reposition or replace the covering material, and ensure that the insulation is uniformly covered.
- Consider Professional Inspection: If you are unsure about the quality of your insulation coverage or if you suspect any underlying issues, it may be beneficial to have a professional insulation inspection. They can assess the effectiveness of the covering and provide recommendations for improvement.
By taking the time to ensure proper insulation coverage, you can maximize the energy efficiency of your space and enjoy the full benefits of a well-insulated environment. Proper insulation coverage contributes to a comfortable and controlled indoor climate while reducing energy costs.
Now that you have ensured proper insulation coverage, let’s move on to the final step: maintaining the covering to ensure its longevity and effectiveness.
Step 7: Maintaining the Covering
Maintaining the covering material for your insulation is essential to ensure its longevity and effectiveness. By implementing regular maintenance practices, you can prevent damage, preserve the appearance, and extend the lifespan of the covering. Here are some maintenance tips:
- Regular Cleaning: Periodically clean the covering material to remove dust, dirt, or any potential contaminants. Use a soft brush or vacuum cleaner with a brush attachment to gently remove debris without causing damage to the material.
- Inspect for Wear and Tear: Regularly inspect the covering material for any signs of wear and tear, such as tears, loose edges, or discoloration. Address any issues promptly, as they can lead to further damage or compromise the insulation coverage.
- Address Moisture Issues: Check for any signs of moisture accumulation or leaks near the covered insulation. Moisture can weaken the covering material and potentially damage the insulation. Fix any leaks or moisture issues promptly to prevent further damage.
- Keep an Eye on Pest Activity: Inspect the covered insulation for any signs of pest activity, such as droppings or damage. Pests can be attracted to the insulation and cause damage to the covering material. Take appropriate measures to deter pests and address any infestations.
- Revisit Insulation Performance: Occasionally check the insulation’s performance by monitoring energy usage and temperature regulation in the space. If you notice any changes or inconsistencies, it may indicate issues with the covering or underlying insulation.
By implementing these maintenance practices, you can ensure that the covering material remains in good condition and continues to provide effective protection for your insulation. Regular maintenance also allows you to identify and address any potential issues early on, preventing them from escalating into more significant problems.
Remember, the specific maintenance requirements may vary depending on the type of covering material and insulation you have. Refer to the manufacturer’s guidelines for any specific care instructions or consult with insulation professionals for expert advice on maintaining the covering material.
With proper maintenance, your covered insulation will continue to provide the desired insulation benefits while maintaining its aesthetic appeal for years to come.
Now that we have covered all the steps for effectively covering exposed insulation, let’s summarize the key points and conclude our discussion.
Conclusion
Covering exposed insulation is crucial for both the safety and aesthetics of a space. By understanding the dangers of leaving insulation exposed and following the steps outlined in this article, you can effectively cover your insulation and create a safe and visually appealing environment.
First, it is essential to understand the risks associated with exposed insulation, such as health hazards, damage, fire hazards, and poor aesthetic appeal. This knowledge emphasizes the importance of addressing exposed insulation promptly.
Next, assess the type of insulation you are dealing with to determine the appropriate covering material. Different insulation types require specific covering materials and installation methods. Consult professionals or insulation experts if you are unsure.
Choosing the right covering material is crucial for effective insulation coverage. Consider factors such as vapor barriers, fire-resistant materials, insulation blankets, wall ceilings, or fabric upholstery depending on the location and specific requirements.
Properly preparing the area includes cleaning, repairing any damaged insulation, addressing moisture issues, and measuring and cutting the covering material for a precise fit. Attention to detail during preparation is crucial for an effective installation.
Installing the chosen covering material requires starting from the bottom, securing the edges, ensuring proper coverage, and sealing where necessary. Take care to follow manufacturer instructions for specific materials and techniques.
Once the covering is in place, ensure proper insulation coverage by inspecting for gaps or exposed areas, checking for compression, and maintaining a consistent thickness. Address any issues that arise promptly to maintain optimum insulation performance.
Regular maintenance of the covering material is essential for its longevity and effectiveness. This includes cleaning, inspecting for wear and tear, addressing moisture issues, monitoring pest activity, and verifying insulation performance.
By following these steps and incorporating regular maintenance practices, you can effectively cover exposed insulation and create a safe, visually appealing, and energy-efficient environment.
Remember, if you are unsure about any aspect of covering exposed insulation, it is always recommended to consult with professionals or insulation experts for guidance and assistance.
So don’t delay – take action today and cover your exposed insulation for a better, safer, and more comfortable living or working space.
Frequently Asked Questions about How To Cover Exposed Insulation
Was this page helpful?
At Storables.com, we guarantee accurate and reliable information. Our content, validated by Expert Board Contributors, is crafted following stringent Editorial Policies. We're committed to providing you with well-researched, expert-backed insights for all your informational needs.

0 thoughts on “How To Cover Exposed Insulation”