Home>Construction & Tools>Building Materials>How To Cover Exposed Brick
Building Materials
How To Cover Exposed Brick
Modified: October 20, 2024
Learn how to cover exposed brick with various building materials. Find step-by-step guides and tips for a successful renovation project. Discover the best materials for the job.
(Many of the links in this article redirect to a specific reviewed product. Your purchase of these products through affiliate links helps to generate commission for Storables.com, at no extra cost. Learn more)
Introduction
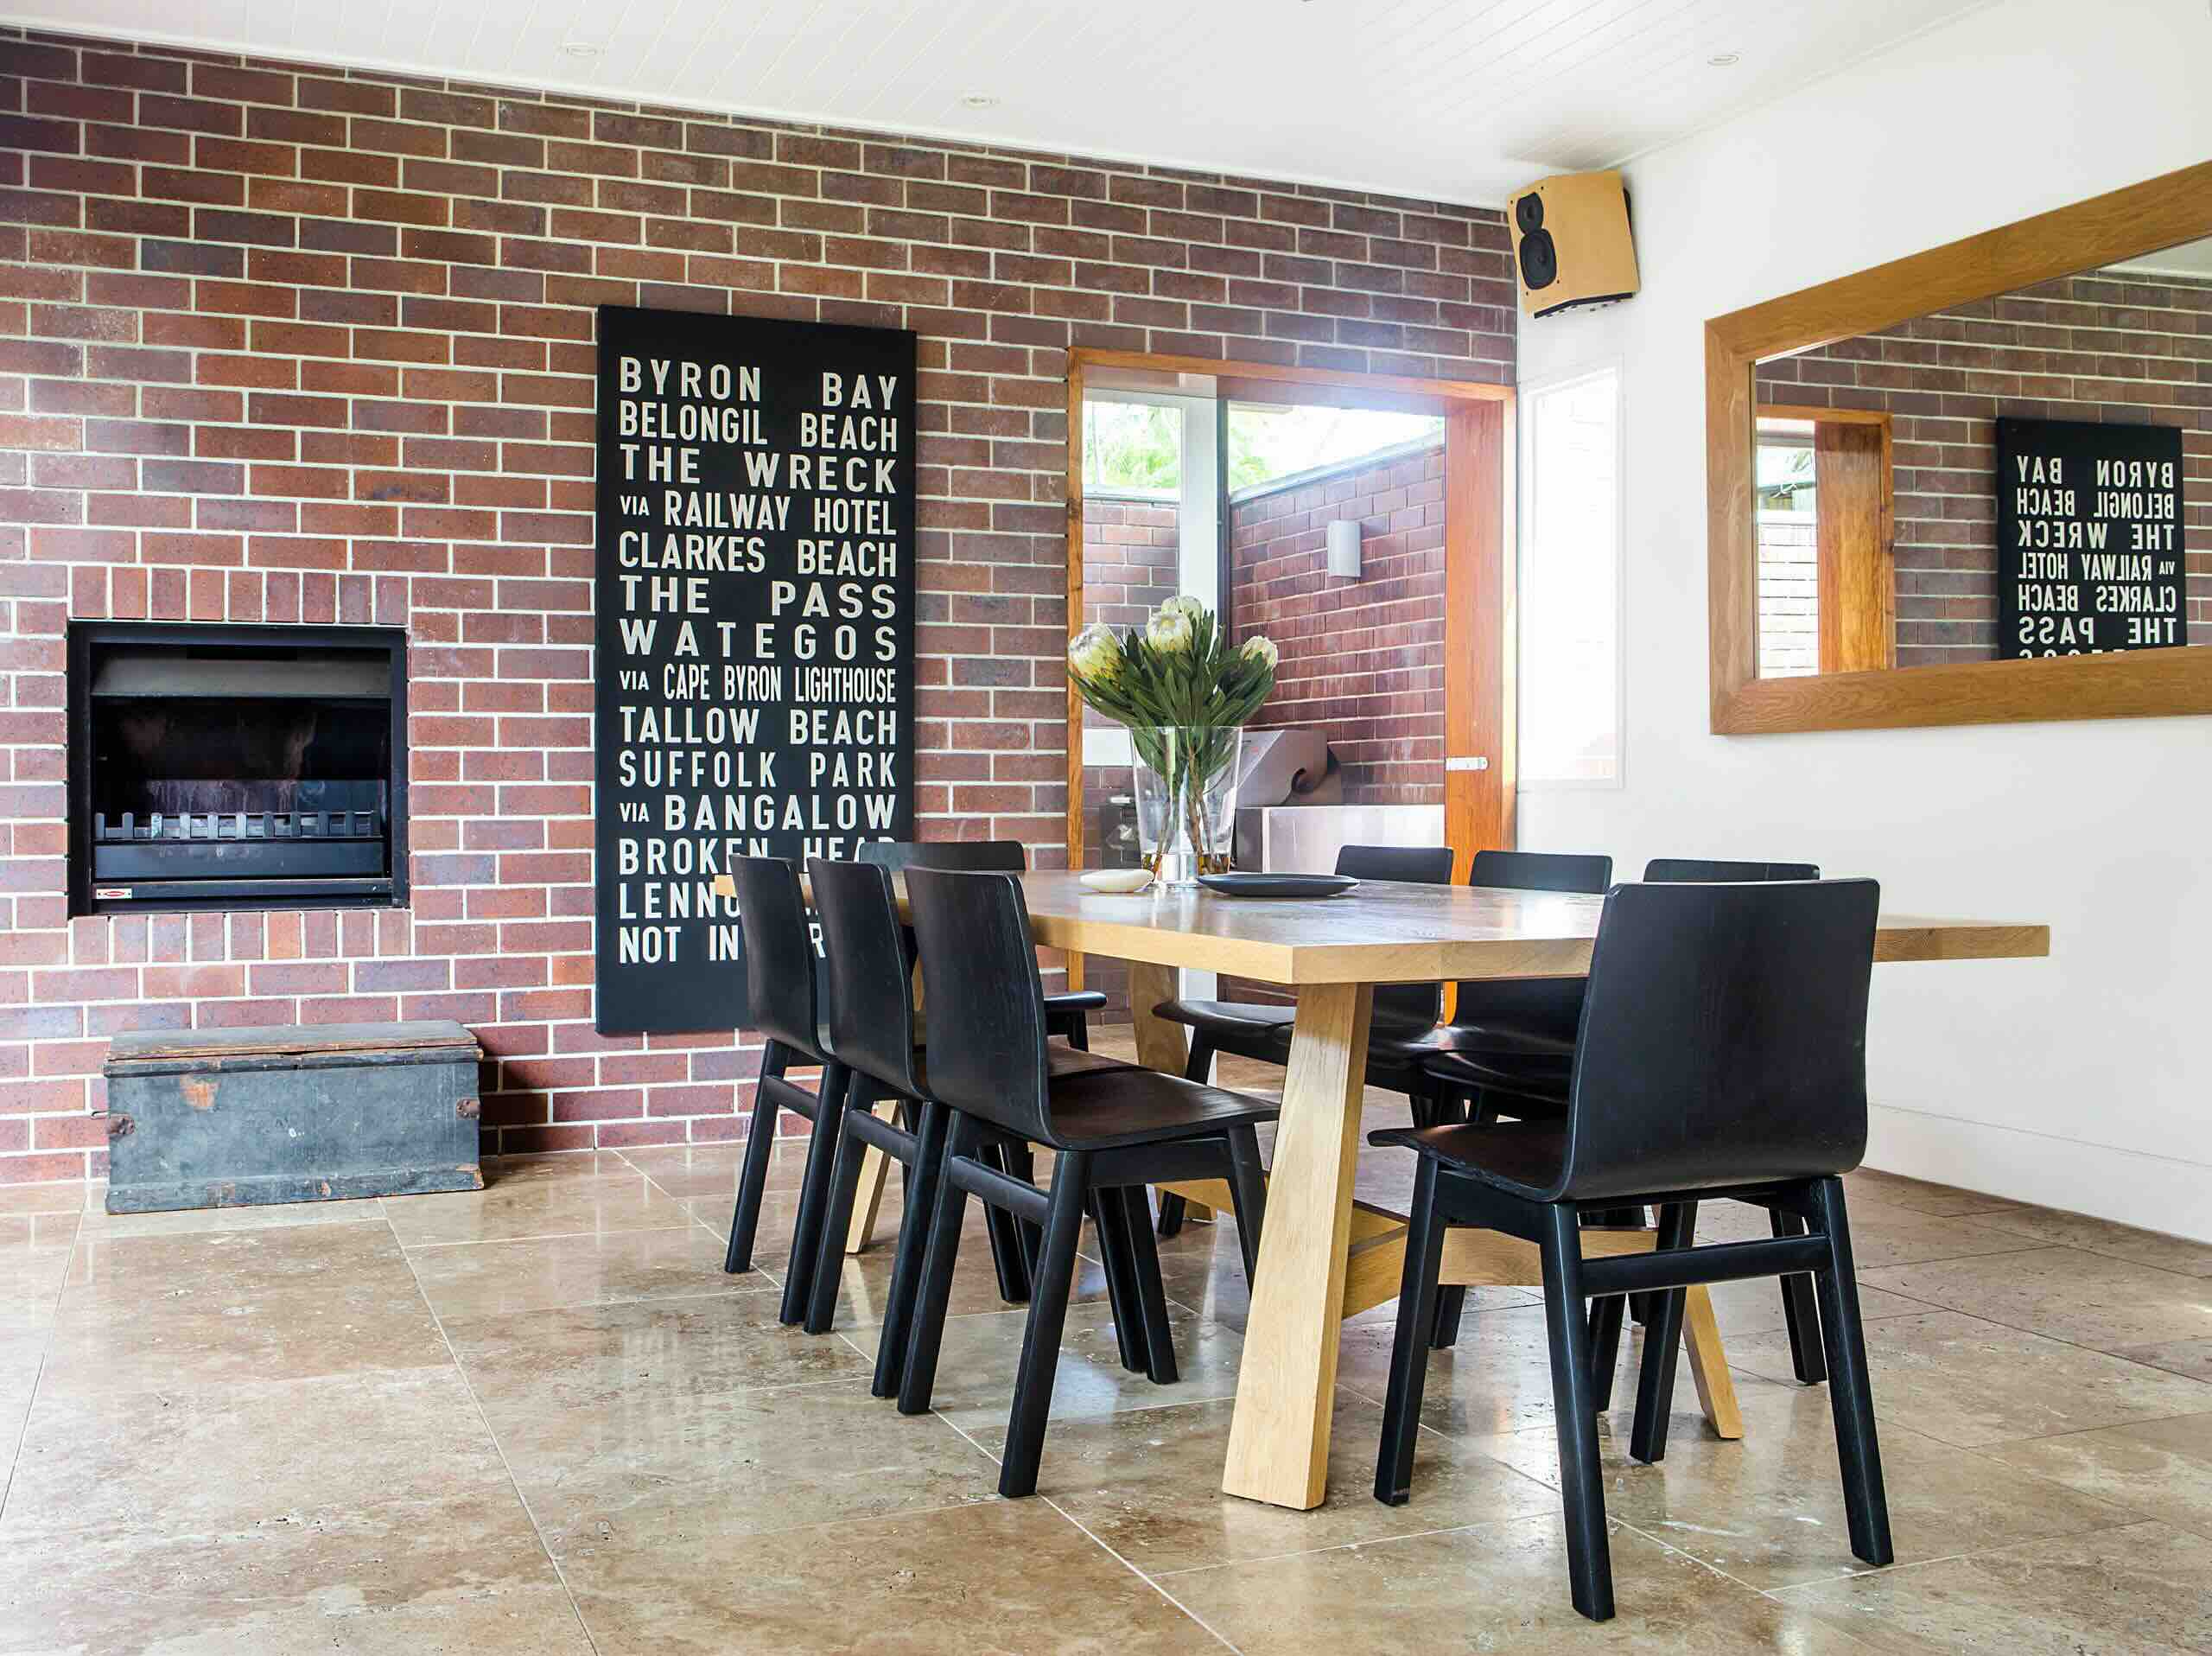
So, you've moved into a new space or are looking to revamp your current one, and you're faced with the challenge of dealing with exposed brick walls. While some may appreciate the raw and rustic charm of exposed brick, others may find it overwhelming or unsuitable for their desired aesthetic. Fortunately, there are numerous ways to cover exposed brick, allowing you to transform the look and feel of your space to better suit your preferences.
Whether you're aiming for a sleek, modern appearance or a cozy, traditional ambiance, the process of covering exposed brick involves careful assessment, thorough cleaning, and strategic application of the chosen covering. This article will guide you through the essential steps and considerations involved in this transformation. From evaluating the condition of the brick to selecting the most suitable covering option, we'll explore the various techniques and materials available to help you achieve the desired look for your space.
Join us as we delve into the art of covering exposed brick, offering insights and tips to empower you in this exciting endeavor. Let's embark on this journey to reimagine and revitalize your living or working environment, ensuring that the process is not only effective but also enjoyable and creatively fulfilling.
Key Takeaways:
- Transforming exposed brick walls is a creative journey, offering endless options like painting, wallpaper, or fabric to customize and revitalize your space, reflecting your unique style and personality.
- Assessing, cleaning, and sealing the brick surface are crucial steps before covering exposed brick. Choose from options like paint, drywall, or wallpaper to create a space that resonates with your vision and taste.
Read more: How To Cover Exposed Insulation
Assessing the Condition of the Brick
Before embarking on the process of covering exposed brick, it's crucial to assess the condition of the surface. This evaluation will determine the necessary preparations and potential repairs required to ensure a smooth and successful covering application.
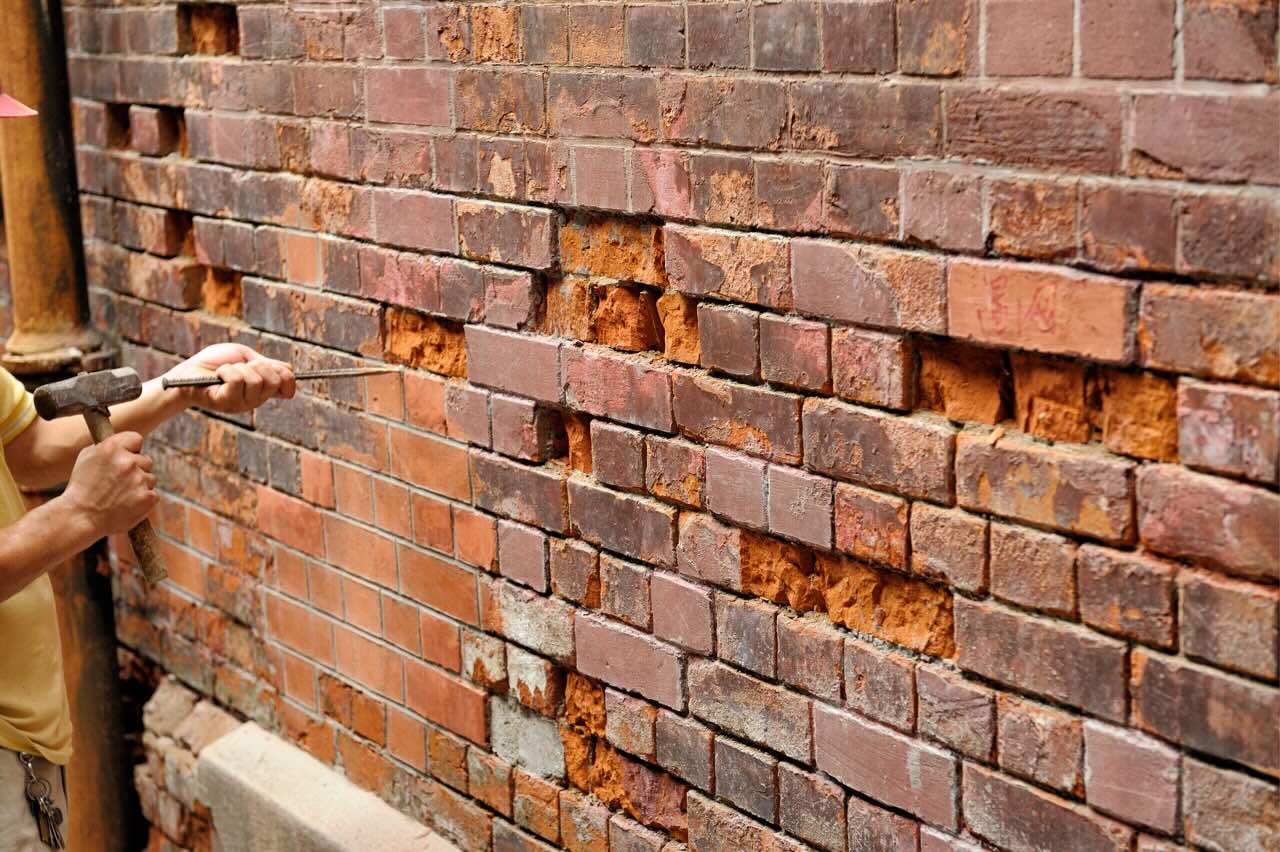
Begin by examining the brick for any signs of damage, such as cracks, chips, or areas of deterioration. These issues should be addressed before proceeding with the covering process to prevent further damage and to guarantee a stable base for the chosen covering material.
Additionally, observe the overall texture and porosity of the brick. Some bricks may have a rough and uneven surface, while others might be smoother and more uniform. Understanding the texture of the brick will help in selecting an appropriate covering material that adheres effectively and achieves the desired aesthetic result.
Furthermore, consider the presence of any existing coatings or paint on the brick. If the brick has been previously painted, it may require stripping or additional preparation to ensure proper adhesion of the new covering. Similarly, if there are remnants of adhesive or residue from previous coverings, these should be addressed to create a clean and even surface.
Lastly, take note of any areas where the mortar between the bricks is damaged or deteriorating. The condition of the mortar joints can impact the overall stability and appearance of the brick wall, necessitating repointing or repairs as part of the preparation process.
By thoroughly assessing the condition of the brick, you can identify any necessary repairs and prepare the surface accordingly, setting the stage for a successful and enduring transformation. This initial evaluation lays the groundwork for the subsequent steps in covering the exposed brick, ensuring that the process is tailored to the specific needs and characteristics of the surface.
Cleaning the Exposed Brick
Once you’ve assessed the condition of the exposed brick and addressed any necessary repairs, the next crucial step in the covering process is thorough cleaning. Cleaning the brick surface is essential to remove dirt, dust, grime, and any existing coatings that may hinder the adhesion of the chosen covering material.
Begin by dusting the brick surface using a dry, soft-bristled brush or a vacuum cleaner with a brush attachment. This initial step helps eliminate loose debris and prepares the brick for more intensive cleaning methods.
Next, prepare a cleaning solution appropriate for brick surfaces. A mild detergent or specially formulated brick cleaner diluted in water can effectively remove accumulated dirt and grime without damaging the brick. Apply the cleaning solution to the brick using a soft brush or sponge, working in small sections to ensure thorough coverage.
For stubborn stains or discoloration, consider using a non-abrasive cleaner or a poultice specifically designed for brick surfaces. These products can target and lift deep-seated stains without compromising the integrity of the brick.
After applying the cleaning solution, rinse the brick surface with clean water to remove any residual cleaner and dirt. Use a sponge or cloth dampened with water to gently wipe the surface, ensuring that all traces of the cleaning solution are thoroughly removed.
Once the brick is clean and free of dirt and cleaning residues, allow it to dry completely before proceeding with the next steps in the covering process. Adequate drying time is essential to ensure that the brick is ready to receive the chosen covering material and that the adhesion is not compromised by residual moisture.
By diligently cleaning the exposed brick, you create a pristine canvas for the subsequent covering application, promoting optimal adhesion and a polished final result. This meticulous cleaning process sets the stage for the transformative covering techniques that will redefine the aesthetic appeal of your space.
Filling in Gaps and Cracks
As you prepare to cover exposed brick, it’s essential to address any gaps, cracks, or imperfections in the surface to ensure a seamless and uniform result. Filling in these areas not only enhances the visual appeal of the brick but also contributes to the structural integrity of the wall.
Start by inspecting the brick surface for any visible gaps or cracks between the individual bricks. These openings may have developed over time due to settling, temperature variations, or other environmental factors. Additionally, check for any areas where the mortar joints have deteriorated or become uneven.
To fill small gaps and cracks in the brick, consider using a high-quality mortar or specialized brick patching compound. These products are designed to adhere to the brick surface and provide a durable, long-lasting solution for addressing minor imperfections.
Apply the mortar or patching compound carefully, ensuring that it fills the gaps and cracks completely. Use a trowel or putty knife to smooth the surface and blend the filled areas with the surrounding brick, creating a uniform appearance.
For larger voids or areas with significant mortar deterioration, repointing the brick may be necessary. Repointing involves removing damaged or deteriorated mortar and replacing it with fresh mortar to restore the integrity and appearance of the brick wall. This meticulous process requires precision and expertise to achieve optimal results.
After filling in the gaps and cracks, allow the mortar or patching compound to cure fully according to the manufacturer’s instructions. This curing period is crucial to ensure that the filled areas are stable and ready for the next stages of the covering process.
By addressing gaps and cracks in the exposed brick, you not only enhance the visual appeal of the surface but also fortify its structural integrity. This meticulous attention to detail sets the foundation for a flawless covering application, ensuring that the final result is both visually stunning and structurally sound.
Sealing the Brick
Before proceeding with the application of the chosen covering material, it’s advisable to consider sealing the exposed brick. Sealing the brick surface offers several benefits, including enhanced durability, moisture resistance, and protection against staining. Additionally, sealing can help create a more uniform and receptive surface for the subsequent covering application.
When selecting a sealer for the brick, opt for a product specifically formulated for masonry surfaces. These sealers are designed to penetrate the porous structure of the brick, providing effective protection without altering the natural appearance of the material.
Prior to applying the sealer, ensure that the brick surface is clean, dry, and free of any residual cleaning agents or debris. This preparation is essential to facilitate optimal penetration and adhesion of the sealer, maximizing its protective properties.
Apply the sealer evenly to the brick surface using a brush, roller, or sprayer, following the manufacturer’s recommendations regarding application techniques and coverage rates. Pay particular attention to any areas with higher porosity or absorbency, as these may require additional coats to achieve thorough sealing.
Allow the sealer to dry and cure according to the manufacturer’s instructions before proceeding with the next steps in the covering process. This curing period is essential to ensure that the sealer effectively bonds with the brick, creating a durable and protective barrier.
By sealing the brick, you enhance its resilience and longevity while providing a stable and receptive foundation for the subsequent covering material. This proactive approach to surface preparation contributes to the overall success and longevity of the covering application, ensuring that the transformed brick wall maintains its appeal and integrity over time.
Read more: How To Paint An Exposed Brick Wall
Choosing the Right Covering Option
When it comes to covering exposed brick, the choice of covering material plays a pivotal role in defining the aesthetic and ambiance of the space. Whether you seek a contemporary, industrial look or a cozy, traditional feel, the covering option you select will significantly influence the overall atmosphere of the room. Consider the following popular covering options, each offering unique visual and textural characteristics:
1. Applying Paint or Whitewash
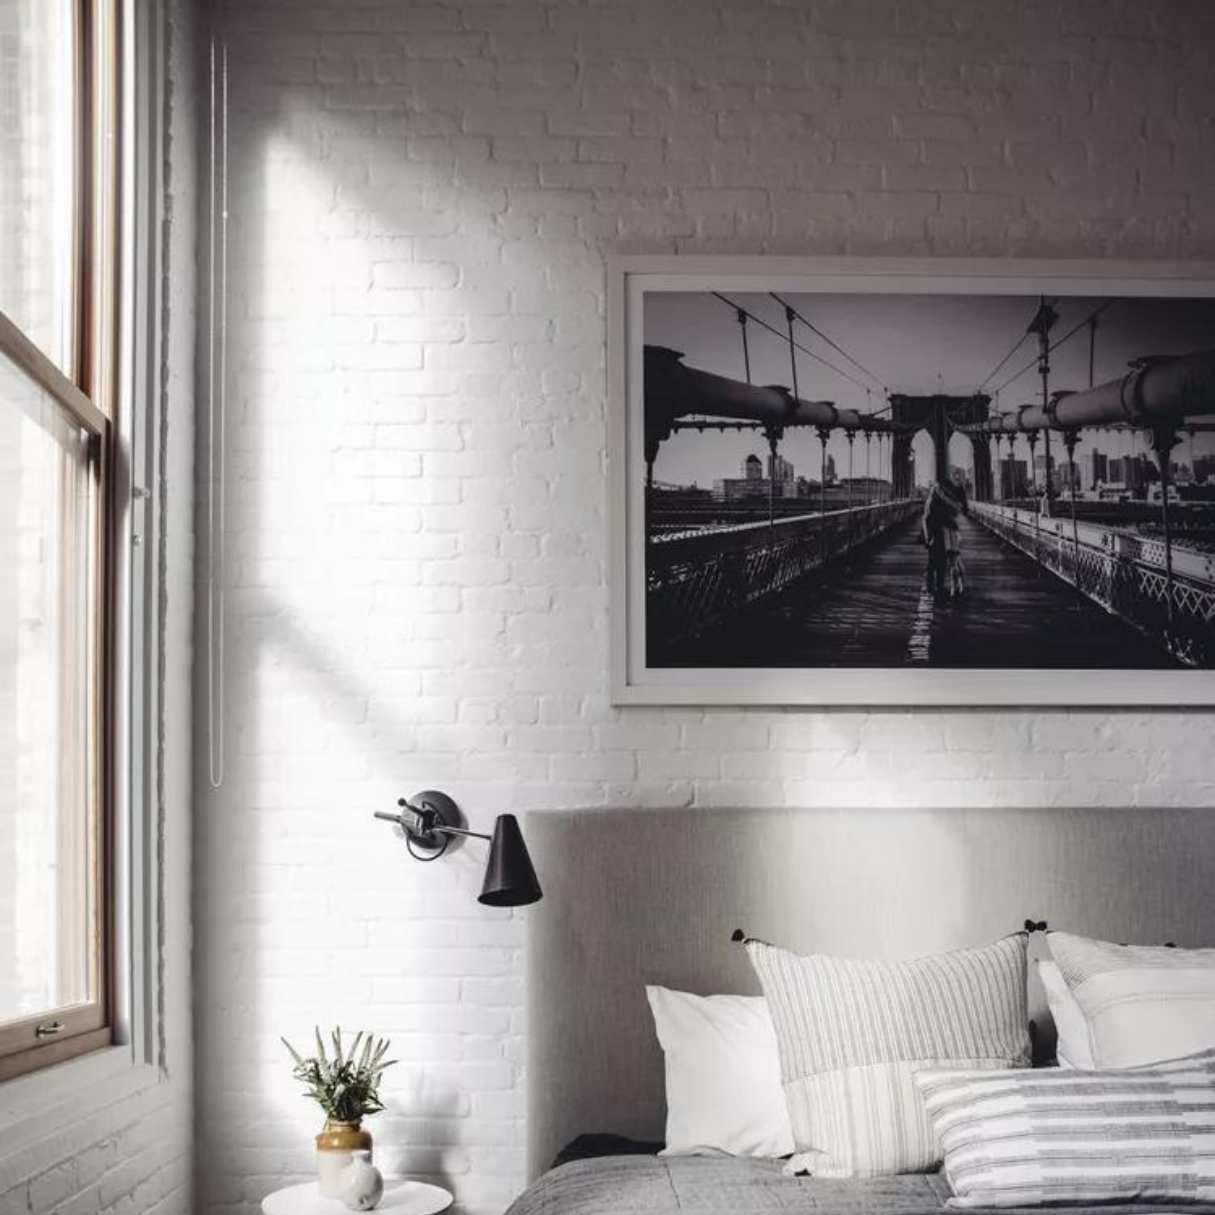
Painting the exposed brick offers a versatile and customizable option for transforming its appearance. Choose from an array of colors to achieve the desired effect, whether it’s a bold statement or a subtle, neutral backdrop. Whitewashing provides a softer, more translucent finish, allowing the natural texture of the brick to subtly show through.
2. Installing Drywall or Paneling
For a complete departure from the exposed brick aesthetic, consider covering the surface with drywall or paneling. This option provides a smooth, uniform backdrop for further customization, such as painting or wallpapering, and effectively conceals the brick beneath.
3. Using Wallpaper or Fabric
Wallpaper and fabric offer an extensive range of patterns, textures, and designs to adorn the brick surface. From intricate patterns to luxurious textiles, these covering options add depth and personality to the space, allowing for a tailored and distinctive look.
When selecting the right covering option, consider the existing décor, architectural features, and desired ambiance of the space. Additionally, factor in practical considerations such as maintenance requirements, durability, and the ease of future modifications.
By carefully evaluating these covering options and their potential impact on the overall aesthetic, you can make an informed decision that aligns with your vision for the space. The chosen covering material will serve as the transformative element that redefines the character and style of the room, reflecting your unique preferences and design sensibilities.
Read more: How To Cover A Brick Floor
Applying Paint or Whitewash
When considering the option of applying paint or whitewash to cover exposed brick, you open the door to a world of creative possibilities. Whether you aim to create a bold focal point or a subtle backdrop, paint and whitewash offer versatile solutions for transforming the look and feel of the brick surface.
Painting the Brick
Painting the exposed brick allows you to introduce vibrant color or subtle tones to the space, making a significant impact on the overall ambiance. Before painting, ensure that the brick surface is clean, dry, and properly prepared to promote optimal adhesion and a smooth finish. Consider the following steps for painting the brick:
- Prime the Brick: Applying a high-quality primer designed for masonry surfaces helps create a uniform base and enhances the adhesion of the paint.
- Choose the Paint: Select a paint specifically formulated for masonry or a high-quality latex paint suitable for interior applications. Consider the desired sheen and finish to achieve the intended aesthetic.
- Apply the Paint: Use a high-quality brush or roller to apply the paint evenly, working in small sections to ensure thorough coverage. Multiple coats may be necessary to achieve the desired depth of color.
- Allow for Drying: Ensure that each coat of paint dries completely before applying subsequent coats, following the manufacturer’s recommended drying times.
Whitewashing the Brick
Whitewashing offers a more translucent and subtle approach to covering exposed brick, allowing the natural texture and variations of the brick to remain visible beneath the finish. This technique imparts a soft, weathered appearance, adding character and charm to the space. Consider the following steps for whitewashing the brick:
- Prepare the Whitewash Solution: Create a whitewash solution by diluting white latex paint with water to achieve the desired level of opacity. The more diluted the solution, the more translucent the finish.
- Test the Solution: Before applying the whitewash to the entire surface, test the solution on a small, inconspicuous area of the brick to assess the desired effect and adjust the dilution as needed.
- Apply the Whitewash: Using a brush or roller, apply the whitewash solution to the brick surface, working in small sections and allowing the natural variations of the brick to influence the finish.
- Blot Excess Whitewash: If a more subtle effect is desired, use a cloth to blot and soften the whitewash, creating a gently aged appearance.
Whether you opt for a vibrant paint color or a subtle whitewashed finish, the application of paint or whitewash presents an opportunity to infuse the space with your desired aesthetic and personality. These covering options allow for creative expression and customization, enabling you to achieve a tailored and impactful transformation of the brick surface.
Installing Drywall or Paneling
When seeking a complete departure from the rustic charm of exposed brick, installing drywall or paneling provides a versatile and transformative solution. This approach offers a smooth, uniform backdrop that conceals the brick surface, allowing for a fresh canvas to customize and redefine the space according to your design preferences.
Read more: How To Cover A Brick Fireplace
Preparation and Installation
Prior to installing drywall or paneling, it’s essential to prepare the brick surface to ensure a secure and stable foundation for the new covering. Begin by thoroughly cleaning the brick and addressing any gaps, cracks, or imperfections to create a smooth and even substrate.
Once the brick surface is prepared, measure and cut the drywall or paneling to fit the dimensions of the wall, accounting for any architectural features or obstacles. Secure the drywall or paneling to the brick using appropriate fasteners, ensuring that the installation is structurally sound and securely anchored to the underlying surface.
Customization and Finishing
After the drywall or paneling is installed, you have the freedom to customize the surface according to your desired aesthetic. Consider the following options for further customization and finishing:
- Painting: Once the drywall is in place, you can paint it in the color of your choice to complement the overall design scheme of the room.
- Textured Finishes: Apply textured finishes or techniques to the drywall to add depth and visual interest to the surface.
- Decorative Paneling: Explore the option of decorative paneling, such as beadboard or wainscoting, to introduce architectural detail and character to the space.
- Wall Treatments: Consider incorporating wall treatments, such as wallpaper or fabric, to further enhance the aesthetic appeal of the newly covered surface.
Benefits and Considerations
Installing drywall or paneling over exposed brick offers several advantages, including the creation of a blank canvas for customization, improved insulation, and the concealment of structural imperfections in the original brick surface. Additionally, this approach allows for greater flexibility in design and décor, enabling you to achieve a tailored and cohesive look for the space.
However, it’s important to consider the potential impact on the room’s acoustics and the additional thickness that the new covering may introduce. Assessing these factors and planning the installation accordingly will help ensure a seamless and harmonious integration of the new covering material into the space.
By opting for drywall or paneling, you embark on a transformative journey that redefines the visual and textural character of the space, offering endless possibilities for customization and personalization.
Using Wallpaper or Fabric
When seeking a distinctive and customizable option for covering exposed brick, the use of wallpaper or fabric presents an array of creative opportunities to infuse the space with texture, pattern, and personality. These covering options offer a versatile means of adding visual interest and character to the brick surface, allowing for a tailored and impactful transformation of the room.
Read more: How To Cover Brick Fireplace With Concrete
Wallpaper
Wallpaper provides an extensive selection of patterns, textures, and designs, enabling you to achieve a wide range of aesthetic effects. Whether you prefer bold, graphic prints or subtle, textured finishes, wallpaper offers a diverse palette of options to suit your design vision. Consider the following steps for using wallpaper to cover exposed brick:
- Surface Preparation: Ensure that the brick surface is clean, dry, and free of any residual debris or adhesive from previous coverings. If necessary, apply a primer to promote optimal adhesion of the wallpaper.
- Application: Measure and cut the wallpaper to fit the dimensions of the wall, accounting for any architectural features or obstacles. Apply wallpaper adhesive according to the manufacturer’s instructions, then carefully install the wallpaper, ensuring that the patterns align seamlessly.
- Finishing: Once the wallpaper is in place, smooth out any air bubbles and trim any excess material. Consider applying a protective top coat to enhance the durability and longevity of the wallpaper.
Fabric
Using fabric to cover exposed brick offers a tactile and luxurious approach to transforming the surface. Fabric allows for a wide range of textures, colors, and patterns, providing a unique and customizable solution for adding warmth and visual appeal to the space. Consider the following steps for using fabric to cover exposed brick:
- Selection: Choose a fabric that complements the overall design scheme of the room and aligns with your desired aesthetic. Consider the weight and texture of the fabric to ensure it is suitable for the intended application.
- Preparation: Prepare the brick surface by ensuring it is clean, dry, and free of any debris or irregularities. Apply a suitable adhesive or mounting system for securing the fabric to the wall.
- Installation: Carefully affix the fabric to the brick surface, working methodically to ensure a smooth and even application. Trim any excess fabric and ensure that the edges are neatly finished for a polished look.
Benefits and Considerations
Using wallpaper or fabric to cover exposed brick offers numerous benefits, including the ability to introduce texture, color, and pattern to the space, as well as the flexibility to change or update the covering in the future. These options also provide insulation and acoustical benefits, contributing to the overall comfort and ambiance of the room.
When selecting wallpaper or fabric, consider the room’s function, the desired mood or atmosphere, and the existing decor to ensure a cohesive and harmonious integration of the covering material. By carefully evaluating these factors, you can make an informed decision that aligns with your design vision and enhances the overall aesthetic of the space.
By utilizing wallpaper or fabric, you embark on a creative journey that adds depth, character, and personalization to the space, resulting in a distinctive and visually captivating transformation of the exposed brick surface.
Conclusion
Covering exposed brick walls is a transformative process that offers endless opportunities for customization and personalization, allowing you to redefine the aesthetic and ambiance of your living or working space. By embarking on this journey, you have the power to infuse the environment with your unique style and preferences, creating a setting that resonates with your vision and personality.
From the initial assessment of the brick’s condition to the meticulous cleaning, filling of gaps and cracks, and sealing of the surface, each step in the covering process contributes to the overall success and longevity of the transformation. These preparatory measures set the stage for the application of the chosen covering material, whether it’s paint, whitewash, drywall, paneling, wallpaper, or fabric.
Each covering option offers distinct visual and textural characteristics, enabling you to achieve a tailored and impactful transformation that aligns with your design aspirations. Whether you opt for a sleek, modern finish with painted brick or a cozy, traditional ambiance with textured wallpaper, the covering process empowers you to curate a space that reflects your individuality and taste.
As you navigate the process of covering exposed brick, consider the existing decor, architectural features, and desired ambiance of the space. Factor in practical considerations such as maintenance requirements, durability, and the ease of future modifications to ensure that the chosen covering option harmoniously integrates into the environment.
Ultimately, the process of covering exposed brick is a creative endeavor that invites you to reimagine and revitalize your surroundings, infusing them with character, warmth, and visual intrigue. Whether you seek to make a bold design statement or create a serene retreat, the covering process empowers you to craft a space that resonates with your lifestyle and sensibilities.
Embrace the art of covering exposed brick as an opportunity to express your creativity, enhance the visual appeal of your environment, and curate a space that truly feels like home. With thoughtful consideration and a touch of imagination, the covering process becomes a journey of self-expression and transformation, resulting in a space that is uniquely and authentically yours.
Frequently Asked Questions about How To Cover Exposed Brick
Was this page helpful?
At Storables.com, we guarantee accurate and reliable information. Our content, validated by Expert Board Contributors, is crafted following stringent Editorial Policies. We're committed to providing you with well-researched, expert-backed insights for all your informational needs.


0 thoughts on “How To Cover Exposed Brick”