Articles
How To Insulate Roof
Modified: February 23, 2024
Looking for articles on how to insulate your roof? Discover step-by-step guides and expert tips to effectively insulate your roof for optimal energy efficiency.
(Many of the links in this article redirect to a specific reviewed product. Your purchase of these products through affiliate links helps to generate commission for Storables.com, at no extra cost. Learn more)
Introduction
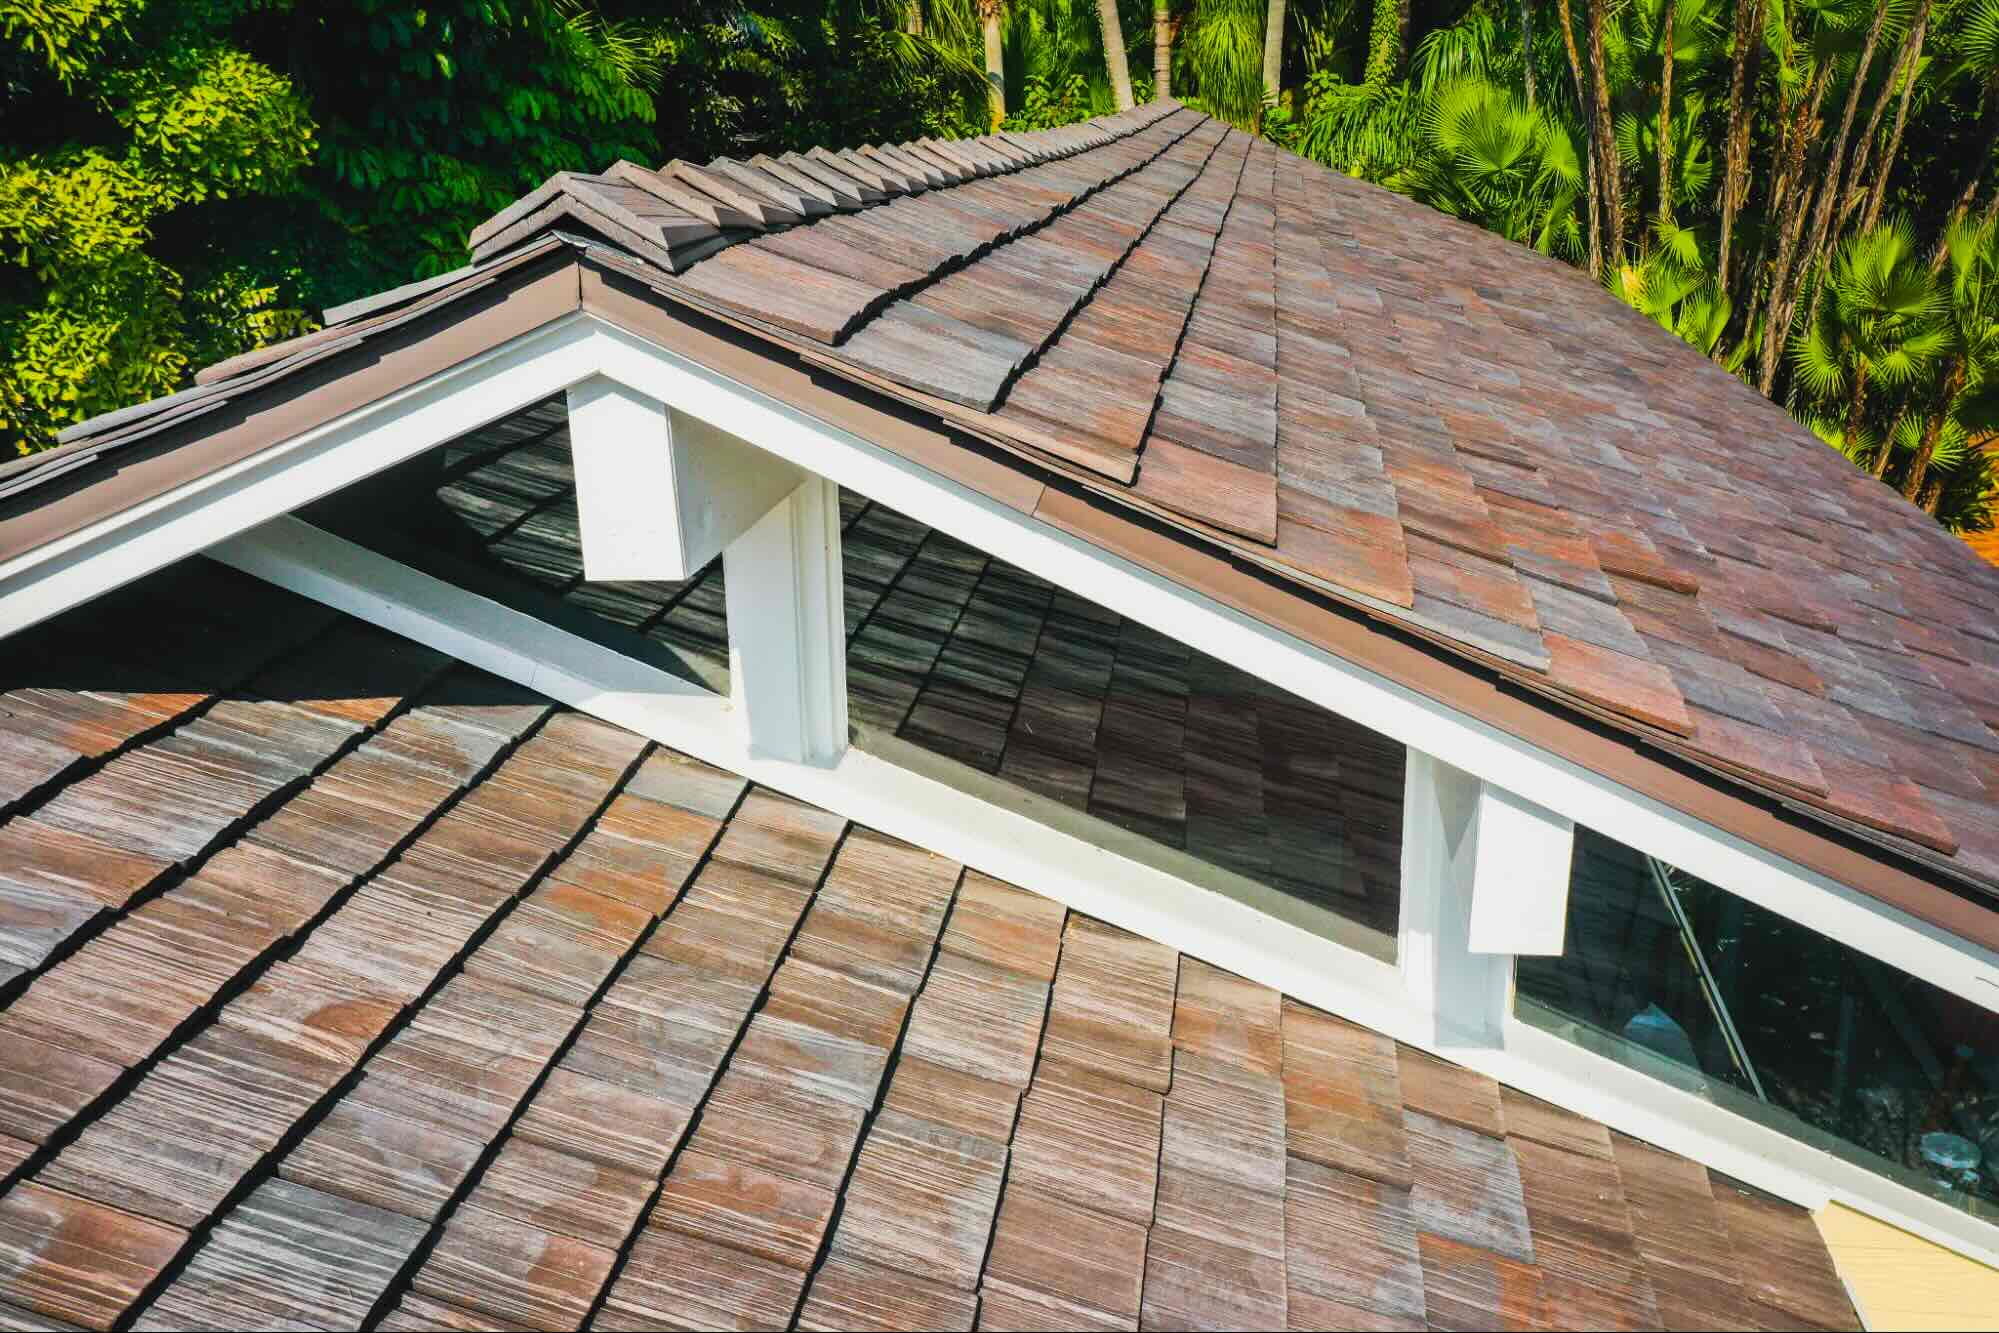
Insulating the roof of a building is a crucial step in creating a comfortable living or working space. A well-insulated roof can help regulate temperature, reduce energy consumption, and improve indoor air quality. Whether you’re in a hot or cold climate, insulating your roof can make a significant difference in your energy bills and overall comfort.
In this article, we will guide you through the process of insulating your roof, step by step. We will cover everything from assessing your insulation needs to installing the insulation materials and ensuring proper ventilation. By following these steps, you can effectively insulate your roof and create an energy-efficient and comfortable environment.
Before we dive into the steps, it’s important to understand the benefits of roof insulation. Insulating your roof helps to maintain a consistent temperature inside the building, reducing the need for excessive heating or cooling. This can result in lower energy bills and a reduced carbon footprint.
Another crucial advantage of roof insulation is its ability to enhance soundproofing. Insulating materials can help reduce external noise, making your space quieter and more peaceful. Additionally, insulation can improve indoor air quality by preventing moisture build-up and reducing the risk of mold and mildew.
Now that we’ve discussed the importance of roof insulation, let’s move on to the first step: assessing your insulation needs.
Key Takeaways:
- Proper roof insulation can lead to energy savings, temperature regulation, and improved indoor air quality. Assessing insulation needs, gathering materials, and ensuring ventilation are crucial steps in the process.
- Maintenance is key to prolonging the lifespan of roof insulation. Regular inspections, sealing gaps, and monitoring energy consumption are essential for maximizing the effectiveness of the insulation.
Read more: How To Insulate Roof In Attic
Step 1: Assessing the Roof Insulation Needs
Before embarking on the insulation process, it’s crucial to assess your roof’s current insulation needs. This step will help you determine the type and amount of insulation required for optimal results. Here are a few factors to consider:
- Climate: The climate in which you reside plays a significant role in determining the insulation needs of your roof. If you live in a colder climate, you’ll need insulation with a higher R-value to prevent heat loss. In warmer climates, insulation with a lower R-value can help keep the heat out.
- Existing insulation: Check if your roof already has insulation and assess its condition. Determine whether it needs to be replaced or supplemented with new insulation. Insulation materials, such as fiberglass batts or blown-in cellulose, can degrade over time and lose their effectiveness.
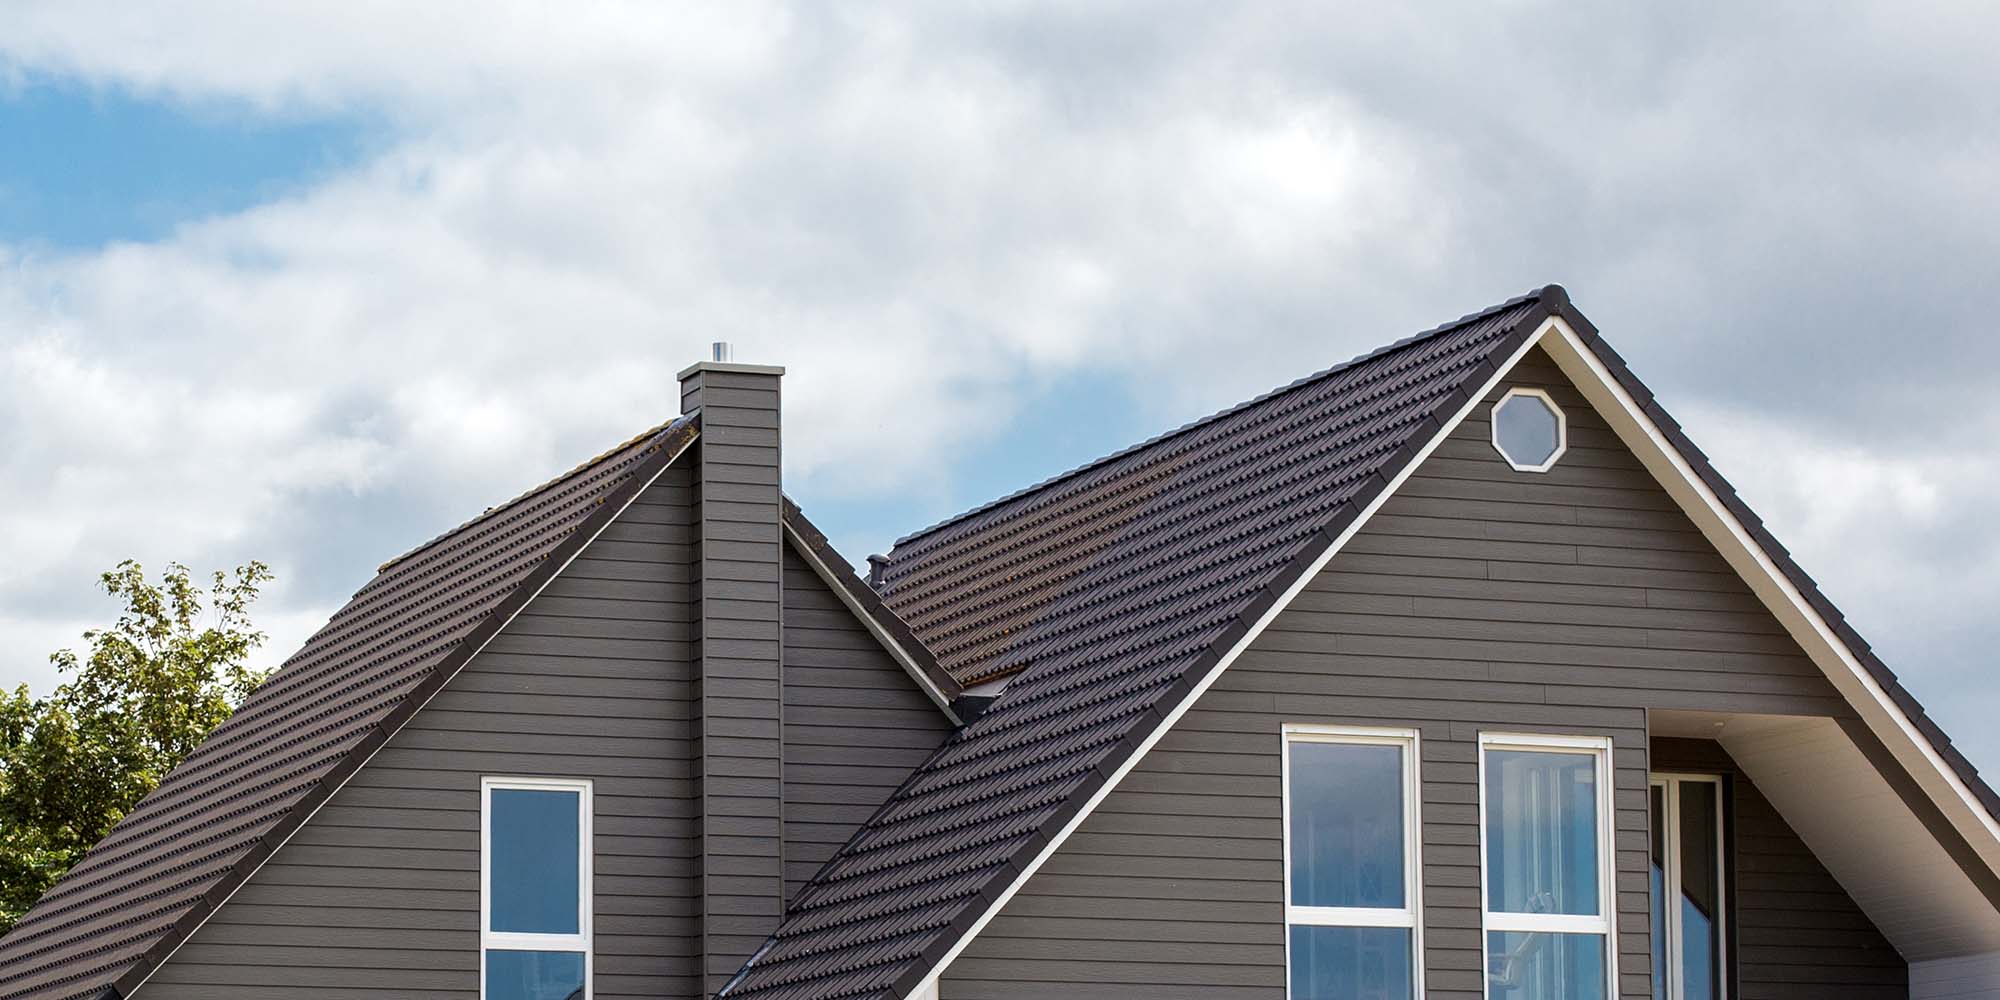
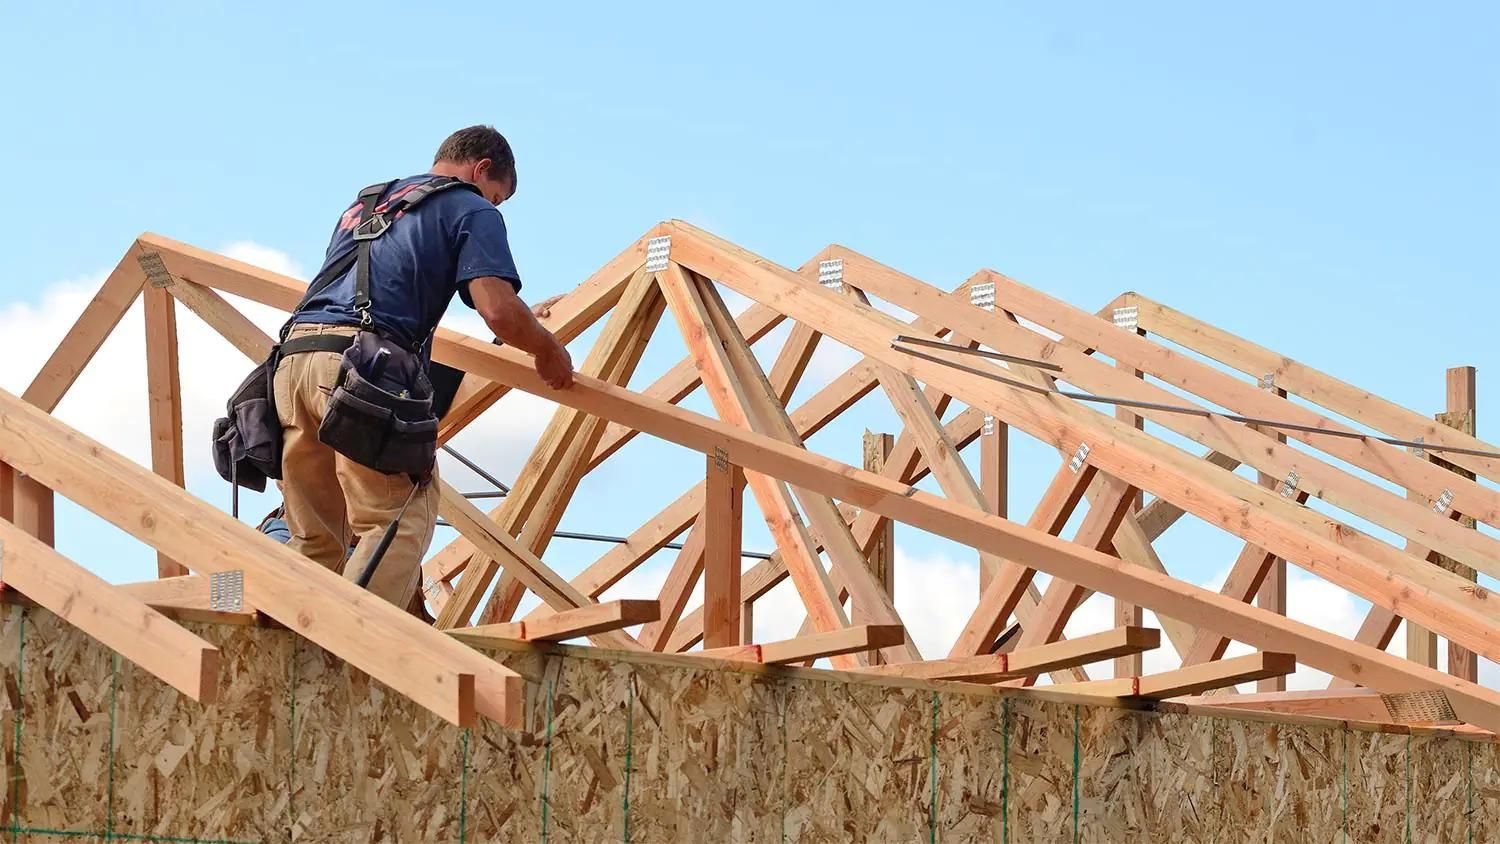
- Roof structure: Take into account the type of roof structure you have, such as flat or pitched. Different types of roofs may require specific insulation methods. Pitched roofs often have attic spaces, allowing for easier insulation installation. Flat roofs may require insulation below the roofing materials.
- Energy efficiency goals: Consider your energy efficiency goals when assessing your insulation needs. If you’re aiming for maximum energy efficiency, you may opt for higher R-value insulation and additional measures like air sealing and radiant barriers.
- Budget: Determine your budget for roof insulation. Various insulation materials and installation methods come at different price points. It’s important to find the right balance between cost-effectiveness and insulation performance.
Once you have assessed these factors, you will have a clearer understanding of what type of insulation and how much of it you will need for your roof. This knowledge will help guide your decision-making when selecting insulation materials and planning the installation process.
Now that you have assessed your roof’s insulation needs, it’s time to move on to Step 2: gathering the necessary materials and tools.
Step 2: Gathering the Necessary Materials and Tools
Now that you’ve assessed your roof’s insulation needs, it’s time to gather the necessary materials and tools for the insulation process. Having everything on hand before you begin will ensure a smoother and more efficient installation. Here are the materials and tools you’ll typically need:
- Insulation materials: Depending on your roof type and personal preferences, you can choose from a variety of insulation materials. Common options include fiberglass batts, spray foam, cellulose, and rigid foam boards. Look for insulation materials with the appropriate R-value for your climate and energy efficiency goals.
- Vapor barrier: A vapor barrier is typically used in colder climates to prevent moisture from seeping into the insulation. It is installed between the insulation and the interior of the building. Ensure that the vapor barrier is compatible with your chosen insulation material.
- Protective gear: Insulation installation can be messy and potentially hazardous. Be sure to wear proper protective gear, including gloves, goggles, and a mask, to protect yourself from airborne particles and any harsh chemicals present in the insulation materials.
- Measuring tape and utility knife: Accurate measurements are crucial for properly fitting the insulation materials to your roof. Use a measuring tape to measure the length and width of the areas that require insulation. A utility knife will come in handy for cutting the insulation materials to the correct size.
- Stapler or adhesive: Depending on the type of insulation material you choose, you may need a stapler or adhesive to secure it in place. Staples are often used with fiberglass batts, while spray foam and rigid foam boards may require adhesive for proper installation.
These are just a few of the essential materials and tools you’ll need for the roof insulation process. The specific requirements may vary depending on the insulation method and materials you choose.
Before starting the installation, ensure that you have all the necessary materials and tools. This will prevent any interruptions or delays during the process and allow you to complete the insulation efficiently and effectively.
With the materials and tools gathered, you’re now ready to move on to Step 3: preparing the roof for insulation.
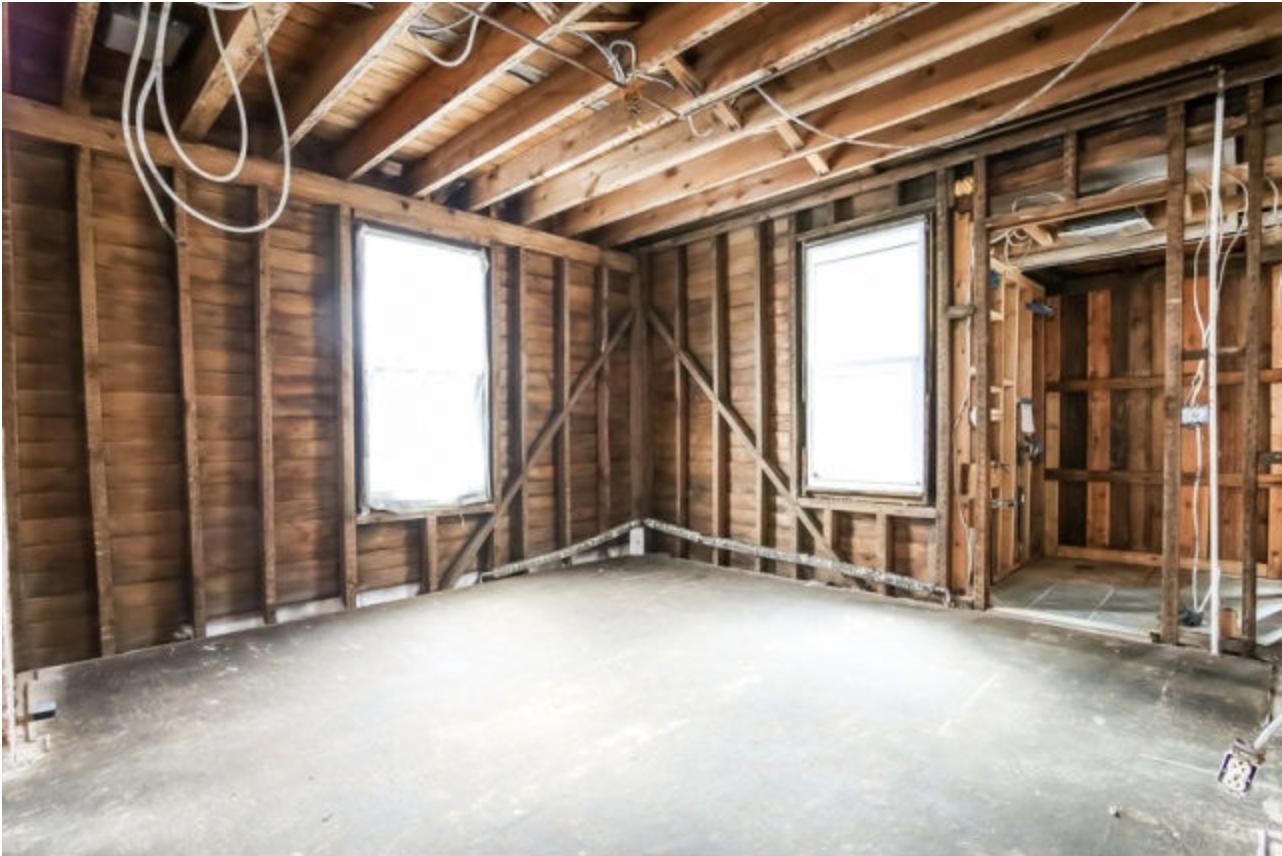
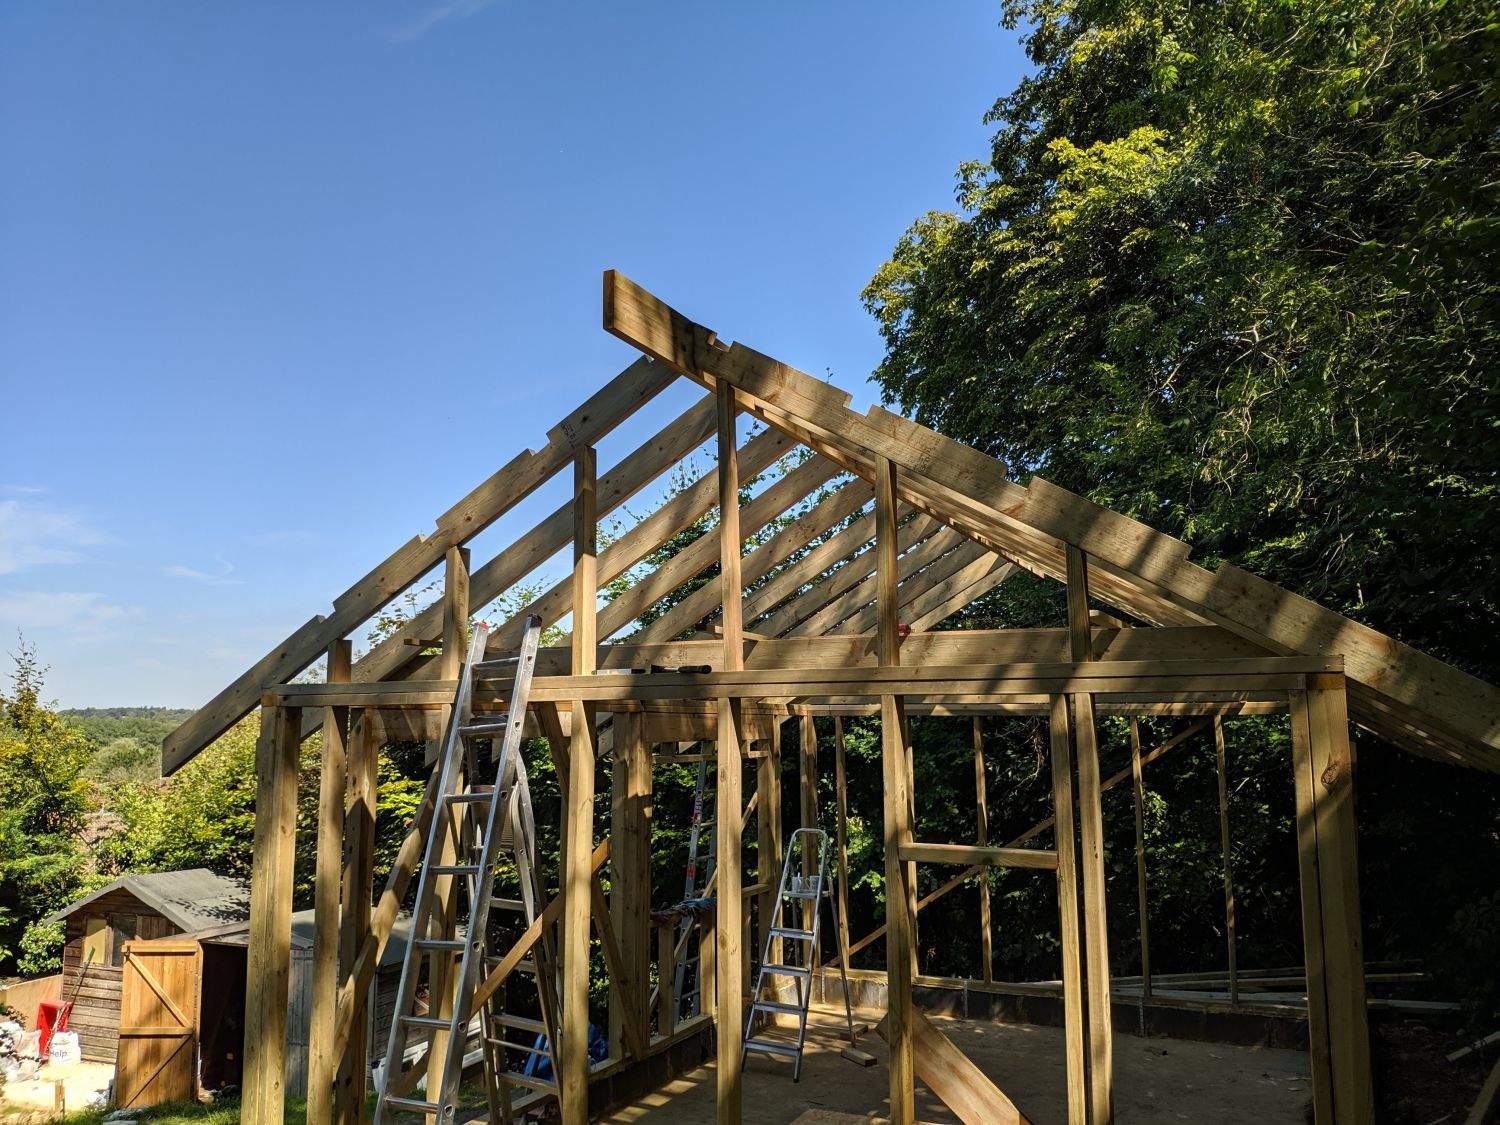
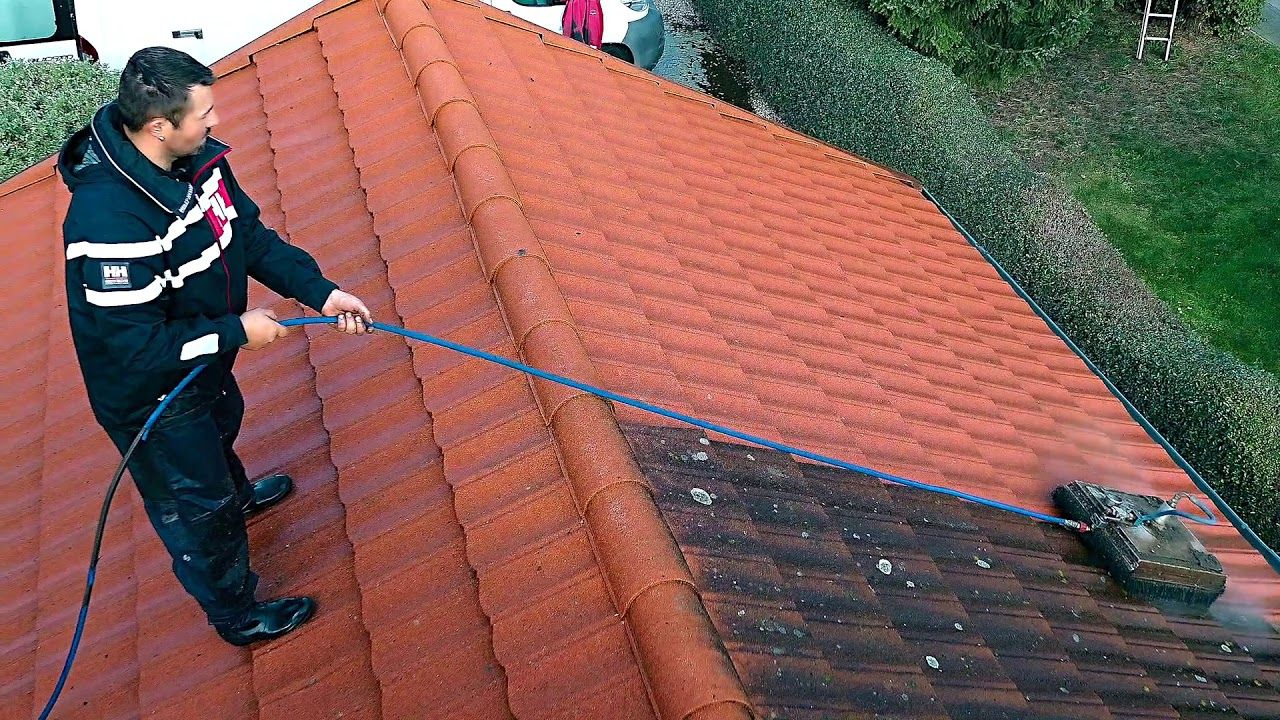
Step 3: Preparing the Roof for Insulation
Before installing the insulation materials, it’s important to properly prepare the roof to ensure a smooth and effective insulation process. Taking the time to prepare the roof will help to maximize the insulation’s effectiveness and longevity. Here are the steps to follow:
- Clean the roof: Begin by cleaning the roof surface from any debris, dirt, or loose materials. Use a broom or a blower to remove leaves, branches, and other obstructions. Cleaning the roof will create a clean and smooth surface for the insulation installation.
- Check for leaks: Inspect the roof for any signs of leaks or water damage. Address any leaks by repairing them before proceeding with the insulation. It’s important to have a waterproof roof to prevent moisture from compromising the insulation materials.
- Seal air gaps: Look for any gaps or cracks in the roof that may allow air leaks. Seal these gaps using appropriate sealants, such as caulking or foam sealants. This will help to create an airtight barrier and improve the insulation’s effectiveness.
- Increase ventilation: Adequate ventilation is essential for a well-insulated roof. Check if your roof has proper ventilation in place, such as vents or soffit vents. If not, consider installing ventilation systems to promote air circulation and prevent moisture buildup.
- Remove existing insulation: If your roof already has insulation that needs to be replaced or supplemented, remove it carefully. Follow safety guidelines and proper disposal methods for the specific insulation material you are removing.
By properly preparing the roof, you create a solid foundation for the insulation installation. It ensures that the insulation materials are applied to a clean and secure surface, allowing them to provide optimal performance and longevity.
With the roof prepared, you’re now ready to move on to Step 4: installing the insulation materials.
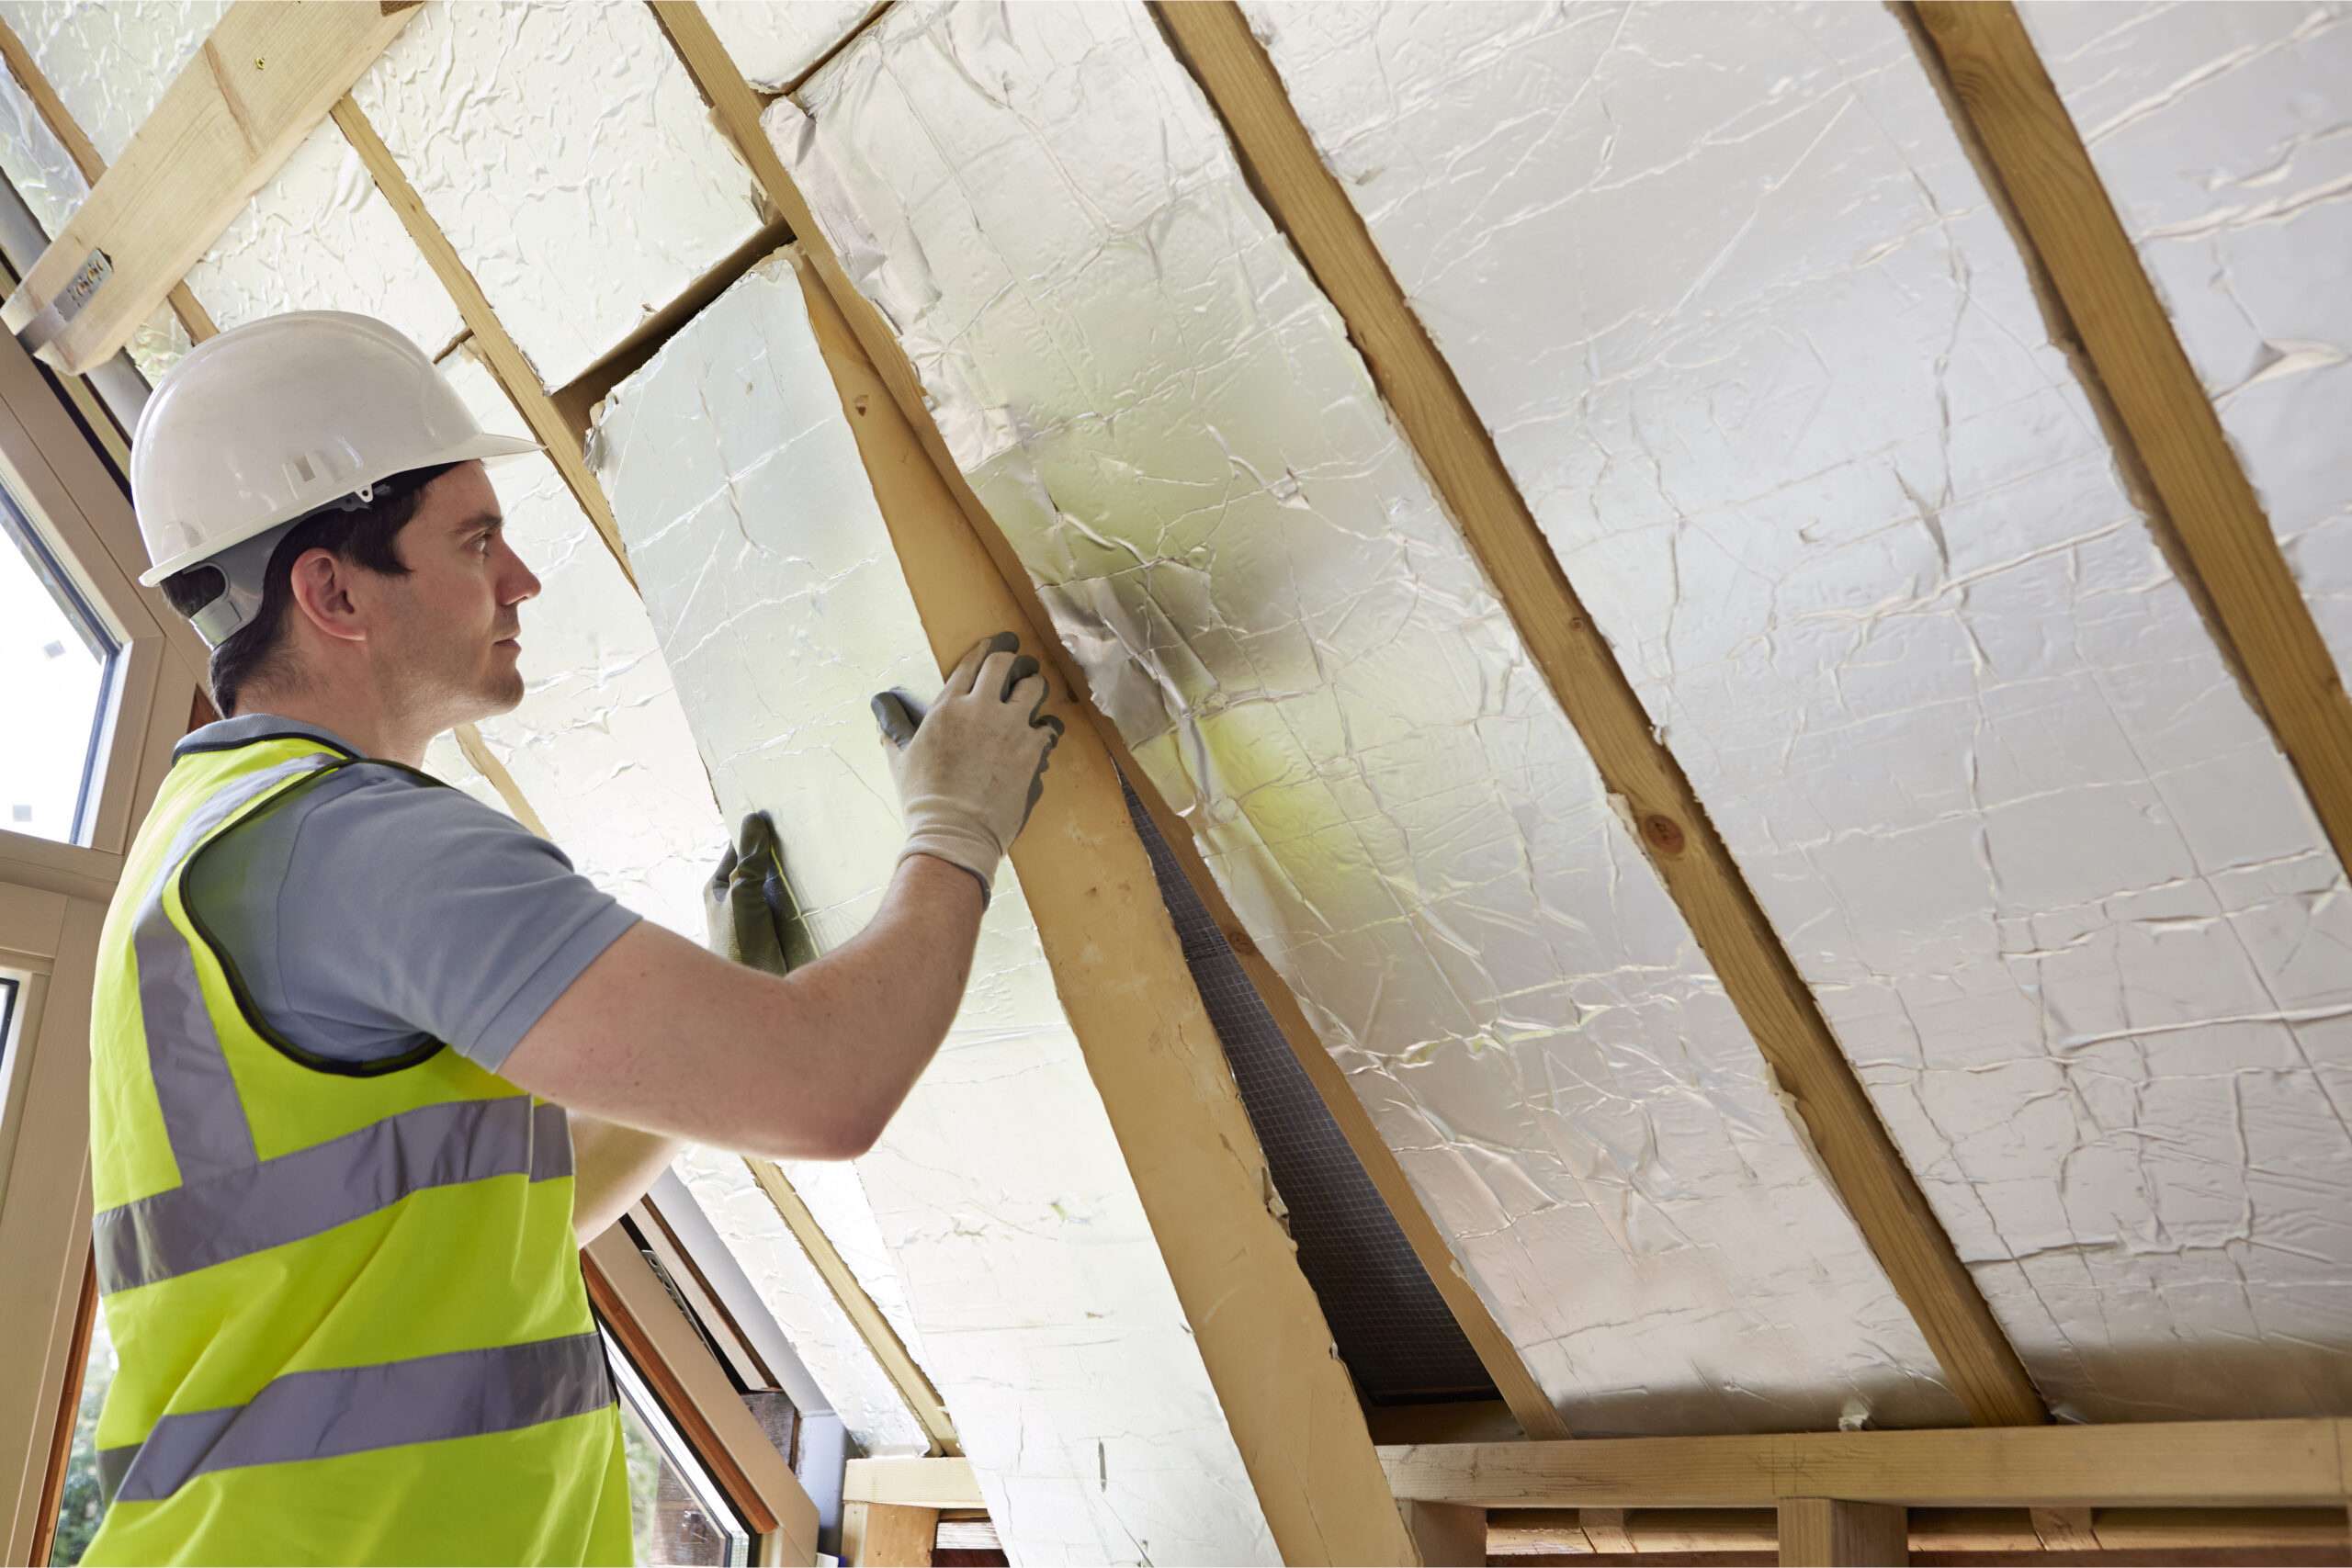
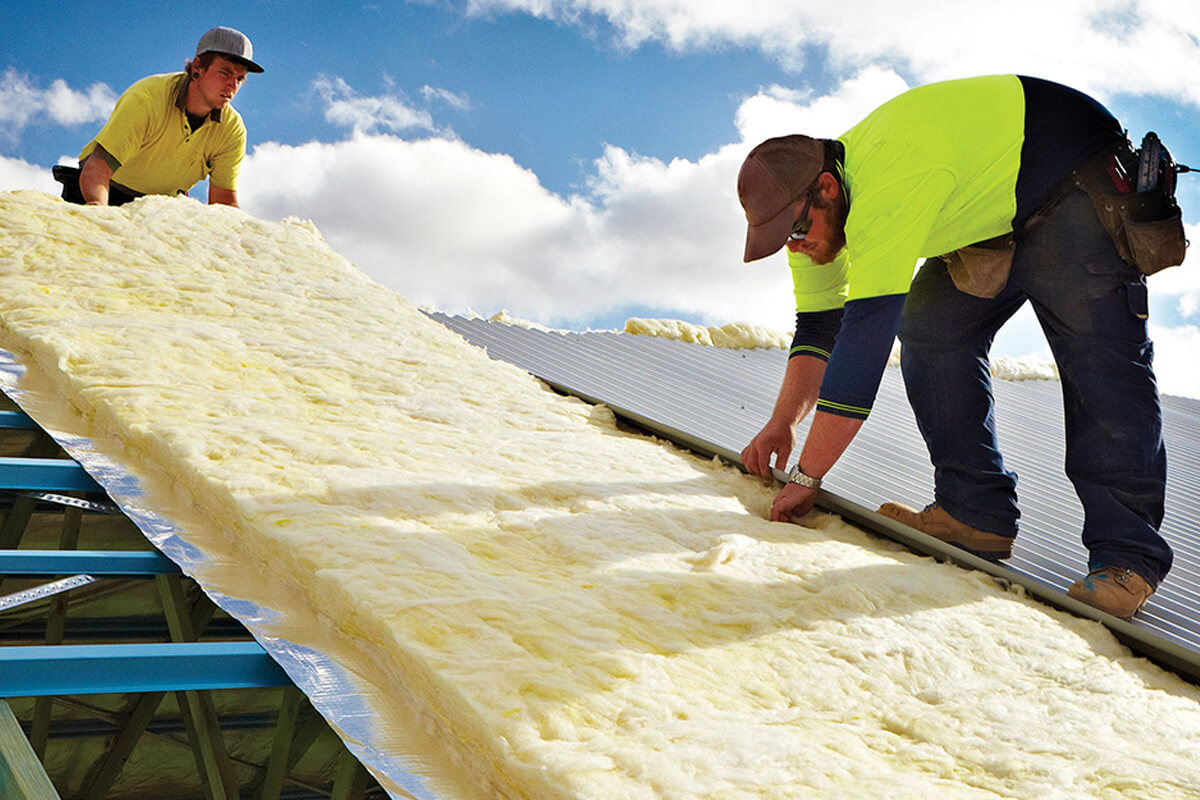
Step 4: Installing Insulation Materials
Now that you’ve prepared the roof, it’s time to move on to the actual installation of insulation materials. Proper installation is crucial to ensure maximum effectiveness and energy efficiency. Here’s a step-by-step guide on how to install insulation on your roof:
- Measure and cut: Start by measuring the area that needs insulation. Use a measuring tape to determine the length and width of the space, and then cut the insulation materials accordingly. Ensure a snug fit but avoid compressing the materials, as that can reduce their effectiveness.
- Secure insulation: Depending on the insulation material you’re using, secure it in place using the appropriate method. For fiberglass batts, staple them to the roof joists or beams. For rigid foam boards, use adhesive to attach them securely. Follow the manufacturer’s instructions for proper installation.
- Seal joints and edges: Pay attention to sealing any joints or edges where the insulation materials meet, as these areas tend to be vulnerable to air leaks. Use tape or sealant recommended for insulation purposes to create an airtight seal.
- Insulate ductwork and pipes: If there are any ductwork or pipes in the roof area, make sure to insulate them as well. Use insulation sleeves or wrapping material to cover the ducts and pipes, preventing heat transfer and improving energy efficiency.
- Consider radiant barriers: In hotter climates, you may want to install a radiant barrier alongside the insulation. Radiant barriers reflect heat away from the roof, helping to keep your space cooler. Consult with professionals or refer to manufacturer guidelines for the proper installation of radiant barriers.
Throughout the installation process, ensure that the insulation is applied evenly and covers the desired area. Be mindful of safety precautions and wear appropriate protective gear, such as gloves and masks, while handling insulation materials.
Once the insulation materials are properly installed, you’re ready to move on to Step 5: ensuring proper ventilation.
Consider using spray foam insulation to insulate your roof. It provides a seamless, airtight barrier and can help improve energy efficiency. Be sure to consult a professional for proper installation.
Read more: How To Insulate A Metal Roof
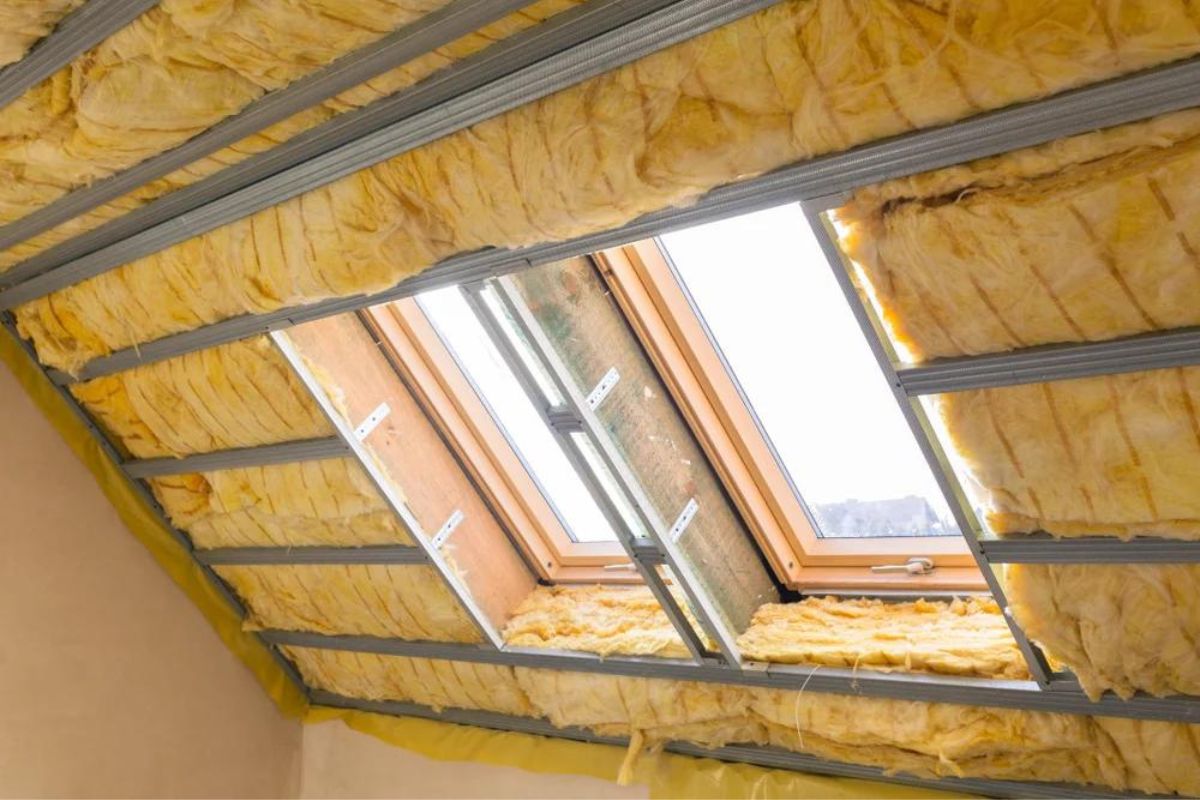
Step 5: Ensuring Proper Ventilation
Having proper ventilation in your roof is essential for maintaining the efficiency and effectiveness of your insulation. Proper ventilation helps to regulate air circulation, prevent moisture buildup, and enhance the overall performance of your roof system. Here are the key steps to ensure proper ventilation:
- Evaluate existing ventilation: Assess the current ventilation system in your roof, if any. Check for vents, soffits, ridge vents, or any other ventilation mechanisms that allow for the exchange of air. Ensure that these ventilation components are clean and free from obstructions.
- Calculate ventilation requirements: Calculate the appropriate amount of ventilation required for your roof based on the size and type of the space. The general rule of thumb is to have a minimum of 1 square foot (0.093 square meters) of ventilation for every 300 square feet (28 square meters) of attic space.
- Add or upgrade ventilation: If your roof lacks proper ventilation, consider adding or upgrading ventilation systems. This might include the installation of vents, soffit vents, gable vents, ridge vents, or attic fans. Consult with professionals to determine the most suitable ventilation options for your specific roof configuration.
- Clear pathways for air: Ensure that the pathway for air circulation is clear from obstructions, such as insulation materials or attic storage. Allow air to flow freely between intake vents and exhaust vents to facilitate proper ventilation and prevent hotspots or moisture buildup.
- Maintain ventilation regularly: Regular maintenance of your ventilation system is crucial to ensure its continuous effectiveness. Check and clean vents regularly, remove any debris, and repair or replace damaged components as needed. Consider scheduling professional inspections to identify and address any ventilation issues.
Proper ventilation complements insulation by allowing trapped heat and moisture to escape, preventing damage to the roof structure and preserving the insulation’s efficiency. It also helps to maintain a comfortable indoor environment and prolong the lifespan of your roof.
Now that you’ve ensured proper ventilation, it’s time to move on to Step 6: checking for any gaps and sealing them.
Step 6: Checking for Any Gaps and Sealing Them
Checking for any gaps and properly sealing them is crucial to ensure that your roof insulation is effective and efficient. Even the smallest gaps can lead to air leakage, reducing the insulation’s performance and allowing unwanted heat or cold to enter your space. Follow these steps to check for gaps and seal them:
- Inspect the roof: Carefully inspect the entire roof surface, paying close attention to areas where different materials meet, such as joints, edges, and corners. Look for any visible gaps, cracks, or holes that may let air pass through.
- Use a smoke test: To identify hidden gaps or air leaks, perform a smoke test. On a calm day, light a stick of incense or a smoke pen and slowly move it along the roof surface, especially around potential problem areas. Watch for any changes in the smoke direction, which can indicate air movement caused by a gap or leak.
- Seal gaps and cracks: Once you’ve identified the gaps, use appropriate sealants to seal them. Common sealing materials include caulk, foam sealants, or weatherstripping tape, depending on the type of gap or crack. Apply the sealant carefully, ensuring a tight seal to prevent any air leakage.
- Check around penetrations: Pay extra attention to areas where pipes, vents, or other structural elements penetrate the roof. These areas are prone to gaps and leaks. Use sealants or flashing materials specifically designed for roof penetrations to ensure a watertight and airtight seal.
- Consider professional assistance: If you’re unsure about identifying or sealing gaps, or if you have a complex roof design, it’s advisable to seek professional assistance. Roofing contractors or insulation specialists can conduct a thorough inspection and provide expert sealing solutions tailored to your specific needs.
By checking for and sealing gaps, you ensure that your insulation works efficiently and prevents air leakage, maintaining a comfortable and energy-efficient environment. This step helps to optimize the insulation’s effectiveness and improve overall energy savings.
With all the gaps sealed, it’s time to move on to Step 7: maintaining the roof insulation.
Step 7: Maintaining the Roof Insulation
Maintaining your roof insulation is essential to ensure its long-term performance, energy efficiency, and durability. Regular maintenance helps to identify and address any issues or damage that may impact the effectiveness of the insulation. Here are some maintenance tips to consider:
- Inspect the insulation: Periodically inspect the insulation to check for any signs of damage, such as moisture accumulation, mold growth, or pest infestations. Address these issues promptly to prevent further damage to the insulation and the overall roof structure.
- Monitor for air leaks: Keep an eye out for any air leaks or drafts around windows, doors, vents, and electrical outlets. These leaks can impact the insulation’s effectiveness. Use weatherstripping or caulk to seal any air leaks and maintain the integrity of the insulation.
- Clear roof debris: Regularly remove leaves, branches, or any other debris that may accumulate on the roof surface. Debris can block ventilation and cause damage to the roof and insulation over time. Regular cleaning helps to maintain proper air circulation and prolong the life of the insulation.
- Check for moisture: Moisture can reduce the insulation’s effectiveness and lead to mold growth or structural damage. Regularly check for signs of moisture, such as water stains or damp areas. Address the source of moisture and repair any leaks or waterproofing issues promptly.
- Monitor energy consumption: Keep track of your energy consumption to gauge the performance of your roof insulation. If you notice a significant increase in energy usage, it may indicate a problem with the insulation. Consider scheduling an inspection or consulting a professional to assess and address any insulation-related issues.
- Perform regular professional inspections: It’s recommended to have your roof insulation inspected by professionals on a regular basis. They can identify any underlying issues, provide maintenance recommendations, and ensure that your insulation is performing optimally.
By maintaining your roof insulation, you can prolong its lifespan, prevent energy waste, and ensure a comfortable living or working environment. Regular maintenance not only helps to preserve the insulation’s performance but also protects the overall integrity of your roof and building structure.
Congratulations! You have successfully completed all the steps necessary to insulate your roof and create an energy-efficient and comfortable living or working space. By following these steps and maintaining your insulation, you can enjoy the benefits of reduced energy consumption, improved indoor comfort, and cost savings for years to come.
Remember, if you have any doubts or concerns during the insulation process, it’s always a good idea to consult with professionals who can provide expert guidance specific to your roof and insulation needs.
Now go forth and enjoy the benefits of a well-insulated roof!
Conclusion
Insulating your roof is a valuable investment that brings numerous benefits to your home or commercial space. By following the steps outlined in this guide, you can effectively insulate your roof and create a comfortable, energy-efficient environment.
We began by emphasizing the importance of roof insulation and its impact on energy savings, temperature regulation, and indoor air quality. We then took you through a step-by-step process, starting with assessing your insulation needs and gathering the necessary materials and tools.
Next, we covered the crucial steps of preparing the roof for insulation, including cleaning the surface, checking for leaks, sealing air gaps, and ensuring proper ventilation. With the roof prepared, we guided you through the installation process, highlighting the importance of measuring, securing, and sealing the insulation materials.
Proper ventilation was emphasized in Step 5, as it complements the insulation by promoting air circulation and preventing moisture buildup. Additionally, we covered the significance of checking for gaps and sealing them to ensure the insulation’s effectiveness.
Lastly, we discussed the importance of maintaining the roof insulation through regular inspections, clearing debris, and monitoring energy consumption. By following these maintenance practices, you can extend the life of your insulation and maintain its energy-saving benefits.
Remember, while this guide provides a comprehensive overview, it is essential to consult with professionals for specific advice tailored to your roof type and insulation needs. They can offer specialized knowledge to ensure you make the most informed decisions and achieve the best results.
Insulating your roof is not only a smart financial choice but also an environmentally friendly one. By reducing energy consumption, you contribute to a healthier planet and create a comfortable living or working space for yourself.
Now that you have the knowledge and guidance to insulate your roof effectively, put it into action and start enjoying the benefits. From lower energy bills to improved indoor comfort, your well-insulated roof will benefit you for years to come.
So, take the first step and embark on your journey to a more energy-efficient and comfortable living or working space by insulating your roof today.
Frequently Asked Questions about How To Insulate Roof
Was this page helpful?
At Storables.com, we guarantee accurate and reliable information. Our content, validated by Expert Board Contributors, is crafted following stringent Editorial Policies. We're committed to providing you with well-researched, expert-backed insights for all your informational needs.


0 thoughts on “How To Insulate Roof”