Articles
How To Insulate Porch
Modified: January 24, 2024
Learn how to properly insulate your porch with our informative articles. Discover expert tips and techniques to keep your porch cozy throughout the year.
(Many of the links in this article redirect to a specific reviewed product. Your purchase of these products through affiliate links helps to generate commission for Storables.com, at no extra cost. Learn more)
Introduction
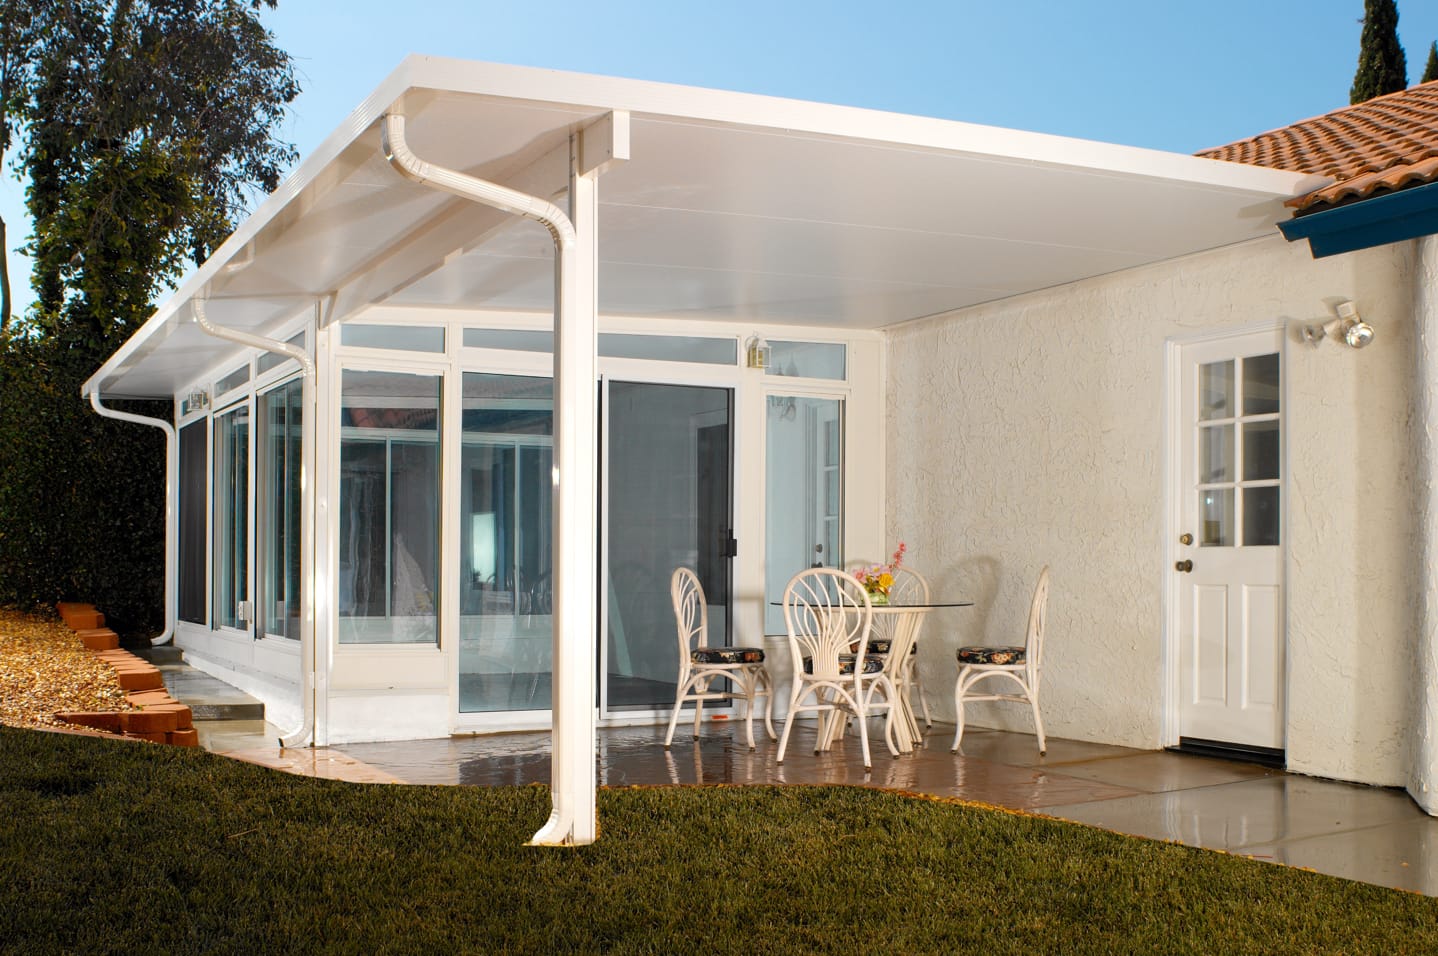
Welcome to this comprehensive guide on how to insulate your porch. If you have a porch that you want to use year-round, or if you simply want to make it more comfortable during the colder months, insulating your porch is a great solution. By insulating your porch, you can reduce energy loss, prevent drafts, and create a more comfortable space for you and your family to enjoy.
Insulating your porch not only helps to keep it warmer in the winter but also helps to keep it cooler in the summer. It acts as a barrier to outside elements, providing thermal insulation and soundproofing. Additionally, insulating your porch can help to reduce your energy bills, as it helps to maintain a consistent temperature and reduces the need for heating and cooling.
In this guide, we will take you through the step-by-step process of insulating your porch. From assessing your insulation needs to choosing the right materials, preparing the porch, and installing the insulation, we will cover everything you need to know to get the job done.
Before we dive into the steps, it’s worth mentioning that the specific techniques and materials required may vary depending on the type of porch you have and the climate you live in. It’s always a good idea to consult with a professional or do thorough research to ensure you’re following the best practices for your specific situation.
Now, let’s get started on insulating your porch and creating a comfortable space that can be enjoyed all year round.
Key Takeaways:
- Create a comfortable, energy-efficient porch by assessing insulation needs, choosing the right materials, and sealing air leaks. Enjoy year-round use and lower energy bills with proper insulation and finishing touches.
- Insulating your porch provides thermal insulation, soundproofing, and energy savings. Regular maintenance ensures long-term comfort and enjoyment of your well-insulated space.
Read more: How To Insulate Porch Floor
Step 1: Assessing the Porch Insulation Needs
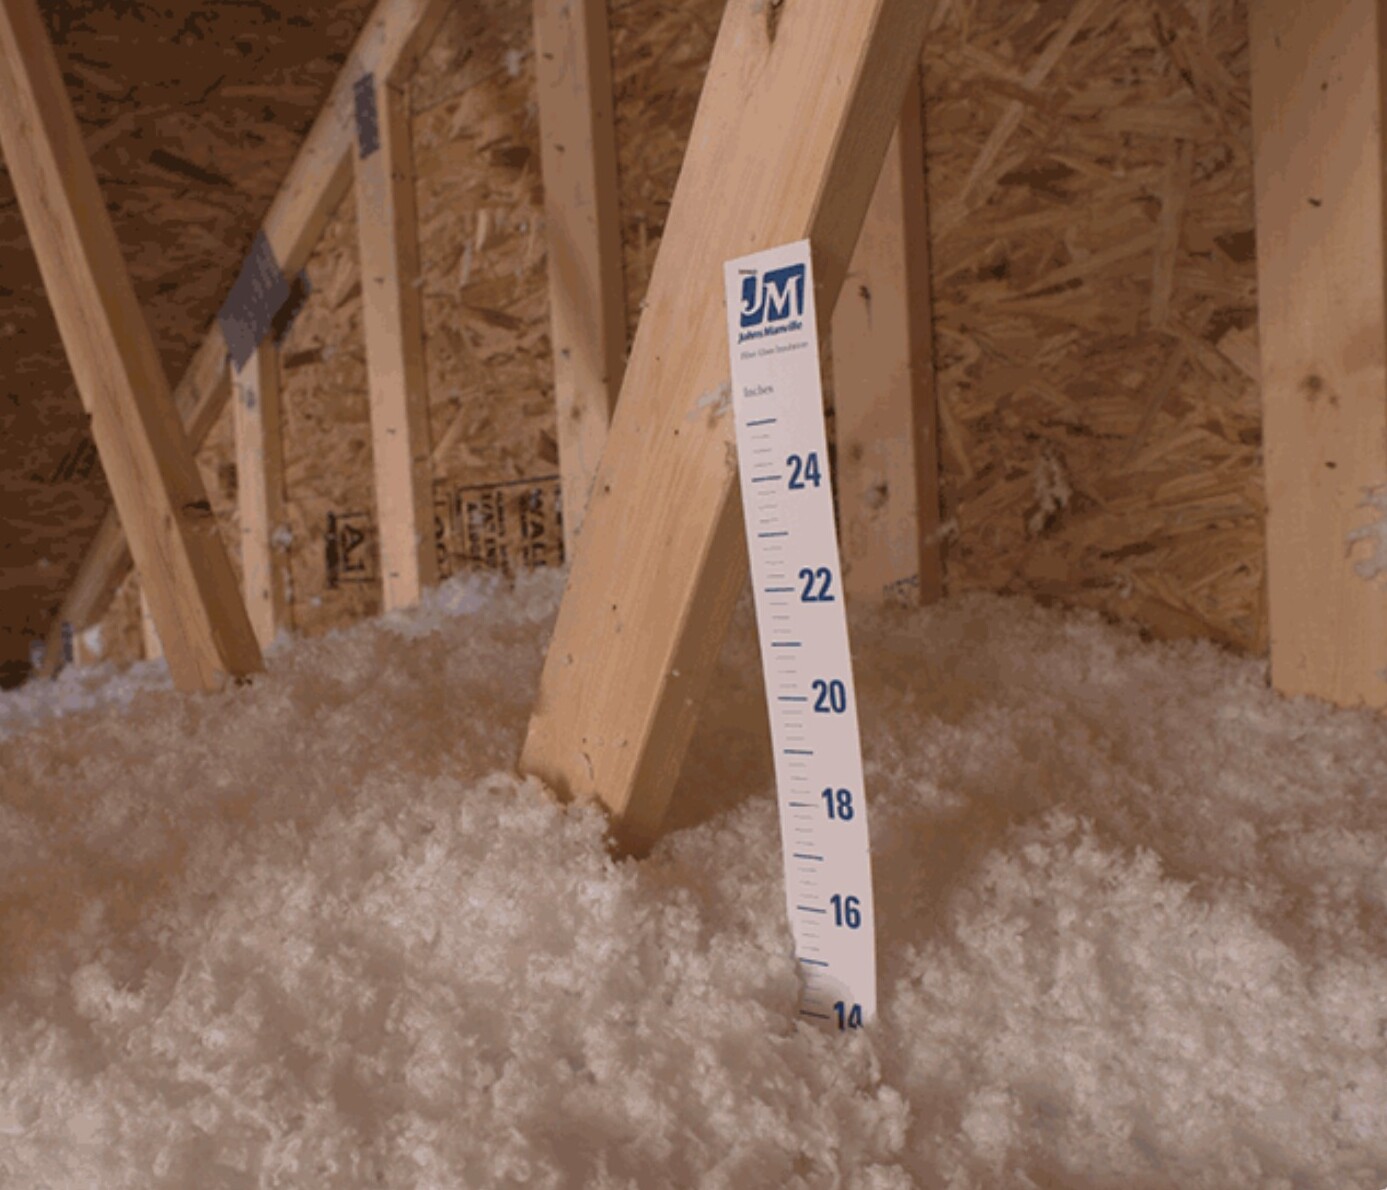
The first step to insulating your porch is to assess its insulation needs. This involves identifying areas where heat loss or drafts occur and understanding the existing insulation level, if any. Here are a few key points to consider:
- Check for air leaks: Look for any gaps or cracks around windows, doors, and walls where air could be entering or escaping. Use a draft detector or simply feel for drafts using your hand or a candle flame.
- Evaluate existing insulation: If your porch already has insulation, determine its condition and effectiveness. Determine whether it needs to be replaced or supplemented with additional insulation.
- Consider the climate: Take into account the climate in your area. If you live in a region with harsh winters or extreme temperatures, you may need more insulation compared to milder climates.
- Assess moisture issues: Determine if there are any moisture issues in your porch, such as leaks or condensation. Addressing these issues is crucial before starting the insulation process to prevent further damage.
By conducting a thorough assessment, you will have a better understanding of the specific insulation needs for your porch. This will help you make informed decisions when choosing the appropriate insulation materials and techniques.
Step 2: Choosing the Right Insulation Materials
When it comes to insulating your porch, selecting the right insulation materials is essential for maximum efficiency and effectiveness. Here are some popular options to consider:
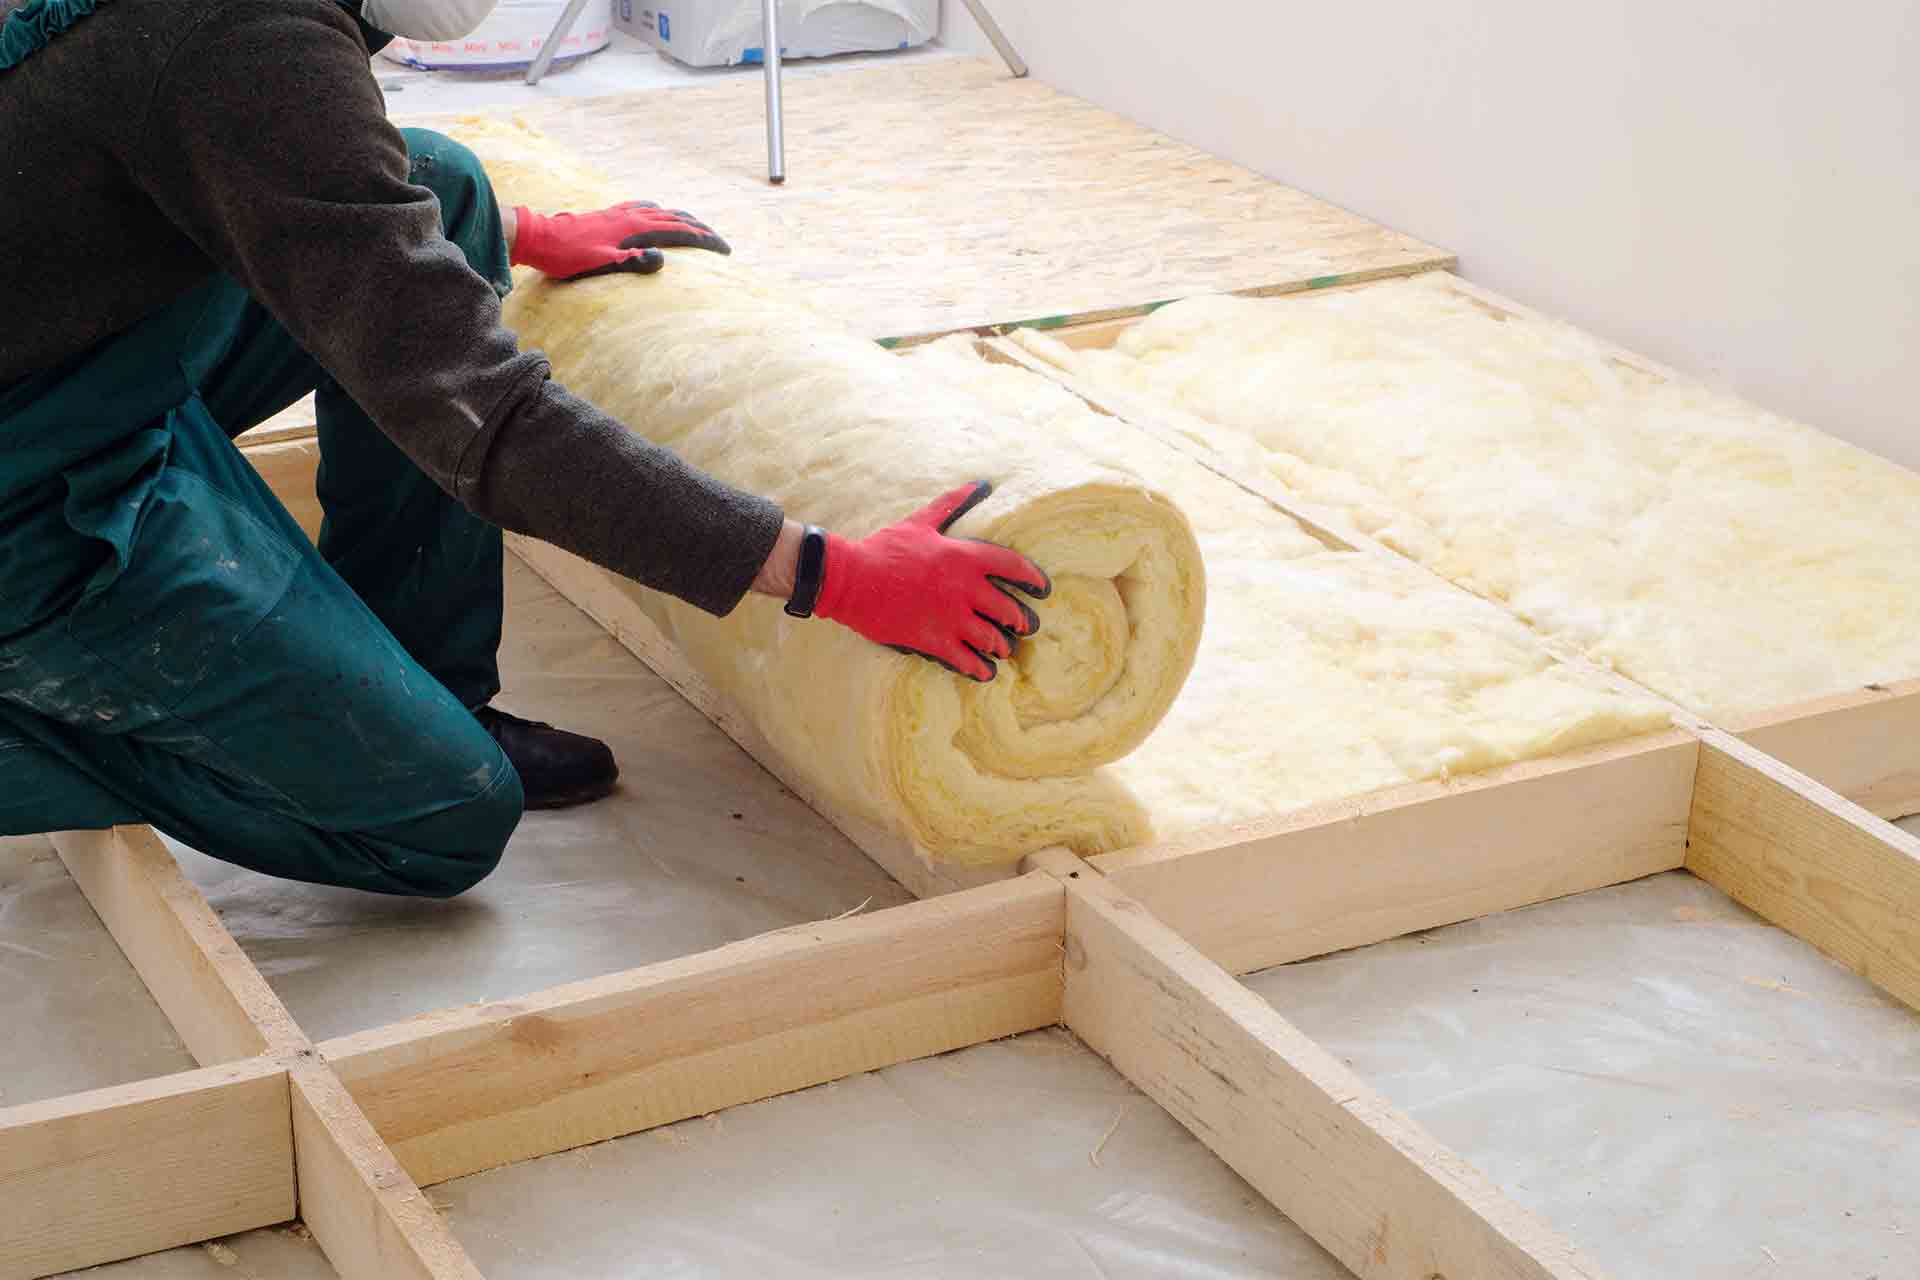
- Fiberglass insulation: Fiberglass insulation is widely used for its affordability and versatility. It comes in rolls or batts and can be easily cut to fit the desired area. Fiberglass insulation has excellent thermal and soundproofing properties.
- Spray foam insulation: Spray foam insulation is a great choice for sealing small gaps and cracks. It expands upon application and creates an airtight barrier. Spray foam insulation provides excellent thermal insulation and helps to prevent air leaks.
- Rigid foam insulation: Rigid foam insulation panels are commonly used for insulating walls and ceilings. They have a high R-value, which indicates their insulating ability. Rigid foam insulation is moisture-resistant and provides good thermal insulation.
- Cellulose insulation: Cellulose insulation is made from recycled or shredded paper treated with fire-retardant additives. It is an eco-friendly option that can be blown into walls or installed as loose-fill insulation. Cellulose insulation offers good thermal protection.
When choosing insulation materials, consider factors such as the insulation’s R-value, which indicates its thermal resistance, as well as any specific requirements for moisture resistance or fire-retardant properties. Additionally, consider the space you have available for installation and the ease of application.
It’s important to note that different areas of your porch may require different types of insulation. For example, using spray foam insulation to seal gaps and cracks, combined with fiberglass or rigid foam insulation for walls and ceilings, can help achieve optimal insulation performance.
Take into account your specific insulation needs, budget, and the advice of professionals. Consulting with an insulation specialist can help you make an informed decision and choose the most suitable materials for your porch insulation project.
Step 3: Preparing the Porch for Insulation
Before you start installing insulation in your porch, it’s crucial to properly prepare the space to ensure the best results. Here are the key steps to consider when preparing your porch for insulation:
- Clean and declutter the area: Remove any furniture, decorations, or other items from your porch to create a clear and accessible workspace. This will make it easier to install the insulation and ensure that it reaches all the necessary areas.
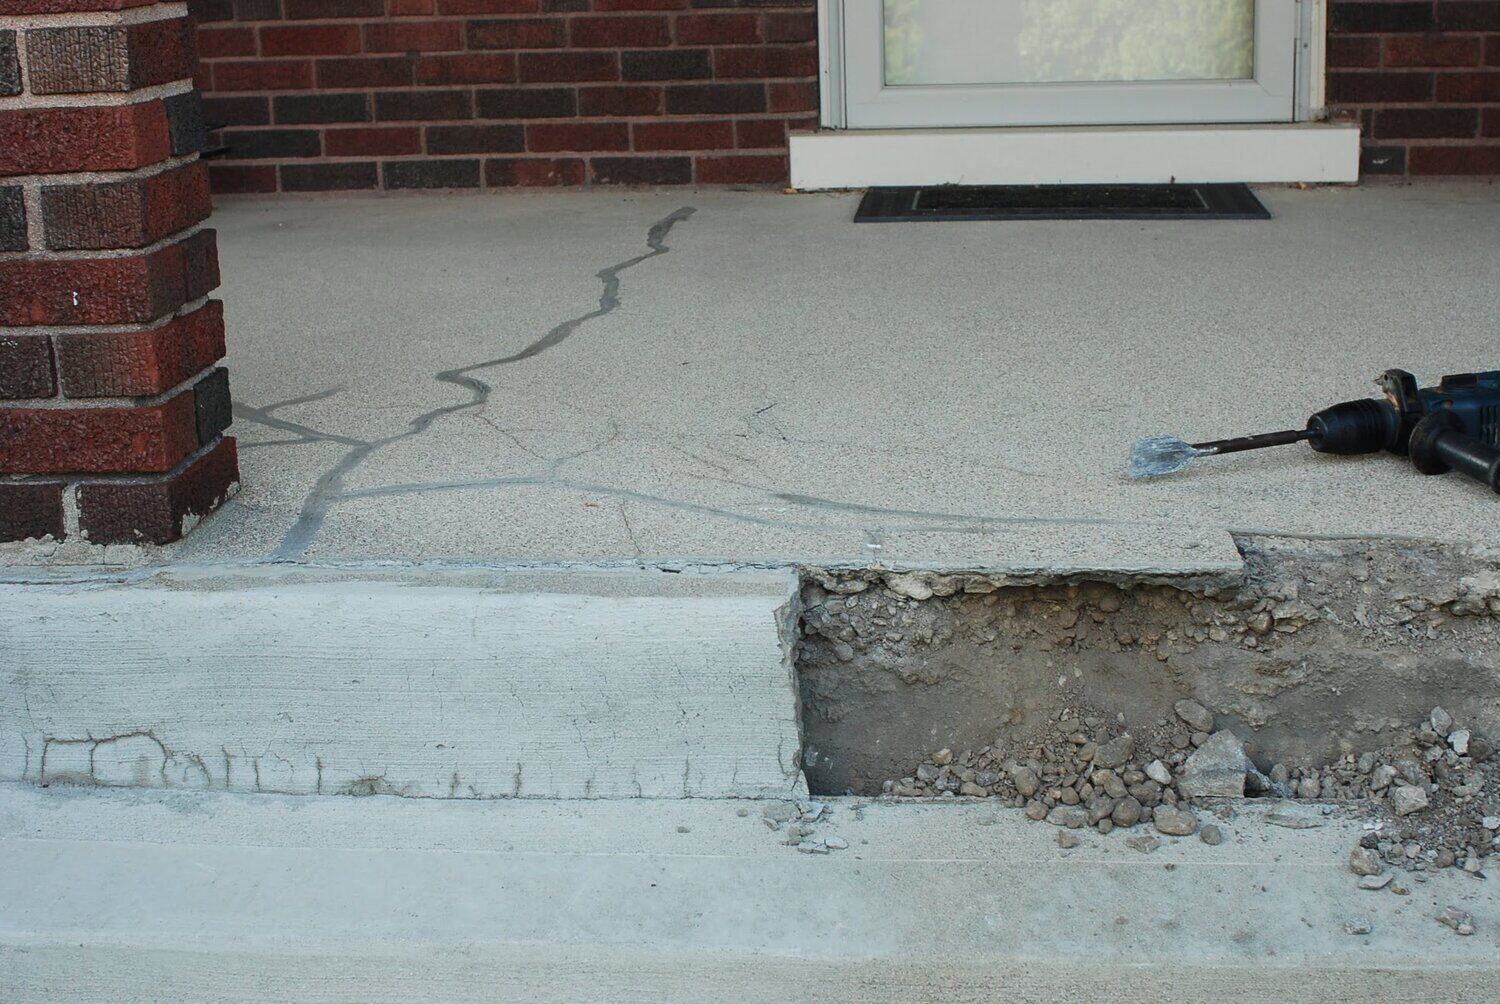
- Repair any damage: Inspect the porch for any existing damage, such as rot, water leaks, or structural issues. Address these problems before proceeding with insulation so that you have a structurally sound surface to work with.
- Seal air leaks and gaps: Use caulk or weatherstripping to seal any gaps, cracks, or openings in the porch. This will help prevent air leakage and keep the insulation barrier intact.
- Consider vapor barriers: Depending on your climate and moisture levels, you may need to install a vapor barrier to prevent condensation and moisture buildup. Consult with an insulation specialist to determine if a vapor barrier is necessary for your porch.
- Ensure proper ventilation: Adequate ventilation is essential to prevent moisture-related issues. Check that your porch has sufficient ventilation to allow for airflow and prevent trapped moisture behind the insulation.
By taking the time to prepare your porch properly, you will create a clean and suitable environment for installing insulation. This will ensure that the insulation performs optimally and lasts for years to come.
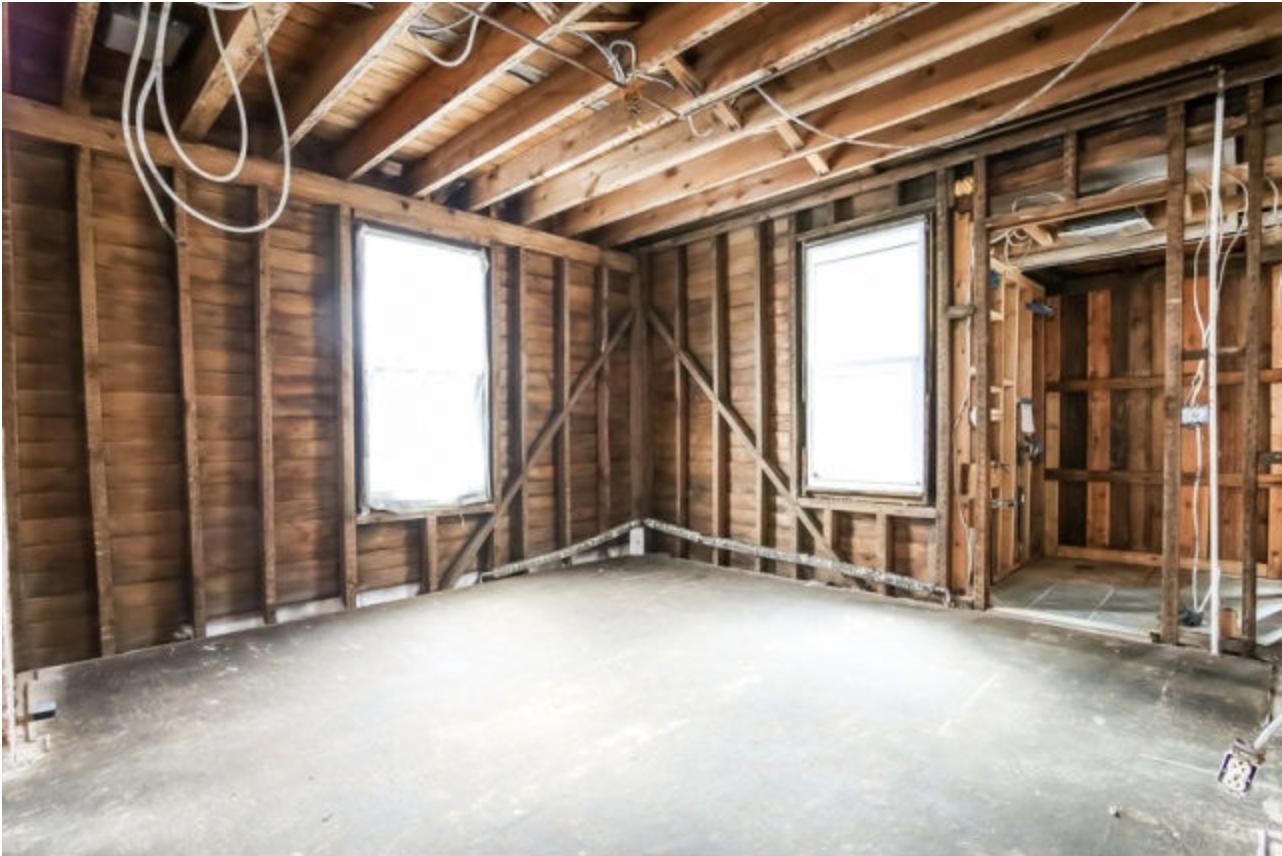
Step 4: Installing Insulation in Walls and Ceilings
With your porch properly prepared, it’s time to start installing insulation in the walls and ceilings. Here’s a step-by-step guide to help you:
- Measure and cut the insulation: Measure the dimensions of the area you’re insulating and cut the insulation material accordingly. Ensure that the insulation fits snugly into the space without any gaps.
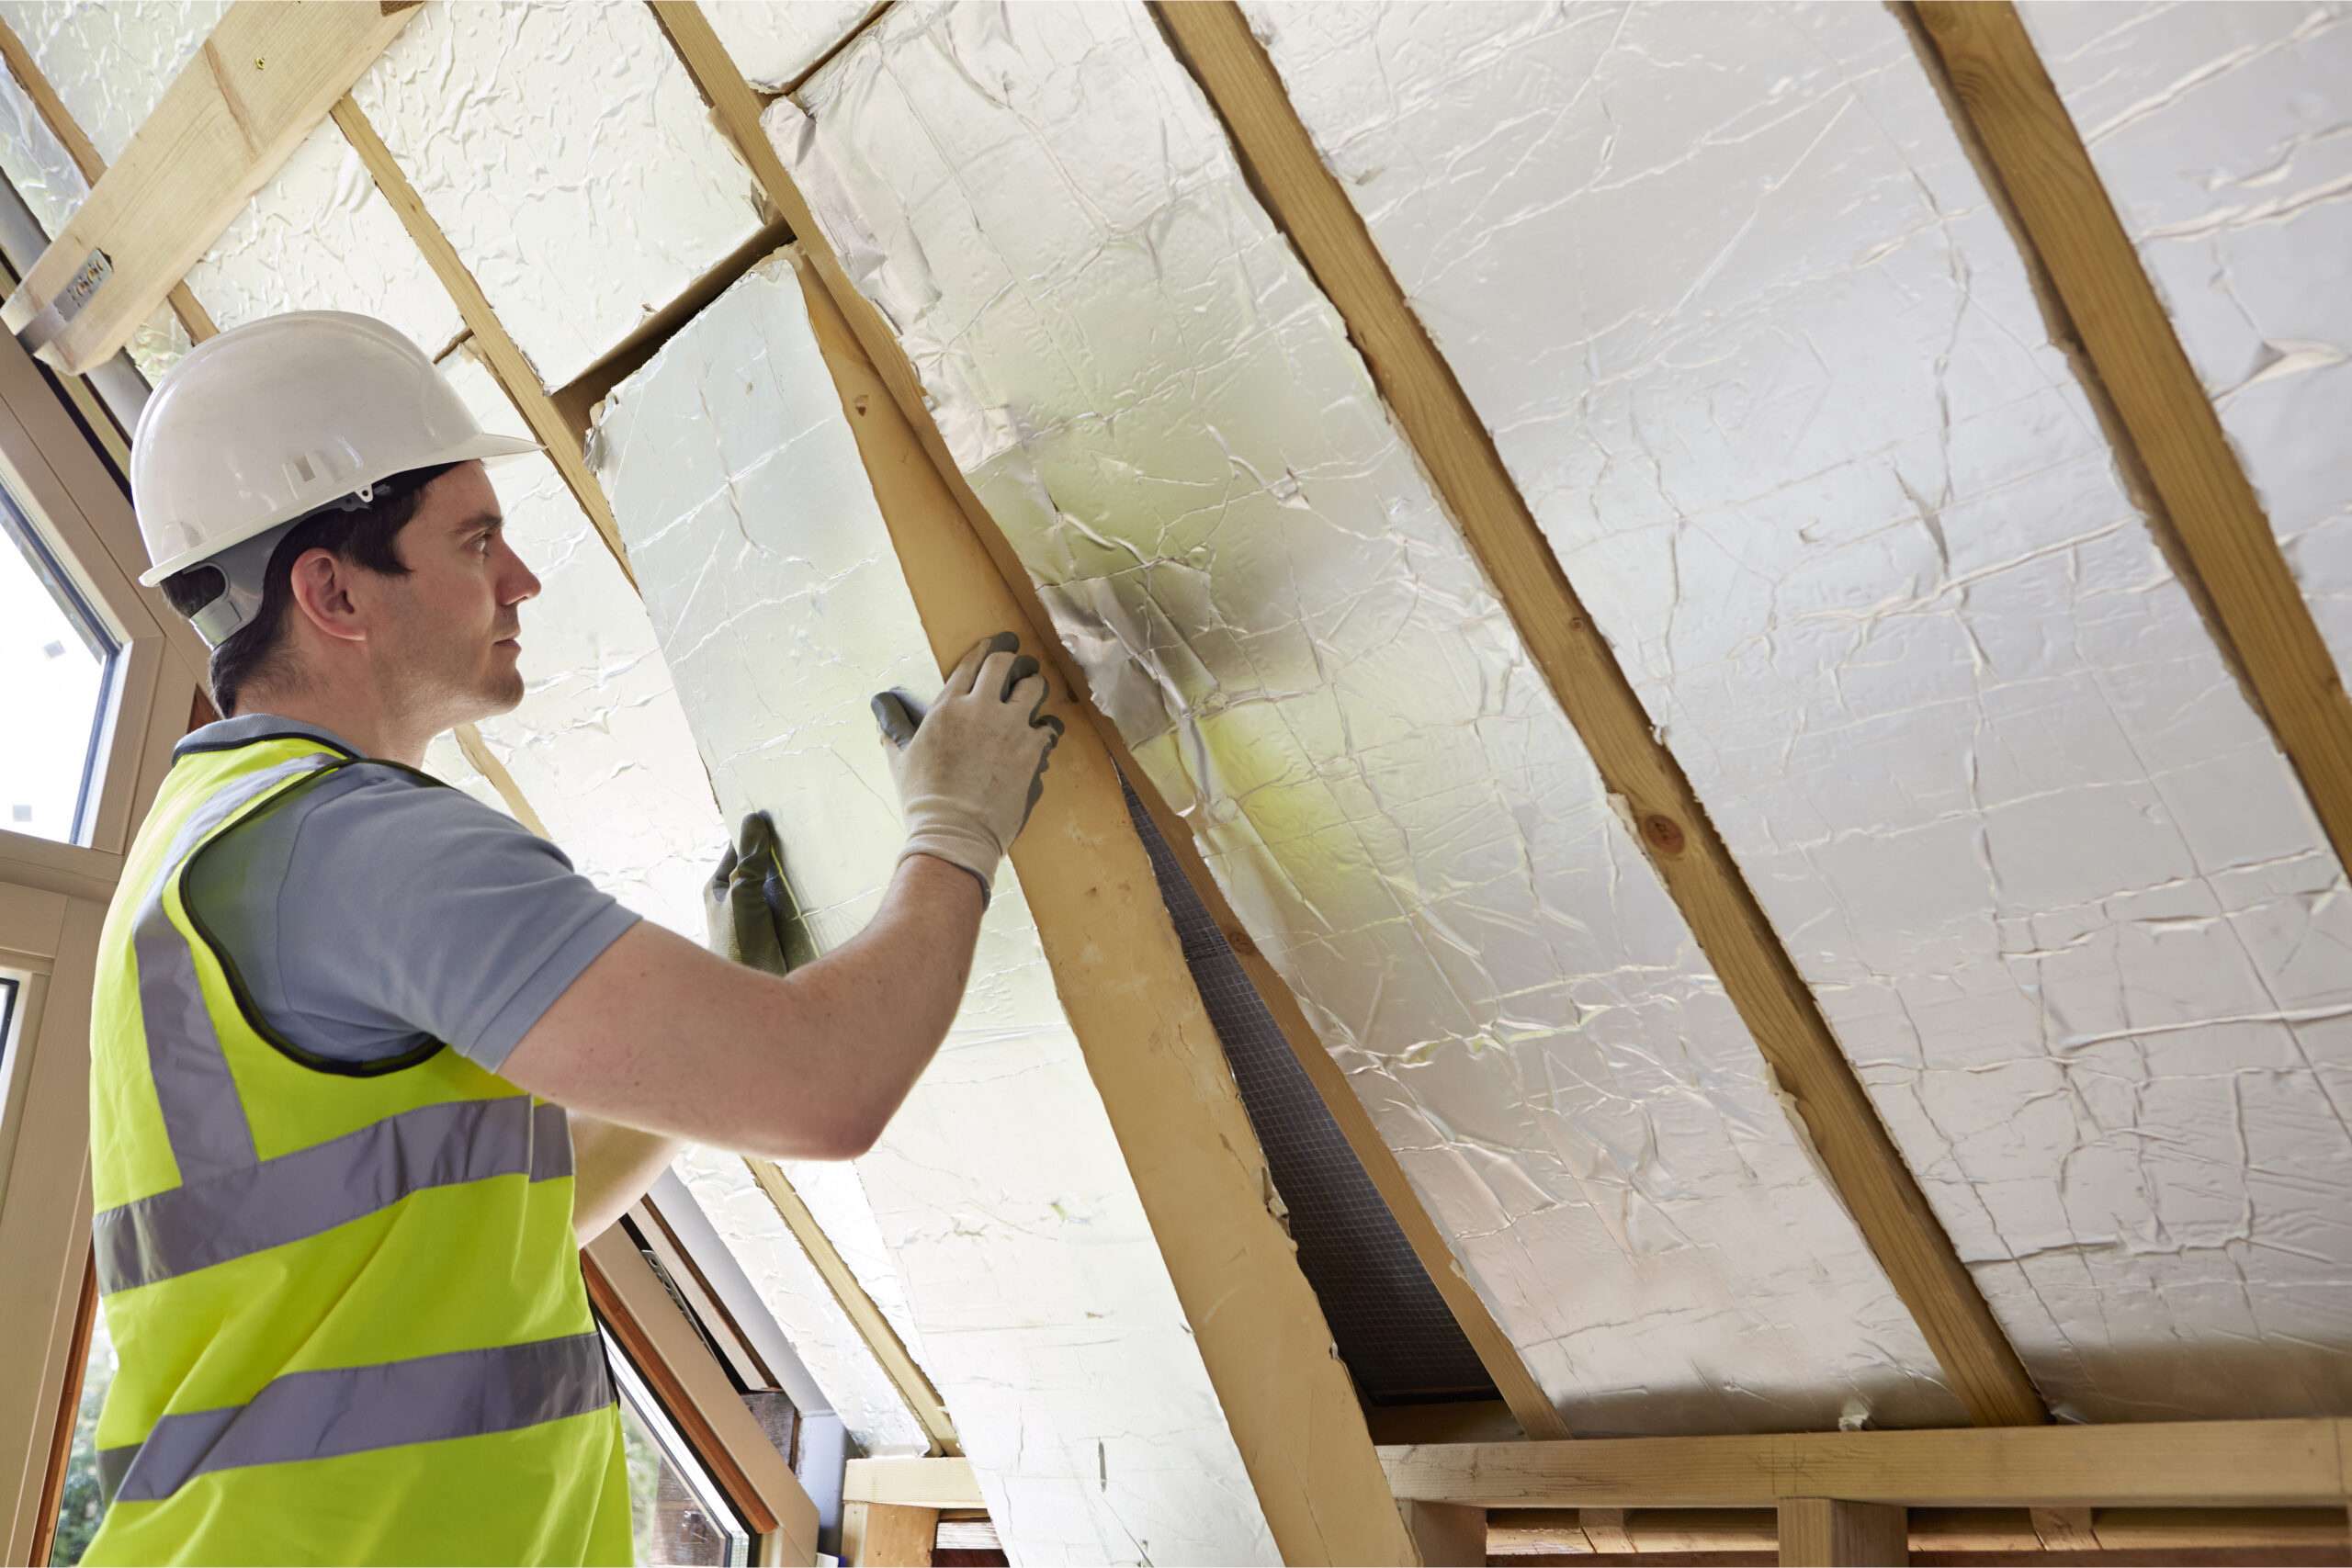
- Start with the walls: Begin by installing insulation in the walls of your porch. If you’re using fiberglass or rigid foam insulation, you can place the pre-cut pieces between the wall studs. Use insulation hangers or staples to secure the insulation in place.
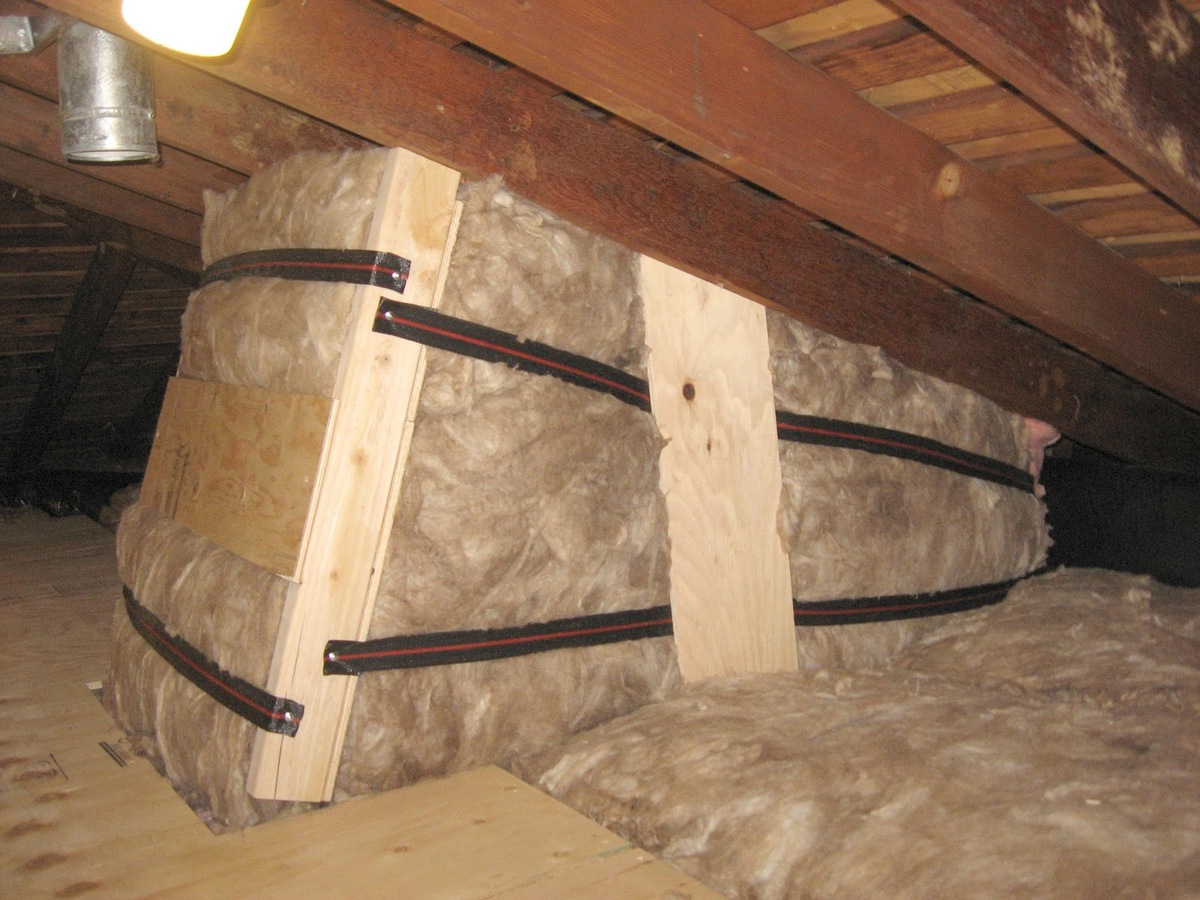
- Move to the ceilings: Once you’re done with the walls, proceed to install insulation in the ceilings. Again, cut the insulation material to the appropriate size and fit it between the ceiling joists. Secure it in place using insulation hangers or staples.
- Fill around openings: Pay attention to areas around doors, windows, and electrical outlets. Use expanding foam insulation or caulking to seal any gaps or openings around these areas.
- Consider soundproofing: If noise reduction is a concern, you can enhance the soundproofing properties of your porch by installing additional layers of insulation or using special soundproofing materials such as mass-loaded vinyl or acoustic panels.
Remember to wear appropriate protective gear, such as gloves and safety goggles, when handling insulation materials. Fiberglass insulation, in particular, can cause skin irritation and respiratory issues if proper precautions are not taken.
If you’re unsure about the installation process or dealing with more complex setups, it’s recommended to consult with a professional insulation installer. They can provide guidance and ensure that the insulation is installed correctly for maximum efficiency.
Consider using insulated panels or foam board insulation to insulate your porch. These materials can help regulate temperature and reduce energy costs.
Read more: How To Insulate A Screened Porch For Winter
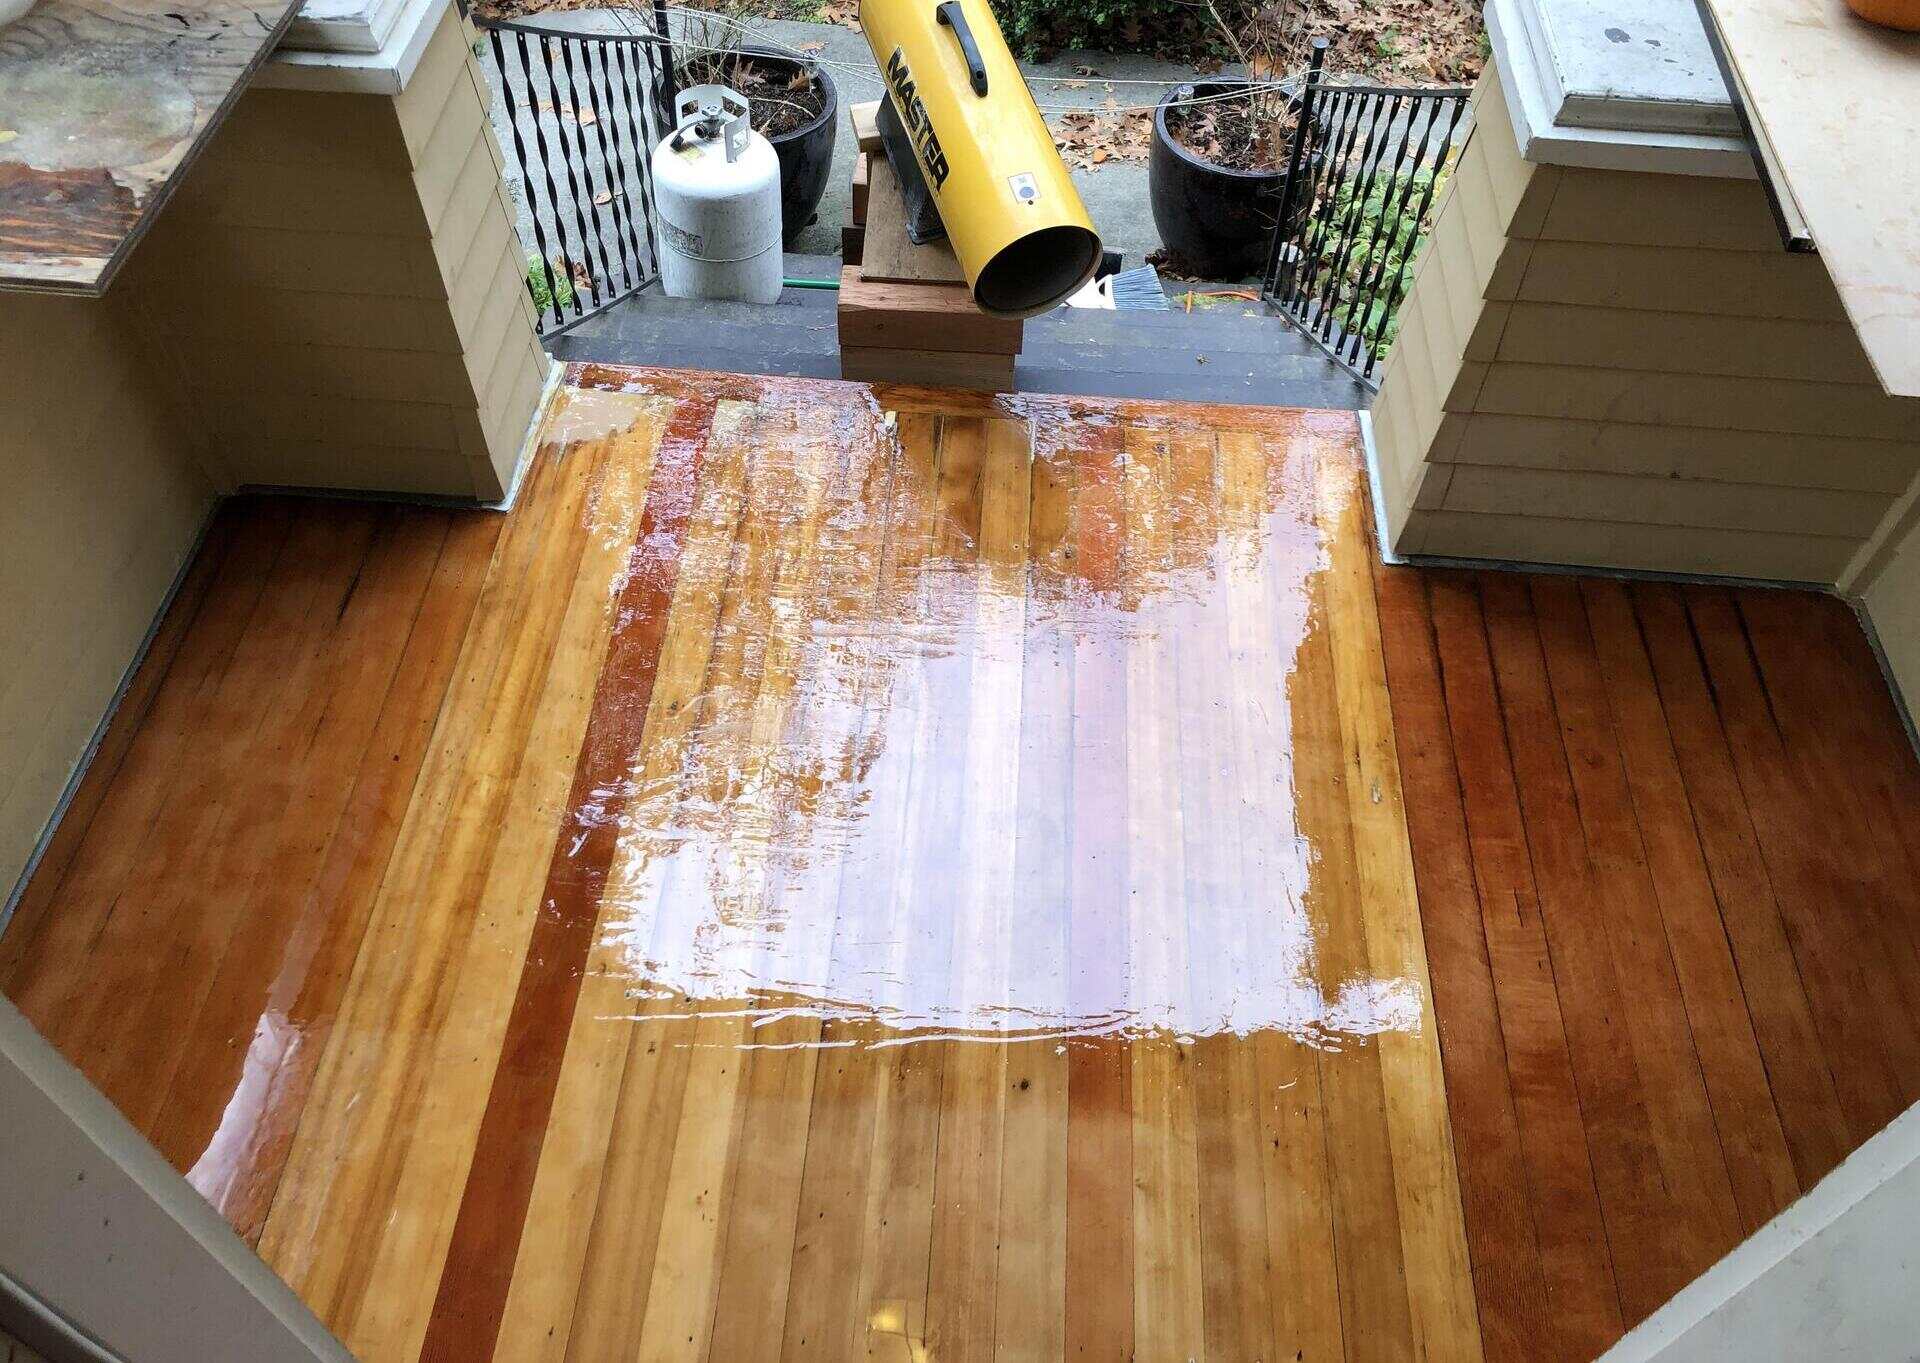
Step 5: Insulating the Porch Floor
Insulating the floor of your porch is an important step in creating a comfortable and energy-efficient space. Follow these steps to effectively insulate your porch floor:
- Assess the existing floor: Determine the type of flooring material and whether there is any existing insulation. This will help you decide on the appropriate insulation method.
- Choose the insulation material: For insulating porch floors, rigid foam insulation or closed-cell spray foam insulation are commonly used. They provide excellent thermal insulation and moisture resistance.
- Prepare the floor: Clean the floor surface and remove any debris or old insulation. Repair any damaged areas or gaps in the floor before proceeding.
- Install the insulation: Cut the insulation material to fit between the floor joists and lay it snugly. Use adhesive or insulation supports to hold the insulation in place. Ensure that there are no gaps or air leaks around the edges.
- Consider a vapor barrier: Depending on your climate and moisture levels, consider installing a vapor barrier on top of the insulation before adding the subfloor. This will help prevent moisture-related issues.
- Add the subfloor: Once the insulation is in place, add a layer of subflooring material such as plywood or oriented strand board (OSB) to create a stable surface for the finished flooring.
Make sure to follow local building codes and regulations when insulating your porch floor. Depending on the type of porch and its usage, you may need to comply with specific requirements for insulation and flooring materials.
If you’re unsure about the process or if your porch floor has unique characteristics, seeking advice from a professional insulation contractor can provide invaluable guidance and ensure a successful insulation installation.
Step 6: Sealing Air Leaks and Drafts
Sealing air leaks and drafts is a crucial step in creating an energy-efficient and comfortable porch. Here’s what you need to do:
- Identify air leaks: Inspect your porch for any gaps, cracks, or openings where air might be leaking in or out. Common areas include windows, doors, utility penetrations, and electrical outlets.
- Seal gaps and cracks: Use caulk or weatherstripping to seal gaps and cracks in the windows, doors, and around utility penetrations. Choose weatherstripping materials that are suitable for the specific gaps or openings.
- Install door sweeps: Install door sweeps at the bottom of exterior doors to prevent drafts from entering. Door sweeps help create a tight seal and improve insulation.
- Apply weatherstripping to windows: Use weatherstripping specifically designed for windows to seal any gaps around the window frames. This will help prevent drafts and improve insulation.
- Insulate electrical outlets: Install foam gaskets or insulation pads behind the electrical outlets and light switches to prevent air leakage. This is often an overlooked area where air can escape.
- Consider window film or coverings: If you have single-pane windows, consider applying window film or using insulating window coverings to improve thermal efficiency and reduce drafts.
Properly sealing air leaks and drafts will not only help maintain a comfortable temperature in your porch but also reduce energy consumption and lower your utility bills.
Take the time to thoroughly inspect your porch for any potential air leaks and address them accordingly. Consistently monitoring and maintaining a well-sealed porch will ensure long-term energy efficiency and comfort.
Step 7: Adding Finishing Touches
Once you have completed the insulation and sealing steps, it’s time to add the finishing touches to your insulated porch. Here are some ideas to enhance the comfort and aesthetics of your space:
- Weatherproof the windows and doors: Consider adding weatherstripping or applying caulk around the windows and doors for extra protection against drafts and moisture.
- Install blinds or curtains: Adding blinds, curtains, or shades to your porch windows can provide privacy, control sunlight, and add a touch of style to your space.
- Use thermal curtains or shades: Thermal curtains or shades can further enhance the insulation of your porch by preventing heat loss or gain through the windows.
- Add rugs or carpets: Placing rugs or carpets on the floor can help add warmth and provide a cozy feeling to your porch. They also help insulate the floor and reduce noise.
- Consider ceiling fans: Installing a ceiling fan can help circulate air and create a more comfortable environment in the porch.
- Decorate with insulation-friendly materials: Choose decor and furniture made from insulation-friendly materials like wood, wicker, or cloth, which can help maintain a comfortable temperature in the porch.
- Include lighting options: Install lighting fixtures that provide a warm and inviting ambiance to your porch. Consider energy-efficient options such as LED lights.
By adding these finishing touches, you can transform your insulated porch into a welcoming and comfortable space that you can enjoy year-round. Take your time to personalize and design your porch according to your preferences and needs.
Remember to regularly maintain and inspect your insulated porch to ensure that it continues to perform optimally. Regularly check for air leaks, replace any damaged insulation, and address any signs of moisture or damage promptly.
Enjoy your well-insulated and cozy porch!
Conclusion
Congratulations on completing the process of insulating your porch! By following the steps outlined in this guide, you have taken important measures to create a more comfortable, energy-efficient, and enjoyable space.
Insulating your porch provides numerous benefits, including improved thermal insulation, reduced energy consumption, and enhanced soundproofing. It allows you to use your porch year-round, no matter the season or weather conditions, while also helping to lower your energy bills.
Remember that the specific techniques and materials you use may vary depending on your porch’s design, climate, and individual needs. It’s always a good idea to consult with professionals or conduct thorough research to ensure you follow the best practices for your specific situation.
Regularly inspect your insulated porch for any signs of damage, air leaks, or moisture issues. Address them promptly to maintain the integrity and performance of your insulation. Keep in mind that proper insulation maintenance will help prolong its lifespan and ensure that your porch remains comfortable for years to come.
We hope that this comprehensive guide has provided you with valuable insights and guidance on how to successfully insulate your porch. Enjoy your newly insulated space and make the most of it throughout the seasons!
Frequently Asked Questions about How To Insulate Porch
Was this page helpful?
At Storables.com, we guarantee accurate and reliable information. Our content, validated by Expert Board Contributors, is crafted following stringent Editorial Policies. We're committed to providing you with well-researched, expert-backed insights for all your informational needs.


0 thoughts on “How To Insulate Porch”