Home>Articles>How To Cover Rigid Insulation On Foundation Walls
Articles
How To Cover Rigid Insulation On Foundation Walls
Modified: October 31, 2024
Learn how to cover rigid insulation on foundation walls with informative and helpful articles. Find expert tips and techniques for a seamless installation.
(Many of the links in this article redirect to a specific reviewed product. Your purchase of these products through affiliate links helps to generate commission for Storables.com, at no extra cost. Learn more)
Introduction
Welcome to the world of home improvement! If you have recently installed rigid insulation on your foundation walls, you are on your way to achieving a more energy-efficient and comfortable living space. However, it is crucial to cover the rigid insulation properly to ensure its long-term effectiveness and protection.
In this article, we will guide you through the process of covering rigid insulation on foundation walls. We will explain the importance of this step, provide you with a list of materials and tools you will need, and give you step-by-step instructions to seamlessly complete the project. So, let’s dive in and learn how to cover rigid insulation on foundation walls like a pro!
Key Takeaways:
- Properly covering rigid insulation on foundation walls is crucial for protecting the insulation, enhancing energy efficiency, preventing moisture issues, improving indoor air quality, and enhancing the overall aesthetics of your home.
- When covering rigid insulation, gather all necessary materials and tools, follow step-by-step instructions, and consider tips and precautions to ensure a successful and long-lasting installation.
Understanding Rigid Insulation
Before we delve into the process of covering rigid insulation on foundation walls, let’s take a moment to understand what exactly rigid insulation is and why it plays a crucial role in home insulation.
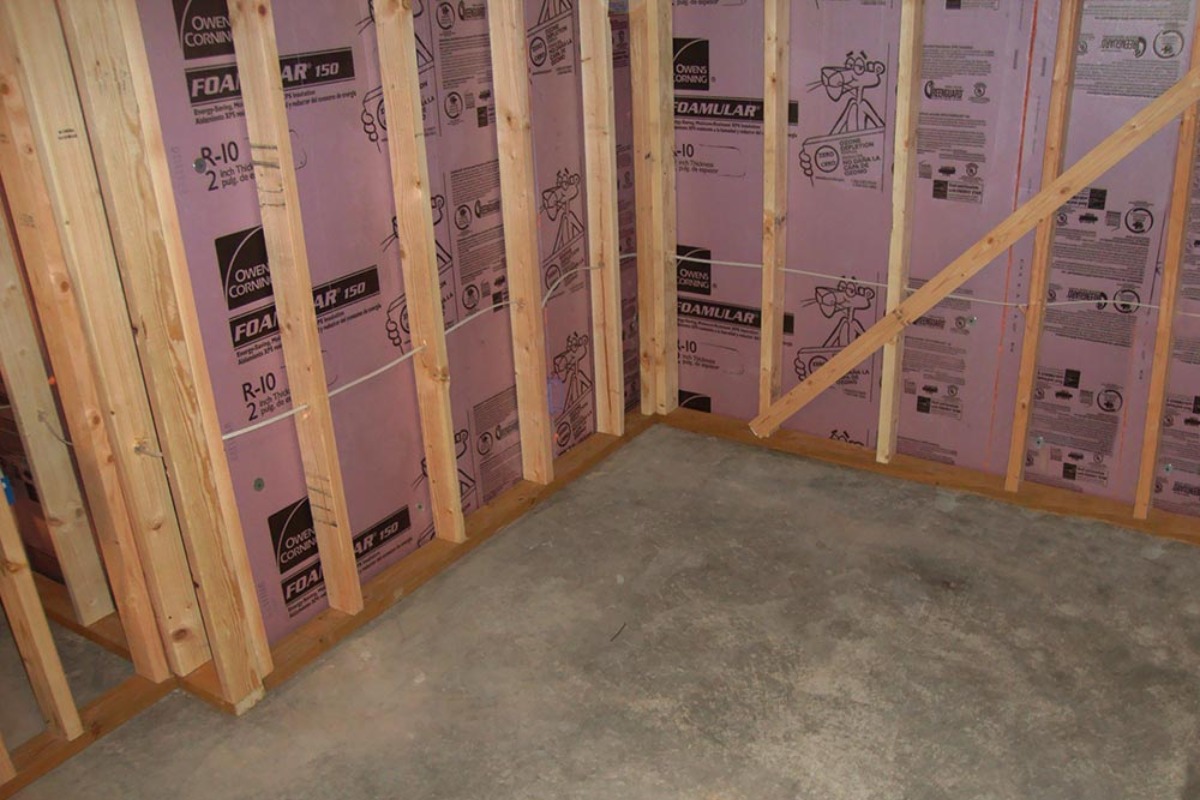
Rigid insulation is a type of insulation material that is commonly used in residential and commercial construction projects. It is typically made from foam boards, such as expanded polystyrene (EPS), extruded polystyrene (XPS), or polyisocyanurate (polyiso). These foam boards are manufactured to be rigid and have excellent thermal resistance properties.
The primary purpose of rigid insulation is to enhance the energy efficiency of a building by minimizing heat transfer through the walls. By insulating the foundation walls, you can prevent heat loss in the winter and keep your home cool in the summer. This not only helps to reduce your energy bills but also creates a more comfortable living environment.
Furthermore, rigid insulation offers additional benefits beyond thermal resistance. It can also provide sound insulation, preventing noise from entering or leaving the building. Additionally, it acts as a barrier against moisture, reducing the risk of mold and mildew growth.
When selecting rigid insulation for your foundation walls, it is essential to consider the specific needs of your project. Factors such as the local climate, the desired R-value (thermal resistance), and the presence of moisture should be taken into account. Consulting with a professional or researching reliable sources can help you make an informed decision regarding the type and thickness of rigid insulation to use.
Now that we have a better understanding of what rigid insulation is and why it is important, let’s move on to the next section, where we will explore the significance of covering the insulation properly on foundation walls.
Importance of Covering Rigid Insulation on Foundation Walls
Properly covering the rigid insulation on your foundation walls is vital for several reasons. Let’s examine the importance of this step in detail:
- Protecting the Insulation: Rigid insulation is susceptible to damage from moisture, UV rays, pests, and physical impact. By covering it, you provide a protective layer that shields the insulation from these potential threats, ensuring its longevity and performance.
- Enhancing Energy Efficiency: Without a proper cover, rigid insulation may experience air infiltration and thermal bridging. This compromises its ability to prevent heat transfer effectively. By covering the insulation, you create a continuous barrier that reduces unwanted airflow and minimizes thermal bridging, optimizing the energy efficiency of your home.
- Preventing Moisture Issues: Moisture infiltration can cause significant damage to both the insulation and the foundation walls. By covering the rigid insulation, you create a barrier that prevents moisture from seeping into the insulation material and potentially causing mold, rot, or structural issues.
- Improving Indoor Air Quality: Rigid insulation can release volatile organic compounds (VOCs) if left uncovered. By covering the insulation, you minimize the release of these potentially harmful substances into your indoor air, improving the overall air quality in your home.
- Enhancing Aesthetics: In addition to the functional benefits, covering rigid insulation also contributes to the overall aesthetics of your home. The cover creates a clean and finished look, ensuring that your foundation walls appear visually appealing.
Now that we understand the importance of covering rigid insulation on foundation walls let’s move on to the next section, where we will discuss the materials and tools you will need for this project.
Materials and Tools Required
Before you begin covering the rigid insulation on your foundation walls, it’s essential to gather all the necessary materials and tools. Here is a list of what you’ll need:
Materials:
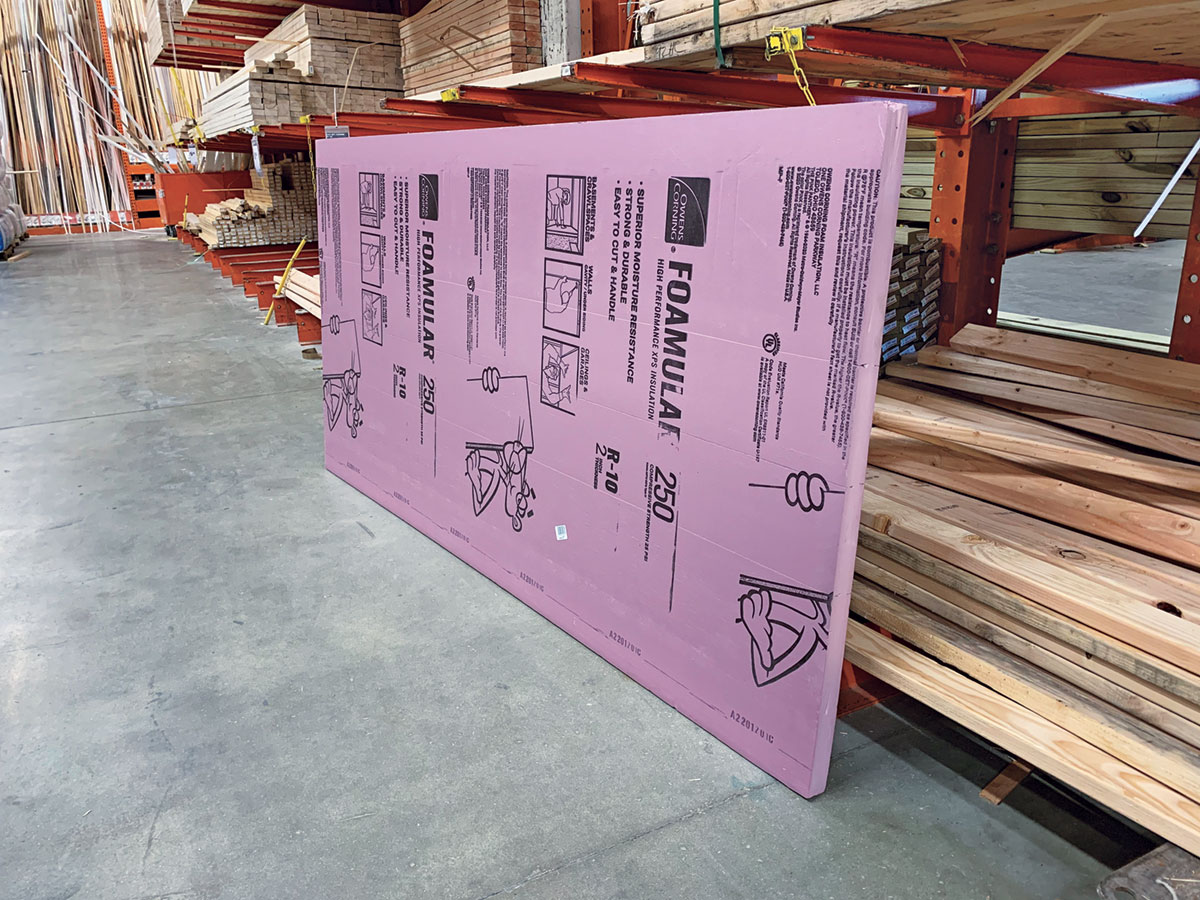
- Rigid insulation boards: Choose the appropriate type and thickness based on your insulation needs.
- Weather-resistant barrier: This could include a house wrap or building paper to provide an additional layer of protection against water and moisture.
- Fasteners: Depending on the type of rigid insulation and the wall material, you may need screws, nails, adhesive, or insulation anchors to secure the insulation boards in place.
- Flashing: Use metal or rubber flashing to create a watertight seal around windows, doors, and any other openings in the foundation walls.
- Tape: Invest in high-quality insulation tape or foil tape to seal the joints between insulation boards and ensure a tight and continuous barrier.
- Finishing material: This could be stucco, siding, or any other exterior finish to provide a durable and aesthetically pleasing cover for the insulation.
Read more: What Is Rigid Board Insulation
Tools:
- Tape measure: For accurate measurements of the foundation walls and insulation boards.
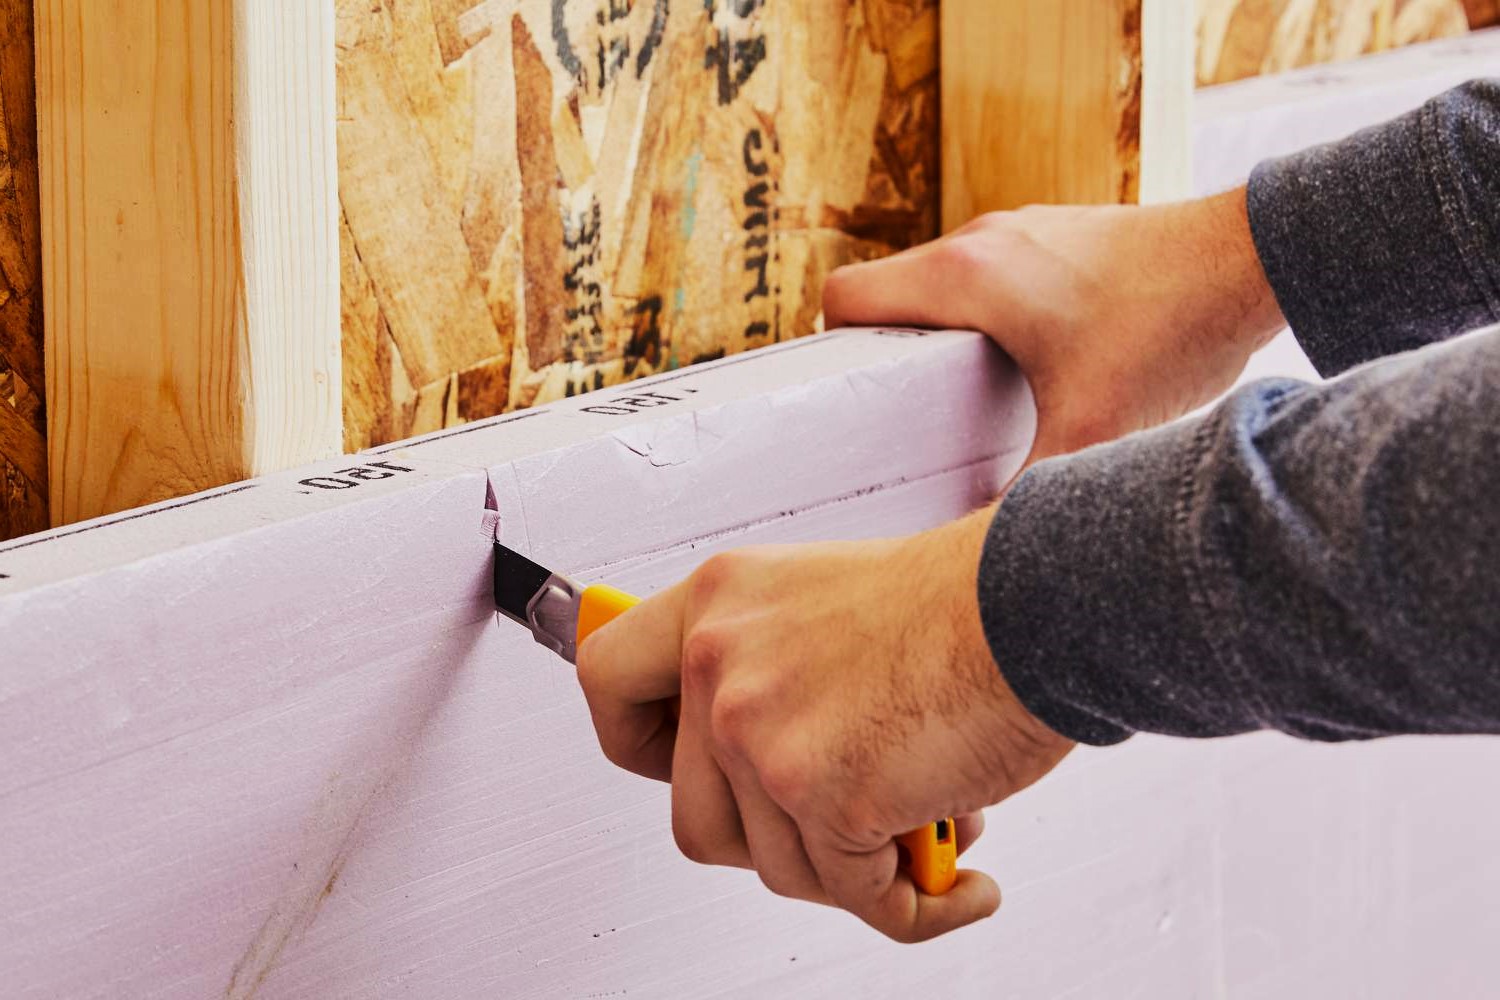
- Utility knife: To cut the rigid insulation boards to the desired size.
- Circular saw or handsaw: To cut the insulation boards for larger sections.
- Hammer or drill: Depending on the type of fasteners you are using, you may need a hammer or drill to secure the insulation boards.
- Level: To ensure that the insulation boards are installed straight and level.
- Stapler or staple gun: If using a weather-resistant barrier, you will need a stapler or staple gun to attach it to the foundation walls.
- Caulking gun: To apply caulk or sealant to seal any gaps or joints.
- Paintbrush or roller: If using stucco or paint as a finishing material, you will need a paintbrush or roller to apply it to the foundation walls.
Make sure to gather all the necessary materials and tools before you start covering the rigid insulation on your foundation walls. Having everything on hand will make the process smoother and help you complete the project efficiently.
Now that we have everything we need let’s move on to the step-by-step instructions for covering rigid insulation on foundation walls.
Step-by-step Instructions for Covering Rigid Insulation on Foundation Walls
Now that you have all the materials and tools ready, let’s walk through the process of covering rigid insulation on your foundation walls. Follow these step-by-step instructions:
- Measure the dimensions of your foundation walls and cut the rigid insulation boards to fit accordingly. Use a utility knife for smaller cuts and a circular saw or handsaw for larger sections.
- If using a weather-resistant barrier, such as a house wrap or building paper, attach it to the foundation walls using a staple gun or stapler. Make sure the barrier overlaps at the seams, creating a continuous protective layer.
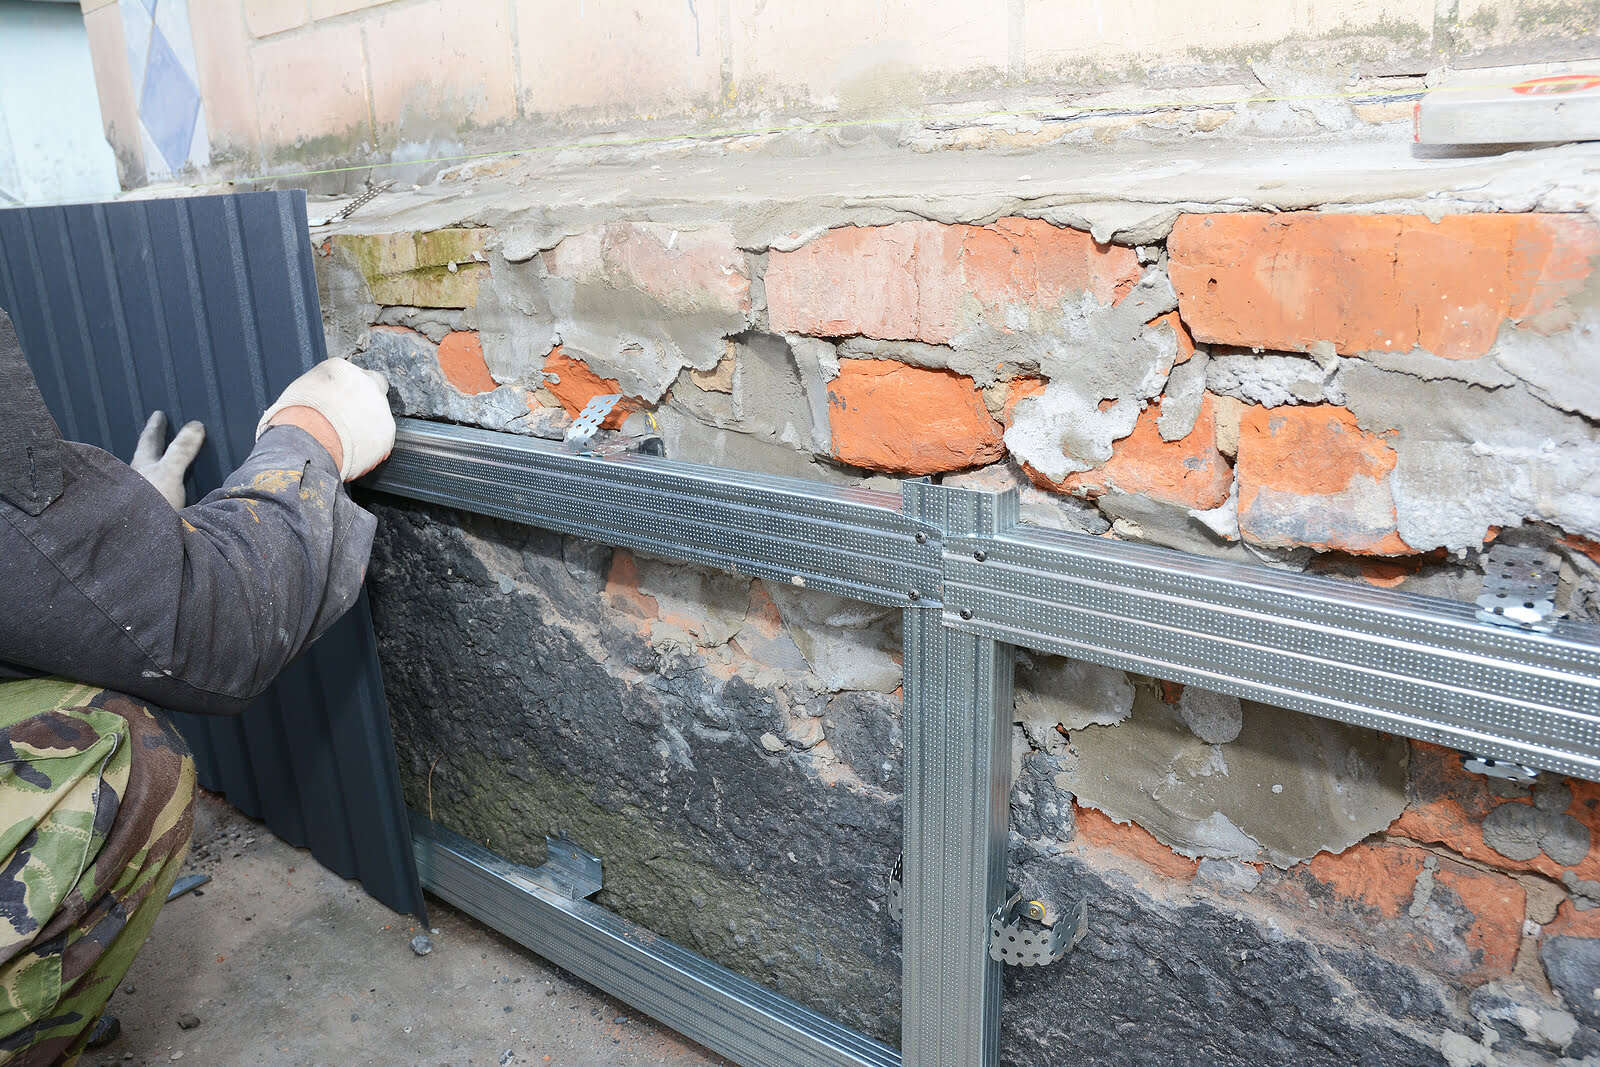
- Place the rigid insulation boards against the foundation walls, starting from the bottom and working your way up. Ensure a tight fit and use a level to make sure the boards are straight and level.
- If necessary, secure the insulation boards to the foundation walls using appropriate fasteners. For example, you can use screws and plastic washers for concrete walls or adhesive and insulation anchors for masonry walls.
- Seal the joints between the insulation boards using high-quality insulation tape or foil tape. This will create a continuous barrier and prevent air leakage.
- If you have windows, doors, or other openings in the foundation walls, install metal or rubber flashing to create a watertight seal around them. Cut the flashing to size, secure it with appropriate fasteners, and use caulk or sealant to seal any gaps or joints.
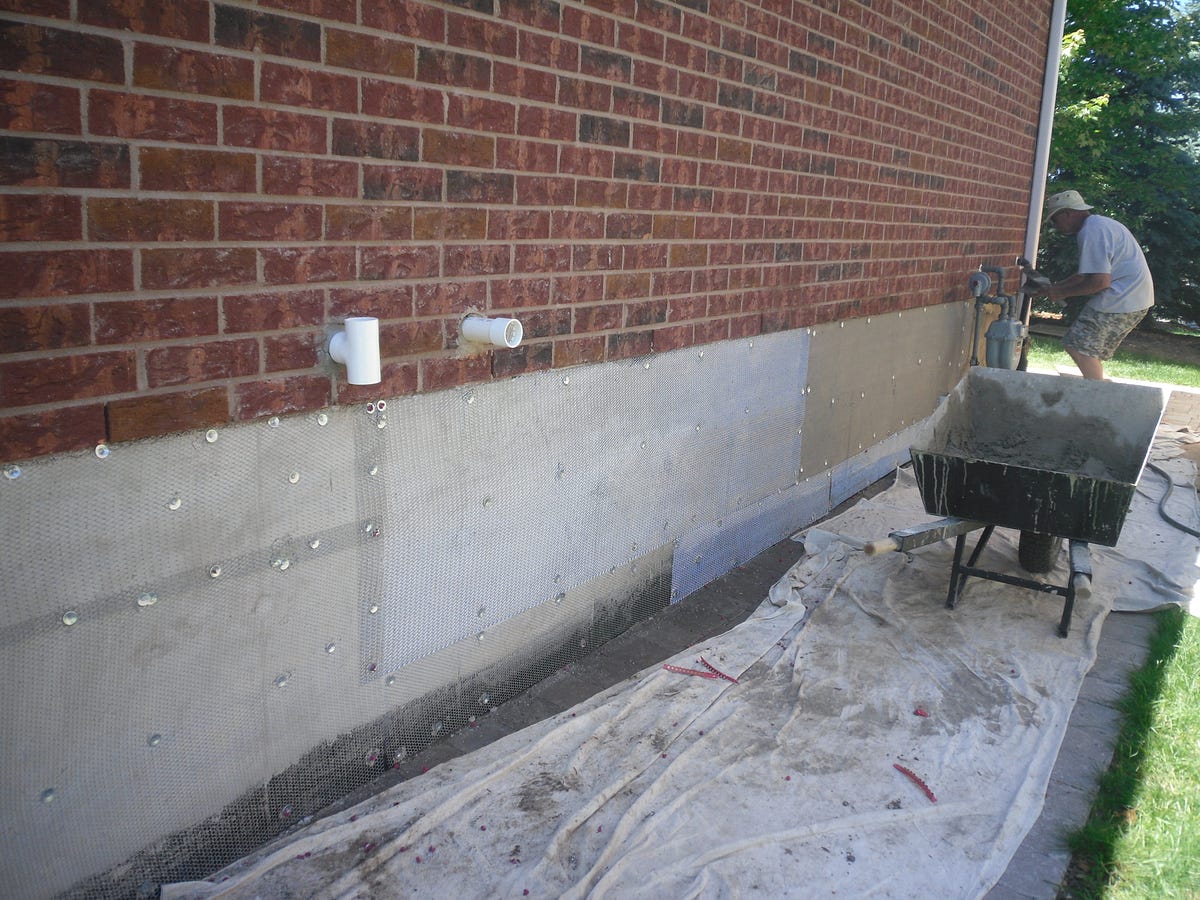
- Once the rigid insulation is securely in place and all joints and openings are sealed, you can apply the finishing material of your choice. This could be stucco, siding, or any other exterior finish that provides durability and enhances the aesthetics of your foundation walls.
- Allow the finishing material to dry or cure according to the manufacturer’s instructions.
Following these step-by-step instructions will help you cover the rigid insulation on your foundation walls effectively. Remember to take your time, measure accurately, and ensure a proper fit and installation. By doing so, you will create an insulated and protected foundation that contributes to the overall energy efficiency and comfort of your home.
Now that we have completed the process, let’s move on to the final section where we will provide some useful tips and precautions to consider.
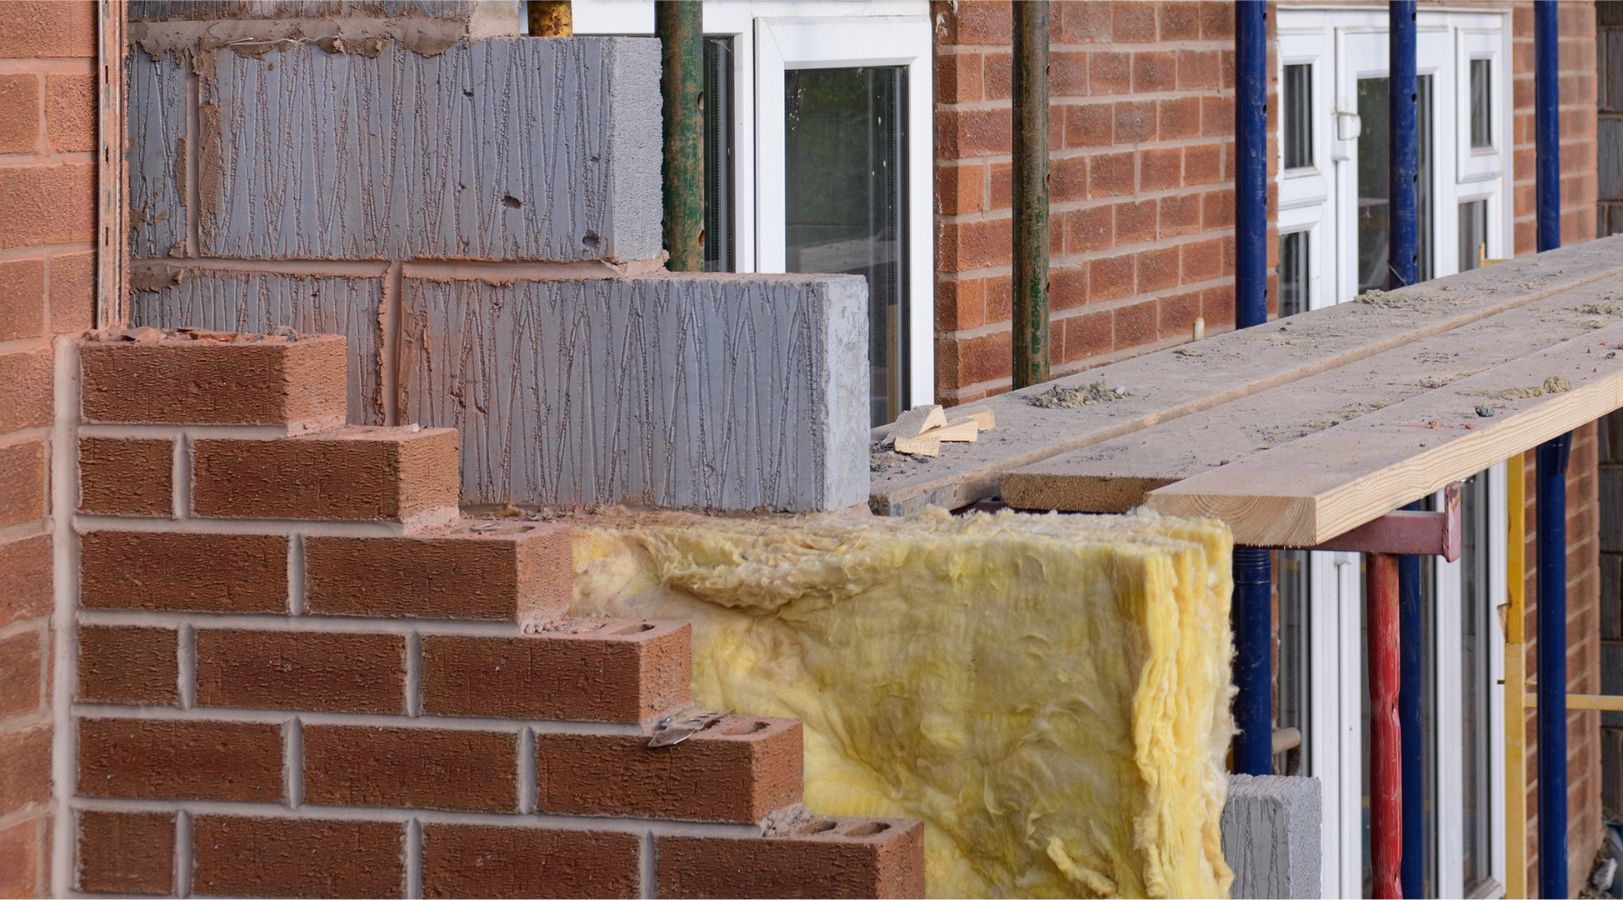
Consider using a durable and waterproof material such as stucco, stone veneer, or cement board to cover rigid insulation on foundation walls. This will provide added protection and improve the appearance of the foundation.
Tips and Precautions
As you cover the rigid insulation on your foundation walls, it’s essential to keep these tips and precautions in mind to ensure a successful and long-lasting installation:
- Follow local building codes: Before starting the project, familiarize yourself with the building codes and regulations in your area. Each region may have specific requirements for insulation and exterior finishes. Adhering to these guidelines will ensure compliance and a safe installation.
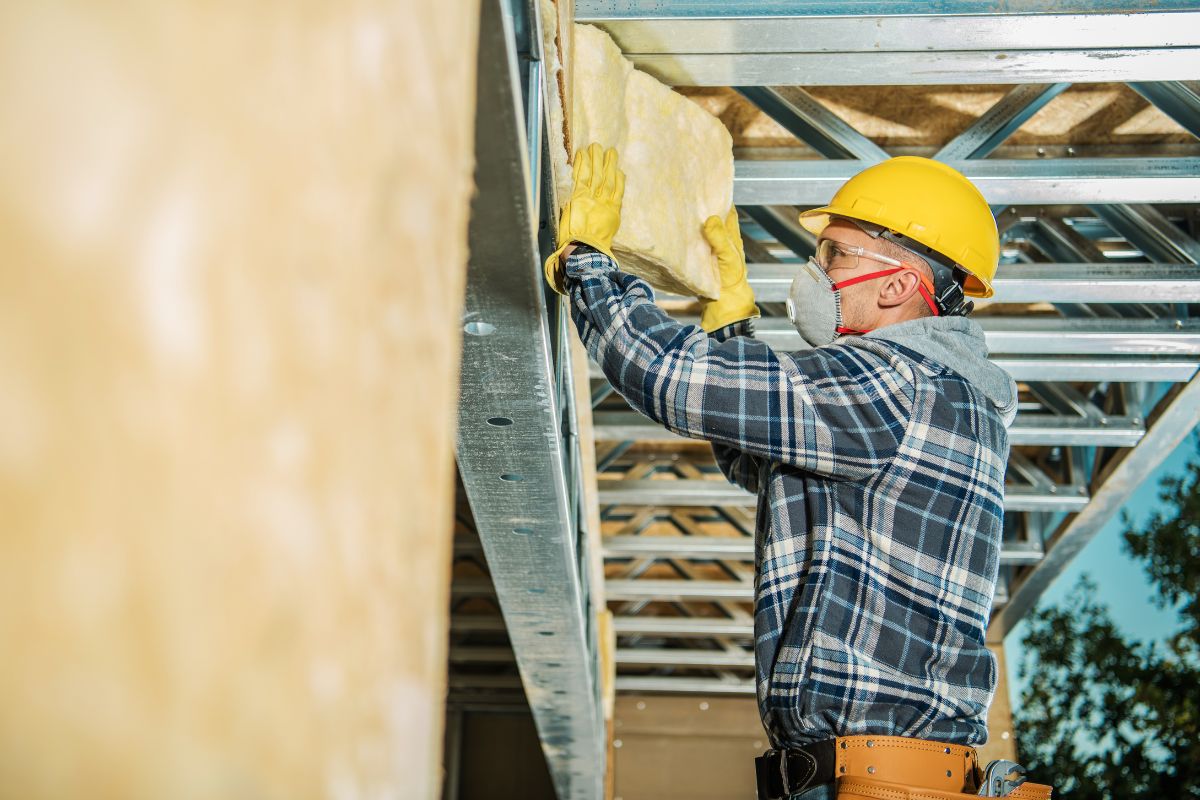
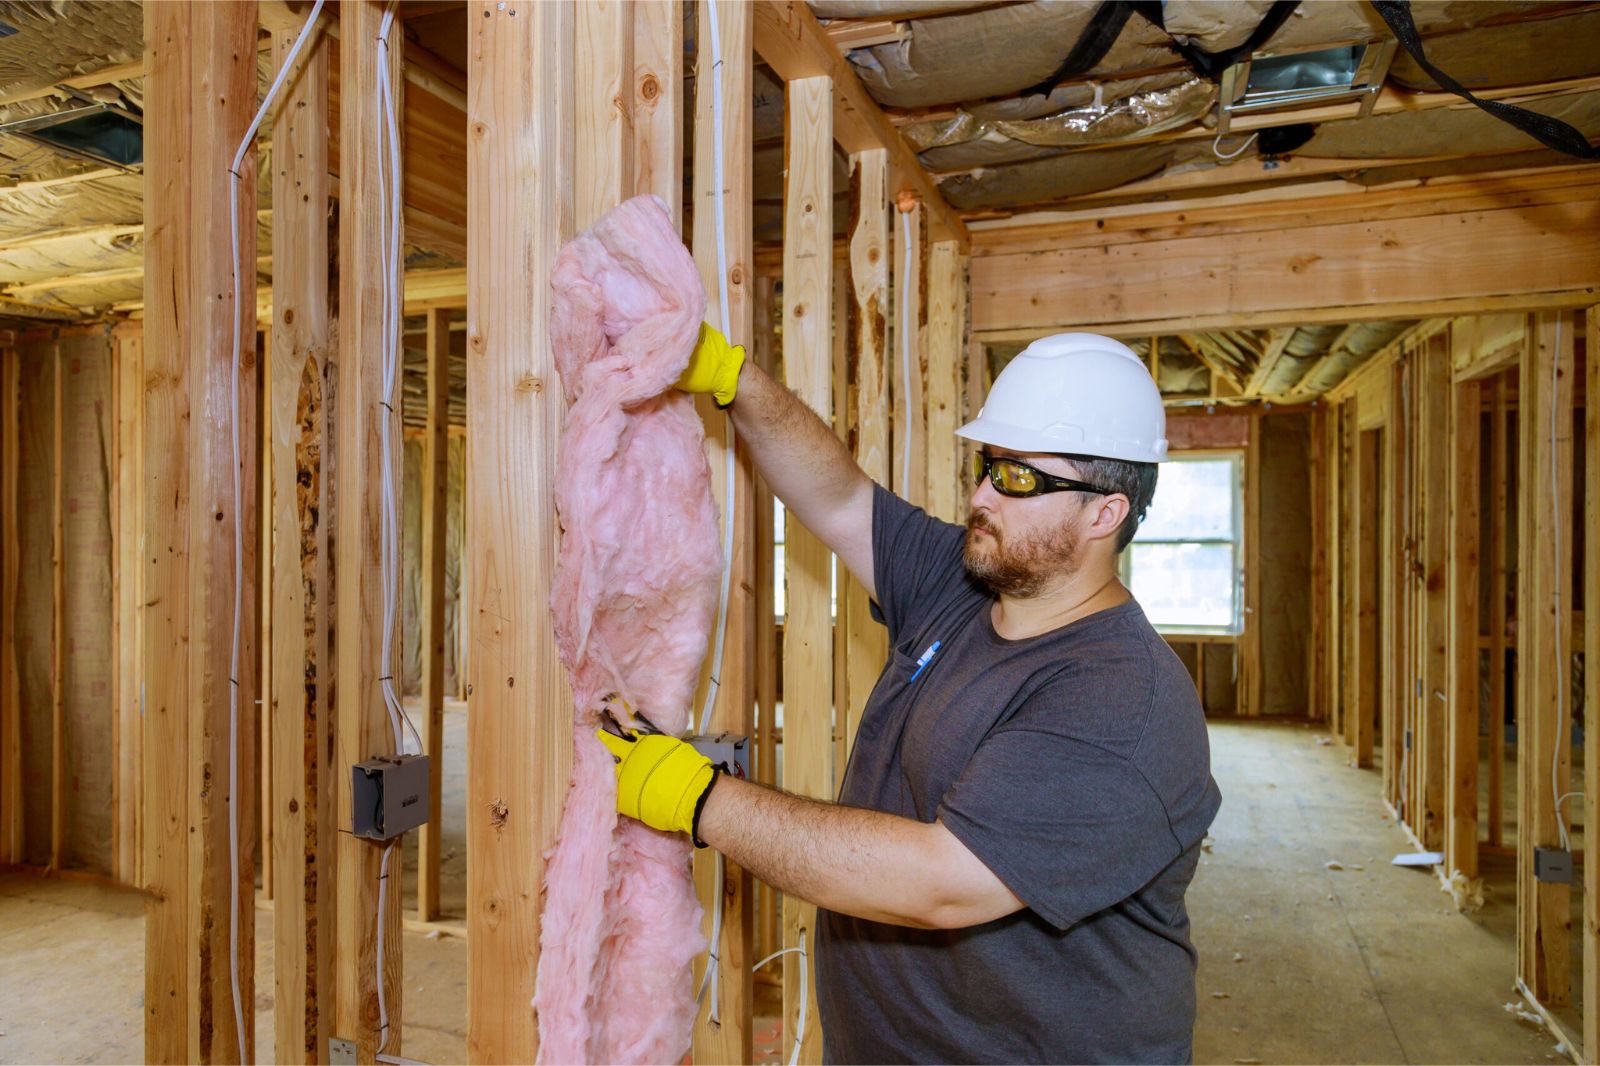
- Use proper safety gear: Always wear safety goggles, gloves, and a dust mask when handling and cutting rigid insulation. This will protect you from any airborne particles and potential injuries.
- Allow for expansion and contraction: Rigid insulation materials can expand and contract with temperature changes. Leave a small gap between the insulation boards and the surrounding surfaces to accommodate this movement.
- Seal all gaps and joints: Ensure that all gaps and joints, both between the insulation boards and around windows and doors, are properly sealed. Use caulk or sealant to prevent air leakage and moisture infiltration.
- Maintain proper drainage: Make sure that the grade around your foundation encourages proper water drainage away from the walls. This will help prevent water accumulation and potential damage to the insulation and foundation.
- Consider professional assistance: If you are unsure about any step or lack the necessary skills and experience, it is wise to consult or hire a professional contractor. They can provide guidance, ensure proper installation, and address any challenges that may arise during the process.
- Regularly inspect and maintain: Once the rigid insulation is covered, periodically inspect the foundation walls for any signs of damage or deterioration. Promptly address any issues to maintain the integrity and effectiveness of the insulation.
By following these tips and precautions, you can ensure a successful installation and maximize the benefits of your rigid insulation on the foundation walls. Now, let’s wrap up this article with a summary of what we have covered.
Conclusion
Covering rigid insulation on foundation walls is a crucial step in maximizing the energy efficiency and protection of your home. By following the step-by-step instructions provided in this article, you can successfully complete the project and enjoy the benefits of a well-insulated and weather-resistant foundation.
We began by understanding what rigid insulation is and why it is essential for home insulation. We explored the different types and benefits of rigid insulation and how it contributes to creating a comfortable living environment.
Next, we discussed the importance of covering rigid insulation on foundation walls. Properly covering the insulation not only protects it from damage but also enhances its energy efficiency, prevents moisture issues, improves indoor air quality, and enhances the overall aesthetics of your home.
We then provided a comprehensive list of materials and tools required for the project. Gathering all the necessary items beforehand will make the process smoother and more efficient.
Following that, we offered step-by-step instructions for covering rigid insulation on foundation walls. From measuring and cutting the insulation boards to applying the finishing material, we walked you through each stage, highlighting the importance of ensuring proper fit, protection, and sealing.
Lastly, we provided some valuable tips and precautions to help you achieve a successful installation. Following these recommendations will ensure compliance with local building codes, enhance safety, promote proper drainage, and maintain the longevity and effectiveness of the insulation.
By investing time and effort into properly covering the rigid insulation on your foundation walls, you are taking a significant step toward creating a more energy-efficient, comfortable, and resilient home. So, gather your materials and tools, follow the instructions and tips provided, and enjoy the benefits of a well-insulated foundation for years to come.
Frequently Asked Questions about How To Cover Rigid Insulation On Foundation Walls
Was this page helpful?
At Storables.com, we guarantee accurate and reliable information. Our content, validated by Expert Board Contributors, is crafted following stringent Editorial Policies. We're committed to providing you with well-researched, expert-backed insights for all your informational needs.


0 thoughts on “How To Cover Rigid Insulation On Foundation Walls”