Home>Construction & Tools>Building Materials>How To Paint An Exposed Brick Wall
Building Materials
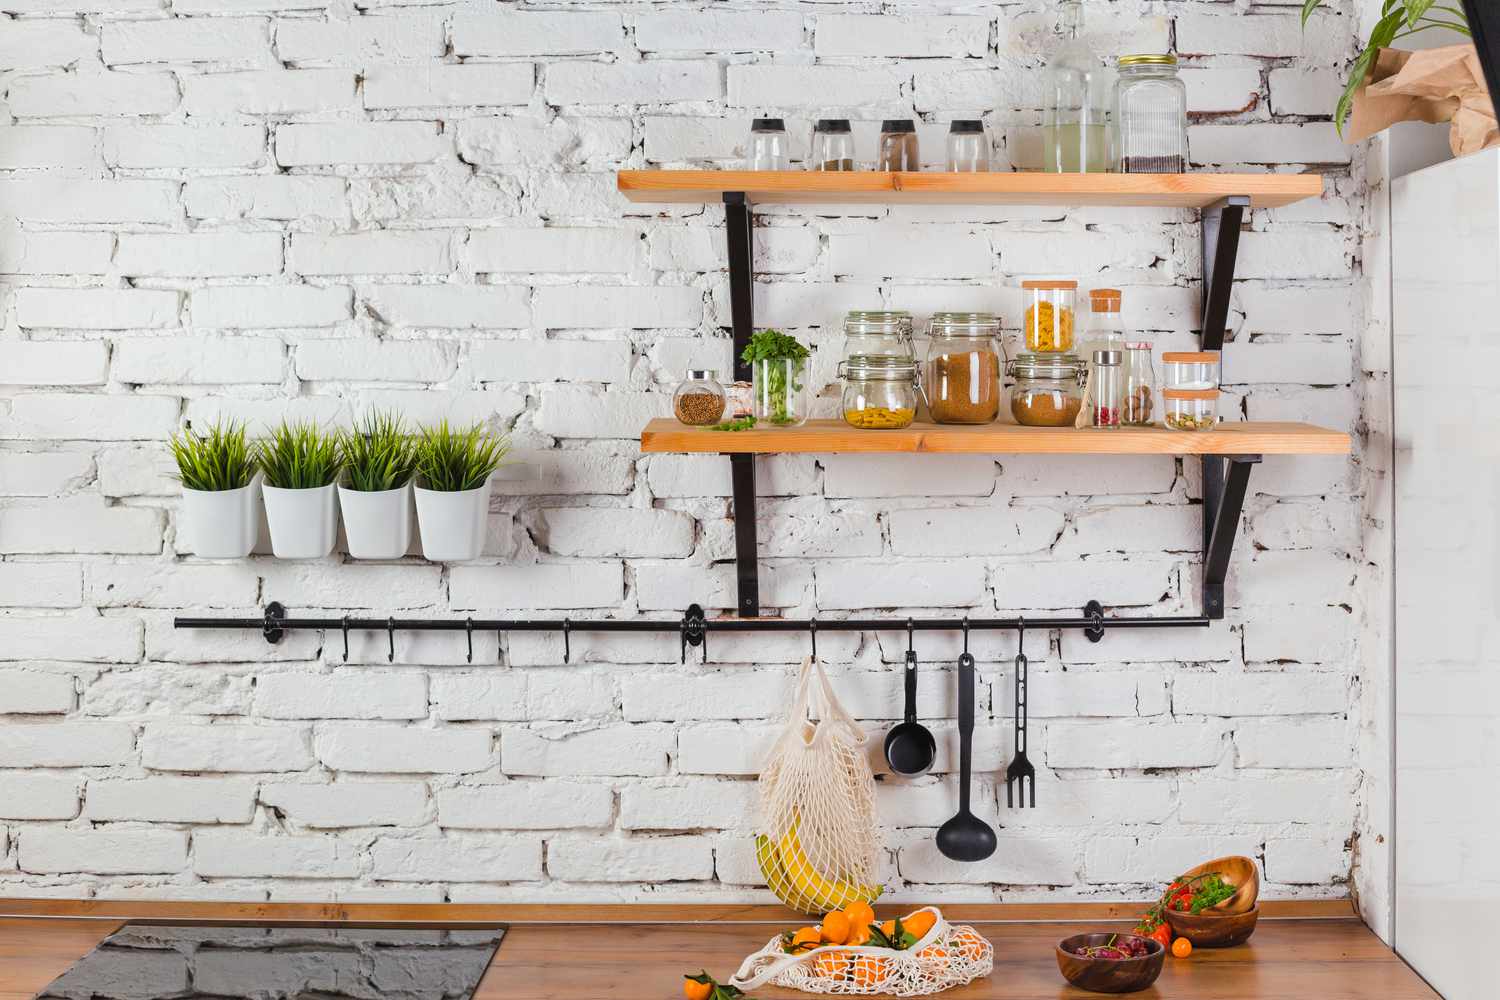
How To Paint An Exposed Brick Wall
Modified: August 28, 2024
Learn how to paint an exposed brick wall to enhance your building materials. Follow our step-by-step guide for a professional finish.
(Many of the links in this article redirect to a specific reviewed product. Your purchase of these products through affiliate links helps to generate commission for Storables.com, at no extra cost. Learn more)
Introduction
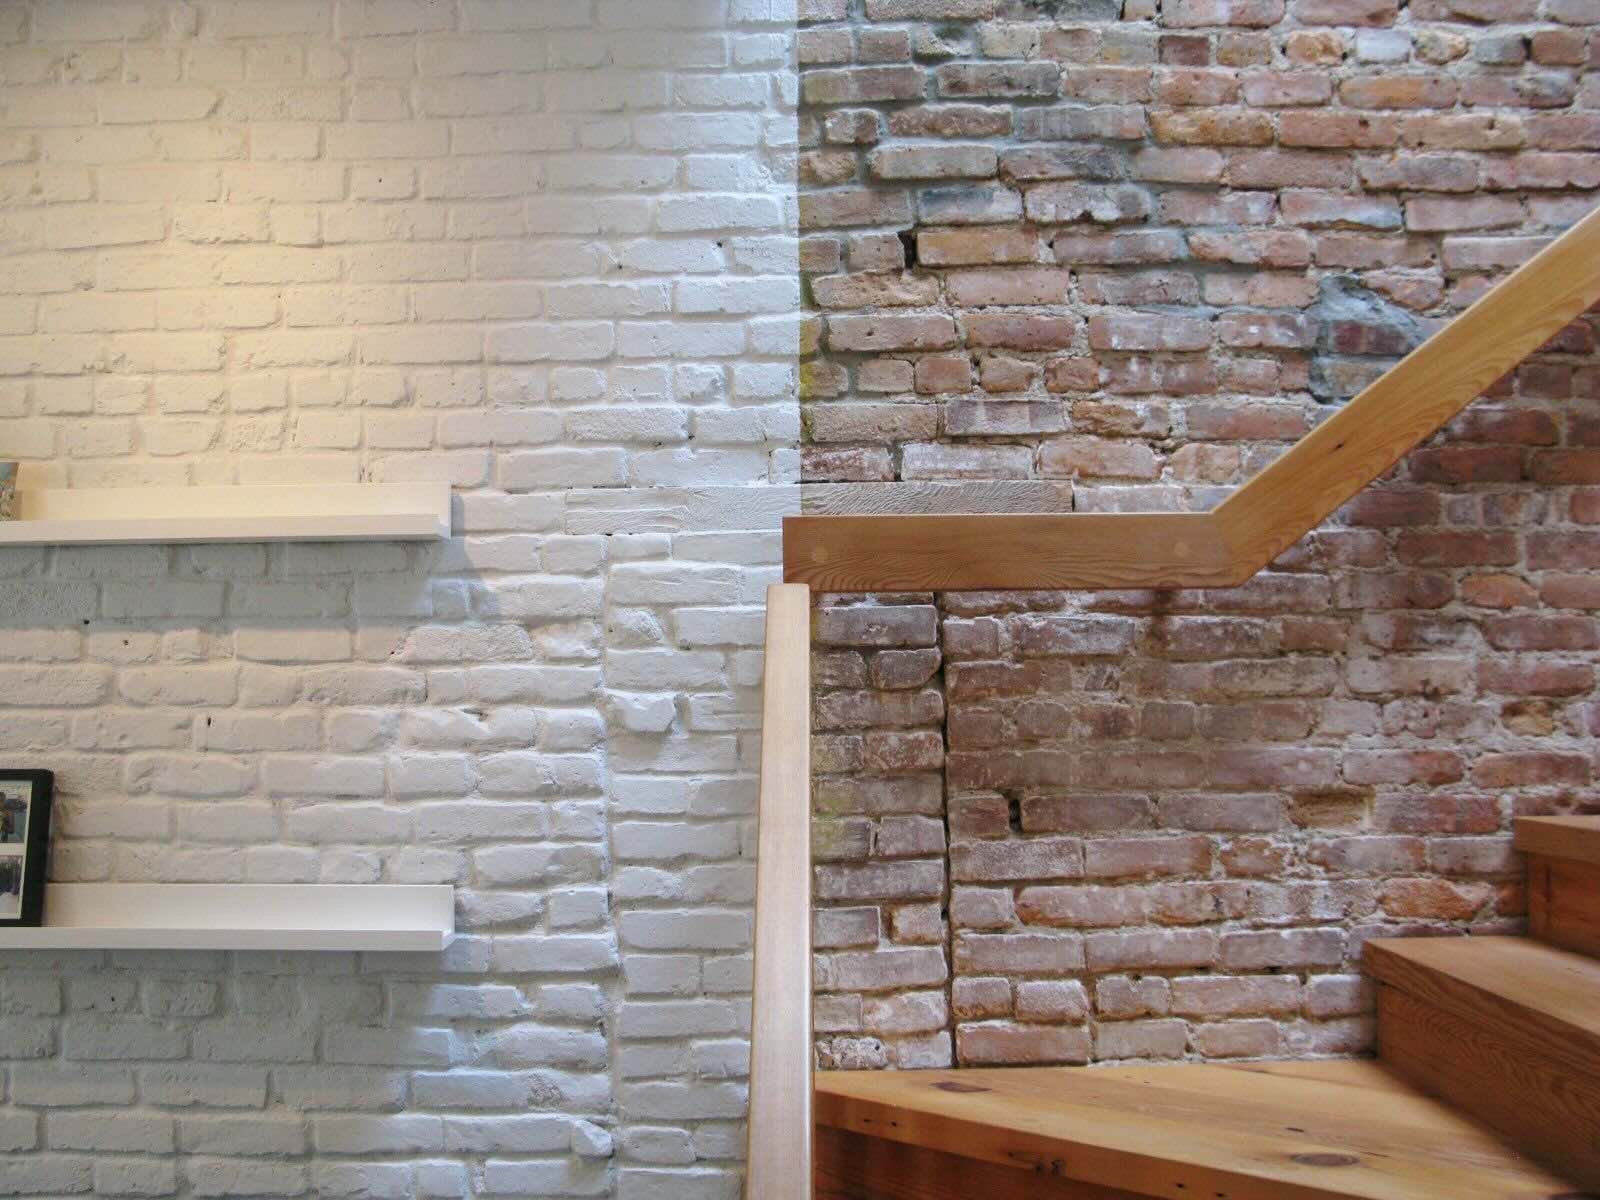
So, you've got an exposed brick wall and you're thinking about giving it a fresh new look with a coat of paint. Whether you want to add a pop of color to your space or create a more polished and modern aesthetic, painting an exposed brick wall can completely transform the look and feel of a room. But before you dive into this project, it's important to understand the process and gather the necessary materials to ensure a successful outcome.
In this comprehensive guide, we'll walk you through the step-by-step process of painting an exposed brick wall, from preparing the surface to applying the final coat of paint. We'll also cover essential tips for choosing the right paint and achieving a professional finish. By the end of this article, you'll feel confident and equipped to take on this rewarding home improvement project.
Let's roll up our sleeves and get ready to breathe new life into that bare brick surface!
Key Takeaways:
- Transform your space by painting an exposed brick wall with the right materials and techniques. Achieve a professional finish and add a pop of color to your home.
- Prepare, prime, and paint your brick wall to create a stunning focal point. Choose the right paint and follow the steps for a successful home improvement project.
Read more: How To Cover Exposed Brick
Materials Needed
Before you embark on the journey of painting your exposed brick wall, it’s crucial to gather the essential materials to ensure a smooth and successful process. Here’s a list of items you’ll need:
- Protective Gear: Start by equipping yourself with protective gear, including safety goggles, a dust mask, and gloves. This will safeguard you from potential eye irritation and respiratory issues while working with the brick and paint.
- Cleaning Supplies: To prepare the brick surface, you’ll need a stiff-bristled brush, a vacuum cleaner with a brush attachment, and a bucket of warm, soapy water. These tools will help you remove dirt, dust, and any loose debris from the brick.
- Primer: Invest in a high-quality masonry primer specifically designed for porous surfaces like brick. The primer will promote adhesion and create a stable base for the paint to adhere to.
- Paint: Select a durable and breathable latex paint suitable for masonry surfaces. Opt for a color that complements your interior decor and personal style.
- Painting Supplies: You’ll need a variety of painting tools, including a paint roller with a long nap, a paintbrush for cutting in around edges and corners, and a paint tray. Additionally, have some rags or paper towels on hand for any spills or drips.
- Drop Cloths: Protect your floors and furnishings by laying down drop cloths or plastic sheeting to catch any paint drips or splatters.
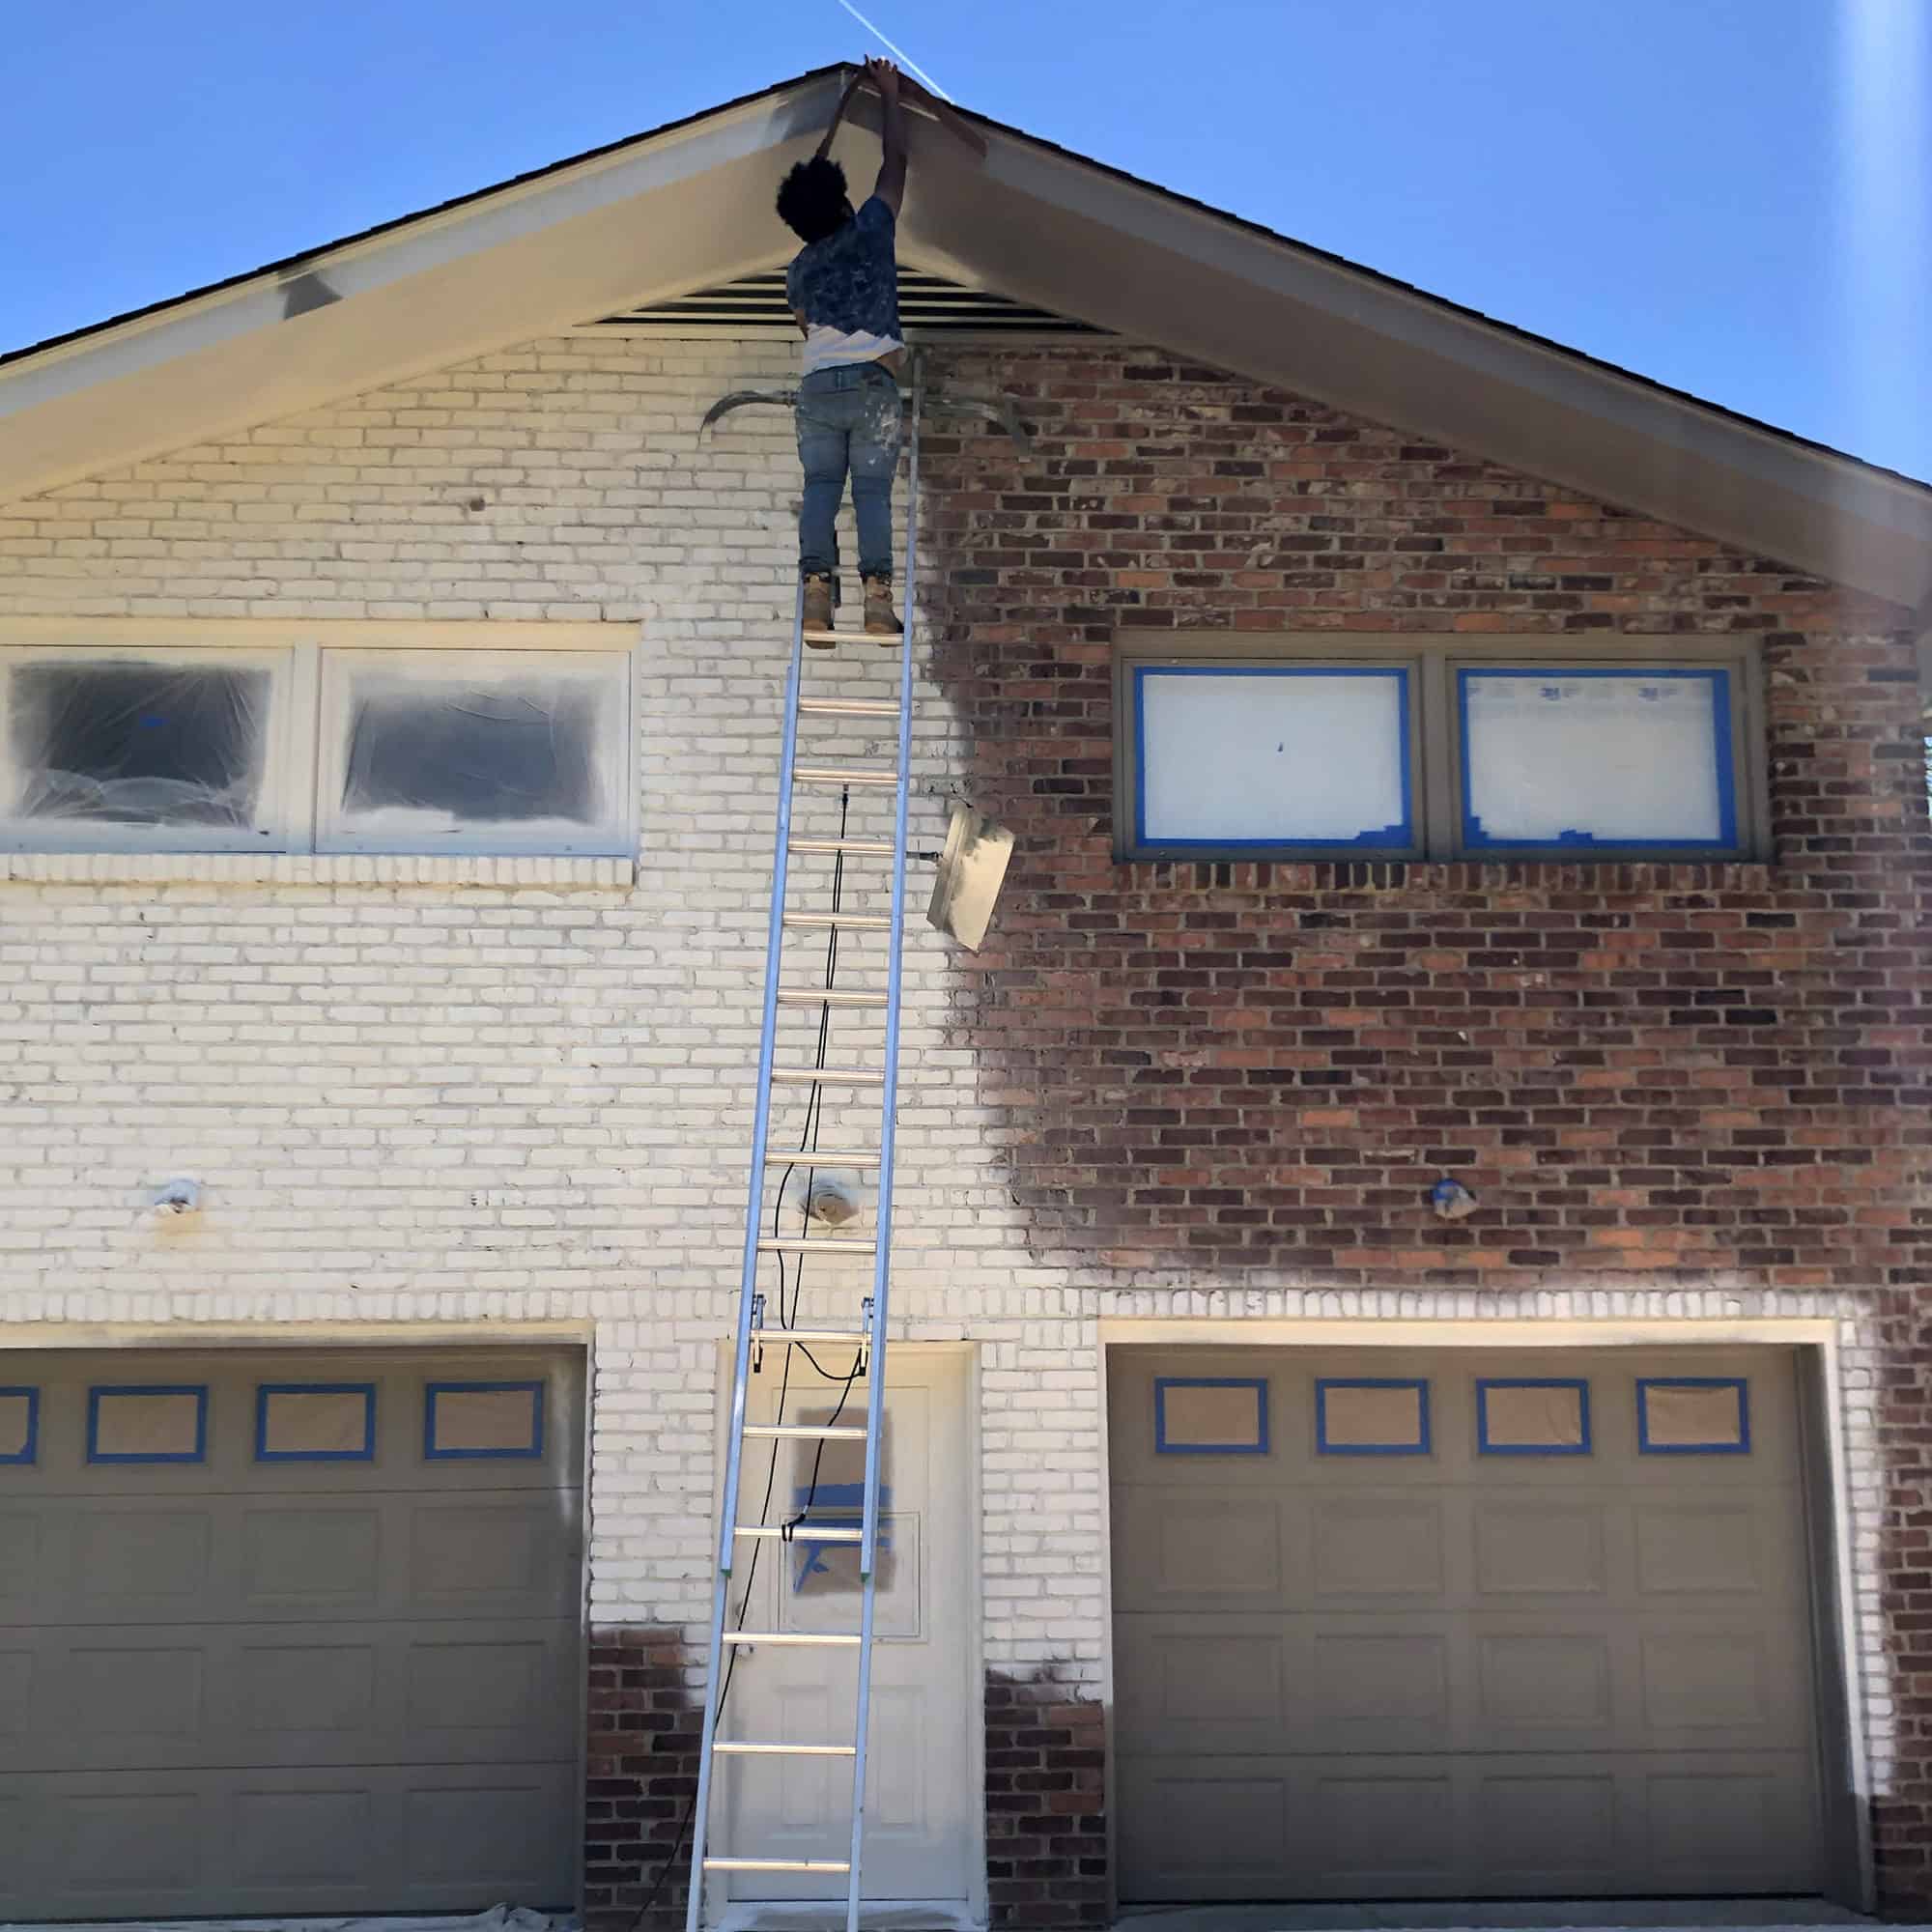
- Ladder or Scaffolding: Depending on the height of the wall, you may need a sturdy ladder or scaffolding to reach the upper areas safely and comfortably.
By gathering these materials in advance, you’ll set yourself up for a seamless and efficient painting process, ensuring that you have everything you need at your fingertips.
Preparing the Wall
Before diving into the exciting world of color and creativity, it’s essential to prepare the brick wall properly to achieve a flawless and long-lasting finish. Follow these steps to ensure that your wall is ready for its stunning makeover:
- Clean the Surface: Begin by removing any dirt, dust, and debris from the brick surface. Use a stiff-bristled brush to scrub away loose particles, and then vacuum the wall using a brush attachment to capture any remaining dust. Next, wipe down the bricks with a cloth or sponge dipped in warm, soapy water to eliminate grime and ensure a clean canvas for painting.
- Repair Any Damage: Inspect the brick wall for any signs of damage, such as cracks or crumbling mortar. If you encounter minor imperfections, patch them up using a suitable masonry repair compound. For more extensive damage, it’s advisable to consult a professional to address the issues effectively.
- Allow for Drying Time: After cleaning and repairing the wall, allow sufficient time for the surface to dry completely. This is crucial to ensure that the primer and paint adhere properly and that moisture does not become trapped within the brick.
- Protect Surrounding Areas: Cover the floor and any adjacent surfaces with drop cloths or plastic sheeting to prevent accidental paint splatters or spills from marring your space. Take the time to tape off any trim, outlets, or fixtures near the wall to maintain clean, crisp lines and protect them from paint.
By meticulously preparing the brick wall, you’ll create an optimal foundation for the paint, setting the stage for a professional and polished end result. Now that the surface is primed and ready, it’s time to select the perfect paint to bring your vision to life!
Choosing the Right Paint
When it comes to painting an exposed brick wall, selecting the right type of paint is crucial for achieving a stunning and enduring finish. Consider the following factors to guide your choice:
- Porosity of the Surface: Brick surfaces are inherently porous, absorbing and releasing moisture. Opt for a breathable masonry paint specifically formulated for porous materials. This type of paint allows trapped moisture to escape, preventing issues such as efflorescence and paint peeling.
- Color and Aesthetic: Determine the desired look and feel you want to achieve. Whether you prefer a bold statement color or a more subdued hue, ensure that the paint color complements your overall interior design scheme and enhances the ambiance of the space.
- Durability and Washability: Choose a high-quality latex paint known for its durability and washability. This is especially important for interior brick walls, as it will make maintenance and cleaning a breeze while preserving the vibrancy of the paint over time.
- Finish: Consider the finish that best suits your aesthetic vision. While a satin or eggshell finish offers a subtle sheen and is easy to clean, a matte finish provides a more rustic and natural appearance. Select the finish that aligns with your personal preferences and the style of the room.
- Environmental Impact: If eco-friendliness is a priority, look for low-VOC or zero-VOC paints. These options minimize harmful emissions and odors, creating a healthier indoor environment for you and your family.
Before making a final decision, it’s advisable to test a small area of the brick with the chosen paint to ensure that the color and finish meet your expectations. By carefully considering these factors and choosing a paint that aligns with your needs and aesthetic preferences, you’ll be one step closer to transforming your brick wall into a captivating focal point within your home.
Before painting an exposed brick wall, make sure to clean the surface thoroughly to remove any dirt, dust, or loose mortar. Use a wire brush and vacuum to get into the crevices. This will ensure the paint adheres properly and lasts longer.
Priming the Surface
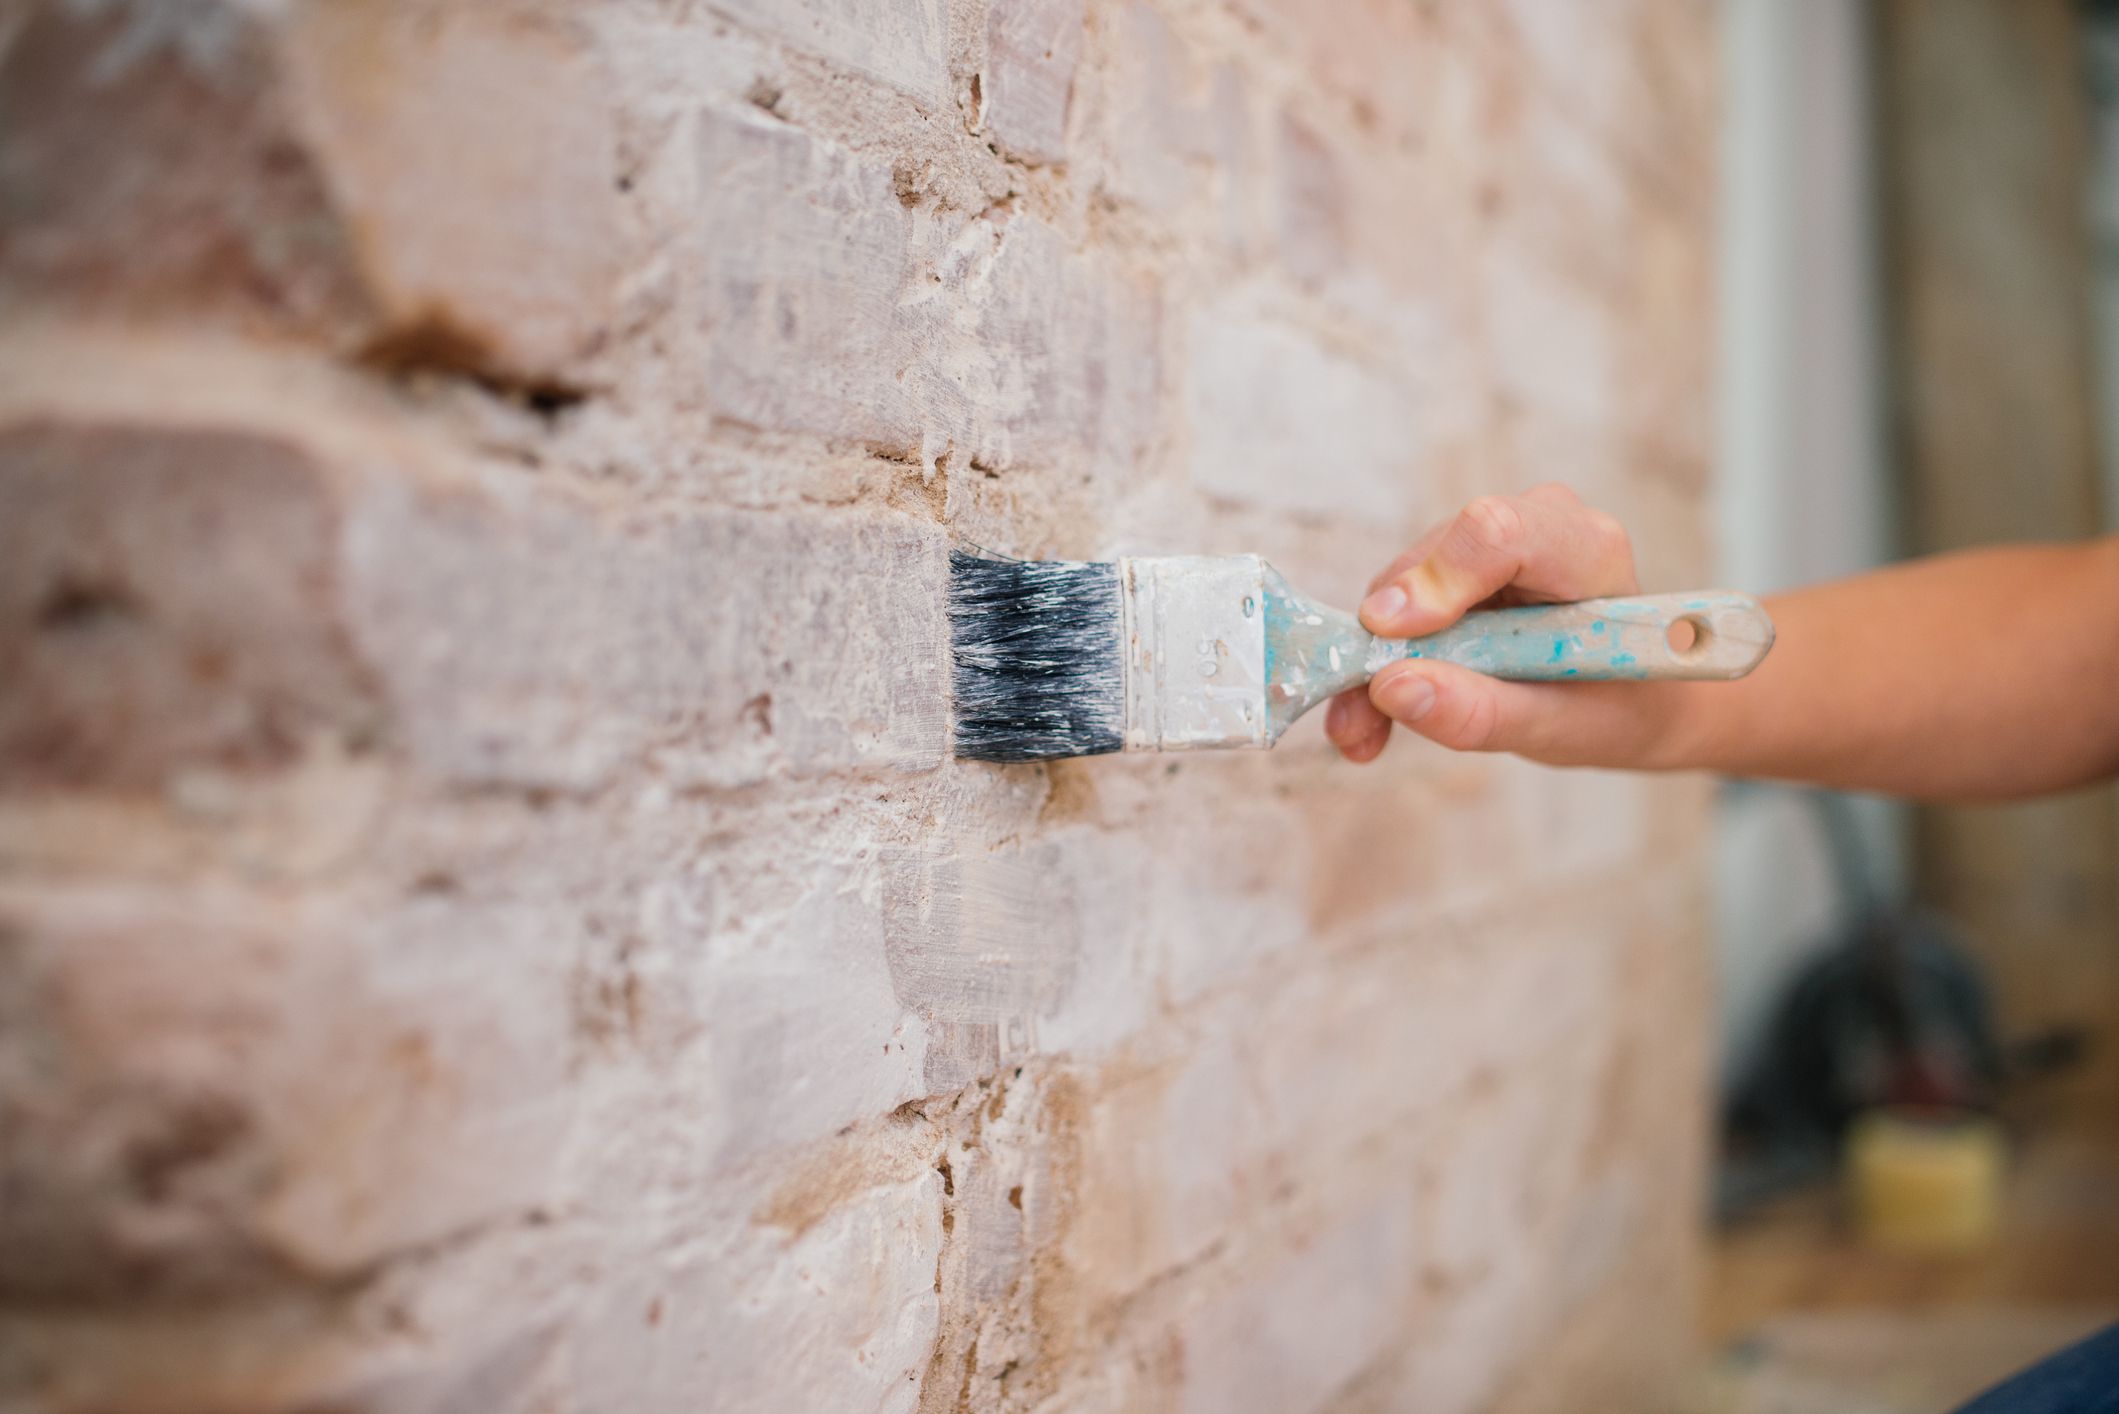
Before applying the paint, it’s essential to prime the brick surface to ensure optimal adhesion and long-term durability. Follow these steps to prepare the wall for the transformative coat of paint:
- Choose the Right Primer: Select a high-quality masonry primer specifically formulated for porous surfaces such as brick. This type of primer will penetrate the surface, promote adhesion, and create a stable base for the paint to adhere to, ultimately enhancing the longevity of the finish.
- Prepare the Primer: Thoroughly stir the primer to ensure that the components are well mixed. If the primer is too thick, you can add a small amount of water to achieve the desired consistency for smooth application.
- Apply the Primer: Using a high-quality paintbrush or a paint roller with a long nap, apply the primer evenly across the brick surface. Work in manageable sections, ensuring complete coverage and paying special attention to the mortar joints and recessed areas of the bricks.
- Allow for Drying Time: After priming the entire wall, allow the primer to dry completely according to the manufacturer’s instructions. This typically ranges from 8 to 12 hours, but it’s essential to verify the specific drying time indicated on the product label.
- Inspect the Surface: Once the primer has dried, inspect the wall to ensure that the primer has formed a uniform and solid base. If any areas appear thin or uneven, apply a second coat of primer to guarantee thorough coverage and optimal adhesion for the paint.
By priming the brick surface, you’ll create an ideal foundation for the paint, allowing it to adhere seamlessly and maintain its vibrancy over time. With the surface primed and ready, you’re now prepared to infuse your space with the perfect hue and personality through the transformative power of paint!
Read more: How To Paint A Faux Brick Wall
Painting the Brick Wall
With the surface properly prepared and primed, it’s time to unleash your creativity and bring your vision to life by painting the brick wall. Follow these steps to achieve a flawless and professional finish:
- Prepare the Paint: Thoroughly stir the paint to ensure an even consistency. If necessary, pour the paint into a paint tray for easy access during the application process.
- Cut In the Edges: Use a high-quality paintbrush to cut in around the edges and corners of the wall, ensuring precision and neatness. This step will create clean lines and prepare the perimeter of the wall for the roller application.
- Apply the Paint: Using a paint roller with a long nap, begin applying the paint to the brick surface in a smooth and even manner. Work in manageable sections, starting from the top and working your way down to ensure thorough coverage and prevent drips.
- Work in Small Areas: As you progress, focus on small areas at a time to ensure that the paint remains wet and can be blended seamlessly. This approach will help you achieve a uniform finish without visible lap marks.
- Address Recessed Areas: Pay special attention to any recessed or textured areas of the brick, ensuring that the paint reaches into the crevices for comprehensive coverage. A paintbrush can be used to access these intricate areas effectively.
- Allow for Drying Time: Once the entire wall has been painted, allow the first coat to dry completely according to the paint manufacturer’s instructions. This typically ranges from 2 to 4 hours, but it’s essential to adhere to the specified drying time for optimal results.
- Apply Additional Coats: Depending on the desired opacity and depth of color, apply additional coats of paint as needed, allowing each coat to dry thoroughly before proceeding to the next. Multiple coats will enhance the richness and vibrancy of the color, creating a striking visual impact.
By following these steps and exercising patience and precision, you’ll transform your exposed brick wall into a captivating focal point that reflects your personal style and enhances the ambiance of your space. With the paint applied and dried, it’s time to add the finishing touches to complete the transformation!
Finishing Touches
As you near the completion of painting your exposed brick wall, it’s important to add the finishing touches that will elevate the overall look and ensure a polished and professional outcome. Consider the following steps to perfect your newly painted brick surface:
- Inspect for Touch-Ups: Carefully examine the painted wall for any missed spots, thin areas, or drips. Touch up these areas with a small brush or roller to ensure consistent coverage and a seamless finish.
- Remove Painter’s Tape: If you used painter’s tape to protect trim, outlets, or fixtures, gently remove it at a 45-degree angle to reveal clean and crisp lines. This step should be completed once the paint has partially dried to prevent peeling or smudging.
- Clean Up: Thoroughly clean your painting tools, including brushes, rollers, and trays, using soap and water for latex paint. Properly dispose of any used drop cloths or plastic sheeting and ensure that the workspace is tidy and free of any paint splatters or spills.
- Reinstall Fixtures: Once the paint has fully dried and cured, reattach any removed fixtures, switch plates, or outlet covers. This will restore the functionality and aesthetic integrity of the space, allowing you to fully appreciate the impact of your newly painted brick wall.
- Admire Your Work: Step back and admire the transformation you’ve achieved. Take a moment to appreciate the revitalized ambiance and visual appeal that the painted brick wall brings to your home. Your dedication and attention to detail have undoubtedly paid off!
By completing these finishing touches, you’ll ensure that your painted brick wall not only looks stunning but also stands the test of time with a professional and enduring finish. Now, as you revel in the beauty of your revamped space, you can confidently share your newfound expertise with others who are eager to embark on their own painting adventures!
Conclusion
Congratulations on successfully painting your exposed brick wall and transforming it into a captivating focal point within your home. This rewarding home improvement project has not only added a touch of personality and style to your space but has also showcased your creativity and attention to detail. As you reflect on the journey from a bare brick surface to a beautifully painted wall, it’s important to appreciate the impact that this transformation has had on the ambiance and visual appeal of your home.
By following the comprehensive steps outlined in this guide, you’ve not only achieved a stunning aesthetic upgrade but also ensured the longevity and durability of the painted surface. The meticulous preparation, thoughtful selection of materials, and precise application techniques have combined to deliver a professional and enduring finish that will be enjoyed for years to come.
As you bask in the satisfaction of your completed project, take pride in the fact that you’ve acquired valuable skills and knowledge that can be applied to future painting endeavors. Whether you’re considering painting another brick surface, exploring different painting techniques, or sharing your expertise with others, your newfound proficiency will undoubtedly serve you well.
As you continue to infuse your living space with creativity and personal expression, remember that the possibilities for enhancing your home are limitless. Embrace the joy of bringing your vision to life and relish in the transformative power of a fresh coat of paint. Your home is a canvas, and with your newfound expertise, you have the tools to paint it with beauty and individuality.
Now, as you enjoy the allure of your newly painted brick wall, may it serve as a daily reminder of your ability to turn inspiration into reality and your dedication to creating a space that truly reflects your unique style and spirit.
Frequently Asked Questions about How To Paint An Exposed Brick Wall
Was this page helpful?
At Storables.com, we guarantee accurate and reliable information. Our content, validated by Expert Board Contributors, is crafted following stringent Editorial Policies. We're committed to providing you with well-researched, expert-backed insights for all your informational needs.


0 thoughts on “How To Paint An Exposed Brick Wall”