Home>Garage Storage>How To Install Garage Door Decorative Hardware
Garage Storage
How To Install Garage Door Decorative Hardware
Modified: January 19, 2024
Learn how to install garage door decorative hardware and enhance the look of your garage. Find the best options for garage storage solutions to keep your space organized.
(Many of the links in this article redirect to a specific reviewed product. Your purchase of these products through affiliate links helps to generate commission for Storables.com, at no extra cost. Learn more)
Introduction
Welcome to our comprehensive guide on how to install garage door decorative hardware. If you’re looking to add a touch of style and elegance to your garage door, decorative hardware is the perfect solution. Not only does it enhance the overall appearance of your home, but it also adds character and curb appeal.
Installing garage door decorative hardware might seem like a daunting task, but with the right tools, materials, and step-by-step instructions, it can be a fun and rewarding project. Whether you’re a seasoned DIY enthusiast or a beginner, this guide will provide you with all the information you need to successfully install decorative hardware on your garage door.
In this article, we’ll go through each step of the installation process, from gathering the necessary tools and materials to adding the final touches. We’ll also provide you with maintenance tips to ensure your decorative hardware stays in great condition for years to come.
Before we dive into the installation process, let’s take a moment to explore the various types of garage door decorative hardware available. From hinges and handles to carriage decorative hardware, there are plenty of options to suit your personal style and preferences.
Hinges: Garage door hinges are designed to mimic the look of traditional barn door hinges. They are typically placed on the sides of the door and add a rustic touch.
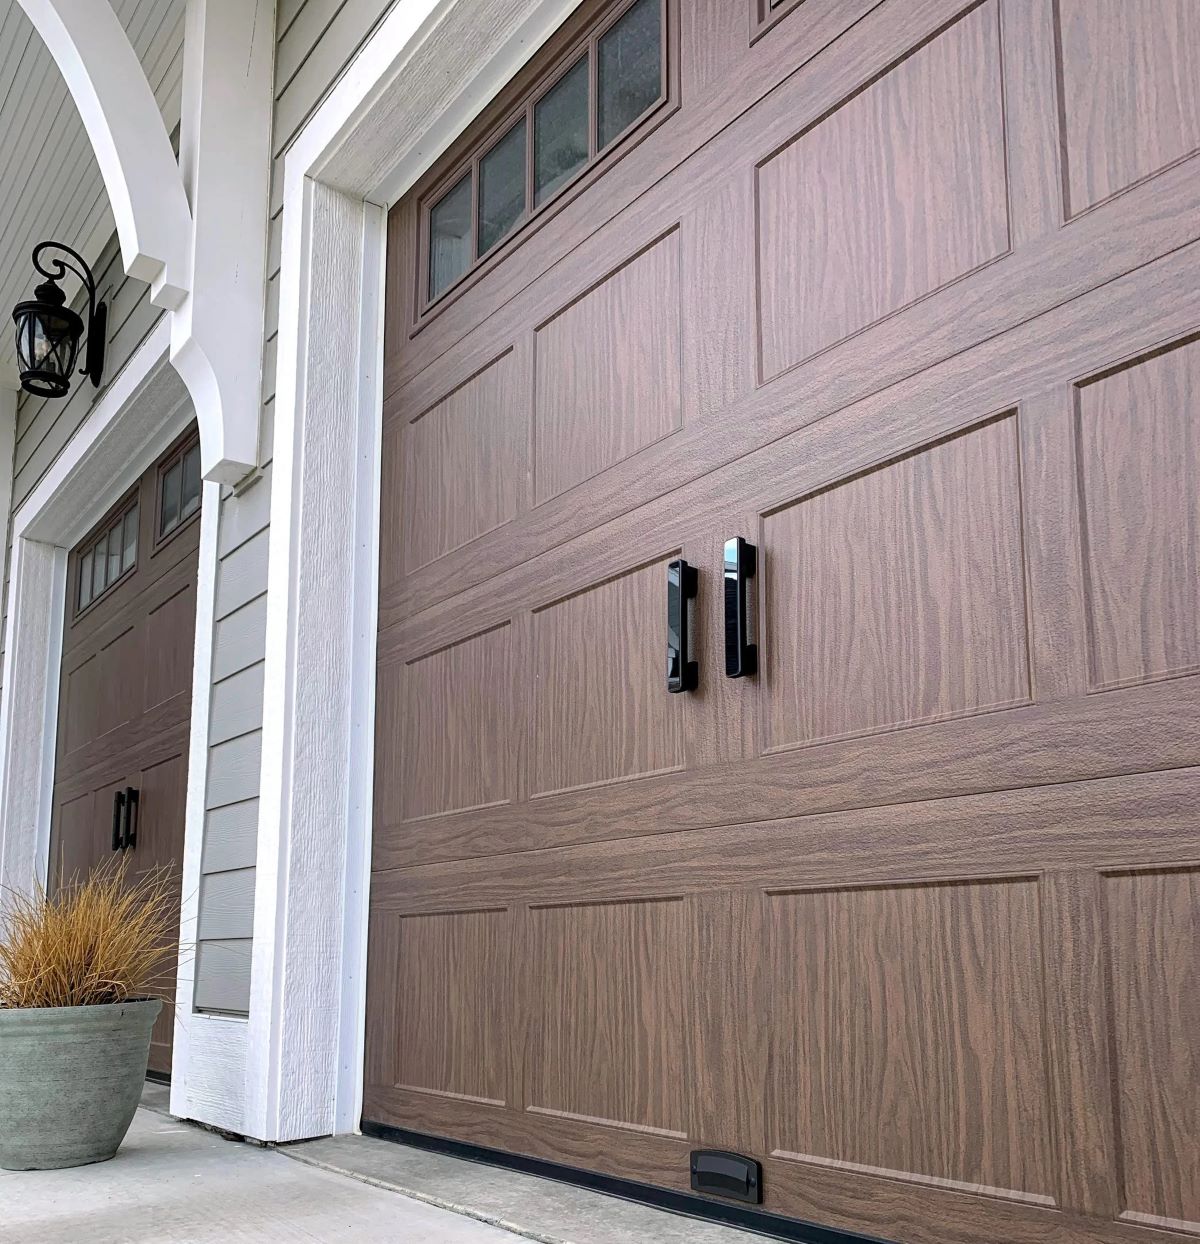
Handles: Garage door handles are available in a variety of designs, ranging from classic to contemporary. They are placed in the center of the door and provide functionality while adding visual interest.
Carriage Decorative Hardware: Carriage decorative hardware is designed to replicate the look of old carriage house doors. This type of hardware includes decorative straps, handles, and hinges that are positioned across the width of the door.
Now that you’re familiar with the different types of decorative hardware, let’s get started with the installation process. Grab your tools and let’s transform your garage door into a work of art!
Key Takeaways:
- Elevate your garage door’s style and elegance with decorative hardware, from hinges to handles, for a personalized touch that enhances curb appeal and adds character to your home.
- Transform your garage door into a work of art with the right tools, materials, and step-by-step instructions. Securely install and maintain decorative hardware for long-lasting beauty and functionality.
Read more: How Much To Install Garage Door
Step 1: Gather Necessary Tools and Materials
Before you begin the installation process, it’s important to gather all the necessary tools and materials. Here’s a list of items you’ll need:
- Tape measure
- Pencil or marker
- Screwdriver or drill
- Screws
- Decorative hardware kit (including hinges, handles, and carriage decorative hardware)
- Level
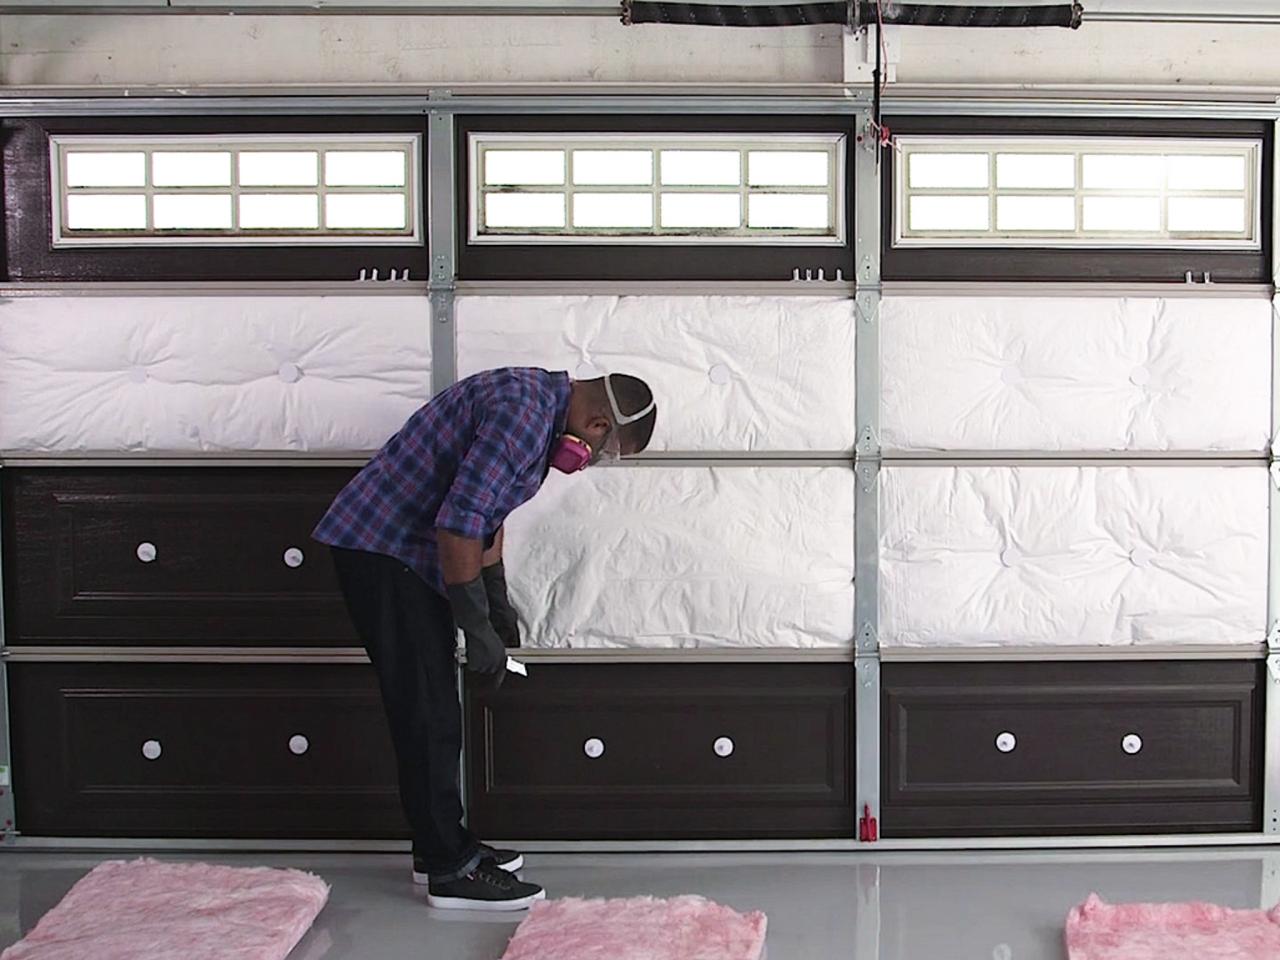
- Safety goggles
- Gloves
- Cleaning solution and cloth
Make sure you have all the tools and materials ready before you start the installation process. This will help you save time and ensure a smooth and efficient installation.
It’s also important to choose the right type of decorative hardware for your garage door. Consider the style and design of your home when selecting the hardware. Choose a finish that complements the color of your garage door or matches other elements of your home’s exterior.
Once you have all the necessary tools and materials, you’re ready to move on to the next step: measuring and marking the placement of the decorative hardware on your garage door.
Step 2: Measure and Mark Placement
Now that you have all the tools and materials ready, it’s time to measure and mark the placement of the decorative hardware on your garage door. This step is crucial to ensure proper alignment and symmetry.
Start by measuring the width and height of your garage door. Use a tape measure to get accurate measurements. Once you have the measurements, divide the width of the door into equal sections based on the number of decorative hinges you plan to install. This will help create a balanced and visually appealing look.
Use a pencil or marker to mark the placement of the hinges on the vertical edges of the door. Make sure the marks are level and evenly spaced. If you’re installing handles, mark the center of the door as well.
For carriage decorative hardware, you’ll need to mark the placement of the decorative straps, handles, and hinges across the width of the door. Measure and mark the location of each piece, ensuring they are evenly spaced and centered.
It’s important to take your time during this step and double-check the measurements and markings. Mistakes at this stage can lead to crooked or misaligned hardware. Once you’re satisfied with the markings, it’s time to move on to the next step: installing the hinges on the door.
Step 3: Install Hinges on the Door
With the measurements and markings in place, it’s time to install the hinges on the door. Hinges not only add aesthetic appeal to the garage door but also provide functionality and support.
Start by aligning the first decorative hinge with the marked placement on one side of the door. Hold the hinge in place and mark the screw holes with a pencil or marker. Repeat this process for the remaining hinges, ensuring they are evenly spaced and aligned with the markings.
Once you have marked the screw holes for all the hinges, it’s time to drill pilot holes. Use a drill with an appropriate bit size to create pilot holes at the marked locations. Make sure the pilot holes are slightly smaller than the screws you will be using to secure the hinges.
Next, hold the first hinge in place and insert the screws into the pilot holes. Use a screwdriver or drill to tighten the screws, securing the hinge to the door. Repeat this process for the remaining hinges, ensuring they are attached securely.
After installing the hinges, check their alignment and make any necessary adjustments. Use a level to ensure the hinges are straight and aligned properly. If needed, slightly loosen the screws and reposition the hinges before tightening them again.
Take your time during this step to ensure the hinges are installed correctly. Proper alignment and secure attachment will not only enhance the visual appeal of your garage door but also ensure its functionality and longevity.
With the hinges installed, you’re ready to move on to the next step: attaching handles to the door.
Step 4: Attach Handles to the Door
Attaching handles to your garage door adds both functional and decorative elements. They provide a convenient grip for opening and closing the door while enhancing its overall appearance. Follow these steps to properly attach handles to your garage door:
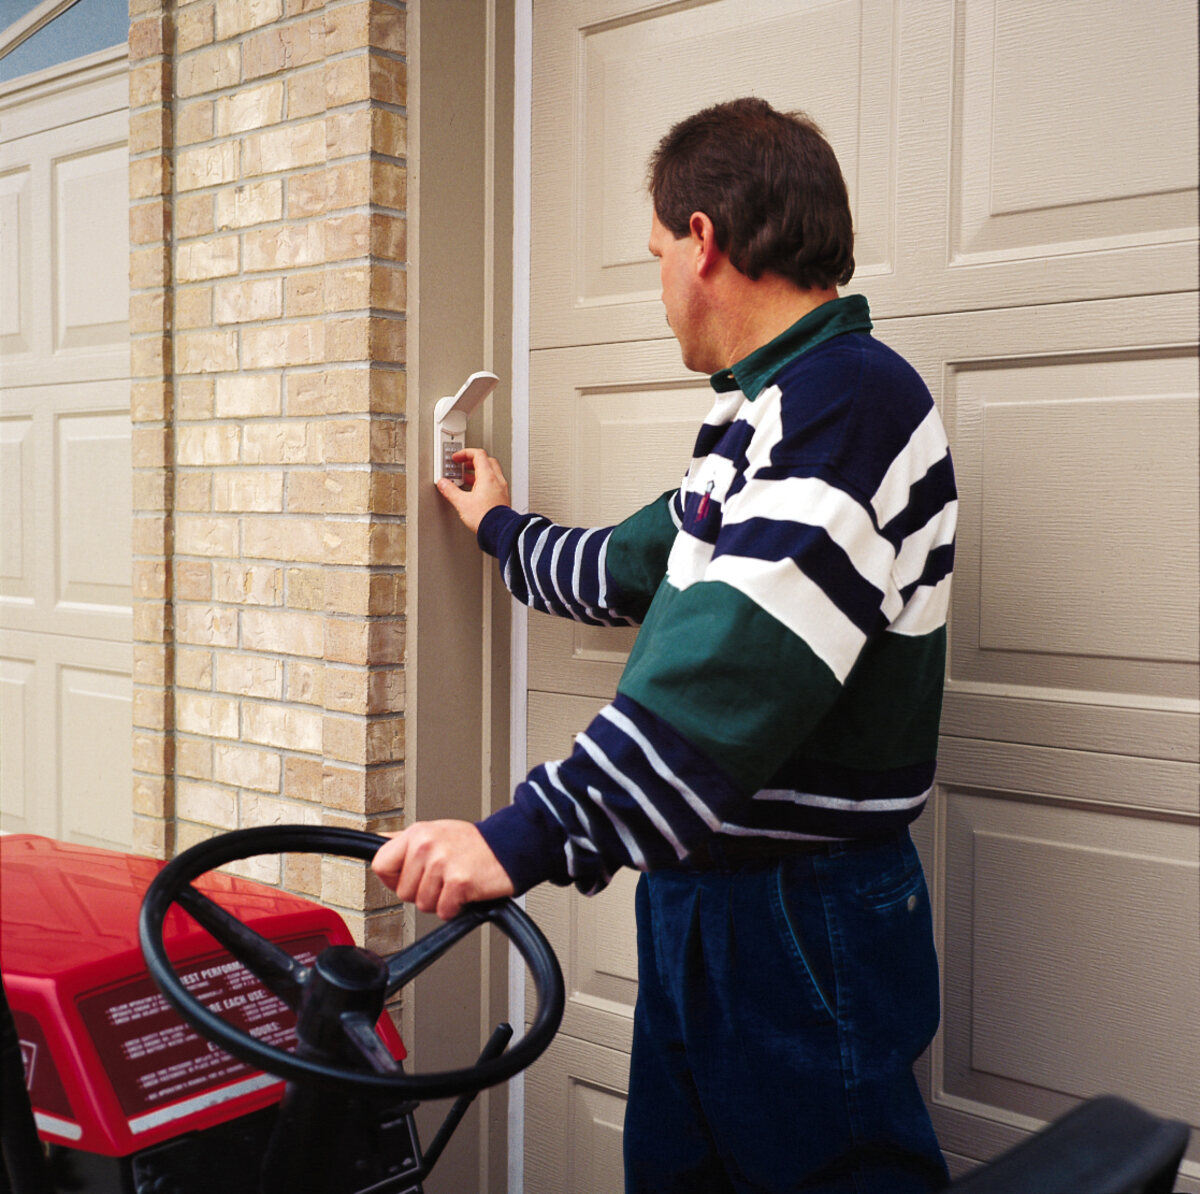
1. Begin by aligning the first handle with the marked center of the door. Ensure it is positioned at the appropriate height for easy access. Use a pencil or marker to mark the screw hole locations.
2. Using a drill and an appropriate bit, create pilot holes at the marked locations. The pilot holes should be slightly smaller than the screws included with your decorative hardware kit.
3. Hold the handle in place and secure it to the door by driving the screws into the pilot holes. Use a screwdriver or drill to tighten the screws, ensuring that the handle is securely attached.
4. Repeat the above steps for any additional handles you want to install, making sure to align them properly and secure them with screws.
It’s important to note that the number and placement of handles will depend on the size of your garage door and your personal preferences. Some doors may only require a single handle, while larger doors may benefit from multiple handles for balanced aesthetics.
Once all the handles are attached, give them a gentle tug to ensure they are securely fastened. If any handles feel loose, tighten the screws further to ensure stability.
With the handles successfully installed, it’s time to move on to the next step: installing carriage decorative hardware.
When installing garage door decorative hardware, make sure to measure and mark the placement of the hardware before drilling any holes. This will ensure that the hardware is evenly spaced and properly aligned.
Read more: How To Install A Clopay Garage Door
Step 5: Install Carriage Decorative Hardware
Carriage decorative hardware adds an elegant and charming touch to your garage door, reminiscent of the traditional carriage house style. Follow these steps to properly install carriage decorative hardware:
1. Start by aligning the first decorative strap or hinge with the marked placement on one side of the door. Hold it in place and mark the screw hole locations using a pencil or marker.
2. Use a drill with an appropriate bit size to create pilot holes at the marked locations. The pilot holes should be slightly smaller than the screws included with your decorative hardware kit.
3. Hold the decorative strap or hinge back in position and secure it to the door by driving the screws into the pilot holes. Make sure to tighten the screws firmly, but be careful not to overtighten and strip the holes or damage the hardware.
4. Repeat the above steps for the remaining decorative straps or hinges, ensuring they are evenly spaced and aligned with the markings.
5. If your carriage decorative hardware kit includes handles, follow the same process as outlined in Step 4 to attach them to the appropriate locations on the door. Consider the aesthetic balance and functionality when determining the placement of handles.
As you install each piece of carriage decorative hardware, step back and assess its placement. Adjust as needed to ensure proper alignment and symmetry. Use a level to double-check the straightness of the hardware.
Take your time during this step to ensure the carriage decorative hardware is installed securely and evenly. Properly installed hardware will enhance the overall look of your garage door and give it that classic carriage house appeal.
With the carriage decorative hardware installed, your garage door is now beginning to take on a whole new level of sophistication. In the next step, we’ll ensure that all the installed hardware is secure and in place.
Step 6: Secure all Hardware in Place
Now that all the decorative hardware is installed on your garage door, it’s time to ensure that everything is securely in place. This step will help prevent any potential issues or accidents due to loose or unstable hardware.
Begin by examining each piece of decorative hardware, including hinges, handles, and carriage decorative pieces. Give them a gentle tug to check for any signs of movement or looseness. If any hardware feels loose, you’ll need to secure it further.
If you notice any loose screws, use a screwdriver or drill to tighten them. Make sure to apply consistent pressure while tightening, being careful not to overtighten and strip the holes or damage the hardware. Check each screw throughout the entire door to ensure they are all properly tightened.
If necessary, you can also consider replacing any worn or damaged screws with new ones. Using high-quality screws will help ensure that the hardware remains secure for a long time.
After securing all the hardware, step back and assess the overall appearance of your garage door. Take a moment to appreciate the transformation and make any final adjustments if needed to ensure everything is aligned and visually appealing.
Remember that maintaining the decorative hardware is essential for its longevity and continued performance. Regularly inspect the hardware for any signs of wear or damage. If you notice any issues, such as rust or broken parts, address them promptly by replacing or repairing the affected hardware.
By properly securing and maintaining your decorative hardware, you can enjoy its beauty and functionality for many years to come.
With the hardware now securely in place, it’s time for the final step: adding some finishing touches and maintenance tips to keep your garage door looking its best.
Step 7: Final Touches and Maintenance Tips
Congratulations! You’ve successfully installed decorative hardware on your garage door, transforming its appearance and adding a touch of elegance. Now, let’s focus on the final touches and maintenance tips to ensure your decorative hardware stays in great condition:
1. Clean Regularly: Keep your decorative hardware looking its best by regularly cleaning it with a mild cleaning solution and a soft cloth. This will help remove dirt, dust, and any other pollutants that may accumulate over time.
2. Inspect for Damage: Periodically inspect the hardware for any signs of damage, such as rust, corrosion, or loose parts. Address any issues promptly by cleaning, repairing, or replacing the affected hardware.
3. Lubricate Moving Parts: If your decorative hardware includes hinges or other moving parts, lubricate them with a silicone-based lubricant to ensure smooth operation. Avoid using petroleum-based products as they can attract dirt and debris.
4. Protect from Harsh Weather: If your garage door is exposed to extreme weather conditions, consider applying a protective coating or sealant to the hardware. This can help prevent rust and corrosion, ensuring its longevity.
5. Avoid Damaging Impact: Be mindful of any potential impacts or collisions with your garage door. Avoid leaning or placing heavy objects on the hardware, as this can cause dents or damage to the decorative pieces.
6. Maintain Paint or Finish: If your decorative hardware has a painted or finished surface, periodically touch up any areas that may have chipped or faded. This will help maintain its overall appearance and protect it from further damage.
By following these maintenance tips, you can preserve the beauty and functionality of your garage door decorative hardware for years to come.
Now, step back and admire your newly transformed garage door. The decorative hardware has not only enhanced the curb appeal of your home but also added a personal touch that reflects your style and taste.
Remember, the installation process may seem overwhelming at first, but with the right tools, materials, and step-by-step instructions, it can be a rewarding and enjoyable project. So, go ahead and enjoy the beauty and charm of your upgraded garage door!
Thank you for following our guide on how to install garage door decorative hardware. We hope this article has provided you with the knowledge and inspiration to create a stunning and visually appealing garage door that will be the envy of the neighborhood.
Conclusion
Congratulations on successfully completing the installation of your garage door decorative hardware! By following the step-by-step instructions in this guide, you have transformed your garage door into a captivating and stylish focal point for your home.
Adding decorative hardware to your garage door not only enhances its appearance but also increases curb appeal and adds value to your property. The hinges, handles, and carriage decorative hardware bring a touch of elegance and charm, creating a unique statement that reflects your personal style.
Throughout the installation process, you learned how to gather the necessary tools and materials, measure and mark the placement of the hardware, install hinges and handles, attach carriage decorative hardware, and secure everything in place. Each step was carefully explained to ensure that you achieve a professional-looking result.
Maintaining your decorative hardware is equally important. Regular cleaning, inspections for damage, lubrication of moving parts, and protection from harsh weather will help preserve its beauty and functionality for years to come. Remember to also address any issues promptly to prevent further damage and ensure longevity.
We hope that this comprehensive guide has empowered you with the knowledge and confidence to undertake the installation of garage door decorative hardware. This project not only enhances the aesthetics of your home but also allows you to put your own personal touch on it.
Thank you for choosing our guide, and we hope you enjoy the enhanced beauty and sophistication that your newly adorned garage door brings to your home. Now go ahead and revel in the compliments you’ll receive as you showcase your stunning garage door to your family, friends, and neighbors!
Frequently Asked Questions about How To Install Garage Door Decorative Hardware
Was this page helpful?
At Storables.com, we guarantee accurate and reliable information. Our content, validated by Expert Board Contributors, is crafted following stringent Editorial Policies. We're committed to providing you with well-researched, expert-backed insights for all your informational needs.


0 thoughts on “How To Install Garage Door Decorative Hardware”