Articles
How To Install A Wrought Iron Fence
Modified: February 29, 2024
Learn how to install a beautiful and durable wrought iron fence with our comprehensive articles. Gain insights and expert tips for a successful installation.
(Many of the links in this article redirect to a specific reviewed product. Your purchase of these products through affiliate links helps to generate commission for Storables.com, at no extra cost. Learn more)
Introduction
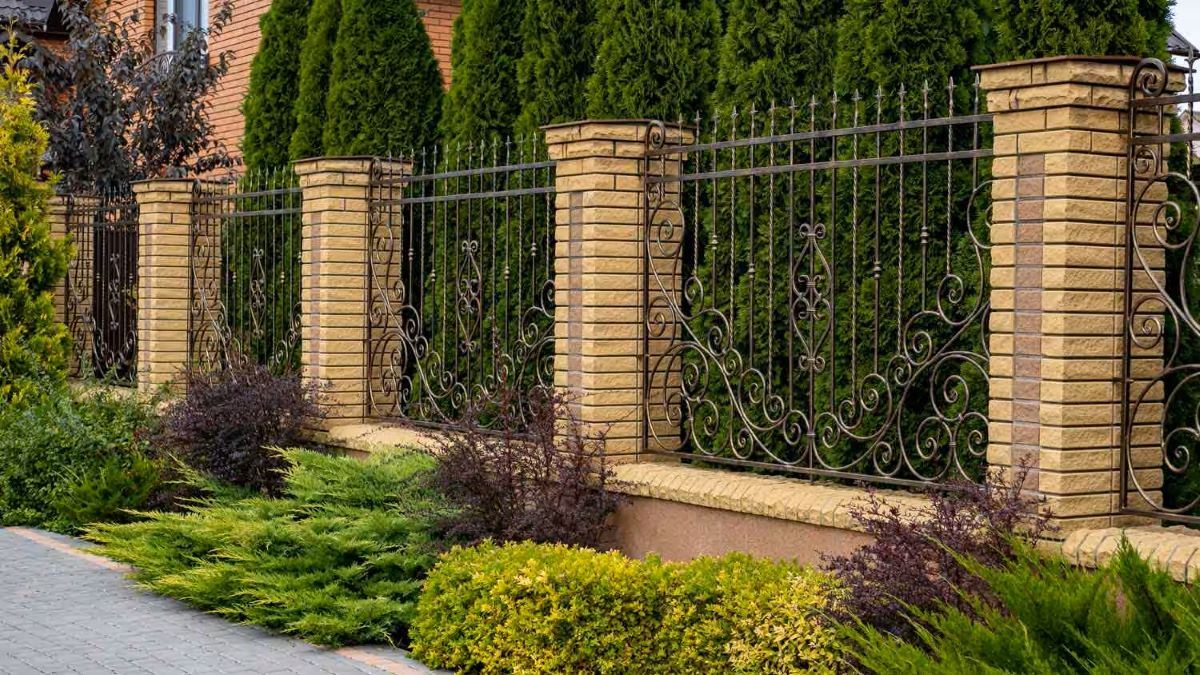
Installing a wrought iron fence is a great way to add beauty, security, and value to your property. With its timeless elegance and durability, a wrought iron fence can transform your outdoor space while providing a sense of safety and privacy. Whether you are looking to enclose your front yard, define a garden area, or secure your backyard, installing a wrought iron fence is a project that can be accomplished with the right materials, tools, and know-how.
In this article, we will guide you through the step-by-step process of installing a wrought iron fence. From gathering the necessary materials and tools to securing the fence panels, we will cover everything you need to know to complete this project successfully.
Before we dive into the installation process, it is essential to understand the benefits of a wrought iron fence. Wrought iron is known for its strength and durability, making it a long-lasting option for fencing. Unlike other materials such as wood or vinyl, wrought iron can withstand harsh weather conditions, resist corrosion, and require minimal maintenance. Moreover, the intricate designs and patterns of a wrought iron fence add a touch of elegance and sophistication to any property.
However, it is crucial to note that installing a wrought iron fence requires careful planning and execution. It is essential to check local building codes and regulations to ensure compliance before starting the project. Additionally, you should consider factors such as the layout of your property, the purpose of the fence, and any potential obstacles that may impact the installation process.
Now that you have an understanding of the benefits and considerations, let us move on to the first step in installing a wrought iron fence: gathering the materials and tools necessary for the project.
Key Takeaways:
- Installing a wrought iron fence requires careful planning, precise measurements, and attention to detail. From gathering materials to adding finishing touches, each step contributes to a visually stunning and long-lasting installation.
- The installation of a wrought iron fence not only enhances the beauty and security of your property but also allows for personalization through ornamental details, landscaping, and maintenance. It’s a rewarding project that adds value to your outdoor space.
Read more: How To Paint Wrought Iron Fence
Step 1: Gather Materials and Tools
Before you begin the installation process, it is important to gather all the necessary materials and tools. Having everything ready beforehand will help streamline the project and ensure a smooth installation process. Here are the materials and tools you will need:
- Wrought Iron Fence Panels: Measure the length of your desired fence area to determine the number of panels needed. Choose panels that are the appropriate height and design for your specific needs.
- Wrought Iron Fence Posts: These are the vertical supports that will hold the fence panels in place. Make sure to select sturdy and durable posts that are compatible with your chosen fence panels.
- Concrete Mix: You will need concrete to secure the fence posts in the ground. Opt for a high-quality concrete mix that is suitable for outdoor use.
- Post Hole Digger: This tool will help you dig holes in the ground for installing the fence posts. Choose a post hole digger that is appropriate for the size and depth of the holes you need.
- Level: A level is essential to ensure that your fence installation is straight and level. Use a long level to check both the vertical and horizontal alignment of the fence.
- Tape Measure: Accurate measurements are crucial for a successful fence installation. Use a tape measure to determine the dimensions of your fence area, as well as the spacing between posts and panels.
- String or Mason’s Line: This will help you create a straight guideline for aligning your fence posts. It is essential for maintaining consistency and accuracy throughout the installation.
- Fasteners: Depending on your fence design, you will need appropriate fasteners such as screws, bolts, or brackets to attach the fence panels to the posts securely.
- Power Drill: A power drill with the appropriate drill bits will be necessary for drilling holes and attaching the fence panels.
- Mixing Bucket and Trowel: These tools are needed for mixing and applying the concrete to secure the fence posts in the ground.
- Safety Gear: To protect yourself during the installation process, wear safety goggles, gloves, and sturdy footwear. Additionally, consider using a face mask when mixing the concrete.
Once you have gathered all the required materials and tools, you are ready to move on to the next step: measuring and marking the fence layout.
Step 2: Measure and Mark the Fence Layout
Measuring and marking the fence layout is a crucial step in ensuring proper alignment and accuracy during the installation process. By taking accurate measurements and marking the positions of the fence posts, you can avoid potential issues and ensure a smooth installation. Here are the steps to measure and mark the fence layout:
- Start by determining the boundaries of your fence area. Use a tape measure to measure the length and width of the desired fence perimeter. Take note of any existing boundaries, such as walls or edges of your property.
- Next, use wooden stakes and string or mason’s line to mark the positions of the fence posts. Hammer the stakes into the ground at the corners of your fence area and where the fence will change direction.
- Stretch the string or mason’s line between the stakes to create a straight line. This line will serve as a guideline for positioning the fence posts.
- Measure and mark the spacing for each fence post along the string line. The spacing will depend on the design and dimensions of your fence panels.
- Using a post hole digger, dig holes at each marked position. Make sure the holes are deep enough to accommodate the height of your fence posts and provide stability.
- Check the alignment of the holes by using a level against the string line. Adjust the position of the holes if needed to ensure a straight and level fence installation.
Once you have measured and marked the fence layout, you are now ready to proceed to the next step: preparing the ground for installation.
Step 3: Prepare the Ground
Preparing the ground is an essential step in ensuring a stable and long-lasting installation of your wrought iron fence. Properly preparing the ground will provide a solid foundation for the fence posts and enhance the overall integrity of the fence. Here are the steps to prepare the ground before installing your wrought iron fence:
- Clear the area: Remove any obstacles, debris, or vegetation from the fence area. This includes rocks, plants, roots, and other objects that may interfere with the installation process or affect the stability of the fence.
- Level the ground: Use a shovel or rake to level the ground where the fence will be installed. Remove any bumps, humps, or uneven spots to ensure a smooth and even surface.
- Inspect for underground utilities: Before digging any deeper, contact your local utility companies to check for any underground lines or cables. It is crucial to avoid damaging or disrupting any utility lines during the installation process.
- Compact the soil: Use a tamper or a compacting tool to compress the soil in the fence area. This will create a solid and stable base for the fence posts.
- Add gravel: If you are concerned about water drainage or soil erosion, consider adding a layer of gravel at the bottom of the fence post holes. This will help improve stability and drainage.
Once the ground is prepared, you can proceed to the next step in installing your wrought iron fence: setting the fence posts. By taking the time to properly prepare the ground, you are ensuring a solid and secure foundation for your fence, which is essential for its longevity and stability.
Step 4: Set the Fence Posts
Setting the fence posts is a critical step that determines the stability and integrity of your wrought iron fence. Properly setting the posts ensures that they are securely anchored in the ground and can withstand the weight and pressure of the fence panels. Here is how you can set the fence posts:
- Place one fence post into each prepared hole. Make sure the post is centered and level. Use a level to ensure that the post is perfectly straight both vertically and horizontally.
- Fill the hole around the post with concrete mix. Pour the concrete gradually, adding water as per the instructions on the concrete mix bag. Ensure that the concrete completely fills the hole and surrounds the post.
- As you pour the concrete, use a trowel or shovel to evenly distribute it around the post and remove any air pockets. Continue to add concrete until the hole is completely filled and the post is firmly set.
- Check the post alignment and levelness one more time before the concrete sets. Make any necessary adjustments to ensure that each post is perfectly vertical and level.
- Repeat this process for each fence post, ensuring consistent spacing and alignment along the fence line.
- Allow the concrete to dry and cure as per the instructions on the concrete mix bag. This usually takes about 24-48 hours. Avoid placing any weight or strain on the posts until the concrete has fully cured.
Setting the fence posts correctly is crucial for the stability and durability of your wrought iron fence. By following these steps and taking the time to ensure that each post is properly aligned, leveled, and securely set in the ground, you are laying the foundation for a sturdy and long-lasting fence.
Once the fence posts are set and the concrete has cured, you can move on to the next step: attaching the fence panels.
Before installing a wrought iron fence, make sure to check local zoning laws and obtain any necessary permits. This will ensure that your fence is installed in compliance with regulations.
Read more: What Is A Wrought Iron Fence
Step 5: Attach the Fence Panels
Attaching the fence panels is an exciting step that brings your wrought iron fence to life. This is where you will see the visual impact of the fence and the intricate design patterns come together. Here is how you can attach the fence panels:
- Start by positioning the first fence panel between two adjacent posts. Ensure that the panel is aligned with the top and bottom of the posts.
- Using appropriate fasteners such as screws or bolts, attach the fence panel to the posts. The type of fasteners will depend on the specific design of your fence and the manufacturer’s recommendations.
- Make sure to securely fasten the panels to the posts, ensuring that they are tightly secured and stable.
- Continue this process for each fence panel, attaching them to the corresponding fence posts.
- Ensure that there is a consistent spacing between each fence panel to maintain an aesthetically pleasing appearance.
- Double-check the alignment of each fence panel to ensure that they are straight and level. Make any necessary adjustments to maintain a uniform and visually appealing fence line.
It is essential to follow the manufacturer’s instructions when attaching the fence panels. They may provide specific guidelines on the installation process, including the recommended fasteners and techniques for a secure attachment.
Once you have attached all the fence panels, you can proceed to the next step: installing the gate. The gate will serve as the entry and exit point for your wrought iron fence, offering convenience and accessibility.
By carefully attaching the fence panels, you are ensuring that your wrought iron fence not only looks visually appealing but also provides the necessary security and functionality for your property.
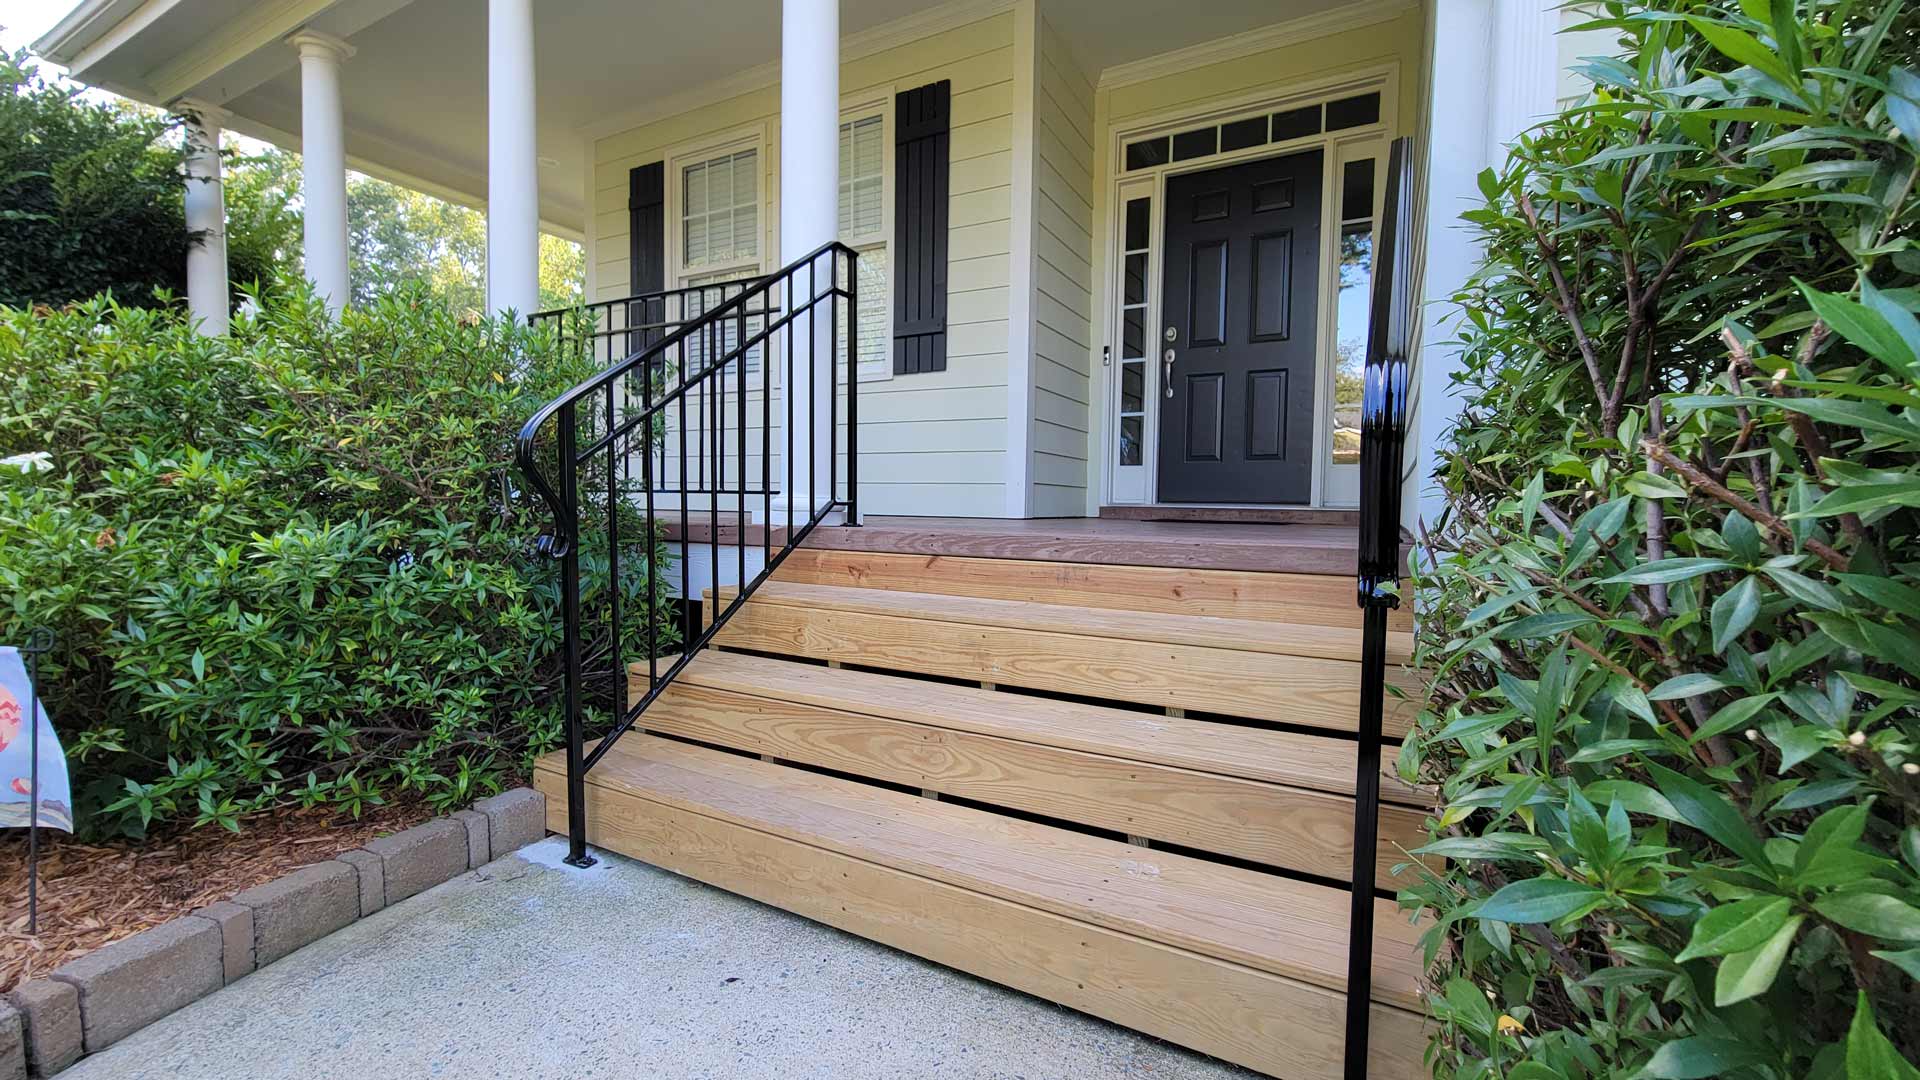
Step 6: Install the Gate
The gate is an essential component of your wrought iron fence, providing access and adding functionality to your outdoor space. Installing the gate requires careful attention to detail to ensure proper alignment, stability, and functionality. Here is how you can install the gate:
- Measure and mark the position of the gate opening. Determine the appropriate width for the gate based on your needs and the available space.
- Install the gate posts on either side of the gate opening. These posts should be secure and aligned with the rest of the fence posts. Use the same process as you did for setting the fence posts, ensuring they are level and firmly anchored in the ground.
- Attach hinges to one side of the gate and the corresponding gate post. The number of hinges required will depend on the size and weight of your gate. Ensure that the hinges are properly aligned and securely fastened.
- Hang the gate onto the hinges. Make sure the gate is level and aligned with the fence panels. Adjust the hinges if necessary to ensure a smooth and even swing of the gate.
- Install a latch or locking mechanism on the opposite side of the gate to secure it when closed. Choose a latch that is compatible with your gate design and offers the desired level of security.
- Test the gate by opening and closing it multiple times to ensure smooth operation and proper alignment. Make any necessary adjustments to the hinges or latch to achieve optimal functionality.
Installing the gate properly is crucial for its functionality and security. A well-installed gate should open and close smoothly, align with the fence panels, and provide reliable access to your property.
Once the gate is installed, you can move on to the next step: securing the fence panels. This step helps to reinforce the stability and longevity of your wrought iron fence.
By carefully installing the gate, you are completing the functional aspect of your wrought iron fence, ensuring that it not only provides security but also allows convenient entry and exit from your property.
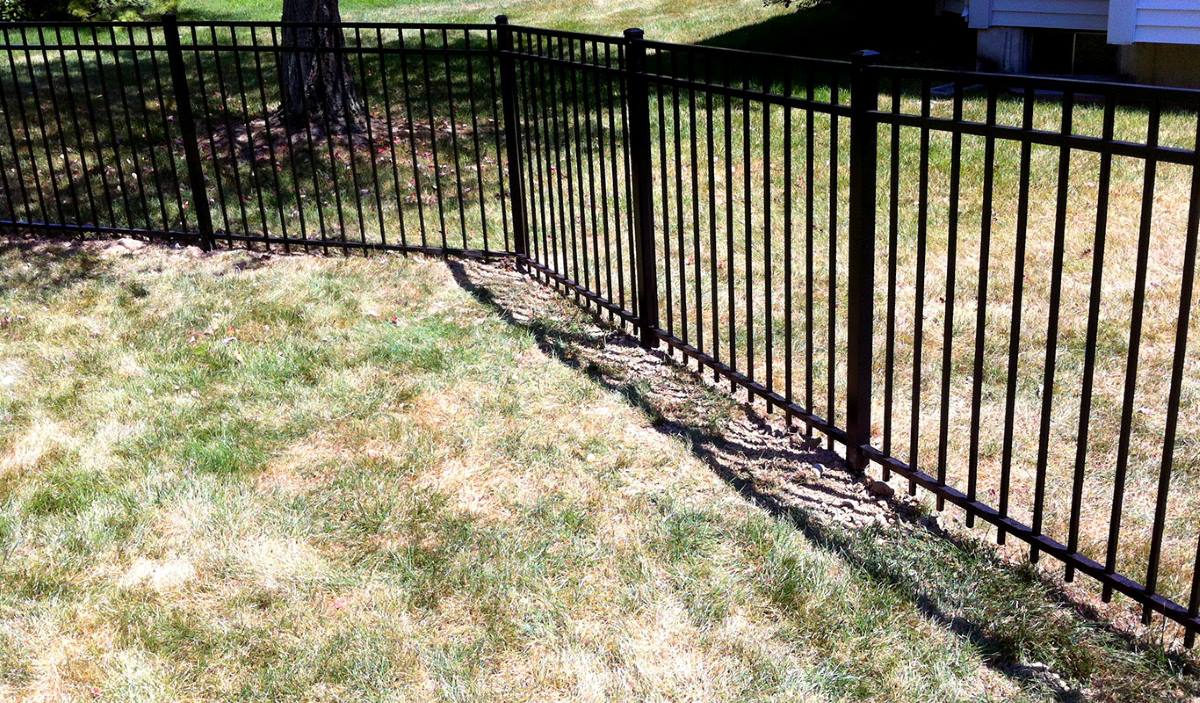
Step 7: Secure the Fence Panels
Securing the fence panels is an important step in ensuring the stability and durability of your wrought iron fence. By properly securing the panels, you can prevent shifting, rattling, or any potential damage caused by external forces. Here is how you can secure the fence panels:
- Inspect the attachment points between the fence panels and the fence posts. Check for any loose or missing fasteners that may need to be replaced.
- Tighten any screws, bolts, or brackets that are used to secure the fence panels to the posts. Ensure that they are firmly tightened to prevent any movement or rattling.
- Inspect the bottom of the fence panels to ensure they are properly seated in the ground or any base plates that may be used. Adjust as necessary to maintain a consistent and even appearance.
- If you notice any gaps between the fence panels, use additional fasteners or spacers to close the gaps and provide a seamless look.
- Check the overall alignment of the fence panels to ensure they are straight and level. Make any necessary adjustments to achieve a visually appealing and uniform fence line.
- Inspect the entire fence structure for any signs of weakness or damage. Address any issues promptly to prevent further deterioration.
Securing the fence panels is essential for the long-term integrity and functionality of your wrought iron fence. By regularly inspecting and tightening the fasteners, you can ensure that the panels remain securely attached, maintaining their original position and appearance.
Once the fence panels are properly secured, you can move on to the final step: adding the finishing touches to enhance the overall aesthetic appeal of your wrought iron fence.
By taking the time to secure the fence panels, you are investing in the longevity and structural integrity of your wrought iron fence, ensuring it remains a visually stunning and secure addition to your property for years to come.
Step 8: Add Finishing Touches
Adding the finishing touches to your wrought iron fence enhances its overall aesthetic appeal and completes the installation process. These final touches add a touch of personalization and attention to detail, elevating the overall look and feel of your fence. Here are some finishing touches you can consider:
- Paint or Stain: Apply a fresh coat of paint or stain to the wrought iron fence to protect it from rust and weathering. Choose a color that complements your property’s exterior and adds visual appeal.
- Ornamentation: Consider adding decorative elements such as finials or scrolls to the top of the fence panels or gate. These ornamental details can further enhance the elegance and character of your wrought iron fence.
- Landscaping: Incorporate landscaping elements around the fence to soften its appearance and blend it with the surrounding environment. Plant flowers, shrubs, or climbing vines to add beauty and greenery to the fence line.
- Lighting: Install outdoor lighting fixtures along the fence line to illuminate the area and enhance the security and visibility during the evenings. Choose fixtures that complement the style and design of your fence.
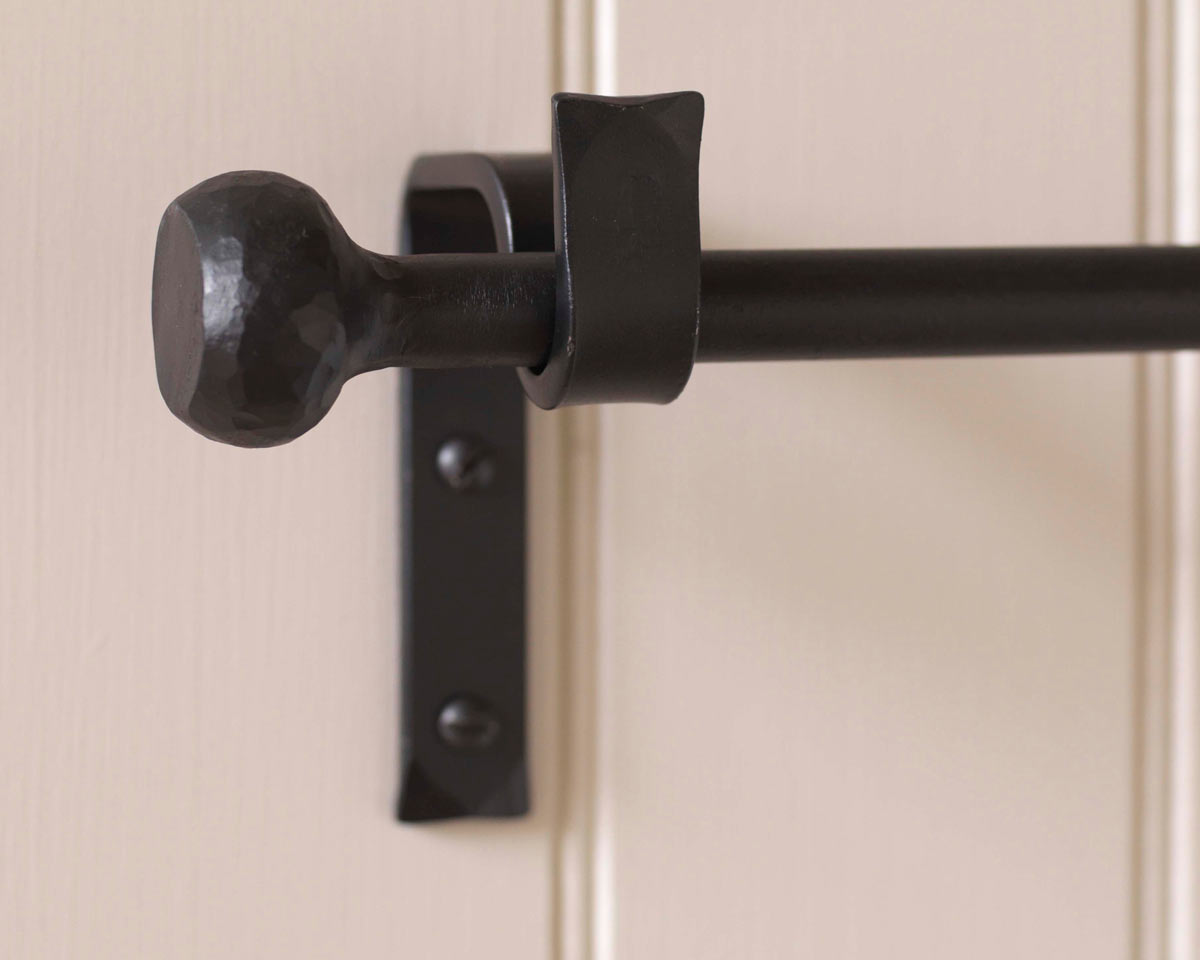
- Gate Hardware: Consider adding decorative gate hardware, such as ornate handles or hinges, to enhance the charm and functionality of your gate. These details can add a unique touch to your fence and make it stand out.
- Maintenance: Regularly inspect and maintain your wrought iron fence to ensure its longevity. Remove any debris, inspect for signs of rust or damage, and make necessary repairs or touch-ups as needed.
Adding these finishing touches not only enhances the beauty and visual appeal of your wrought iron fence but also adds your personal touch to the overall design. These details make your fence unique and reflect your style and taste.
With the completion of these finishing touches, your installation of a wrought iron fence is now complete. Congratulations on successfully installing a durable, elegant, and secure addition to your property! Enjoy the beauty and functionality that your wrought iron fence brings to your outdoor space for years to come.
Read more: How Much Does A Wrought Iron Fence Cost
Conclusion
Installing a wrought iron fence is a rewarding project that adds beauty, security, and value to your property. Throughout this step-by-step guide, we have walked you through the process of installing a wrought iron fence, from gathering the necessary materials and tools to adding the finishing touches. By following these steps, you can successfully install a durable, elegant, and secure fence that will enhance your outdoor space for years to come.
We began by emphasizing the benefits of a wrought iron fence, including its strength, durability, and timeless elegance. We discussed the importance of careful planning, including understanding local building codes and regulations, considering the layout of your property, and identifying any potential obstacles that may impact the installation process.
We then dove into each step of the installation process. We covered how to gather the materials and tools, measure and mark the fence layout, prepare the ground, set the fence posts, attach the fence panels, install the gate, secure the fence panels, and add the finishing touches. Each step is crucial in ensuring a successful and long-lasting installation.
Throughout the guide, we emphasized the importance of attention to detail, alignment, and proper installation techniques. By carefully following each step and considering the specific needs of your property, you can achieve a visually stunning and functional wrought iron fence.
Finally, we highlighted the significance of maintaining and caring for your wrought iron fence. Regular inspections, cleaning, and maintenance will help preserve its beauty and structural integrity for years to come.
Now that you have the knowledge and understanding of how to install a wrought iron fence, it’s time for you to bring your vision to life. Enjoy the benefits of added security, privacy, and elegance that a wrought iron fence provides, and make your outdoor space truly remarkable.
Remember, if you have any doubts or questions during the installation process, consult with a professional or seek guidance from experts in the field. With the right mindset, tools, and attention to detail, you can successfully install a wrought iron fence that will enhance the value and appeal of your property for years to come.
Frequently Asked Questions about How To Install A Wrought Iron Fence
Was this page helpful?
At Storables.com, we guarantee accurate and reliable information. Our content, validated by Expert Board Contributors, is crafted following stringent Editorial Policies. We're committed to providing you with well-researched, expert-backed insights for all your informational needs.


0 thoughts on “How To Install A Wrought Iron Fence”