Home>Furniture>Outdoor Furniture>How To Repaint Wrought Iron Patio Furniture
Outdoor Furniture
How To Repaint Wrought Iron Patio Furniture
Modified: August 28, 2024
Learn how to repaint your outdoor furniture with our step-by-step guide. Bring new life to your wrought iron patio furniture and enjoy the fresh look in your outdoor space.
(Many of the links in this article redirect to a specific reviewed product. Your purchase of these products through affiliate links helps to generate commission for Storables.com, at no extra cost. Learn more)
Introduction
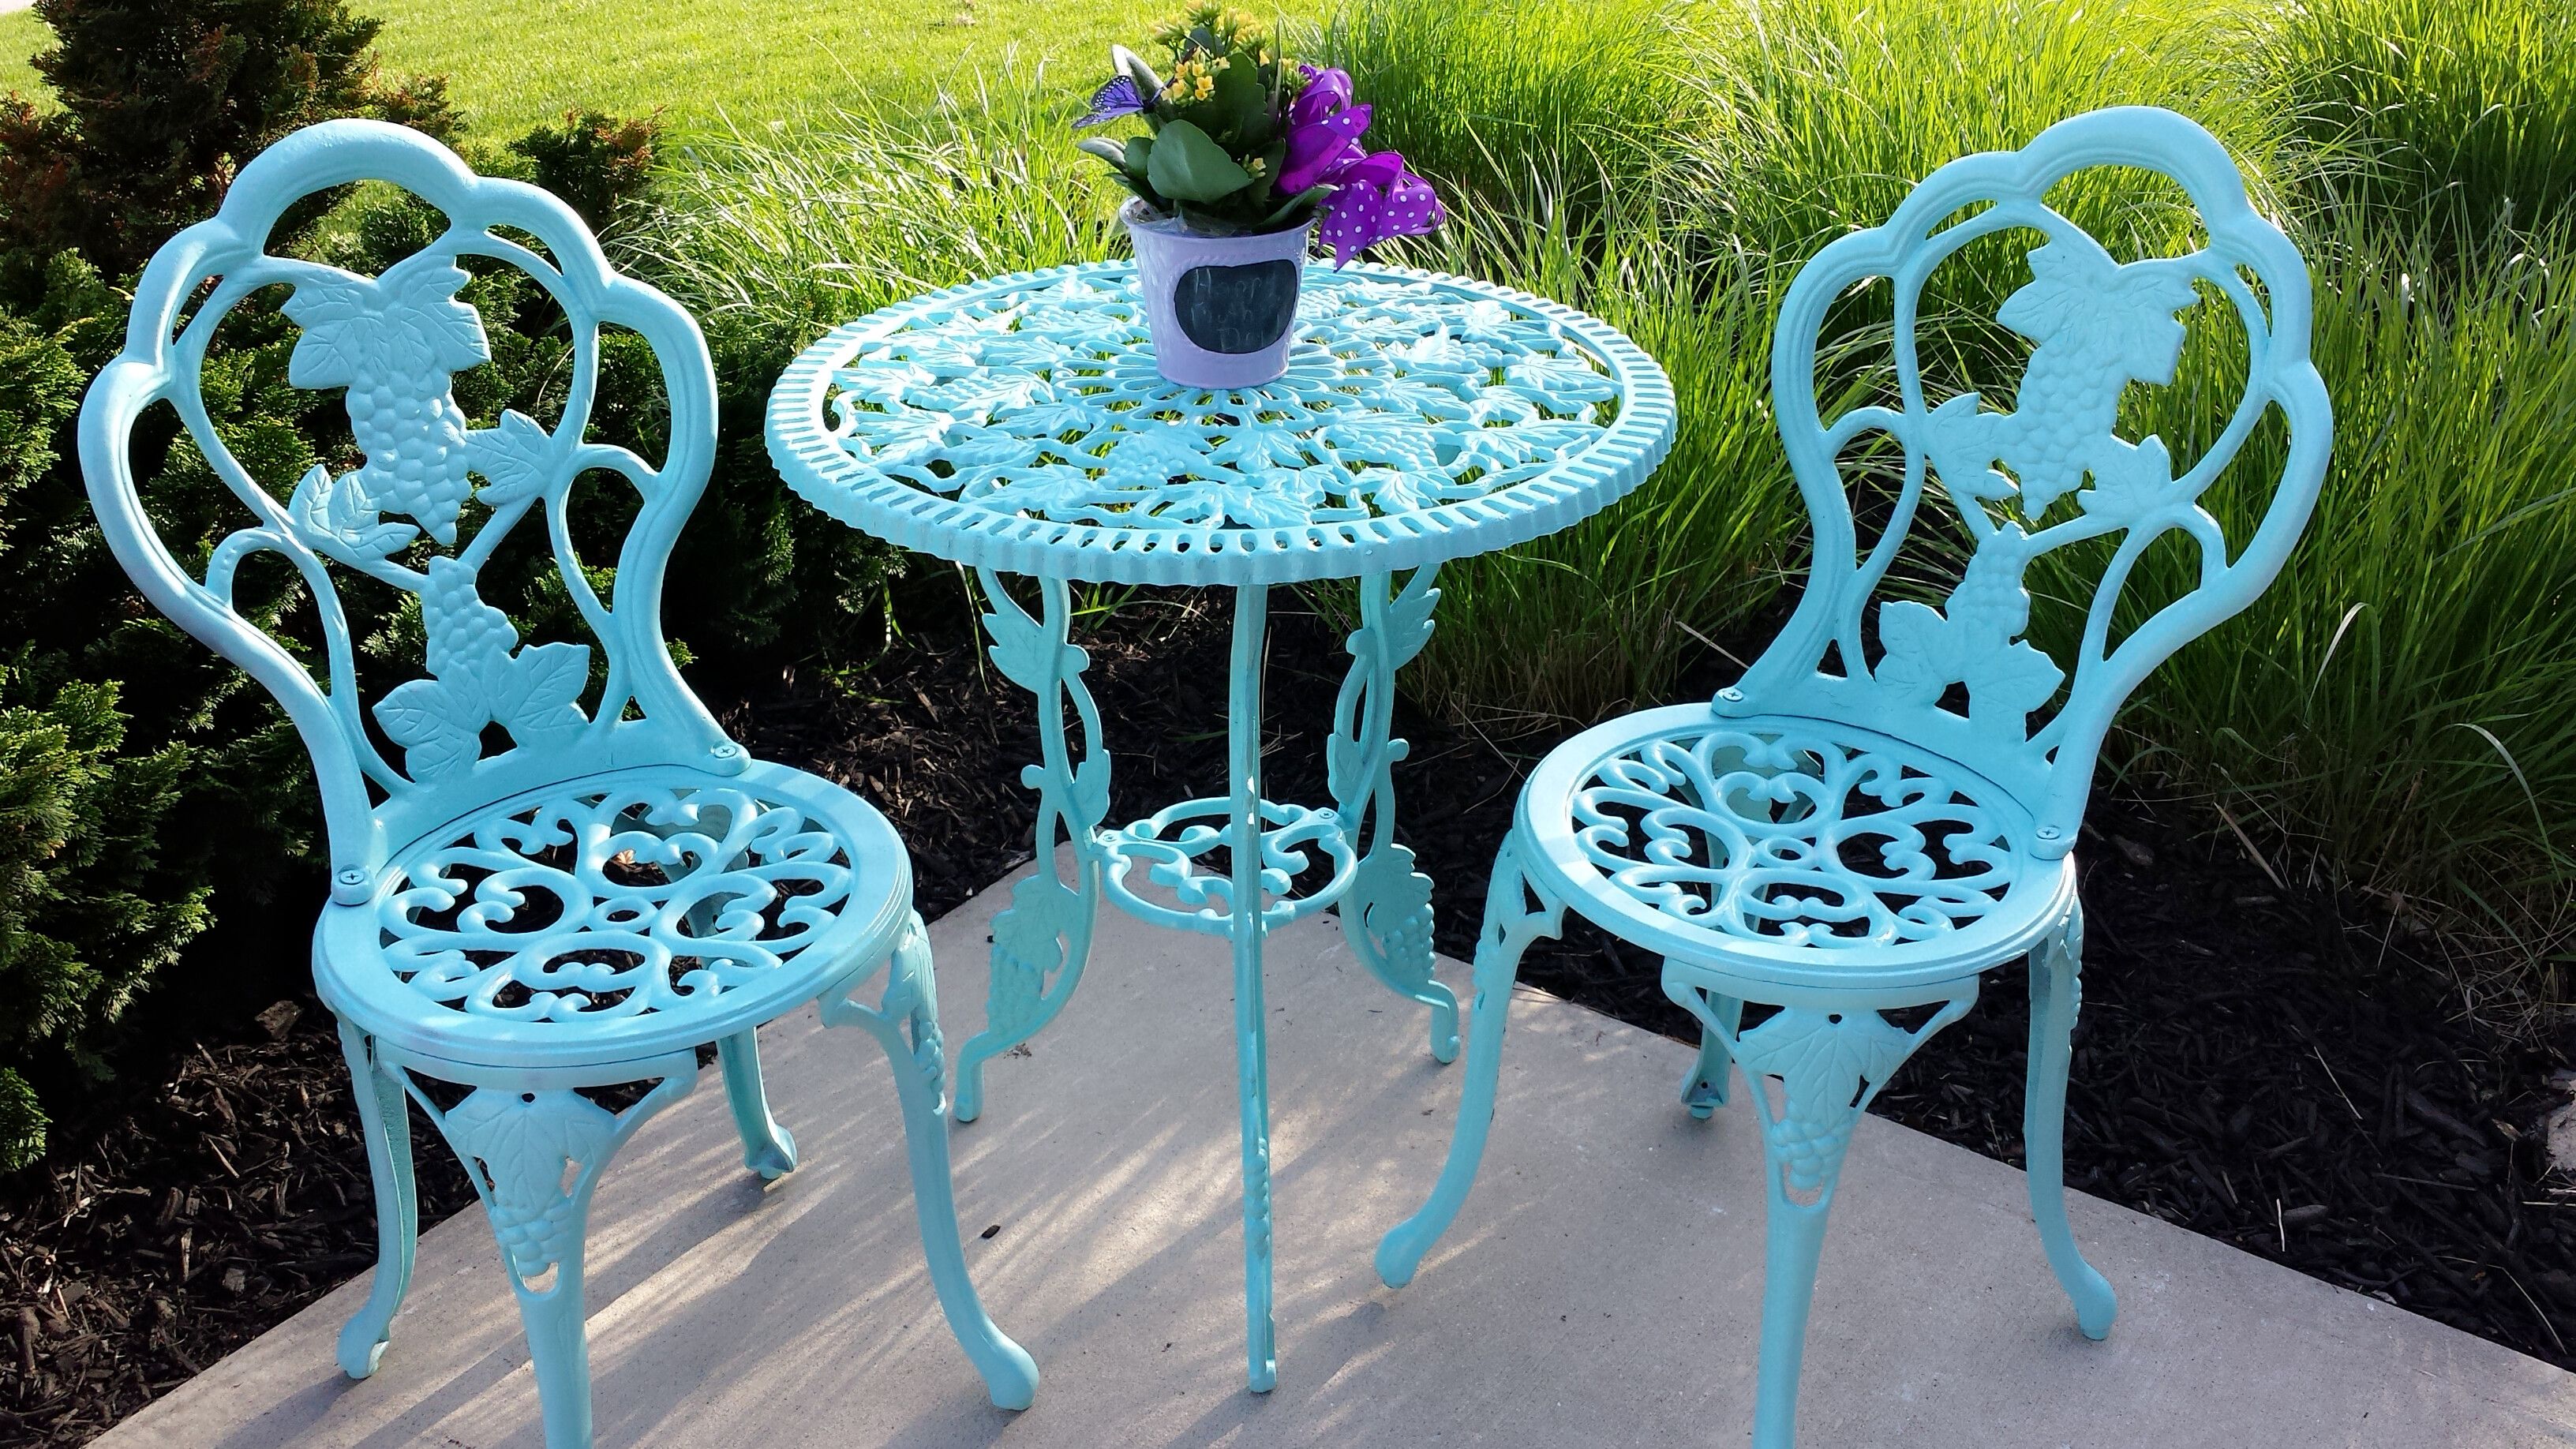
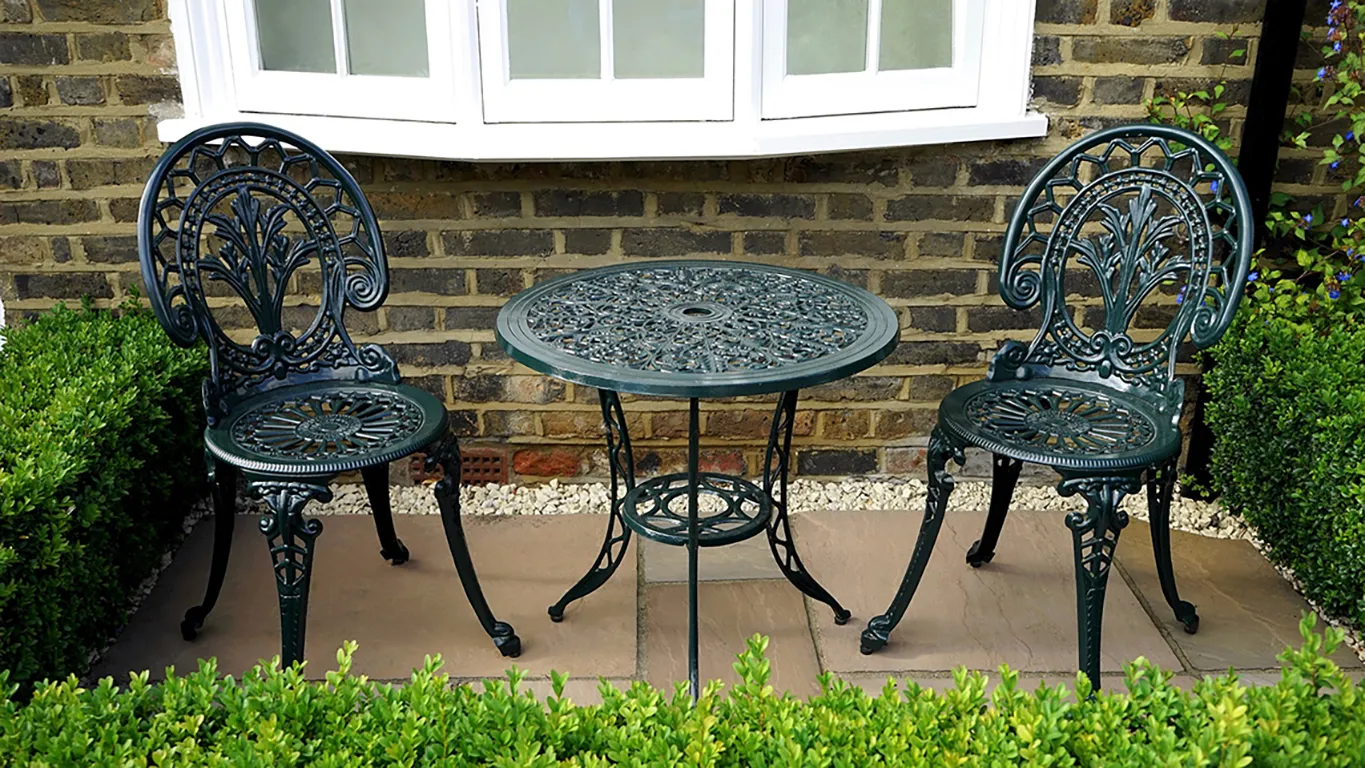
Welcome to the world of outdoor furniture! Whether you have a spacious backyard or a cozy patio, investing in quality furniture can transform your outdoor living space into a relaxing oasis. One popular choice that combines durability and timeless elegance is wrought iron patio furniture.
Wrought iron furniture is known for its sturdy construction and intricate designs. However, over time, exposure to the elements can cause the paint to fade and the metal to rust. If your wrought iron furniture is starting to show signs of wear and tear, don’t worry! With a little bit of time and effort, you can restore its beauty and protect it from further damage by repainting it.
In this article, we will guide you through the process of repainting your wrought iron patio furniture. Whether you want to update the color or rejuvenate its appearance, following these steps will ensure a successful and long-lasting finish.
Before we begin, make sure you have all the necessary supplies on hand. You will need paint primer, spray paint specifically designed for metal, paintbrushes, sandpaper or a wire brush, and protective gear such as gloves and a mask. Additionally, it’s important to choose a well-ventilated area for this project to ensure that fumes from the paint do not become overwhelming.
Now that you have everything ready, let’s dive into the step-by-step process of repainting your wrought iron patio furniture. By the end of this article, you’ll have your outdoor furniture looking as good as new, ready for many more seasons of enjoyment.
Key Takeaways:
- Revitalize your outdoor space by repainting wrought iron patio furniture. Follow simple steps to prepare, protect, and paint for a vibrant and long-lasting finish. Enjoy your DIY project and outdoor oasis!
- Transform worn-out wrought iron furniture into a beautiful outdoor centerpiece. With proper cleaning, priming, and painting, you can revamp your patio space and create lasting memories. Happy painting!
Step 1: Prepare the Furniture
Before you can begin repainting your wrought iron patio furniture, it’s essential to properly prepare the surface. This ensures that the new paint adheres well and provides a smooth and flawless finish. Here are the three key steps to follow when preparing your furniture:
Cleaning the Furniture
The first step is to clean your furniture thoroughly. Remove any dirt, dust, or debris using a soft brush or a cloth. You can also use a mild detergent and water solution to clean more stubborn stains. Rinse the furniture with clean water and allow it to dry completely. This step is crucial as it allows the paint to adhere properly to the surface.
Removing Old Paint or Rust
If your wrought iron furniture has any existing paint that is chipping or peeling, it’s important to remove it before applying a new coat. You can use a paint scraper or a wire brush to strip away the old paint. If there is any rust present, you can remove it with sandpaper or a wire brush. Make sure to wear gloves and a mask to protect yourself during this process.
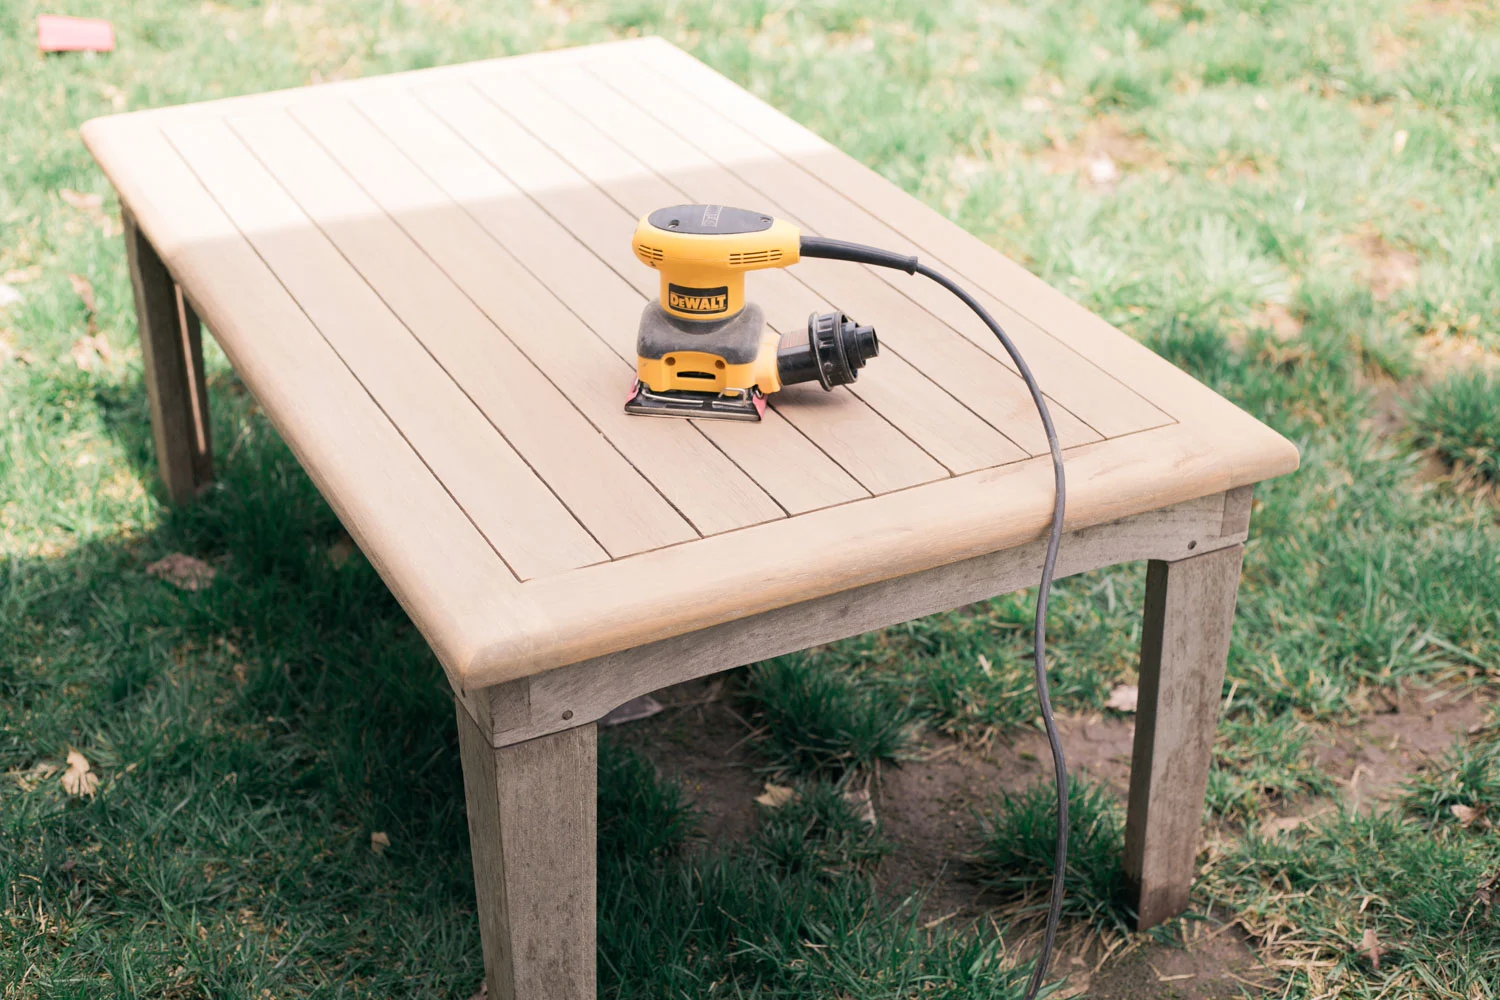
Sanding the Surface
After removing the old paint or rust, sanding the surface will help smoothen out any rough patches or imperfections. Use sandpaper with a medium grit and gently sand the entire surface of the furniture. This step helps create a clean and even base for the new paint to adhere to. Once you’ve finished sanding, wipe away any dust or debris with a clean cloth.
By properly preparing your wrought iron patio furniture, you’ll ensure that the new paint adheres well and provides a durable finish. Now that your furniture is clean, free of old paint, and has a smooth surface, it’s time to move on to the next step of the repainting process.
Read more: How To Repaint Cast Aluminum Patio Furniture
Step 2: Protect the Surrounding Area
As you prepare to repaint your wrought iron patio furniture, it’s essential to take precautions to protect the surrounding area. This will help prevent any accidental paint splatters or stains on your outdoor flooring or nearby objects. Here are two simple steps to follow:
Covering the Ground
Start by covering the ground beneath your furniture with a protective layer. You can use a tarp, old newspapers, or even cardboard to create a barrier between the painted furniture and the ground. This will catch any paint drips and make cleanup much easier afterwards.
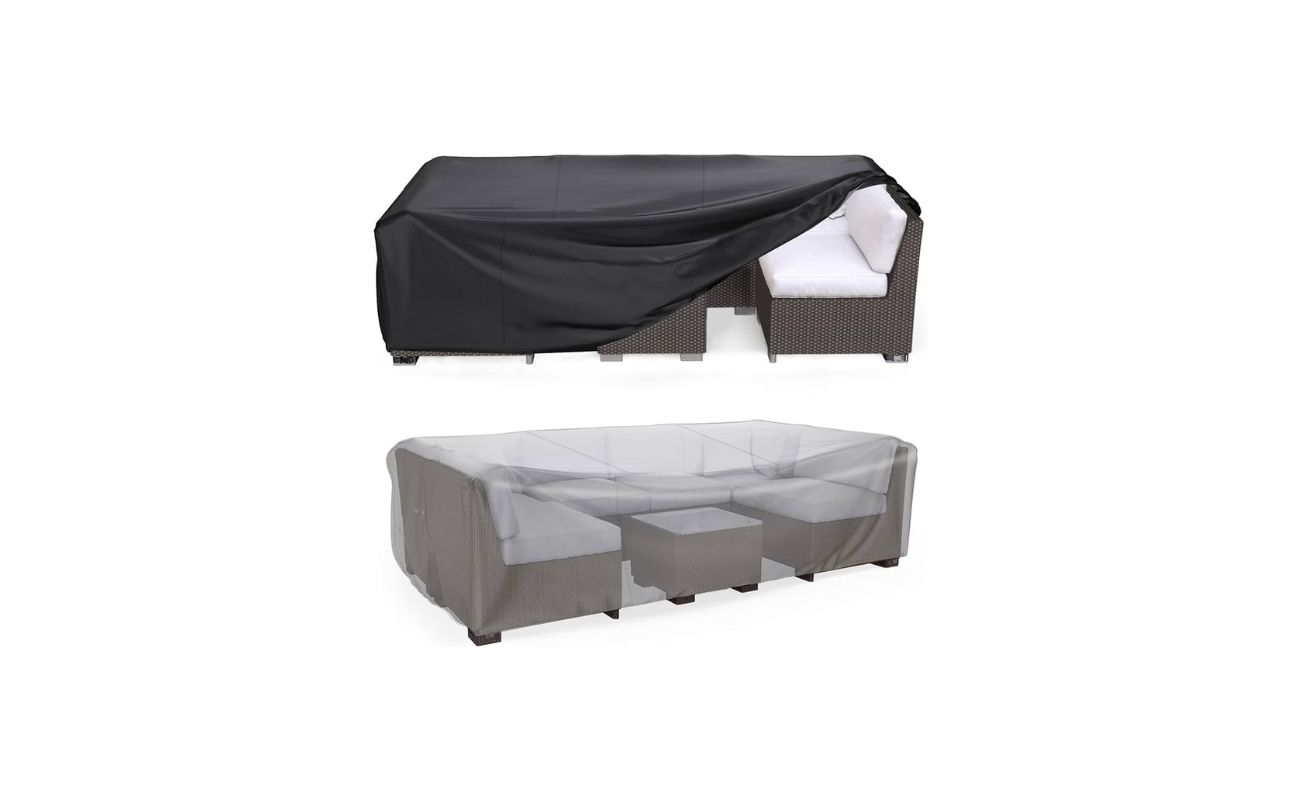
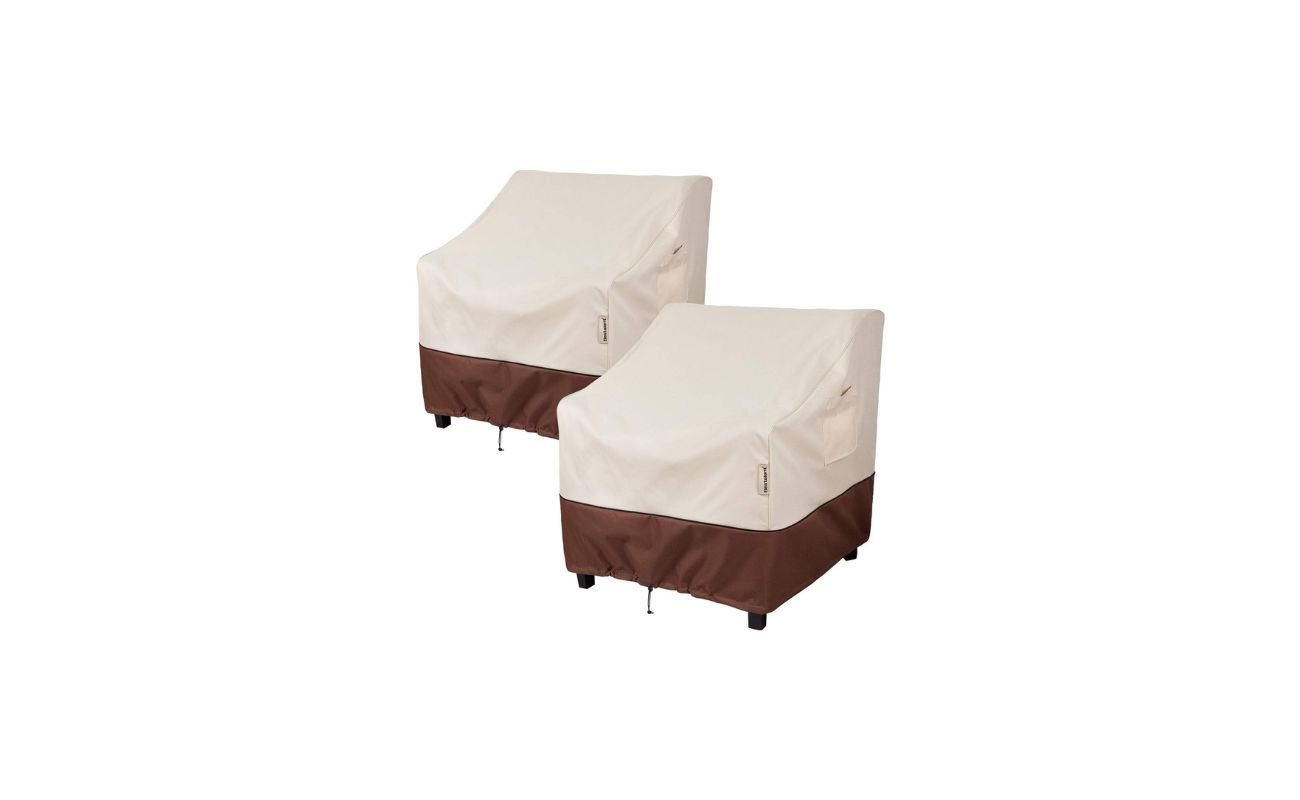
Using Drop Cloths or Plastic Sheets
Next, use drop cloths or plastic sheets to cover any nearby objects or surfaces that you want to keep paint-free. This includes nearby plants, walls, or other pieces of furniture. Secure the drop cloths or plastic sheets with tape or clips to ensure they stay in place throughout the painting process.
By taking the time to protect the surrounding area, you can paint your wrought iron furniture without worrying about accidental spills or stains. This step also makes the cleanup process more straightforward, allowing you to enjoy your newly painted furniture without any unwanted mess.
Step 3: Gather the Necessary Supplies
Before you start repainting your wrought iron patio furniture, it’s essential to gather all the necessary supplies. Having the right tools and materials on hand will ensure a smooth and successful painting process. Here are the key supplies you’ll need:
Read more: How To Restore Iron Patio Furniture
Paint Primer
A paint primer is a crucial step in the repainting process, especially for metal surfaces like wrought iron. The primer helps create a smooth and even base for the paint, improves adhesion, and enhances the longevity of the paint job. Make sure to use a primer specifically designed for metal surfaces.
Spray Paint Specifically for Metal
Choose a high-quality spray paint that is specifically formulated for metal surfaces. Look for paint labeled as suitable for outdoor use, as it will be more resistant to the elements. It’s also essential to select a color that matches your desired aesthetic. Spray paint allows for even coverage and easy application, making it an ideal choice for repainting large items like patio furniture.
Paintbrushes
While spray paint is the primary application method, having a few paintbrushes on hand can be useful for touch-ups or reaching intricate areas. Opt for brushes with synthetic bristles that are suitable for use with the type of paint you’ve chosen. Having different brush sizes will give you more flexibility in achieving the desired finish.
Sandpaper or Wire Brush
Throughout the repainting process, you may need to do some light sanding or scrubbing to remove any rough patches or lingering rust. Sandpaper with varying grits or a wire brush can help prepare the surface of the furniture, ensuring optimal adhesion of the primer and paint.
By gathering these essential supplies before you begin, you’ll have everything you need to complete the repainting process efficiently and effectively. These tools and materials will help you achieve a beautiful and long-lasting finish on your wrought iron patio furniture.
Read more: How To Clean Iron Patio Furniture
Step 4: Prime the Furniture
Now that you have prepared your wrought iron patio furniture and gathered all the necessary supplies, it’s time to start priming the surface. Applying a coat of primer is a vital step in the painting process, as it helps the paint adhere better and ensures a smooth and durable finish. Follow these steps to prime your furniture:
Applying the Primer Evenly
Using a paintbrush or a spray can, apply the primer to the entire surface of the furniture. Make sure to cover both the visible areas and any hard-to-reach spots or intricate designs. Apply the primer in thin, even coats, ensuring that the coverage is consistent. Take your time and pay attention to detail to achieve the best results.
Allowing it to Dry
After applying the primer, allow it to dry completely. Refer to the manufacturer’s instructions for the recommended drying time. It’s crucial to give the primer sufficient time to cure and create a solid base for the paint. Avoid touching or moving the furniture while the primer is drying to prevent any smudges or marks.
Priming your furniture is an essential step that helps the paint adhere better and provides a smooth and even surface for the final coat. A well-primed piece of furniture will have a more professional and long-lasting finish. Once the primer is fully dried, you’re ready to move on to the next exciting step: applying the paint.
Step 5: Apply the Paint
Now that you have primed your wrought iron patio furniture and allowed the primer to dry, it’s time to apply the paint. This step will bring your furniture back to life with a fresh and vibrant color. Follow these steps to ensure a smooth and even application:
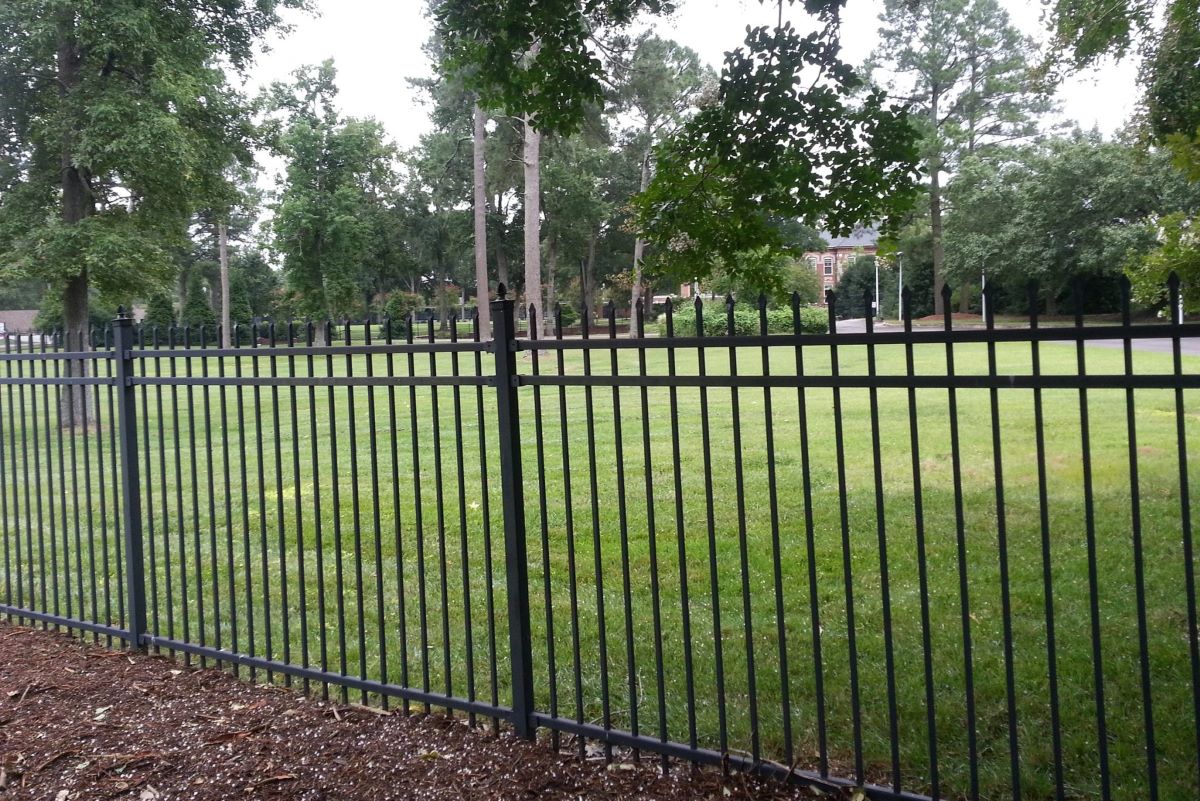
Read more: How To Paint Wrought Iron Fence
Shaking the Spray Paint Can
Before starting, shake the spray paint can vigorously for about a minute. This ensures that the paint is thoroughly mixed and ready to be applied. Properly shaking the can will help achieve a consistent color and prevent any streaking or unevenness in the paint.
Holding the Can at the Correct Distance
Hold the spray paint can at the recommended distance from the furniture, usually around 8 to 12 inches. This distance ensures that the paint is sprayed evenly onto the surface without causing excessive drips or build-up. Keep the can in constant motion while spraying to avoid concentrated spots of paint.
Spraying the Furniture Evenly
Starting from one end of the furniture, apply a light coat of paint in a sweeping motion. Keep the spray can parallel to the surface and move your hand smoothly to cover the entire area. Overlapping each pass slightly will help achieve even coverage. It’s better to apply multiple thin coats rather than one thick coat to avoid drips and ensure a smooth finish.
Take your time and pay attention to detail as you spray the furniture. It’s important to achieve an even and consistent layer of paint for the best results. Allow each coat to dry fully before applying the next one, following the manufacturer’s instructions for the recommended drying time.
By carefully following these steps, you can achieve a professional-looking paint job on your wrought iron patio furniture. The vibrant new color will breathe new life into your outdoor space and make your furniture look as good as new.
Step 6: Let the Paint Dry
After applying the paint to your wrought iron patio furniture, it’s crucial to let it dry fully before moving or using the furniture. Proper drying ensures that the paint sets and hardens, providing a durable and long-lasting finish. Follow these guidelines to ensure sufficient drying time:
Read more: How To Replace Wrought Iron Porch Railing
Allowing Sufficient Drying Time
Refer to the paint manufacturer’s instructions for the recommended drying time. Factors such as temperature and humidity can affect drying times, so be sure to account for these variables. It’s important not to rush the drying process to prevent smudges, fingerprints, or damage to the paint. Allow ample time for the paint to cure and harden before proceeding to the next step.
Avoid touching or handling the furniture until the paint is completely dry. If you’ve painted multiple coats, make sure each layer is fully dry before applying the next coat. Check for any specific instructions on the paint can regarding drying times and curing processes.
During the drying period, it’s advisable to keep the furniture in a well-ventilated area with good airflow. This helps the paint dry evenly and reduces the chance of any odors or fumes lingering. Patience is key in this step, as proper drying ensures the longevity and durability of your painted wrought iron furniture.
Take this time to plan and prepare the area where you will reassemble the furniture. Clean up any remaining paint cans or materials and clear the surrounding space. Once the paint is completely dry, you can move on to the final steps of inspecting and touching up the furniture.
Step 7: Inspect and Touch Up
Once the paint on your wrought iron patio furniture has dried, it’s time to inspect the surface for any missed spots or imperfections. This step ensures that your furniture looks flawless and allows you to make any necessary touch-ups. Follow these steps to thoroughly inspect your painted furniture:
Checking for Missed Spots or Imperfections
Closely examine the surface of the furniture to identify any areas where the paint may have missed or where imperfections are visible. Look for light spots or uneven coverage that may need to be addressed. It’s common for certain angles or intricate details to be missed during the painting process.
Applying Additional Coats if Needed
If you notice any missed spots or imperfections, apply additional coats of paint to those areas. Use a brush or a spray can, depending on the size and accessibility of the area. Take care to match the color and consistency of the existing paint to ensure a seamless finish. Allow each touch-up coat to dry fully before re-evaluating the results.
During this step, you can also evaluate the overall appearance of the furniture and determine if additional coats of paint are necessary for a more vibrant or evenly coated finish. Remember to follow the manufacturer’s instructions on drying times between coats to ensure proper adhesion and longevity. It’s better to apply thin, even coats rather than thick layers of paint.
By thoroughly inspecting your painted furniture and making any necessary touch-ups, you’ll achieve a polished and professional look. This step helps ensure that your wrought iron patio furniture will be a beautiful addition to your outdoor space for years to come.
Read more: How To Cover Wrought Iron Porch Columns
Step 8: Reassemble and Enjoy
Congratulations! You’re in the final step of repainting your wrought iron patio furniture. Now it’s time to put everything back together and prepare to enjoy your refreshed outdoor space. Follow these steps to complete the process:
Putting the Furniture Back Together
Reassemble your furniture, ensuring that all screws, bolts, and fasteners are properly secured. If any parts were disassembled during the painting process, refer to the manufacturer’s instructions or any notes you took to ensure everything is returned to its original position.
Take your time during the reassembly process and double-check that all connections are secure. This step ensures that your furniture is sturdy and safe for use, allowing you to fully enjoy your outdoor space.
Cleaning up the Workspace
Once your furniture is back in place, it’s important to clean up the workspace. Dispose of any empty paint cans, used brushes, or other materials properly. Remove the drop cloths, tarps, or protective coverings from the surrounding area.
Wipe down or sweep the area to remove any dust or debris that may have accumulated during the repainting process. Properly dispose of any paint waste or cleaning agents according to local regulations or guidelines.
With the workspace clean and everything back in order, you’re ready to sit back, relax, and enjoy your newly painted wrought iron patio furniture. Whether you’re hosting a gathering, reading a book, or simply soaking up the sunshine, your refreshed outdoor space will provide a beautiful and inviting environment.
Remember to maintain your painted furniture by periodically cleaning it and keeping it protected from harsh weather conditions. This will help extend the life of your newly painted furniture and keep it looking its best for years to come.
Now that you’re finished, take a moment to appreciate your hard work and craftsmanship. Sit back, relax, and enjoy the beauty of your revitalized wrought iron patio furniture.
Conclusion
Repainting your wrought iron patio furniture can give it a new lease of life and transform your outdoor space. By following the steps outlined in this article, you’ve learned how to prepare, protect, and paint your furniture with confidence and precision.
Throughout the process, you learned the importance of cleaning the furniture, removing old paint or rust, and sanding the surface to create a smooth canvas for the paint. You also discovered the significance of protecting the surrounding area with drop cloths or plastic sheets to prevent any unwanted paint splatters or stains.
Gathering the necessary supplies, such as paint primer, spray paint specifically for metal, paintbrushes, and sandpaper, ensured that you had the right tools for the job. Applying the primer and paint evenly, while allowing sufficient drying time between coats, resulted in a flawless and long-lasting finish.
Along the way, you learned how to inspect and touch up your furniture, addressing any missed spots or imperfections. Finally, you reassembled the furniture, cleaned up your workspace, and prepared to enjoy your outdoor space with a rejuvenated and beautiful set of wrought iron patio furniture.
Remember to maintain your painted furniture by regularly cleaning it and keeping it protected from harsh weather conditions. With proper care, your newly painted furniture will continue to enhance your outdoor space for years to come.
Take pride in your DIY project, knowing that you have added personal flair and creativity to your outdoor decor. Enjoy the comfort and style of your revamped wrought iron patio furniture, and create lasting memories in your outdoor oasis.
Thank you for joining us on this journey of repainting wrought iron patio furniture. We hope this guide has been helpful in bringing new life to your outdoor living space. Happy painting and enjoy the refreshed look of your outdoor furniture!
Frequently Asked Questions about How To Repaint Wrought Iron Patio Furniture
Was this page helpful?
At Storables.com, we guarantee accurate and reliable information. Our content, validated by Expert Board Contributors, is crafted following stringent Editorial Policies. We're committed to providing you with well-researched, expert-backed insights for all your informational needs.


0 thoughts on “How To Repaint Wrought Iron Patio Furniture”