
Articles
How To Cream Butter Without Mixer
Modified: February 28, 2024
Discover effective techniques for creaming butter without a mixer in this informative article. Elevate your baking skills with these handy tips and tricks.
(Many of the links in this article redirect to a specific reviewed product. Your purchase of these products through affiliate links helps to generate commission for Storables.com, at no extra cost. Learn more)
Introduction
When it comes to baking, one of the most crucial steps is creaming butter. Creaming butter is the process of mixing softened butter with sugar to create a light, fluffy, and creamy texture. This step is vital in many recipes as it helps to incorporate air into the batter, which leads to a tender and moist final product.
Traditionally, creaming butter is done using a mixer, such as a stand mixer or a hand mixer. However, not everyone has access to these kitchen gadgets or prefers to use them. The good news is that you can still achieve perfectly creamed butter even without a mixer.
In this article, we will explore the traditional method of creaming butter with a mixer and also provide you with an alternative method to cream butter without a mixer. Whether you are a baking enthusiast or a novice in the kitchen, we will guide you through the step-by-step process of creaming butter without a mixer, and share some tips to help you achieve the perfect consistency.
Key Takeaways:
- Achieve light, fluffy, and creamy butter for baking without a mixer by following a hands-on approach. Soften butter, cut into chunks, and blend with sugar using a fork or pastry cutter for perfect results.
- Embrace the traditional or alternative method of creaming butter to enhance the texture, structure, and flavor of your baked goods. Whether using a mixer or a hands-on approach, achieve tender and moist treats with perfectly creamed butter.
Why Creaming Butter is Important
Creaming butter plays a crucial role in baking and can greatly affect the texture and overall outcome of your baked goods. Here are a few reasons why creaming butter is important:
- Incorporates air into the batter: When you cream butter, you are essentially beating air into it. The air bubbles created during this process help to aerate the batter, resulting in a lighter and fluffier texture.
- Creates a tender crumb: Creaming butter also helps to create a tender crumb in baked goods. The sugar acts as tiny blades, cutting into the butter and creating pockets that trap air. During baking, these air pockets expand, giving your cakes, cookies, and other baked treats a delicate and tender texture.
- Improves the structure of baked goods: Creaming butter with sugar allows the sugar crystals to create tiny air pockets in the butter. As you continue to mix, these pockets expand, creating a network that helps to hold the structure of the baked goods. This structure is essential for achieving a uniform rise, even browning, and overall stability in your baked treats.
- Affects the final flavor: Creaming butter also plays a role in the flavor of your baked goods. As you cream the butter with sugar, the sugar crystals cut into the butter, releasing its natural flavors. This process helps to distribute the butter’s flavor throughout the batter, resulting in a more pronounced and balanced taste.
Overall, creaming butter is a crucial step in baking that should not be overlooked. It helps to incorporate air, create a tender crumb, improve the structure, and enhance the flavor of your baked goods. Whether you are making cookies, cakes, or muffins, taking the time to cream your butter will make a noticeable difference in the final outcome of your baked treats.
Traditional Method: Creaming Butter with a Mixer
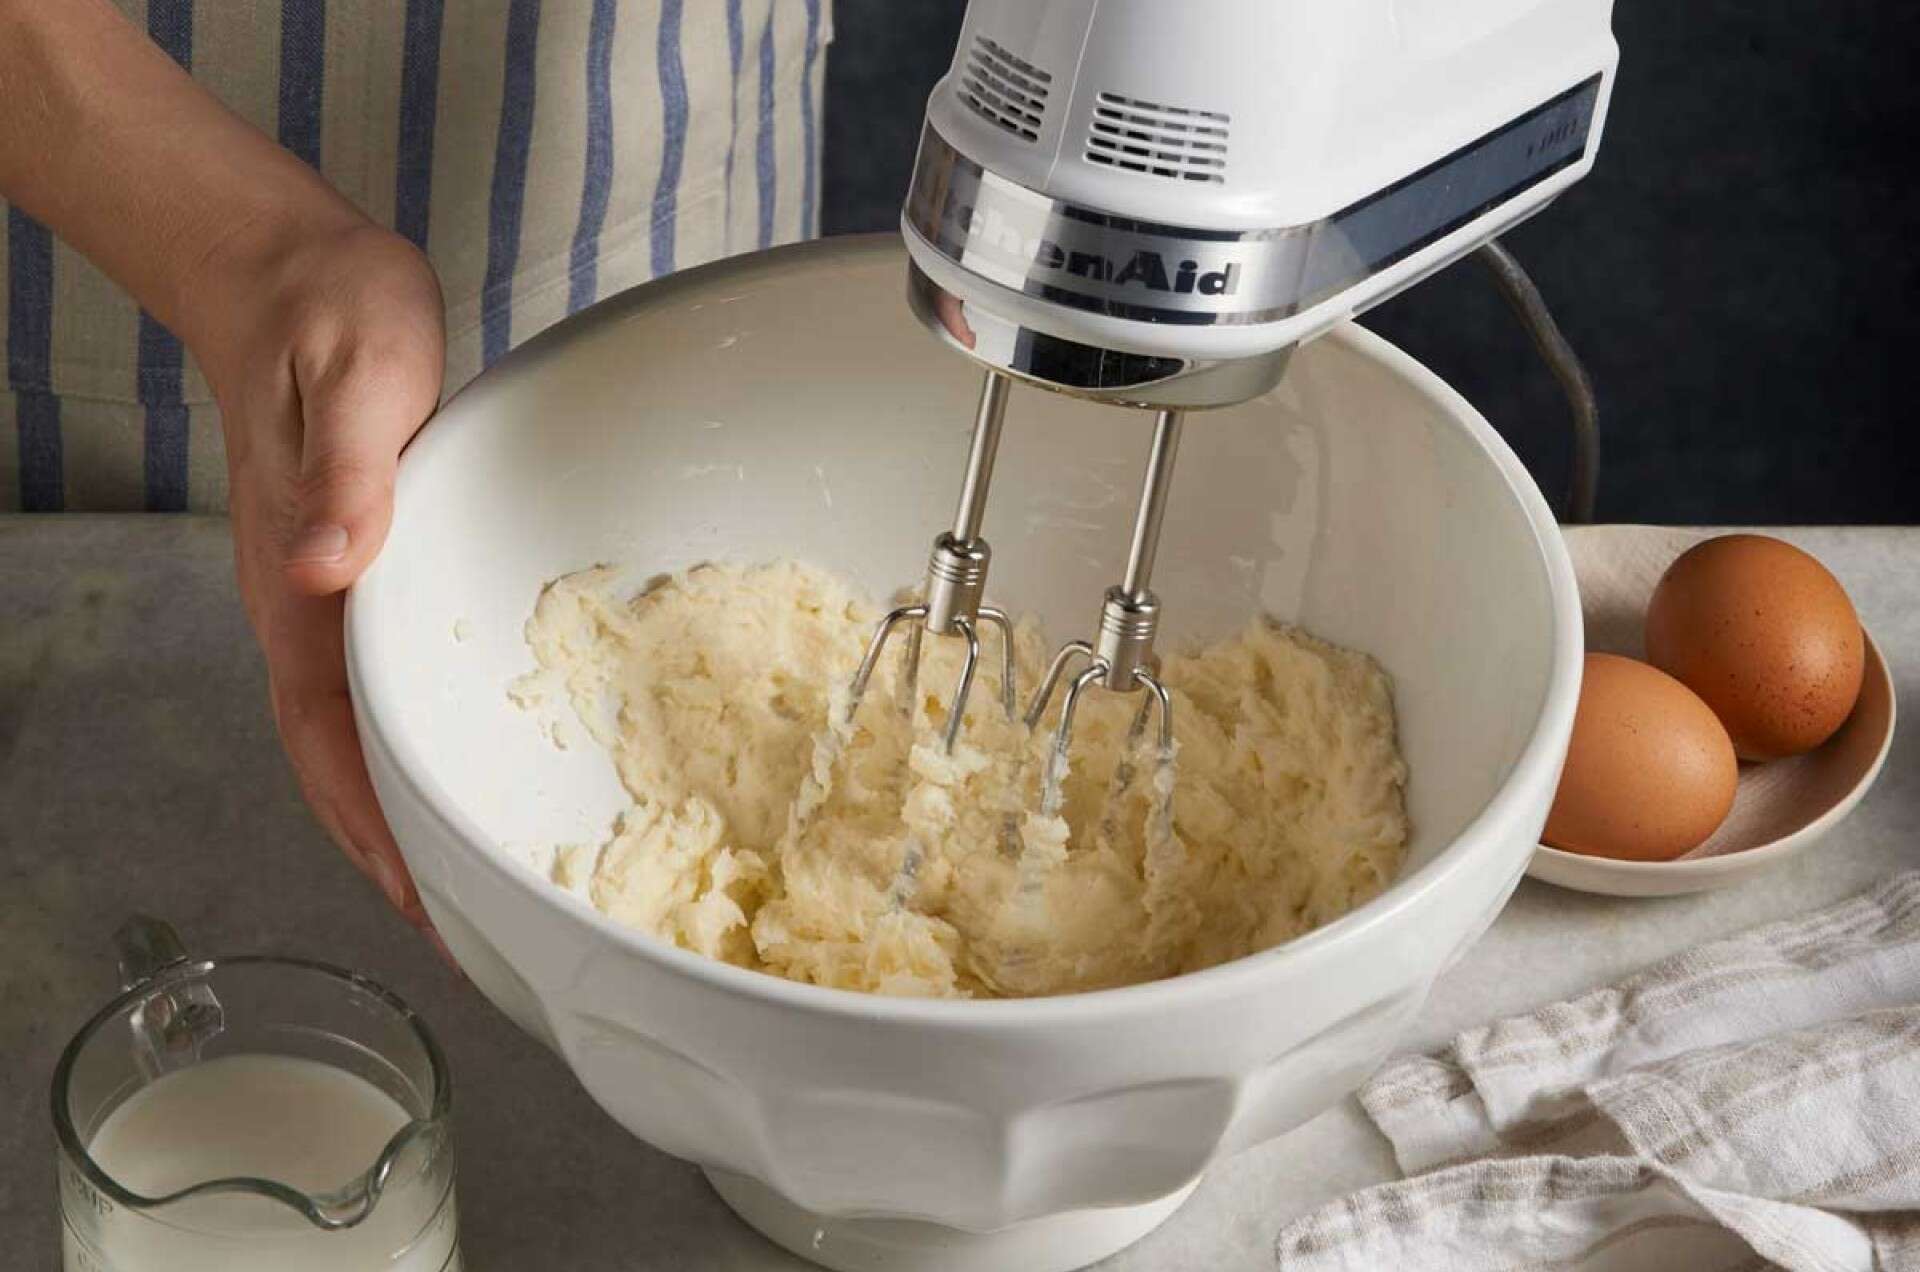
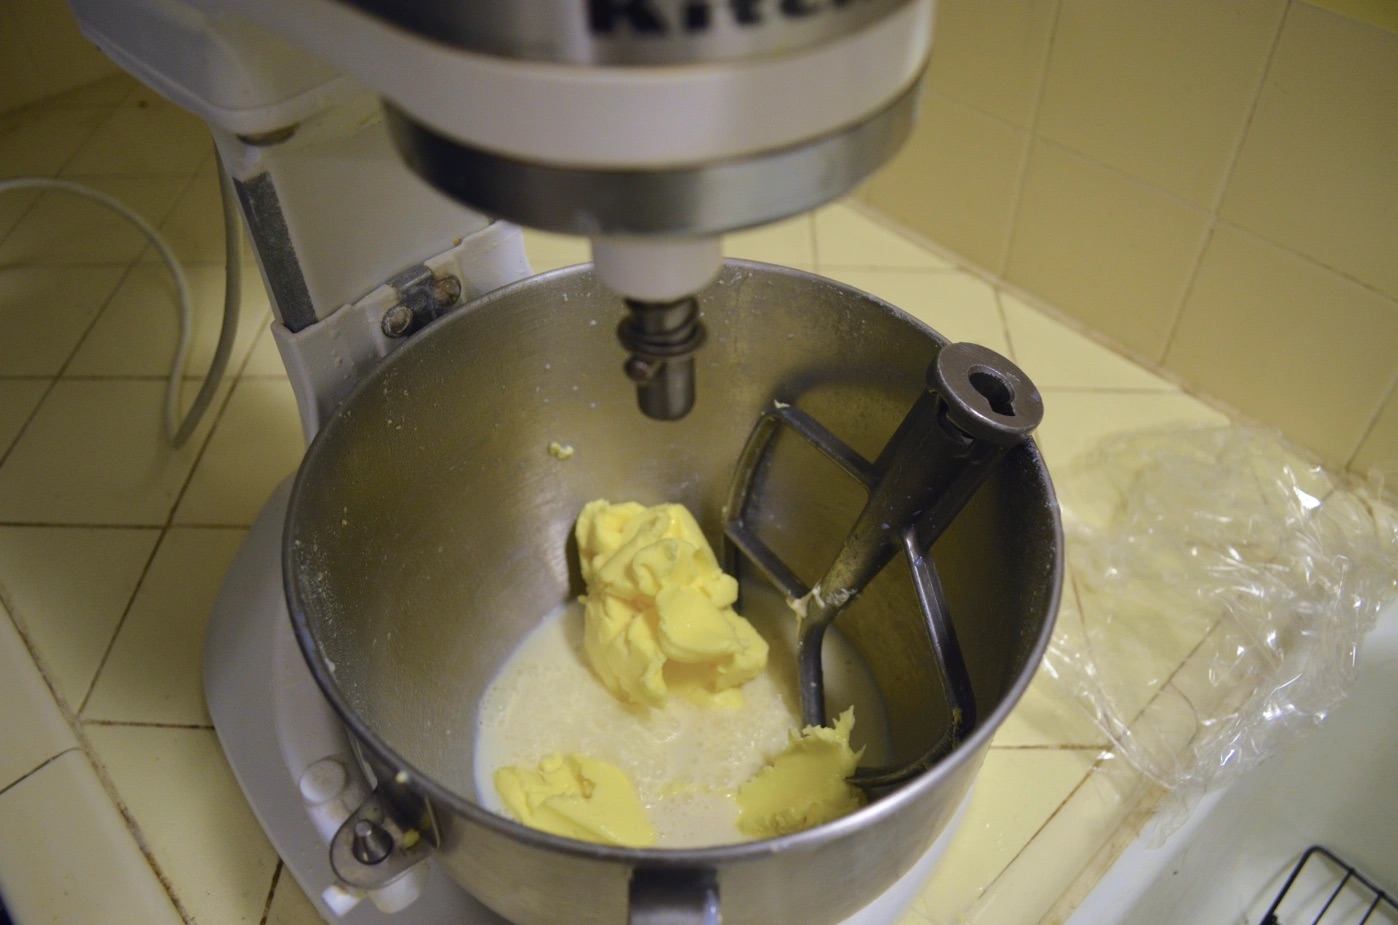
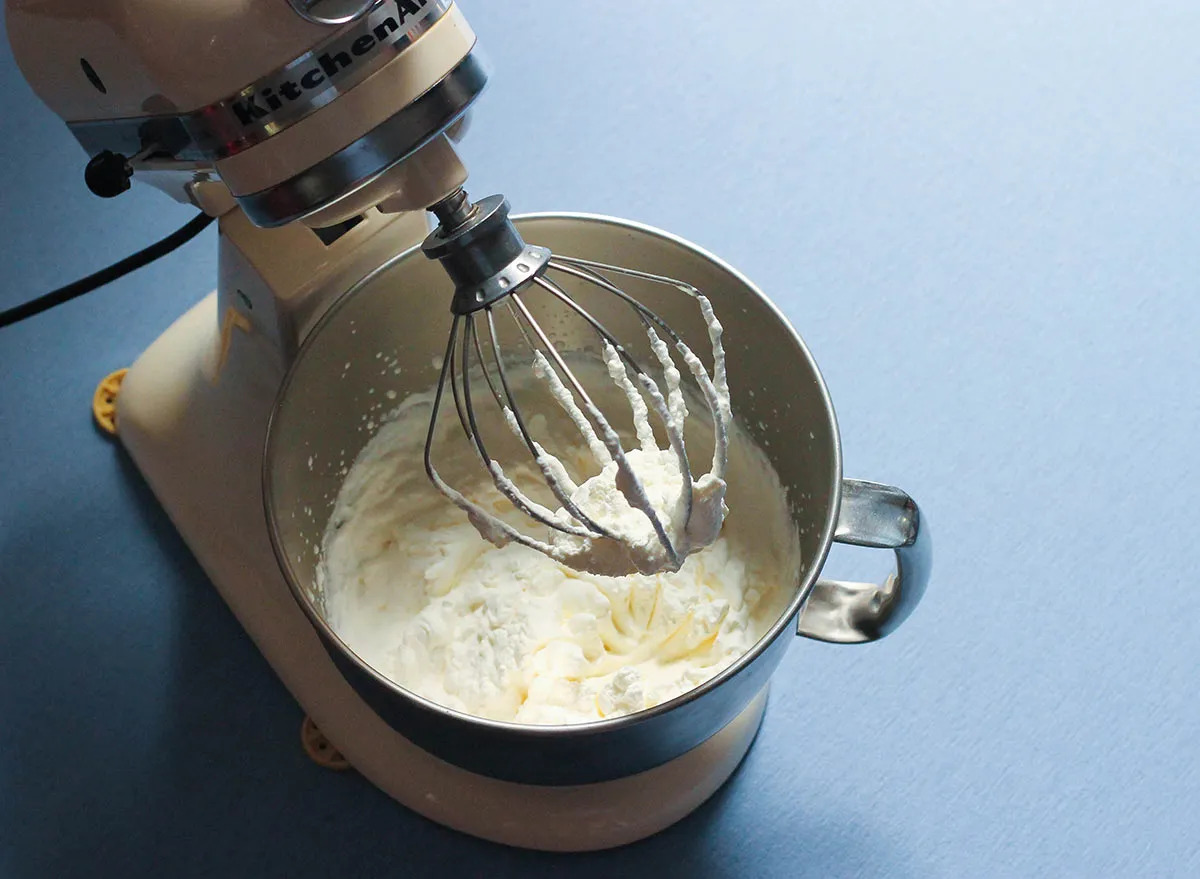
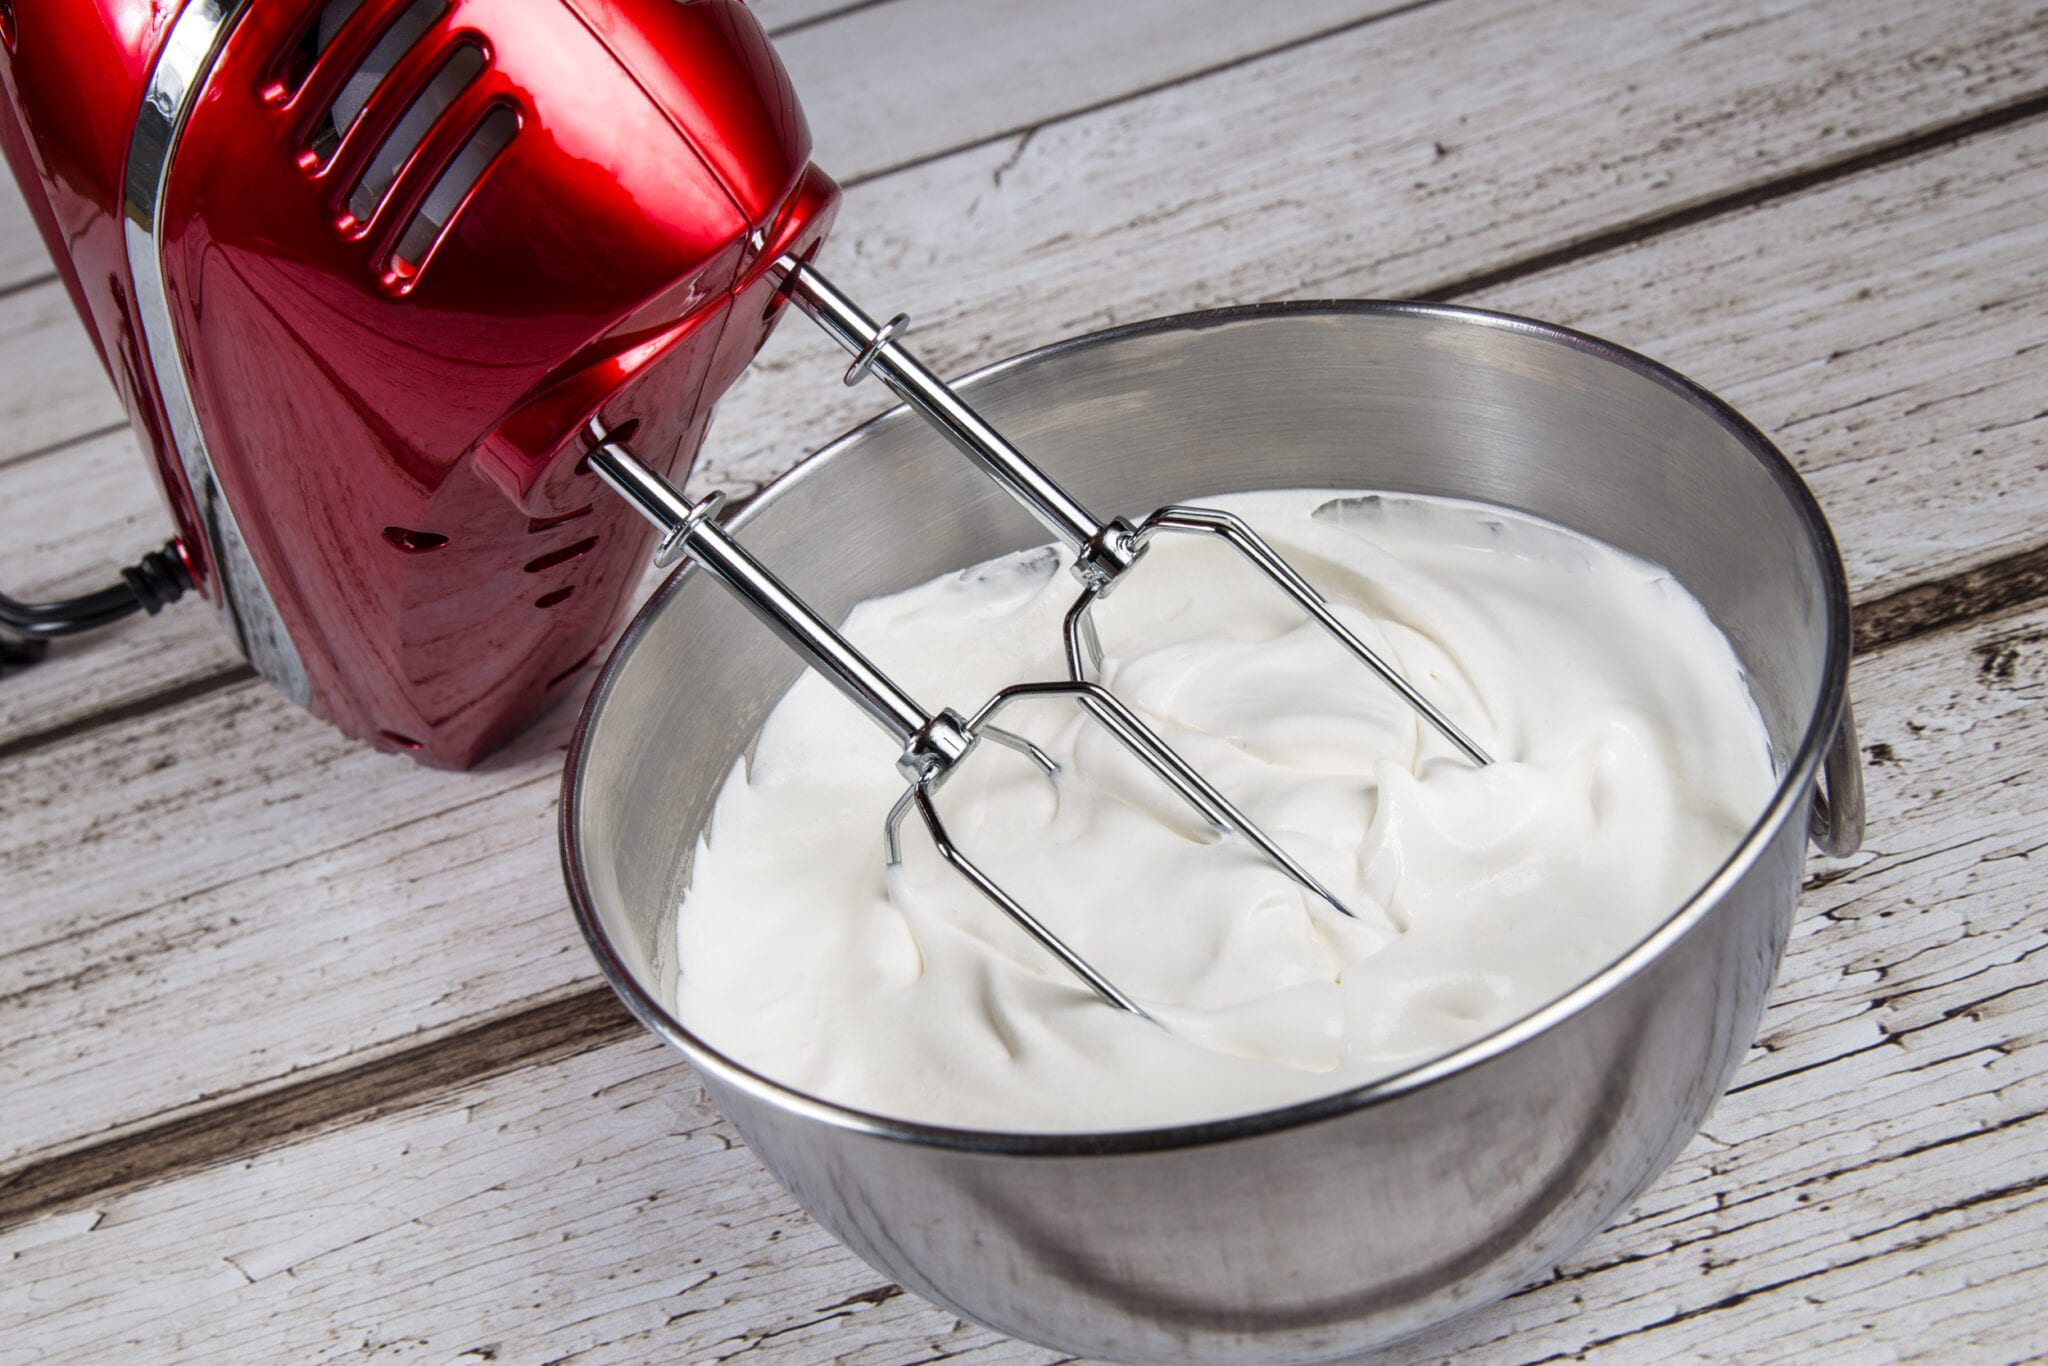
The traditional method of creaming butter involves using a mixer, such as a stand mixer or a hand mixer. This method is popular among bakers for its convenience and efficiency. Here is a step-by-step guide on how to cream butter using a mixer:
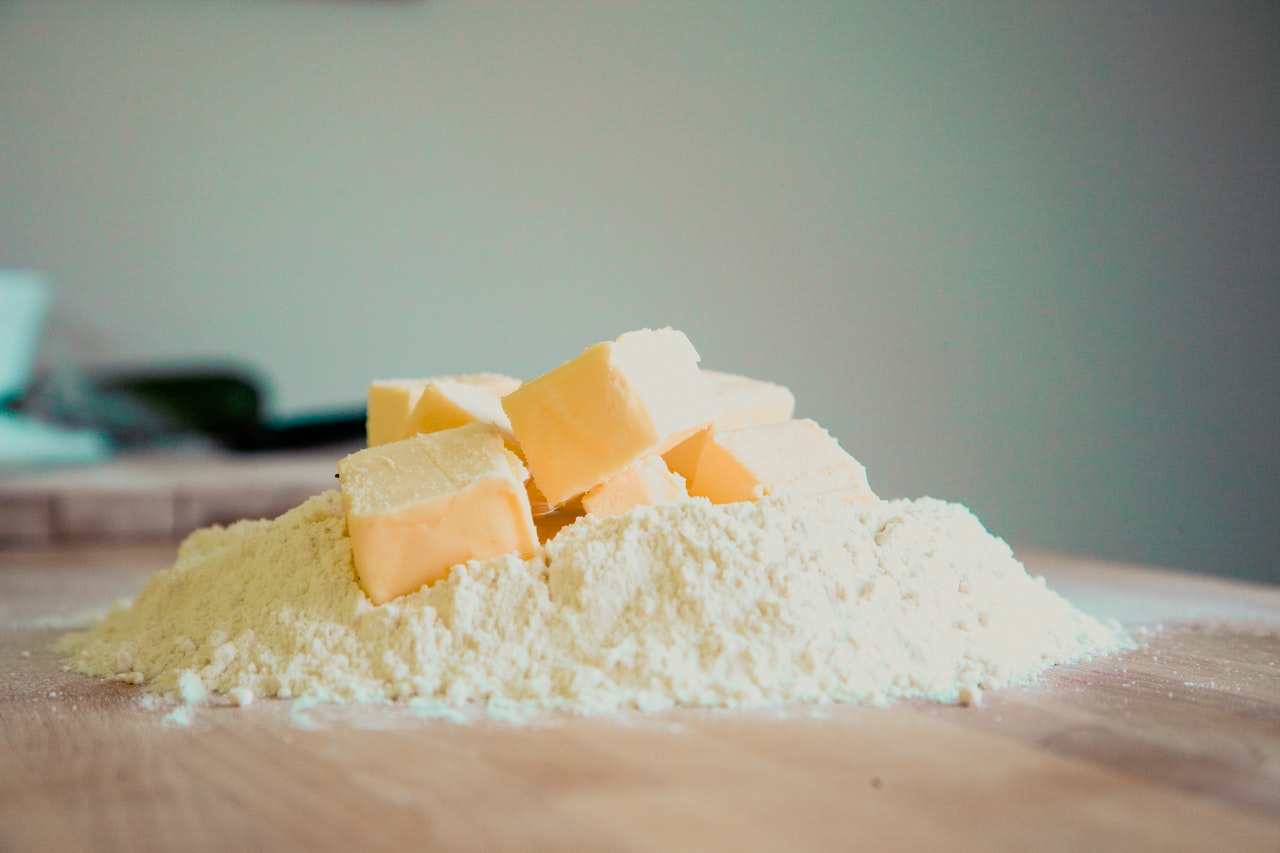
- Soften the butter: Start by ensuring that your butter is softened at room temperature. Cold or melted butter will not cream properly. Let the butter sit out for about 30 minutes until it becomes soft to the touch.
- Measure ingredients: Measure the desired amount of butter and granulated sugar. The general ratio is usually equal parts butter and sugar, such as 1 cup of butter to 1 cup of sugar. However, the amounts can vary depending on your specific recipe.
- Cut butter into chunks: Cut the softened butter into smaller chunks. This will help the butter incorporate with the sugar more easily and evenly.
- Place butter and sugar in the mixing bowl: Place the butter chunks and the granulated sugar in the mixing bowl of your stand mixer or a large mixing bowl if using a hand mixer.
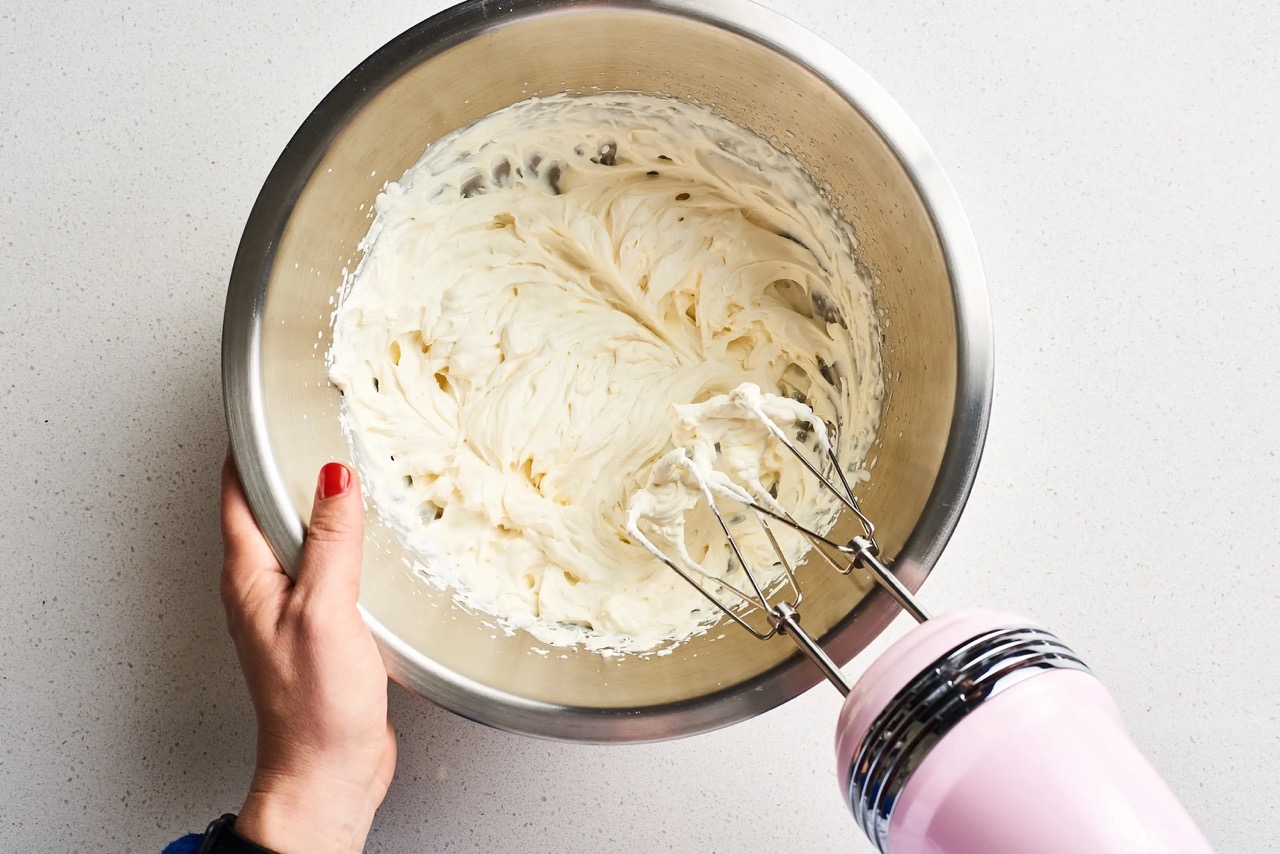
- Mix on low speed: Start mixing the butter and sugar on low speed to avoid splattering. Gradually increase the speed to medium-high and continue mixing until the mixture becomes light, fluffy, and pale in color. This usually takes about 3-5 minutes.
- Scrape down the sides: Pause the mixer and scrape down the sides of the bowl using a spatula. This ensures that all the butter and sugar are fully incorporated and there are no lumps remaining on the sides of the bowl.
- Continue mixing: Resume mixing on medium-high speed until the mixture is smooth and creamy. The consistency should be moist yet firm, similar to whipped butter.
- Use as directed in recipe: Once the butter and sugar are fully creamed, you can proceed with the rest of your recipe. Whether it’s adding eggs, flour, or other ingredients, follow the instructions accordingly.
The traditional method of creaming butter with a mixer is efficient and reliable, producing consistent results. However, if you don’t have access to a mixer or prefer a more hands-on approach, there is an alternative method to cream butter without a mixer, which we will explore next.
The Alternative Method: Creaming Butter without a Mixer
If you don’t have a mixer or prefer to cream butter without one, don’t fret! You can still achieve perfectly creamed butter using a more hands-on approach. Here’s an alternative method to cream butter without a mixer:
- Soften the butter: Start by ensuring that your butter is softened at room temperature, just like in the traditional method. Let the butter sit out for about 30 minutes until it becomes soft to the touch.
- Measure ingredients: Measure the desired amount of butter and granulated sugar, as specified by your recipe.
- Cut butter into chunks: Cut the softened butter into smaller chunks, just like in the traditional method. This will make it easier to blend with the sugar.
- Place butter and sugar in a bowl: Place the butter chunks and the granulated sugar in a large mixing bowl.
- Using a fork or a pastry cutter: Begin the creaming process by using a fork or a pastry cutter to incorporate the butter and sugar together. Press the tines of the fork or the pastry cutter into the butter and sugar, mashing them together and breaking down the butter until it starts to blend with the sugar.
- Mash and scrape: Continuously mash and scrape the fork or pastry cutter against the mixture, incorporating the butter and sugar further. Keep doing this until the mixture starts to resemble a crumbly texture.
- Switch to a wooden spoon or spatula: Once the mixture resembles a crumbly texture, switch to a wooden spoon or spatula. Begin stirring and pressing the mixture against the sides of the bowl using a circular motion. This helps to further combine and cream the butter and sugar together.
- Continue mixing: Keep stirring and pressing the mixture until the butter and sugar are fully combined, and the mixture becomes light, fluffy, and pale in color. This process will take some time and effort, but be patient and persistent. The end result will be worth it!
- Use as directed in recipe: Once the butter and sugar are fully creamed, you can proceed with the rest of your recipe as directed. Incorporate any remaining ingredients and continue baking according to your recipe’s instructions.
The alternative method of creaming butter without a mixer may require a bit more elbow grease, but it is just as effective in achieving beautifully creamed butter. Don’t be deterred if you don’t have a mixer – this method allows for a more hands-on and satisfying baking experience.
Let the butter sit at room temperature for 30 minutes before creaming to make it easier to work with. Use a fork to mash and stir the butter until it becomes smooth and creamy.
Step-by-Step Guide to Creaming Butter without a Mixer
Here is a detailed step-by-step guide on how to cream butter without a mixer:
- Soften the butter: Begin by ensuring that your butter is softened at room temperature. Allow it to sit out for approximately 30 minutes until it becomes soft to the touch, making it easier to work with.
- Measure ingredients: Measure the desired amount of butter and granulated sugar as specified by your recipe. It’s important to have the correct ratio of butter to sugar for the best results.
- Cut butter into smaller pieces: Cut the softened butter into smaller chunks. This will help facilitate the creaming process and ensure that it combines evenly with the sugar.
- Place butter and sugar in a mixing bowl: Put the butter chunks and the granulated sugar into a large mixing bowl. Make sure it’s wide and deep enough for easy mixing.
- Using a fork or a pastry cutter: Start the creaming process by using a fork or a pastry cutter to combine the butter and sugar. Press the tines of the fork or cutter into the butter chunks, mashing them together with the sugar, and breaking down the butter until it begins to blend with the sugar.
- Mash and stir: Continuously mash and stir the fork or pastry cutter against the mixture, incorporating the butter and sugar further. Keep doing this until the mixture starts to resemble a crumbly texture.
- Switch to a wooden spoon or spatula: Once the mixture has reached a crumbly texture, switch to a wooden spoon or spatula. Use the spoon or spatula to stir and press the mixture against the sides of the bowl using a circular motion. This action will further combine and cream the butter and sugar together.
- Continue mixing: With the wooden spoon or spatula, continue stirring and pressing the mixture until the butter and sugar are fully combined. The mixture should become light, fluffy, and pale in color, just like the result achieved with a mixer.
- Ensure a smooth and creamy consistency: Once the butter and sugar are fully creamed, ensure that the mixture has a smooth and creamy consistency. There should be no lumps of butter remaining, and the texture should be moist yet firm.
- Use as directed in recipe: Now that you have successfully creamed the butter without a mixer, you can proceed with the rest of your recipe. Add any additional ingredients as specified, following your recipe’s instructions.
By following these step-by-step instructions, you can achieve perfectly creamed butter without the need for a mixer. Embrace the hands-on approach and enjoy the satisfaction of creating delicious baked goods with your own efforts.
Read more: How To Make Butter From Cream In A Mixer
Tips for Achieving the Perfectly Creamed Butter
To ensure that you achieve perfectly creamed butter, here are some helpful tips to keep in mind:
- Use softened butter: Always start with softened butter at room temperature. This allows for easy incorporation with the sugar and creates a smoother texture in the final creamed mixture.
- Don’t melt the butter: Avoid using melted butter as it will not cream properly. Melted butter is too liquid and will not trap air properly, resulting in a different texture in your baked goods.
- Cut butter into smaller chunks: Cutting the softened butter into smaller chunks makes it easier to incorporate and cream with the sugar. It also helps distribute the butter evenly throughout the mixture.
- Use a wide mixing bowl: Choose a mixing bowl that is wide and deep enough to provide ample space for mixing and creaming the butter and sugar. This allows for better air circulation and ease of mixing.
- Be patient and persistent: Creaming butter can take some time, especially when done by hand. Be patient and continue mashing, stirring, and pressing until the mixture reaches the desired light, fluffy, and pale consistency.
- Scrape down the sides of the bowl: Periodically stop and scrape down the sides of the mixing bowl with a spatula. This ensures that all the butter and sugar are fully incorporated and there are no lumps remaining on the sides of the bowl.
- Keep an eye on the texture: Pay close attention to the texture of the creamed butter. It should have a smooth and creamy consistency, moist yet firm. Avoid overmixing, as this can result in a greasy texture and affect the final outcome of your baked goods.
- Follow the recipe: Be sure to follow your recipe’s instructions and measurements for the butter and sugar. Different recipes may require varying amounts of butter and sugar, so it’s essential to follow the given guidelines to achieve the desired results.
- Experiment and adapt: Baking is an art, and everyone’s preferences may differ. Feel free to experiment with different techniques, ratios, or even alternative sweeteners to suit your taste and dietary preferences. Baking is all about finding what works best for you.
By keeping these tips in mind, you can achieve the perfect creamed butter consistency for your baking endeavors. Remember to have fun and enjoy the process of creating delicious treats in your kitchen!
Conclusion
Creaming butter is an essential step in baking that contributes to the overall texture, structure, and flavor of your baked goods. While the traditional method of creaming butter with a mixer is convenient, there are alternative methods to cream butter without a mixer that can yield equally impressive results.
Whether you choose to use a mixer or opt for a more hands-on approach, the key to achieving perfectly creamed butter lies in ensuring that the butter is softened, cutting it into smaller pieces, and effectively combining it with the granulated sugar.
In this article, we explored the traditional method of creaming butter with a mixer, as well as provided a step-by-step guide and helpful tips for creaming butter without a mixer. With these techniques and guidelines, you have the knowledge and confidence to tackle any recipe that requires creamed butter.
Remember, the goal of creaming butter is to incorporate air, create a tender crumb, improve the structure, and enhance the flavor of your baked goods. Whether you are making cookies, cakes, or pastries, taking the time to properly cream your butter will lead to baked treats that are light, fluffy, and delicious.
So, whether you choose the convenience of a mixer or prefer the hands-on approach, the end result will be a batch of beautifully creamed butter that will make your baked goods shine. So go ahead, get creative, and enjoy the delightful process of creaming butter for your next baking adventure!
Frequently Asked Questions about How To Cream Butter Without Mixer
Was this page helpful?
At Storables.com, we guarantee accurate and reliable information. Our content, validated by Expert Board Contributors, is crafted following stringent Editorial Policies. We're committed to providing you with well-researched, expert-backed insights for all your informational needs.


0 thoughts on “How To Cream Butter Without Mixer”