Home>Kitchen & Cooking>Kitchen Gadgets & Utensils>How To Make Ice Cream In A Stand Mixer
Kitchen Gadgets & Utensils
How To Make Ice Cream In A Stand Mixer
Modified: February 17, 2024
Learn how to make delicious ice cream using your stand mixer and other kitchen gadgets and utensils. Discover easy recipes and tips for homemade treats.
(Many of the links in this article redirect to a specific reviewed product. Your purchase of these products through affiliate links helps to generate commission for Storables.com, at no extra cost. Learn more)
**
Introduction
**
So, you're craving some homemade, creamy, dreamy ice cream, but you don't have an ice cream maker? No worries! With a stand mixer and a few simple ingredients, you can whip up a batch of delectable ice cream right in the comfort of your own kitchen. Making ice cream in a stand mixer is not only easy but also incredibly satisfying. The process allows you to infuse your ice cream with your favorite flavors and ensures a smooth, velvety texture that will have you coming back for seconds.
In this article, we'll walk you through the step-by-step process of creating your own delicious ice cream using a stand mixer. You'll discover the essential ingredients, the equipment you'll need, and the tips and tricks to achieve the perfect consistency and flavor. Whether you're a novice in the kitchen or a seasoned home cook, making ice cream in a stand mixer is an enjoyable and rewarding experience that will impress your friends and family.
So, let's roll up our sleeves, gather our ingredients, and embark on a delightful ice cream-making adventure with your trusty stand mixer by your side. Get ready to indulge in a frozen treat that's bursting with flavor and made with love.
Key Takeaways:
- Making ice cream in a stand mixer is easy and fun. With simple ingredients and a chilled bowl, you can create creamy, dreamy flavors that reflect your unique taste preferences.
- Experiment with flavors and mix-ins to create your own personalized ice cream masterpieces. Chill all equipment, avoid overmixing, and savor the satisfaction of indulging in your homemade frozen delights.
Read more: How To Make Ice Cream In A Mixer
Ingredients
Before diving into the world of homemade ice cream, it’s essential to gather the right ingredients to ensure a luscious and creamy end result. The beauty of making ice cream in a stand mixer lies in its simplicity, and the ingredients are no exception. Here’s what you’ll need:
- Fresh, high-quality heavy cream: This serves as the base of your ice cream and contributes to its rich and indulgent texture.
- Whole milk: Adding whole milk helps achieve the perfect balance of creaminess and lightness in your ice cream.
- Granulated sugar: Sweetness is key in any ice cream recipe, and granulated sugar provides the ideal level of sweetness without overpowering the other flavors.
- Flavorings: Whether you’re a fan of classic vanilla, decadent chocolate, or fruity flavors, you can customize your ice cream with extracts, cocoa powder, fruit purees, or any other flavorings of your choice.
- Optional mix-ins: From chocolate chips and nuts to cookie crumbles and caramel swirls, the options for mix-ins are endless. Feel free to get creative and add your favorite treats to elevate your ice cream.
These simple yet versatile ingredients form the foundation of your homemade ice cream and pave the way for endless flavor possibilities. By using high-quality ingredients, you can ensure that your ice cream will be a delectable masterpiece that rivals any store-bought treat.
Equipment Needed
Aside from the essential ingredients, having the right equipment is crucial for successfully making ice cream in a stand mixer. Here’s what you’ll need:
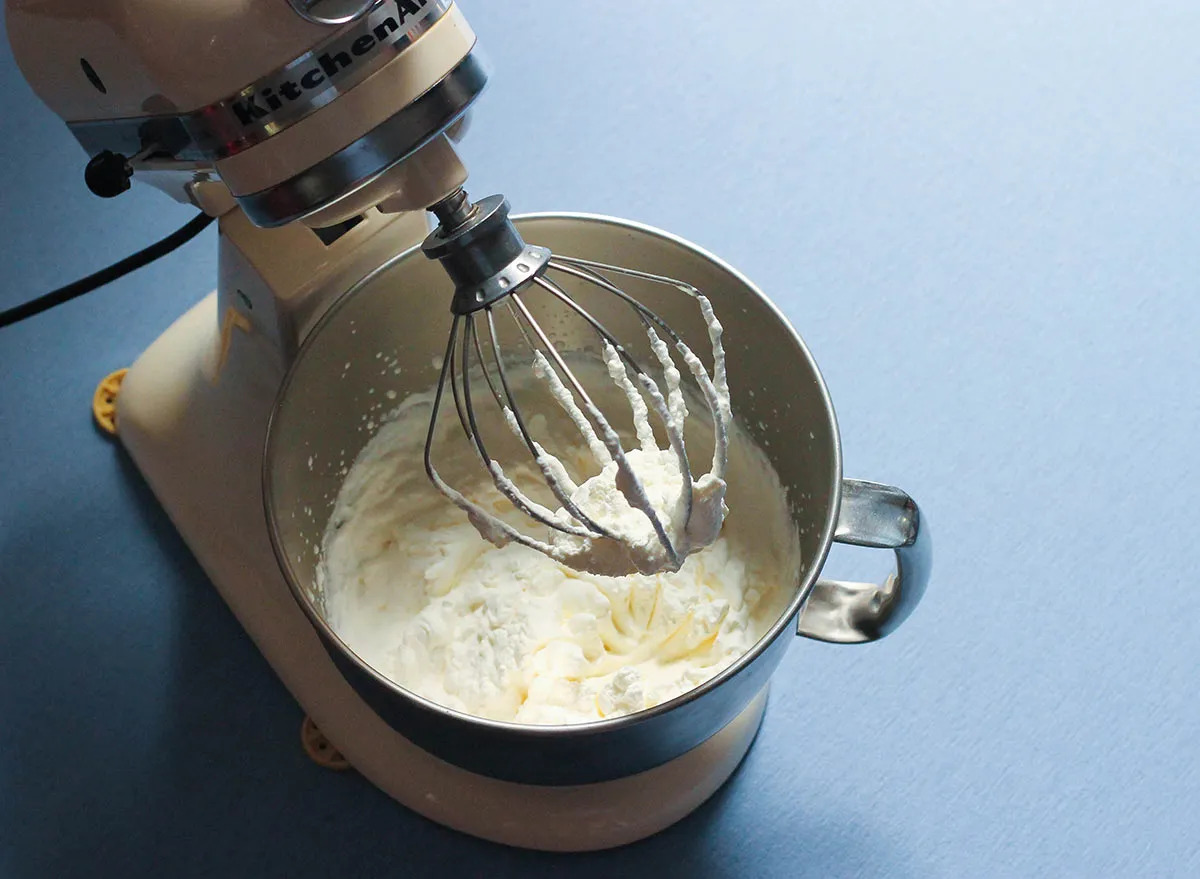
- Stand mixer: A stand mixer is the star of the show in this ice cream-making endeavor. Its powerful motor and versatile attachments make it the perfect tool for achieving a smooth and creamy ice cream base.
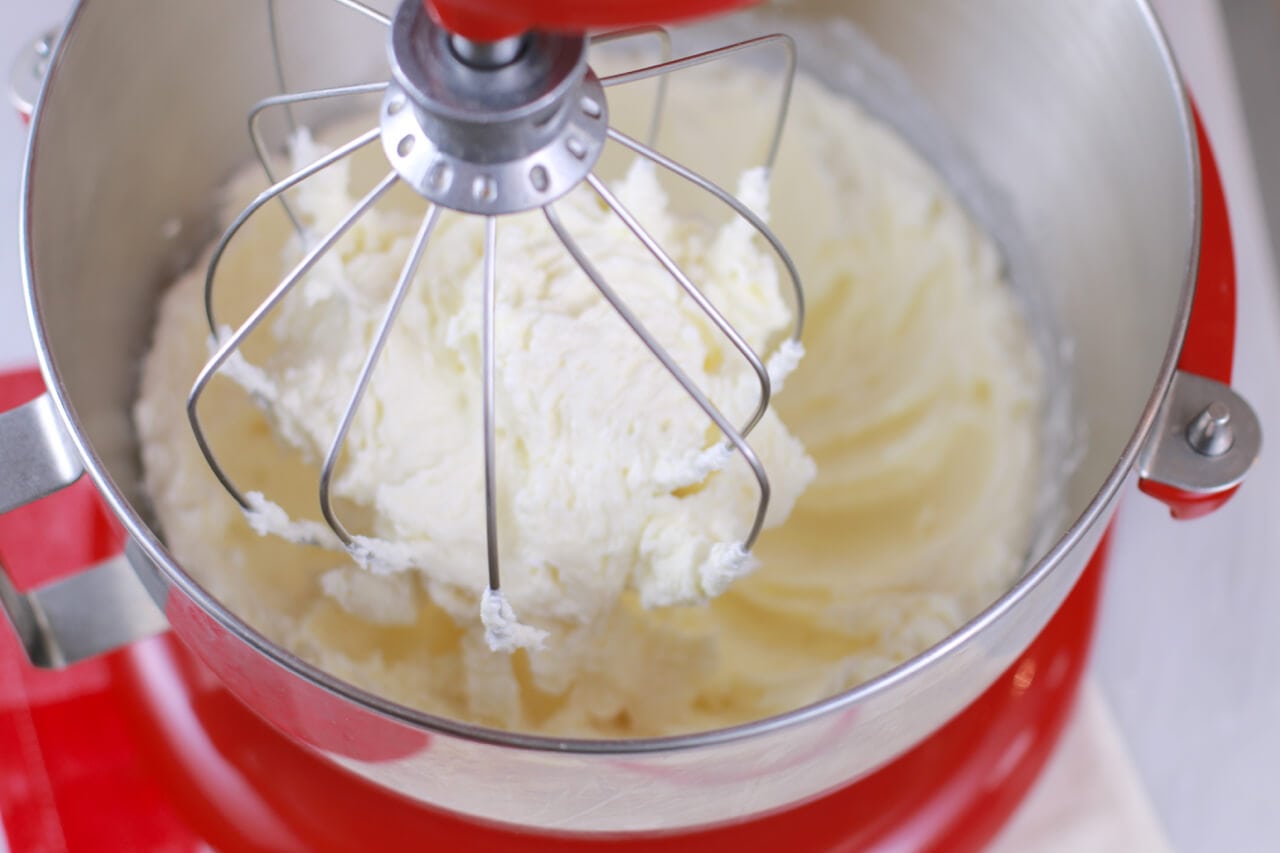
- Whisk attachment: To effectively whip the heavy cream and incorporate air into the mixture, the whisk attachment is essential. It ensures that your ice cream will have a light and airy texture.
- Freezer-safe container: Once your ice cream is mixed and flavored, you’ll need a container to freeze it in. Choose a container that is freezer-safe and has enough room to accommodate the volume of your ice cream.
- Plastic wrap or wax paper: Covering your ice cream with plastic wrap or wax paper before freezing helps prevent ice crystals from forming on the surface, ensuring a smooth and creamy consistency.
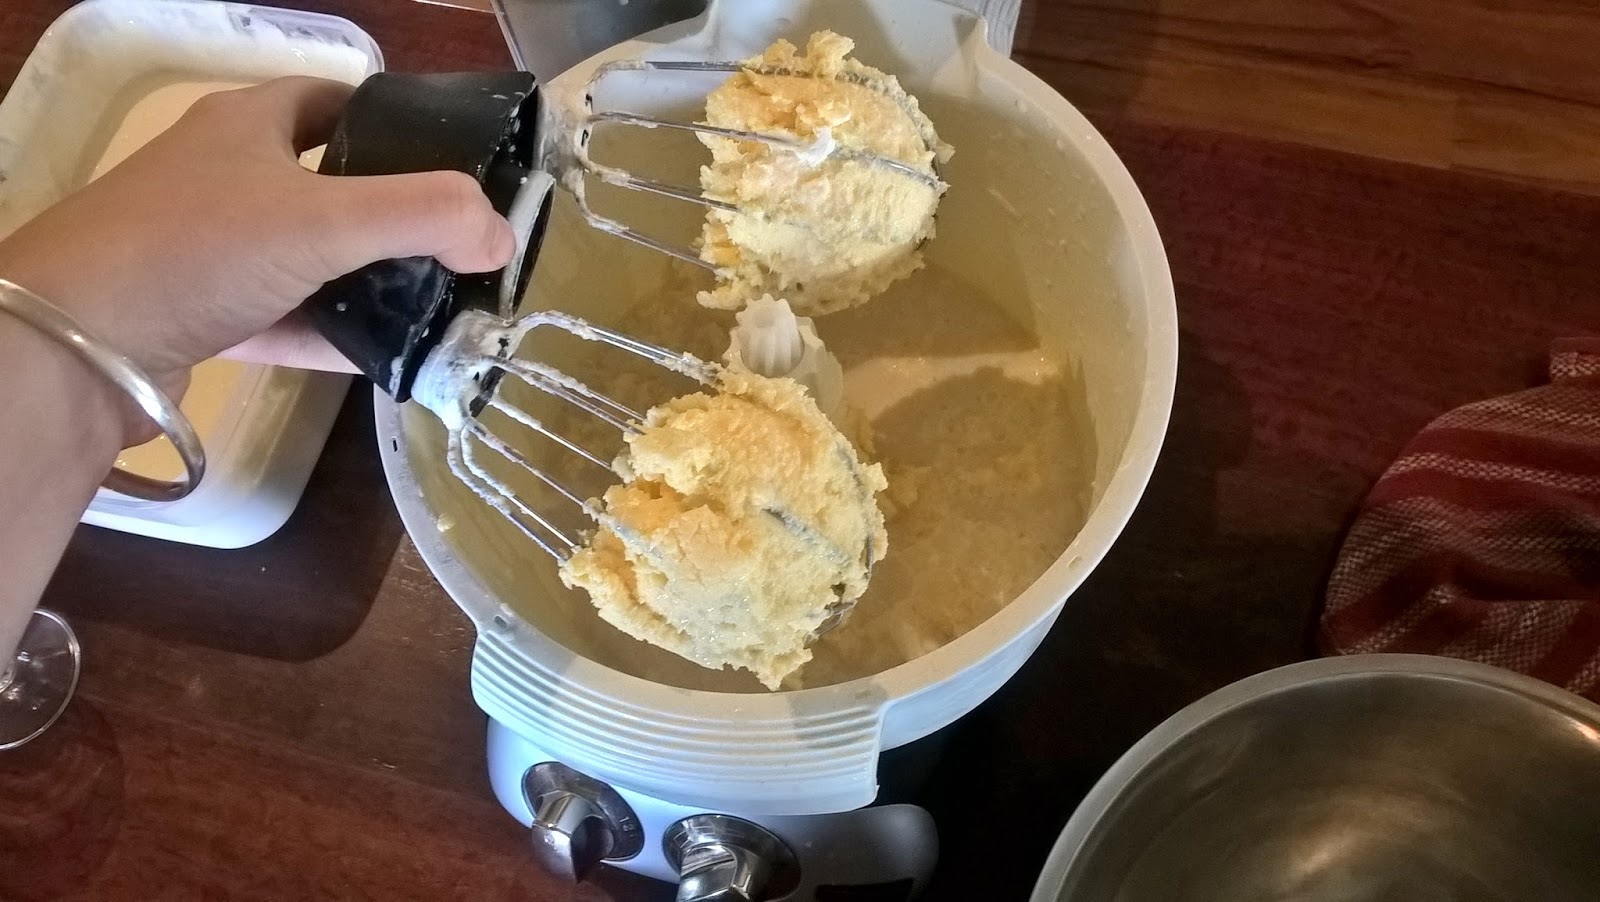
- Rubber spatula: A rubber spatula is handy for scraping down the sides of the mixing bowl and ensuring that all the ingredients are thoroughly combined.
- Ice cream scoop: For the perfect presentation, an ice cream scoop allows you to create beautifully rounded scoops of ice cream, ready to be enjoyed in a cone or a bowl.
With these essential tools at your disposal, you’ll be well-equipped to embark on your ice cream-making journey. The stand mixer, in particular, will serve as your trusty companion, effortlessly churning and aerating the ingredients to create a delightful frozen treat.
To make ice cream in a stand mixer, make sure the bowl and ingredients are very cold. Churn the mixture on a low speed to incorporate air and prevent it from freezing too quickly.
Instructions
Now that you have all the necessary ingredients and equipment, it’s time to dive into the step-by-step process of making ice cream in a stand mixer. Follow these instructions for a smooth and enjoyable ice cream-making experience:
- Chill your stand mixer bowl: Place the mixing bowl of your stand mixer in the freezer for at least 15-20 minutes before you begin. A chilled bowl will help the heavy cream whip up faster and to a greater volume.
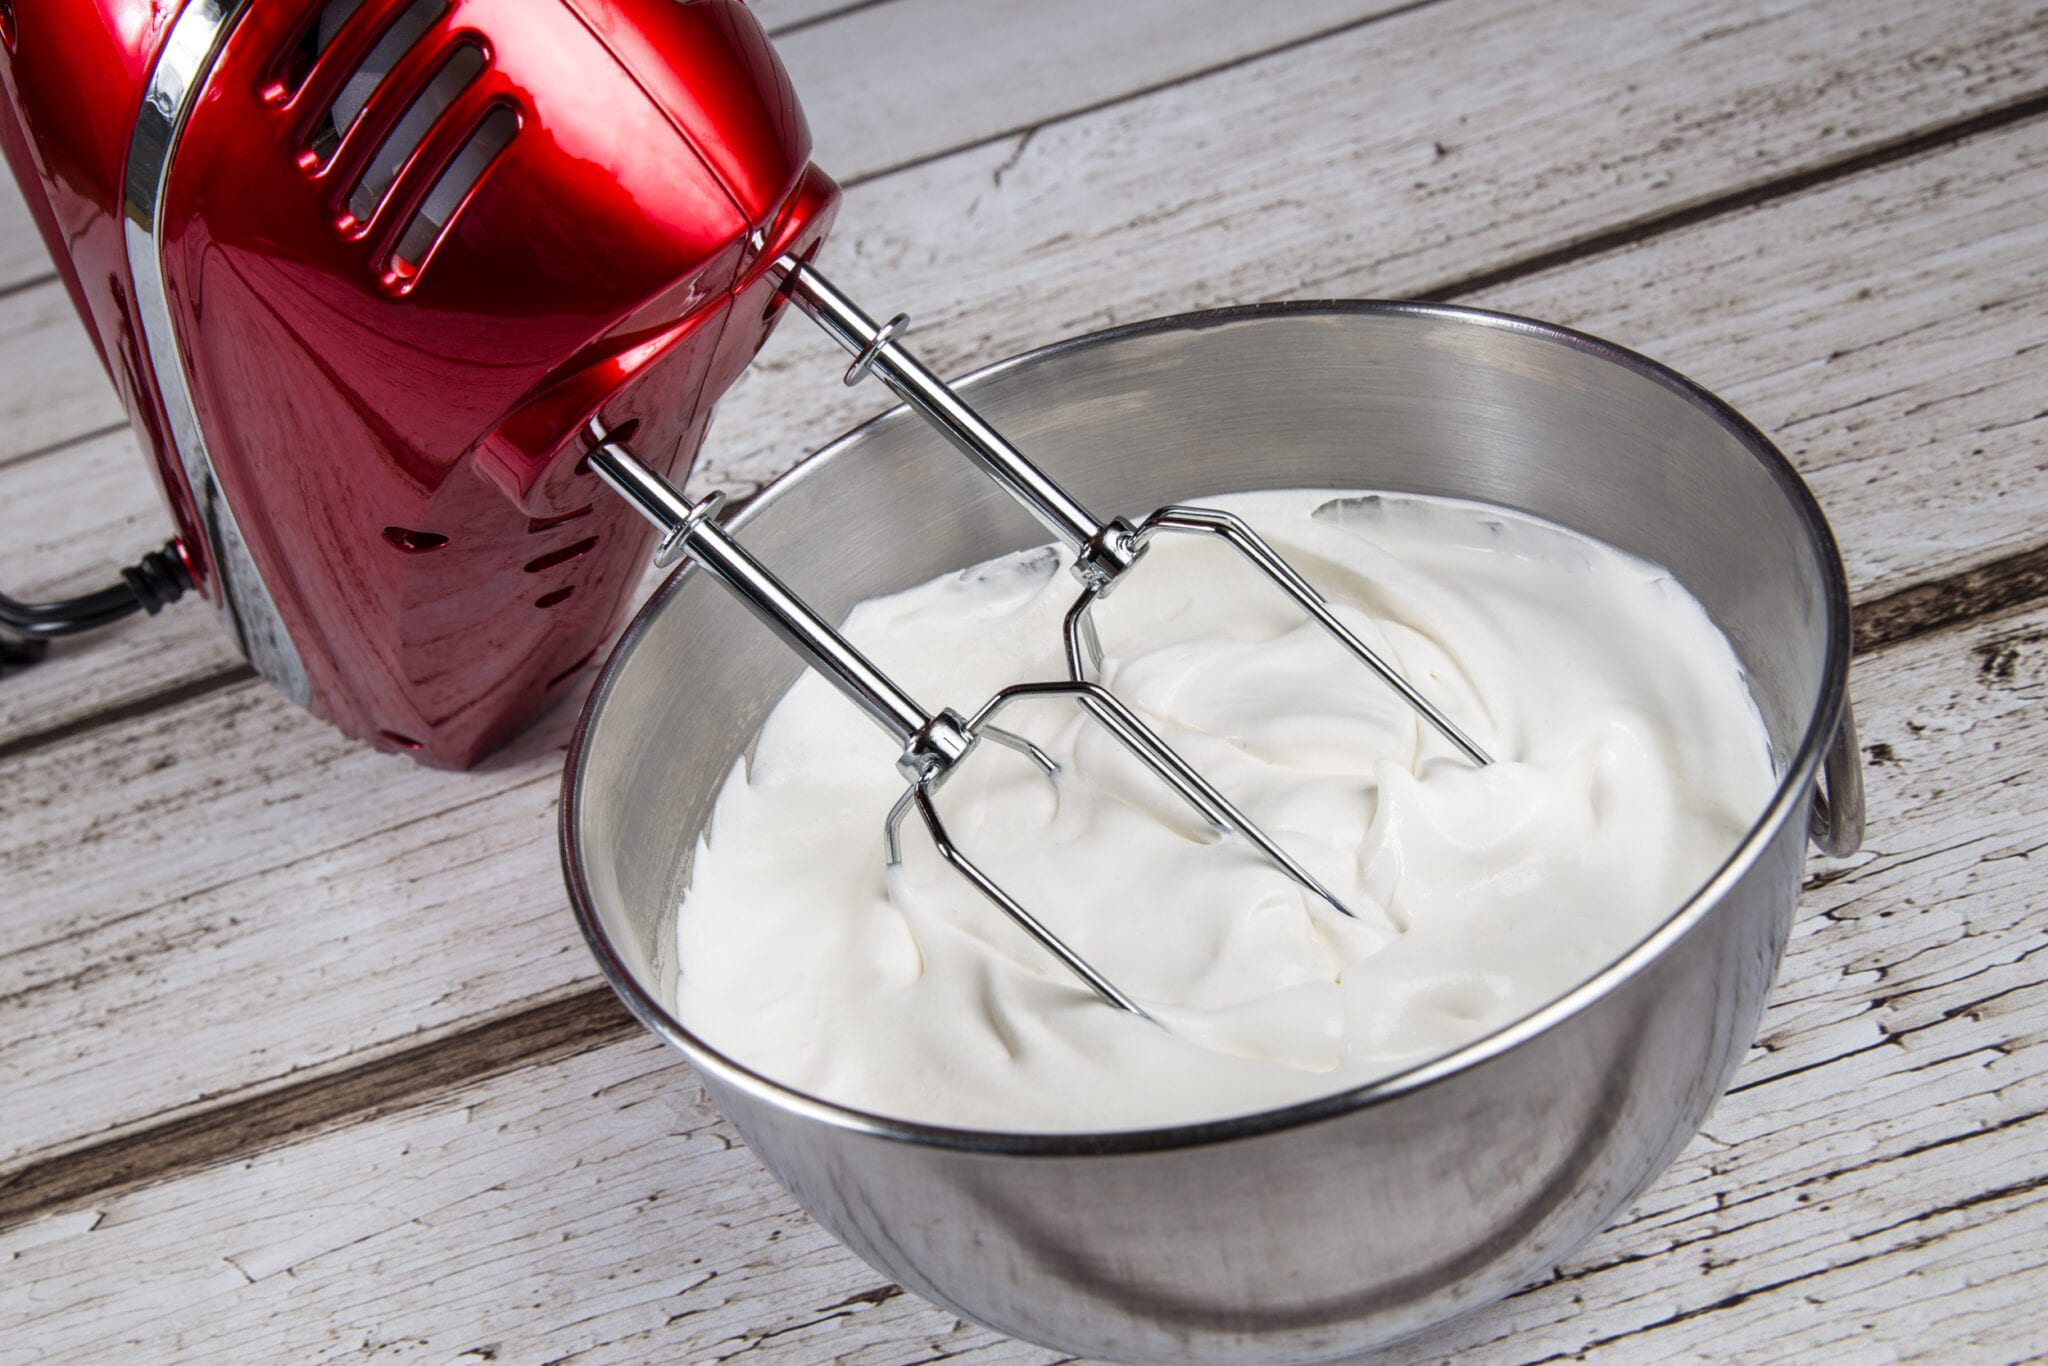
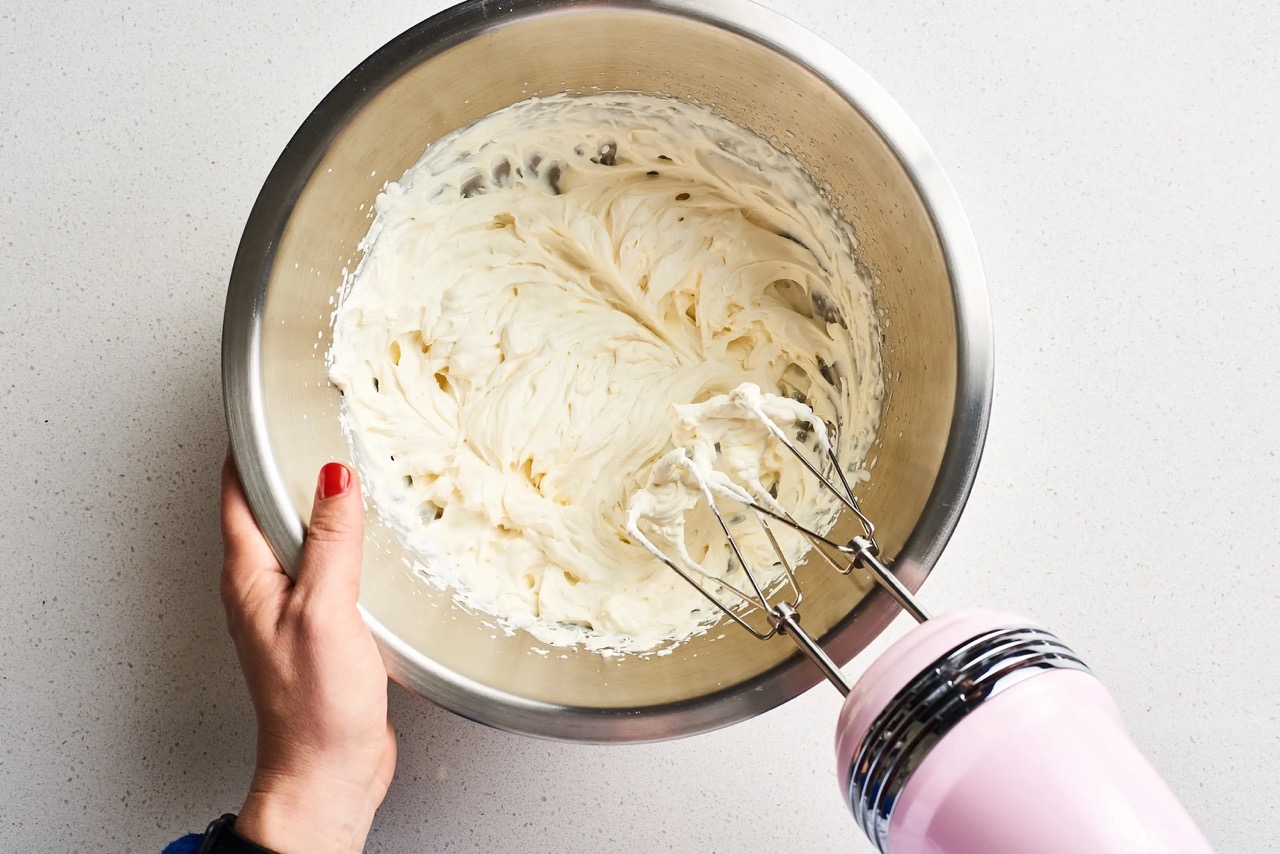
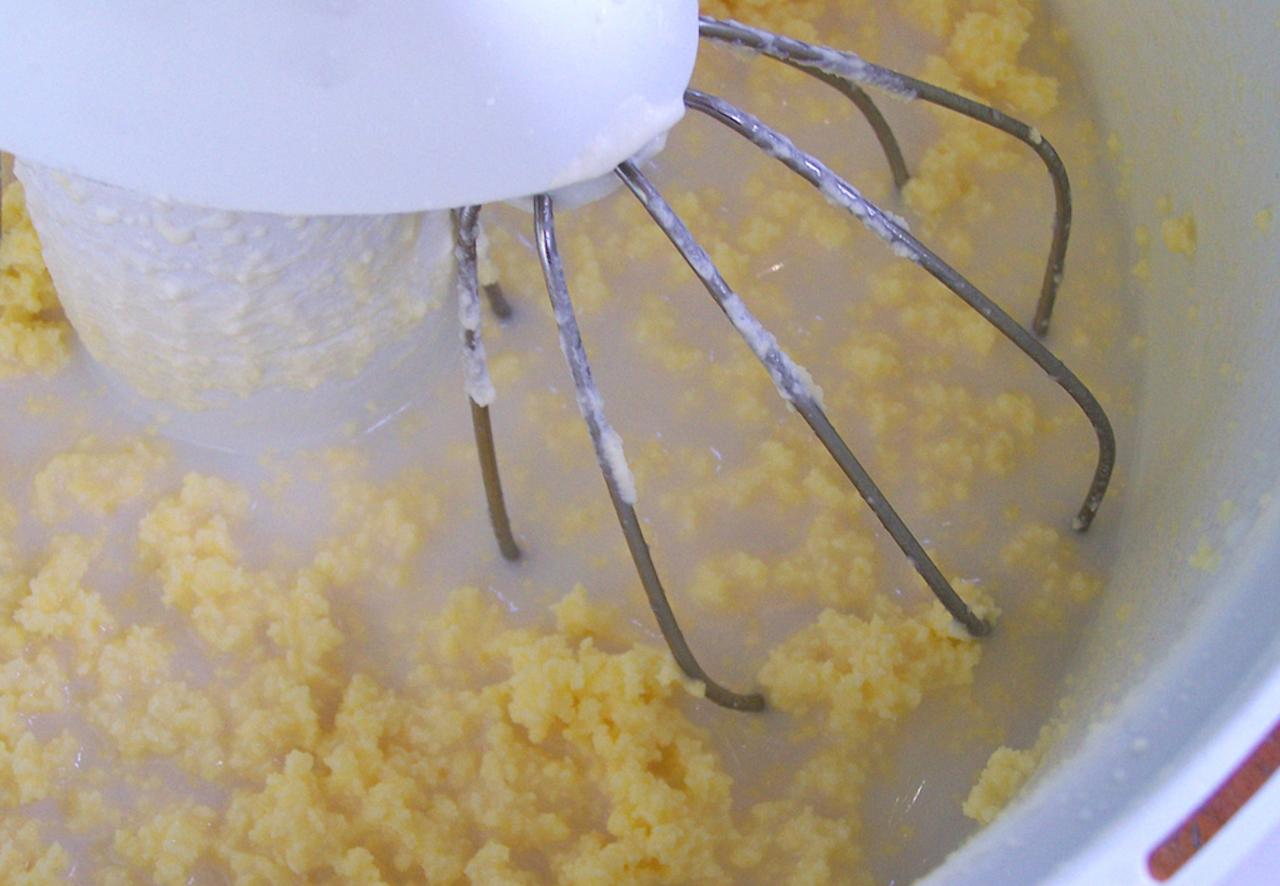
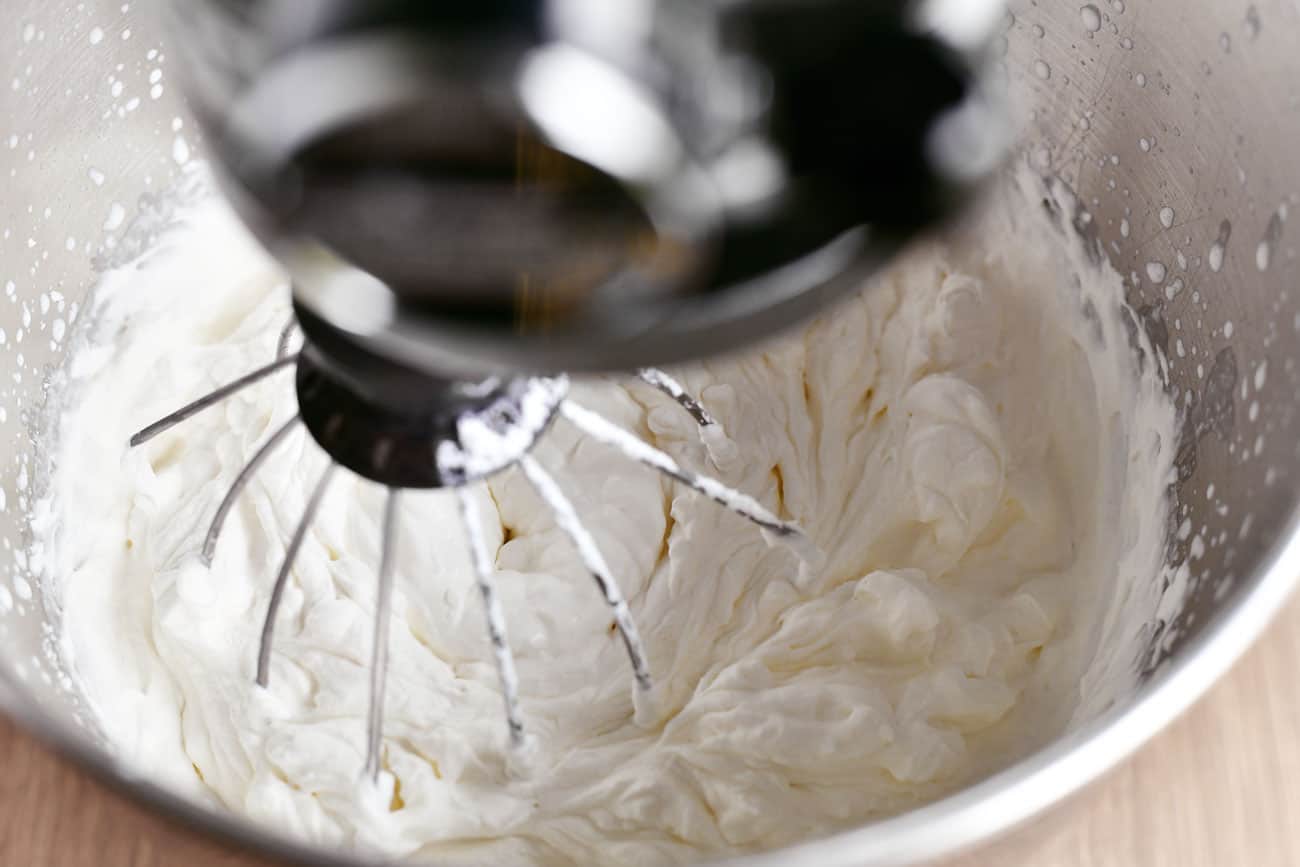
- Prepare the ice cream base: In the chilled mixing bowl, combine the heavy cream, whole milk, and granulated sugar. Use the whisk attachment to beat the mixture on medium-high speed until stiff peaks form. This will create a luscious and airy base for your ice cream.
- Add flavorings and mix-ins: Once the base is ready, gently fold in your chosen flavorings and mix-ins. Whether you’re incorporating vanilla extract, cocoa powder, or a swirl of caramel, this is the time to infuse your ice cream with delicious flavors and textures.
- Transfer to a freezer-safe container: Scoop the ice cream mixture into a freezer-safe container, smoothing the top with a spatula. Cover the surface of the ice cream with plastic wrap or wax paper to prevent ice crystals from forming.
- Freeze the ice cream: Place the container in the freezer and allow the ice cream to freeze for at least 4-6 hours or until firm. This chilling time allows the flavors to meld and the texture to become wonderfully creamy.
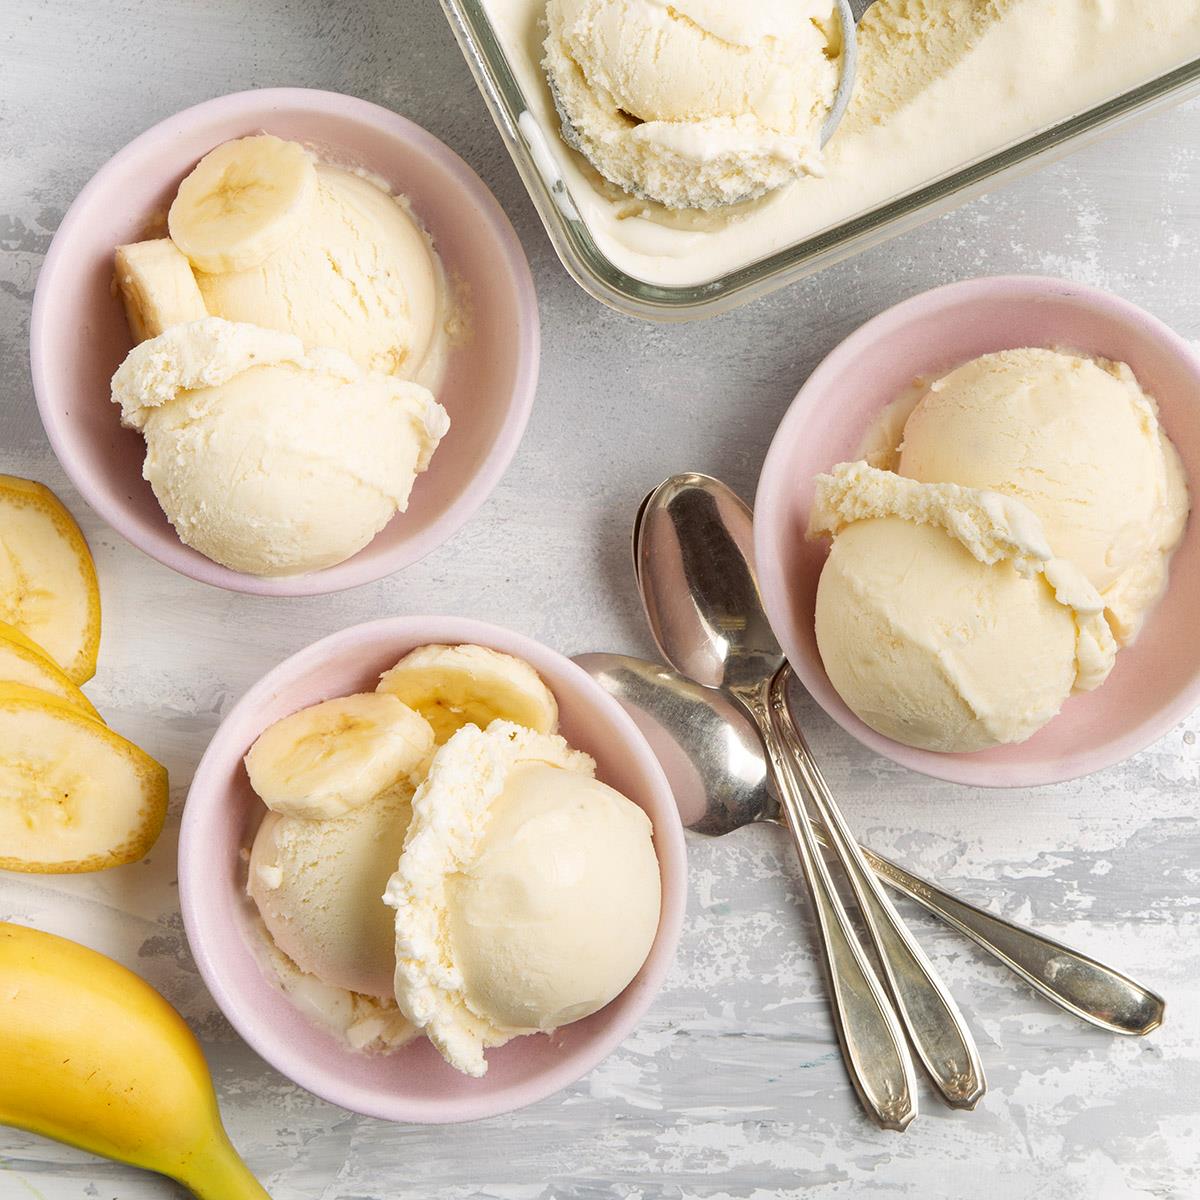
- Serve and enjoy: Once the ice cream is fully frozen, use an ice cream scoop to create perfect scoops and serve in bowls, cones, or alongside your favorite desserts.
By following these simple yet effective instructions, you’ll be able to create a batch of homemade ice cream that’s sure to impress. The process is not only straightforward but also allows for endless creativity in flavor combinations and mix-ins, making each batch a delightful culinary adventure.
Tips and Tricks
While making ice cream in a stand mixer is a relatively simple process, incorporating a few tips and tricks can elevate your homemade treat to the next level. Here are some valuable insights to ensure your ice cream turns out perfectly:
- Chill all equipment: In addition to chilling the mixing bowl, ensure that the whisk attachment and any utensils you’ll be using are also thoroughly chilled. This helps maintain the cold temperature necessary for achieving a creamy consistency.
- Experiment with flavors: Don’t be afraid to get creative with flavor combinations. Whether it’s infusing your ice cream with fresh fruit, aromatic spices, or a splash of your favorite liqueur, experimenting with flavors can lead to delightful discoveries.
- Control sweetness: Taste the ice cream base before freezing it and adjust the sweetness to your preference. Adding a touch more sugar or a drizzle of honey can tailor the sweetness to suit your taste buds.
- Avoid overmixing: When incorporating flavorings and mix-ins, gently fold them into the base to avoid overmixing, which can deflate the air incorporated during whipping and result in a denser texture.
- Allow for proper freezing time: While it may be tempting to sample the ice cream early, allowing it to freeze for the recommended time ensures a creamy and scoopable texture. Patience is key for the perfect consistency.
- Store properly: To prevent freezer burn and maintain optimal texture, press a piece of plastic wrap directly onto the surface of the ice cream before sealing the container with its lid.
- Get creative with toppings: Elevate your ice cream experience by adding a variety of toppings such as chocolate sauce, fresh fruit, whipped cream, or chopped nuts. The possibilities are endless, so let your imagination run wild.
By incorporating these tips and tricks into your ice cream-making process, you’ll be well-equipped to create a batch of homemade ice cream that’s not only delicious but also tailored to your personal preferences and creativity.
Read more: How To Make Ice Cream In A Kitchenaid Mixer
Conclusion
Congratulations! You’ve now unlocked the delightful world of making ice cream in a stand mixer. Armed with a few simple ingredients, your trusty stand mixer, and a sprinkle of creativity, you’ve embarked on a journey that promises creamy, dreamy indulgence with every scoop.
Making ice cream in a stand mixer is a rewarding and enjoyable experience that allows you to craft personalized frozen treats tailored to your unique flavor preferences. Whether you’re craving a classic vanilla, a decadent chocolate indulgence, or a fruity delight, the possibilities are endless, and the process is entirely in your hands.
As you continue to explore the art of homemade ice cream, don’t hesitate to experiment with new flavors, mix-ins, and toppings. Embrace the joy of creating frozen masterpieces that reflect your culinary imagination and bring smiles to the faces of those who indulge in your creations.
So, the next time you feel the urge for a scoop of velvety, homemade goodness, remember that your stand mixer holds the key to a world of frozen delights. With a dash of inspiration and a dollop of passion, you can continue to churn out batch after batch of delectable ice cream, each one a testament to your creativity and dedication.
Now, armed with the knowledge and enthusiasm for making ice cream in a stand mixer, it’s time to savor the fruits of your labor and treat yourself to a bowl of your very own homemade ice cream. Indulge, enjoy, and revel in the satisfaction of creating a frozen masterpiece that’s as unique as you are.
Happy churning and savoring!
Frequently Asked Questions about How To Make Ice Cream In A Stand Mixer
Was this page helpful?
At Storables.com, we guarantee accurate and reliable information. Our content, validated by Expert Board Contributors, is crafted following stringent Editorial Policies. We're committed to providing you with well-researched, expert-backed insights for all your informational needs.


0 thoughts on “How To Make Ice Cream In A Stand Mixer”