Home>Articles>How To Change Batteries In A Vivint Smoke Detector
Articles
How To Change Batteries In A Vivint Smoke Detector
Modified: October 22, 2024
Learn how to change batteries in a Vivint smoke detector with this informative guide. Find step-by-step instructions and tips in this helpful articles.
(Many of the links in this article redirect to a specific reviewed product. Your purchase of these products through affiliate links helps to generate commission for Storables.com, at no extra cost. Learn more)
Introduction
Welcome to the ultimate guide on how to change the batteries in a Vivint smoke detector. Smoke detectors are essential for ensuring the safety of our homes and loved ones. By regularly maintaining and replacing the batteries in your smoke detectors, you can ensure that they function optimally and provide early warning in the event of a fire.
Changing the batteries in a Vivint smoke detector is a simple process that can be done by following a few easy steps. In this guide, we will walk you through the process, providing detailed instructions along the way. So, gather your tools and let’s get started.
Before we begin, it’s important to note that different models of Vivint smoke detectors may have slight variations in the process, although the overall steps remain similar. Consult your smoke detector’s manual for specific instructions if needed.
Now, let’s dive into the step-by-step process to change the batteries in your Vivint smoke detector.
Key Takeaways:
- Regularly changing the batteries in your Vivint smoke detector is a simple yet crucial task to ensure the safety of your home. Follow the step-by-step guide to confidently maintain a reliable early warning system for fire detection.
- Testing your smoke detector after battery replacement is essential for ensuring its proper functionality. Regular maintenance and testing, as recommended by the NFPA, are vital for the safety and well-being of your household.
Step 1: Gather the necessary tools
Before you begin changing the batteries in your Vivint smoke detector, it’s important to gather the necessary tools to complete the task efficiently. Here are the tools and materials you will need:
- A ladder or stepstool, if needed, to reach the smoke detector
- A screwdriver or other tool, depending on the mounting mechanism of your smoke detector
- A fresh set of batteries (refer to your smoke detector’s manual for the specific battery type)
Having these tools ready will ensure a seamless battery replacement process and minimize any potential interruptions.
Additionally, it’s always a good idea to have a second set of batteries on hand. This way, you can replace the batteries in your smoke detector without any delays, ensuring continuous protection for your home.
Now that you have gathered the necessary tools, let’s move on to the next step: locating the smoke detector.
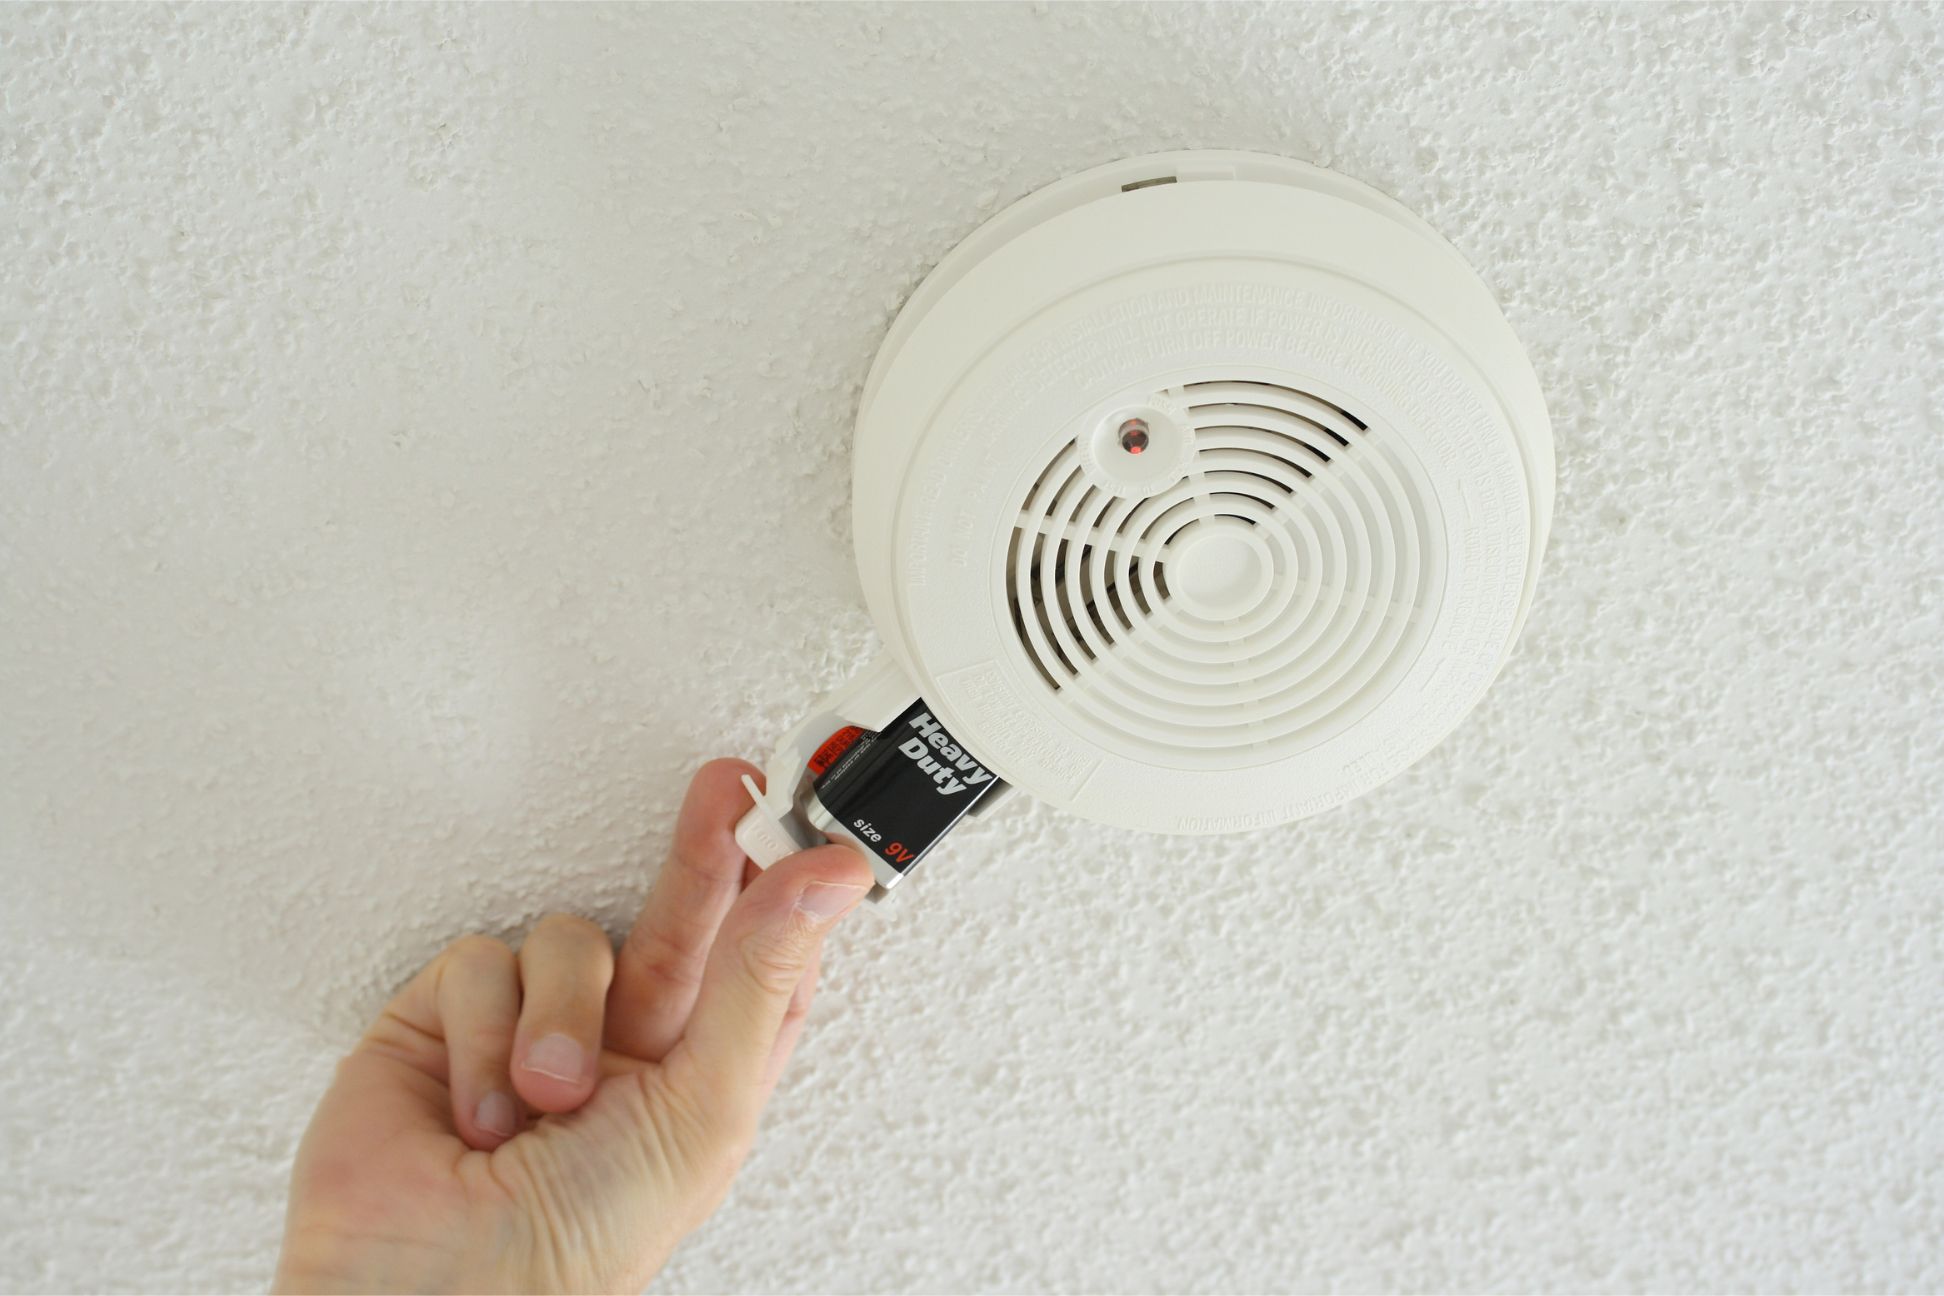
Step 2: Locate the smoke detector
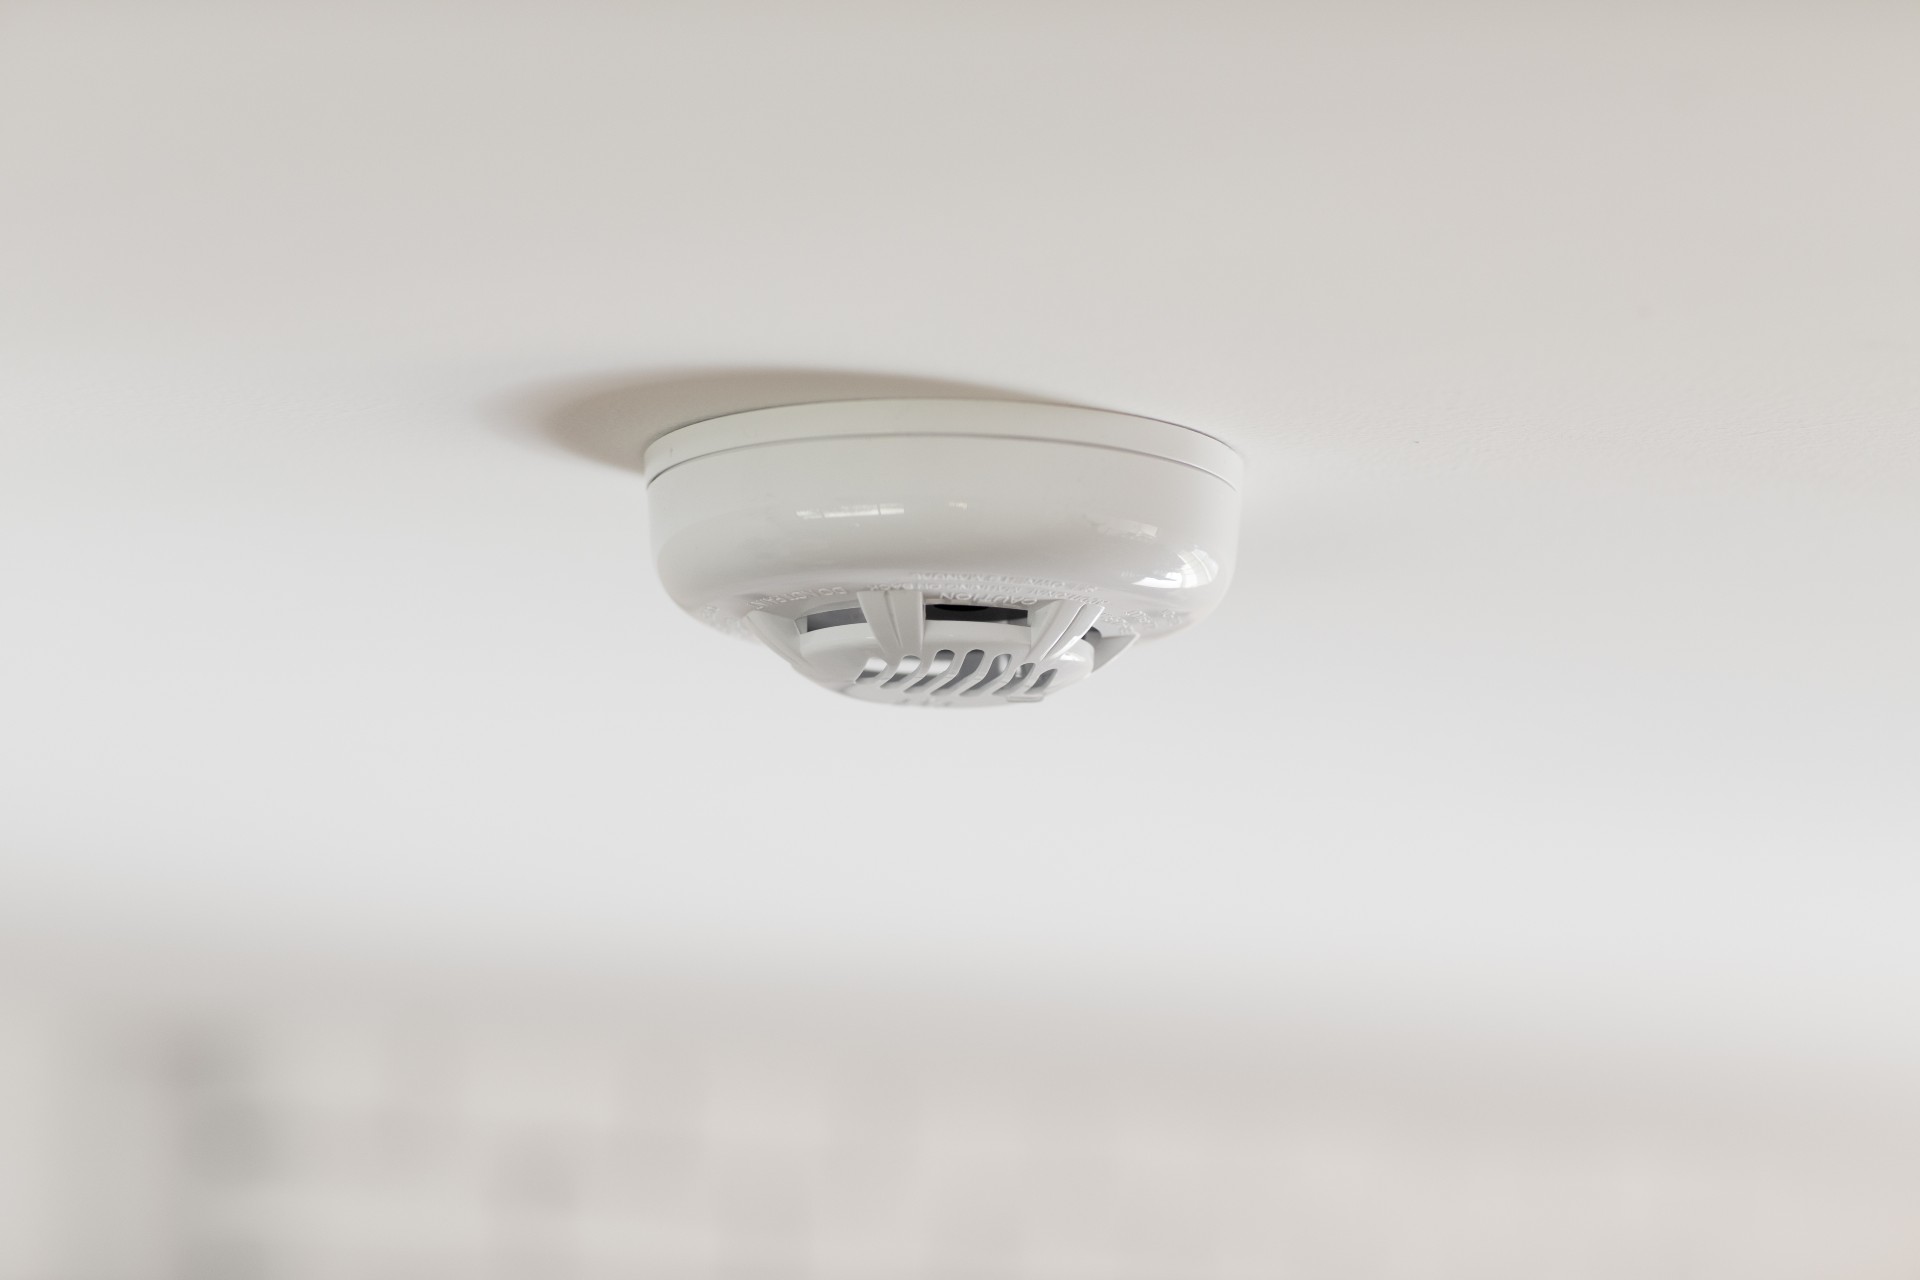
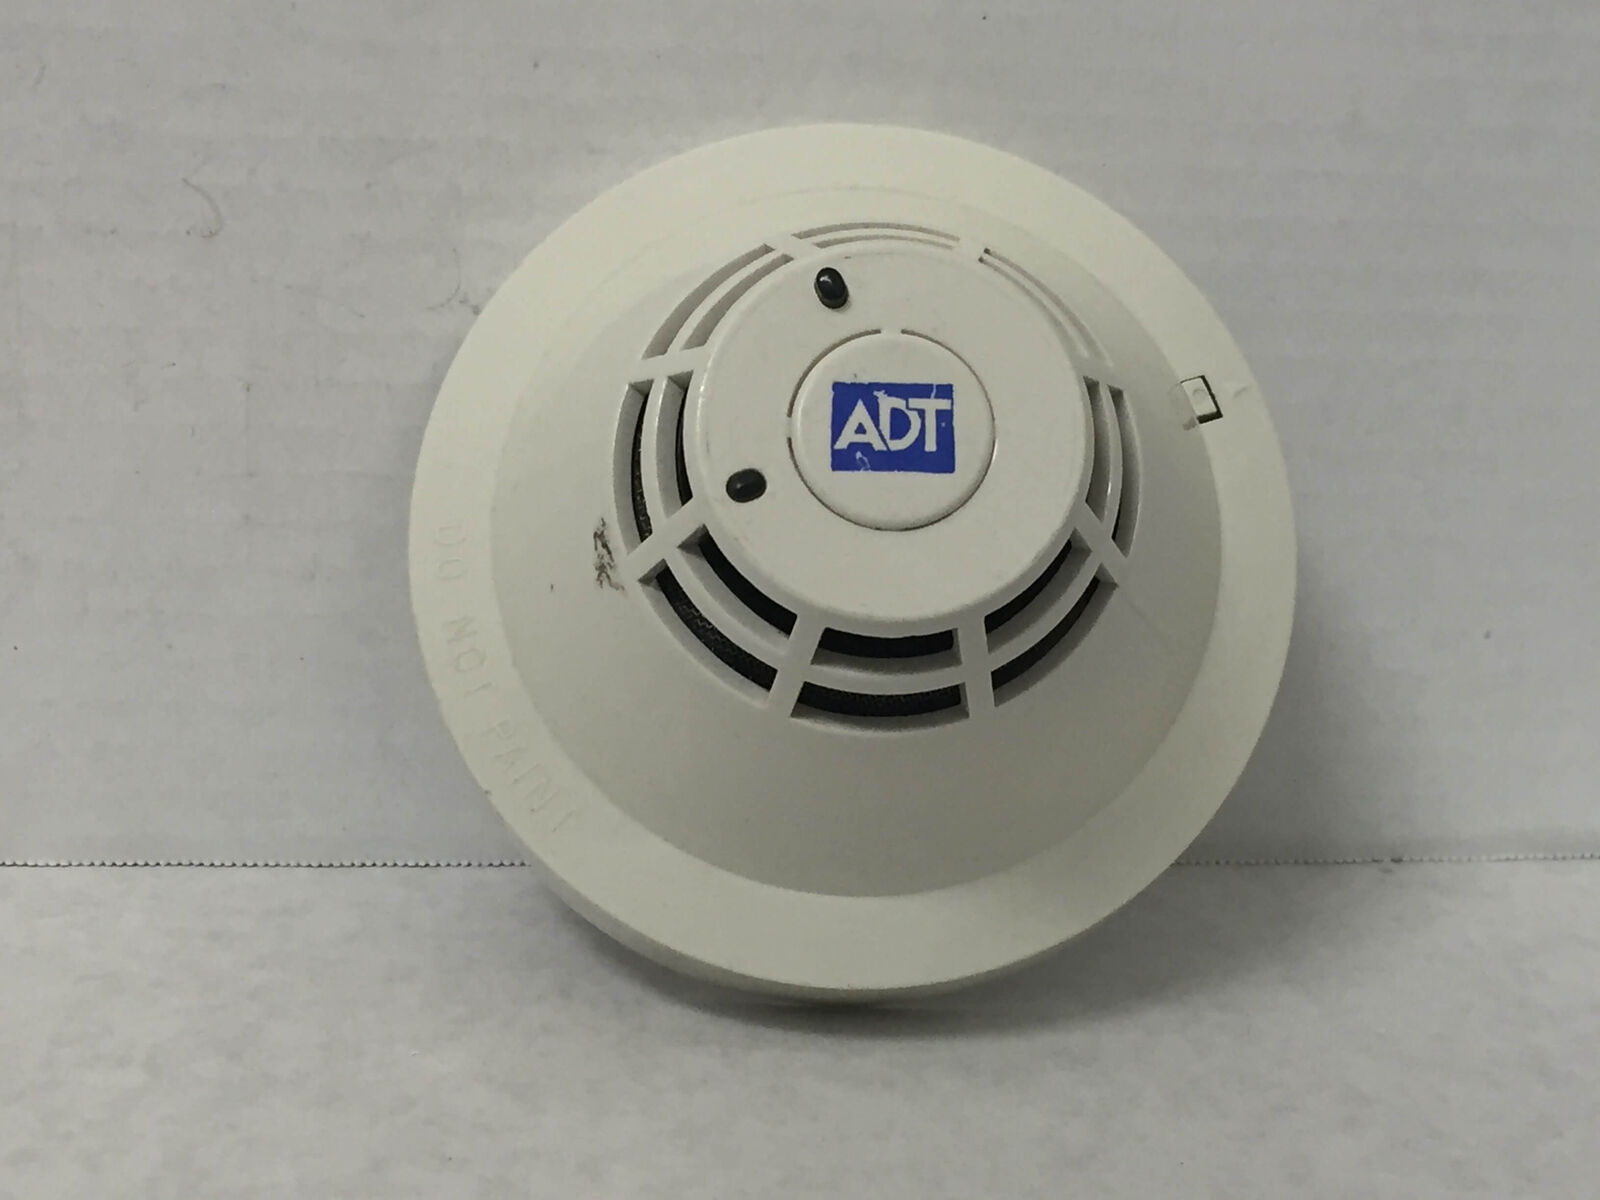
Locating the smoke detector is the next step in changing the batteries. In most homes, smoke detectors are strategically placed on the ceilings or walls near bedrooms, hallways, and common areas.
To locate your Vivint smoke detector, start by visually inspecting each room in your home. Look for a small device mounted on the ceiling or wall with a circular shape and a button in the center. These smoke detectors are typically white in color and will have the Vivint logo or name.
If you have multiple smoke detectors in your home, make a note of each one’s location. This will be helpful when it comes time to replace the batteries.
If you are having difficulty finding your smoke detector, refer to your Vivint user manual or contact Vivint customer support for guidance. They will be able to provide you with specific instructions based on your smoke detector’s model.
Once you have located your smoke detector, make sure to prepare the area by clearing any nearby objects that could obstruct your access to the smoke detector. This will make the battery replacement process much easier.
Now that you have located the smoke detector, it’s time to move on to the next step: removing the smoke detector from the mounting bracket.
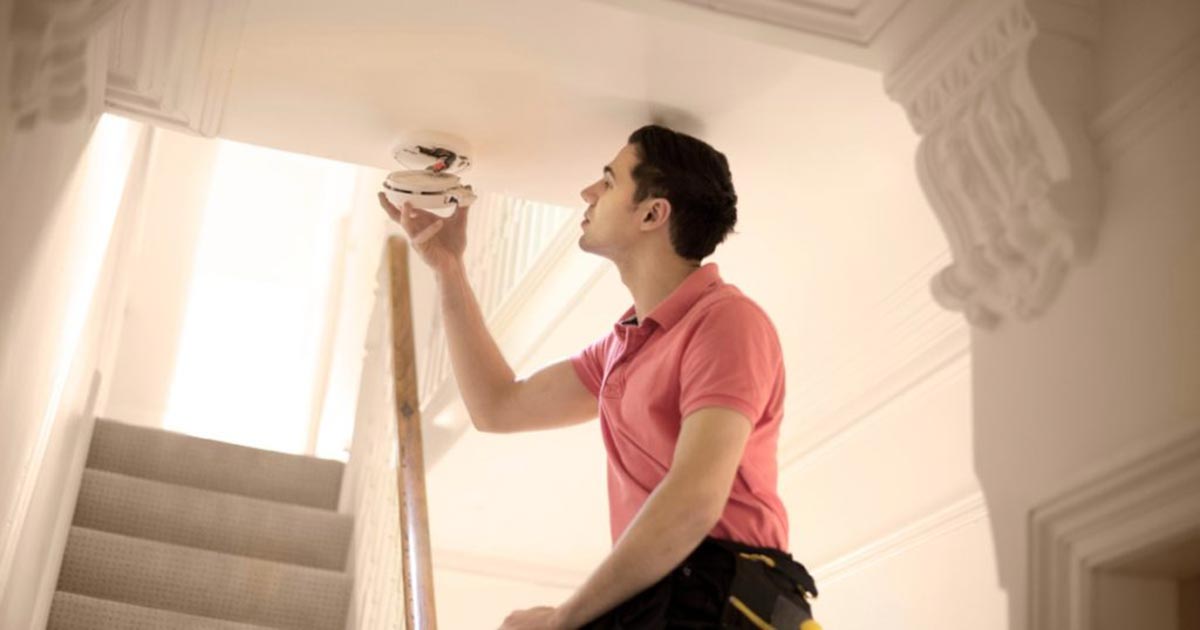
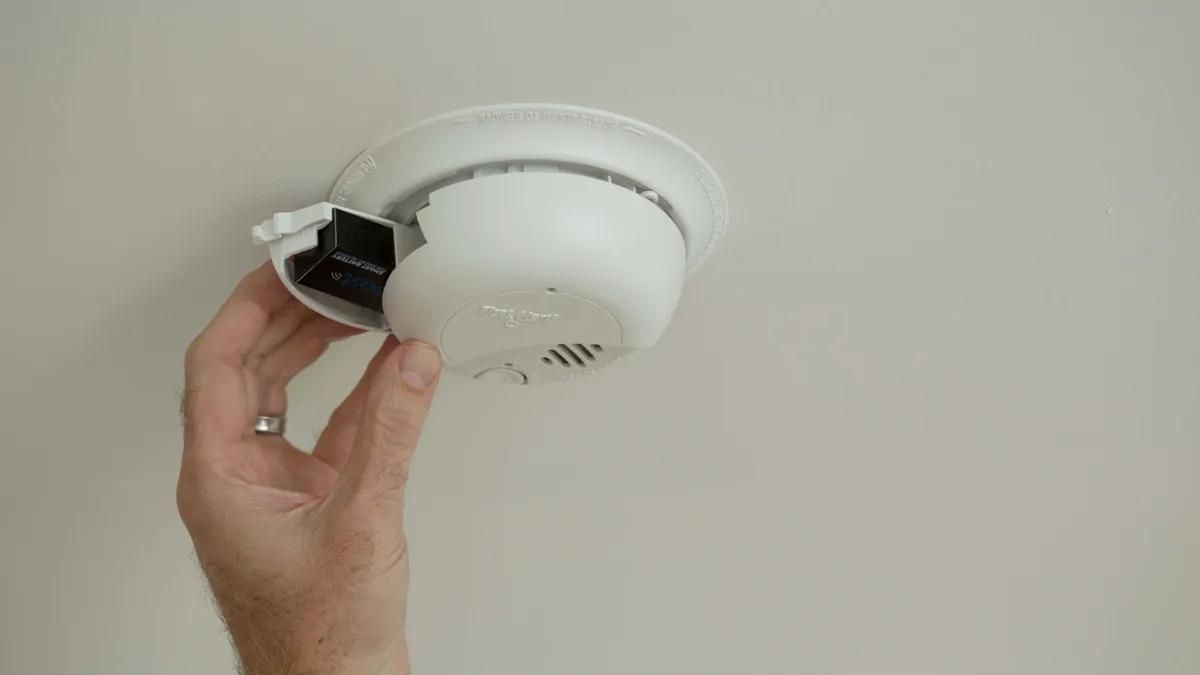
Step 3: Remove the smoke detector from the mounting bracket
Before you can change the batteries in your Vivint smoke detector, you need to remove it from the mounting bracket. The mounting mechanism may vary depending on the model of your smoke detector, so refer to the user manual if you are unsure of the specific steps.
In most cases, the smoke detector will be attached to the mounting bracket either by a twist-lock mechanism or by screws. Here’s how to remove the smoke detector:
- If your smoke detector has a twist-lock mechanism, grip the device firmly and twist it counterclockwise to unlock it from the mounting bracket. Be gentle but firm to avoid damaging the smoke detector or the ceiling/wall.
- If your smoke detector is secured with screws, use a screwdriver to carefully remove the screws holding it in place. Take note of the screw size and keep them in a safe place to avoid misplacing them.
Once the smoke detector is detached from the mounting bracket, be cautious not to tug on any wires connected to it. Gently lower the smoke detector down and hold it securely to prevent it from accidentally falling.
With the smoke detector now removed from the mounting bracket, we can proceed to the next step: opening the smoke detector battery compartment.
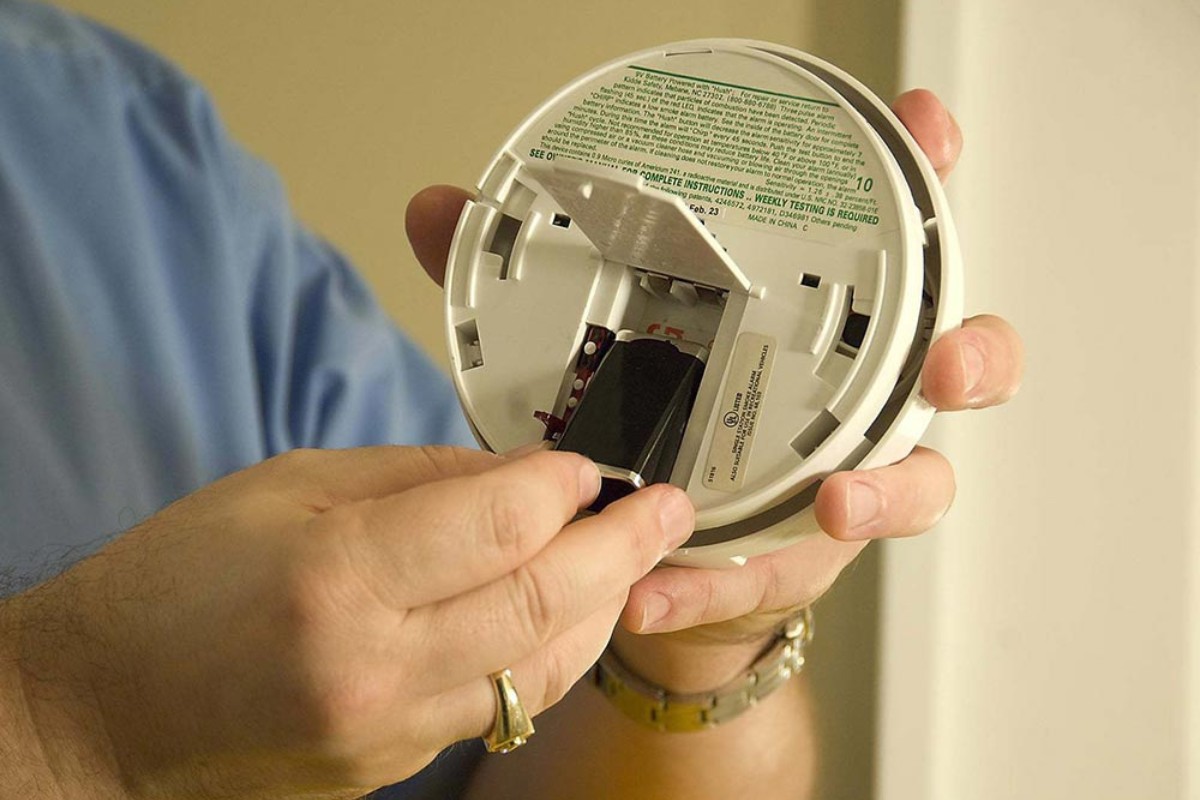
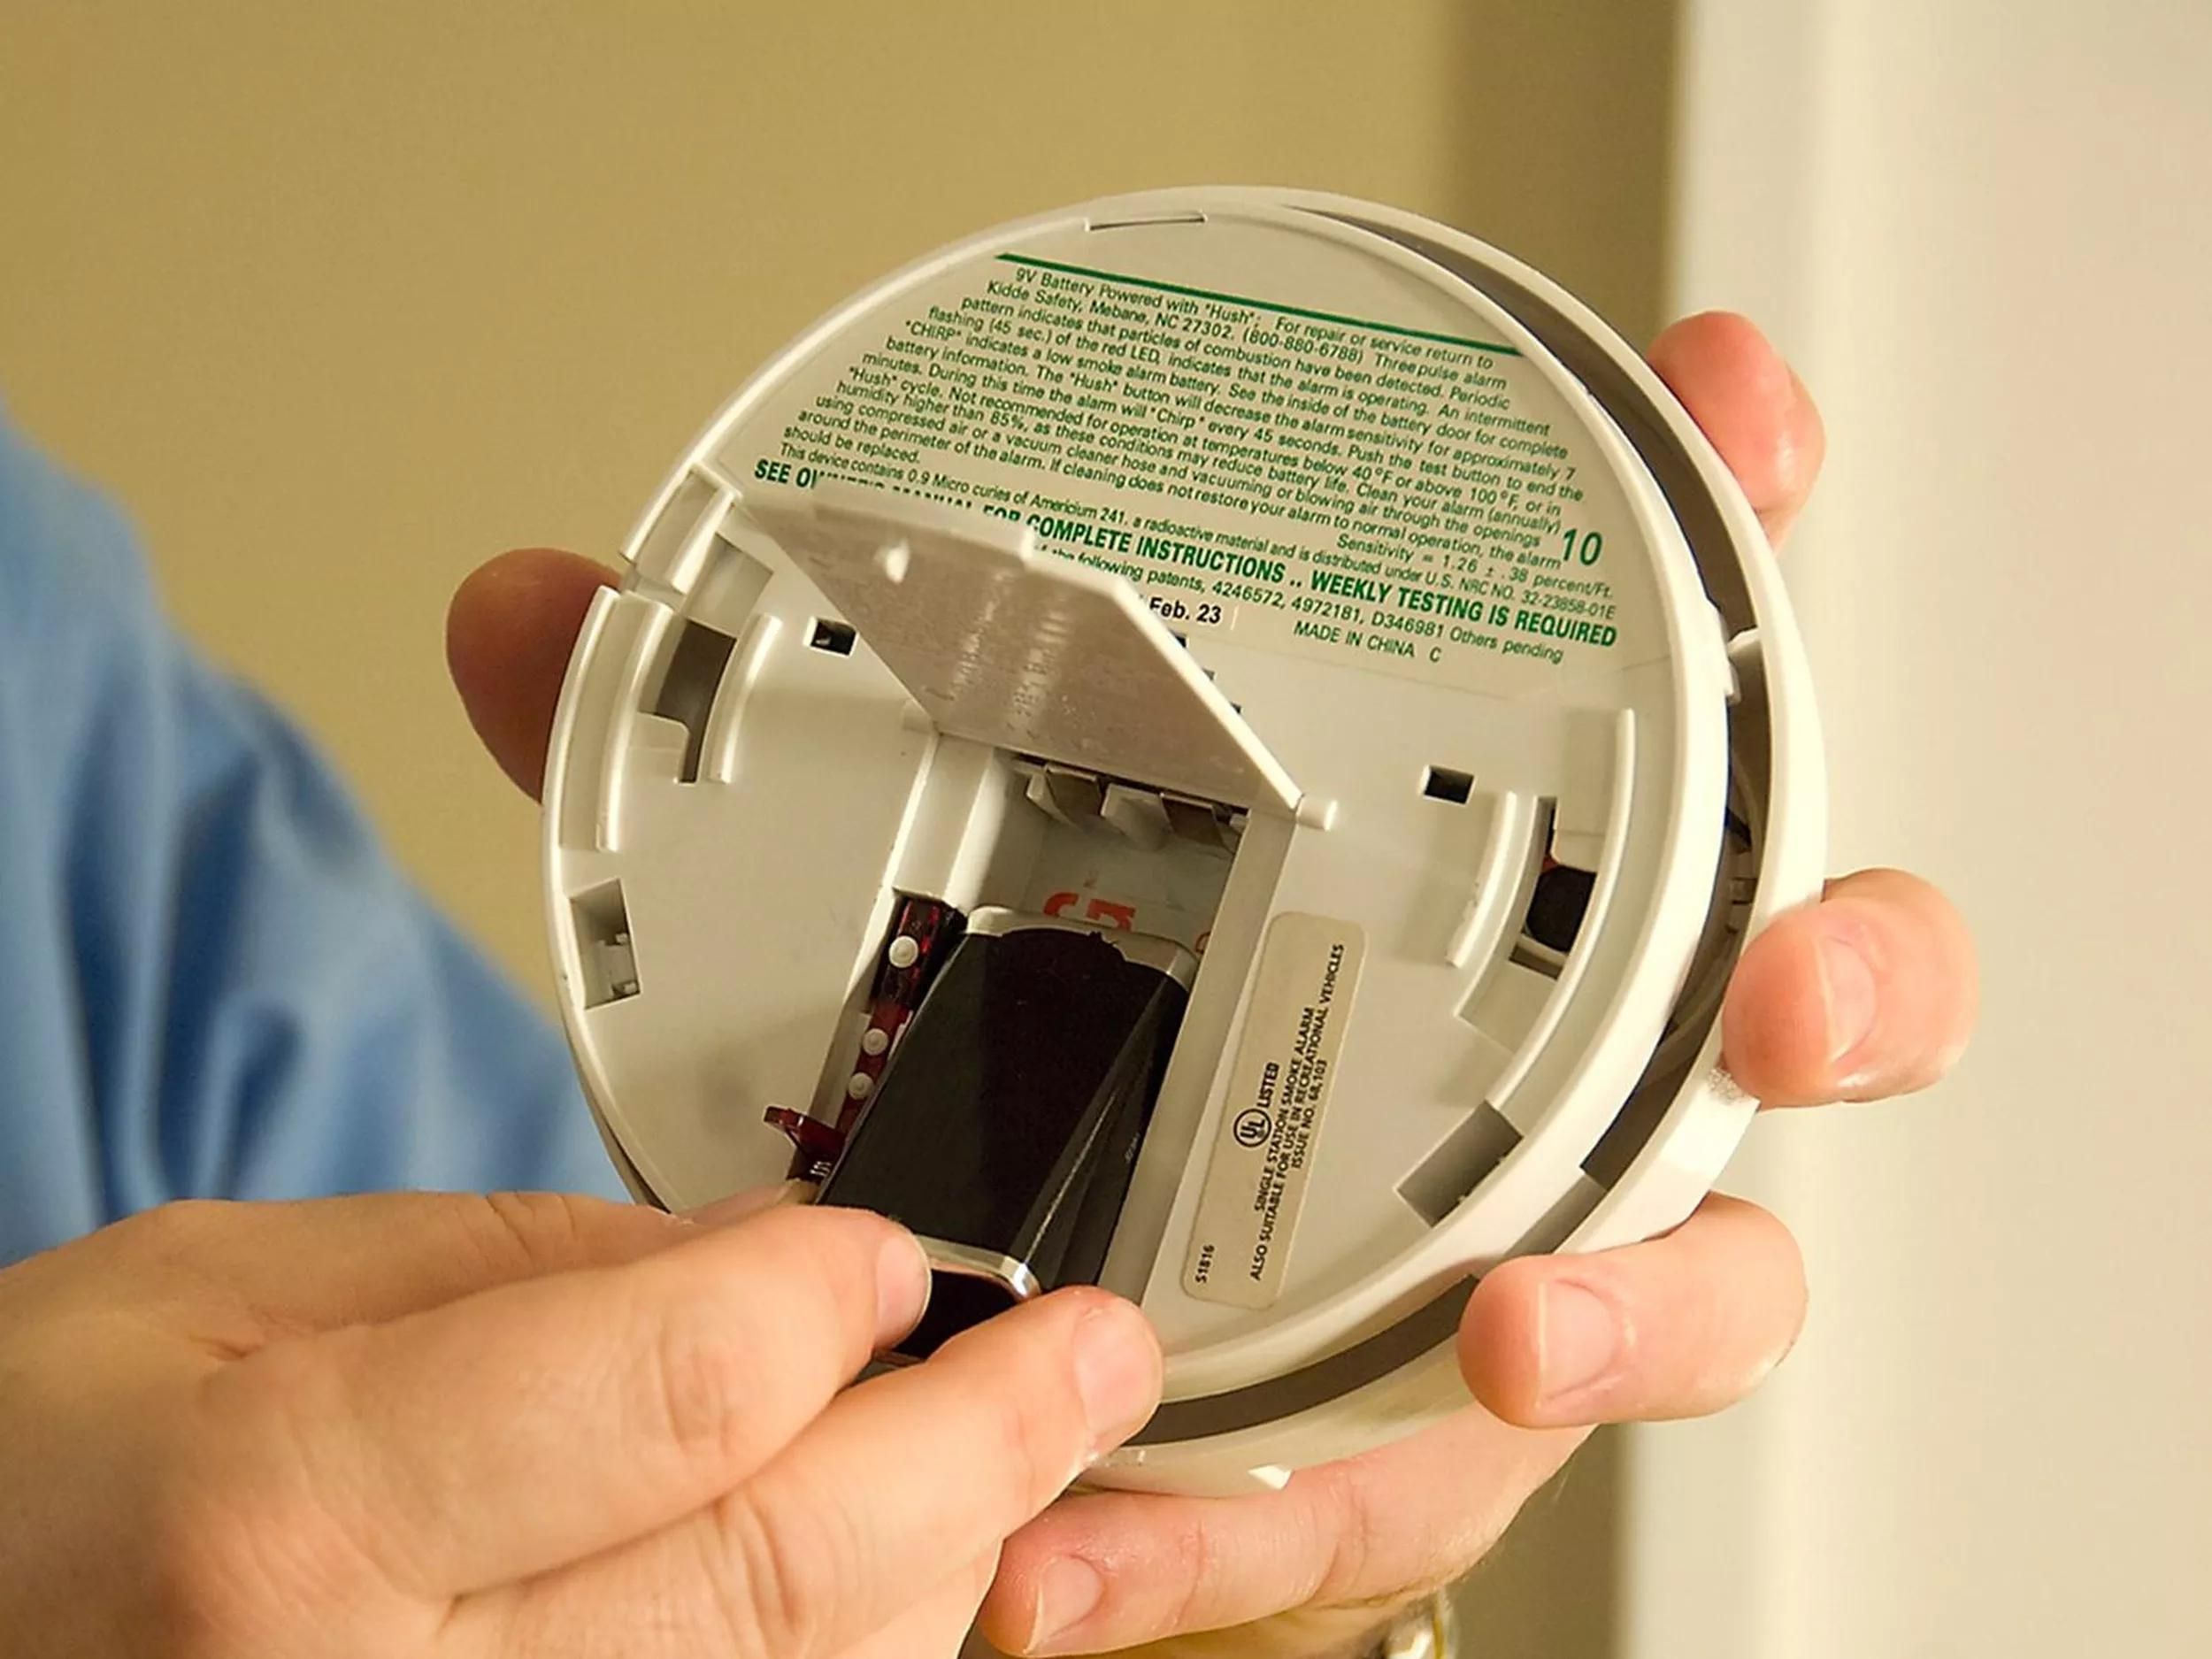
Step 4: Open the smoke detector battery compartment
Now that you have removed the smoke detector from the mounting bracket, it’s time to open the battery compartment. Most Vivint smoke detectors have a hinged cover or a sliding panel that provides access to the batteries.
Follow these steps to open the smoke detector battery compartment:
- Inspect the smoke detector for a latch or a small tab that indicates the location of the battery compartment.
- If you find a latch, press it or slide it in the direction indicated to unlock the battery compartment.
- If there is a tab, gently push or slide it to release the battery compartment cover.
- As you open the battery compartment, be mindful of any small parts that may fall out. Keep them in a safe place to avoid misplacing them.
Once you have successfully opened the smoke detector battery compartment, we can move on to the next crucial step: removing the old batteries.
Remember, it is essential to handle the smoke detector and its components with care to prevent any damage or dislodging of internal parts.
Now that the smoke detector battery compartment is open, let’s proceed to step 5: removing the old batteries.
Step 5: Remove the old batteries
With the smoke detector battery compartment open, it’s time to remove the old batteries. Removing the old batteries will ensure that you have a clean slate to work with when inserting the new ones.
Follow these steps to remove the old batteries from your Vivint smoke detector:
- Inspect the battery compartment to identify the orientation of the batteries.
- Identify the battery terminals—this information is typically marked inside the compartment or on the battery itself. Note which end of each battery connects to the positive (+) and negative (-) terminals.
- Using your fingers or a small tool, gently pry the batteries out of their slots. Be careful not to use excessive force, as this can damage the battery compartment or the batteries themselves.
- If the batteries are secured by clips or springs, carefully release them to allow the batteries to come loose.
- Once the old batteries are removed, set them aside for proper disposal. It is important to dispose of used batteries according to local regulations or recycling guidelines.
Be sure to handle the old batteries with care, as they may still retain a residual charge and can be a potential hazard if mishandled.
Now that the old batteries are safely removed from the smoke detector, we can move on to the next step: inserting the new batteries.
When changing the batteries in a Vivint smoke detector, always use the recommended type of battery specified in the user manual to ensure proper functionality and safety. Be sure to test the smoke detector after replacing the batteries to ensure it is working correctly.
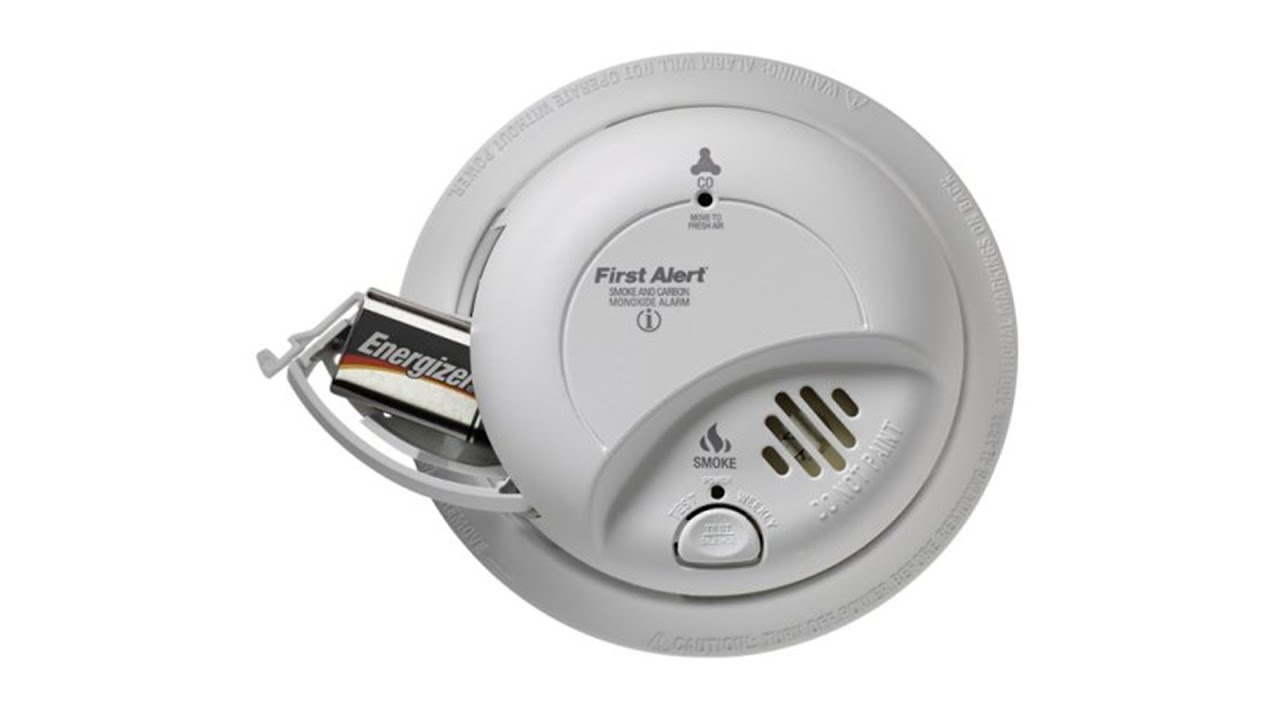
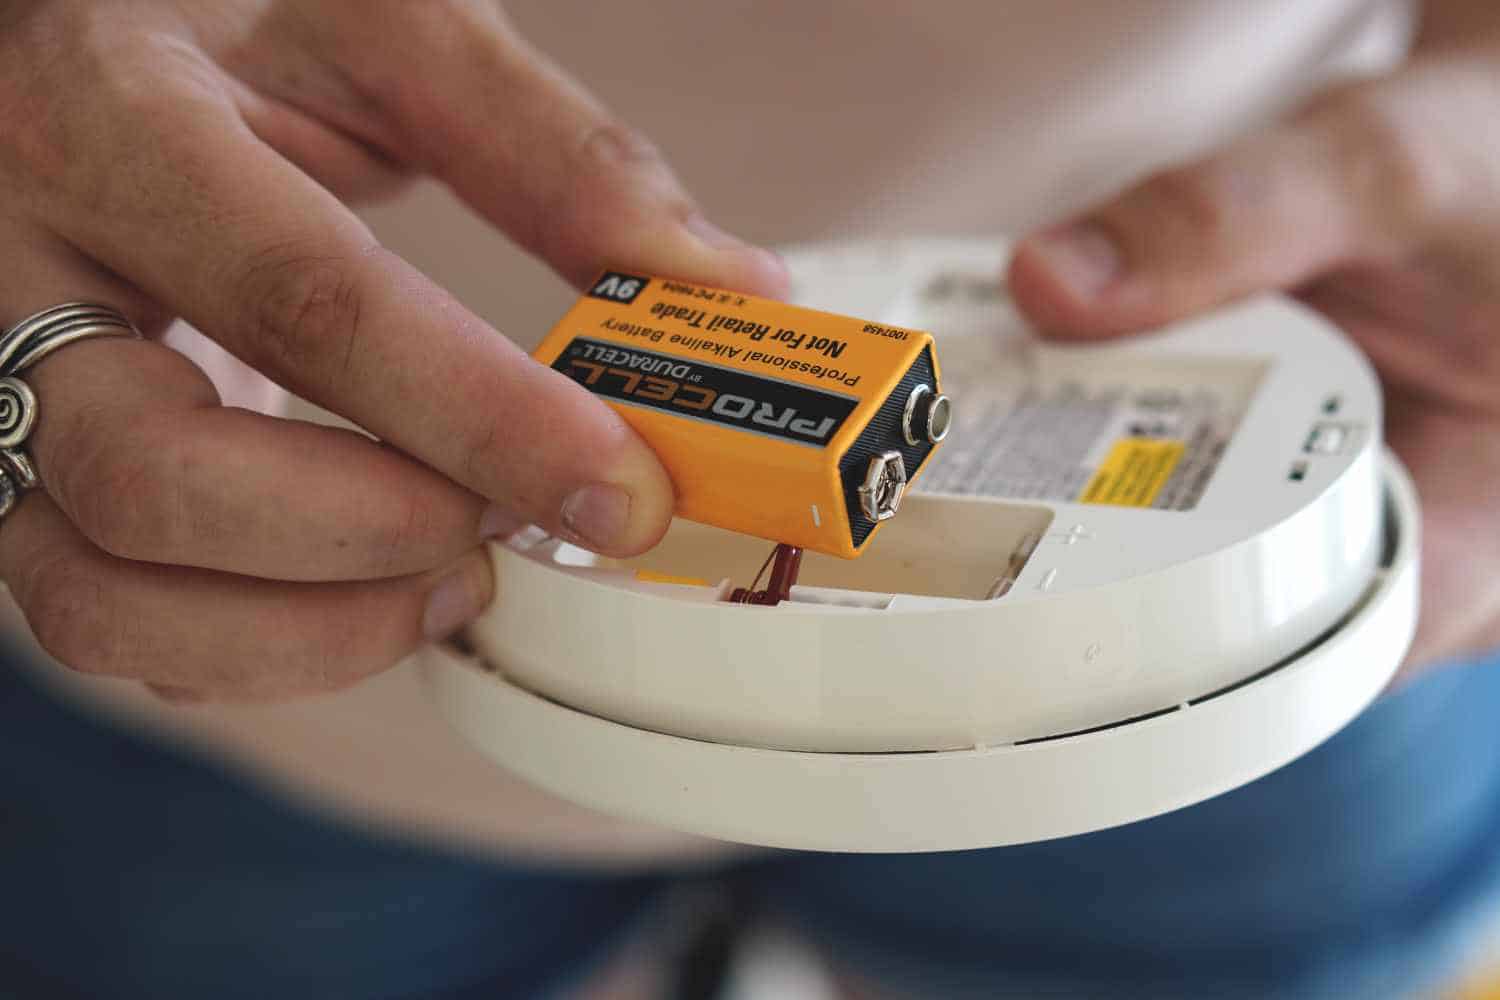
Step 6: Insert the new batteries
With the old batteries removed, it’s time to insert fresh batteries into your Vivint smoke detector. Properly inserting the new batteries ensures that your smoke detector will function effectively and provide reliable fire detection.
Follow these steps to insert the new batteries:
- Grab the fresh set of batteries that are recommended for your specific Vivint smoke detector model.
- Check the orientation of the batteries to ensure they are inserted correctly. Most smoke detectors have markings or diagrams inside the battery compartment indicating the proper placement of the positive (+) and negative (-) ends.
- Align the positive (+) and negative (-) ends of each battery with the corresponding terminals inside the compartment.
- Gently press each battery into its designated slot, making sure they are securely in place. If the batteries are held in by clips or springs, ensure they are properly engaged.
- Double-check that the batteries are inserted correctly, as improper installation can prevent the smoke detector from functioning.
It is crucial to use fresh and fully charged batteries to guarantee the optimal performance of your smoke detector. Using expired or weak batteries can lead to decreased sensitivity and unreliable detection of smoke or fire.
Now that the new batteries are properly inserted into the smoke detector, we can move on to the next step: closing the battery compartment.
Step 7: Close the smoke detector battery compartment
After successfully inserting the new batteries into your Vivint smoke detector, it’s time to close the battery compartment. Properly closing the compartment ensures that the batteries are securely in place and the smoke detector is ready to be reinstalled.
Follow these steps to close the smoke detector battery compartment:
- Align the cover of the battery compartment with the smoke detector body.
- If there is a latch or a tab, make sure it lines up with the corresponding slot on the smoke detector. This will allow the cover to close properly.
- Gently press or slide the cover back into position until you hear a click or feel it securely close.
- Double-check that the battery compartment is fully closed and there are no gaps or loose parts.
Ensure that the smoke detector is tightly sealed to prevent any dust or debris from entering the battery compartment. This will help maintain the optimal functioning of your smoke detector over time.
Now that the battery compartment is securely closed, we can proceed to the next step: reattaching the smoke detector to the mounting bracket.
Step 8: Reattach the smoke detector to the mounting bracket
With the battery compartment securely closed, it’s time to reattach the Vivint smoke detector to its mounting bracket. This step ensures that the smoke detector is properly positioned and functional in its designated location.
Follow these steps to reattach the smoke detector to the mounting bracket:
- Take the smoke detector and align it with the mounting bracket on the ceiling or wall.
- If your smoke detector uses a twist-lock mechanism, align the slots on the smoke detector with the notches on the mounting bracket. Gently twist the smoke detector clockwise until it locks into place.
- If your smoke detector is secured with screws, align the holes on the smoke detector with the holes on the mounting bracket. Insert the screws and tighten them securely using a screwdriver.
- Ensure that the smoke detector is flush against the ceiling or wall and is securely attached to the mounting bracket.
It is important to ensure the smoke detector is correctly attached to the mounting bracket to ensure optimal performance. A loose or unstable smoke detector may not function properly during an emergency.
Now that the smoke detector is reattached to the mounting bracket, we can move on to the next step: testing the smoke detector.
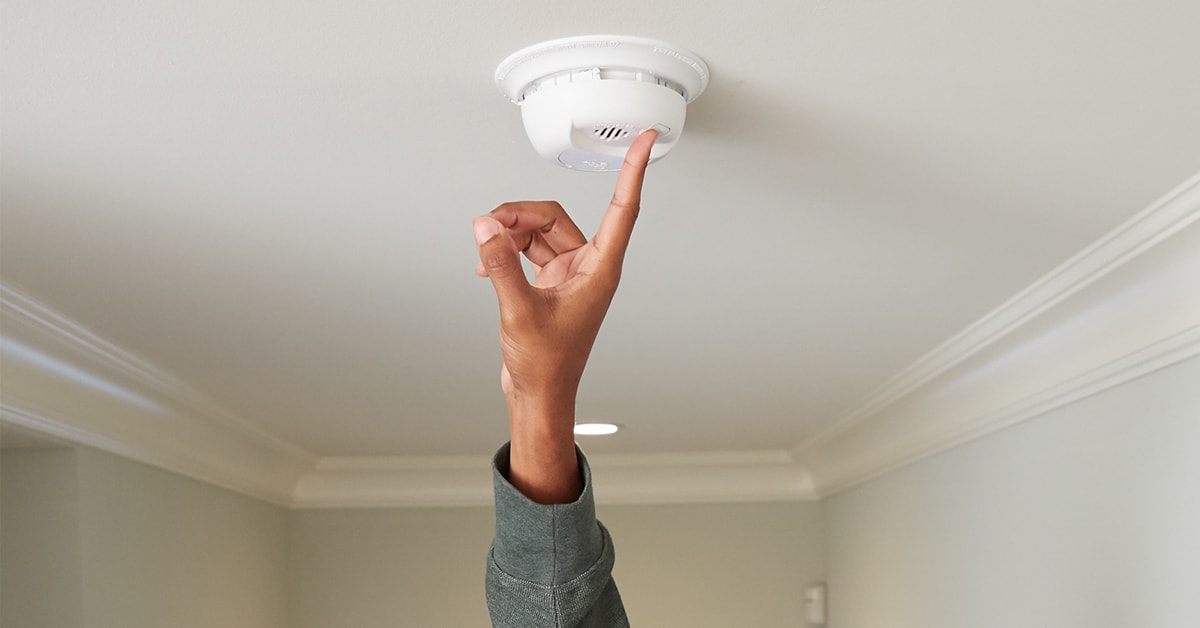
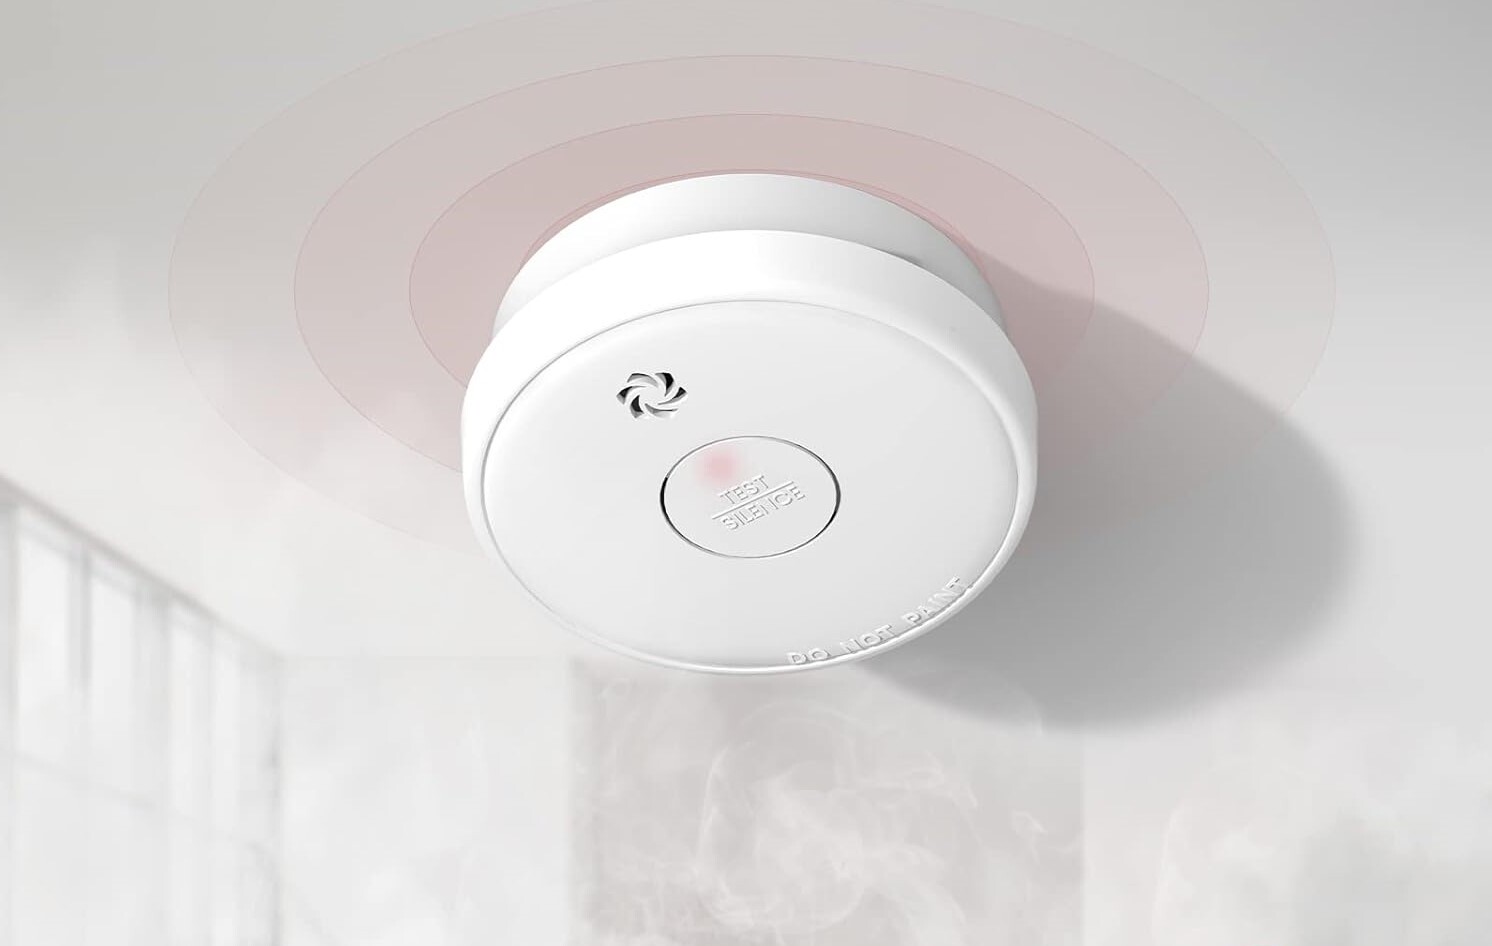
Step 9: Test the smoke detector
Testing your Vivint smoke detector after changing the batteries is the final step to ensure that it is functioning correctly and will provide reliable fire detection in your home. Regular testing is essential to maintain the safety of your household.
Follow these steps to test the smoke detector:
- Locate the test button on the smoke detector. This is typically a small, labeled button located on the front or side of the device.
- Press and hold the test button for a few seconds until you hear a loud beep or the alarm is triggered.
- A properly functioning smoke detector will emit a loud, continuous alarm sound during the test. This confirms that it is in working order.
- If the smoke detector does not emit a sound or the sound is weak, double-check the battery installation and ensure they are correctly inserted.
- If the smoke detector still does not work after checking the batteries, consult the user manual or contact Vivint customer support for further assistance.
It is essential to regularly test your smoke detector to ensure its effectiveness. The National Fire Protection Association (NFPA) recommends testing smoke detectors at least once a month.
Congratulations! You have successfully changed the batteries in your Vivint smoke detector and tested its functionality. Your home is now equipped with a reliable smoke detector that will provide early warning in the event of a fire.
Remember to replace the batteries in your smoke detector as recommended by the manufacturer to ensure continuous protection. It is also a good practice to keep a record of the battery replacement dates for future reference.
Thank you for following this guide, and stay safe!
Conclusion
Changing the batteries in your Vivint smoke detector is a simple yet crucial task to ensure the safety and well-being of your home and loved ones. By following the step-by-step instructions outlined in this guide, you can confidently and effectively change the batteries in your smoke detector.
We started by gathering the necessary tools, including a ladder or stepstool, a screwdriver, and a fresh set of batteries. Then, we located the smoke detector, removed it from the mounting bracket, and opened the battery compartment. After removing the old batteries, we inserted the new ones and closed the battery compartment securely.
The next steps involved reattaching the smoke detector to the mounting bracket and testing it to ensure proper functioning. Regularly testing your smoke detector is imperative to maintain the highest level of safety in your home. It is recommended to test your smoke detector at least once a month and replace the batteries as needed.
Remember, the information provided in this guide is intended for Vivint smoke detectors. If you have a different brand or model, consult the user manual or contact the manufacturer for specific instructions.
By taking the time to change the batteries in your smoke detector and perform regular maintenance, you are taking a proactive step towards ensuring the safety of your household. Fires can be devastating, but with a properly functioning smoke detector, you can have peace of mind knowing that you have an early warning system in place.
Thank you for following this guide. Stay vigilant, stay safe, and prioritize the well-being of your home and family.
Frequently Asked Questions about How To Change Batteries In A Vivint Smoke Detector
Was this page helpful?
At Storables.com, we guarantee accurate and reliable information. Our content, validated by Expert Board Contributors, is crafted following stringent Editorial Policies. We're committed to providing you with well-researched, expert-backed insights for all your informational needs.


0 thoughts on “How To Change Batteries In A Vivint Smoke Detector”