Home>Articles>How To Install Foam Board Insulation In Ceiling
Articles
How To Install Foam Board Insulation In Ceiling
Modified: August 28, 2024
Learn how to properly install foam board insulation in your ceiling with these helpful articles. Improve energy efficiency and reduce heat loss in your home.
(Many of the links in this article redirect to a specific reviewed product. Your purchase of these products through affiliate links helps to generate commission for Storables.com, at no extra cost. Learn more)
Introduction
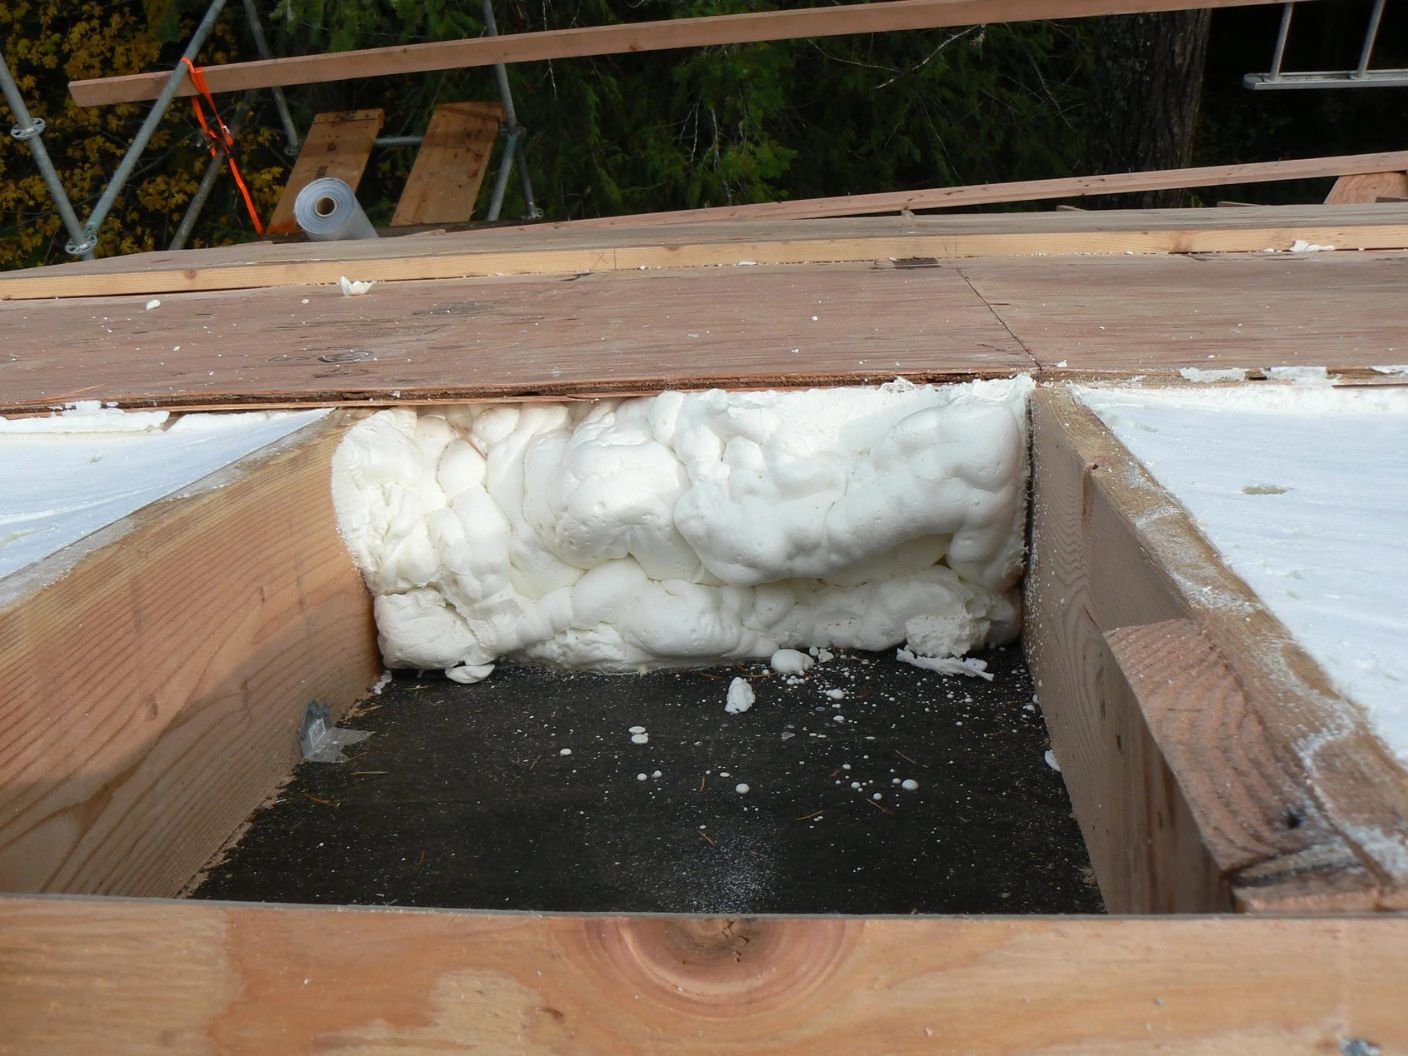
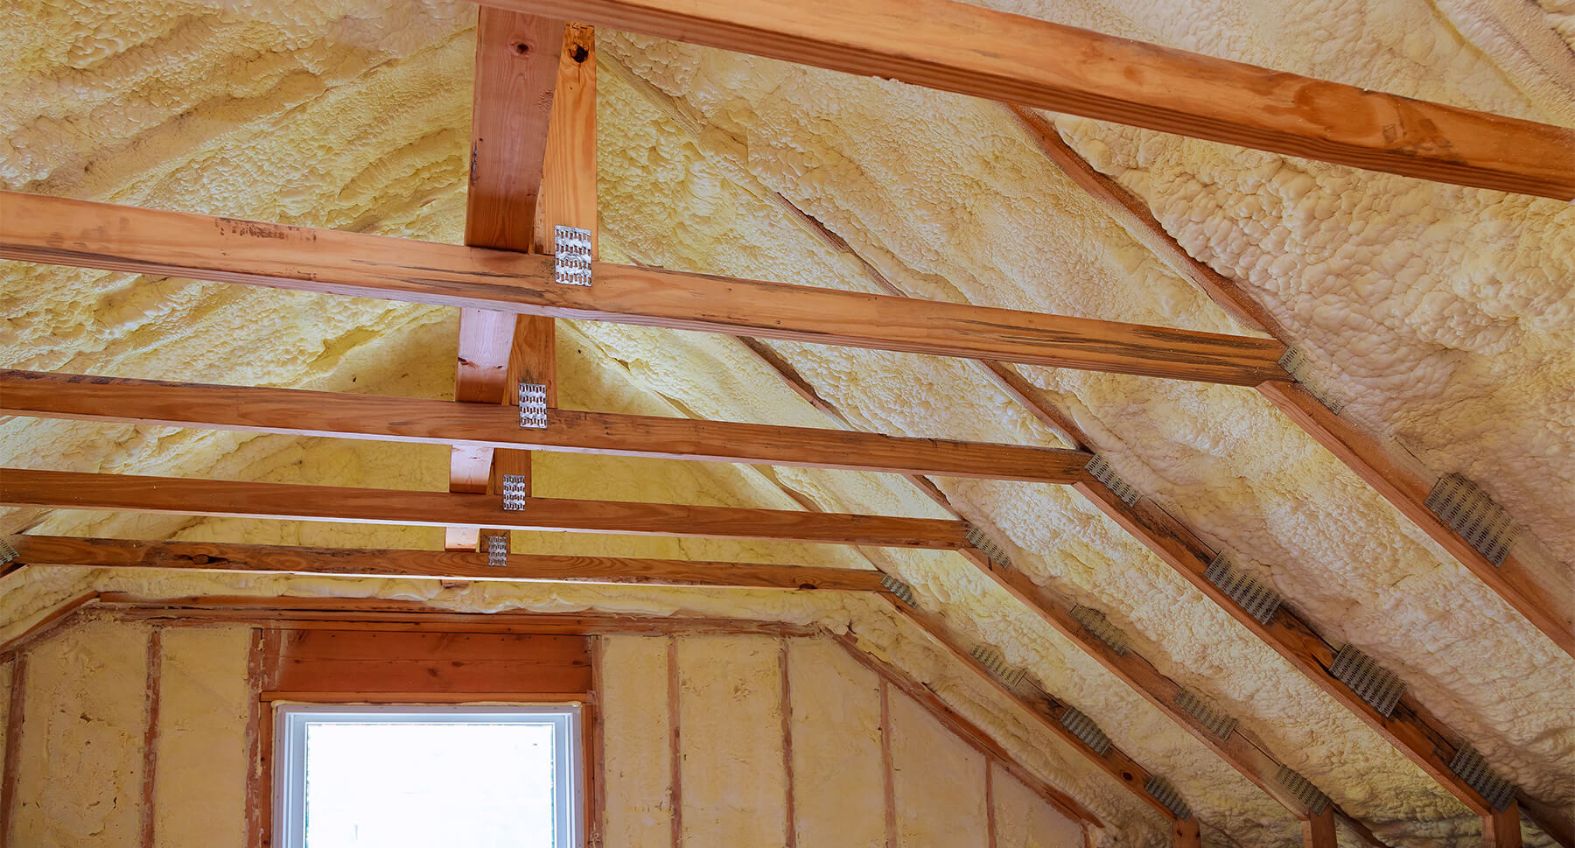
Welcome to this comprehensive guide on how to install foam board insulation in the ceiling. Whether you’re looking to improve energy efficiency, reduce noise, or create a more comfortable living space, insulation is a vital component of any home. Foam board insulation, also known as rigid insulation, is a popular choice because of its excellent thermal properties and ease of installation.
In this article, we will take you through a step-by-step process on how to install foam board insulation in the ceiling. We will cover everything from gathering the necessary materials to finishing the installation by covering the foam boards. By following these instructions, you can create a well-insulated ceiling and enjoy the benefits it brings.
Before we get started, it’s important to note that proper safety precautions must be taken during the installation process. Make sure to wear appropriate protective equipment, such as gloves and goggles, and use a sturdy ladder or scaffolding when working at heights. Additionally, if you’re unsure about any step or encounter any challenges along the way, it’s always best to consult with a professional or experienced contractor.
Now, let’s gather the necessary materials and begin the installation process!
Key Takeaways:
- Properly insulating your ceiling with foam board insulation can improve energy efficiency, reduce noise transmission, and create a more comfortable living space. Follow the step-by-step guide for a successful installation process.
- Prioritize safety, gather necessary materials, measure and cut the foam board insulation, prepare the ceiling, apply adhesive, seal joints and edges, and finish with a covering material to enjoy the benefits of a well-insulated ceiling.
Step 1: Gather the necessary materials
Before you begin the installation process, it’s essential to gather all the necessary materials. Here’s a list of items you’ll need:
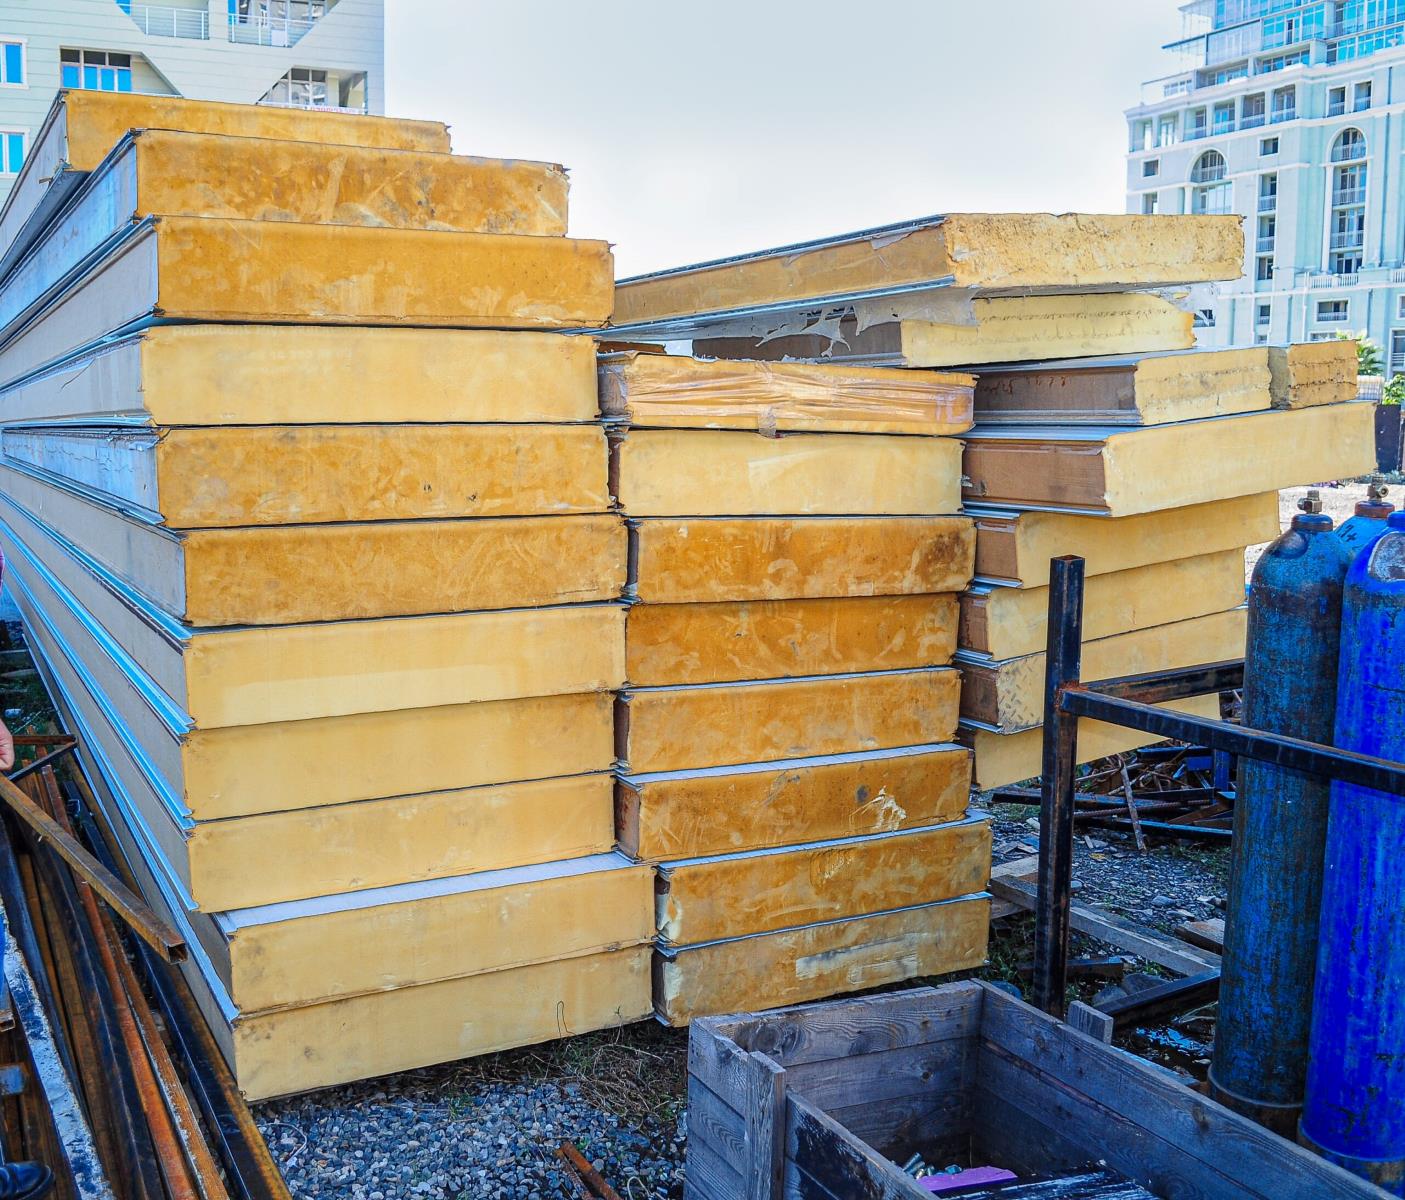
- Foam board insulation panels: These can be purchased from your local hardware store or home improvement center. Make sure to choose insulation panels with the appropriate thickness for your ceiling.
- Measuring tape: You’ll need a measuring tape to accurately measure the dimensions of your ceiling and cut the insulation panels accordingly.
- Straight edge or T-square: A straight edge or T-square will ensure clean and precise cuts on the foam board insulation.
- Utility knife: A sharp utility knife will be used to cut the foam board insulation to the required size and shape.
- Adhesive: You’ll need an adhesive suitable for foam board insulation, such as construction adhesive or foam board adhesive. Make sure to check the product label for compatibility.
- Caulk gun: A caulk gun is necessary for applying adhesive to the back of the foam board insulation.
- Paint brush or roller: If you plan to cover the foam board insulation with a finishing material, such as drywall or paneling, a paint brush or roller will be needed to apply the adhesive or primer.
- Sealant: To seal the joints and edges of the foam board insulation, you’ll need a compatible sealant, such as foam board sealant or caulking.
- Covering material: Depending on your preference, you may choose to cover the foam board insulation with materials like drywall, paneling, or tongue-and-groove boards.
- Fasteners: If you decide to secure the covering material directly to the foam board insulation, you’ll need appropriate fasteners, such as screws or nails.
- Protective equipment: Don’t forget to wear gloves, goggles, and a mask to protect yourself from any potential harm during the installation process.
By gathering all the necessary materials beforehand, you can ensure a smooth and efficient installation process. Once you have everything on hand, you’re ready to move on to the next step: measuring and cutting the foam board insulation.
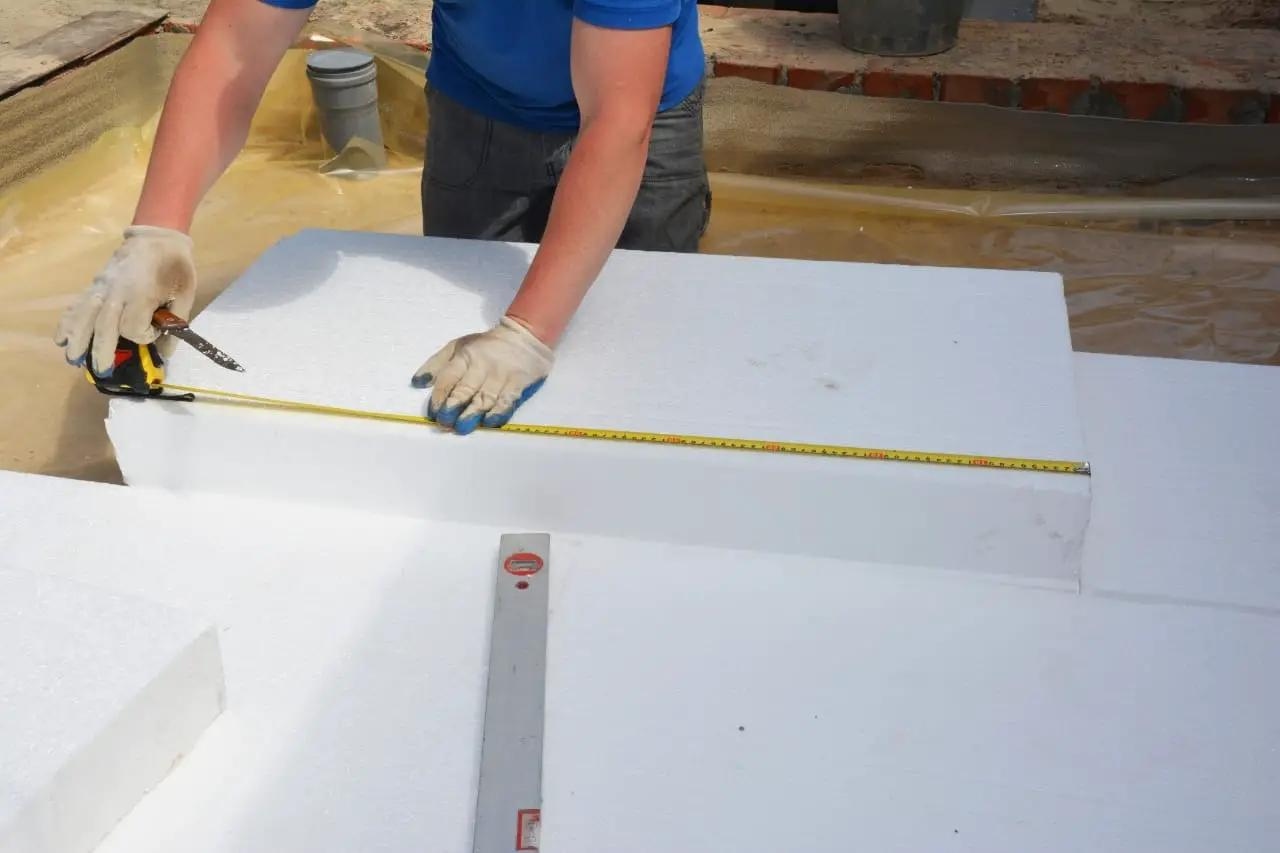
Step 2: Measure and cut the foam board insulation
Now that you have all the necessary materials, it’s time to measure and cut the foam board insulation to fit your ceiling. Here’s a step-by-step guide:
- Start by measuring the dimensions of your ceiling using a measuring tape. Take accurate measurements of the length and width of the area where you will be installing the foam board insulation.
- Transfer these measurements onto the foam board insulation panels. Use a straight edge or T-square to ensure straight and precise lines.
- When marking the insulation panels, make sure to account for any openings, such as vents or light fixtures. Measure these carefully and mark them on the panels to be cut out later.
- Now, it’s time to cut the foam board insulation. Using a sharp utility knife, carefully cut along the marked lines. Apply firm and steady pressure to ensure a clean cut.
- If there are any openings to be cut out, such as vents or light fixtures, use a jigsaw or hole saw to make the necessary cuts. Take your time and follow the marked lines accurately.
Remember to prioritize safety during this step. Always cut away from your body and use caution to avoid accidents or injuries. It may be helpful to wear gloves to protect your hands.
Once you have cut all the foam board insulation panels to the required size and shape, it’s time to move on to the next step: preparing the ceiling for installation.
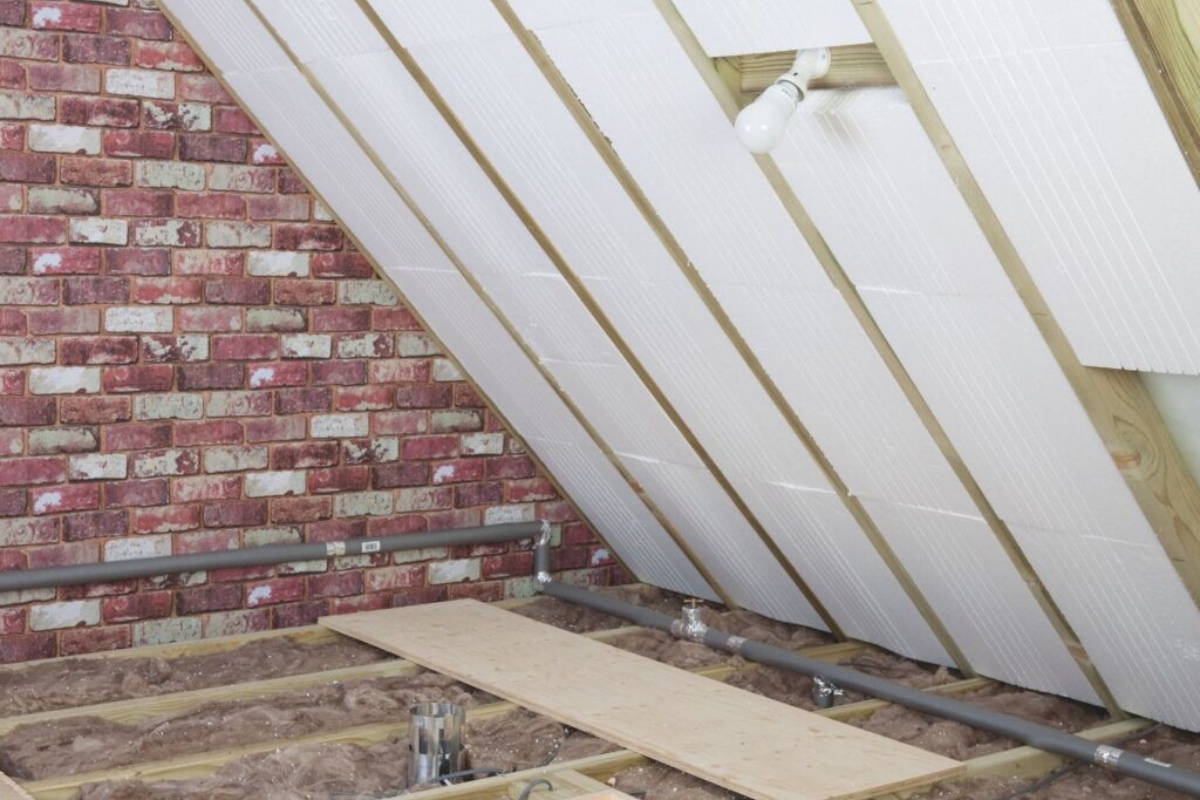
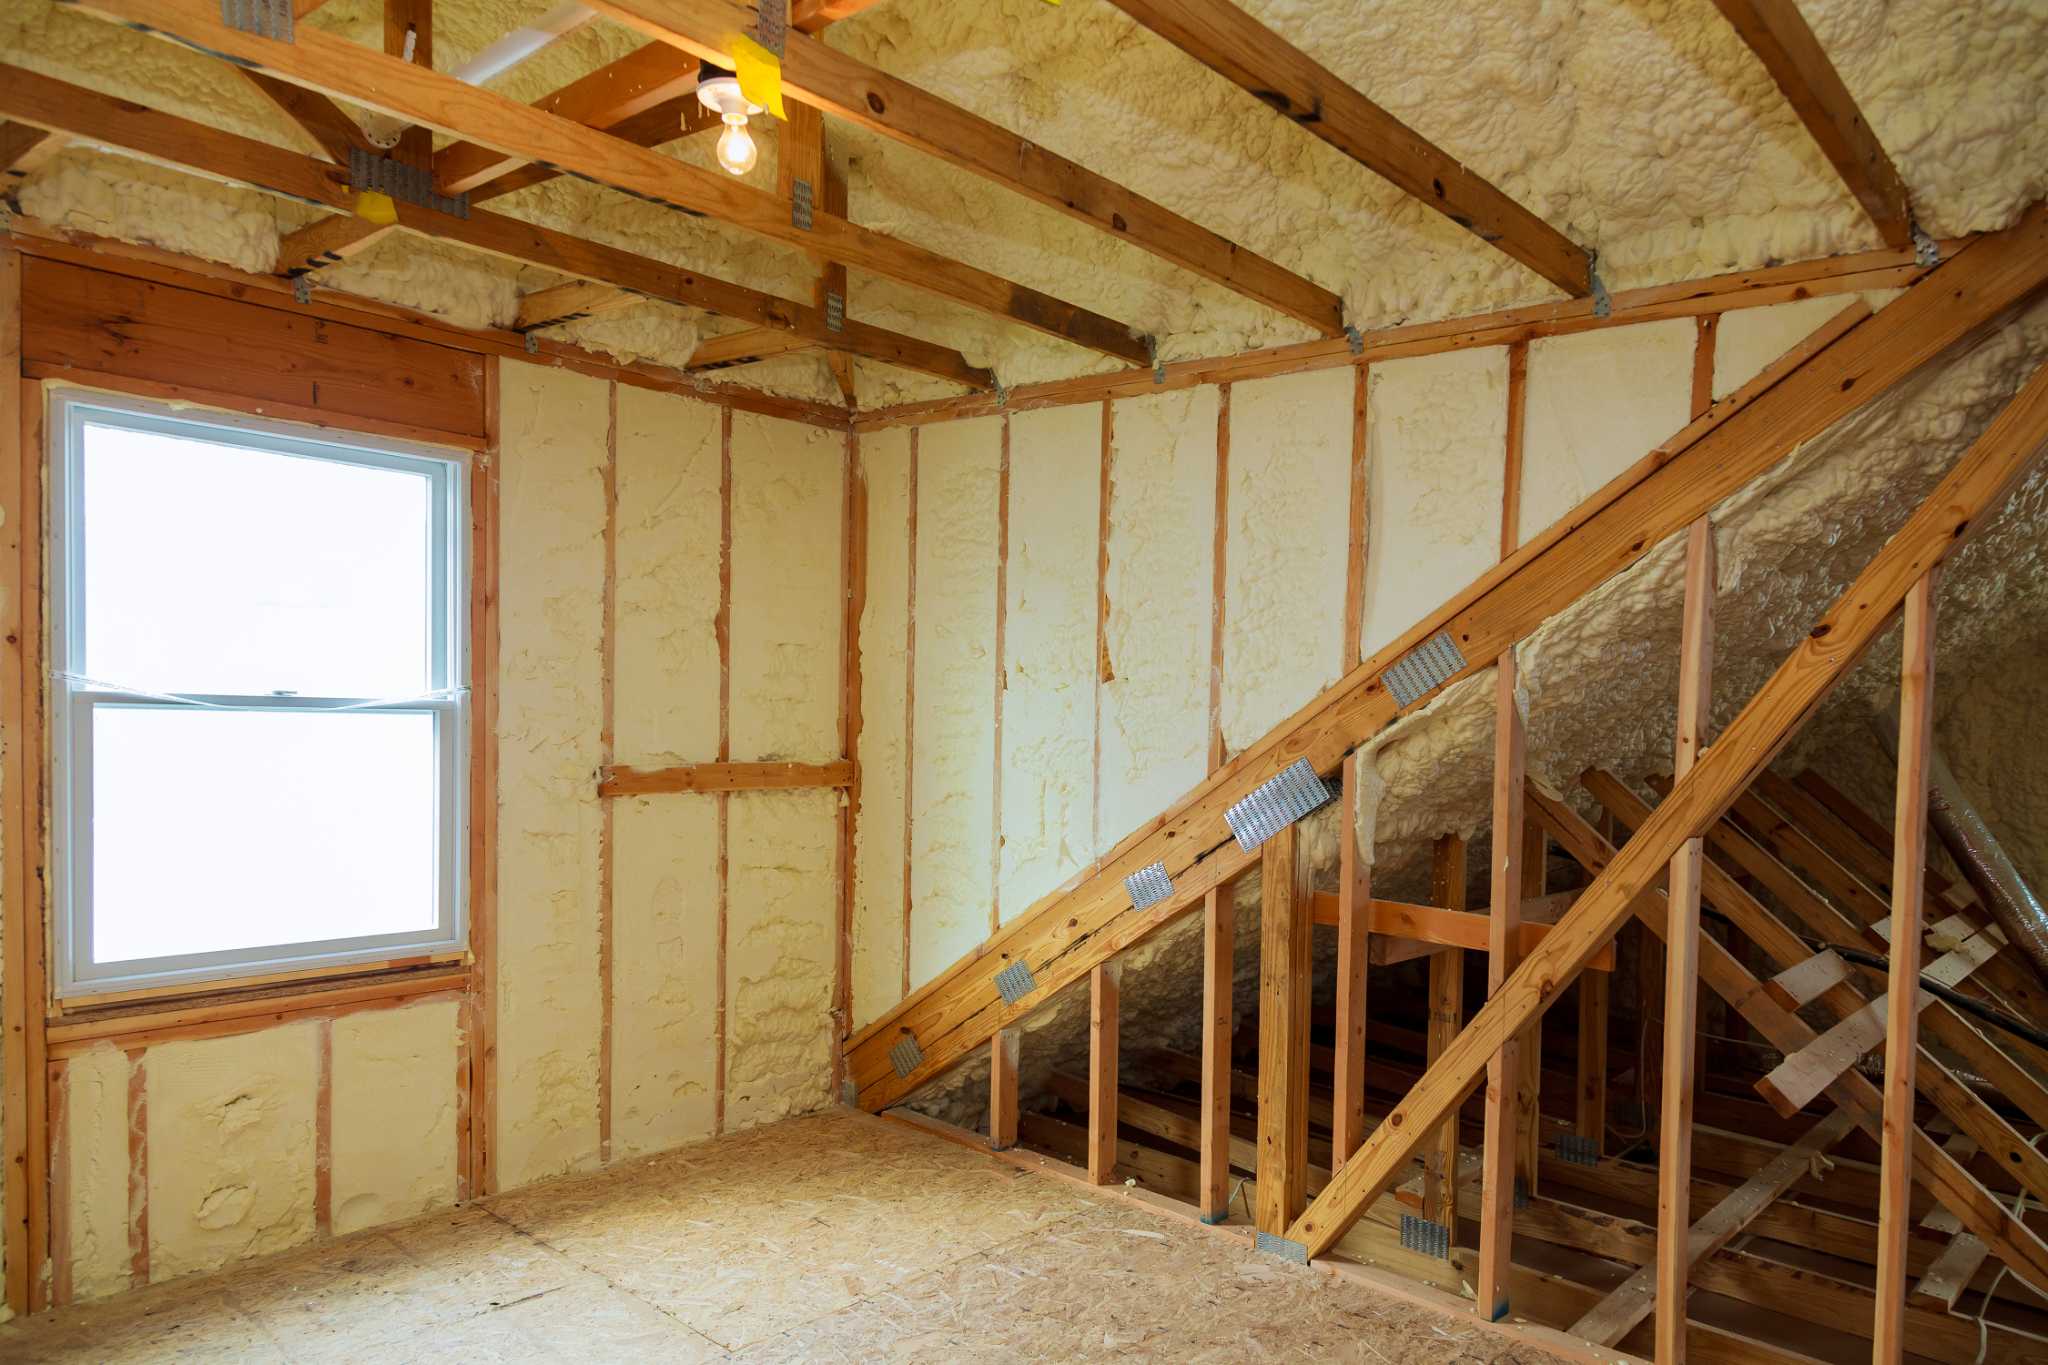
Step 3: Prepare the ceiling for installation
Before installing the foam board insulation, it’s important to properly prepare the ceiling. This will ensure a smooth and successful installation process. Here’s what you need to do:
- Clear the area: Remove any furniture or objects from the room that may obstruct your access to the ceiling. This will provide you with enough space to work comfortably.
- Clean the ceiling: Use a broom or vacuum cleaner to remove any dust, dirt, or debris from the ceiling surface. This will help the adhesive bond better and ensure a secure installation.
- Inspect for any repairs: Take a close look at the ceiling for any signs of damage, such as cracks or holes. If you come across any, it’s crucial to address them before installing the insulation. Repair any damage using the appropriate materials and techniques.
- Inspect for electrical wiring: Check for any electrical wires that may be running through the ceiling. It’s important to be aware of their location to avoid accidentally cutting or damaging them during the installation process. If necessary, consult a professional electrician for guidance.
- Consider vapor barrier: Depending on your climate and the specific requirements of your building, you may need to install a vapor barrier between the foam board insulation and the ceiling surface. A vapor barrier helps to prevent moisture from seeping into the insulation and causing damage. Consult local building codes or a professional for guidance on whether a vapor barrier is necessary.
By properly preparing the ceiling, you create a clean and stable base for the foam board insulation. This step is essential for ensuring the long-term effectiveness and durability of the insulation. Once the ceiling is properly prepared, you’re ready to move on to the next step: applying adhesive to the foam boards.
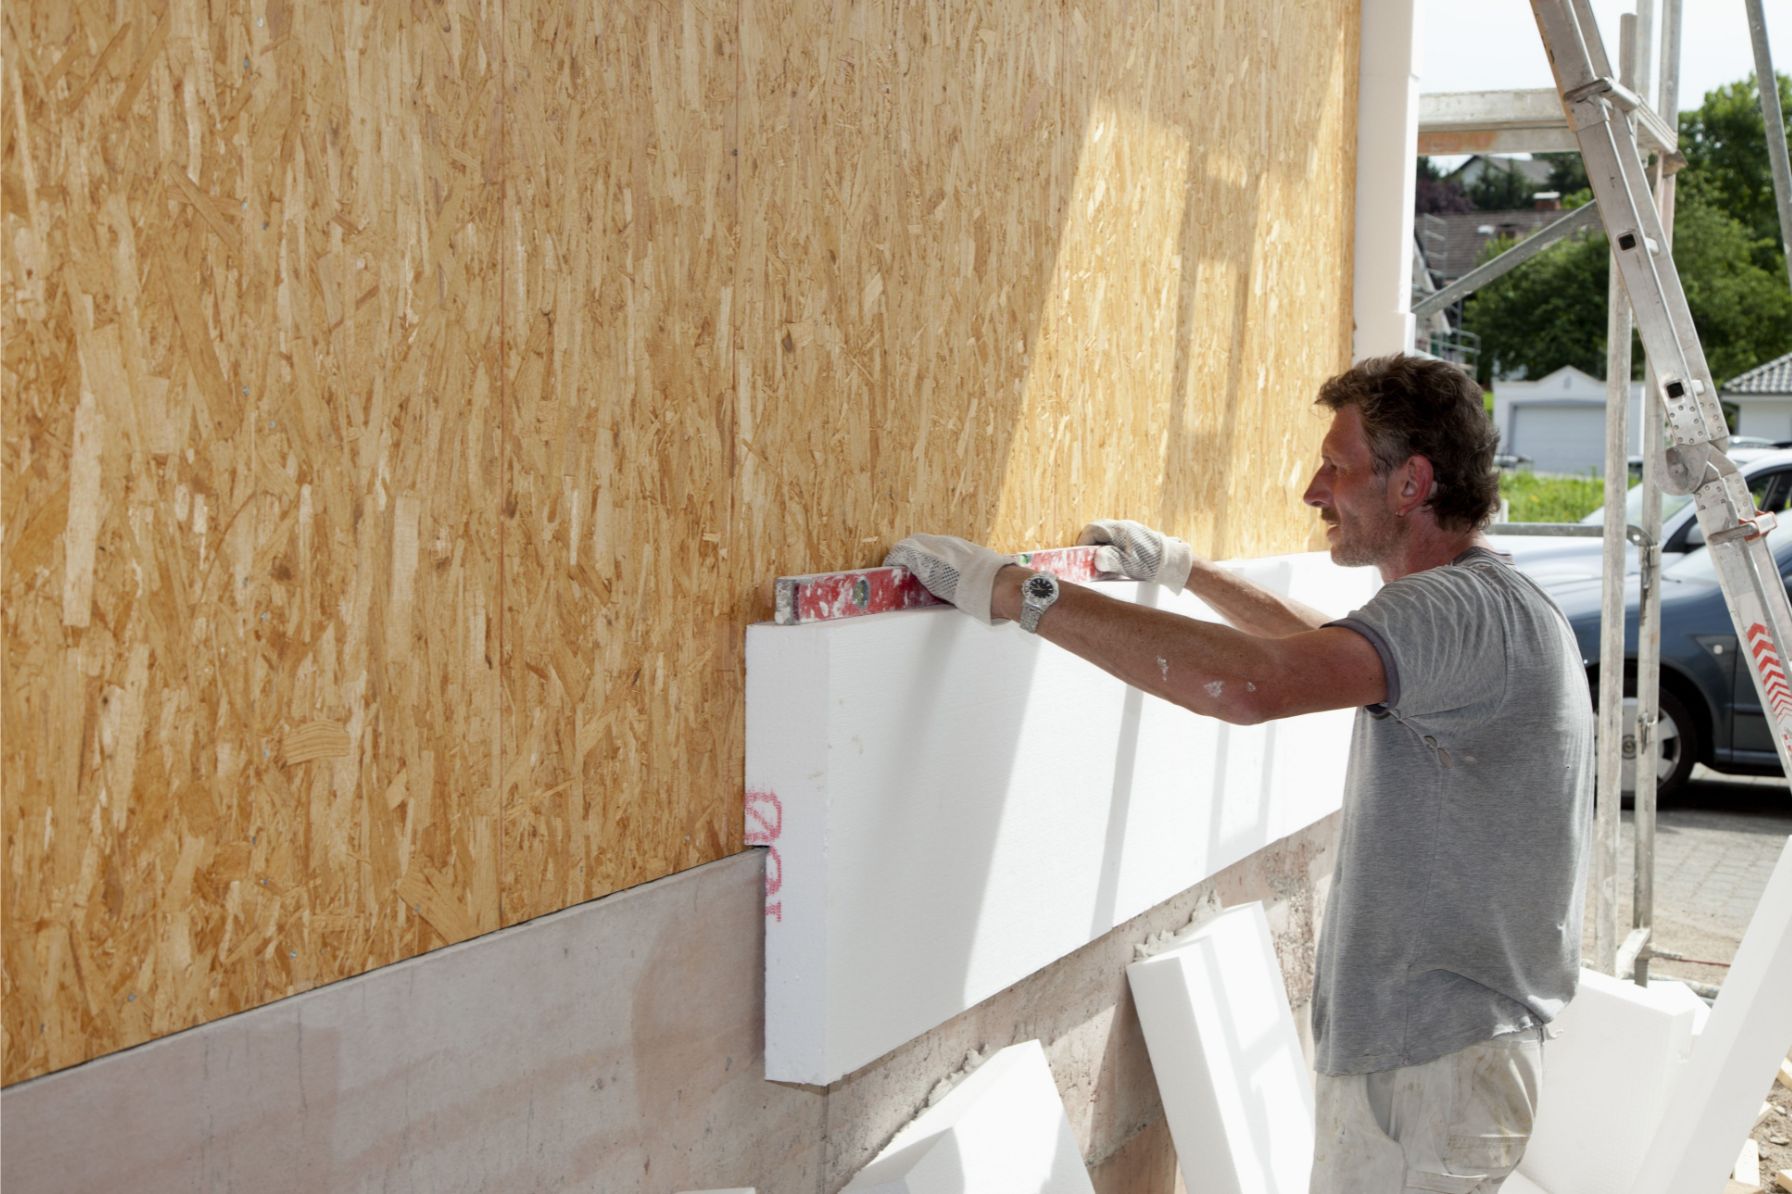
Step 4: Apply adhesive to the back of the foam boards
Now that the ceiling is prepared, it’s time to apply adhesive to the back of the foam boards. This will ensure that the insulation securely adheres to the ceiling surface. Follow these steps:
- Choose a suitable adhesive: Select an adhesive specifically designed for foam board insulation. Construction adhesive or foam board adhesive are commonly used options. Be sure to read the product label for any specific instructions or recommendations.
- Load the adhesive into a caulk gun: Depending on the packaging, you may need to cut the tip of the adhesive cartridge and load it into a caulk gun for easy application. Follow the manufacturer’s instructions to correctly prepare the caulk gun.
- Apply the adhesive in a zigzag pattern: Starting from one corner of the foam board insulation, squeeze the caulk gun to dispense the adhesive in a zigzag pattern along the back of the panel. Make sure the adhesive covers the entire surface area, including the edges.
- Press the foam boards against the ceiling: Once the adhesive is applied, carefully press the foam board insulation against the ceiling. Use gentle, even pressure to ensure proper contact and adhesion. If needed, have a friend assist you in holding the panels in place as you work.
- Repeat the process for all remaining foam boards: Continue applying adhesive and attaching the foam board insulation panels to the ceiling until the entire area is covered. It’s essential to align the panels accurately and create a tight fit between them to maximize insulation effectiveness.
Take your time during this step to ensure the adhesive is properly applied and the foam boards are securely stuck to the ceiling. Avoid excessive pressure that can cause the adhesive to squeeze out from the edges. Once all the foam boards are in place, you’re ready to move on to the next step: sealing the joints and edges.
When installing foam board insulation in the ceiling, make sure to measure and cut the boards accurately to fit the space, and use adhesive or mechanical fasteners to secure them in place. This will help improve the energy efficiency of your home.
Step 5: Attach the foam boards to the ceiling
Now that the adhesive is applied to the back of the foam boards, it’s time to attach them to the ceiling. This step ensures that the insulation remains securely in place. Follow these steps to complete the process:
- Position the foam boards: Begin by positioning the first foam board insulation panel in the desired location on the ceiling. Align it carefully with the edges or any reference lines you may have marked.
- Press firmly: Once the foam board is in the correct position, press firmly against it to ensure maximum contact with the adhesive and the ceiling surface.
- Secure the board temporarily: To ensure the board stays in place while the adhesive cures, consider using temporary supports such as nails or clamps. This will prevent any movement or displacement during the installation process.
- Continue with the remaining boards: Repeat the above steps for each foam board insulation panel, making sure to align them accurately and maintain an even spacing between them. Use the temporary supports as necessary.
- Double-check alignment: Before the adhesive fully cures, double-check the alignment of all the foam boards to ensure they are straight and properly positioned. Make any necessary adjustments at this time.
It’s important to note that during this step, you should avoid applying excessive pressure that could cause the adhesive to squeeze out from the edges of the foam boards. Allow adequate time for the adhesive to fully cure, as recommended by the manufacturer, before proceeding to the next step.
Attaching the foam boards securely to the ceiling is a crucial step in the installation process. When done correctly, it ensures that the insulation remains in place and effectively performs its intended function. Once all the foam boards are properly attached, you’re ready to move on to the next step: sealing the joints and edges.
Step 6: Seal the joints and edges of the foam boards
After attaching the foam boards to the ceiling, it’s essential to seal the joints and edges. This step improves the insulation’s performance by preventing air leakage and enhancing the overall effectiveness. Follow these steps to seal the joints and edges of the foam boards:
- Check for gaps: Inspect the joints between the foam boards for any gaps or spaces. It’s crucial to seal them properly to ensure a continuous and airtight barrier.
- Choose a suitable sealant: Use a sealant specifically designed for foam board insulation, such as foam board sealant or caulking. Ensure that the chosen sealant is compatible with both the foam boards and the covering material, if applicable.
- Apply the sealant: Load the sealant into a caulk gun and carefully apply it to the joints and edges of the foam boards. Use a steady hand to create a smooth and even bead of sealant along the entire length of each joint.
- Smooth and shape the sealant: Immediately after applying the sealant, use a caulk smoothing tool or your finger (protected by a latex glove) to smooth and shape the sealant. This helps ensure a tidy appearance and a complete seal.
- Clean up any excess sealant: Use a damp cloth or sponge to wipe away any excess sealant before it dries. This will prevent it from becoming too difficult to remove later and result in a neater finish.
- Allow the sealant to dry: Follow the manufacturer’s instructions to determine the drying time for the sealant. It’s crucial to allow sufficient time for the sealant to cure and provide a durable, airtight seal.
Sealing the joints and edges of the foam boards is crucial for maximizing the insulation’s effectiveness. Properly sealed joints prevent air leakage and help maintain a consistent temperature within the space. Once the sealant has fully dried, you’re ready to move on to the final step: finishing the installation by covering the foam boards.
Step 7: Finish the installation by covering the foam boards
After sealing the joints and edges of the foam boards, the final step is to cover the foam boards with a suitable material. This not only enhances the aesthetics of the ceiling but also provides additional protection and stability to the insulation. Follow these steps to complete the installation:
- Select a covering material: Depending on your preference and the design of your space, choose a suitable material to cover the foam boards. Common options include drywall, paneling, or tongue-and-groove boards.
- Prepare the covering material: If using drywall, cut it to the appropriate size and shape to fit the ceiling. If using other materials like paneling or tongue-and-groove boards, follow the manufacturer’s instructions for preparation and installation.
- Attach the covering material: Secure the covering material to the foam boards using appropriate fasteners, such as screws or nails. Follow the recommended spacing and pattern for fastening to ensure a secure and even attachment.
- Fill any gaps or seams: Use joint compound or wood filler to fill in any gaps or seams between the covering material pieces. Smooth the compound or filler with a putty knife to create a seamless and uniform surface.
- Finish the surface: Sand the filled areas until smooth, then apply a coat of primer and paint or finish the surface as desired. This will provide a polished and finished look to the ceiling.
By covering the foam boards, you not only improve the appearance of your ceiling, but you also provide an additional layer of protection and ensure the longevity of the insulation. The covering material helps to further insulate the area and enhance the overall effectiveness of the insulation.
Congratulations! You have successfully completed the installation of foam board insulation in your ceiling. Enjoy the benefits of improved energy efficiency, reduced noise, and increased comfort within your living space.
Please remember to follow all safety guidelines and consult with professionals or experienced contractors if needed. If you encounter any challenges or require assistance, it’s always best to seek expert advice.
Conclusion
Congratulations on completing the installation of foam board insulation in your ceiling! By following the steps outlined in this guide, you’ve taken a proactive approach to improving energy efficiency, reducing noise transmission, and enhancing the overall comfort of your living space.
Properly insulating your ceiling with foam board insulation offers a range of benefits. It helps to create a thermal barrier, preventing heat loss during colder months and heat gain during hotter months. This can result in lower energy bills and a more comfortable indoor environment year-round.
Furthermore, foam board insulation aids in reducing noise transmission between rooms or floors. This can be especially beneficial in homes with multiple levels or shared living spaces, providing a quieter and more peaceful environment.
Throughout the installation process, it’s essential to prioritize safety. Always wear protective equipment, such as gloves and goggles, and use sturdy equipment when working at heights. If you are unsure about any step or encounter challenges along the way, do not hesitate to seek guidance from professionals or experienced contractors.
In conclusion, installing foam board insulation in your ceiling is an effective way to improve energy efficiency, reduce noise, and enhance overall comfort within your home. By gathering the necessary materials, measuring, cutting, and attaching the foam boards, sealing the joints and edges, and finishing with a covering material, you’ve completed a comprehensive installation that will benefit you for years to come.
Enjoy the rewards of your efforts and revel in the increased comfort and energy savings that quality insulation brings. Take pride in knowing that you’ve made a positive impact on your home and the environment.
Thank you for choosing foam board insulation and for following this guide. Best of luck with your newly insulated ceiling!
Frequently Asked Questions about How To Install Foam Board Insulation In Ceiling
Was this page helpful?
At Storables.com, we guarantee accurate and reliable information. Our content, validated by Expert Board Contributors, is crafted following stringent Editorial Policies. We're committed to providing you with well-researched, expert-backed insights for all your informational needs.


0 thoughts on “How To Install Foam Board Insulation In Ceiling”