Articles
How To Lengthen Blinds
Modified: February 25, 2024
Discover effective techniques on how to lengthen blinds with our insightful articles. Maximize your blinds' usability and achieve the perfect fit for any window.
(Many of the links in this article redirect to a specific reviewed product. Your purchase of these products through affiliate links helps to generate commission for Storables.com, at no extra cost. Learn more)
Introduction
Welcome to our comprehensive guide on how to lengthen blinds. Blinds are a popular window treatment that offers privacy and light control. However, there may be instances when you need to adjust their length to fit a particular window or achieve a different aesthetic. Whether you have purchased blinds that are too short or simply want to elongate your existing blinds, we’ve got you covered.
In this article, we will walk you through the step-by-step process of assessing your blinds, determining the desired length, gathering the necessary tools and materials, removing the blinds, adjusting the length, reattaching the blinds, and making final adjustments. So, let’s get started!
Key Takeaways:
- Customize your blinds to fit your specific needs and aesthetic preferences by following the step-by-step process of assessing, adjusting, and reattaching them for a rewarding DIY project.
- Thoroughly test and make final adjustments to ensure your lengthened blinds function properly and enhance your living space, achieving the desired appearance and functionality.
Read more: How To Lengthen An Electrical Wire
Assessing the Blinds
Before you embark on lengthening your blinds, it’s essential to assess their current condition and determine if they are suitable for modification. Start by examining the blinds to ensure they are in good working order, free from any damage or wear and tear. It’s important to address any maintenance or repair issues before attempting to adjust their length.
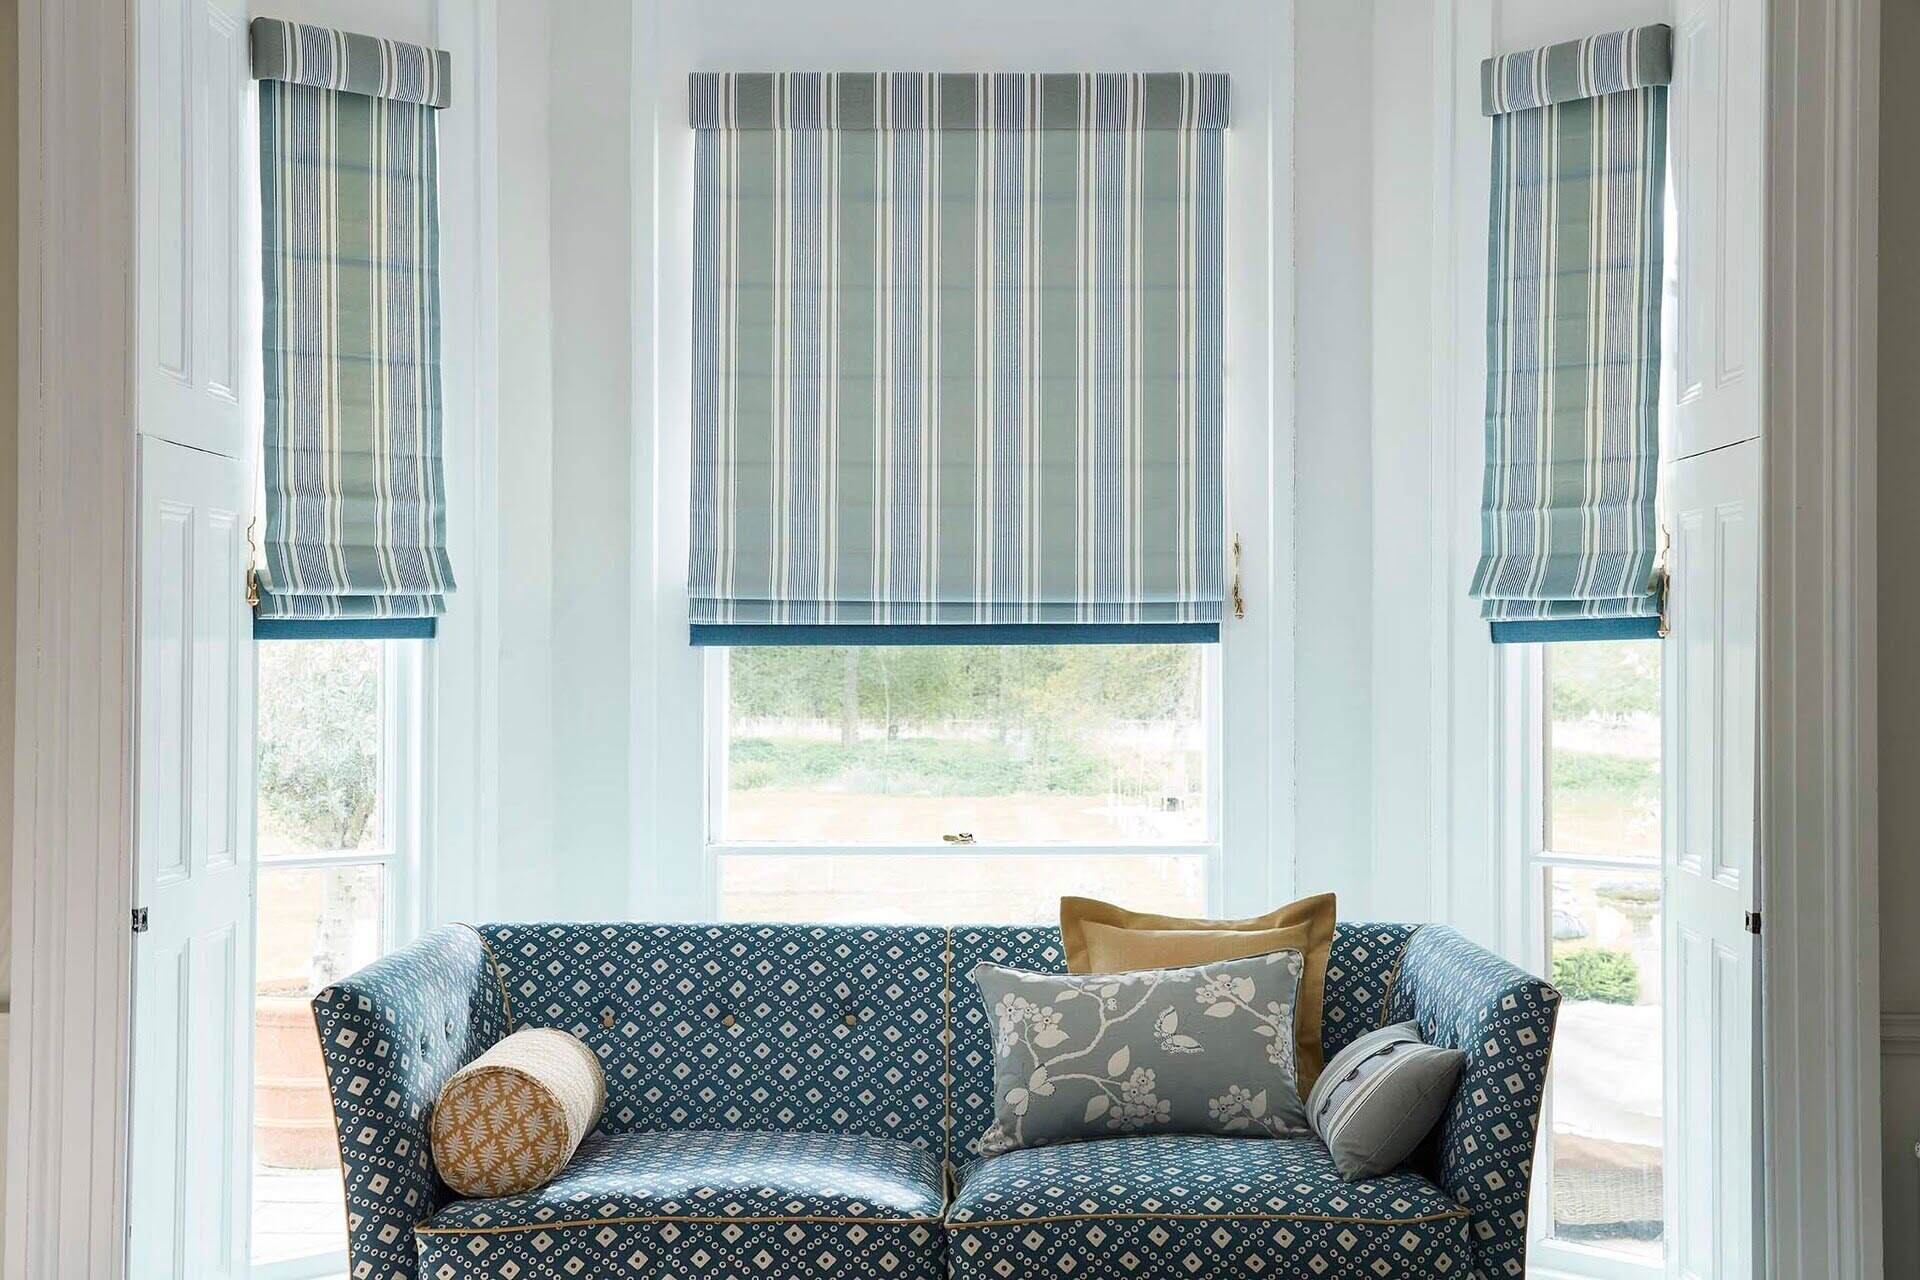
Next, consider the type of blinds you have. Some blinds, such as roller blinds or Roman blinds, may be easier to lengthen compared to others. Additionally, check if your blinds have a cord or chain mechanism for operation, as this will influence the approach you’ll take to adjust their length.
Take measurements of your windows to determine the ideal length for your blinds. Consider factors such as window height, desired coverage, and the overall visual aesthetic you want to achieve. It’s always a good idea to measure multiple times to ensure accuracy before proceeding with any modifications.
Finally, assess your own skill level and comfort level with DIY projects. Lengthening blinds may require some basic knowledge of tools and handy work. If you’re uncertain about your abilities, it may be worth enlisting the help of a professional to avoid any mishaps.
By thoroughly assessing your blinds, understanding their characteristics, considering your window measurements, and evaluating your own skills, you’ll be well-prepared to move forward with the next steps of the process.
Determining the Desired Length
Once you have assessed your blinds, the next step is to determine the desired length you want to achieve. This will depend on your personal preference, the size and style of your windows, and the level of coverage you desire.
Start by deciding whether you want your blinds to fully cover the window or have a partial coverage. This will influence how much additional length you’ll need to add to your blinds. For full coverage, measure the window height from the top to the bottom and add a few inches for proper coverage and adjustment allowances.
If you prefer a partial coverage, measure the area you want the blinds to reach and subtract a few inches to account for the desired gap between the bottom of the blinds and the window sill. Adding a slight gap ensures that the blinds can move freely without obstruction.
Consider the type of blinds you have and their specific style. For instance, if you have roller blinds, you may need to ensure the additional length won’t interfere with the rolling mechanism or affect the overall balance of the blind when fully extended or retracted.
Additionally, take into account the purpose of the blinds. If you primarily use them for privacy, you may want to ensure they reach the desired length to fully cover the window. If you use them to regulate light, you may opt for a different length to allow a specific level of brightness while maintaining privacy.
Remember, the desired length of the blinds is subjective and depends on your personal preferences and specific requirements. Take your time to determine the perfect length that will meet your needs and enhance the overall appearance of your windows.
Gathering the Necessary Tools and Materials
Before you start lengthening your blinds, it’s crucial to gather all the necessary tools and materials to ensure a smooth and successful process. Having everything you need on hand will save you time and frustration.
Here is a list of the essential tools and materials you’ll need:
- Measuring tape: To accurately measure the blinds and window height.
- Pliers: To remove any hooks or fasteners on the blinds.
- Scissors: To cut any excess fabric or cords.
- Needle and thread: To sew or reattach any components of the blinds.
- Dowel rod or wooden slats: If you need to add additional length to the blinds.
- Cord or chain connectors: If you have blinds with a cord or chain mechanism.
- Fabric glue or adhesive tape: For securing any added fabric or trimmings.
- Safety pins: To temporarily hold fabric or cords in place during the modification process.
Make sure all tools and materials are easily accessible in your workspace. It’s also wise to have a clean and well-lit area where you can comfortably work on your blinds.
Additionally, if you are adding extra fabric or trimmings to your blinds, ensure you have the appropriate materials on hand. This may include fabric that matches or complements the existing blinds, decorative trimmings, or any other embellishments you wish to incorporate.
By gathering all the necessary tools and materials before you begin, you’ll have everything at your fingertips, minimizing interruptions and ensuring a seamless modification process.
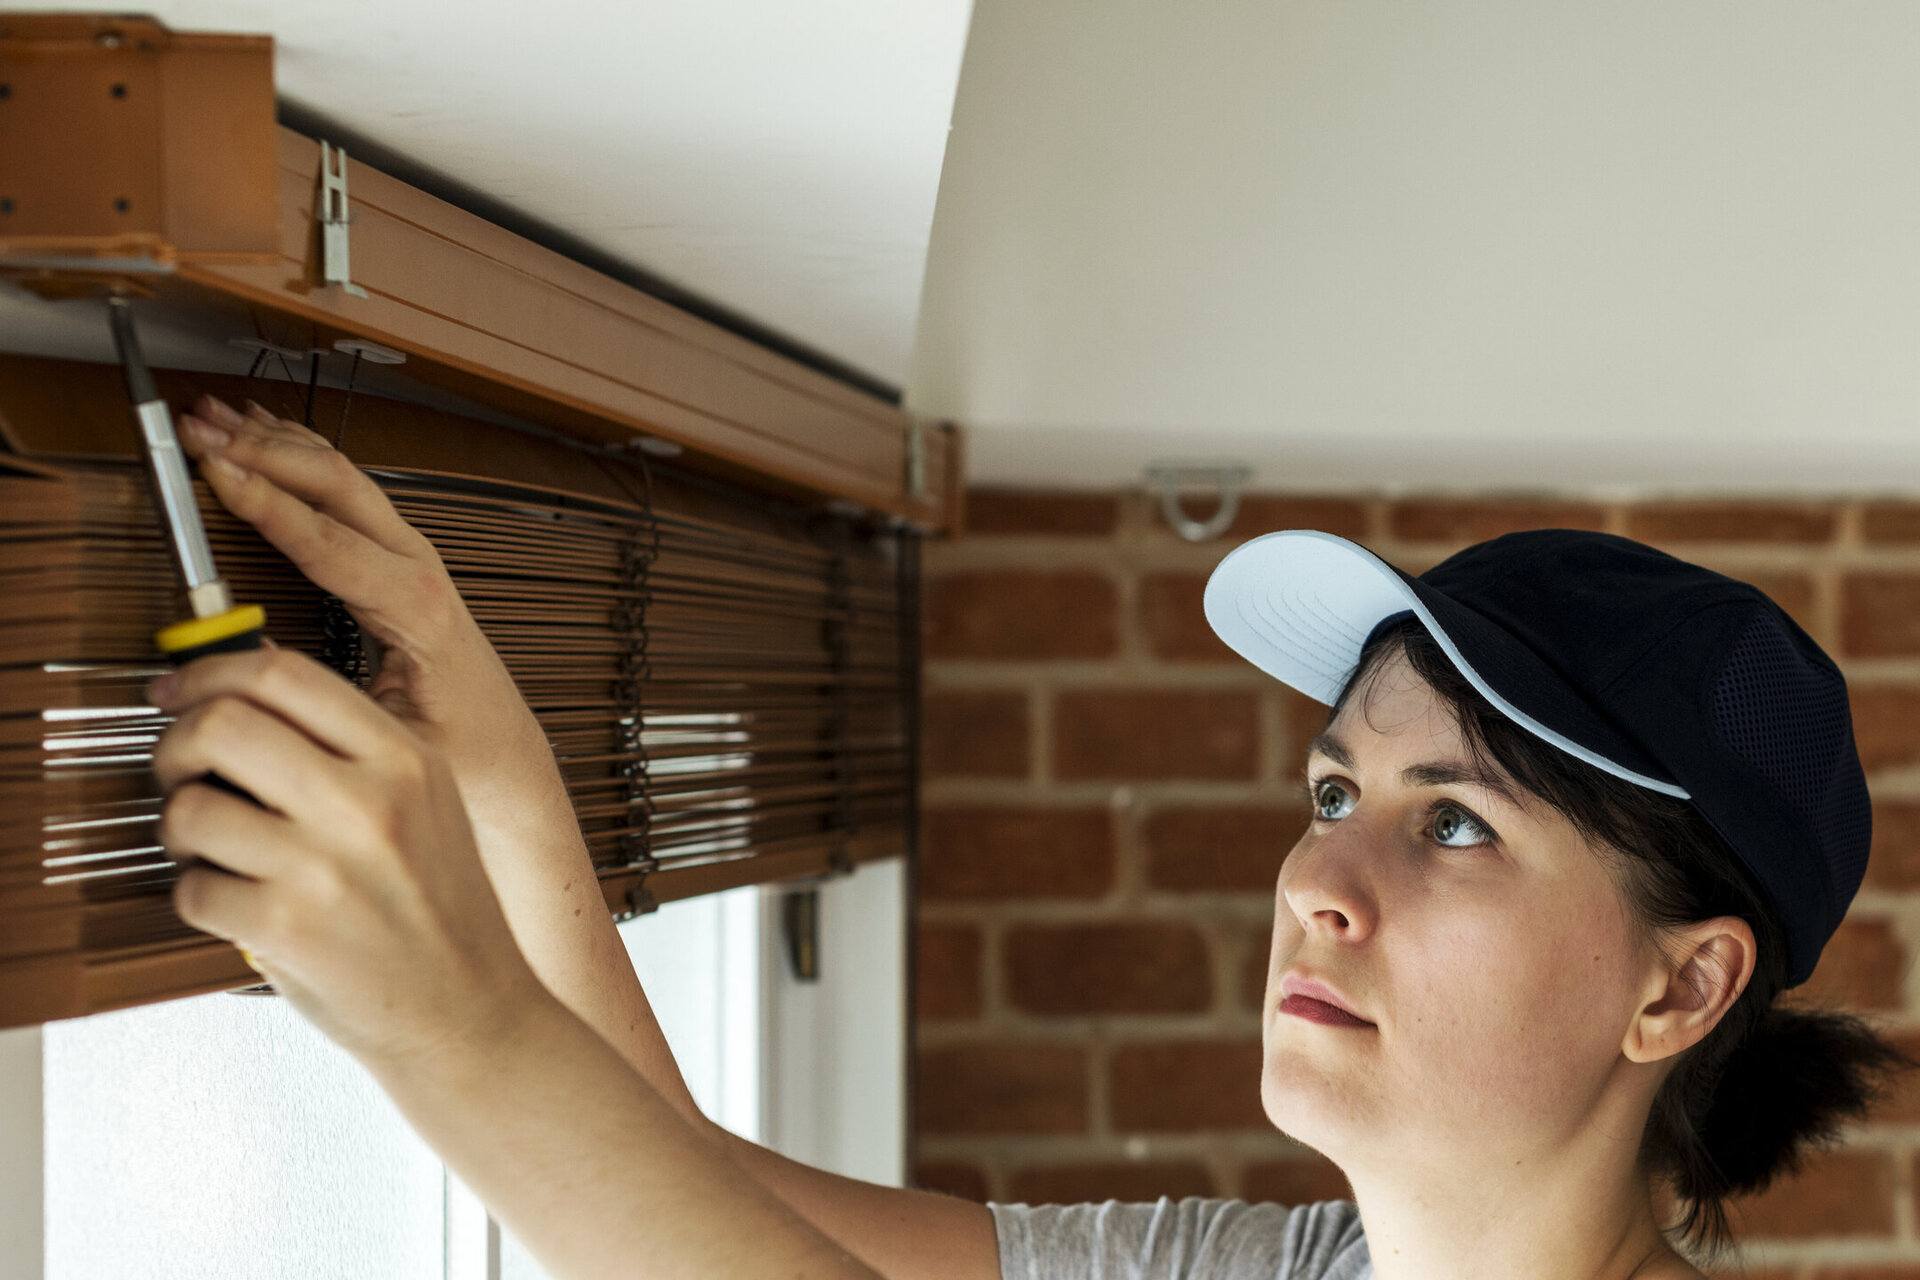
Removing the Blinds
Before you can start adjusting the length of your blinds, you will need to remove them from the window. Removing the blinds makes it easier to make the necessary modifications and ensures that you can work on them more effectively.
Follow these steps to remove the blinds:
- Start by fully extending the blinds so that they are completely down.
- Locate the brackets that secure the blinds to the window frame. These are typically located at the top corners of the window.
- Using a screwdriver, loosen the screws on the brackets to release the blinds. Be sure to hold onto the blinds as you remove the screws to prevent them from falling.
- Gently lower the blinds down and carefully remove them from the brackets. Some blinds may have a snap-in design, in which case you will need to press a tab or lever to release them from the brackets.
- Once the blinds are removed, set them aside in a safe, flat area where you can work on them comfortably.
Keep in mind that the removal process may vary slightly depending on the type of blinds you have. For example, roller blinds may have a different bracket design compared to Venetian or Roman blinds. Consult the manufacturer’s instructions or seek guidance specific to your blinds if needed.
During the removal process, it’s important to handle the blinds with care to prevent any damage or bending of the slats or mechanisms. If the blinds are particularly long or cumbersome, consider asking for assistance to ensure their safe removal.
With the blinds successfully removed, you are now ready to proceed to the next step of adjusting their length to fit your desired measurements.
To lengthen blinds, start by removing the blinds from the window. Then, carefully untie the knots at the bottom of the cords and add additional length by tying a knot at the desired length. Finally, rehang the blinds and adjust the cords to ensure they are even.
Read more: How To Shorten Blinds
Adjusting the Length
Once the blinds are removed, it’s time to begin adjusting their length according to your desired measurements. Follow these steps to successfully modify the blinds:
- Measure and mark the new length: Using a measuring tape, determine how much length needs to be added or removed from the blinds. Mark the new length with a pencil or fabric marker.
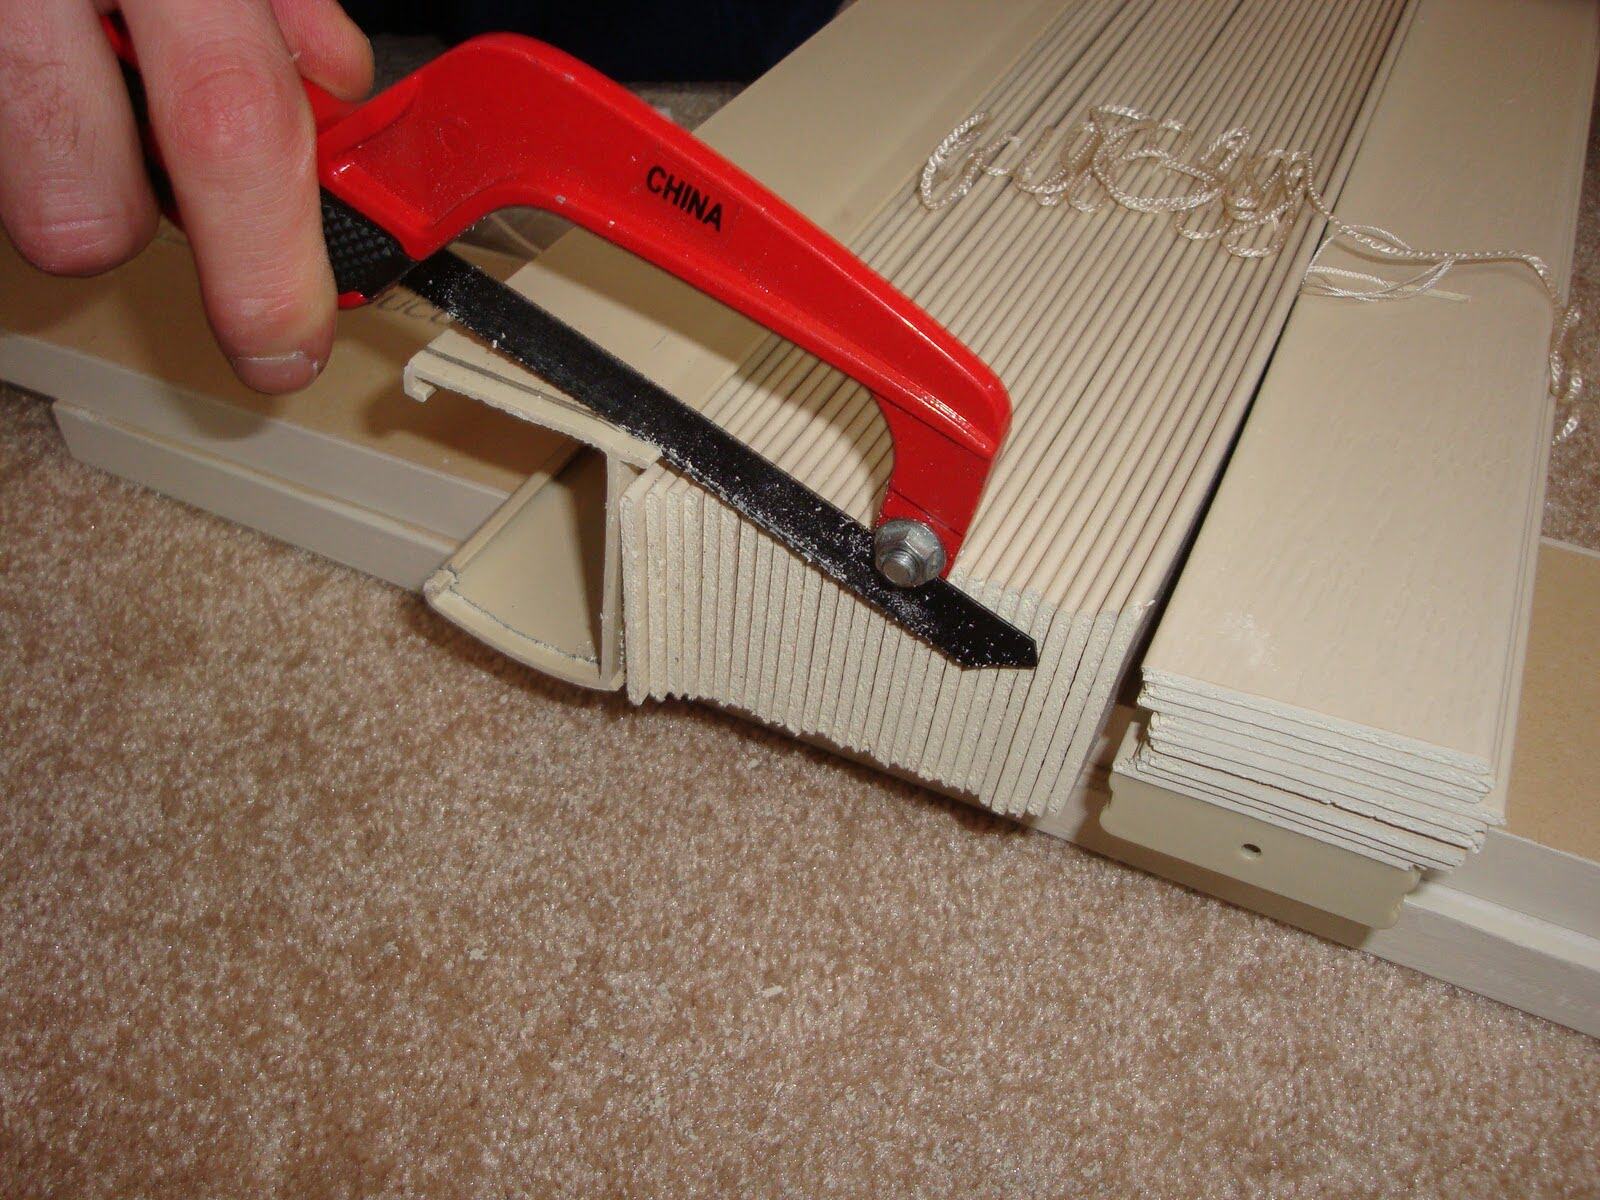
- Cutting the blinds: If you need to shorten the blinds, carefully cut the excess slats or fabric using scissors. Make sure to follow the marked line for accuracy. If you are lengthening the blinds, proceed to the next step.
- Add additional fabric or slats: If you want to lengthen the blinds, you will need to add extra fabric or slats. Measure and cut the fabric or slats to the desired length, making sure they fit seamlessly with the existing blinds.
- Attach the additional fabric or slats: Using fabric glue or adhesive tape, securely attach the extra fabric or slats to the bottom of the blinds. Press down firmly to ensure a strong bond. Allow sufficient drying time if using fabric glue.
- Reinforce the attachment: For added reinforcement, you can use a needle and thread to sew the extra fabric or slats onto the blinds. This will provide extra stability and durability.
- Trim any excess material: If there is any excess fabric or slats that extend beyond the desired length, carefully trim them with scissors. Ensure a clean and seamless finish.
While adjusting the length of the blinds, it’s essential to pay attention to detail and carefully follow the measurements. Double-check your marks and measurements before making any cuts or attaching additional material to ensure accuracy.
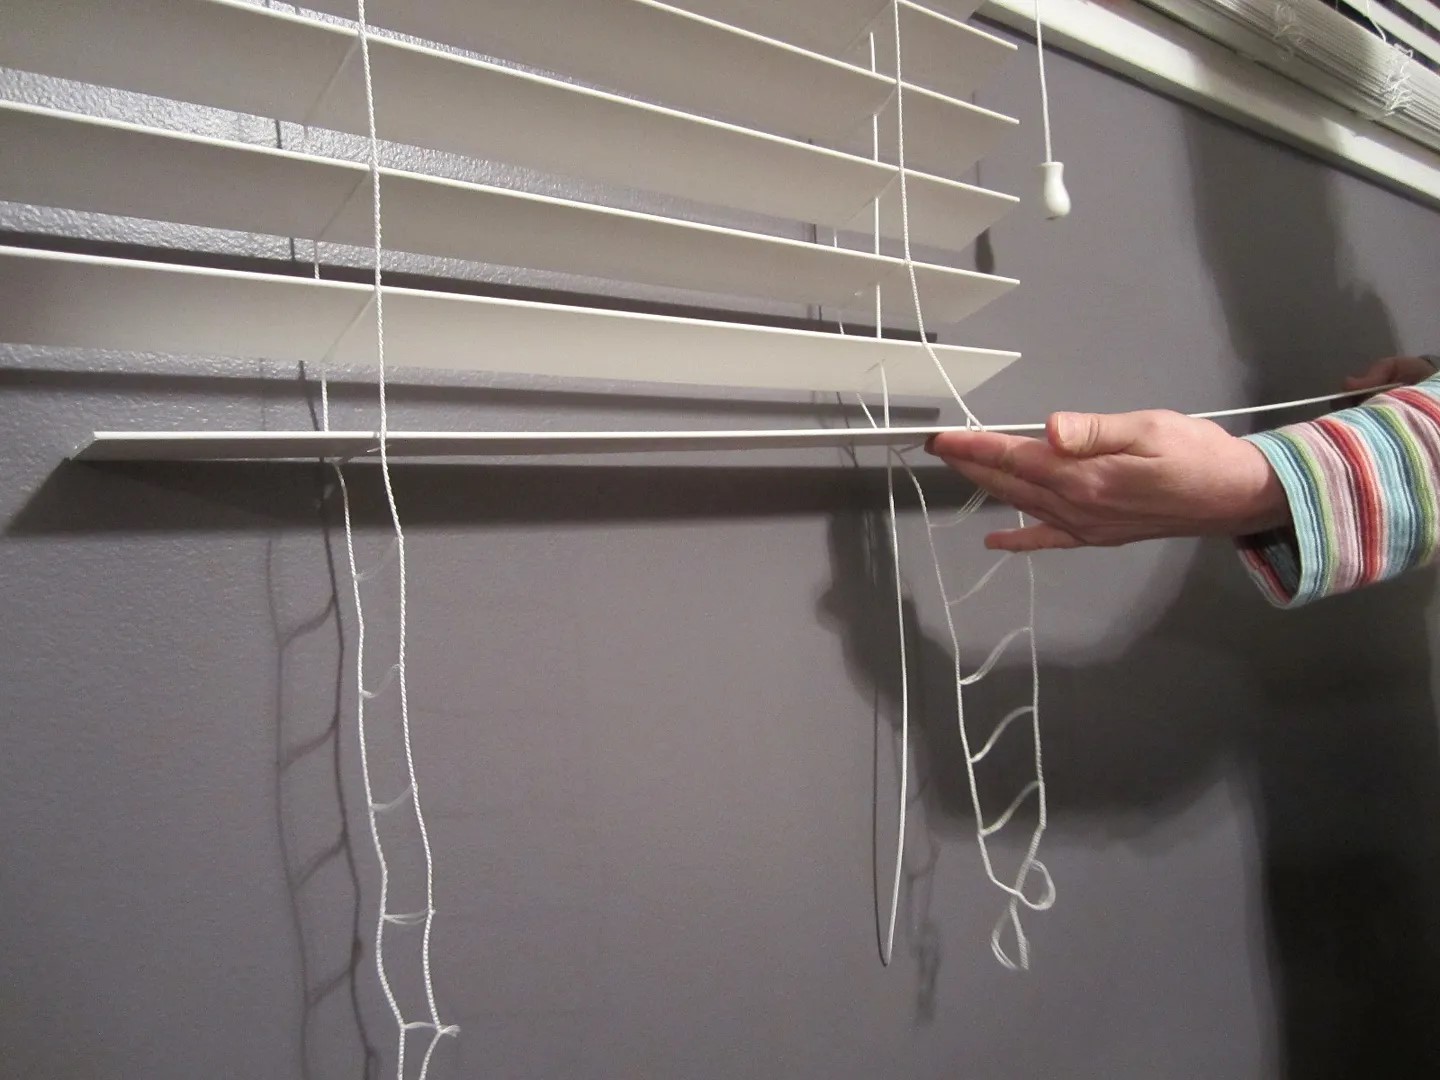
Additionally, if your blinds have cords or chains, ensure that they are properly aligned and functioning smoothly after the length adjustment. Make any necessary adjustments or repairs to the cord or chain mechanisms to ensure the blinds can be easily operated.
By following these steps, you will be able to successfully adjust the length of your blinds and achieve the desired measurements for your windows.
Reattaching the Blinds
After adjusting the length of your blinds, it’s time to reattach them to the window. This step is crucial to ensure that the blinds are securely in place and functioning properly. Follow these steps to reattach the blinds:
- Align the brackets: Position the brackets back in their original location on the window frame. Ensure they are aligned horizontally and vertically for a balanced and even installation.
- Insert the blinds into the brackets: Hold the blinds at a slight angle and insert them into the brackets. The headrail or top portion of the blinds should slide into the groove or slot on the brackets.
- Secure the blinds: Once the blinds are properly inserted into the brackets, tighten the screws on each bracket to secure them in place. Use a screwdriver to ensure a tight fit, but be careful not to overtighten and damage the brackets.
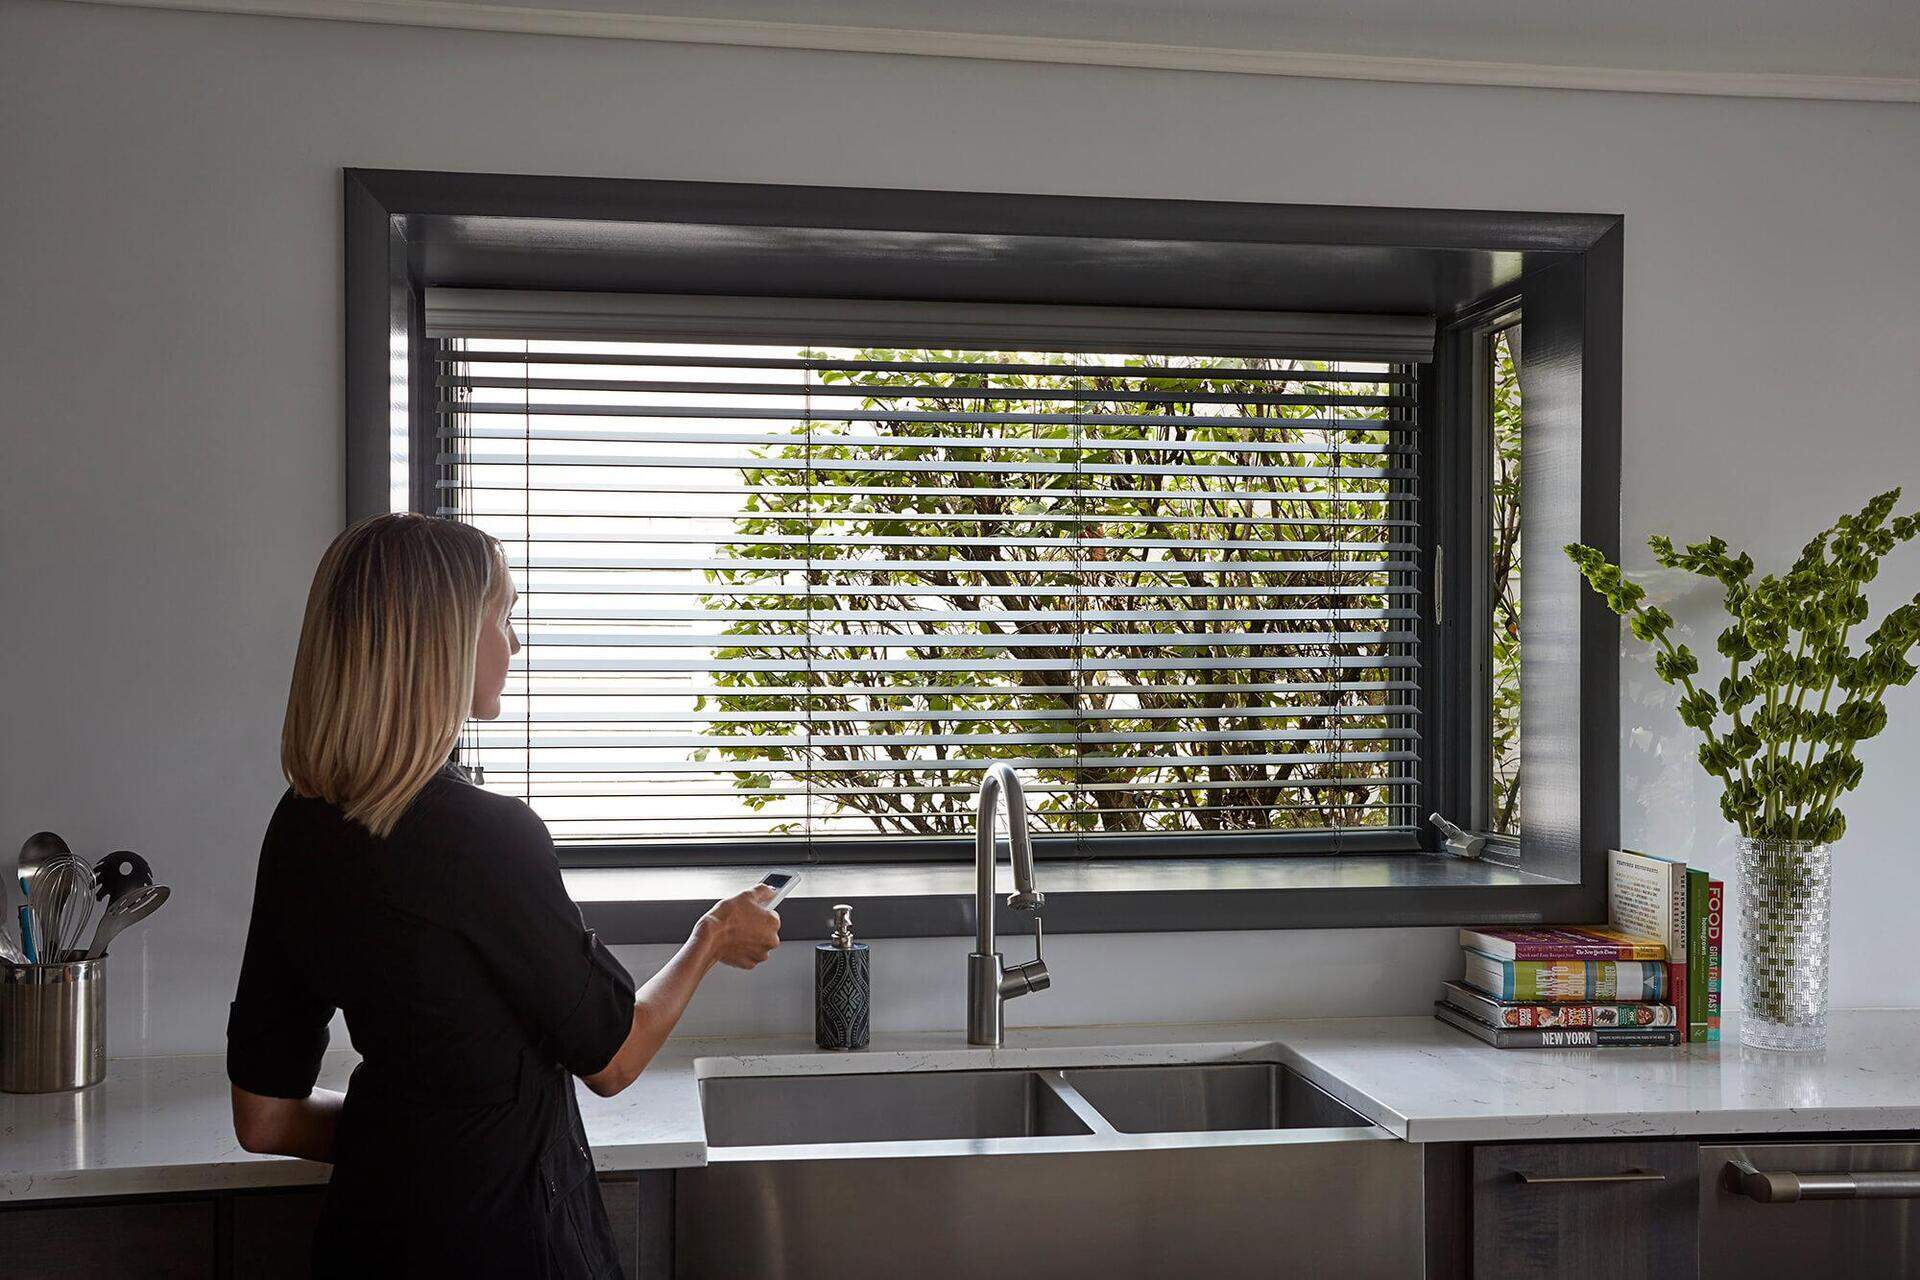
- Test the blinds: After the blinds are reattached, test their functionality by operating the cord or chain mechanism. Ensure that the blinds raise and lower smoothly without any obstructions.
During the reattaching process, it’s important to take your time and ensure that the blinds are properly aligned and secured. A properly installed set of blinds will not only look more aesthetically pleasing but will also function optimally.
If you encounter any issues during the reattaching process, such as difficulty aligning the brackets or the blinds not fitting properly, double-check the measurements and make any necessary adjustments. It may also be helpful to refer to the manufacturer’s instructions or seek guidance from a professional if needed.
Once the blinds are securely reattached and functioning as desired, you can move on to the final steps of testing and making any necessary adjustments.
Testing and Final Adjustments
After reattaching the blinds, it’s important to thoroughly test their functionality and make any final adjustments to ensure they are operating smoothly and meeting your expectations. Follow these steps for testing and making final adjustments:
- Operate the blinds: Use the cord or chain mechanism to raise and lower the blinds. Pay attention to any resistance or irregular movements. The blinds should move up and down smoothly without any sticking or jerking.
- Check for proper alignment: Observe the blinds as they are raised and lowered to ensure they are evenly aligned and not crooked or uneven. If necessary, make any minor adjustments to the brackets or headrail to achieve proper alignment.
- Assess the length: Step back and evaluate the overall length of the blinds. Ensure they are hanging at the desired height and adequately covering the window area. If further length adjustments are needed, repeat the steps outlined earlier.
- Make any necessary repairs: During the testing phase, if you notice any damage or loose components, address them promptly. This may include repairing broken slats, reattaching cords or chains, or tightening any screws or fasteners.
- Ensure proper operation of tilt mechanism (if applicable): For blinds with a tilt mechanism, test its functionality by adjusting the slats to regulate light. Ensure the slats rotate smoothly without any jamming or misalignment.
Don’t rush through the testing phase as it’s crucial to ensure that your adjusted blinds are functioning properly and meeting your requirements. Take the time to make any necessary final adjustments to achieve the desired appearance and functionality.
If you encounter any persistent issues or difficulties during the testing and adjustment process, it may be helpful to consult a professional or reach out to the manufacturer for further guidance or support.
By thoroughly testing and making final adjustments, you can confidently enjoy your newly lengthened blinds, knowing that they are working efficiently and enhancing your living space.
Conclusion
Congratulations on successfully lengthening your blinds! By following the steps outlined in this guide, you have learned how to assess your blinds, determine the desired length, gather the necessary tools and materials, remove the blinds, adjust the length, reattach them, and make final adjustments.
Lengthening blinds can be a rewarding DIY project that allows you to customize your window treatments to fit your specific needs and aesthetic preferences. Whether you wanted to achieve full coverage, create a specific design, or simply adapt your blinds to a new window, you now have the knowledge and skills to do so.
Remember, throughout the process of adjusting the length of your blinds, it’s essential to pay attention to detail, take accurate measurements, and carefully follow the instructions. By doing so, you can ensure that your blinds will not only look visually appealing but also function properly.
If at any point you feel unsure or encounter difficulties, don’t hesitate to seek professional assistance or consult the manufacturer’s instructions for your blinds. Safety is paramount, so always exercise caution and use the appropriate tools and materials.
We hope this article has provided you with valuable insights and practical guidance on how to lengthen blinds. Enjoy the newfound versatility and style that your lengthened blinds bring to your living space!
Frequently Asked Questions about How To Lengthen Blinds
Was this page helpful?
At Storables.com, we guarantee accurate and reliable information. Our content, validated by Expert Board Contributors, is crafted following stringent Editorial Policies. We're committed to providing you with well-researched, expert-backed insights for all your informational needs.