Articles
How To Detach Blinds
Modified: August 23, 2024
Learn the step-by-step process of detaching blinds in this helpful article. Get expert tips and tricks for easily removing blinds without causing any damage.
(Many of the links in this article redirect to a specific reviewed product. Your purchase of these products through affiliate links helps to generate commission for Storables.com, at no extra cost. Learn more)
Introduction:
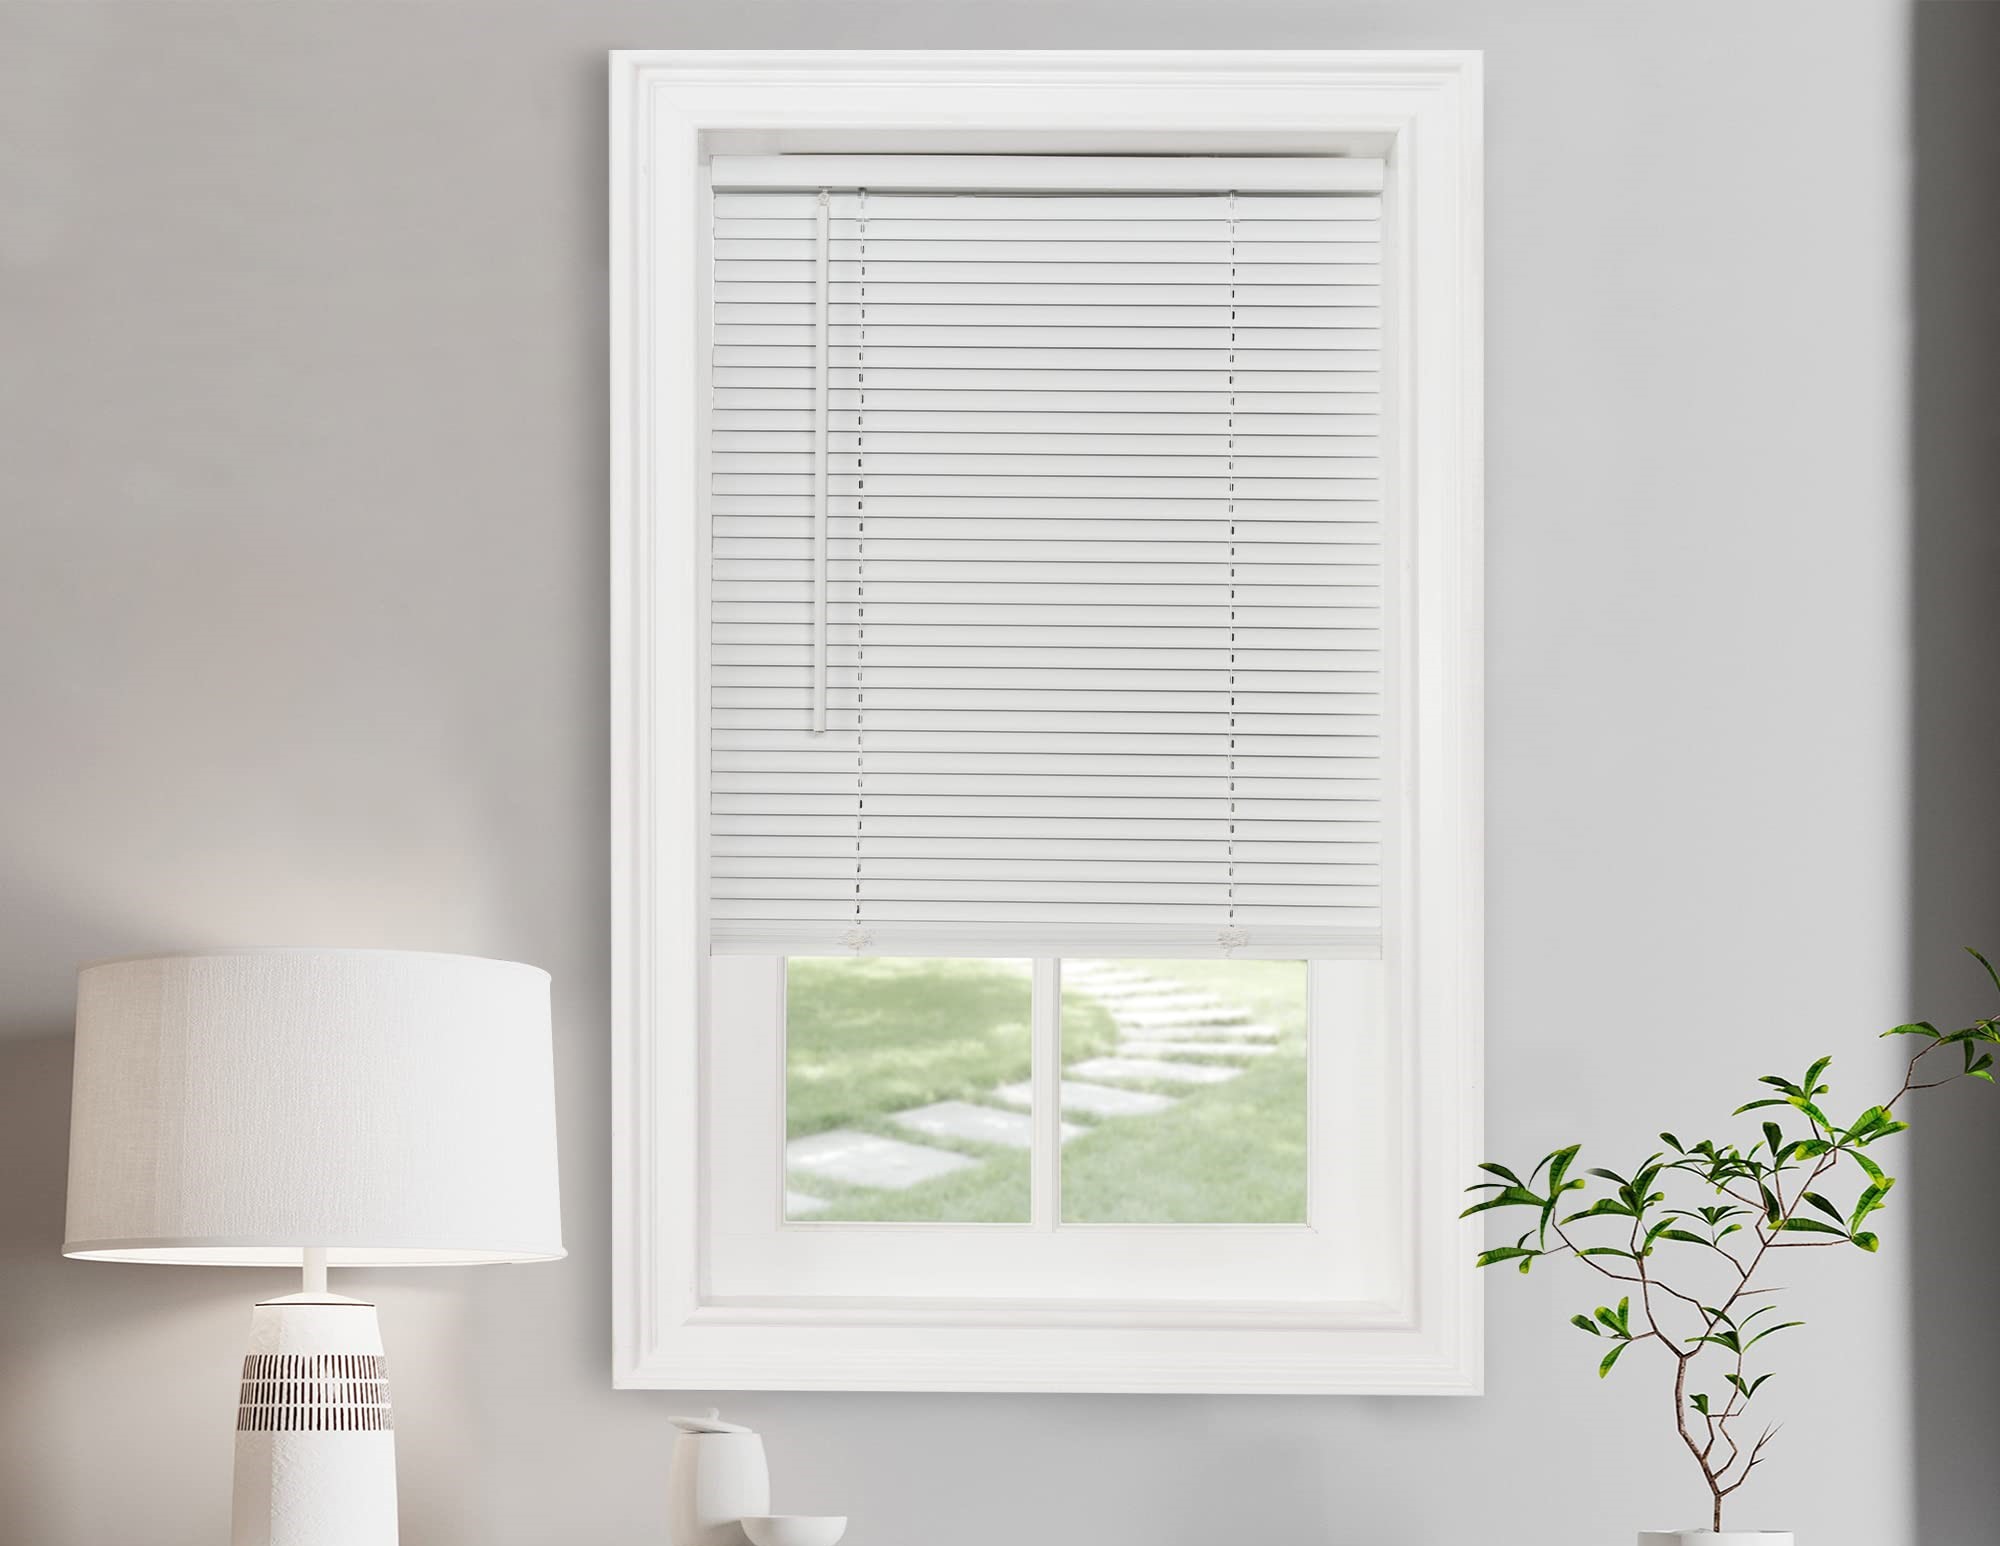
Blinds, with their sleek design and functionality, are a popular window treatment option for many homeowners. However, there may come a time when you need to detach your blinds for cleaning, maintenance, or replacement. While the thought of detaching blinds may seem daunting, it’s actually a relatively simple process that can be done with a few basic tools and a little know-how.
In this article, we will guide you through the step-by-step process of detaching blinds from your windows. Whether you have venetian blinds, vertical blinds, or any other type of blinds, this guide will help you safely and effectively remove them.
Before diving into the process, it’s important to note that the specific steps may vary depending on the type and brand of blinds you have. Always refer to the manufacturer’s instructions for your blinds for any specific guidelines or precautions.
Now, let’s gather the necessary tools and materials before we begin.
Key Takeaways:
- Detaching blinds is a simple process that can be done with basic tools and a little know-how. Regular cleaning and maintenance will keep your blinds looking fresh and functioning smoothly for years to come.
- Safety and caution are essential when detaching blinds. Always refer to the manufacturer’s instructions and take your time to ensure a smooth and efficient experience. With the right approach, you can keep your blinds stunning and functional.
Read more: How To Detach Spin Mop Head
Tools and Materials Needed:
To successfully detach your blinds, you will need the following tools and materials:
- A screwdriver: Depending on the type of blinds you have, you may need either a Phillips or flathead screwdriver.
- Pliers: Pliers will come in handy for loosening any tight screws or connectors.
- A ladder or step stool: Since blinds are typically installed above eye level, you may need a ladder or step stool to safely reach and remove them.
- A cloth or sponge: You’ll want to have a cloth or sponge on hand to clean the blinds once they are detached.
- A bucket or basin: Fill a bucket or basin with warm, soapy water to soak and clean the blinds.
- A towel or drying rack: After cleaning the blinds, you’ll need a towel or drying rack to allow them to air dry.
Make sure to gather all these tools and materials before starting the detaching process. This will ensure a smooth and efficient experience.
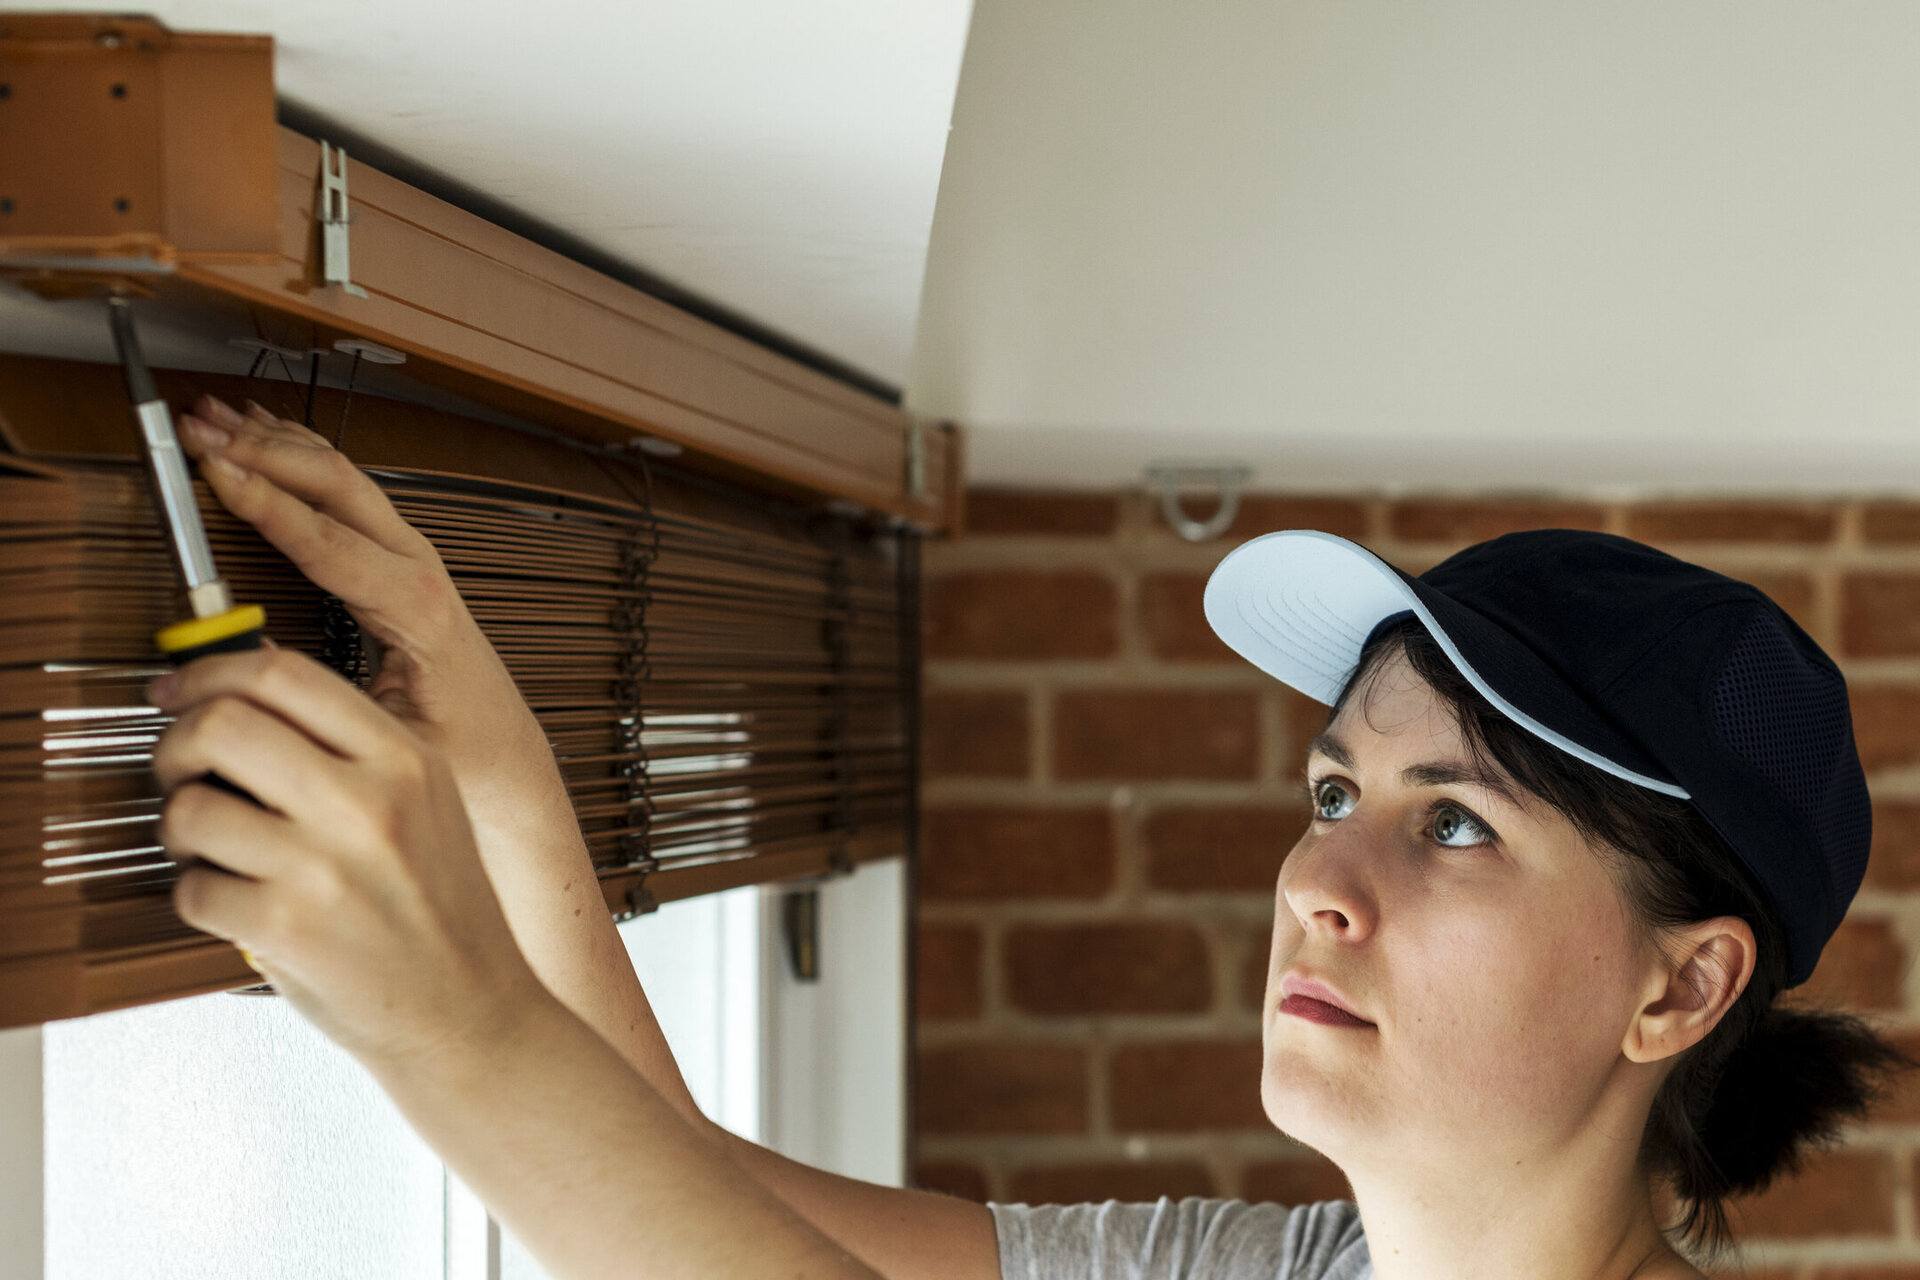
Step 1: Remove the Blinds from the Window:
The first step in detaching blinds is to remove them from the window. Follow these instructions to safely and effectively remove the blinds:
- Open the blinds: If the blinds are closed, gently tilt the slats to open them fully. This will give you better access to the mounting brackets.
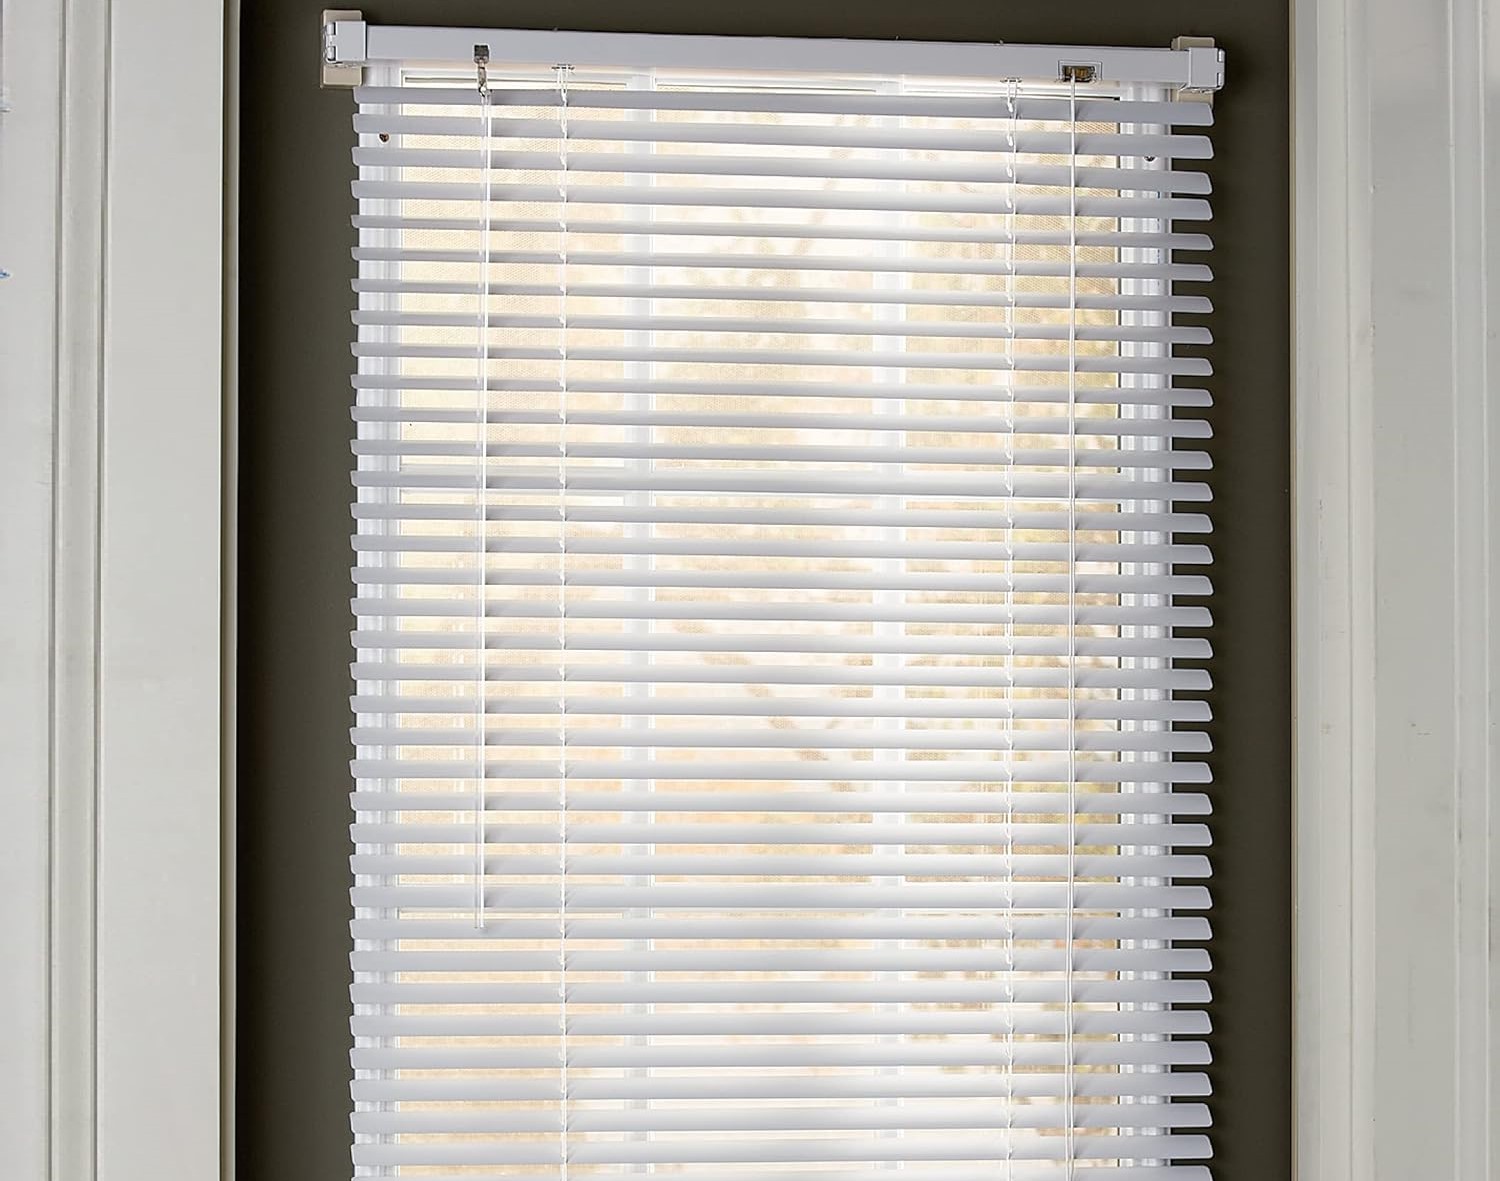
- Locate the mounting brackets: Look for the brackets that hold the blinds in place. Depending on the type of blinds, the brackets may be located on the top, sides, or back of the window frame.
- Remove any coverings: Some blinds may have plastic or metal covers over the mounting brackets. Use a screwdriver to carefully remove these covers if necessary.
- Unscrew the mounting brackets: Using a screwdriver, loosen the screws that secure the mounting brackets to the window frame. It’s important to support the blinds with one hand while unscrewing to prevent them from falling.
- Gently pull the blinds away from the window: Once the mounting brackets are detached, carefully pull the blinds away from the window. Be cautious not to let them drop or hit anything as you remove them.
Once the blinds are successfully removed from the window, you can proceed to the next step of detaching the blinds from the mounting brackets.
Step 2: Disconnect the Blinds from the Mounting Brackets:
Now that you have removed the blinds from the window, it’s time to disconnect them from the mounting brackets. Follow these simple steps:
- Lay the blinds flat on a stable surface: Find a clean and stable surface such as a table or countertop to work on. Lay the blinds flat with the slats facing upwards.
- Locate the release buttons or tabs: Look for the release buttons or tabs on the mounting brackets. These are usually located on the sides or at the bottom of the brackets.
- Press the release buttons or tabs: Using your fingers or a small tool, press the release buttons or tabs simultaneously on both sides of the blinds. This will disengage the blinds from the brackets.
- Gently pull the blinds away from the brackets: Once the release buttons or tabs are pressed, you can now separate the blinds from the mounting brackets. Slowly and gently pull the blinds away from the brackets.
It’s important to be cautious and gentle while disconnecting the blinds from the mounting brackets to avoid any damage to the blinds or yourself. Once the blinds are detached from the brackets, you can move on to the next step of removing the blinds from the valance.
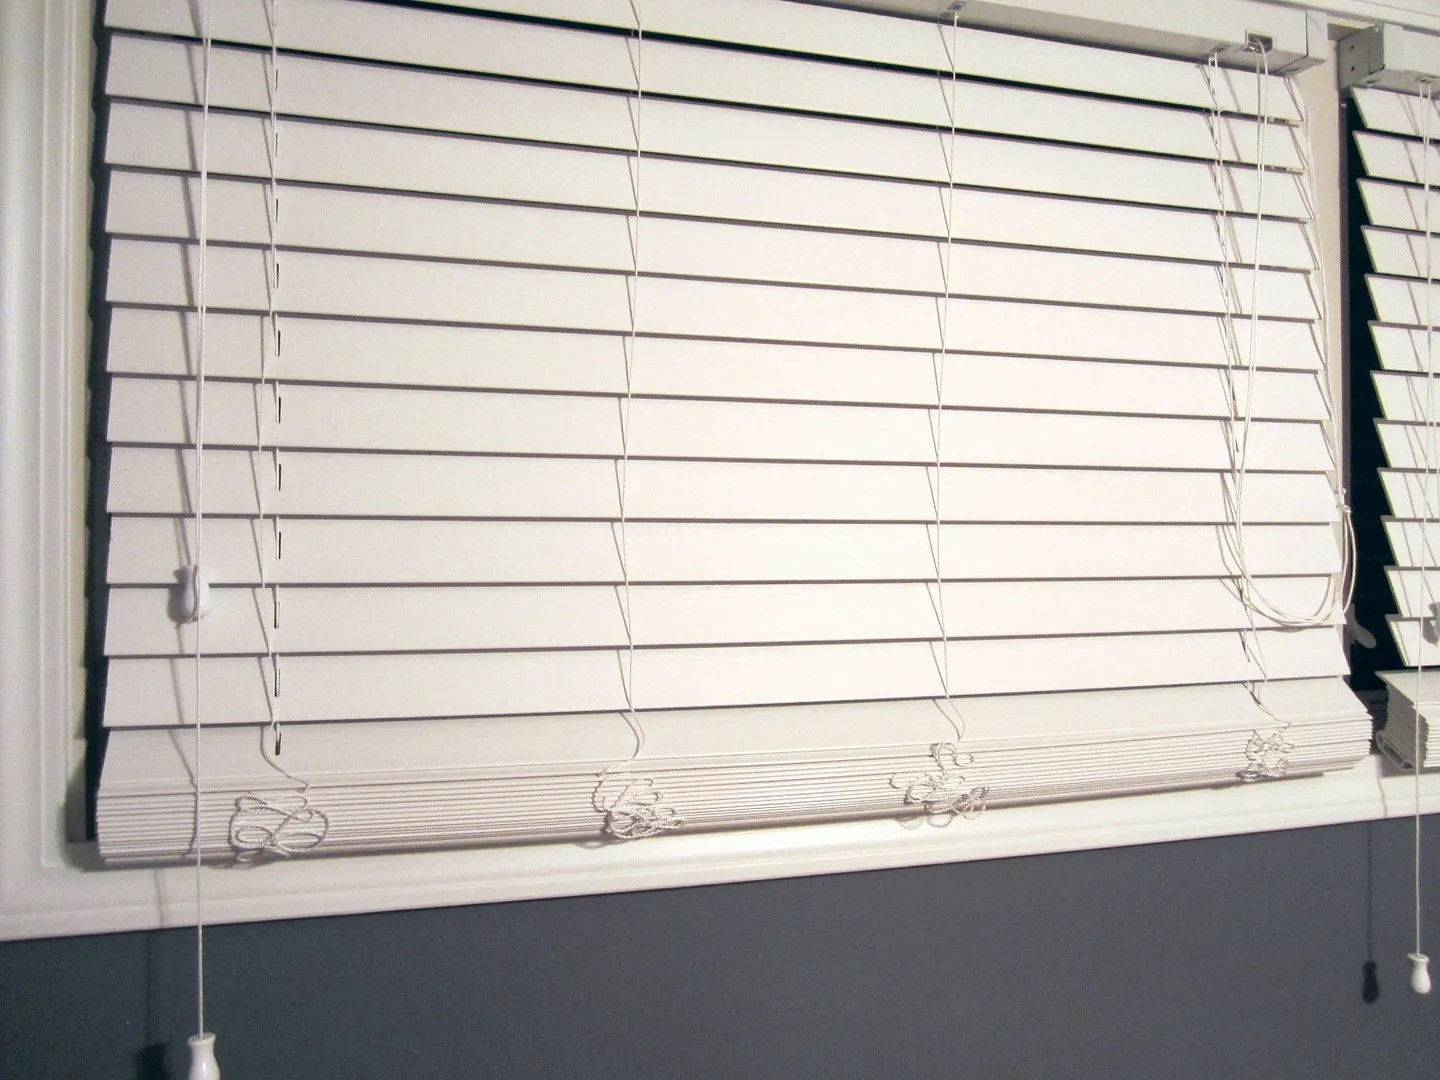
Step 3: Remove the Blinds from the Valance:
After disconnecting the blinds from the mounting brackets, the next step is to remove them from the valance. Follow these steps to detach the blinds from the valance:
- Inspect the valance: Take a close look at the valance and determine how it is attached to the blinds. Some valances may be secured with clips, hooks, or adhesive strips.
- Release the clips, hooks, or adhesive strips: Depending on the type of valance attachment, gently release the clips, unhook the hooks, or carefully remove the adhesive strips. Be mindful not to damage the valance or the blinds.
- Slide the blinds out of the valance: Once the valance attachments are released, slide the blinds out of the valance. You may need to tilt or angle the blinds to maneuver them out of the valance slots.
- Set aside the valance: Place the detached valance in a safe location where it won’t get damaged. If you plan to clean the valance, do so separately from the blinds.
Now that you have removed the blinds from the valance, you can proceed to the next step of detaching the individual slats.
When detaching blinds, start by removing the valance or headrail cover, then release the blinds from the brackets by lifting them up and out. Be sure to support the blinds as you detach them to avoid any damage.
Step 4: Detach the Individual Slats:
With the blinds removed from the valance, it’s time to detach the individual slats. Follow these steps to easily detach the slats:
- Lay the blinds flat on a stable surface: Find a clean and stable surface to work on and lay the blinds flat with the slats facing upwards.
- Inspect the blinds for the mechanism: Look closely at the blinds to identify the mechanism that holds the slats together. This may be a cord, wand, or tilt mechanism.
- Disconnect the slats from the mechanism: Depending on the type of blinds, you will need to disconnect the slats from the mechanism. This may involve untying cords, removing hooks or clips, or sliding the slats off the mechanism.
- Gently remove the individual slats: Once the slats are disconnected from the mechanism, gently lift and remove each individual slat from the blinds. Be careful not to bend or damage the slats while doing this.
- Set aside the detached slats: As you remove the slats, set them aside in a safe place. If you plan to clean or replace any of the slats, make note of their order for reassembly.
Now that you have successfully detached the individual slats, you can move on to the next step of cleaning and maintaining the blinds.
Step 5: Clean and Maintain the Blinds:
Now that you have detached the blinds and individual slats, it’s time to clean and maintain them. Follow these steps to keep your blinds looking fresh and functioning properly:
- Prepare a cleaning solution: Fill a bucket or basin with warm water and add a mild detergent or gentle cleaning solution. Mix well to create a soapy solution.
- Soak the slats: Depending on the material of your blinds, you can either soak the slats directly in the cleaning solution or use a sponge or cloth to apply the soapy solution onto each slat.
- Clean the slats: Using a soft cloth or sponge, gently wipe down each slat from top to bottom, removing any dust, dirt, or stains. For stubborn stains, you may need to apply a bit of extra pressure, but be careful not to damage the slats.
- Rinse and dry the slats: After cleaning, rinse the slats with clean water to remove any excess soap. Use a towel or allow the slats to air dry completely before reattaching them to the blinds.
- Clean the valance and cords (if applicable): If your blinds have a valance or cords, clean them using a damp cloth or a gentle cleaning solution. Ensure they are thoroughly dry before reassembling the blinds.
- Inspect and repair any damage: While cleaning, take the opportunity to inspect the blinds for any signs of damage or wear. If you notice any broken slats, loose cords, or damaged mechanisms, make the necessary repairs or consider replacing the affected parts.
Regular cleaning and maintenance will not only keep your blinds looking clean and fresh but also help them operate smoothly and last longer. Once the blinds and slats are dry and in good condition, you can proceed to the optional step of reinstalling the blinds.
Step 6: Reinstall the Blinds (Optional):
After cleaning and maintaining your blinds, you may choose to reinstall them back onto the window. Follow these optional steps to reattach the blinds:
- Prepare the window frame: Ensure that the window frame is clear of any dust or debris. Wipe it down if necessary.
- Position the mounting brackets: If you removed the mounting brackets during the removal process, position them back onto the window frame. Use a screwdriver to secure them in place.
- Attach the blinds to the mounting brackets: Carefully align the blinds with the mounting brackets and gently slide them into place. Lift the blinds slightly to engage them with the brackets.
- Secure the mounting brackets: Once the blinds are in position, use a screwdriver to tighten the screws on the mounting brackets. Make sure they are securely fastened.
- Test the blinds: Check that the blinds are operating smoothly and evenly. Tilt, raise, and lower the blinds to ensure they are functioning correctly.
Reinstalling the blinds is an optional step and should only be done if you are satisfied with the condition of the blinds and they are in good working order. If you plan to replace any slats or make further adjustments, it’s best to assemble the blinds outside of the window frame.
Congratulations! You have successfully detached, cleaned, and optionally reinstalled your blinds. They should now look refreshed and ready to enhance the aesthetic appeal of your windows.
Conclusion:
Detaching blinds may seem like a daunting task, but with the right tools and knowledge, it can be a straightforward process. By following the step-by-step guide outlined in this article, you can safely remove your blinds from the window, disconnect them from the mounting brackets and valance, and detach the individual slats for cleaning and maintenance.
Cleaning your blinds regularly not only helps to keep them looking fresh and dust-free but also ensures their longevity and smooth operation. Performing routine inspections and repairs will prevent further damage and ensure your blinds serve you well for years to come.
Remember to always refer to the manufacturer’s instructions for your specific blinds as they may have unique steps or recommendations. Safety should be a priority throughout the process, especially when using ladders or step stools to reach higher windows. Take your time and be gentle when handling the blinds or individual slats to avoid any accidental damage.
Whether you’re cleaning your blinds, replacing slats, or simply giving your windows a fresh look, detaching blinds is an essential skill for any homeowner. By following the steps outlined in this article, you can confidently detach your blinds, clean and maintain them, and potentially reinstall them to enhance the beauty of your windows.
So, don’t be afraid to give your blinds a little TLC! With the right approach and a little effort, you can keep your blinds looking stunning and functional for years to come.
Frequently Asked Questions about How To Detach Blinds
Was this page helpful?
At Storables.com, we guarantee accurate and reliable information. Our content, validated by Expert Board Contributors, is crafted following stringent Editorial Policies. We're committed to providing you with well-researched, expert-backed insights for all your informational needs.


0 thoughts on “How To Detach Blinds”