Articles
How To Remove Silhouette Blinds
Modified: February 17, 2024
Learn how to remove silhouette blinds with our informative articles. Step-by-step guides and expert tips to make the process easy and stress-free.
(Many of the links in this article redirect to a specific reviewed product. Your purchase of these products through affiliate links helps to generate commission for Storables.com, at no extra cost. Learn more)
Introduction
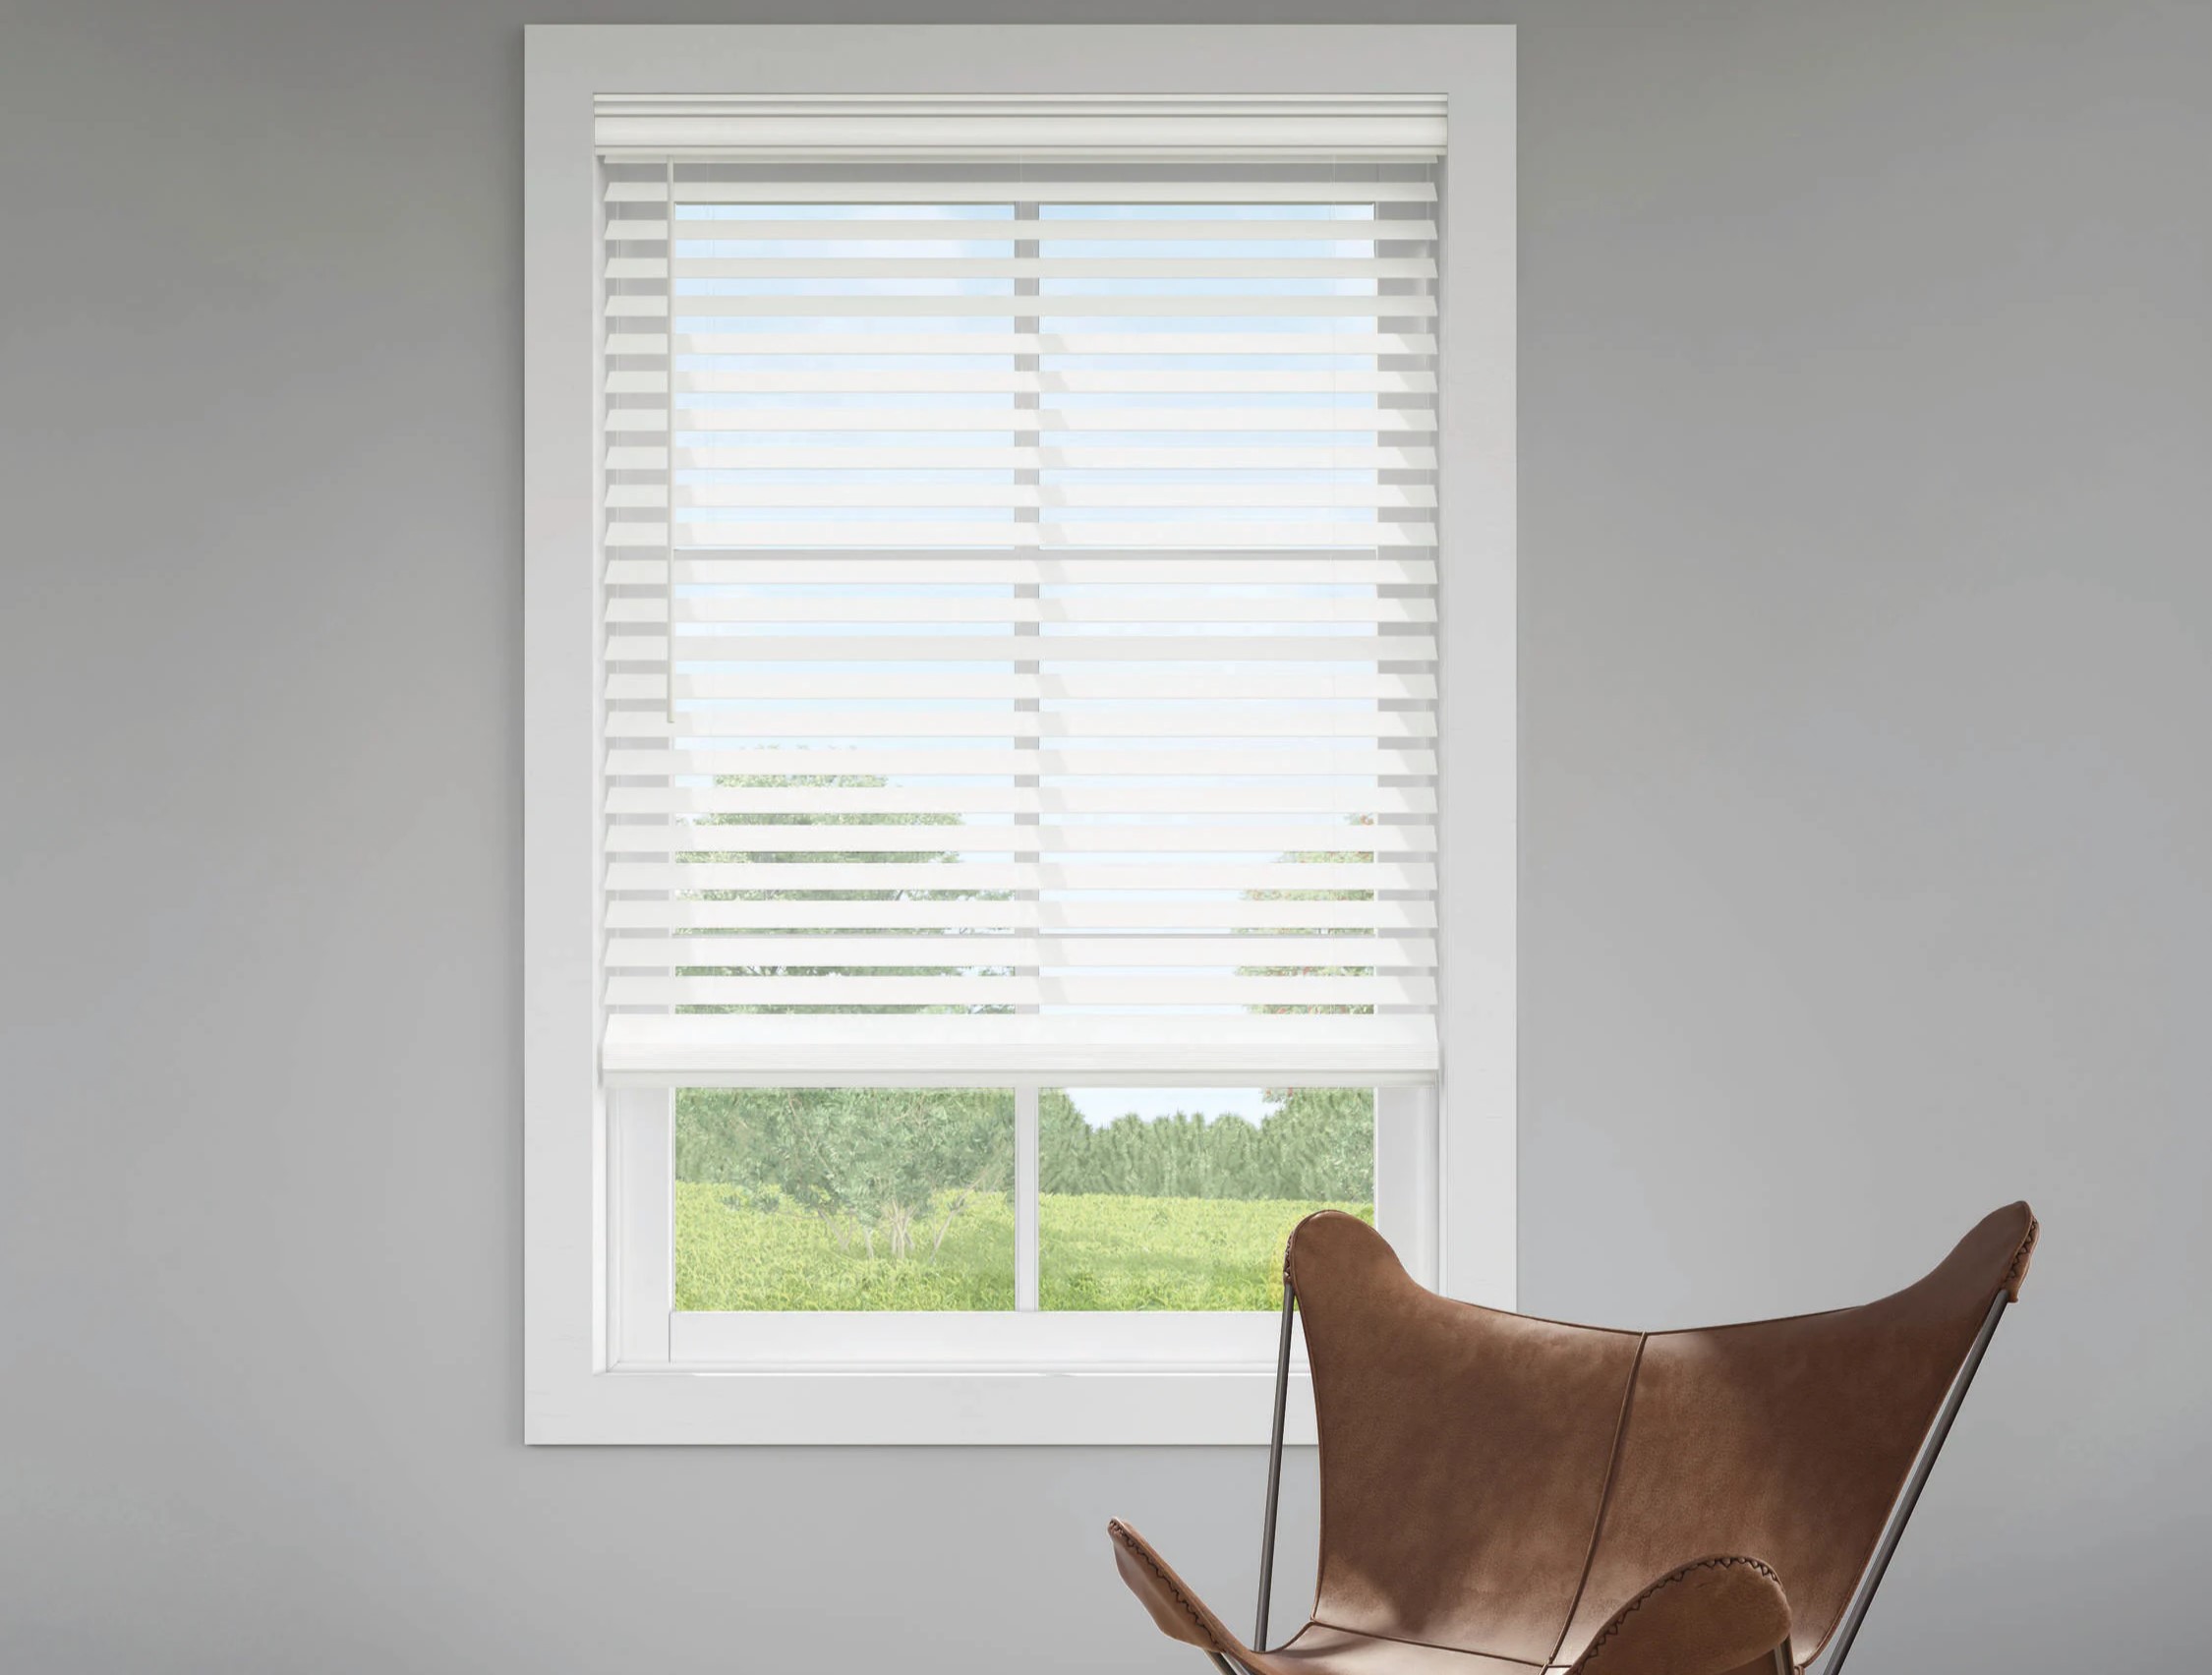
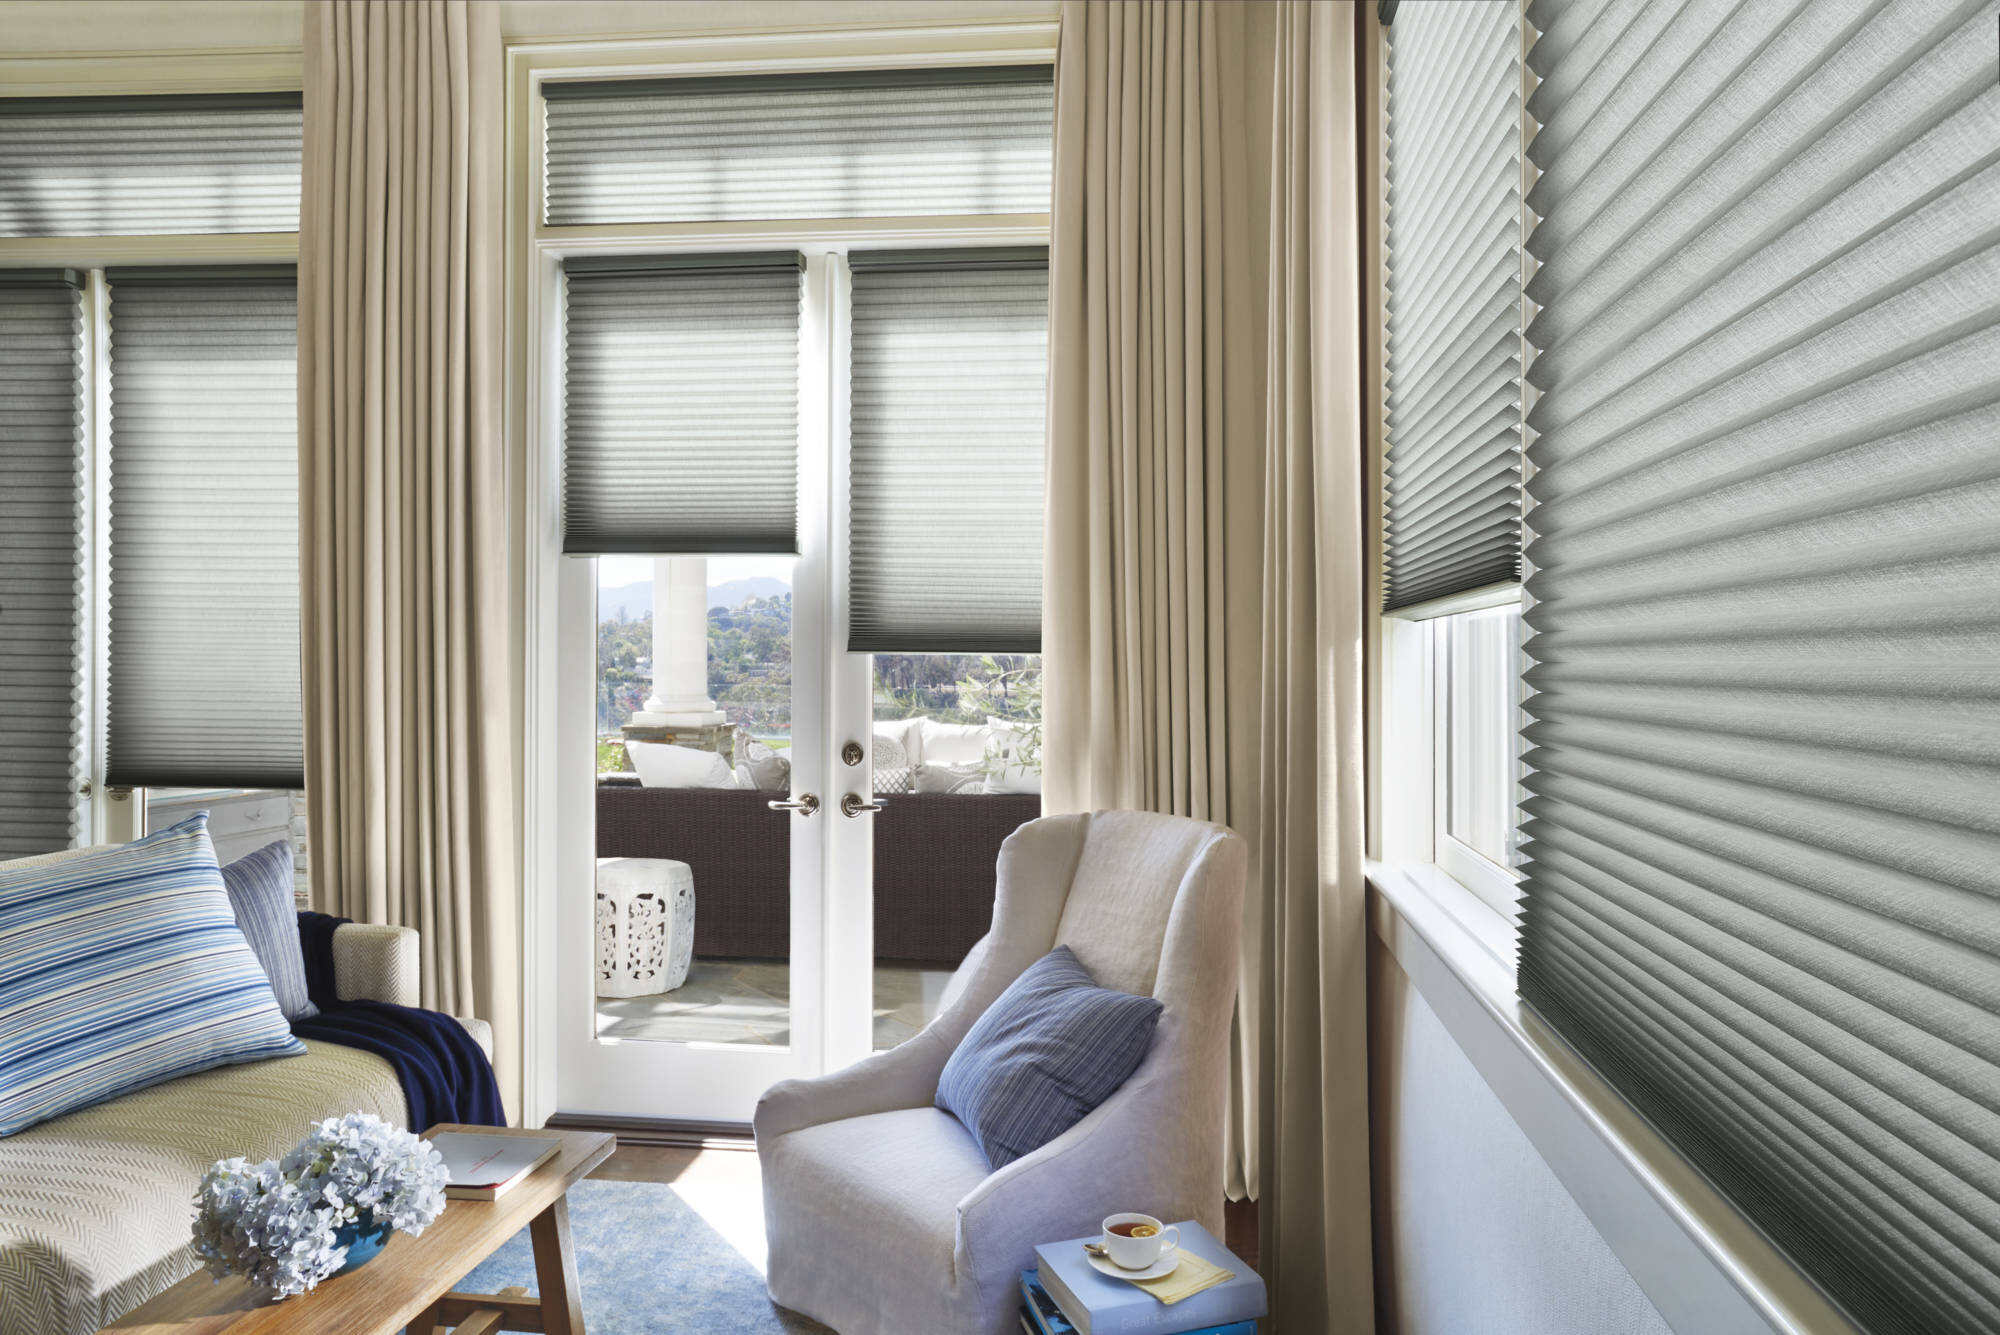
Silhouette blinds are a popular choice for many homeowners due to their stylish design and light-filtering capabilities. However, there may come a time when you need to remove them, whether it’s for cleaning, replacing, or redecorating your windows. While the process may seem daunting at first, with the right tools and a step-by-step approach, you can easily remove your silhouette blinds without any hassle.
In this article, we will guide you through the process of removing silhouette blinds, ensuring that you can safely and effectively detach them from your windows. By following these steps, you’ll be able to dismantle your blinds in no time and have a clear path for any maintenance or renovation work you need to undertake.
Before getting started, it’s important to note that this guide is specifically for silhouette blinds. If you have different types of blinds or window treatments, the removal process may vary. It’s always best to consult the manufacturer’s instructions or seek professional assistance if you’re unsure about removing your particular blinds.
Now that we understand the purpose of this guide and have set the expectations, let’s dive into the step-by-step process of removing silhouette blinds.
Key Takeaways:
- Easily remove silhouette blinds by following a step-by-step process and gathering necessary tools for a smooth and efficient removal experience. Lower, detach, and store each component with care to maintain the blinds’ integrity.
- Ensure a successful removal of silhouette blinds by carefully releasing cords, removing the valance, and detaching individual louvers. Safely store the blinds for future use, cleaning, or replacement, maintaining their longevity and aesthetic appeal.
Step 1: Gather Necessary Supplies
Before you begin removing your silhouette blinds, it’s essential to gather all the necessary supplies. Having everything on hand will make the process smoother and more efficient. Here’s a list of supplies you’ll need:
- Screwdriver
- Pliers
- Ladder or step stool (if necessary)
- Optional: Safety goggles and gloves for protection
The screwdriver will be used to remove any screws securing the blinds or the valance. A pair of pliers may come in handy for releasing any cords or clips that hold the blinds in place. Depending on the height of your windows, you may need a ladder or step stool to reach the necessary areas safely.
Although not necessary, wearing safety goggles and gloves can protect your eyes and hands from any potential debris or sharp edges that may be encountered during the removal process.
Once you have gathered all the supplies, ensure that you have a clear workspace around the blinds and a safe area to place the removed parts. Having everything organized and within reach will make the process more convenient and prevent any accidental damage to the blinds or surrounding furniture.
With all the necessary supplies at hand, you’re now ready to move on to the next step of removing your silhouette blinds.
Step 2: Lower the Blinds
Before you can start removing the silhouette blinds, it’s important to lower them fully. Lowering the blinds will make it easier to access and detach the various components. Here’s how to lower the blinds:
-
Locate the control mechanism for raising and lowering the blinds. This is typically a cord or a wand.
-
Gently pull down on the control mechanism to lower the blinds all the way to their lowest position. Take care to do this slowly and avoid any sudden movements.
Once the blinds are fully lowered, you can proceed to the next step of removing the valance.
It’s worth mentioning that if your silhouette blinds have a motorized system, refer to the manufacturer’s instructions for lowering the blinds safely. Some motorized blinds may have a specific sequence or method for lowering them. Following the manufacturer’s guidelines will prevent any damage to the blinds or the motorized mechanism.
By lowering the blinds, you create a more accessible workspace for the removal process. Now that the blinds are lowered, let’s move on to removing the valance in the next step.
Step 3: Remove the Valance
With the blinds lowered, the next step in removing silhouette blinds is to take off the valance. The valance is the decorative covering at the top of the blinds that hides the headrail and adds a finishing touch to the window treatment. Here’s how you can remove the valance:
-
Locate the plastic clips or brackets that hold the valance in place. These are usually located on the backside of the valance.
-
Using a screwdriver, gently detach the clips or brackets by unscrewing them. Be careful not to strip the screws or damage the valance in the process.
-
Once the clips or brackets are removed, firmly hold the valance and gently pull it away from the headrail. It should slide out easily, but be cautious not to apply excessive force or bend the valance.
Set the removed valance aside in a safe location where it won’t get damaged. You will need to reinstall it later when you’re finished with any necessary maintenance or adjustments to your blinds.
If your silhouette blinds have a fabric valance, it may be attached using Velcro or a similar adhesive. In such cases, carefully detach the valance by pulling it away from the attachment points. Take care not to rip or tear the fabric during the process.
By removing the valance, you’re one step closer to dismantling the silhouette blinds. In the next step, we’ll tackle releasing the cords that hold the blinds in place.
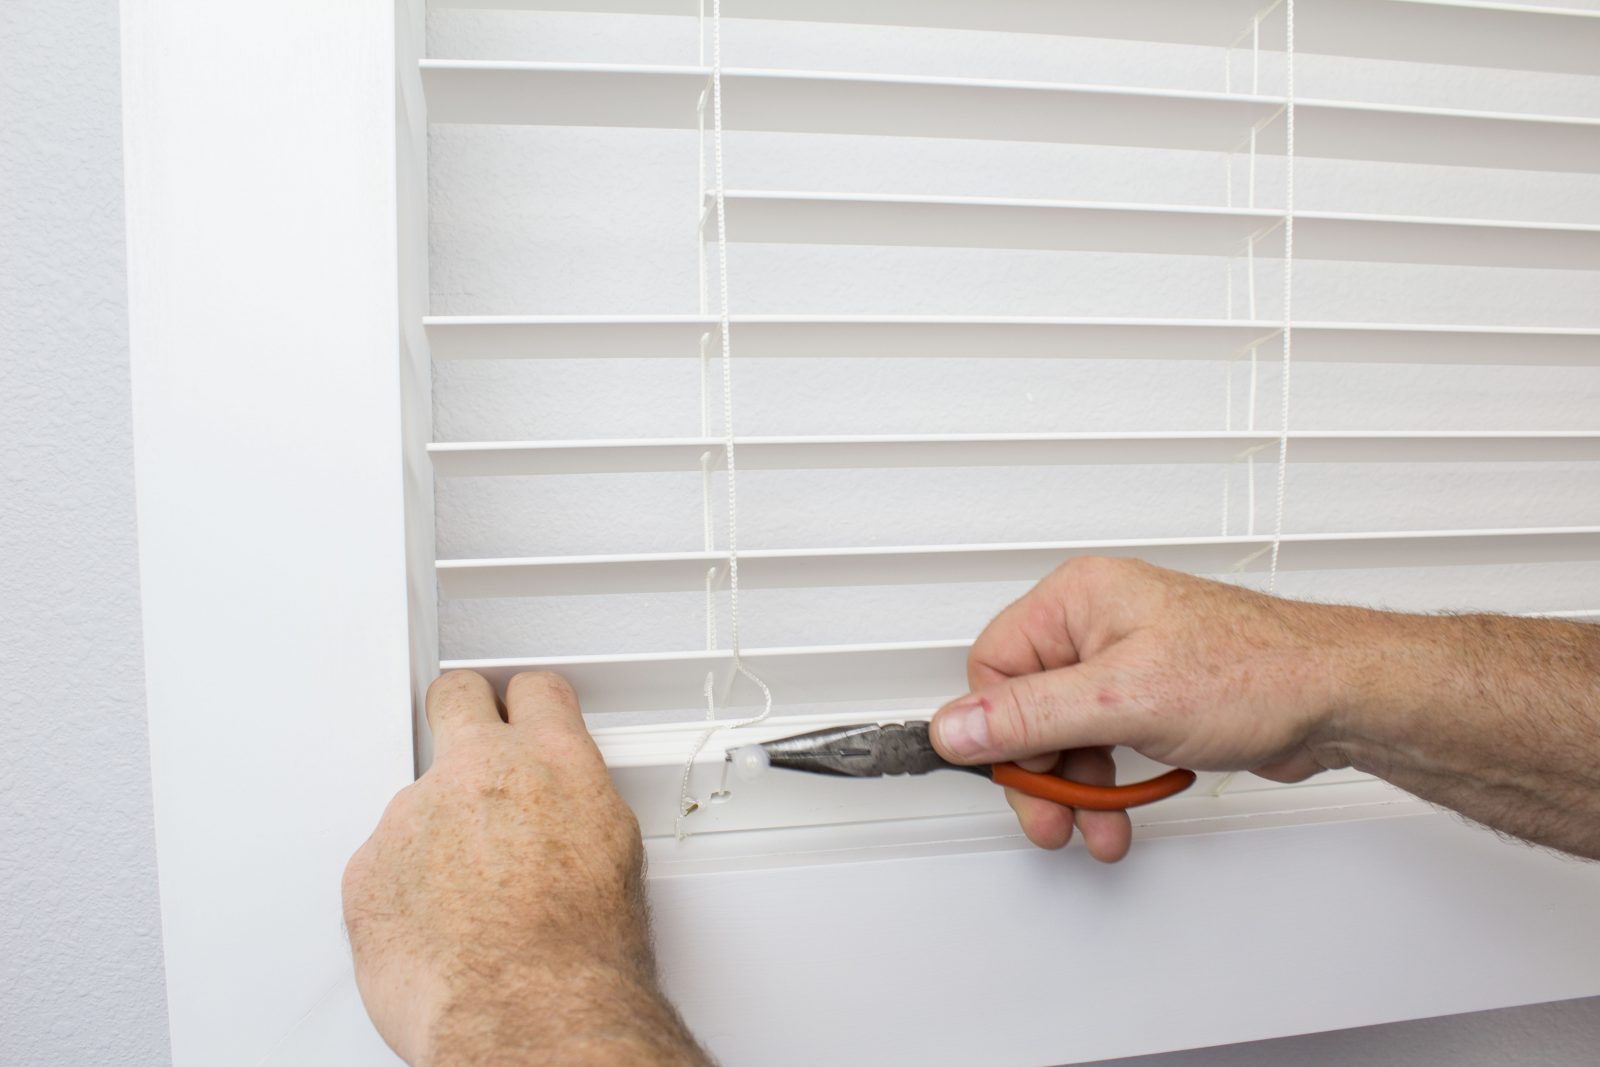
Step 4: Release the Cords
Once the valance is removed, it’s time to release the cords that hold the silhouette blinds in place. These cords help control the movement and positioning of the blinds. Here’s how you can release the cords:
-
Locate the cord locks on each side of the blinds. These are typically small plastic mechanisms that secure the cords.
-
Using a screwdriver or your fingers, carefully release the cord locks by pushing or pulling them away from the blinds. This will loosen the cords and allow for easy removal.
-
Once the cord locks are released, gently pull the cords out of the cord lock mechanism. Be careful not to let the blinds drop suddenly as you remove the cords.
If there are any cord loops or cord connectors present, disconnect them by gently separating the cords. Take note of the cord arrangement to ensure easy reinstallation later on.
It’s important to handle the cords with care to avoid tangling or damaging them. If you’re unsure about releasing the cords or encounter any difficulty, refer to the manufacturer’s instructions or seek professional assistance.
By releasing the cords, you’re preparing the blinds for removal from the headrail. In the next step, we’ll focus on removing the headrail bracket.
When removing silhouette blinds, start by raising the blinds to the fully open position. Then, gently pull the blinds away from the mounting brackets to release them. Finally, carefully lower the blinds to the ground for safe removal.
Read more: How To Remove Window Blinds
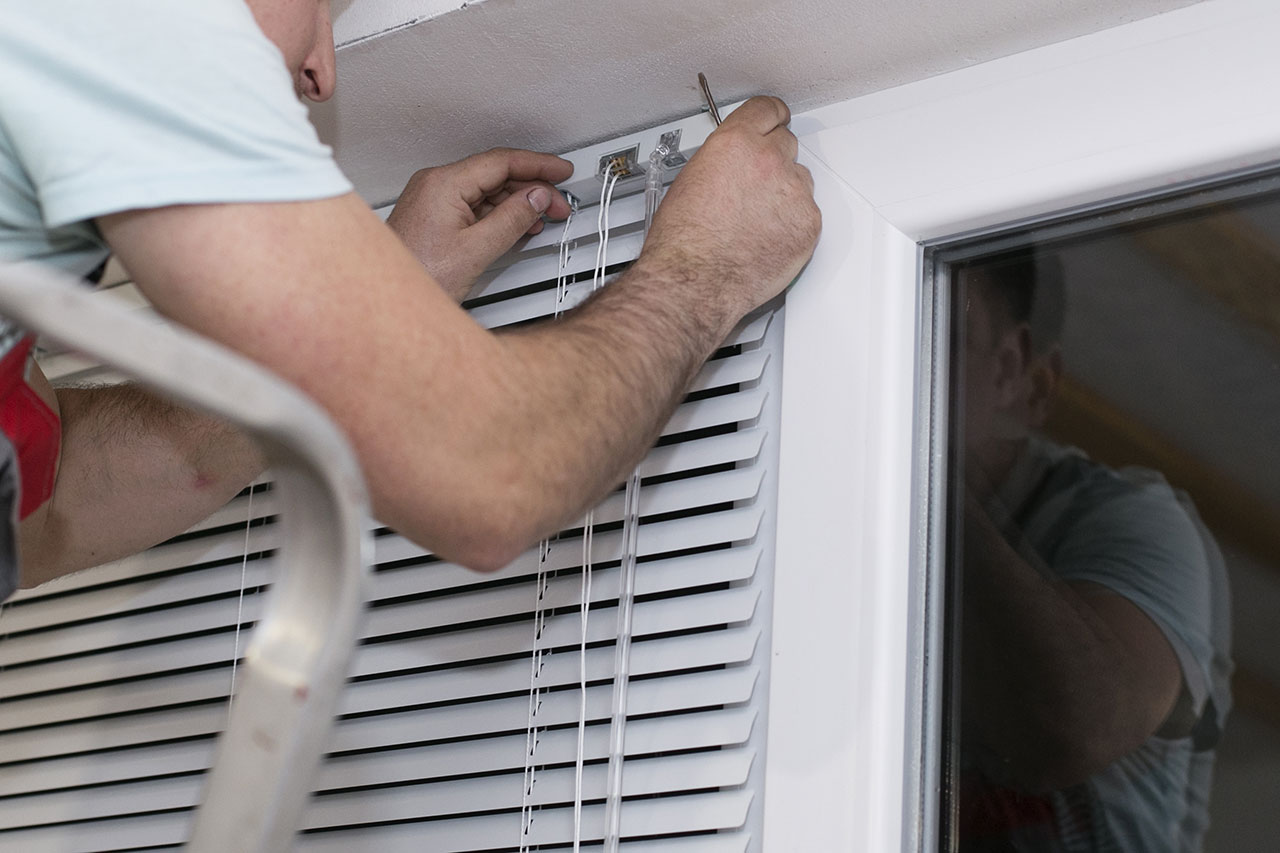
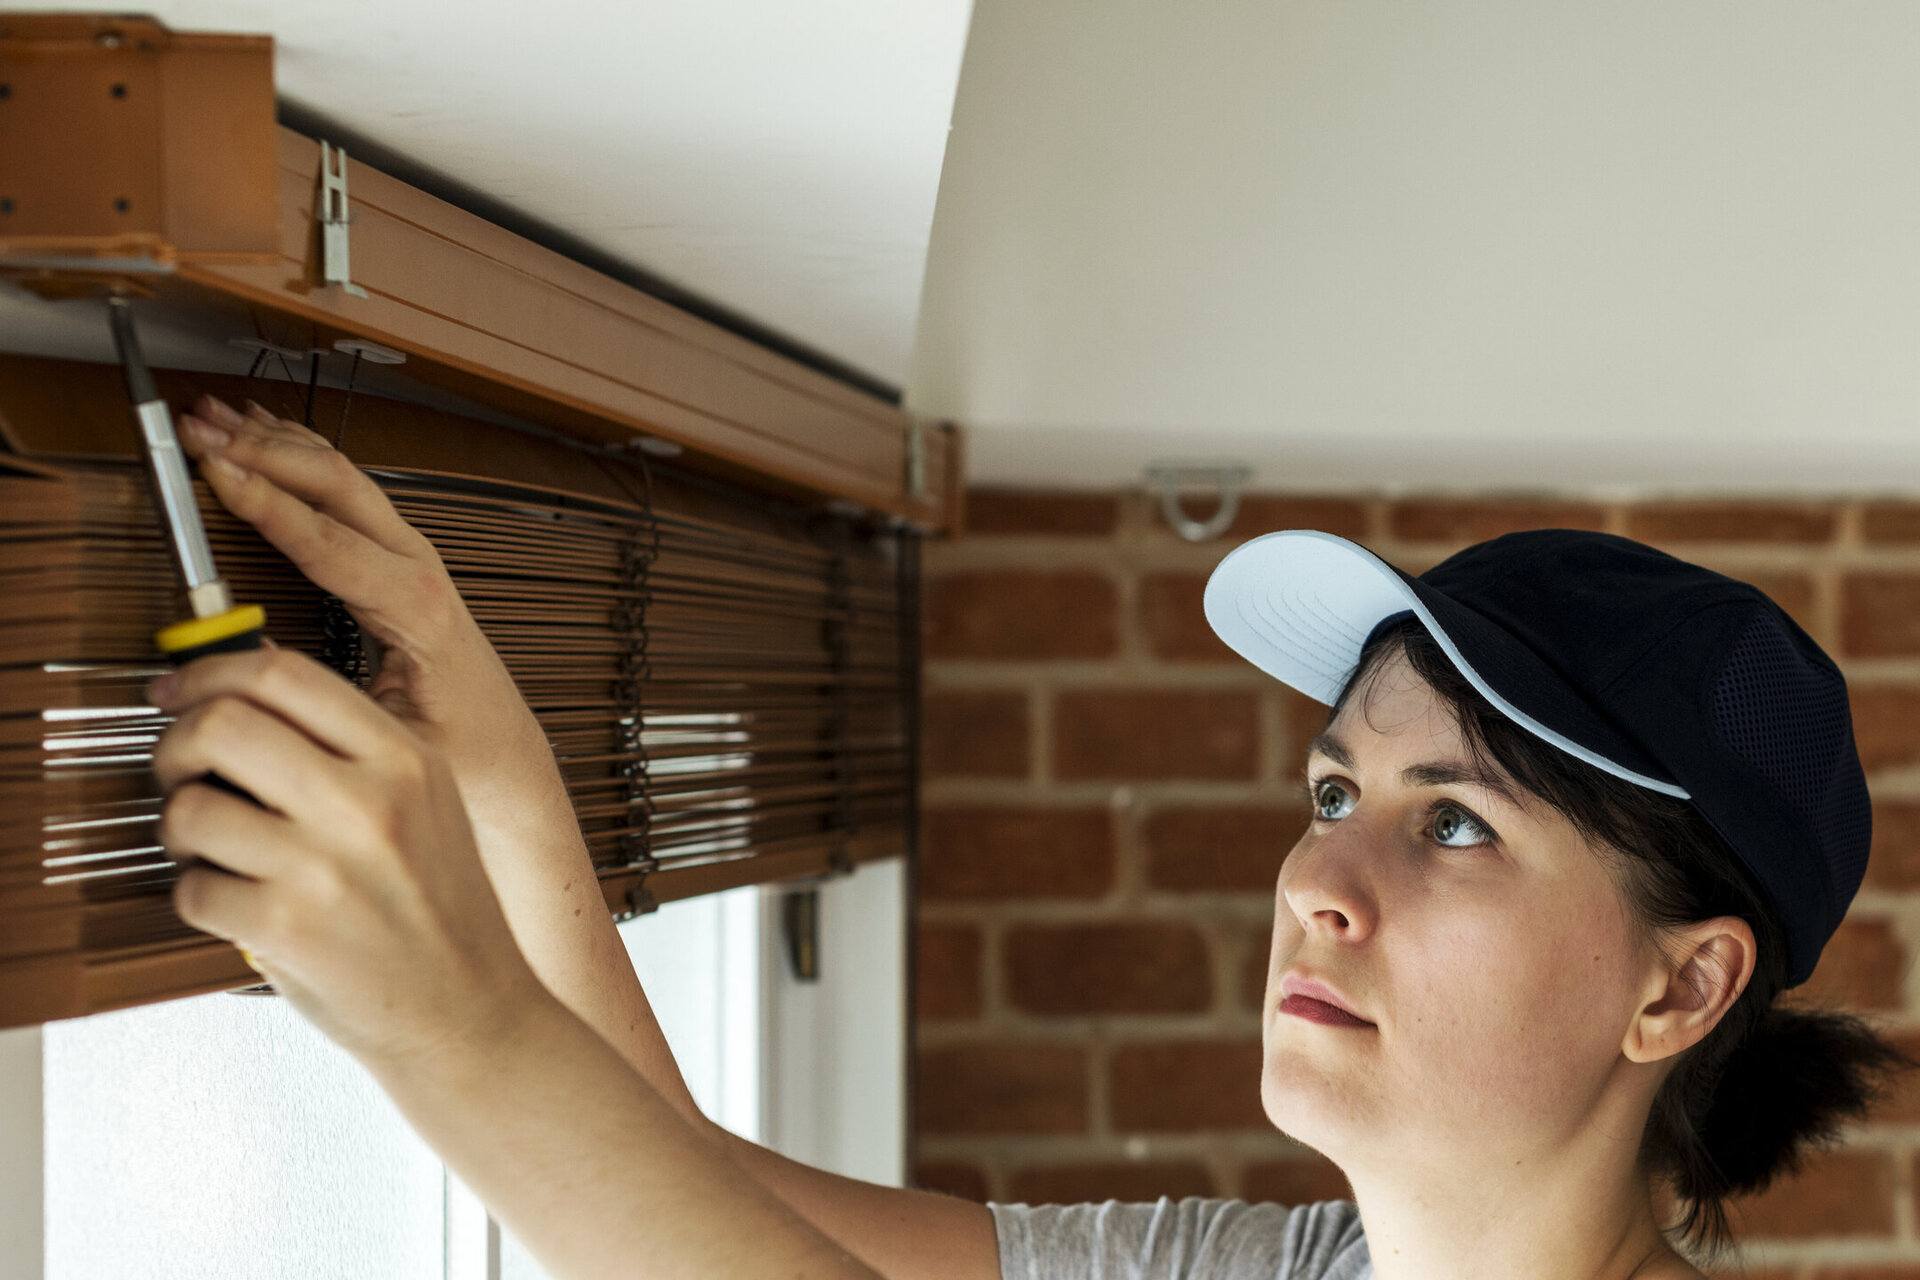
Step 5: Remove the Headrail Bracket
Now that the cords are released, it’s time to remove the headrail bracket. The headrail bracket is the hardware that attaches the silhouette blinds to the window frame or wall. Removing it will allow you to detach the blinds completely. Here’s how you can remove the headrail bracket:
-
Locate the screws or fasteners that secure the headrail bracket to the window frame or wall. These are typically located at the top of the bracket.
-
Using a screwdriver, carefully unscrew the screws or remove the fasteners to release the headrail bracket from its position. Note that there may be multiple screws or fasteners holding the bracket in place.
-
Once the screws or fasteners are removed, gently pull the headrail bracket away from the window frame or wall. The bracket should come off easily, allowing you to detach the blinds.
Set the removed headrail bracket aside in a secure location where it won’t get lost or damaged. You may need to reinstall it when you’re ready to put the silhouette blinds back up.
During this step, you may also want to inspect the area around the headrail bracket for any dust or debris. It’s a good opportunity to clean the surface before re-attaching the blinds or performing any maintenance.
With the headrail bracket removed, you’re almost done with the removal process. In the next step, we’ll focus on taking out the bottom rail of the blinds.
Step 6: Take Out the Bottom Rail
Now that the headrail bracket is removed, it’s time to take out the bottom rail of the silhouette blinds. The bottom rail is the horizontal bar at the bottom of the blinds that holds the individual slats, also known as louvers, in place. Removing the bottom rail will allow you to detach the louvers and fully dismantle the blinds. Here’s how you can take out the bottom rail:
-
Locate the plastic end caps at each end of the bottom rail. These caps cover the attachment points of the louvers.
-
Using your fingers or a small tool, gently pry off the plastic end caps to reveal the attachment points. Take care not to damage the end caps or the bottom rail.
-
Once the end caps are removed, slide the bottom rail away from the attachment points, allowing it to detach from the silhouette blinds.
Set the removed bottom rail aside in a safe location where it won’t get damaged. You may want to keep it nearby for reinstallation or replacement purposes.
With the bottom rail taken out, you can now move on to detaching the individual louvers in the next step.
It’s worth mentioning that some silhouette blinds may have a continuous cord loop system for adjusting the blinds. In such cases, carefully disconnect the loop from the bottom rail before removing it.
By taking out the bottom rail, you’re getting closer to fully dismantling the silhouette blinds. In the next step, we’ll focus on detaching the individual louvers.
Step 7: Detach the Louvers
With the bottom rail removed, it’s time to detach the individual louvers of the silhouette blinds. The louvers are the horizontal slats that provide the light-filtering and privacy functions of the blinds. Detaching the louvers will allow you to dismantle the blinds completely. Here’s how you can detach the louvers:
-
Locate the plastic connectors that hold each louver in place. These connectors are typically situated at the top and bottom of each louver.
-
Using your fingers or a small tool, gently detach the plastic connectors by sliding them off the edge of each louver. Take care not to bend or damage the louvers in the process.
-
Once the connectors are detached, carefully slide out each louver from the blinds, one by one. Start from the top and work your way down until all the louvers are removed.
Set the removed louvers aside in a secure location where they won’t get scratched or misplaced. You may want to arrange them in the order they were originally installed for easy reassembly later on.
During this step, you may want to take the opportunity to clean and dust the individual louvers before reinstalling them or replacing them with new ones. This will help keep your silhouette blinds looking fresh and well-maintained.
With the louvers detached, you have successfully dismantled the silhouette blinds. However, before wrapping up the process, let’s move on to the final step of removing the blinds completely.
Step 8: Remove the Blinds
Now that all the individual components of the silhouette blinds have been detached, it’s time to remove the blinds completely from the window. Here’s how you can remove the blinds:
-
Gently lift the headrail of the blinds upwards, tilting it slightly towards you. Be cautious and hold onto the blinds securely to prevent them from falling or getting damaged.
-
Slowly and carefully pull the headrail towards you, guiding the entire set of blinds out of the window frame or brackets. Take your time to ensure a smooth removal process.
-
Once the blinds are out of the window, place them in a safe location away from foot traffic or potential damage. You may want to use a clean, flat surface or keep them in their original packaging if available.
Ensure that the removed blinds are stored in a secure area where they won’t be exposed to excessive moisture, direct sunlight, or any potential accidents that may cause damage.
If you plan to reinstall the same blinds later on, take this opportunity to clean and dust them thoroughly. Use a gentle cleaning solution and a soft cloth to wipe down the components, ensuring that they’re ready for reinstallation.
By successfully removing the blinds, you have completed the process of removing silhouette blinds from your windows. Whether you’re planning to clean, replace, or store the blinds, you can now proceed with your next steps with confidence.
Remember, when it comes to reinstalling the silhouette blinds, make sure to follow the manufacturer’s instructions or seek professional assistance if needed. Taking proper care of your blinds will help maintain their longevity and ensure they continue to enhance the aesthetics of your home.
Congratulations on a job well done!
Read more: How To Remove Bali Blinds
Conclusion
Removing silhouette blinds may seem like a daunting task at first, but with the right approach and a step-by-step process, it can be done easily and safely. By following the outlined steps and gathering the necessary tools, you’ll be able to detach each component of the blinds with confidence.
Remember, always refer to the manufacturer’s instructions specific to your silhouette blinds for any additional guidance or considerations. If you’re unsure about the removal process or encounter any difficulties, it’s recommended to seek professional assistance to prevent any accidental damage.
By removing the silhouette blinds, you’ll have a clear path for cleaning, replacing, or redecorating your windows. This process also allows you to inspect the blinds for any maintenance or repair needs, ensuring that they continue to function optimally and enhance the beauty of your space.
When reinstalling the blinds, take care to follow the instructions provided by the manufacturer to ensure a proper and secure installation. Proper care and maintenance will help prolong the lifespan of your silhouette blinds and keep them looking their best for years to come.
We hope this step-by-step guide has been helpful in assisting you with the removal of silhouette blinds. By following these instructions, you can easily dismantle the blinds and complete any necessary tasks with ease.
Remember, if you’re uncertain about any aspect of the removal process or prefer professional assistance, it’s always best to consult with experts who have experience in handling silhouette blinds.
Good luck with your silhouette blinds removal journey!
Frequently Asked Questions about How To Remove Silhouette Blinds
Was this page helpful?
At Storables.com, we guarantee accurate and reliable information. Our content, validated by Expert Board Contributors, is crafted following stringent Editorial Policies. We're committed to providing you with well-researched, expert-backed insights for all your informational needs.