Articles
How To Defrost Samsung French Door Ice Maker
Modified: October 28, 2024
Learn how to defrost your Samsung French Door Ice Maker with our informative articles. Find step-by-step instructions and troubleshooting tips.
(Many of the links in this article redirect to a specific reviewed product. Your purchase of these products through affiliate links helps to generate commission for Storables.com, at no extra cost. Learn more)
Introduction
Having a Samsung French Door Ice Maker in your kitchen can be incredibly convenient, providing you with a constant supply of ice whenever you need it. However, over time, the ice maker may experience frost buildup, which can lead to issues with ice production and functionality. If you find that your Samsung French Door Ice Maker is not producing ice as efficiently as it once did, it may be time to defrost it.
In this article, we will guide you through the step-by-step process of defrosting your Samsung French Door Ice Maker to restore it to optimal performance. By following these instructions, you can ensure that your ice maker functions effectively and produces a fresh supply of ice for your drinks or meals.
Please note that defrosting the ice maker may take some time and patience, so it’s important to set aside enough time to complete the process. Additionally, it’s always a good idea to consult your Samsung appliance manual for specific instructions related to your model, as different models may have slight variations in the defrosting process.
Now, without further ado, let’s get started with the first step of defrosting your Samsung French Door Ice Maker.
Key Takeaways:
- Keep your Samsung French Door Ice Maker functioning efficiently by following the step-by-step defrosting process. Remember to turn off the ice maker, remove the ice bin, and clean the assembly for optimal performance.
- Regularly defrost and clean your Samsung French Door Ice Maker to ensure a fresh and uninterrupted ice supply. Follow the detailed guide to maintain the integrity and cleanliness of your ice maker for hassle-free ice production.
Read more: How To Defrost A Samsung Ice Maker
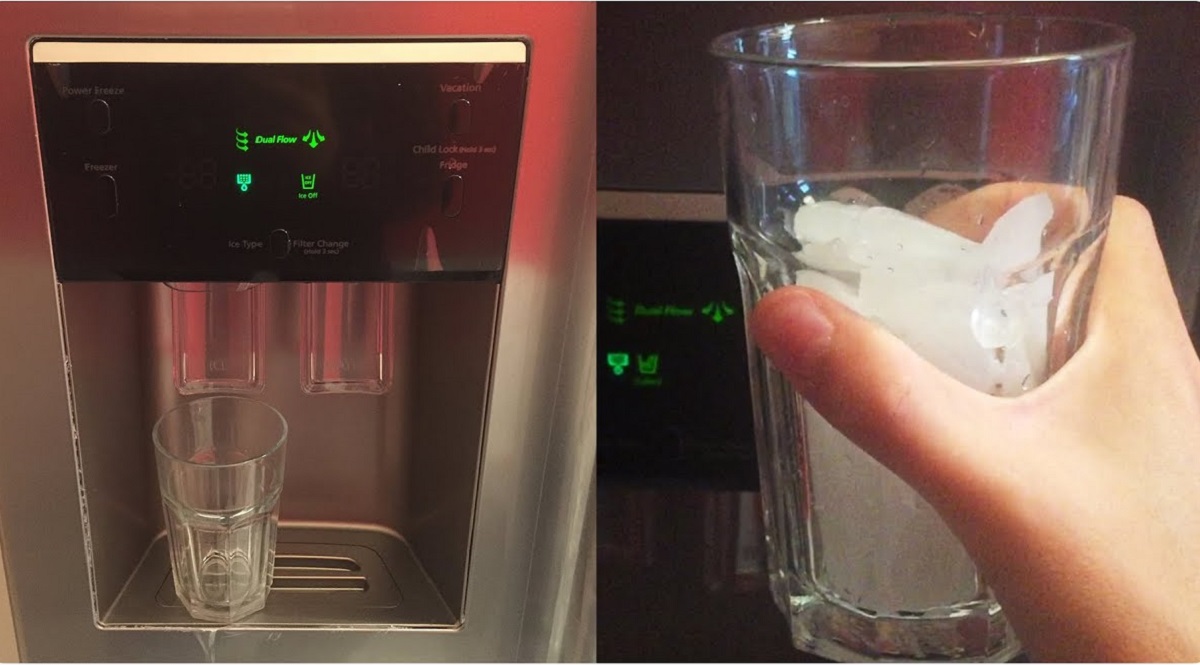
Step 1: Turn Off the Ice Maker
The first step in defrosting your Samsung French Door Ice Maker is to turn off the unit. This will prevent any ice production during the defrosting process and ensure that you can safely remove the ice bin without causing any damage.
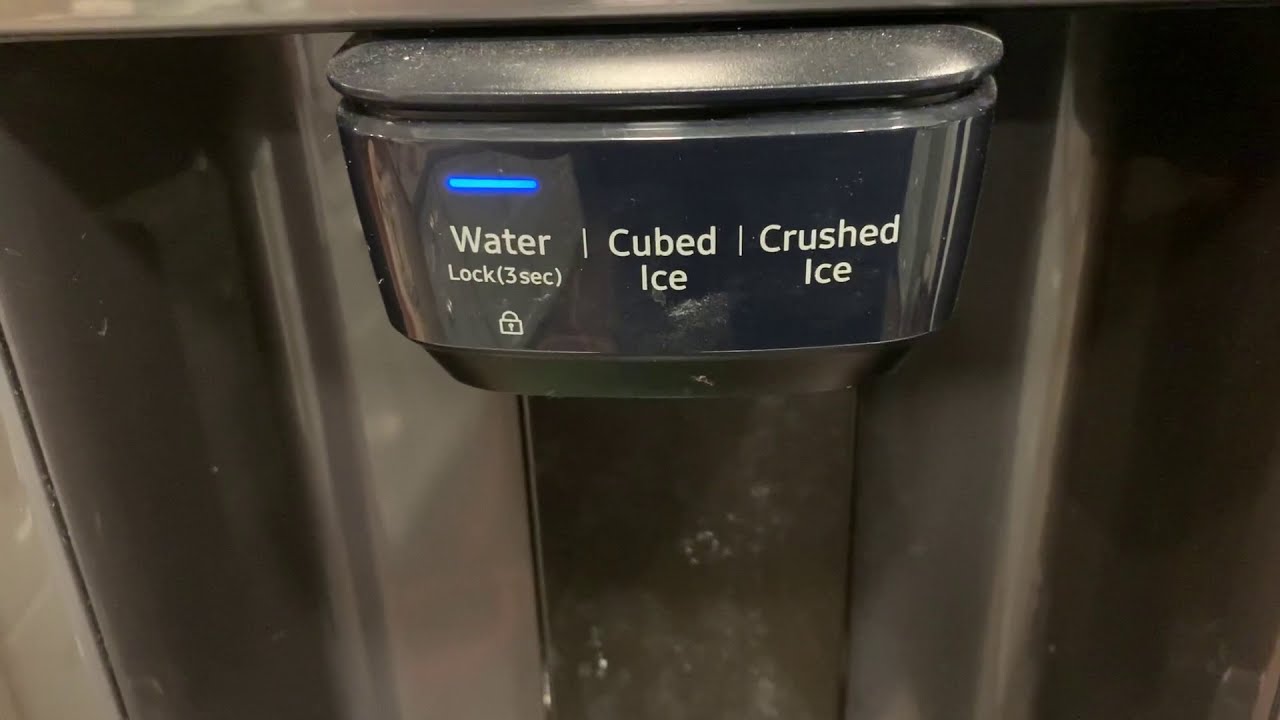
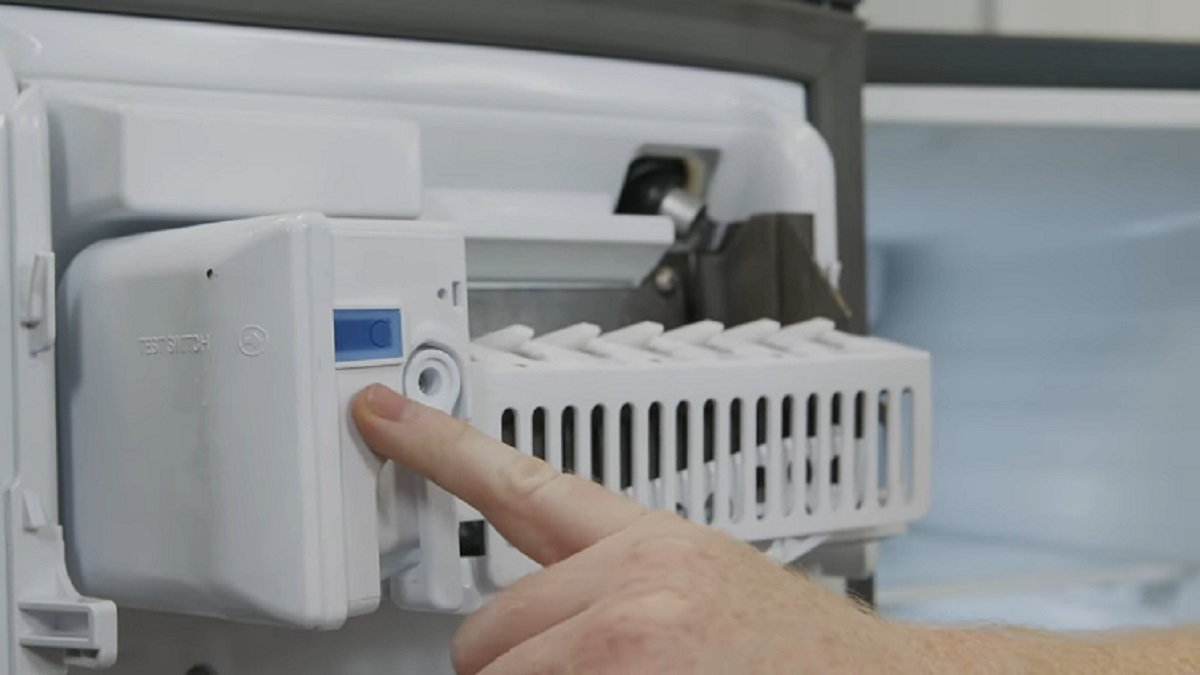
To turn off the ice maker, locate the control panel typically located on the front of the unit. Look for the ice maker control button or switch, which is often labeled with an “Ice Off” or “Power” symbol.
Press and hold the button or switch for a few seconds until the ice maker display or indicator light turns off. This indicates that the ice maker is now in the off mode and will not produce any more ice while you’re defrosting it.
It’s important to note that turning off the ice maker may vary depending on the specific model of your Samsung French Door Ice Maker. Refer to your appliance manual for detailed instructions on how to turn off the ice maker for your particular model.
Once you have successfully turned off the ice maker, you can proceed to the next step of removing the ice bin from the unit.
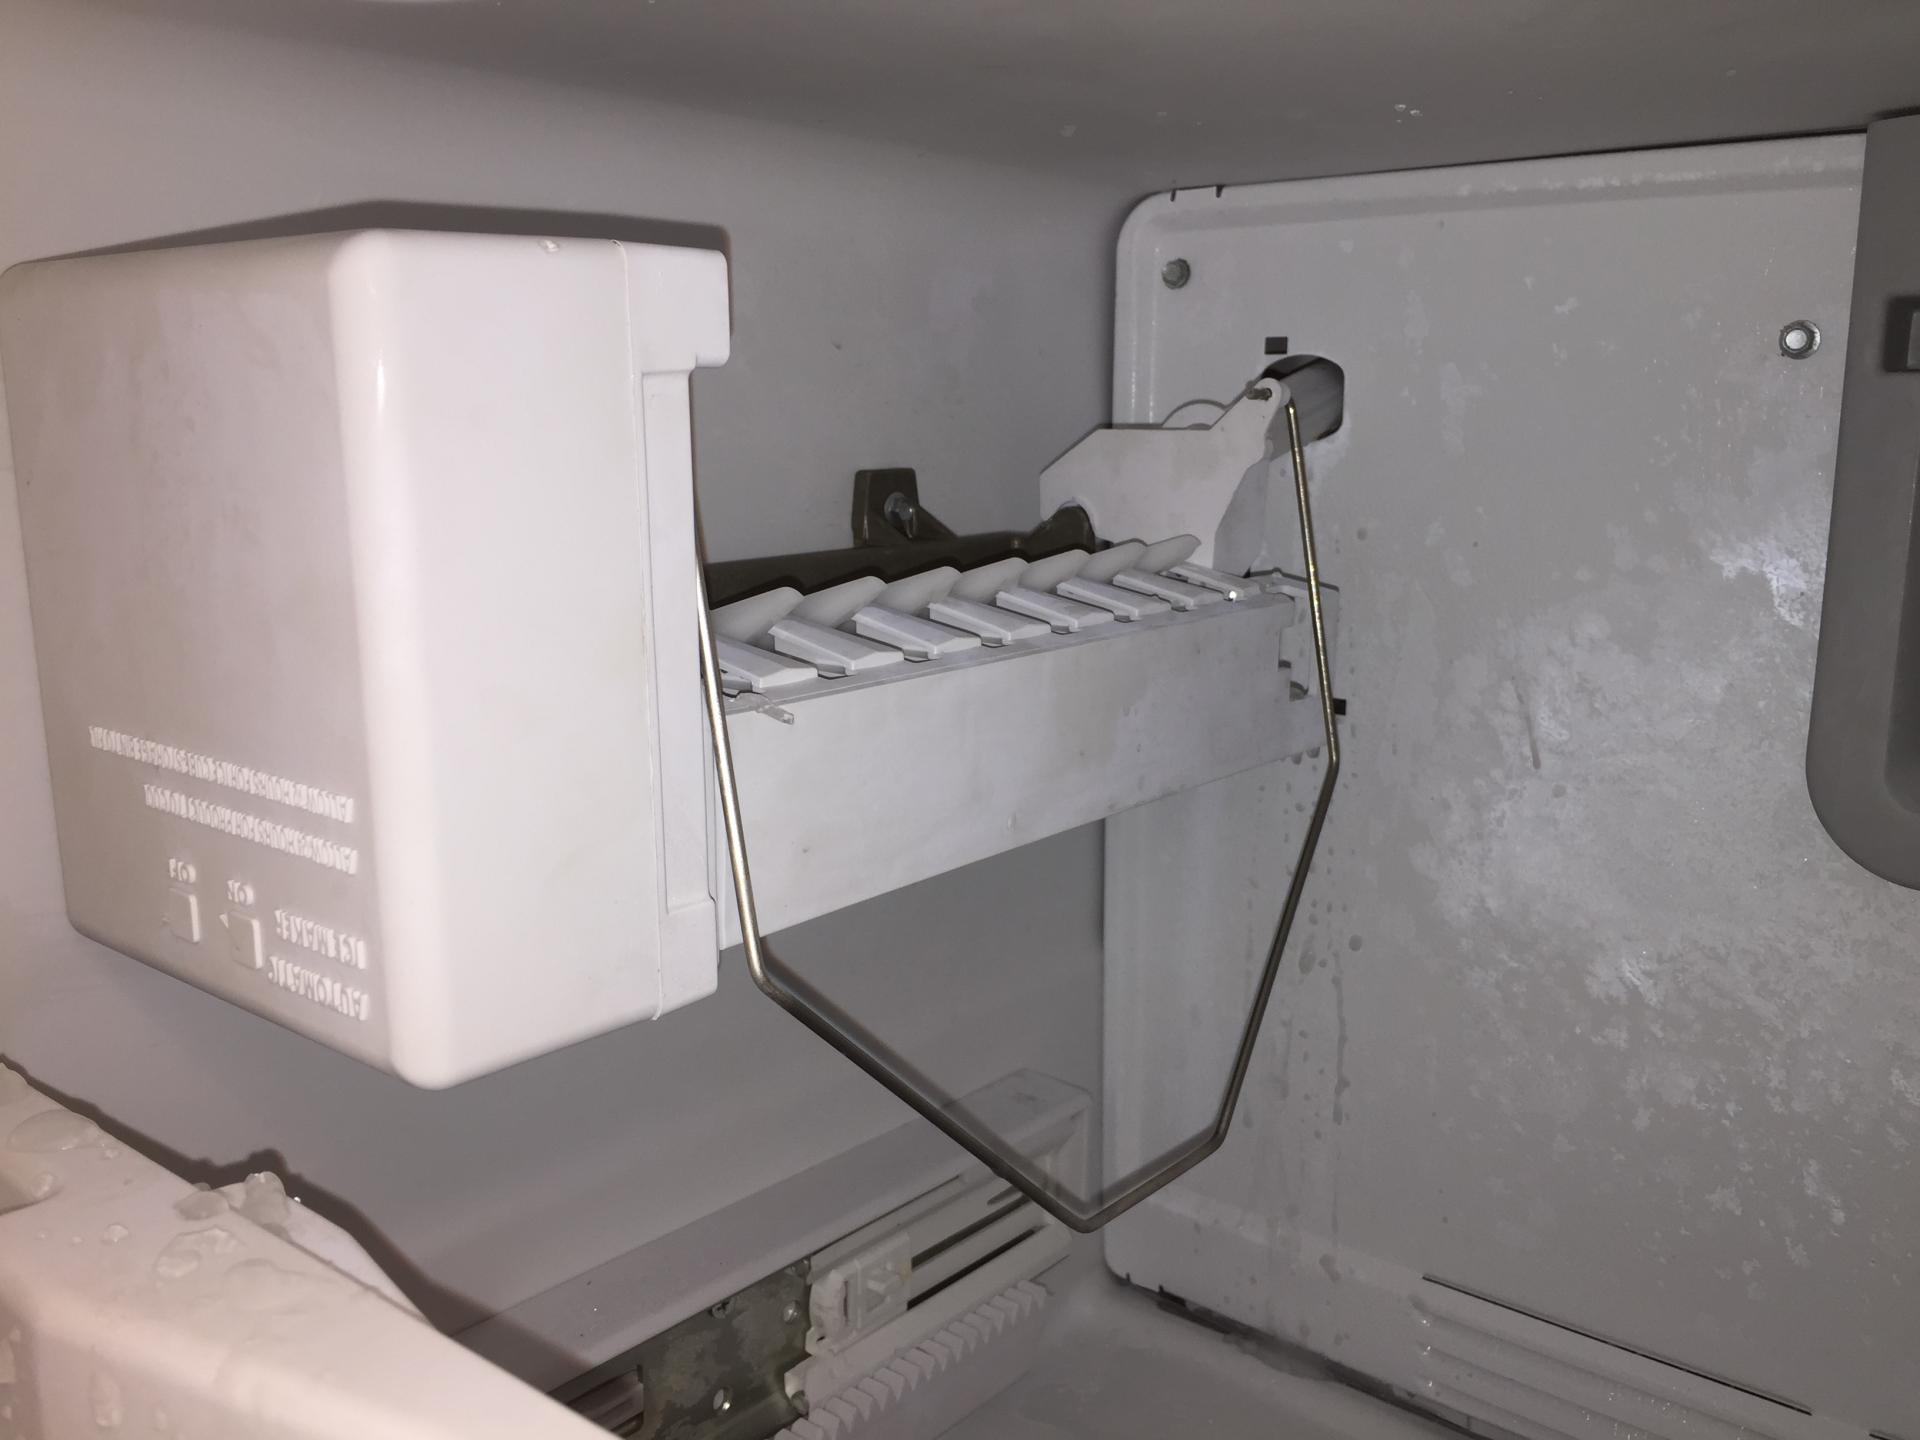
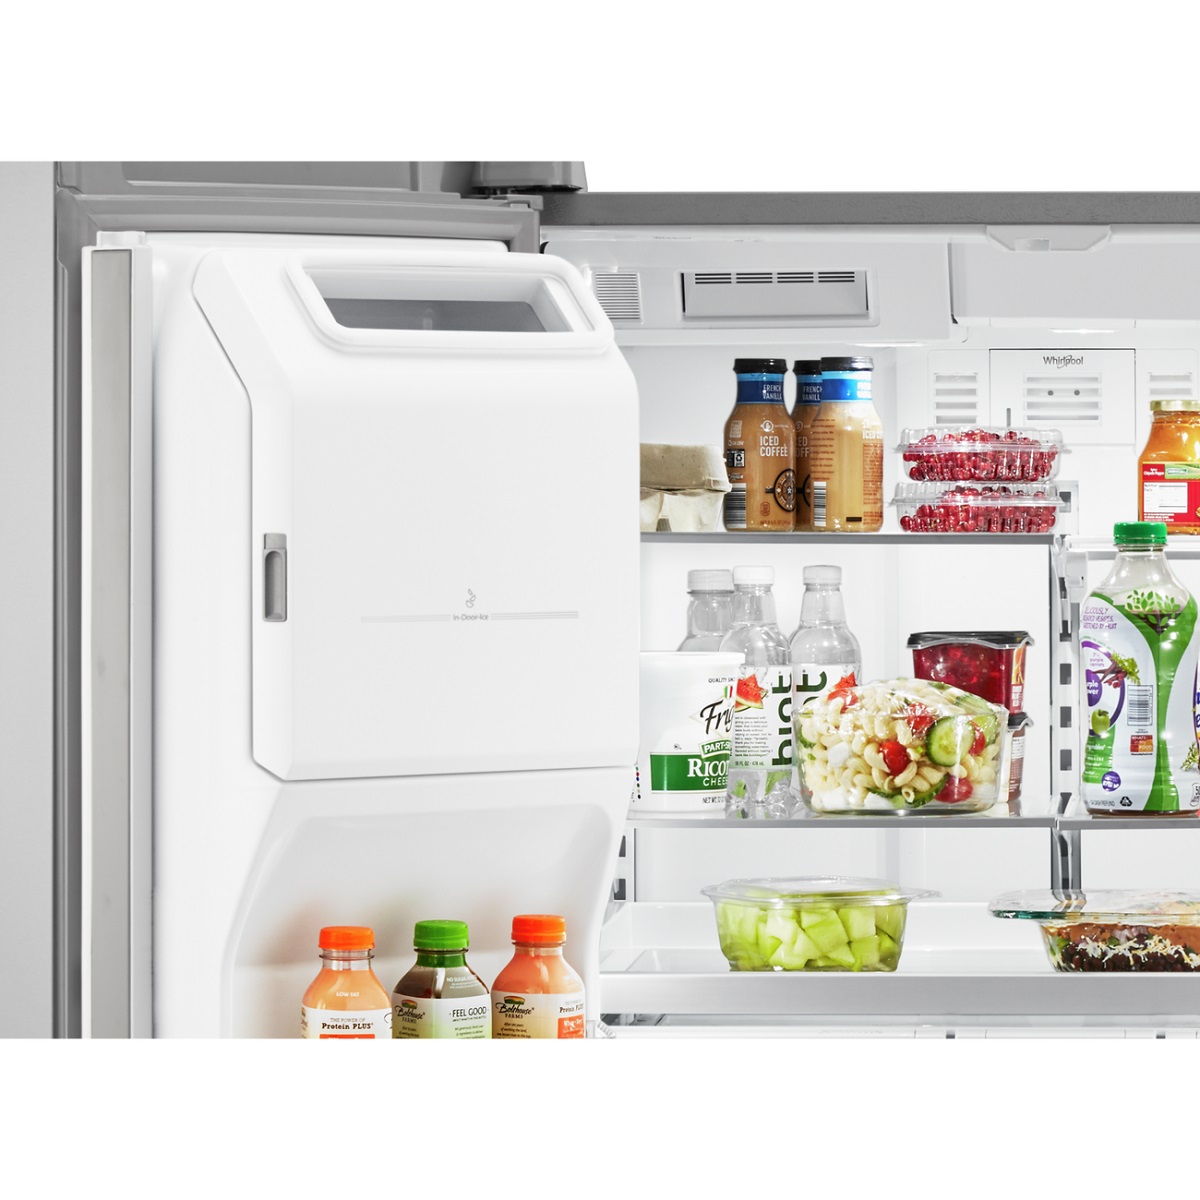
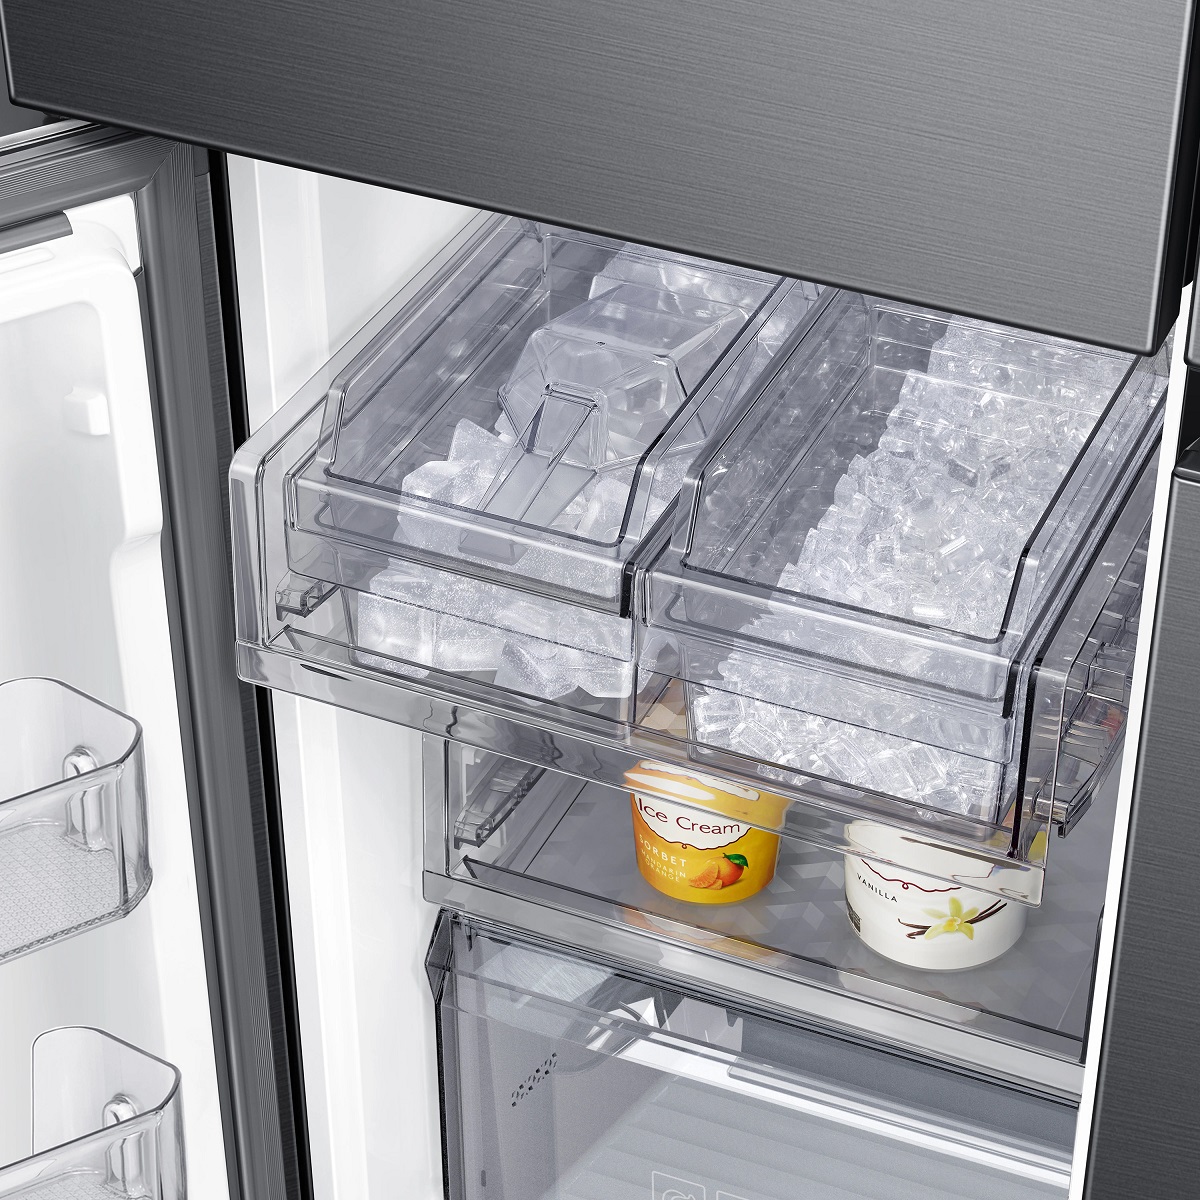
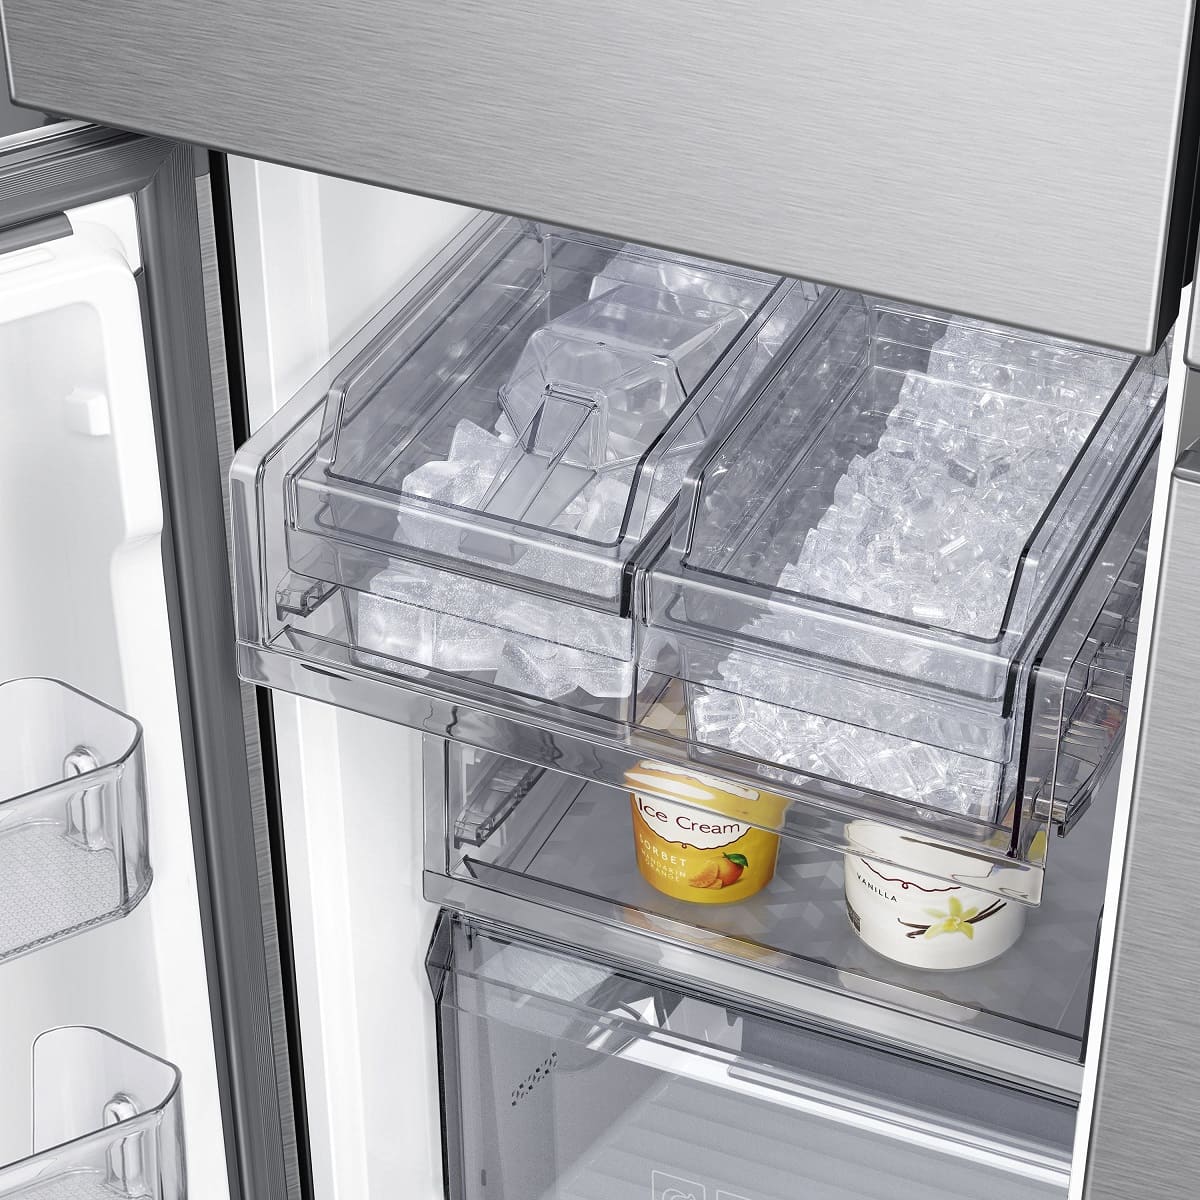
Step 2: Remove the Ice Bin
With the ice maker turned off, it’s now time to remove the ice bin from your Samsung French Door Ice Maker. The ice bin is the container that holds the ice cubes produced by the ice maker. Removing the ice bin will give you access to the ice maker assembly, allowing you to defrost it effectively.
Start by opening the freezer door of your Samsung French Door refrigerator. Locate the ice bin, which is usually located on the upper left side or the lower part of the freezer compartment. It may be labeled with an “Ice Maker” or “Ice Bin” symbol.
To remove the ice bin, carefully lift it up and out of the freezer compartment. Depending on your model, you may need to press a release tab or gently wiggle the ice bin to loosen it from its position. Be careful not to tilt or tip the ice bin too much, as this could cause any remaining ice to spill out.
Once the ice bin is removed, place it on a flat surface or in the sink to prevent any melting ice from making a mess. You can now proceed to the next step of emptying the ice bin.
Step 3: Empty the Ice Bin
Now that you have removed the ice bin from your Samsung French Door Ice Maker, it’s time to empty it of any remaining ice. This step is crucial to ensure that the ice maker is fully defrosted and ready for cleaning.
To empty the ice bin, carefully pour out the ice cubes into a sink or a container. If the ice cubes are stuck together or have formed a solid block, gently tap the ice bin on a hard surface to loosen them. Alternatively, you can use a plastic utensil or ice scoop to break apart any clumps.
It’s essential to remove all the ice cubes from the bin to prevent any ice meltwater from interfering with the defrosting process. Ensure that the ice bin is completely empty before moving on to the next step.
Remember to dispose of the ice or use it in your drinks or recipes to avoid wasting it. Once the ice bin is empty, set it aside in a safe place while you continue with the defrosting process.
With the ice bin emptied, we can now move on to the next step of disconnecting the water supply line.
Step 4: Disconnect the Water Supply Line
Disconnecting the water supply line is an important step in the defrosting process of your Samsung French Door Ice Maker. This will prevent any water from entering the ice maker assembly during the defrosting and cleaning process.
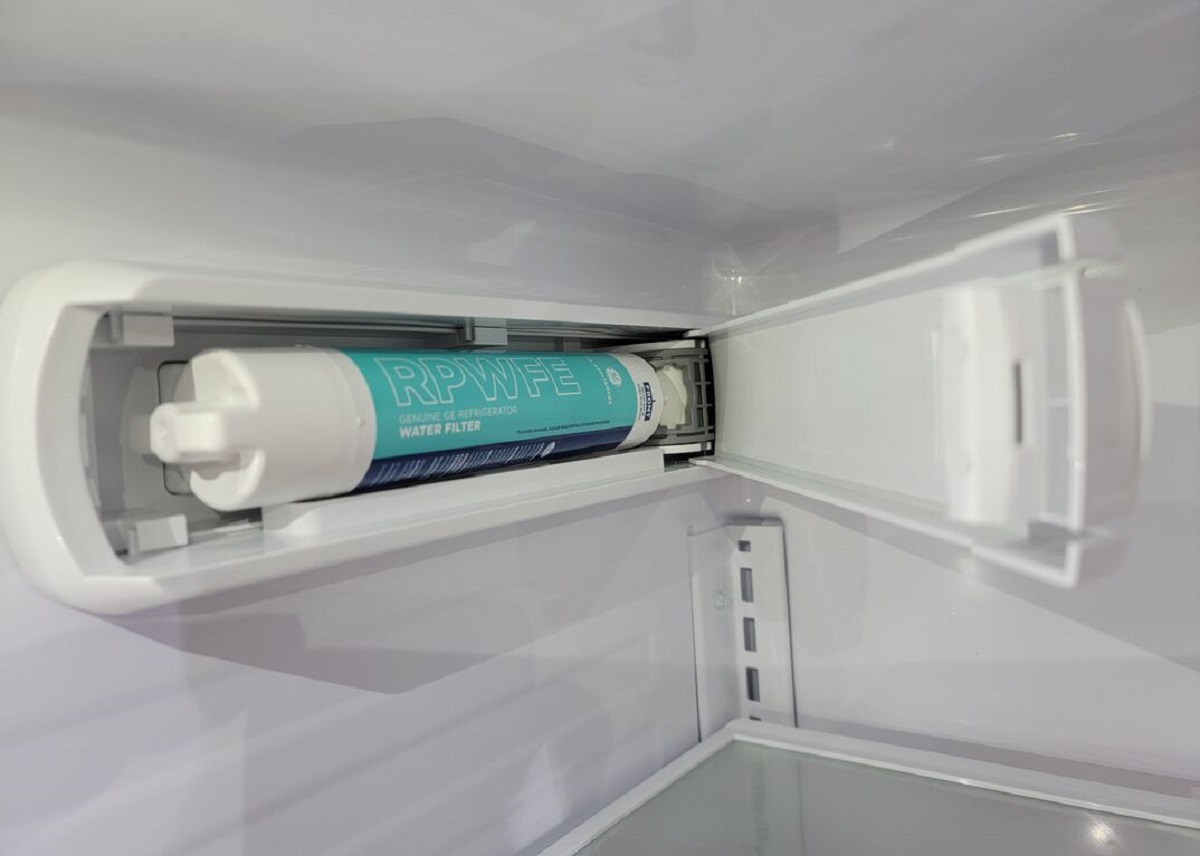
Start by locating the water supply line connection point near the ice maker. This connection point is typically located at the back of the freezer compartment or in the wall of the refrigerator. It may be labeled with a “Water Supply” or “Inlet” symbol.
Before disconnecting the water supply line, ensure that you have turned off the main water supply to your refrigerator. This is usually done by shutting off the water valve located near your kitchen sink or in the basement.
Using an adjustable wrench or pliers, gently loosen the nut connecting the water supply line to the ice maker assembly. Be careful not to apply too much force, as this can lead to damage to the water supply line or the ice maker itself.
Once the nut is loosened, carefully remove the water supply line from the ice maker assembly. There may be a small amount of water or moisture, so it’s a good idea to have a towel or container ready to catch any drips.
With the water supply line disconnected, you can now proceed to the next step of removing ice buildup from the ice maker assembly.
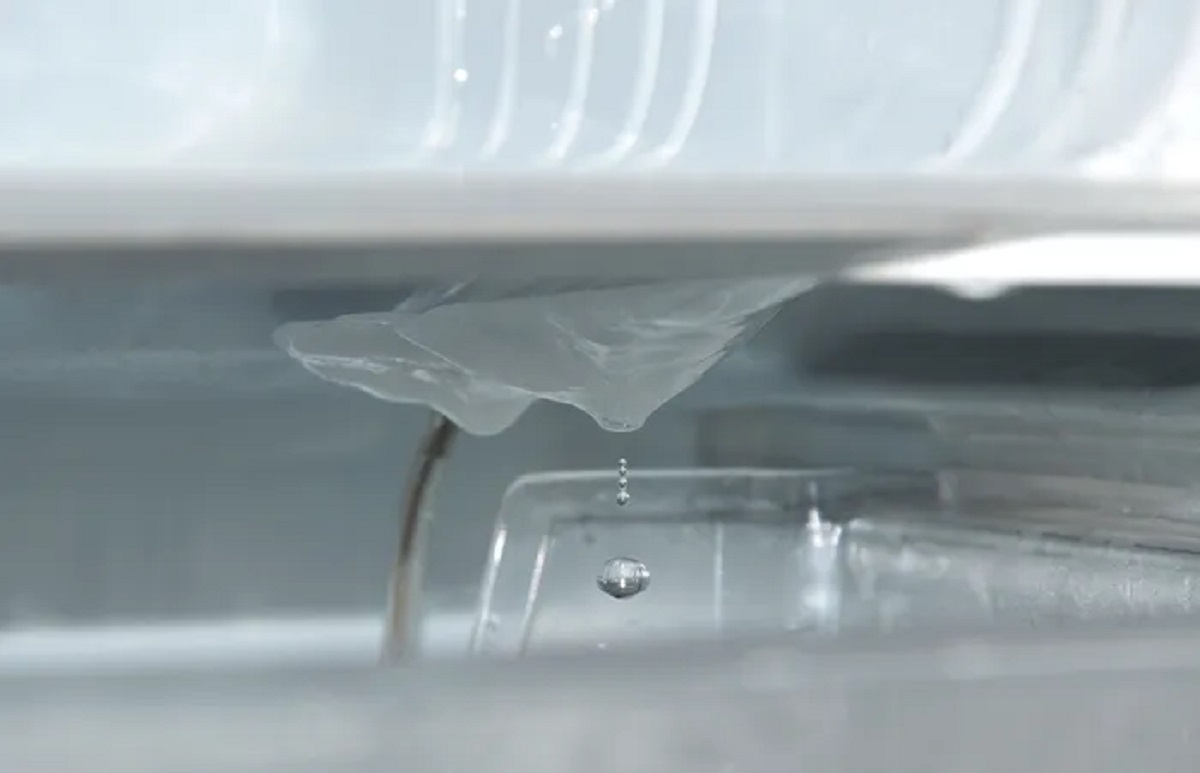
To defrost a Samsung French door ice maker, unplug the refrigerator and leave the freezer door open. Use a hairdryer to gently melt any ice buildup, being careful not to use excessive heat. Once the ice is melted, wipe away any excess water and plug the refrigerator back in.
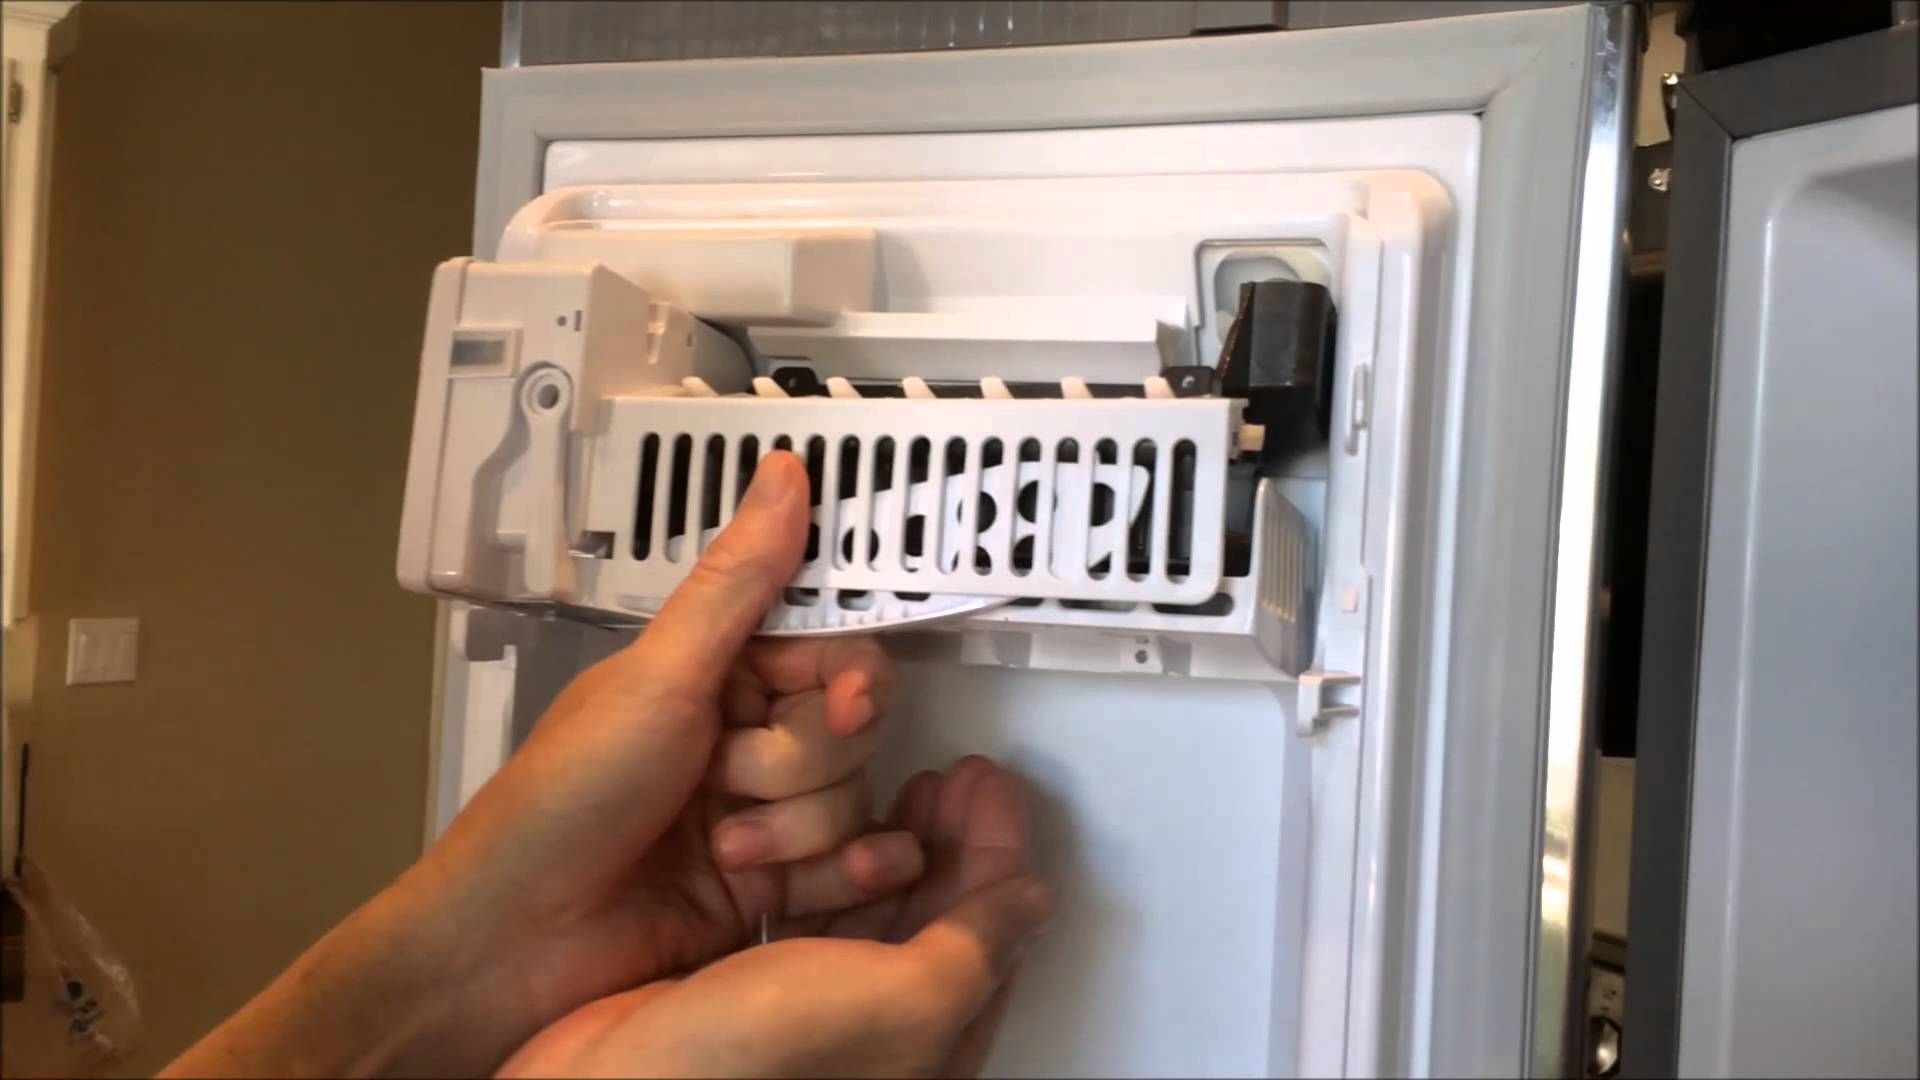
Step 5: Remove Ice Buildup
After disconnecting the water supply line, it’s time to remove any ice buildup from the ice maker assembly. Ice buildup can hinder the proper functioning of your Samsung French Door Ice Maker and can lead to issues with ice production.
Take a close look at the ice maker assembly and identify any areas where ice has accumulated. This may include the ice maker tray, the ice chute, or any other component involved in the ice-making process.
Using a plastic utensil or a soft cloth, gently remove the ice buildup from these areas. Be careful not to scratch or damage any of the components while doing so. You may need to apply a bit of pressure to remove stubborn ice, but avoid using sharp objects or excessive force.
Additionally, check for any ice particles or debris that may have collected in or around the ice maker assembly. Use a clean, damp cloth to wipe away any residue, ensuring that all surfaces are clean and free from any ice or debris.
Removing the ice buildup will help optimize the performance of your ice maker and ensure that it functions efficiently. Once you have cleared the ice buildup, proceed to the next step of cleaning the ice maker assembly.
Step 6: Clean the Ice Maker Assembly
Now that you have removed the ice buildup from the ice maker assembly, it’s time to clean it thoroughly to ensure optimal performance and hygiene.
Start by preparing a mixture of warm water and mild dish soap. Dip a clean cloth or sponge into the soapy water and gently wipe down the exterior surfaces of the ice maker assembly. Pay special attention to areas that may have come into contact with ice, such as the ice chute and the ice maker tray.
For more stubborn stains or residue, you can use a soft-bristled brush or an old toothbrush dipped in the soapy water to scrub away the dirt. Be careful not to apply excessive pressure that could damage the components.
After cleaning the exterior, move on to the interior of the ice maker assembly. Use a soft cloth or sponge dampened with the soapy water to clean the ice maker tray, the ice deflectors, and any other accessible parts. Ensure that you remove any traces of dirt, debris, or soap residue.
Once you have thoroughly cleaned the ice maker assembly, rinse all the parts with clean water to remove any remaining soap. Dry the components with a clean towel or allow them to air dry completely before moving on to the final step of reassembling and turning on the ice maker.
Cleaning the ice maker assembly not only improves its functionality but also helps maintain the integrity of the ice produced. A clean ice maker ensures that the ice you use for your drinks or recipes is free from any impurities or contaminants.
With the ice maker assembly cleaned, proceed to the next step, which involves reassembling and turning on the ice maker.
Step 7: Reassemble and Turn On the Ice Maker
After cleaning the ice maker assembly, it’s time to reassemble the components and turn on the ice maker to restore its functionality.
Start by reconnecting the water supply line to the ice maker assembly. Carefully align the water supply line with the inlet and tighten the nut using pliers or an adjustable wrench. Ensure that the connection is secure but not overly tight to avoid any leaks.
Once the water supply line is reconnected, it’s time to reinsert the ice bin into the freezer compartment. Position the ice bin into its designated spot, aligning it properly with the ice maker assembly.
Push the ice bin gently to secure it in place, making sure it slides all the way back. Depending on your model, there may be a release tab or locking mechanism that needs to be engaged to ensure proper installation.
After reassembling the ice bin, it’s time to turn on the ice maker. Locate the ice maker control button or switch on the control panel of your Samsung French Door refrigerator.
Press and hold the button or switch for a few seconds until the ice maker display or indicator light turns on. This indicates that the ice maker is now in the on mode and ready to start producing ice.
It’s important to note that it may take some time for the ice maker to start producing ice again. Be patient and allow the ice maker to go through a few cycles before expecting a full supply of ice.
Congratulations! You have successfully defrosted and cleaned your Samsung French Door Ice Maker. By following these steps, you can ensure that your ice maker functions efficiently and delivers a fresh supply of ice whenever you need it.
Remember to consult your appliance manual for any specific instructions related to your model, as certain steps and features may vary.
Enjoy the convenience of a fully functional ice maker and enjoy your ice-cold beverages!
Conclusion
Defrosting your Samsung French Door Ice Maker is a necessary maintenance task to ensure optimal performance and functionality. By following the step-by-step guide outlined in this article, you can effectively remove ice buildup and clean the ice maker assembly, restoring it to its full potential.
Remember to take your time during the defrosting process, following the instructions specific to your model as outlined in the appliance manual. It’s important to turn off the ice maker, remove the ice bin, and empty it of any ice before proceeding. Disconnecting the water supply line and removing ice buildup are crucial steps to ensure a thorough defrosting.
Cleaning the ice maker assembly not only improves its performance but also ensures that the ice produced is free from any impurities. Thoroughly washing and rinsing the components will help maintain the integrity and cleanliness of your ice, making it safe and enjoyable to use in your drinks or recipes.
After cleaning, reassembling the ice bin and turning on the ice maker will bring it back to normal operation. Be patient as the ice maker may take some time to start producing ice again. Allow for a couple of cycles to pass before expecting a full supply of ice.
Regularly defrosting and cleaning your Samsung French Door Ice Maker will help prolong its lifespan and prevent issues such as reduced ice production or clogged mechanisms. It’s recommended to perform this maintenance task every few months or as needed, depending on the usage and conditions of your ice maker.
Now that you have completed the defrosting process and cleaned your ice maker, sit back, relax, and enjoy the convenience of having a fully functional ice maker at your fingertips. Cheers to refreshing drinks and hassle-free ice production!
Frequently Asked Questions about How To Defrost Samsung French Door Ice Maker
Was this page helpful?
At Storables.com, we guarantee accurate and reliable information. Our content, validated by Expert Board Contributors, is crafted following stringent Editorial Policies. We're committed to providing you with well-researched, expert-backed insights for all your informational needs.


0 thoughts on “How To Defrost Samsung French Door Ice Maker”