Articles
How To Adjust Ice Maker
Modified: February 28, 2024
Discover useful articles on how to adjust your ice maker and troubleshoot common issues. Get expert tips and step-by-step instructions to keep your ice maker running smoothly.
(Many of the links in this article redirect to a specific reviewed product. Your purchase of these products through affiliate links helps to generate commission for Storables.com, at no extra cost. Learn more)
How to Adjust Your Ice Maker
Having a well-functioning ice maker is crucial for keeping your drinks cool and refreshing. However, sometimes the ice cubes it produces may not meet your preferences in terms of size or quantity. The good news is that you can easily adjust your ice maker to suit your needs. In this article, we’ll guide you through the steps to adjust your ice maker to ensure a perfect ice-making experience every time.
Read more: How To Make Ice in Frigidaire Ice Maker
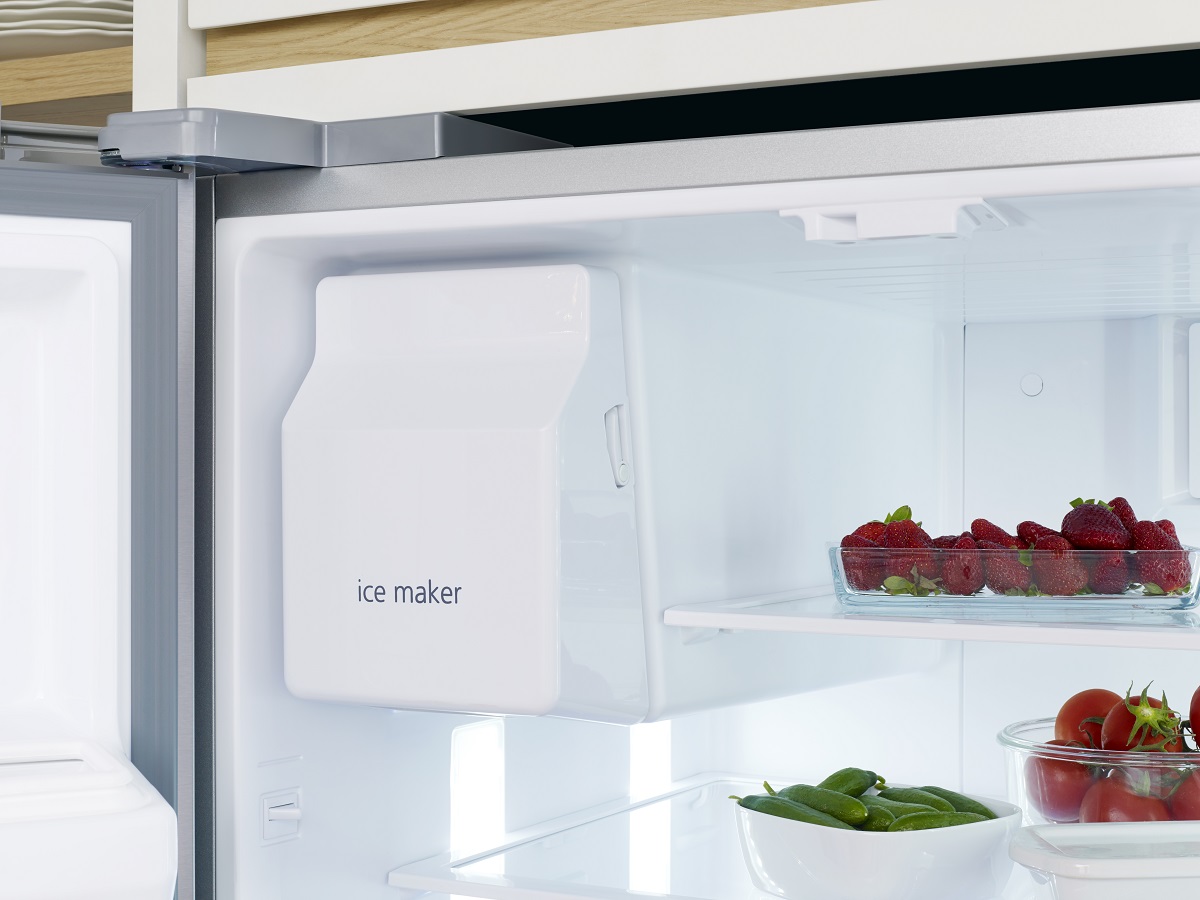
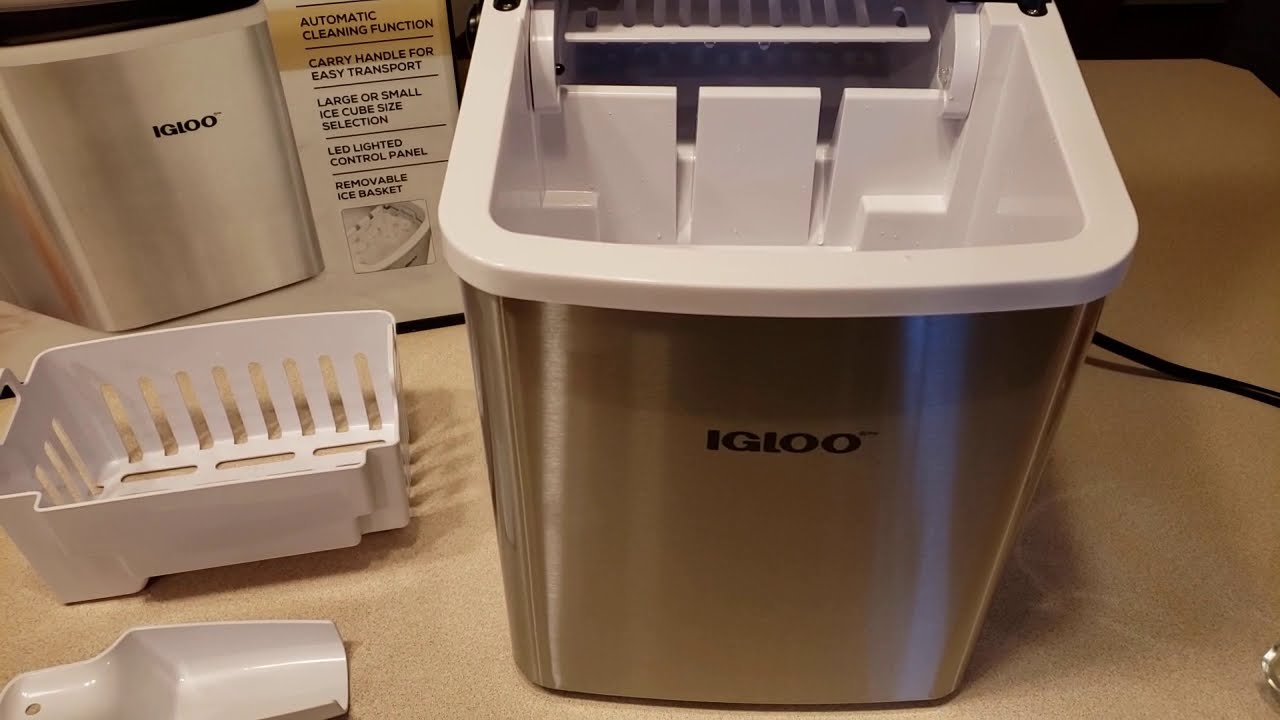
Step 1: Inspect the Ice Maker
Before making any adjustments, start by visually inspecting the ice maker for any visible damage or blockages. Make sure there are no obstructions that could be affecting the ice-making process. If you notice any issues, address them before proceeding with the adjustments.
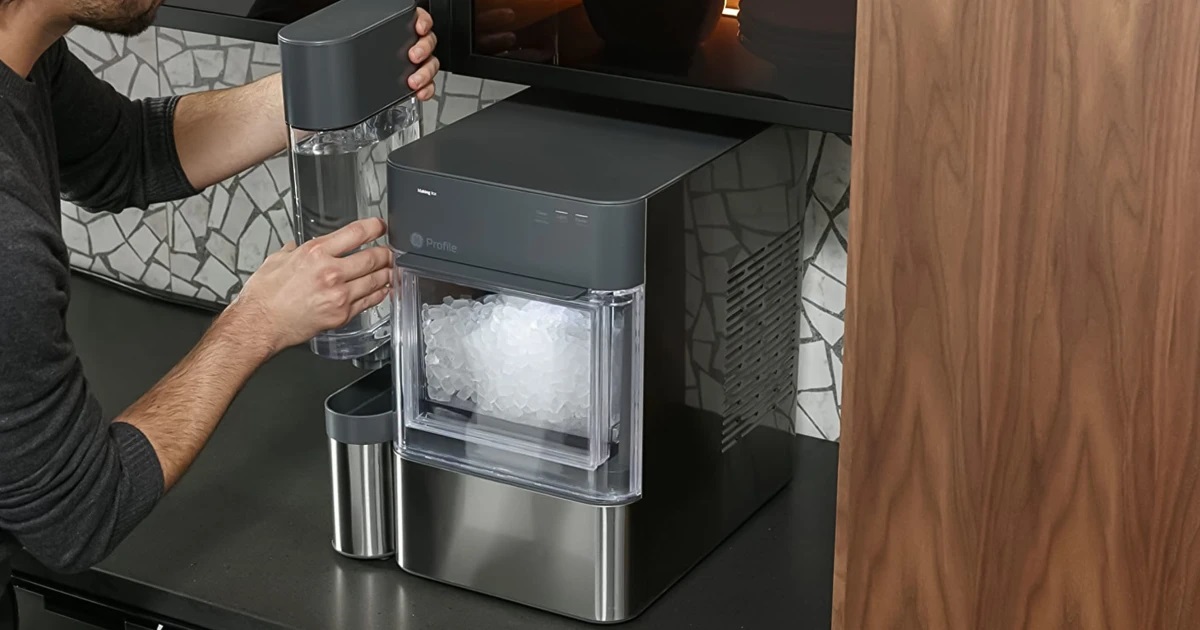
Step 2: Locating the Adjustment Mechanism
Next, you need to find the adjustment mechanism on your ice maker. It could be a small screw or button that controls the ice production or cube size. Refer to the user manual of your ice maker to identify the specific location of the adjustment mechanism.
Step 3: Understanding Adjustment Options
Once you’ve found the adjustment mechanism, it’s important to understand the different adjustment options available. Some ice makers allow you to adjust the size of the ice cubes, while others let you regulate the amount of ice produced. Take note of the available adjustment options to ensure you make the desired changes.
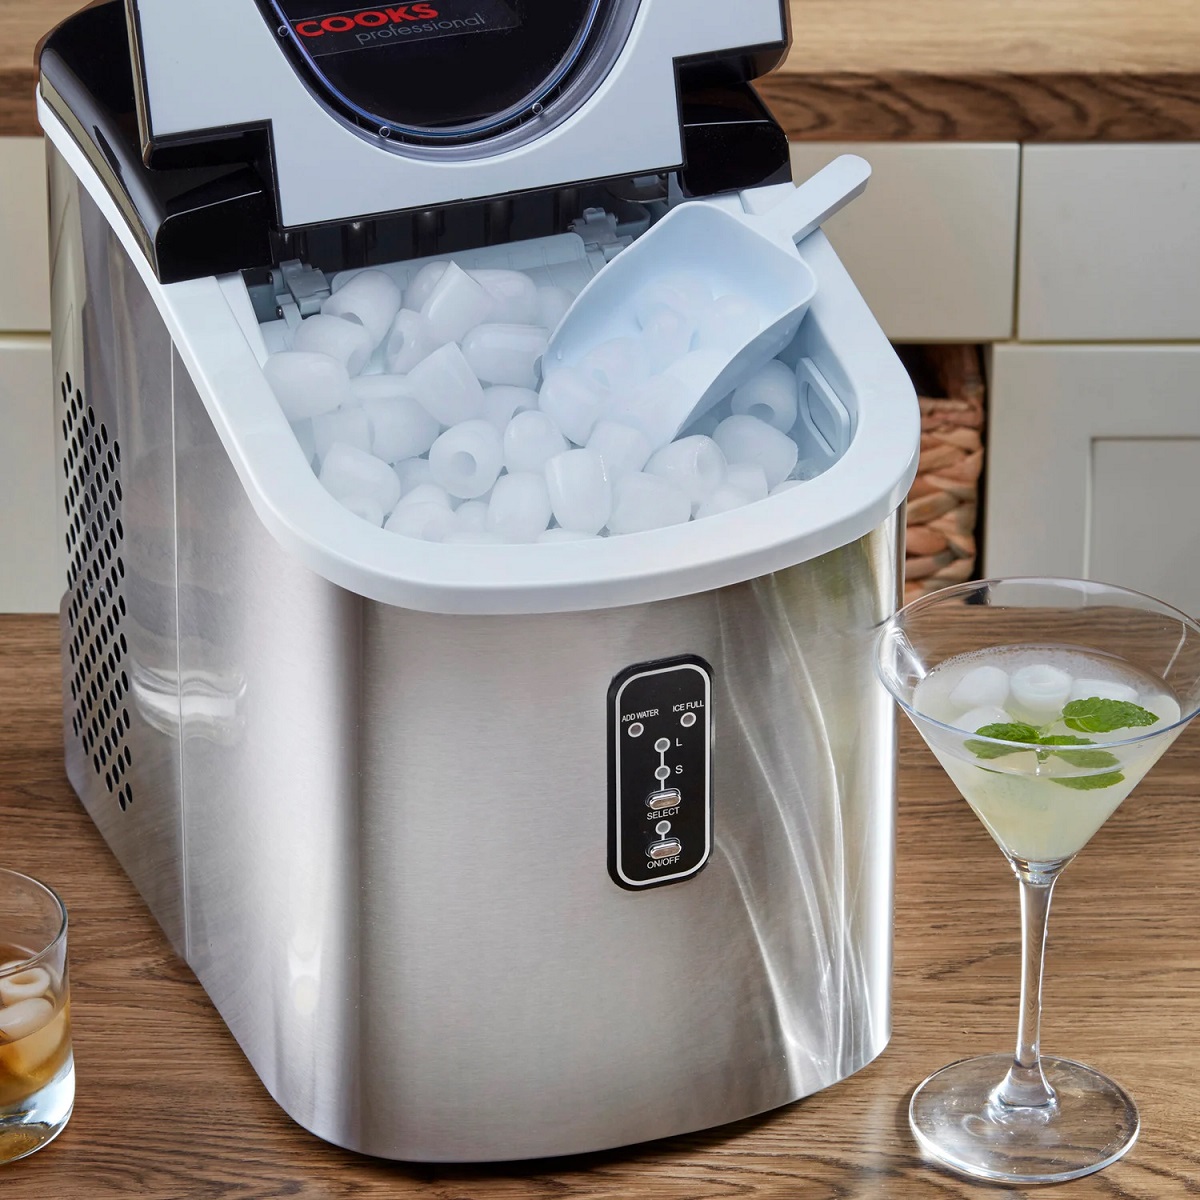
Step 4: Adjusting Ice Cube Size
If your ice maker allows you to adjust the ice cube size, use this step to make the necessary changes. Using a screwdriver or the designated adjustment tool, turn the ice cube size screw clockwise to increase the size of the ice cubes or counterclockwise to decrease their size. Make incremental adjustments and test the ice cubes to achieve your preferred size.
Read more: New Ice Maker How Long To Make Ice
Step 5: Adjusting Ice Production
If you want to regulate the amount of ice produced, locate the adjustment option for ice production on your ice maker. Again, using the appropriate tool, adjust the screw or button to increase or decrease ice production. Take into account your ice consumption needs and make gradual adjustments until you achieve the desired ice production rate.
Step 6: Testing and Fine-Tuning
After making the initial adjustments, it’s essential to test the ice maker and observe the results. Check the size and quantity of the ice cubes produced and compare them to your preferences. Fine-tune the adjustments if necessary, making minor changes until you are completely satisfied with the output of your ice maker.
By following these simple steps, you can easily adjust your ice maker to customize the size and production of ice cubes to perfectly suit your needs. Enjoy refreshing beverages with ice that meets your preferences, thanks to your newly adjusted ice maker!
Remember to consult the user manual of your specific ice maker model for any additional instructions or recommendations for adjustment.
How to Adjust Your Ice Maker
Having a well-functioning ice maker is essential for ensuring that you always have a steady supply of ice for your drinks. Whether you prefer large ice cubes that melt slowly or smaller cubes that cool your beverage quickly, being able to adjust your ice maker to meet your preferences can make a significant difference in your overall satisfaction.
In this article, we will guide you through the process of adjusting your ice maker, covering everything from inspecting your ice maker for any visible damage or blockages to fine-tuning the adjustments to achieve the perfect ice cube size and production rate.
Adjusting your ice maker is a relatively simple process that can be done without the need for professional assistance. By following the steps outlined in this article, you will be able to customize your ice maker to cater to your specific needs. Whether you’re hosting a summer party, enjoying a relaxing evening at home, or simply need ice for everyday use, having an optimized ice maker will enhance your entire experience.
Before proceeding with the adjustments, it is important to mention that the specific adjustment mechanisms and options may vary depending on the make and model of your ice maker. Therefore, it is advised to consult the user manual that came with your ice maker for any manufacturer-specific instructions or recommendations regarding adjustment procedures.
Now, let’s dive into the step-by-step process of adjusting your ice maker to ensure that you get the perfect ice cubes every time.
How to Adjust Your Ice Maker
Read more: Why Is My Ice Maker Not Dropping Ice
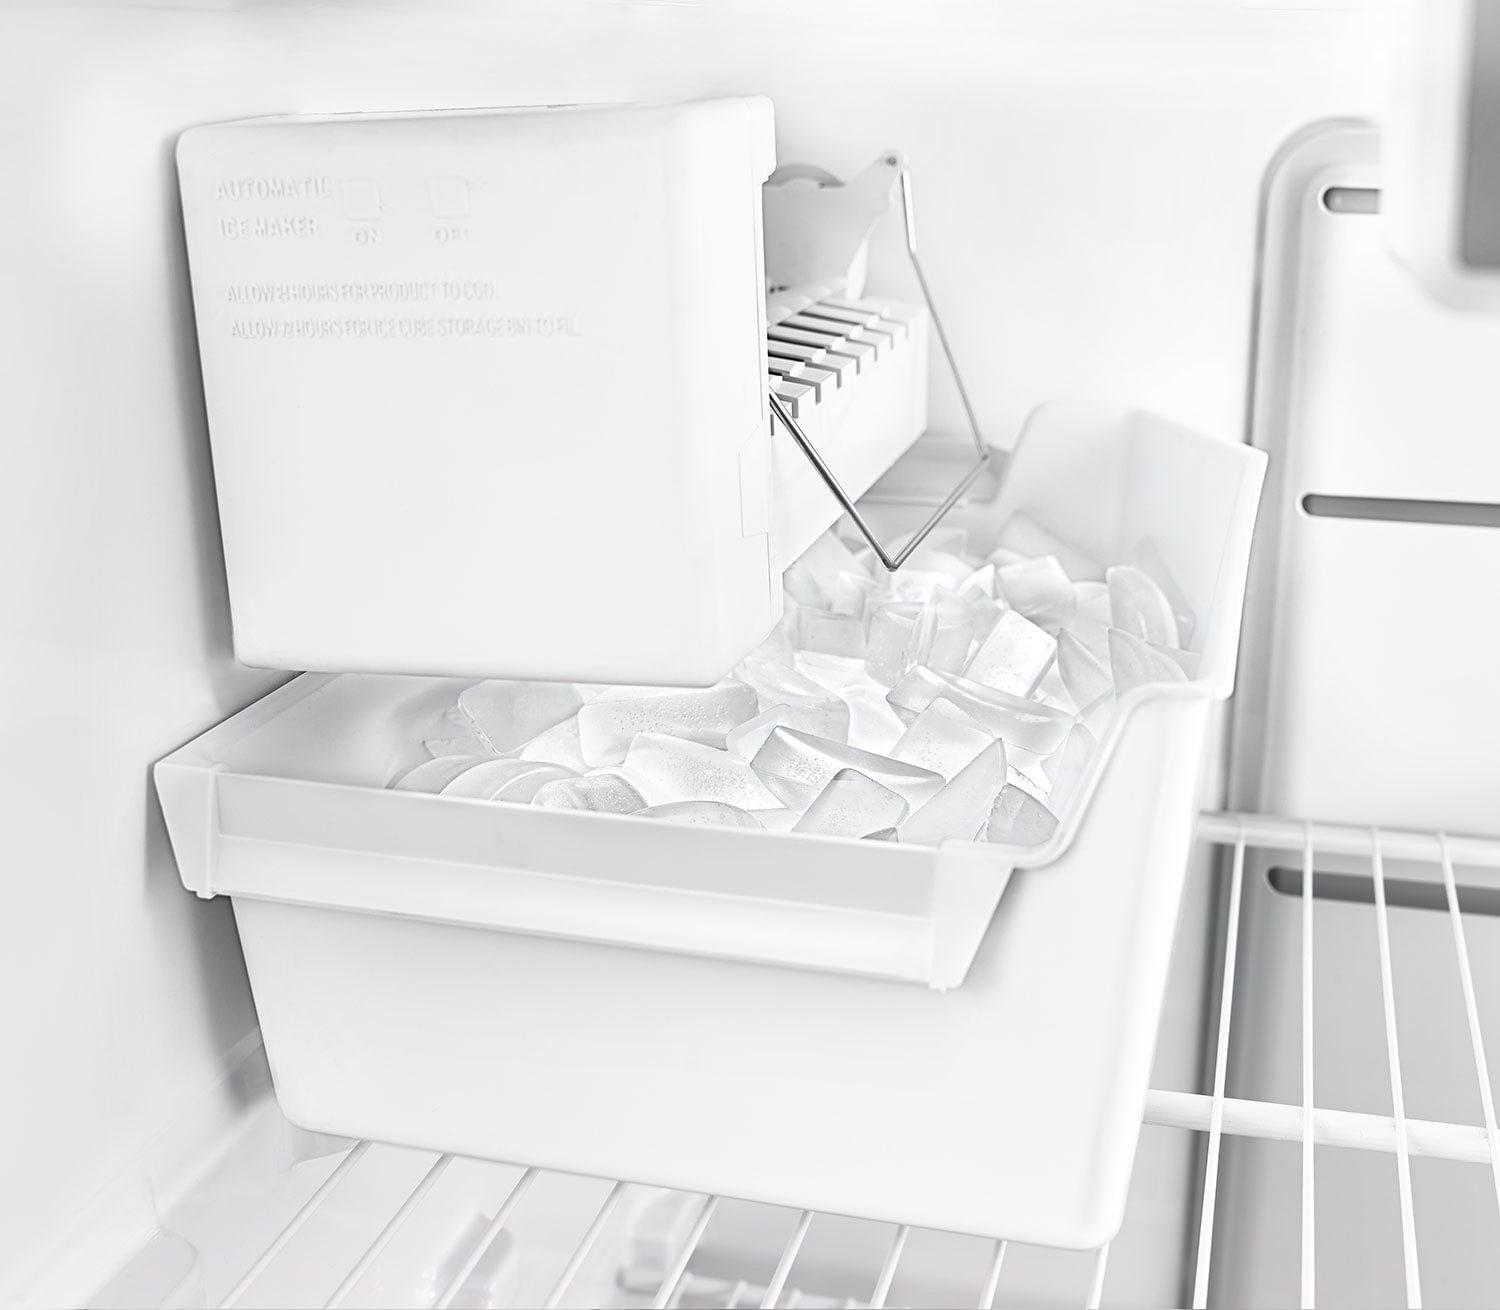
Step 1: Inspect the Ice Maker – Checking for any visible damage or blockages
Before making any adjustments to your ice maker, it’s important to start by inspecting it for any visible damage or blockages. This step will help ensure that your adjustments will be effective and that there are no underlying issues affecting the ice-making process.
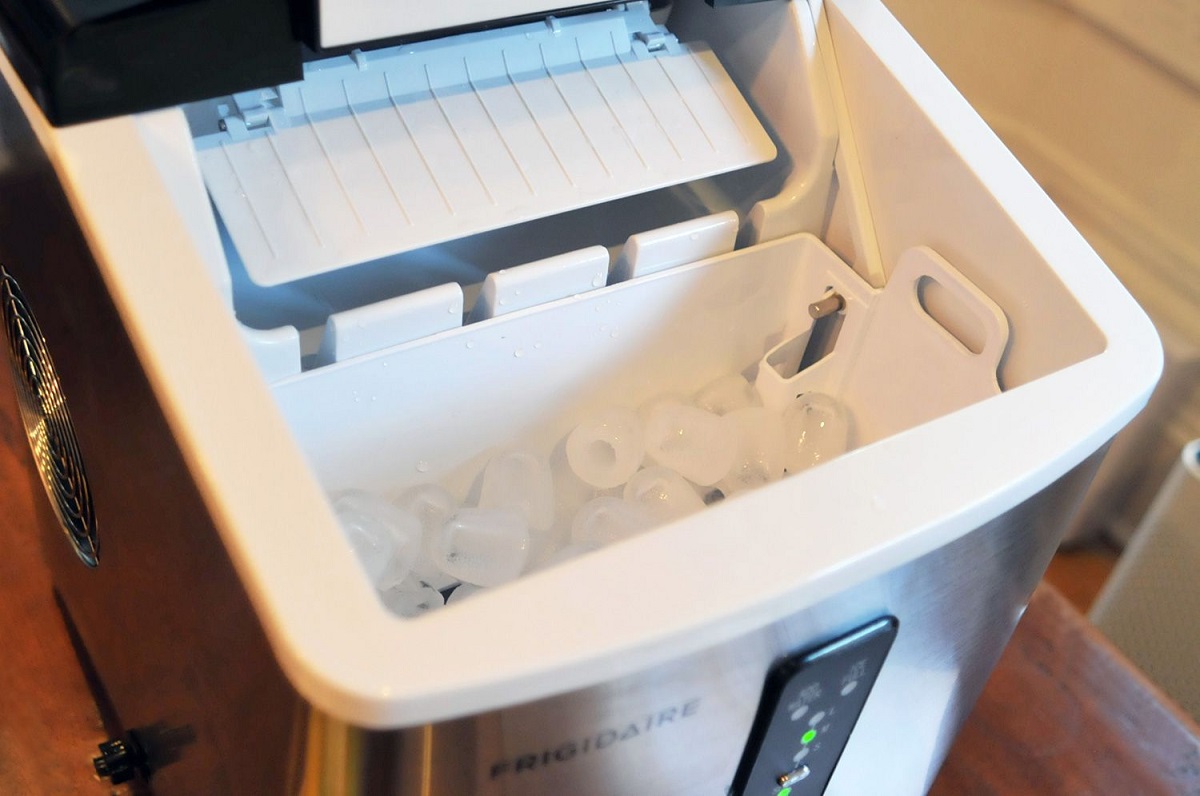
Begin by visually examining the exterior of the ice maker. Look for any cracks, dents, or signs of wear and tear. Pay close attention to the area around the ice tray and dispenser, as these are common areas for damage to occur.
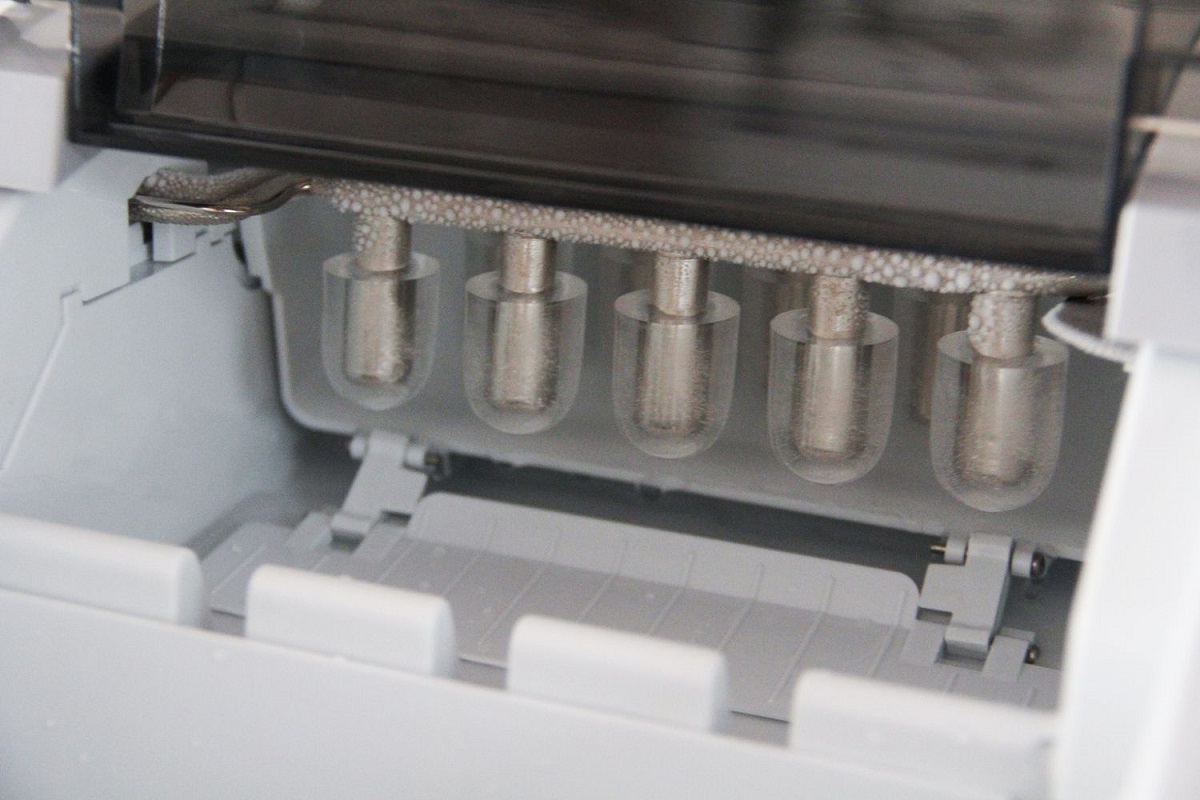
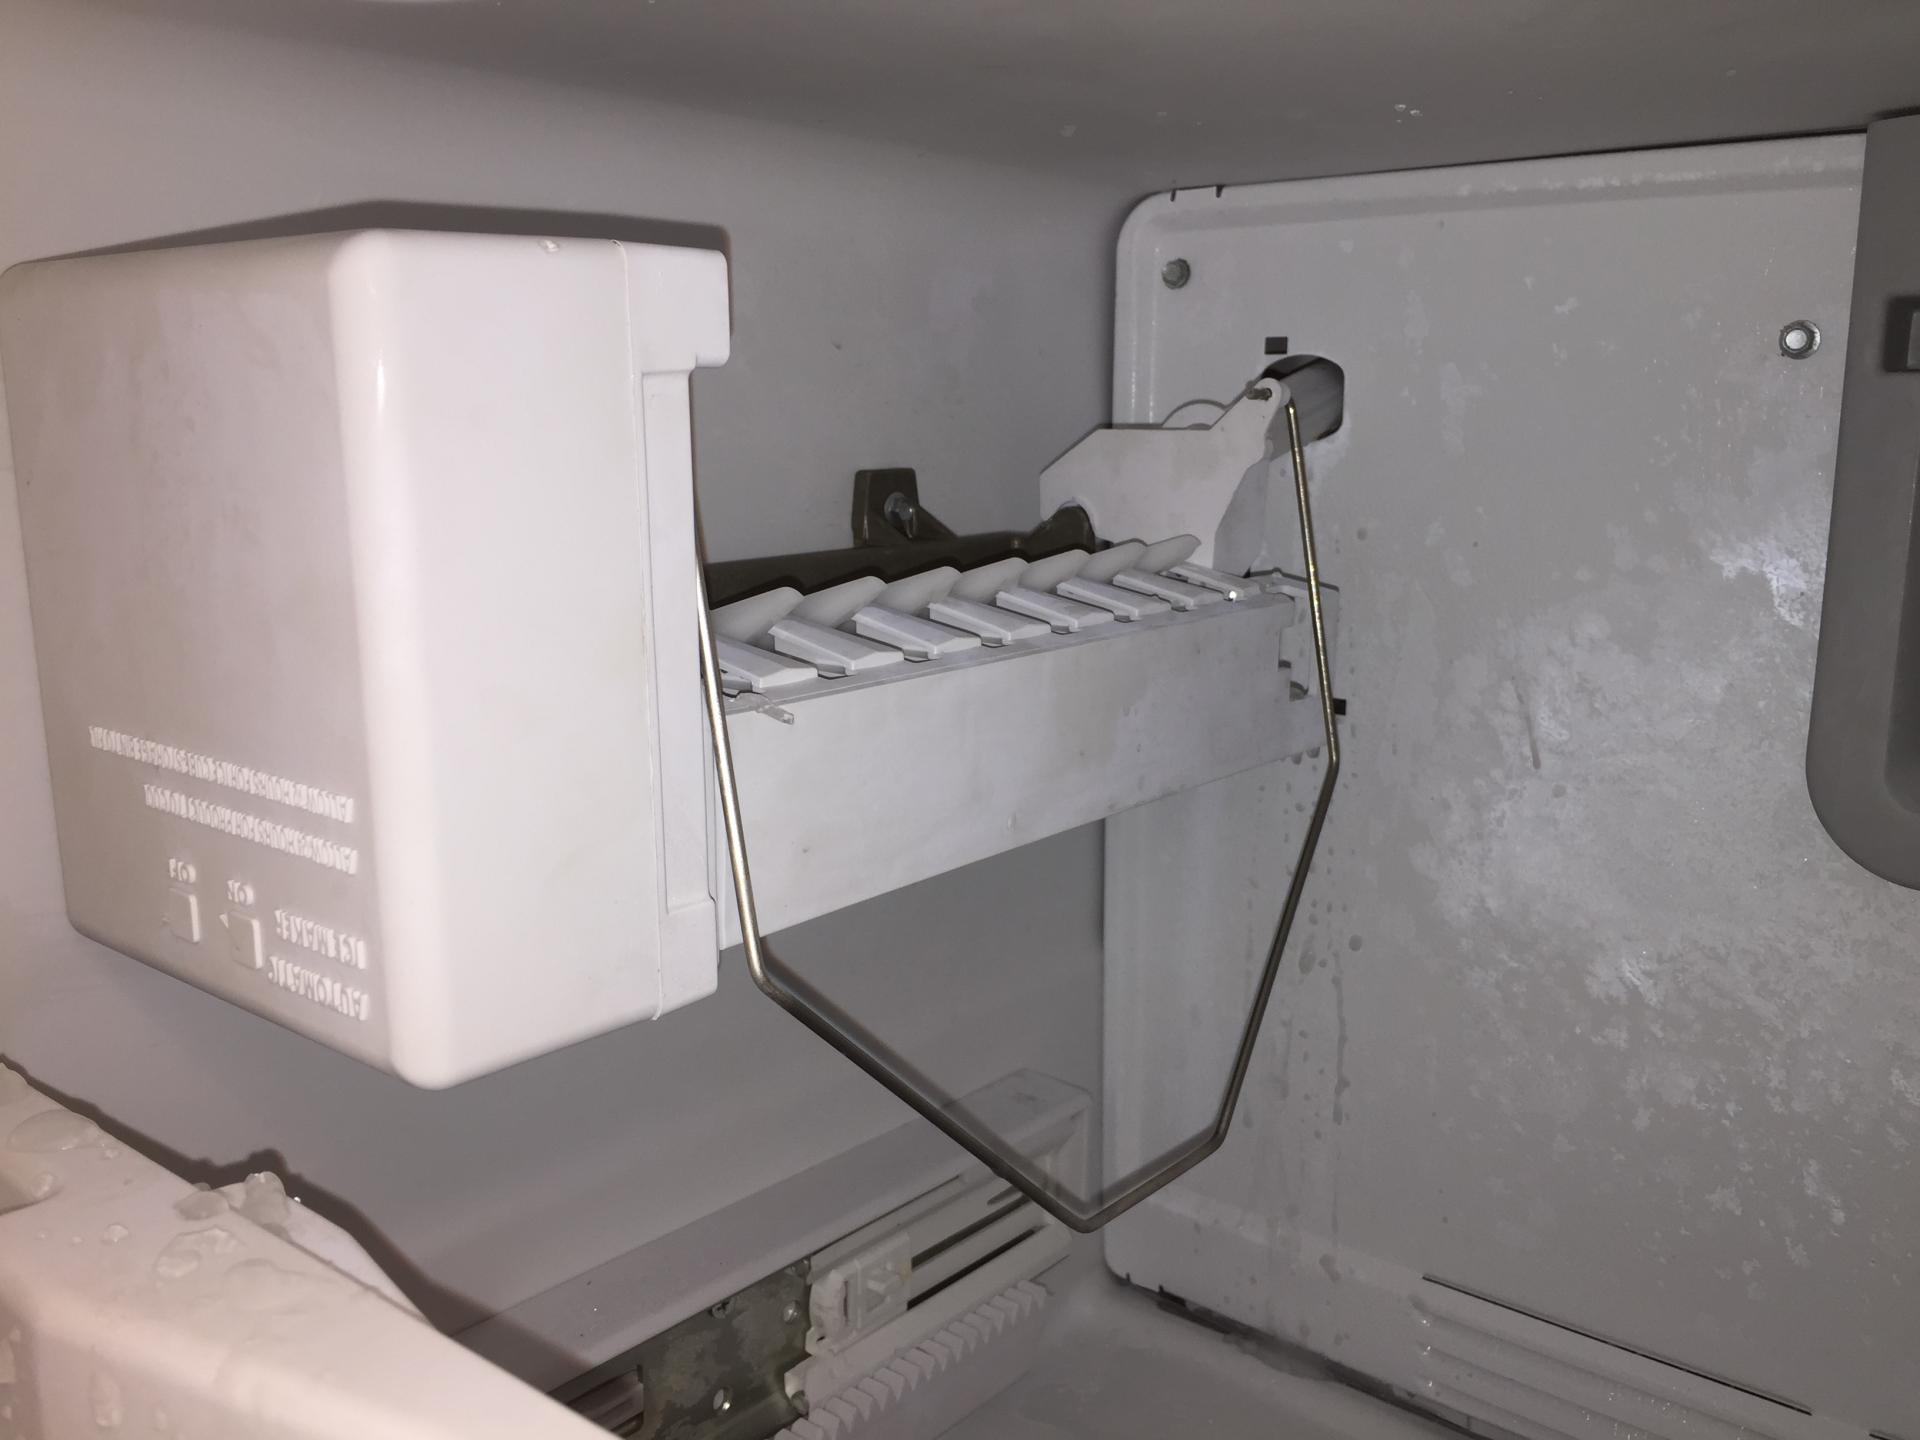
Next, open the ice maker and inspect the internal components. Check for any loose or disconnected parts, as they can affect the proper functioning of the ice maker. Additionally, look for any obstructions, such as ice build-up or debris, that may be preventing the ice maker from operating as it should.
If you notice any visible damage or blockages, take appropriate measures to address the issue before proceeding with the adjustments. This may involve tightening loose components, removing ice or debris, or replacing damaged parts.
If you are unsure about how to address any visible damage or blockages, consult the user manual of your ice maker for specific instructions or seek assistance from a professional technician.
Remember, a thorough inspection of your ice maker will help ensure that the adjustments you make later on will be effective and provide you with the desired results. Taking the time to address any visible damage or blockages will help optimize the performance of your ice maker and extend its lifespan.
Once you have completed the inspection and addressed any necessary repairs or cleaning, you can proceed to the next step of adjusting your ice maker to meet your specific preferences.
How to Adjust Your Ice Maker
Step 2: Locating the Adjustment Mechanism – Identifying the adjustment screw or button
Once you have inspected your ice maker for any visible damage or blockages, the next step is to locate the adjustment mechanism. This mechanism will allow you to make the necessary changes to customize your ice maker according to your preferences.
The adjustment mechanism can vary depending on the make and model of your ice maker. It could be a small screw, a button, or even a digital control panel. To locate the adjustment mechanism, refer to the user manual that came with your ice maker. The manual will provide specific instructions and illustrations to help you identify the adjustment screw or button.
If your ice maker has a screw-type adjustment mechanism, it is usually located on the side or bottom of the ice maker. You may need to use a screwdriver or a specific tool provided with your ice maker to access and turn the adjustment screw.
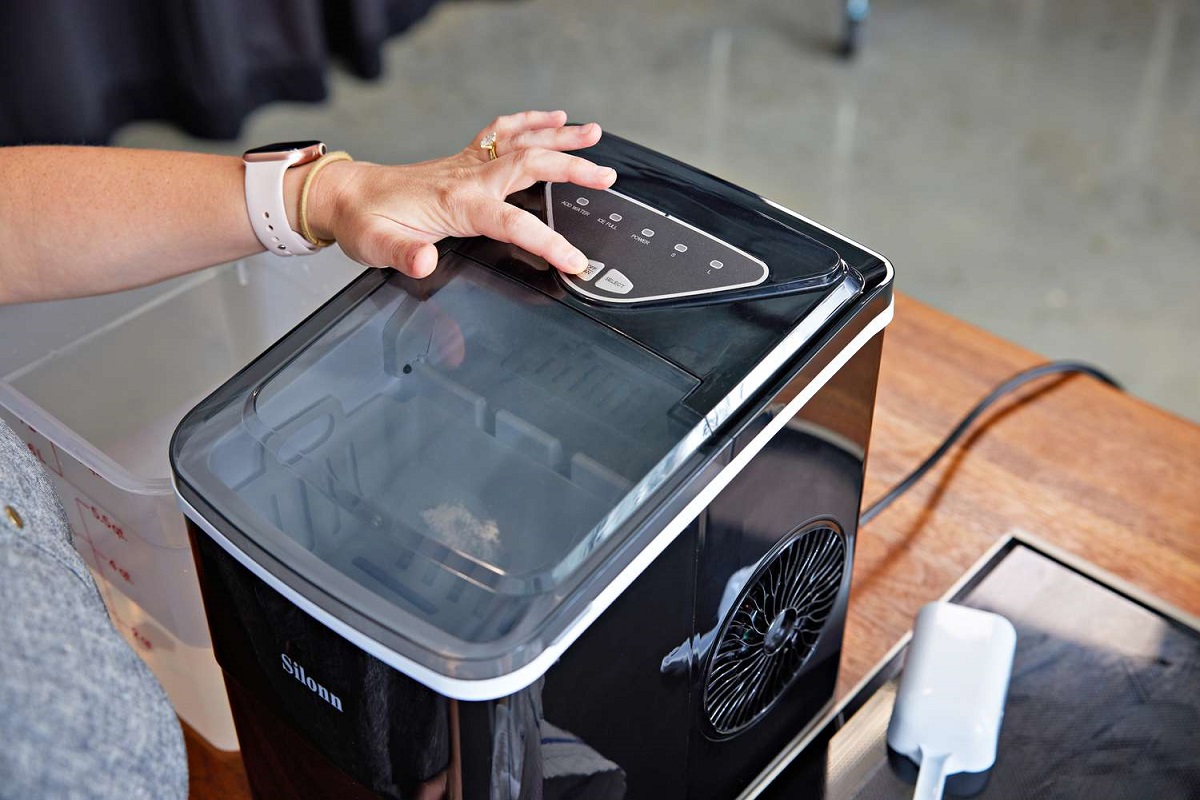
If your ice maker has a button or digital control panel, it is generally located on the front or top of the ice maker. This type of adjustment mechanism is usually easier to access and operate, as you can simply press the button or use the controls on the digital panel to make the desired adjustments.
Take your time to familiarize yourself with the adjustment mechanism of your ice maker. Ensure that you understand how it functions and how to operate it properly. This will make the adjustment process much smoother and more efficient.
If you have difficulty locating the adjustment mechanism or have any questions, it is recommended to consult the user manual or contact the manufacturer’s customer support for assistance. They will be able to provide you with the necessary guidance and support to find the adjustment mechanism on your specific ice maker model.
Once you have successfully located the adjustment mechanism, you are ready to move on to the next step of understanding the different adjustment options available for your ice maker.
How to Adjust Your Ice Maker
Read more: Why Is My Ice Maker Making Clumps Of Ice
Step 3: Understanding Adjustment Options – Understanding the different ways to adjust the ice maker
Now that you have located the adjustment mechanism on your ice maker, it’s important to understand the various adjustment options available. Depending on your ice maker model, you may have different ways to customize your ice maker to your liking. Here are a few common adjustment options:
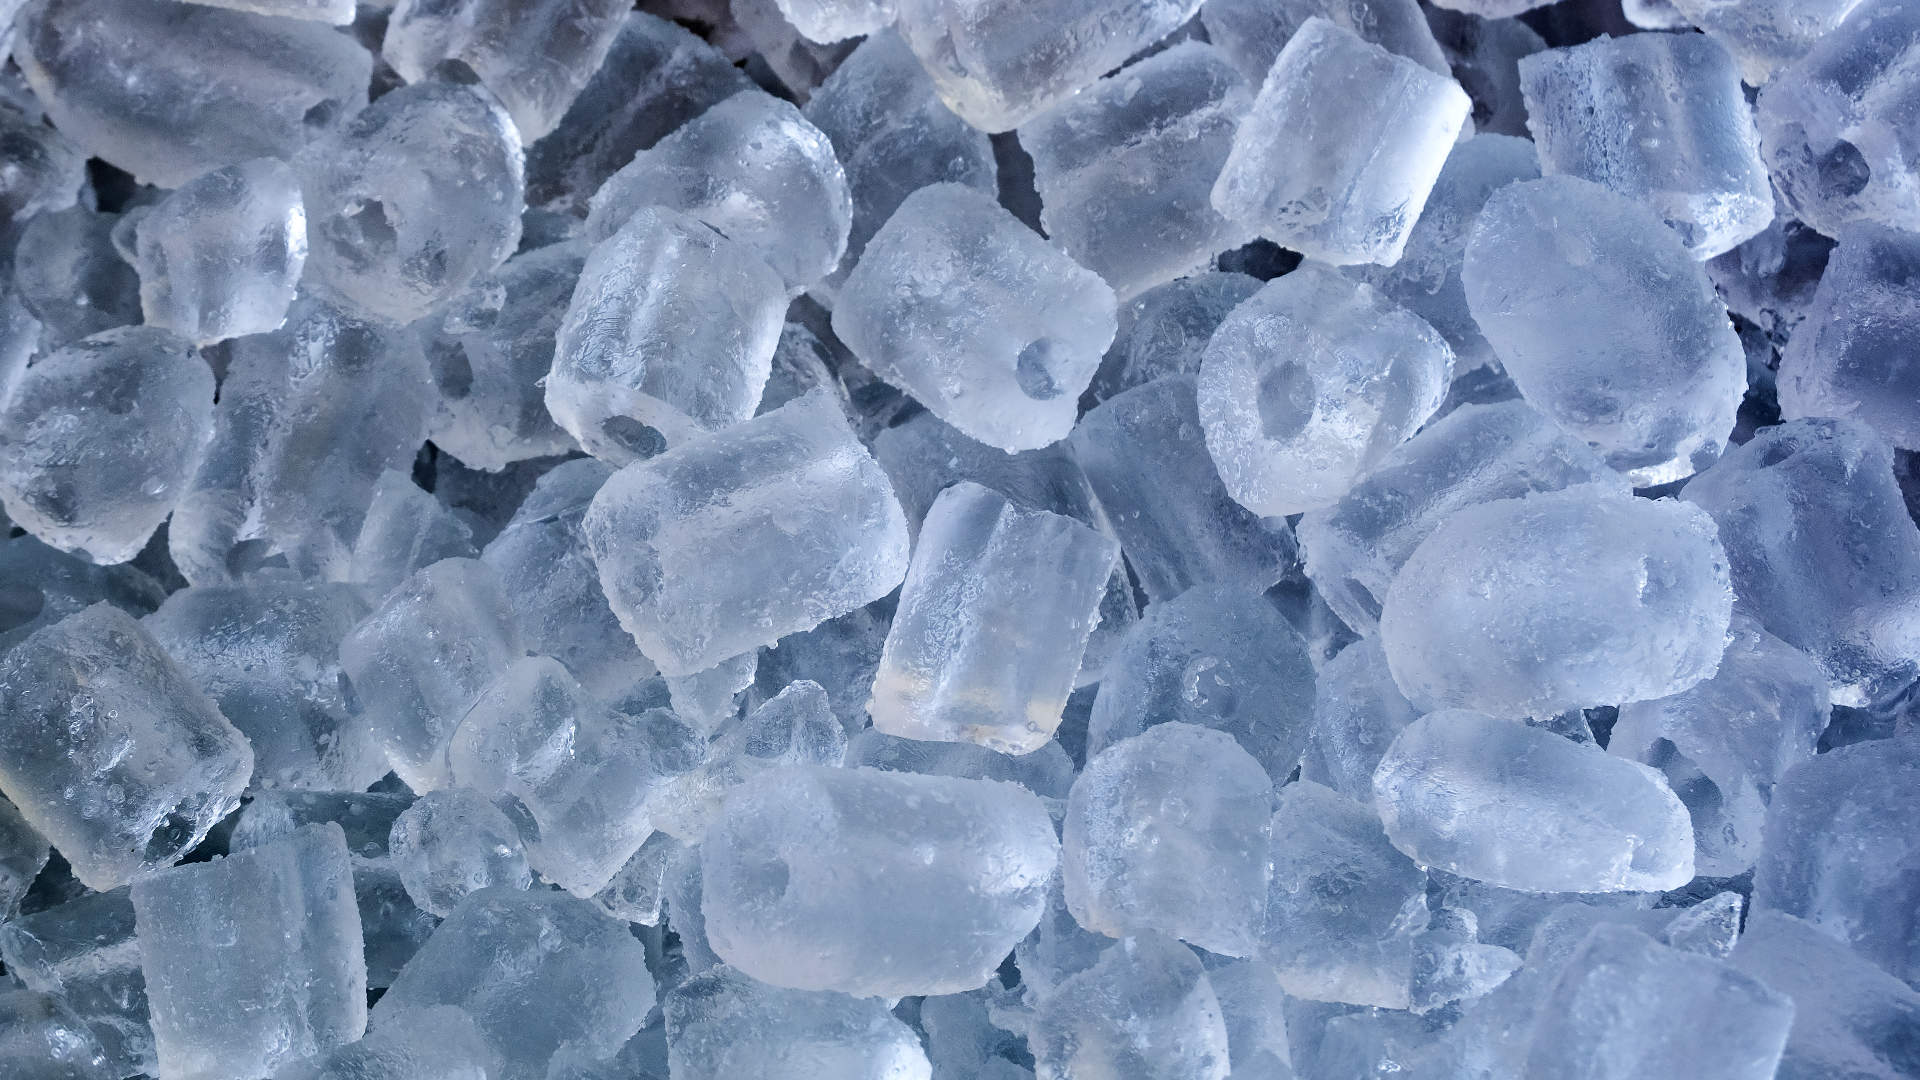
1. Ice Cube Size:
One of the most common adjustment options is changing the size of the ice cubes produced by your ice maker. Some ice makers allow you to adjust the size to cater to your preferences. This option is great for those who prefer larger ice cubes that melt slowly, or smaller cubes that cool your drink faster.
2. Ice Production Rate:
Another adjustment option is regulating the rate at which the ice maker produces ice. This option is beneficial if you need to increase or decrease the amount of ice being produced based on your specific needs. It allows you to have control over the ice production and ensures that you always have the right amount of ice available.
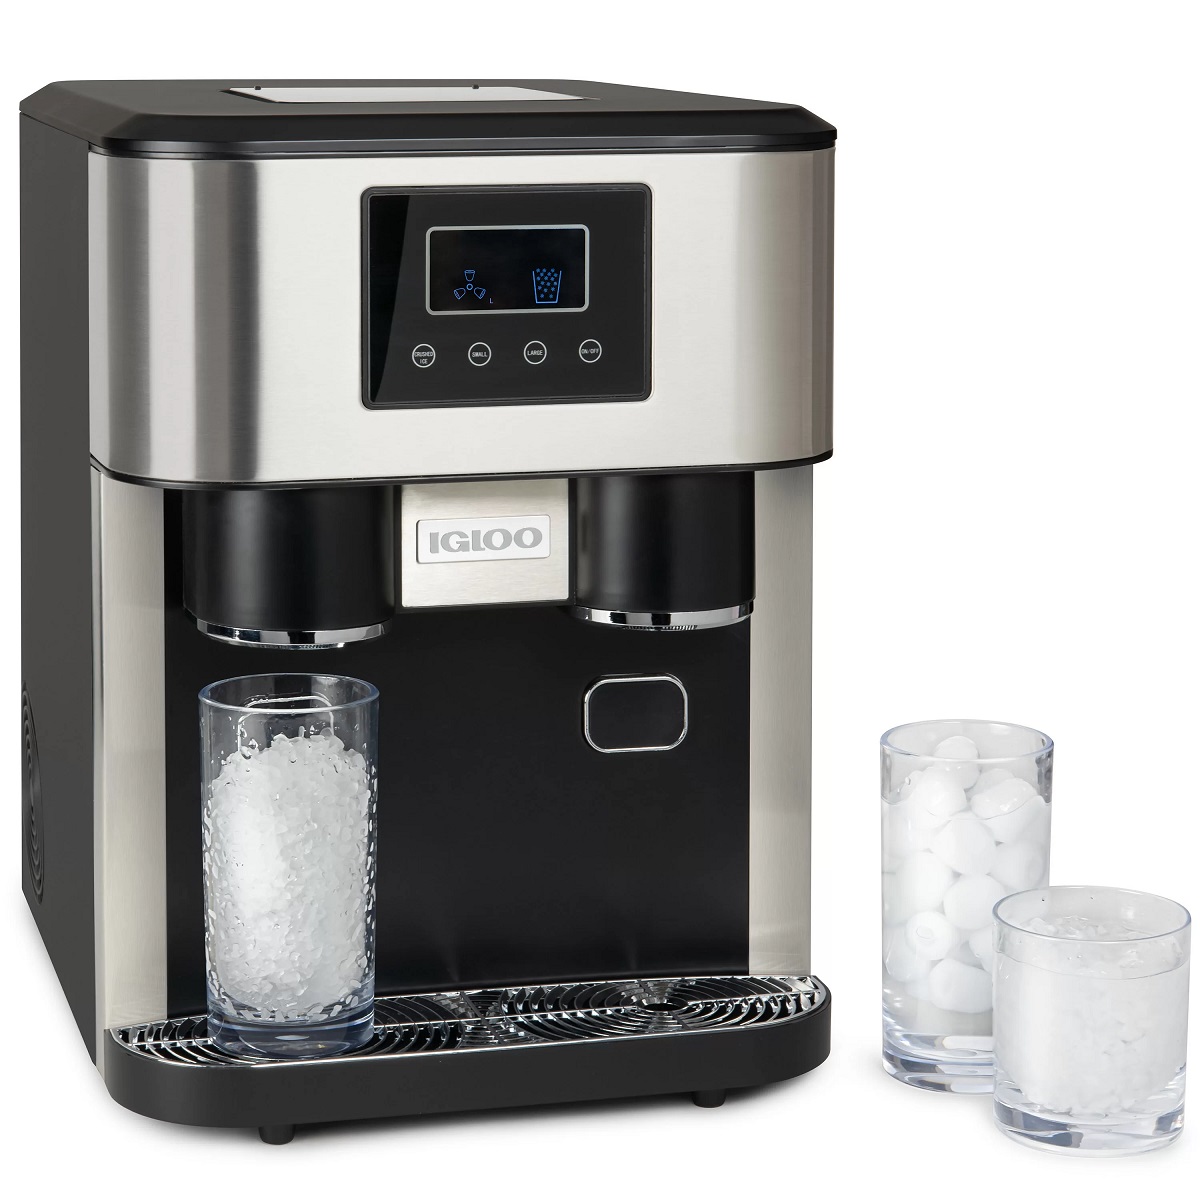
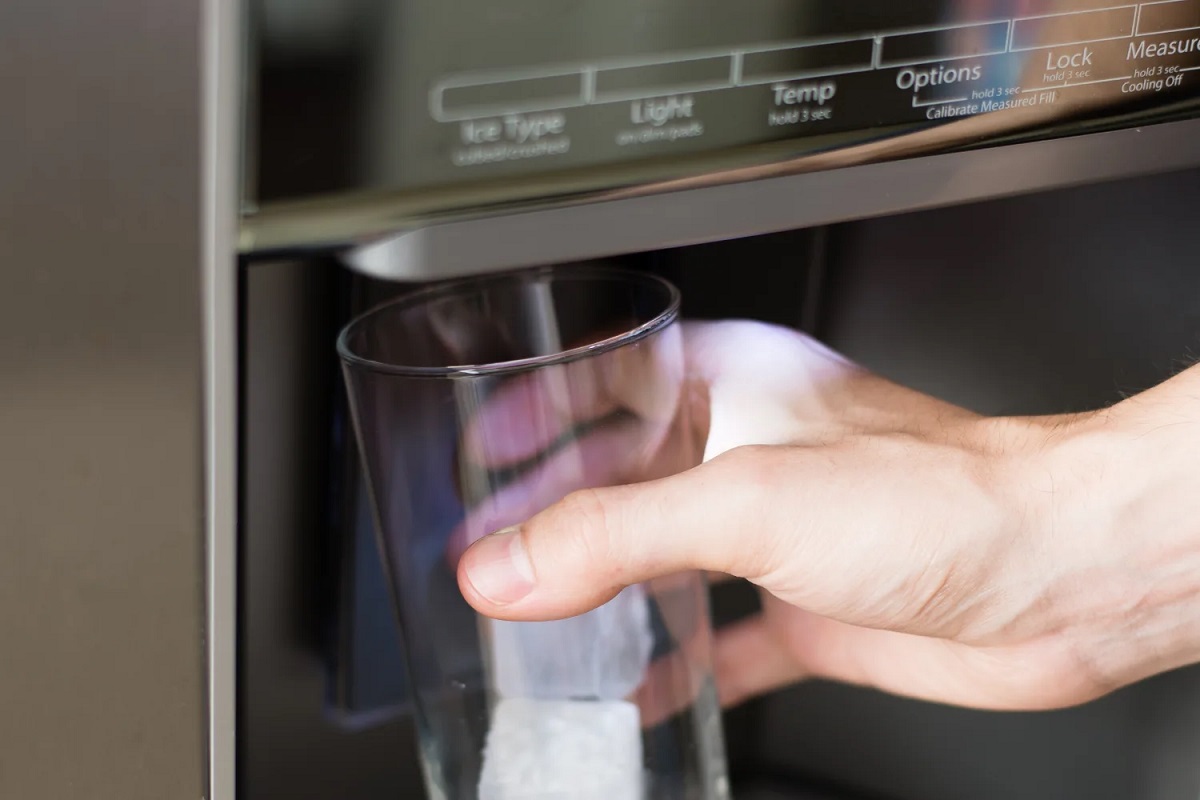
3. Ice Dispensing:
Some ice makers have options for adjusting the way the ice is dispensed. This includes options like cube or crushed ice, or even the ability to change the speed or duration of ice dispensing. This adjustment option provides flexibility in how you prefer to receive the ice and can enhance your overall ice-making experience.
4. Special Functions:
Depending on the advanced features of your ice maker, you may have additional adjustment options. These could include functions like ice making schedules, energy-saving modes, or automatic shut-off timers. Understanding these special functions can help you optimize the performance and efficiency of your ice maker.
It is important to refer to the user manual of your specific ice maker model to understand the adjustment options available to you. The manual will provide detailed instructions on how to make specific adjustments and what each adjustment option does.
By understanding the different adjustment options, you can make informed decisions on how to customize your ice maker to best suit your preferences. Now that you are familiar with the available adjustment options, you can move on to the next steps of adjusting the ice cube size and production rate of your ice maker.
How to Adjust Your Ice Maker
Step 4: Adjusting Ice Cube Size – Increasing or decreasing the size of ice cubes
One of the common adjustment options available for ice makers is the ability to change the size of the ice cubes produced. By adjusting the ice cube size, you can customize your ice maker to cater to your preferences.
To adjust the ice cube size, follow these steps:
1. Locate the Ice Cube Size Adjustment Mechanism:
Refer to your ice maker’s user manual to find the specific location of the ice cube size adjustment mechanism. It is typically a screw-type adjustment that you can access with a screwdriver or a specific tool provided with your ice maker.
2. Increase or Decrease the Ice Cube Size:
Using the appropriate tool, turn the ice cube size adjustment screw clockwise to increase the size of the ice cubes or counterclockwise to decrease their size. Start with small adjustments, turning the screw a quarter turn at a time, and observe the ice cubes produced after each adjustment.
3. Test the Ice Cube Size:
After making the initial adjustment, allow the ice maker to produce a batch of ice cubes. Examine the size of the ice cubes and determine if they meet your preferences. If they are still too large or too small, continue making incremental adjustments until you achieve the desired ice cube size.
4. Fine-Tune the Adjustment:
Once you have achieved the desired ice cube size, it’s time to fine-tune the adjustment. Pay attention to any changes in ice production rate or any other effects that the adjustment may have on the ice-making process. Make small adjustments as needed to find the perfect balance between ice cube size and ice production.
5. Monitor the Results:
Keep an eye on the ice cubes produced over time. If you notice any issues or if the ice cubes revert to their previous size, you may need to readjust the size or examine the ice maker for any underlying issues that may be affecting the adjustment.
Remember to consult the user manual of your ice maker for any specific instructions or guidance regarding adjusting the ice cube size. It may also provide additional tips or precautions to keep in mind while making this adjustment.
By following these steps, you can easily adjust the size of the ice cubes produced by your ice maker to match your preferences. Now that you have successfully adjusted the ice cube size, you can move on to the next step of adjusting the ice production rate of your ice maker.
How to Adjust Your Ice Maker
Read more: How To Turn Ice Maker On
Step 5: Adjusting Ice Production – Regulating the amount of ice produced
Controlling the amount of ice produced by your ice maker is an essential aspect of customization. Whether you need more ice for a party or want to conserve energy by producing less ice during periods of lower usage, adjusting the ice production rate can help you meet your specific needs.
To adjust the ice production rate of your ice maker, follow these steps:
1. Locate the Ice Production Adjustment Mechanism:
Refer to your ice maker’s user manual to identify the specific location of the ice production adjustment mechanism. It might be a screw, button, or a digital control on the front or top of the ice maker. Familiarize yourself with its location to prepare for the adjustment.
2. Increase or Decrease Ice Production:
Depending on your ice maker model, you may have the option to increase or decrease the ice production rate. Use the designated adjustment mechanism to make the necessary changes. If it’s a screw adjustment, turn it clockwise to increase ice production or counterclockwise to decrease it. If it’s a button or digital control, follow the manufacturer’s instructions to make the adjustment.
3. Observe the Ice Production:
After making the initial adjustment, allow the ice maker to run a cycle to produce ice. Monitor the amount of ice it produces during this test run. If the ice production is still too high or too low, make further adjustments until you achieve the desired ice production rate.
4. Fine-Tune the Adjustment:
Once you have found the optimal ice production rate, fine-tune the adjustment as needed. Pay attention to the ice maker’s performance and observe any changes in ice quality or the amount of time it takes to produce ice. Make small adjustments if necessary to achieve the perfect balance between ice production and your needs.
5. Monitor the Results:
Keep an eye on the ice production over a period of time to ensure that it consistently meets your requirements. If you encounter any issues, such as insufficient ice or excess ice production, recheck the adjustment and make further tweaks if needed. It’s important to find the right balance that suits your lifestyle and ice usage habits.
Remember to consult your ice maker’s user manual for any specific instructions or guidelines regarding adjusting the ice production rate. It may also provide additional insights or precautions to consider during this adjustment.
By adjusting the ice production rate, you can ensure that your ice maker produces the right amount of ice to meet your needs. Whether it’s for everyday use or special occasions, having control over the ice production will enhance your ice-making experience. Now that you have successfully adjusted the ice production rate, you can move on to the next step of testing and fine-tuning.
How to Adjust Your Ice Maker
Step 6: Testing and Fine-Tuning – Checking the adjustments and making further tweaks
After adjusting the ice cube size and ice production rate of your ice maker, it’s important to test the adjustments and make any necessary fine-tuning. This step ensures that your ice maker is functioning optimally and producing ice that meets your preferences. Here’s what you need to do:
1. Test the Ice Cube Size:
Allow your ice maker to produce a batch of ice cubes with the adjusted size. Examine the ice cubes and compare them to your desired size. If they are too large or too small, make additional adjustments to the ice cube size screw, following the same process as before, until you achieve the ideal size.
2. Evaluate the Ice Production:
Observe the ice production rate and check if it matches your desired amount. If the ice production is still too high or too low, make further adjustments to the ice production mechanism using the adjustment screw or button. Continue to fine-tune until you reach the desired ice production rate.
3. Note Any Other Effects:
Pay attention to any other effects the adjustments may have on the ice maker’s performance. Consider factors such as the noise level, energy consumption, or any changes in the ice quality. If you notice any issues or undesired side effects, make additional tweaks to find the right balance between usability and performance.
4. Monitor Ice Maker Functioning:
Keep an eye on the ice maker’s functioning over a period of time to ensure that it consistently produces ice to your liking. If you experience any problems or inconsistencies, revisit the adjustment mechanisms and make further tweaks as necessary.
5. Fine-tune as Needed:
Continue fine-tuning the adjustments, making small changes as required, until you are completely satisfied with the ice cube size, ice production rate, and overall performance of your ice maker. This process may involve multiple rounds of testing and fine-tuning to achieve the desired results.
Remember to refer to your ice maker’s user manual for any specific instructions or recommendations while testing and fine-tuning the adjustments. It may provide valuable insights or troubleshooting tips to ensure a smooth ice-making experience.
By thoroughly testing and fine-tuning the adjustments, you can optimize your ice maker to produce ice that perfectly suits your preferences. Enjoy the convenience of having ice cubes tailored to your liking whether you’re hosting a gathering, relaxing at home, or simply enjoying a refreshing drink. Congratulations, you have successfully adjusted and fine-tuned your ice maker!
Conclusion
Congratulations! You have successfully learned how to adjust your ice maker to customize the ice cube size and production rate to suit your preferences. By following the steps outlined in this article, you can optimize your ice maker and enhance your overall ice-making experience.
Remember, the key steps to adjusting your ice maker are inspecting it for any visible damage or blockages, locating the adjustment mechanism, understanding the available adjustment options, and making the necessary adjustments to the ice cube size and ice production rate. Finally, testing and fine-tuning the adjustments ensure that your ice maker is performing at its best.
By adjusting the ice cube size, you can enjoy larger or smaller ice cubes based on your needs. Whether you prefer slower-melting ice cubes or ice cubes that quickly cool your drinks, having the ability to customize the ice cube size gives you control over your ice-making experience.
Adjusting the ice production rate allows you to regulate the amount of ice produced by your ice maker. This is beneficial for tailoring ice production to match your usage habits, ensuring that you always have the right amount of ice available when you need it. Whether you’re hosting a party or conserving energy during periods of lower ice usage, adjusting the ice production rate caters to your specific needs.
Throughout the adjustment process, it’s important to monitor the results and make any necessary fine-tuning. Take note of any changes in ice quality, noise level, energy consumption, or any other effects following the adjustments. This will help you find the perfect balance and ensure that your ice maker is functioning optimally.
Always refer to the user manual specific to your ice maker model for any additional instructions or recommendations. Each ice maker may have unique features or adjustment mechanisms that require specific handling or maintenance.
Now that you have mastered the art of adjusting your ice maker, you can enjoy perfectly sized and customized ice cubes for your favorite beverages. Whether it’s a refreshing glass of iced tea, a cold cocktail, or simply keeping drinks cool on a hot day, your ice maker will now provide ice that is tailored to your preferences.
Remember to regularly clean and maintain your ice maker to keep it in excellent working condition. This will ensure its longevity and consistent performance over time.
Thank you for following along with this guide. We hope it has been helpful in optimizing your ice maker and enhancing your overall ice-making experience. Enjoy your ice-cold drinks with the perfect ice cubes!
Frequently Asked Questions about How To Adjust Ice Maker
Was this page helpful?
At Storables.com, we guarantee accurate and reliable information. Our content, validated by Expert Board Contributors, is crafted following stringent Editorial Policies. We're committed to providing you with well-researched, expert-backed insights for all your informational needs.
0 thoughts on “How To Adjust Ice Maker”