Articles
How To Unclog Water Line To Ice Maker
Modified: October 20, 2024
Learn how to unclog your water line to your ice maker with these helpful articles. Find step-by-step instructions and tips for troubleshooting.
(Many of the links in this article redirect to a specific reviewed product. Your purchase of these products through affiliate links helps to generate commission for Storables.com, at no extra cost. Learn more)
Introduction:
A properly functioning ice maker is a convenient appliance that provides you with a continuous supply of ice cubes. However, if you notice that your ice maker isn’t producing ice as it used to, the problem may lie with a clogged water line. A clogged water line can restrict the flow of water to the ice maker, leading to decreased ice production or no ice at all.
In this article, we will guide you through the process of unclogging the water line to your ice maker. By following these step-by-step instructions and using the right tools and materials, you’ll be able to restore the optimal functionality of your ice maker and enjoy a steady supply of ice cubes once again.
Before we dive into the specifics, let’s explore some of the common causes of a clogged water line to your ice maker.
Key Takeaways:
- Keep your ice maker running smoothly by identifying and addressing common causes of clogged water lines, such as mineral buildup, ice formation, foreign objects, and frozen water. Prevent future blockages with regular maintenance and monitoring.
- Gather the necessary tools and materials, follow step-by-step instructions, and exercise caution when unclogging the water line to your ice maker. Enjoy a continuous supply of refreshing ice cubes by ensuring proper water flow and optimal ice maker functionality.
Read more: How To Replace Ice Maker Water Line
Causes of a Clogged Water Line:
There are several reasons why the water line to your ice maker may become clogged. Some of the common causes include:
- Mineral Buildup: Over time, minerals present in the water can accumulate and form deposits in the water line, obstructing the flow of water.
- Ice Formation: If the temperature in the freezer drops too low, ice can form within the water line, causing a blockage.
- Foreign Objects: Small debris or particles, such as dirt or food particles, can find their way into the water line and hinder the water flow.
- Frozen Water: Freezing temperatures in the water line can freeze the water inside, leading to a complete blockage.
Now that we understand some of the potential causes, let’s move on to the tools and materials you’ll need to unclog the water line.
Key Takeaways:
- Keep your ice maker running smoothly by identifying and addressing common causes of clogged water lines, such as mineral buildup, ice formation, foreign objects, and frozen water. Prevent future blockages with regular maintenance and monitoring.
- Gather the necessary tools and materials, follow step-by-step instructions, and exercise caution when unclogging the water line to your ice maker. Enjoy a continuous supply of refreshing ice cubes by ensuring proper water flow and optimal ice maker functionality.
Read more: How To Replace Ice Maker Water Line
Causes of a Clogged Water Line:
There are several reasons why the water line to your ice maker may become clogged. Understanding these causes can help you prevent future blockages and maintain a consistent ice supply. Here are some common causes to be aware of:
- Mineral Buildup: Over time, minerals present in the water can accumulate and form deposits in the water line, obstructing the flow of water. This is especially common in areas with hard water, which contains high levels of minerals like calcium and magnesium. The minerals can build up and create a barrier inside the water line, reducing or completely blocking the water flow to the ice maker.
- Ice Formation: If the temperature in the freezer drops too low, it can cause the water inside the water line to freeze and form ice. This ice can then block the passage for water, preventing it from reaching the ice maker. This often occurs when the freezer temperature is set too low or if there is an issue with the thermostat or temperature control of the appliance.
- Foreign Objects: Occasionally, small debris or particles can find their way into the water line and hinder the smooth flow of water. This can happen due to improper installation, damaged tubing or valves, or even accidental introduction of foreign objects while doing maintenance or repairs. Food particles, dirt, or other contaminants can accumulate over time and obstruct the water line, resulting in a clog.
- Frozen Water: In extremely cold environments or during harsh winters, the water line connected to the ice maker can freeze. Freezing temperatures can cause the water inside the line to solidify, creating a complete blockage. This is particularly common in unheated areas or if the ice maker is located in a basement or garage where the temperature is not regulated.
Identifying the cause of the clog can help you take appropriate measures to prevent it from recurring. Now, let’s move on to the tools and materials you’ll need to unclog the water line to your ice maker.
Tools and Materials Needed:
Before you begin the process of unclogging the water line to your ice maker, it’s essential to gather the necessary tools and materials. Having these on hand will ensure a smooth and efficient unclogging process. Here’s what you’ll need:
- Adjustable Wrench: This tool will be used to disconnect the water line from the ice maker or any other connections that need to be loosened.
- Bowl or Bucket: You’ll need a container to catch any water that may leak when disconnecting the water line. A bowl or bucket with a wide opening will work well for this purpose.
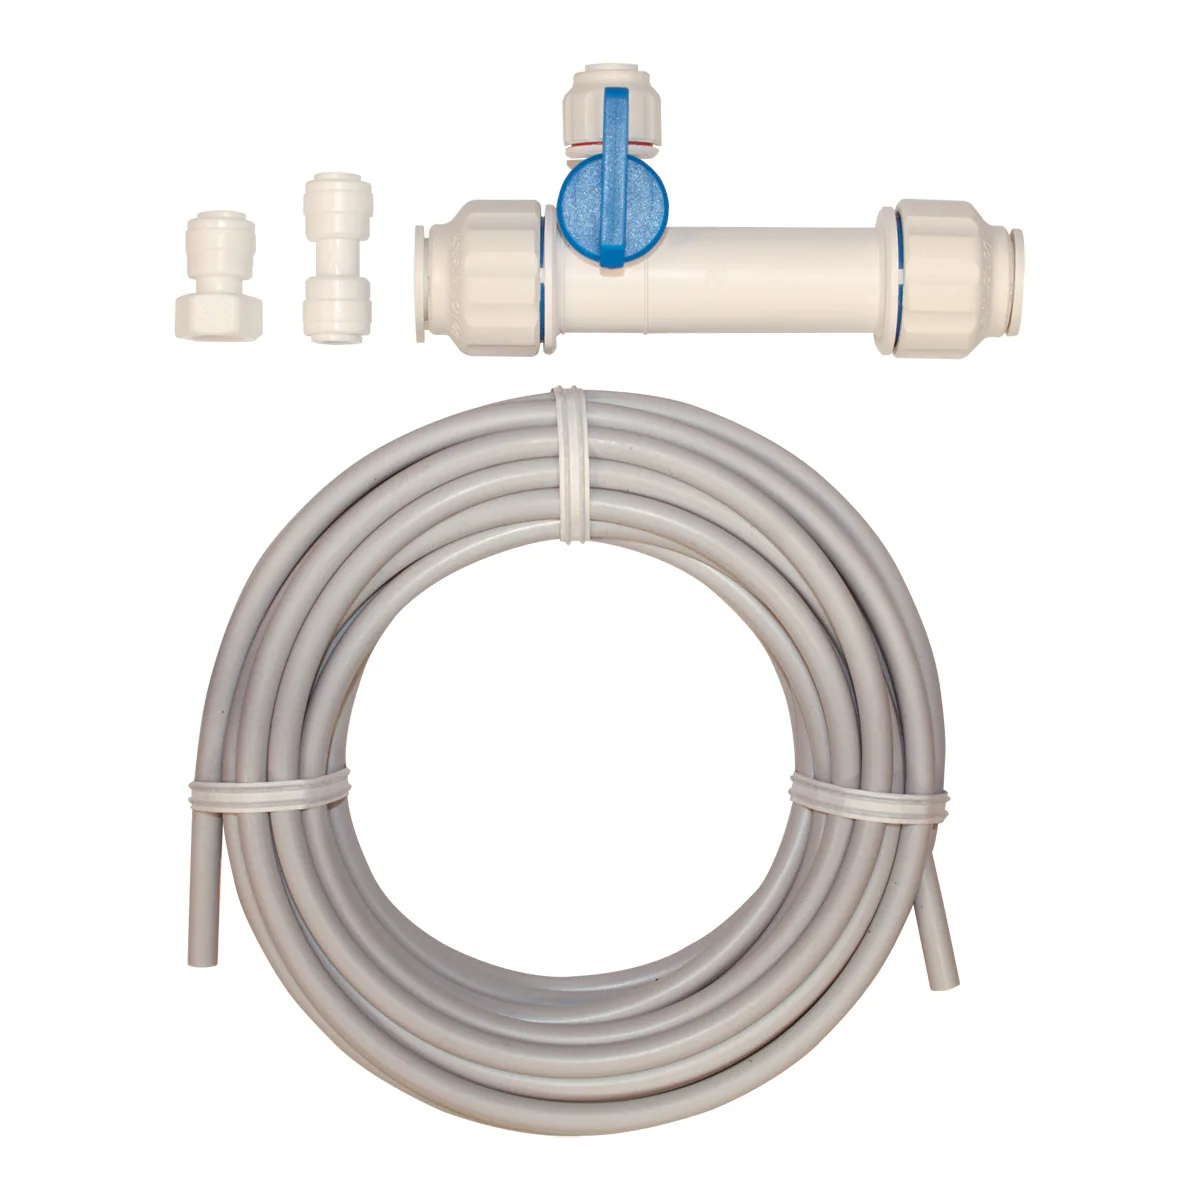
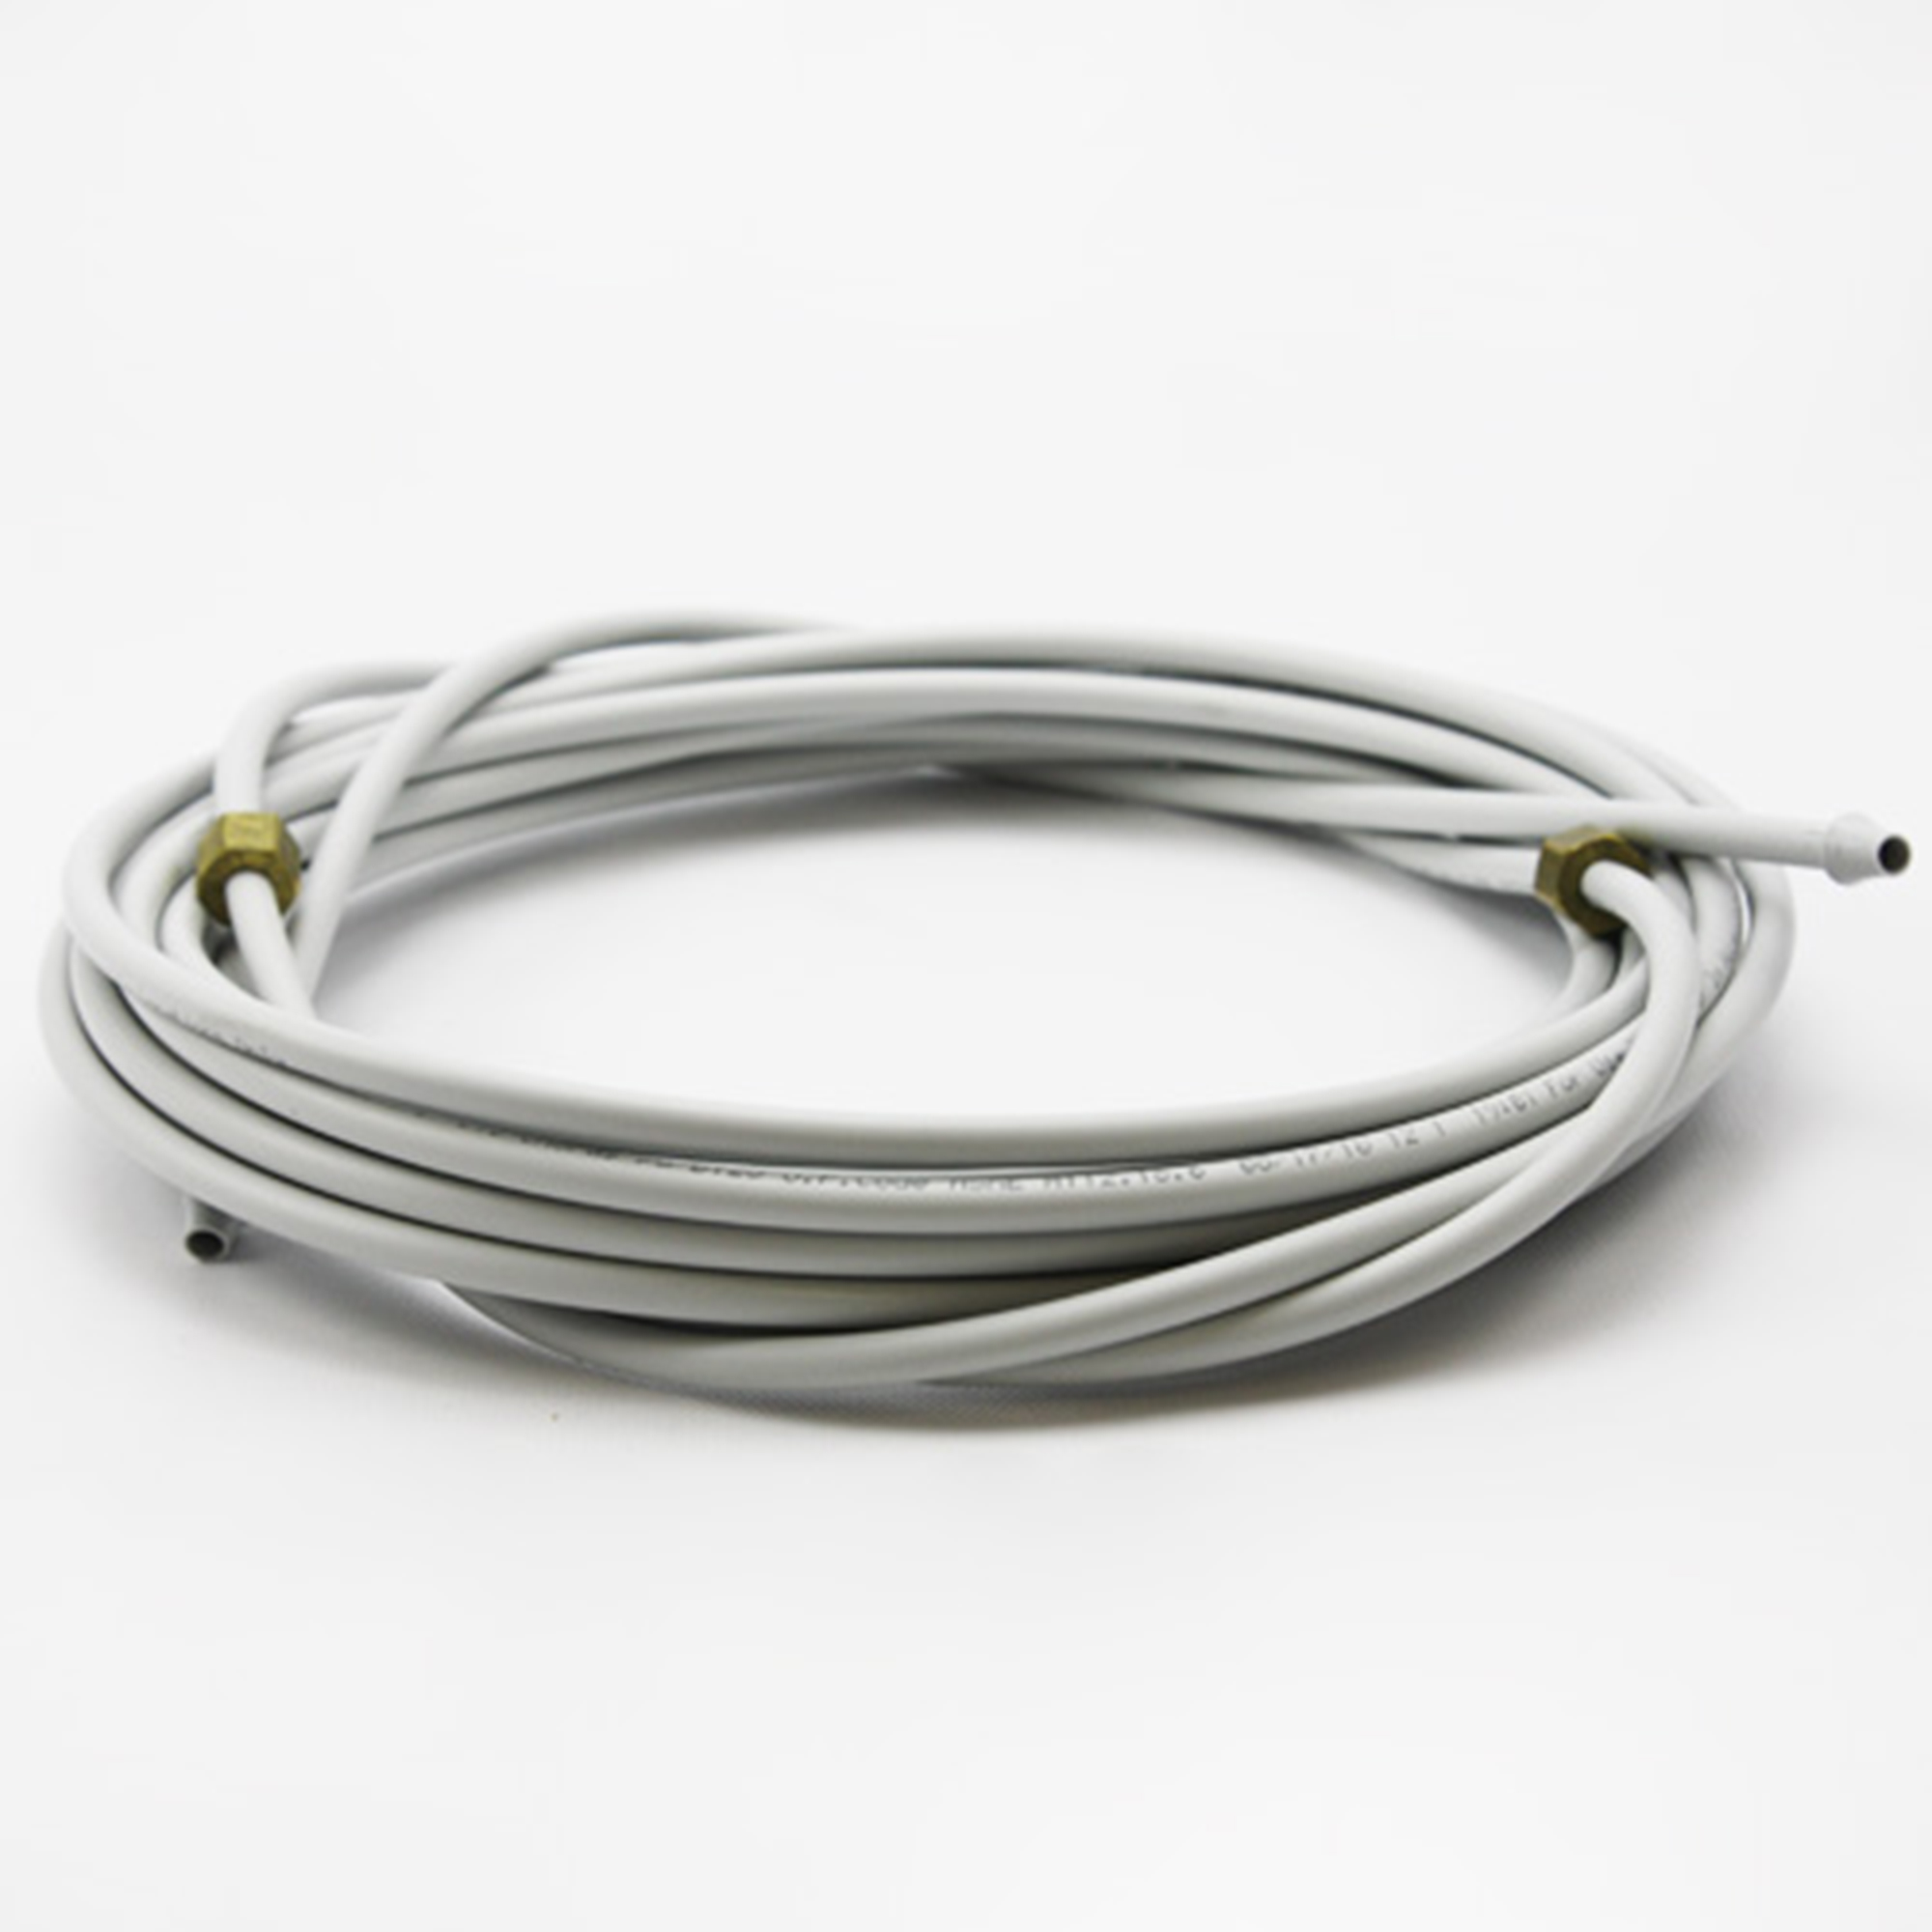
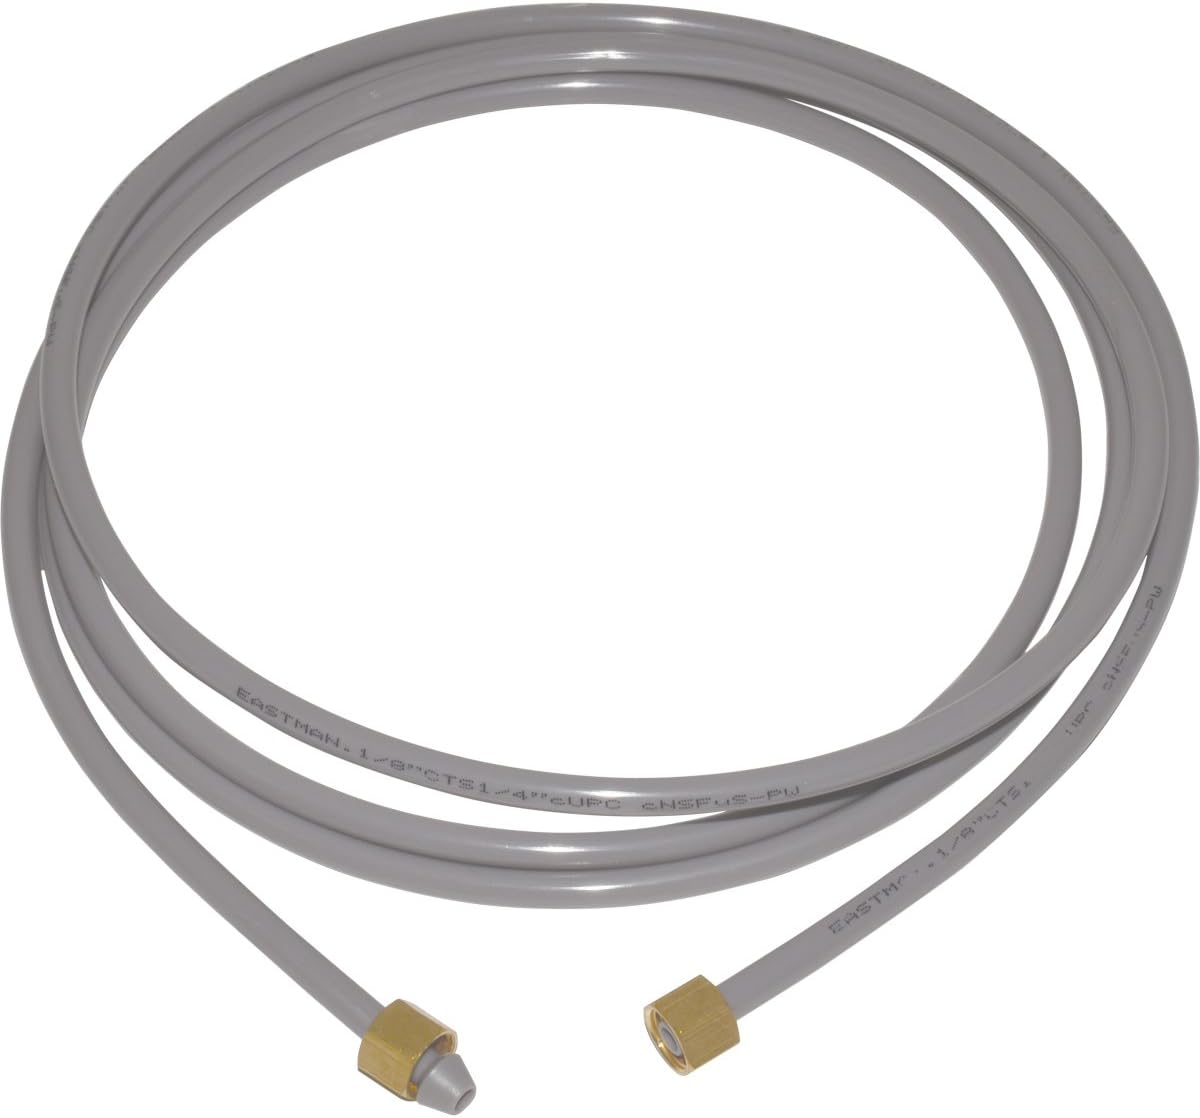
- Plastic Tubing: Depending on the length and size of the clogged water line, you may need some spare plastic tubing to replace any damaged or blocked sections. Make sure the tubing is compatible with your ice maker’s water line connections.
- Warm Water: This will be used to defrost any ice blockages inside the water line. Make sure the water is not too hot, as it can damage the tubing or other components.
- Vinegar: Vinegar is an excellent natural solution for removing mineral deposits. If the clog is caused by mineral buildup, you can use vinegar to clean the water line. Dilute the vinegar with an equal amount of water before using it.
- Soft Cloth or Towel: You’ll need a cloth or towel to wipe away any spills or excess water during the unclogging process.
- Flashlight: A flashlight will come in handy when inspecting the water line for any visible clogs or damage. It will help you navigate in tight spaces and identify areas that need attention.
- Pipe Cleaner or Small Brush: If you suspect that the clog is caused by debris or foreign objects, a pipe cleaner or small brush can help you dislodge and remove them from the water line.
Having these tools and materials on hand will make the process of unclogging the water line to your ice maker much easier and more efficient. Now that you’re prepared, let’s move on to the step-by-step instructions for unclogging the water line.
Step-by-Step Instructions:
Now that you have gathered the necessary tools and materials, it’s time to start unclogging the water line to your ice maker. Follow these step-by-step instructions to ensure a successful unclogging process:
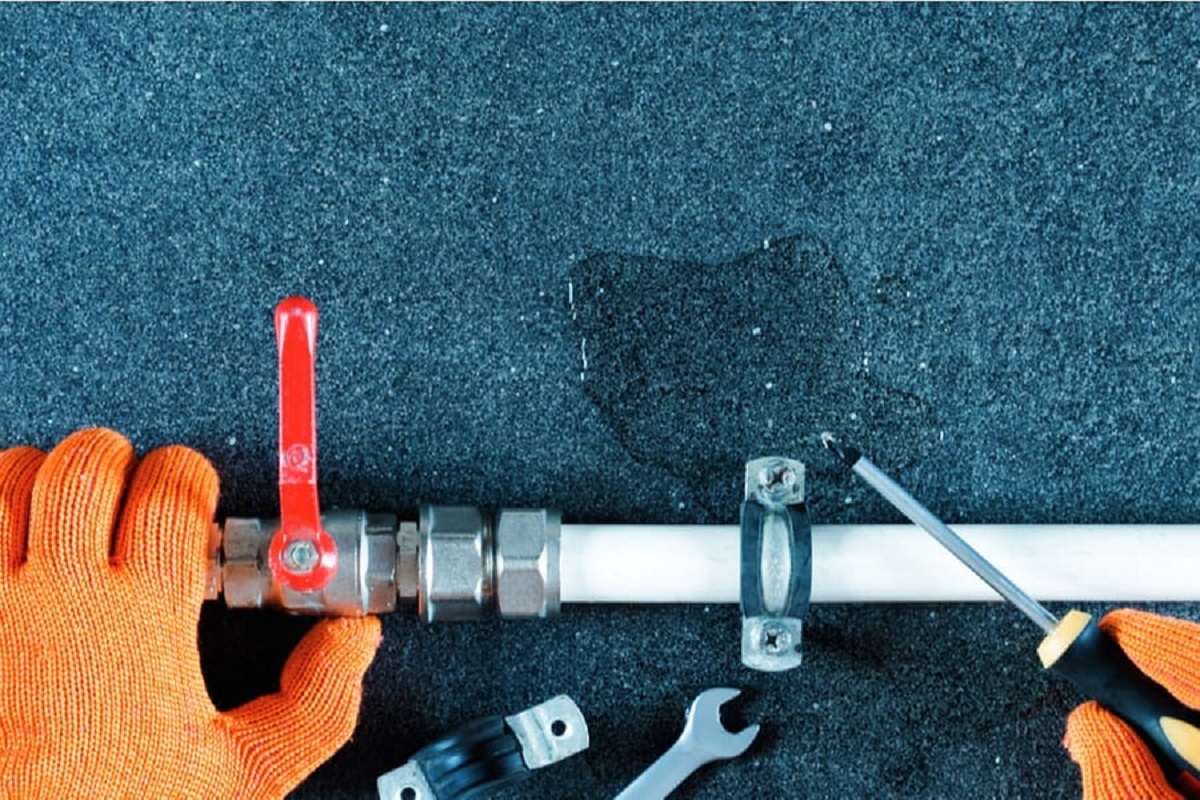
- Turn Off the Power and Water Supply: Before you begin any work, it’s crucial to turn off the power to the ice maker and disconnect the water supply. This will prevent any accidents or leaks during the unclogging process. Locate the power switch or unplug the ice maker from the power outlet. Then shut off the water supply valve connected to the ice maker.
- Locate the Water Line: Identify the water line connected to the ice maker. It is usually a flexible plastic tube that runs from the main water supply to the back of the refrigerator or freezer.
- Disconnect the Water Line: Using an adjustable wrench, gently loosen the nut that connects the water line to the ice maker. Place a bowl or bucket beneath the connection to catch any water that may spill out.
- Clear the Blockage: Depending on the nature of the blockage, proceed with the appropriate method:
- If the water line is frozen, use warm water to defrost it. Gently pour warm water over the frozen section of the water line until it thaws and clears the blockage.
- If there is mineral buildup, fill a bowl with a mixture of equal parts vinegar and water. Submerge the blocked section of the water line in the vinegar solution and let it sit for about 15-20 minutes. Then, flush the line with clean water to remove any loosened deposits.
- If there are foreign objects causing the blockage, use a pipe cleaner or small brush to dislodge and remove them from the water line.
- Reconnect the Water Line: Once the blockage has been cleared, reconnect the water line to the ice maker. Tighten the nut using the adjustable wrench until it is secure.
- Turn On the Power and Water Supply: Restore the power to the ice maker by flipping the power switch or plugging it back into the outlet. Then, turn on the water supply valve to allow water to flow into the ice maker.
- Test the Ice Maker: Give the ice maker some time to start producing ice. Check for any leaks or unusual behavior. It may take a few cycles for the ice maker to resume normal operation.
Following these step-by-step instructions will help you successfully unclog the water line to your ice maker. Remember to exercise caution and take your time during the process. If you encounter any difficulties or the problem persists, it is recommended to seek professional assistance. Enjoy your fresh supply of ice cubes once again!
Read more: How To Disconnect Water Line From Ice Maker
Step 1: Turn Off the Power and Water Supply
Before you begin the process of unclogging the water line to your ice maker, it is crucial to ensure your safety by turning off the power and water supply. This will prevent any potential accidents or water damage during the unclogging process. Follow these steps:
- Locate the Power Switch: Find the power switch for your ice maker. It is usually located on the front or side of the appliance. If you can’t locate the switch, you can also unplug the ice maker from the power outlet.
- Switch Off the Power: Toggle the power switch to the “Off” position. If you have unplugged the ice maker, make sure it remains unplugged throughout the entire unclogging process.
- Find the Water Supply Valve: Locate the water supply valve connected to the ice maker. It can usually be found near the back of the refrigerator or freezer. It may be on the wall, floor, or back panel of the appliance.
- Close the Water Supply Valve: Rotate the water supply valve clockwise to shut off the water flow. This will prevent any water from entering the water line while you are working on unclogging it.
It is essential to follow these steps to ensure your safety and prevent any damage to the ice maker or potential water leaks. By turning off the power and water supply, you create a safe environment to work on the water line without any risks. Once you have completed this step, you can move on to the next step of the unclogging process.
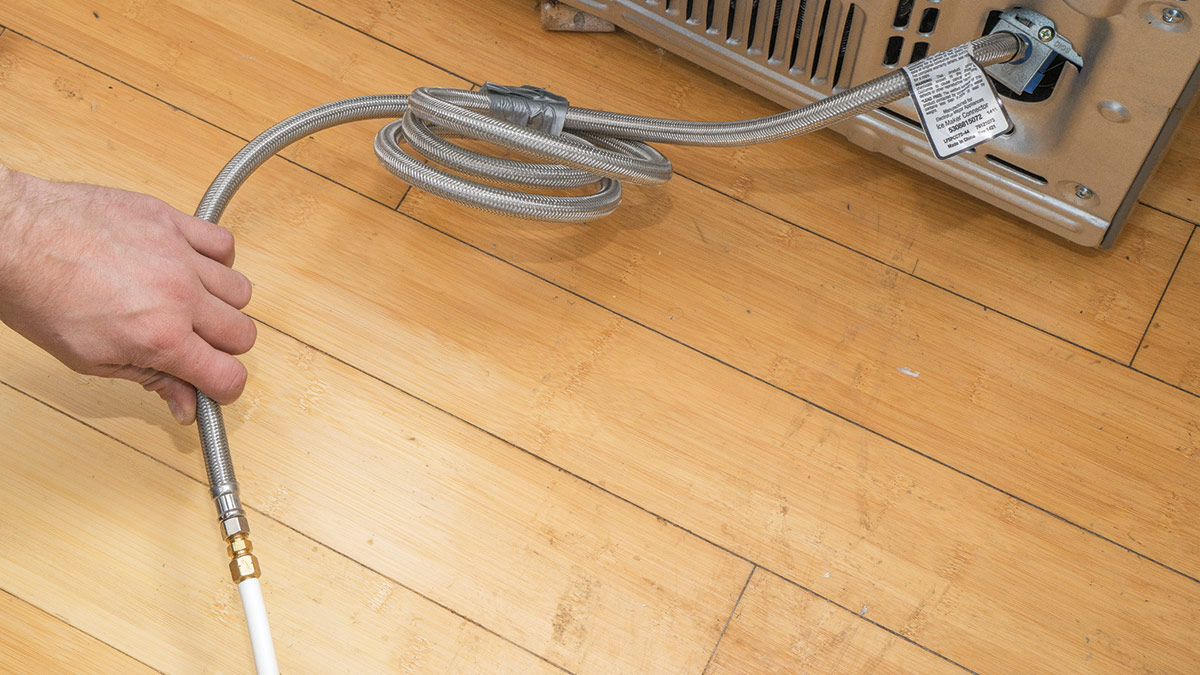
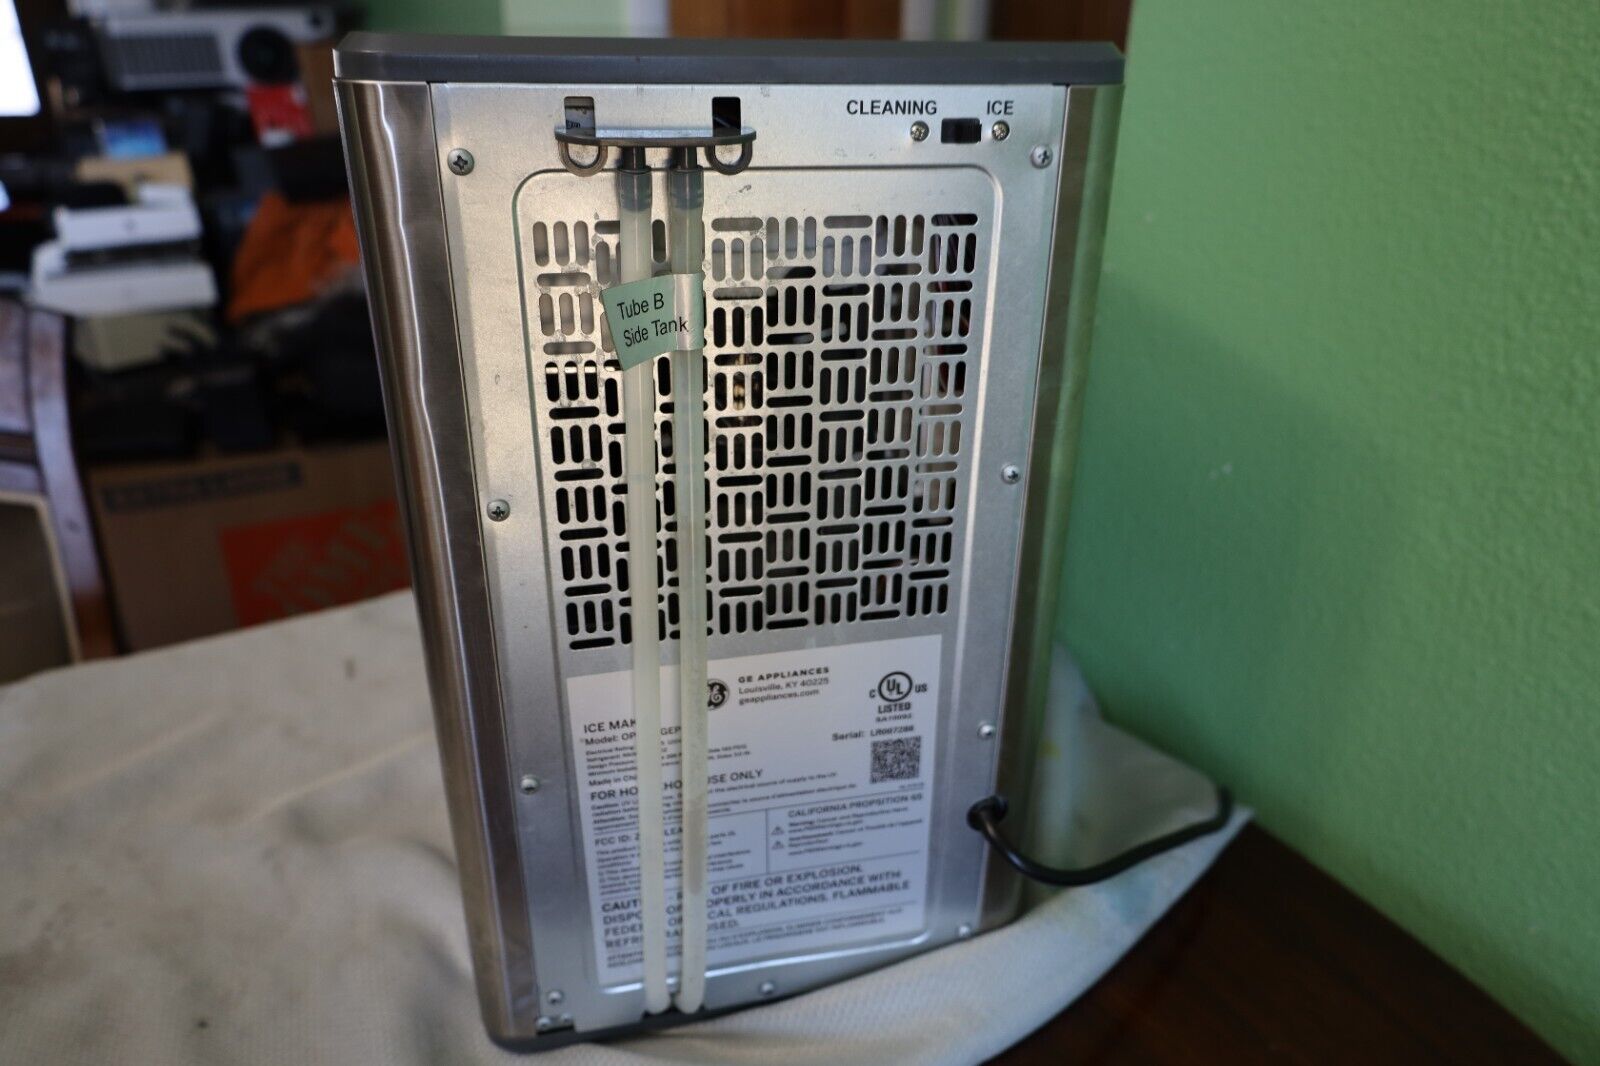
Step 2: Locate the Water Line
In order to unclog the water line to your ice maker, you need to locate the water line itself. The water line is a flexible plastic tube that connects the main water supply to the ice maker. Follow these steps to locate the water line:
- Move the Refrigerator/Freezer: If your ice maker is located in a refrigerator or freezer, start by pulling the appliance away from the wall. Be careful not to damage the flooring or scratch the appliance’s surface.
- Find the Water Line Connection: Once the refrigerator or freezer is moved away from the wall, look for the water line connection. It is usually located on the back of the appliance or at the bottom near the floor.
- Identify the Water Line: The water line is a small, flexible plastic tube that extends from the back of the refrigerator or freezer. It may be clear or have a blue or white color, depending on the manufacturer.
- Trace the Water Line: Follow the path of the water line from the back of the appliance to where it enters the ice maker. Note any bends, twists, or connections along the way. This will help you navigate the line during the unclogging process.
- Take Note of Any Obstructions: Check for any visible obstructions or signs of damage to the water line. Look for kinks, dents, or signs of wear that could be contributing to the blockage. These issues may need to be addressed during the unclogging process.
Locating the water line is a crucial step as it allows you to access the area where the clog is likely to occur. Take your time to carefully locate the water line and assess its condition. This will help you proceed with the unclogging process effectively and efficiently. Once you have identified the water line, you can move on to the next step.
To unclog a water line to an ice maker, first, turn off the water supply. Then, use a hairdryer to thaw any frozen water in the line. If that doesn’t work, try using a pipe cleaner or a small brush to remove any debris. Finally, turn the water supply back on and check for any leaks.
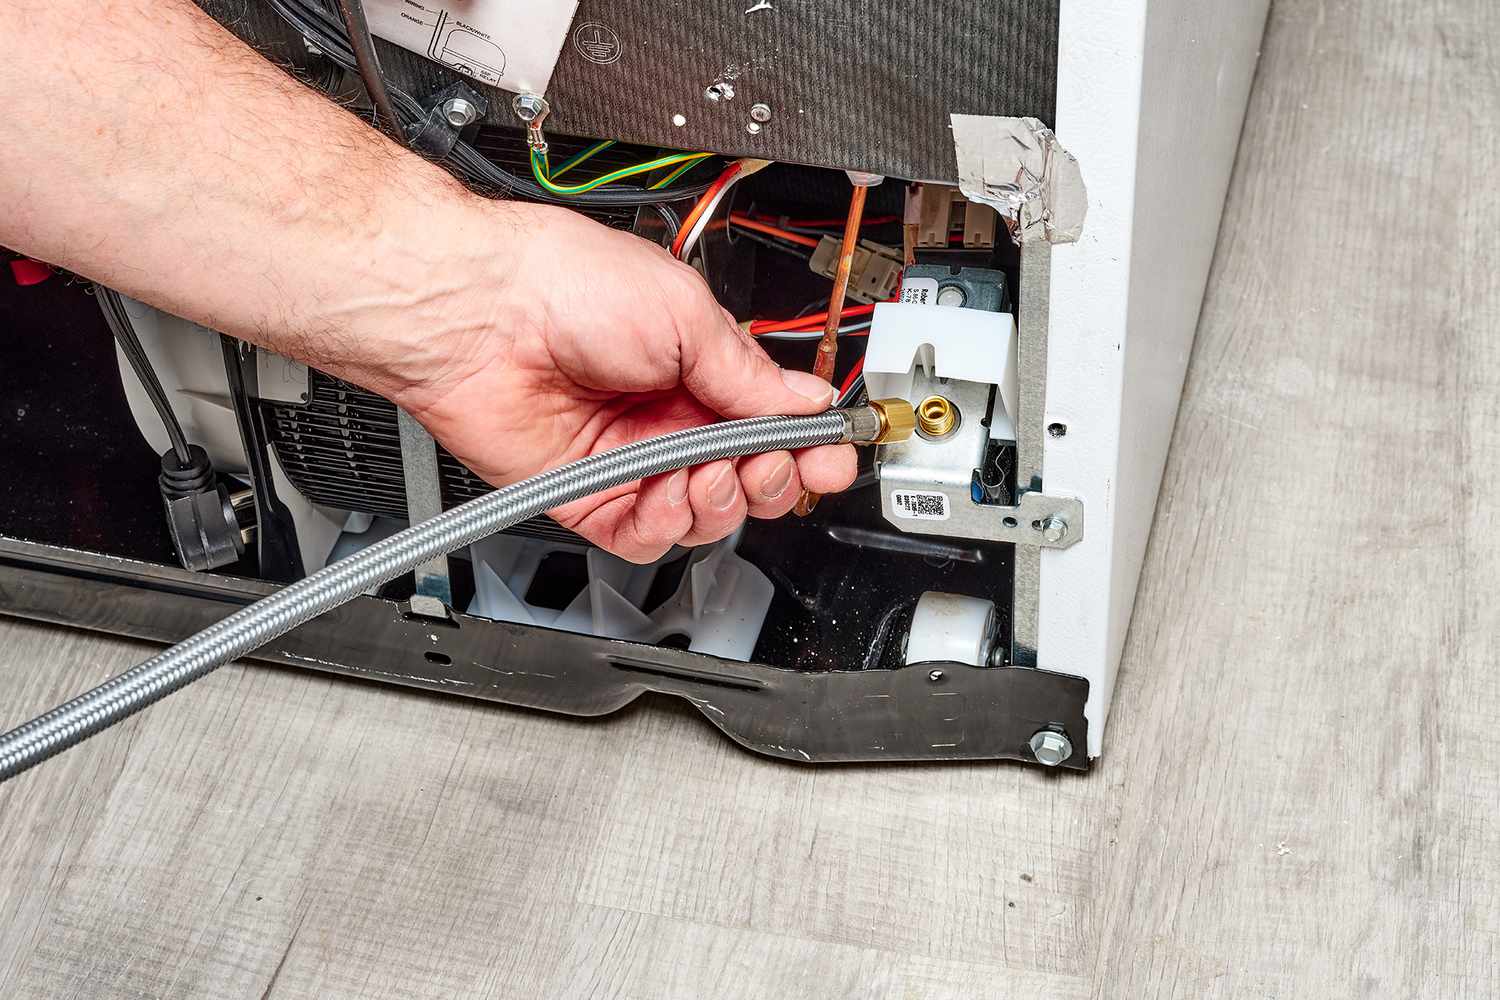
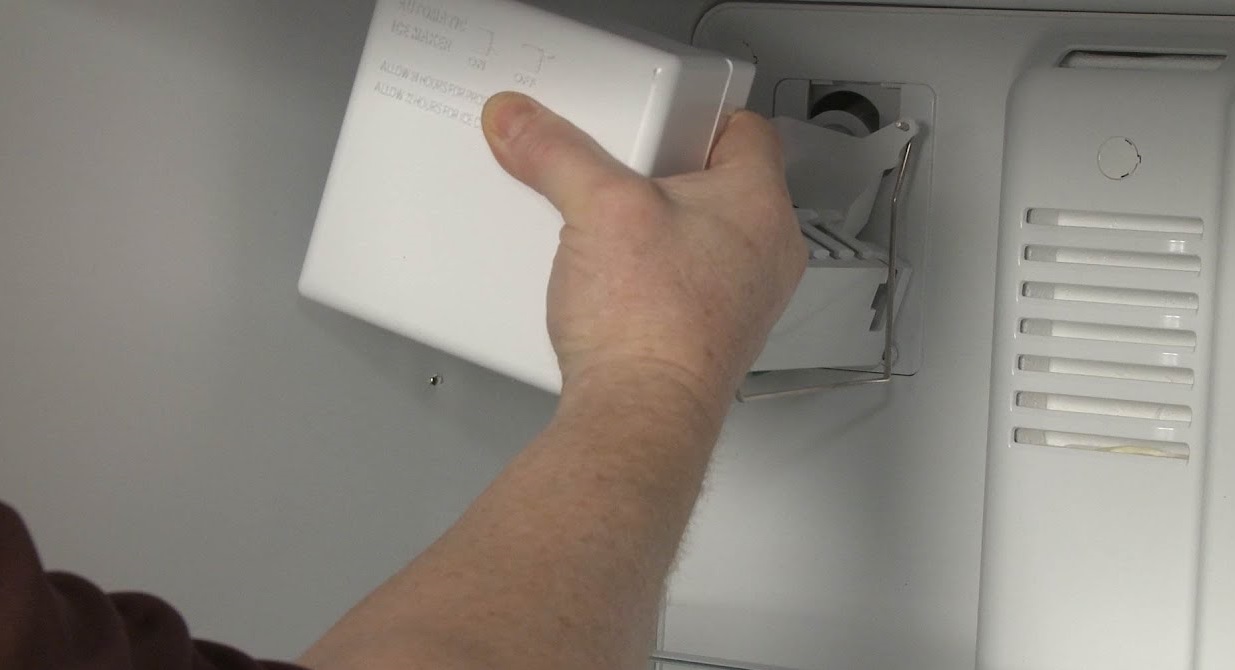
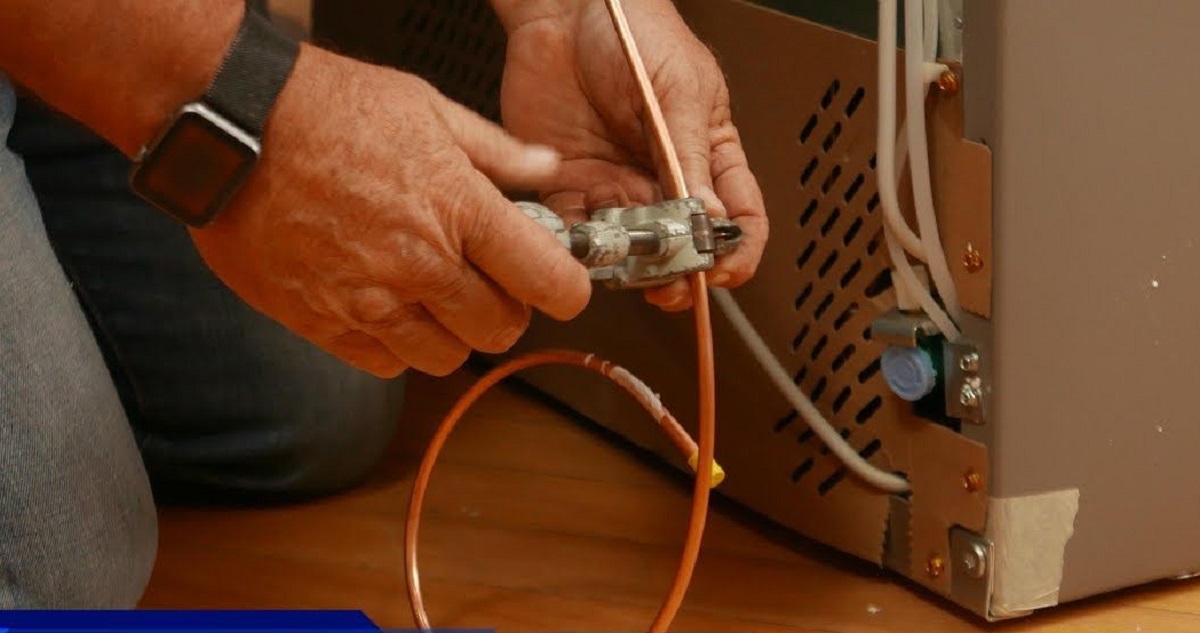
Step 3: Disconnect the Water Line
Now that you have located the water line, it’s time to disconnect it from the ice maker. This will allow you to work on the water line and remove any blockages or obstructions. Follow these steps to disconnect the water line:
- Gather the Necessary Tools: Before you proceed, make sure you have an adjustable wrench on hand. This tool will help you loosen and disconnect the water line.
- Turn Off the Water Supply: Double-check that the water supply valve connected to the ice maker is still turned off. This will prevent any water from flowing out when you disconnect the water line.
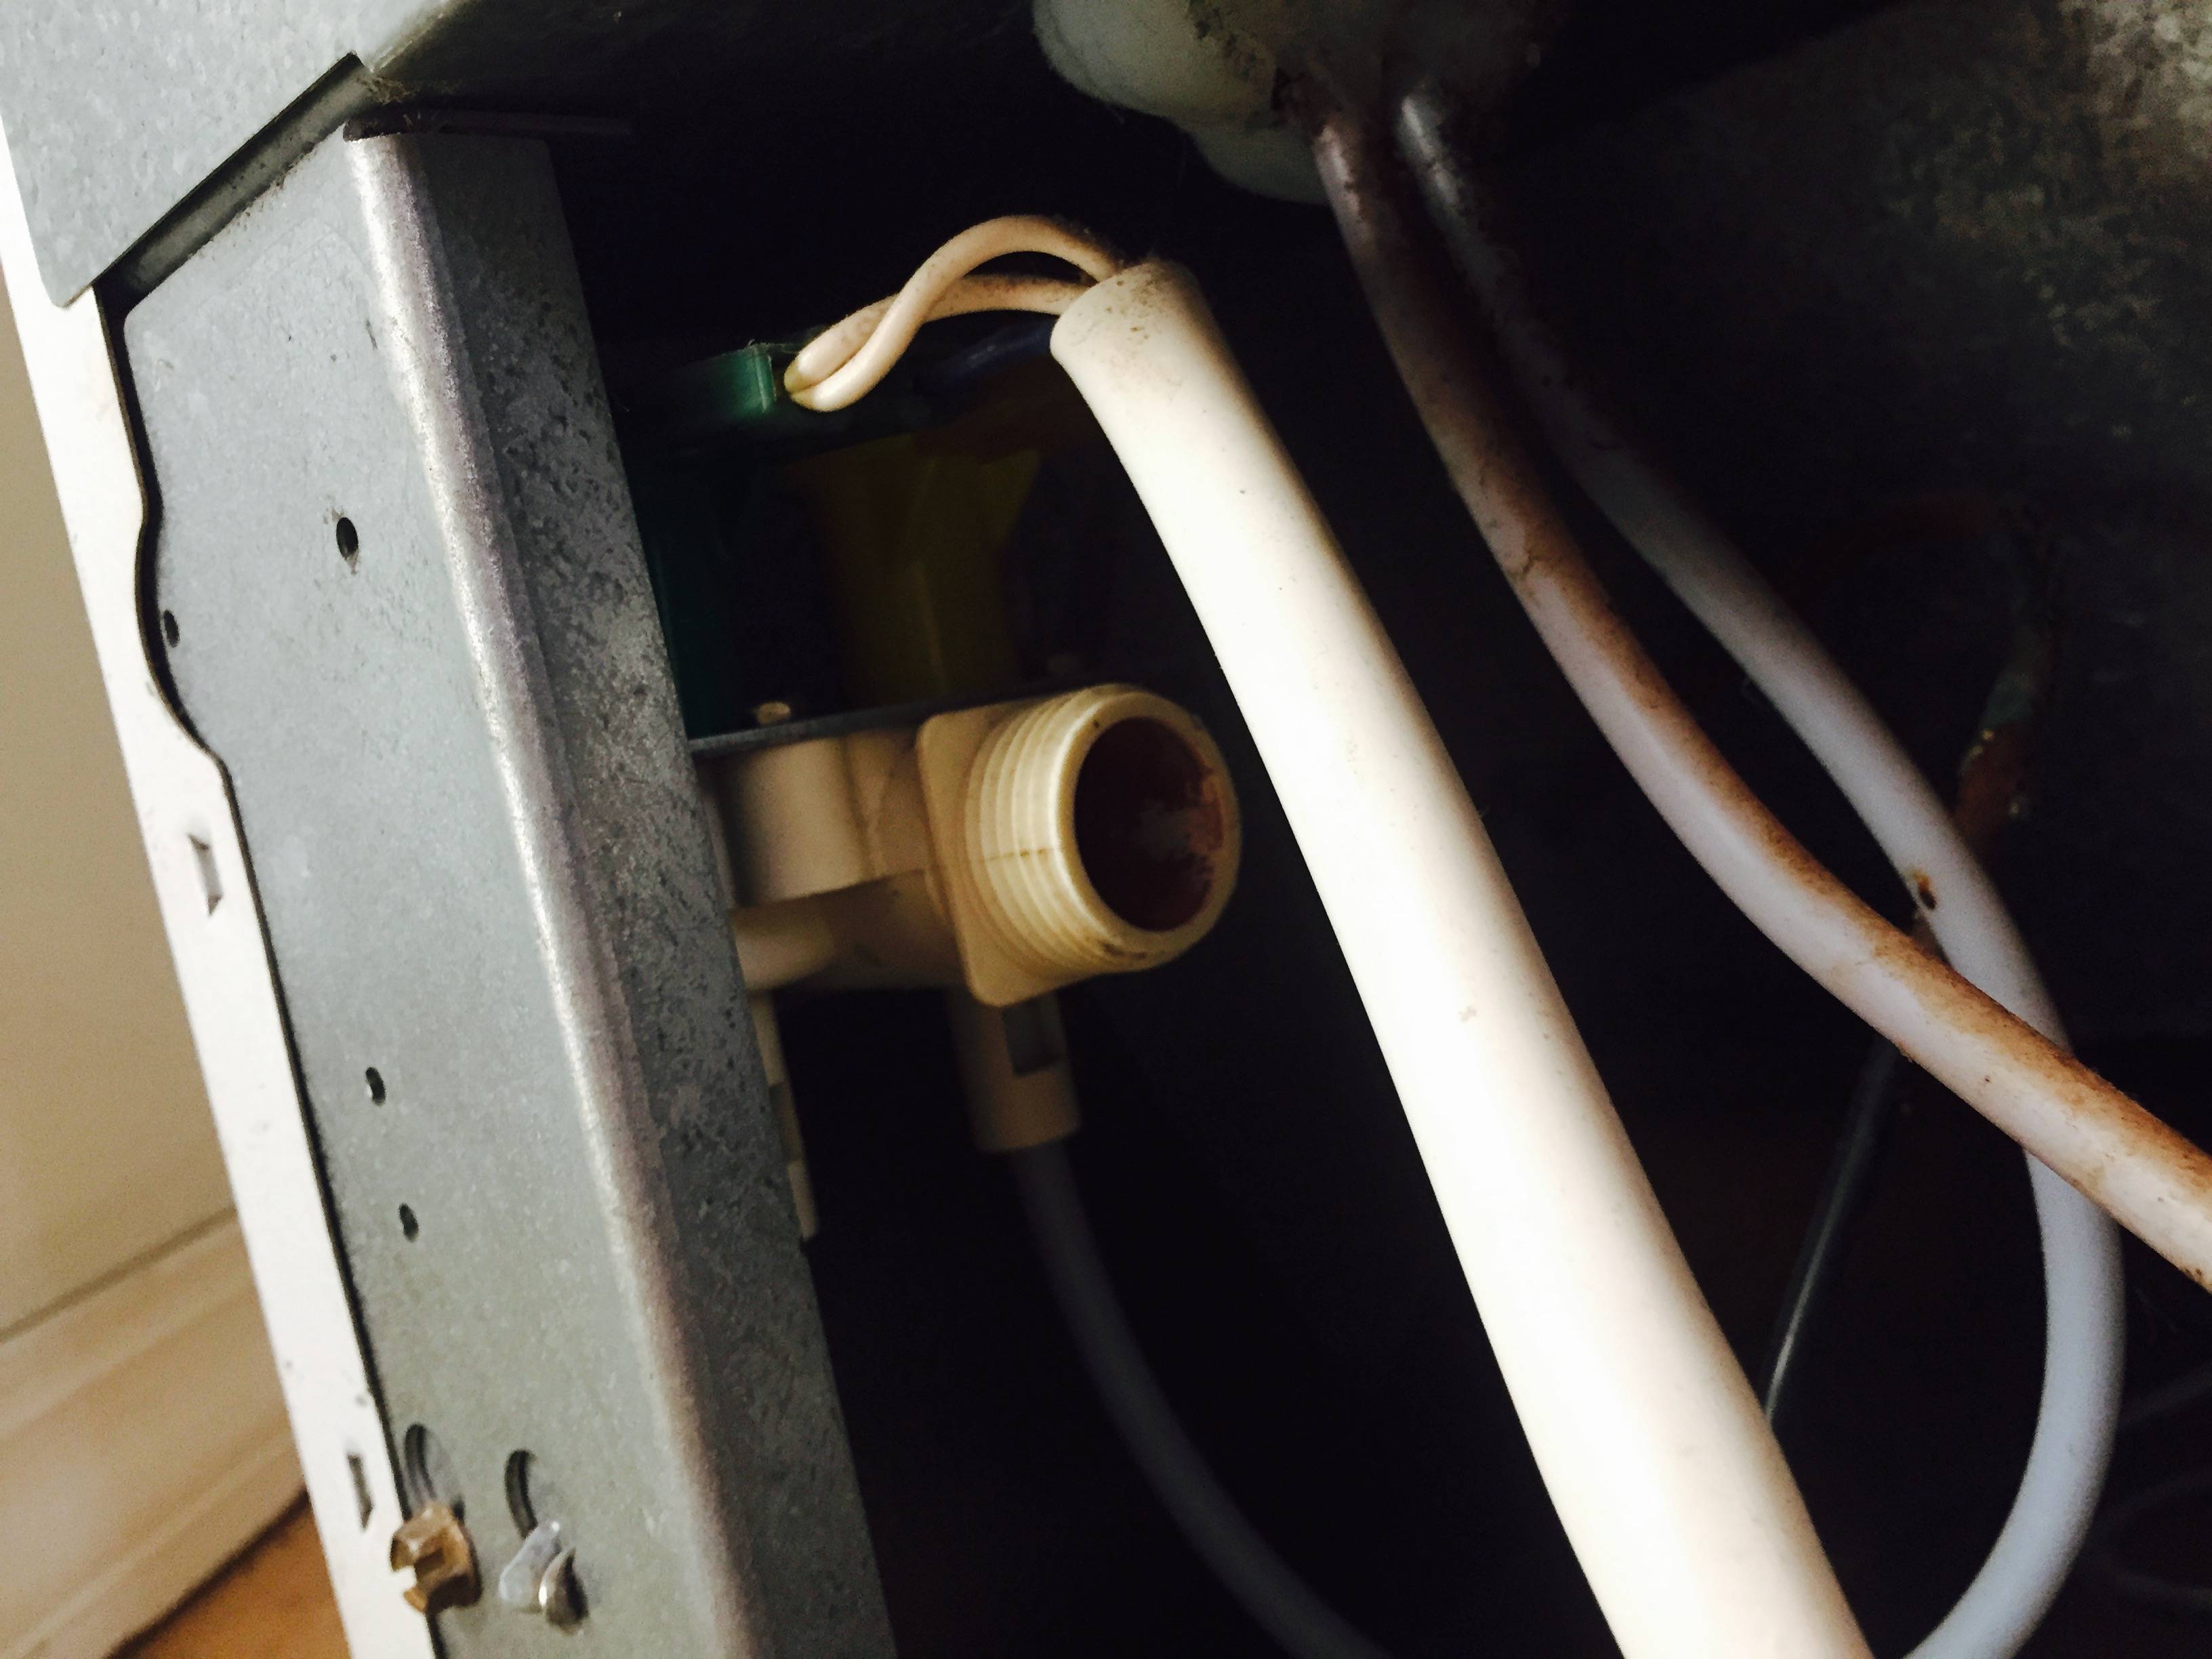
- Identify the Water Line Connection: Locate the point where the water line connects to the ice maker. It is typically secured with a nut or coupling.
- Loosen the Nut: Use the adjustable wrench to loosen the nut that secures the water line. Turn the wrench counterclockwise to loosen the nut until it is loose enough to be removed by hand.
- Place a Bowl or Bucket: Before you completely disconnect the water line, place a bowl or bucket beneath the connection. This will catch any residual water that may leak out when the line is disconnected.
- Disconnect the Water Line: Carefully detach the water line from the ice maker by sliding it off the connection or unscrewing the coupling. Be gentle to avoid damaging the water line or other components.
- Inspect the Water Line: Take a moment to examine the condition of the water line. Look for any signs of damage, cracks, or blockages. You may need to address these issues during the unclogging process.
By disconnecting the water line, you gain access to the affected area and can focus on removing the clog. Remember to be cautious and perform the steps carefully to avoid any unnecessary damage. Once you have successfully disconnected the water line, you can proceed to the next step of clearing the blockage.
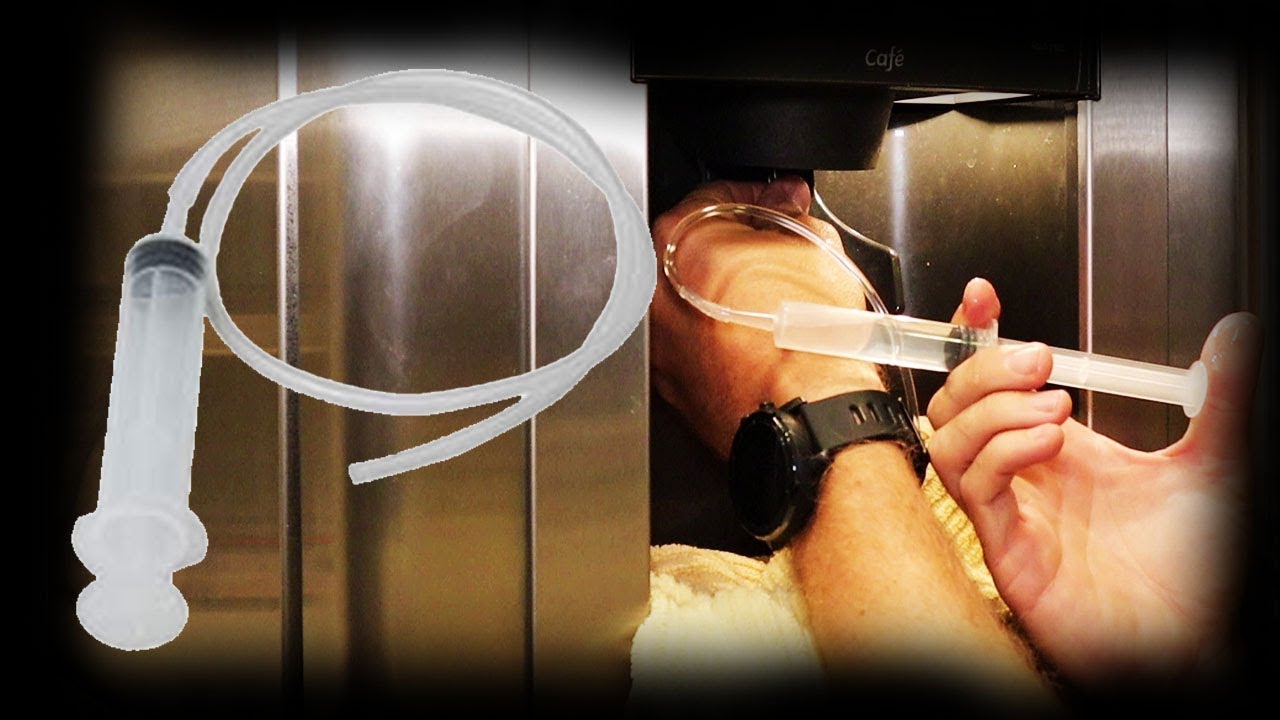
Step 4: Clear the Blockage
With the water line disconnected, you are now ready to clear the blockage causing the clog. The method you use will depend on the type of blockage you are dealing with. Follow these steps to clear the blockage:
- Identify the Type of Blockage: Assess the nature of the blockage by examining the water line and observing any visible signs. Common types of blockages include ice formation, mineral buildup, or the presence of foreign objects.
- For Frozen Water Lines: If the blockage is due to the water line freezing, it will need to be thawed. Gently pour warm water over the frozen section of the water line. Alternatively, you can use a hairdryer on a low heat setting to melt the ice. Be cautious not to use excessive heat that may damage the water line.
- For Mineral Buildup: If the blockage is caused by mineral buildup, you can use a mixture of equal parts vinegar and water. Submerge the affected section of the water line in the vinegar solution and let it sit for about 15-30 minutes. This will help dissolve the minerals and clear the blockage. Afterward, flush the line with clean water to remove any loosened deposits.
- For Foreign Objects: If there are foreign objects causing the blockage, use a pipe cleaner or small brush to carefully dislodge and remove them from the water line. Gently insert the pipe cleaner or brush into the water line and move it back and forth to clear the obstruction. Take care not to damage the water line or push the object further into the line.
- Inspect and Clean: After the blockage has been cleared, inspect the water line for any residual debris or mineral buildup. Use a soft cloth or towel to wipe down the inside of the line and remove any remaining particles. This will help ensure a clean and unobstructed water flow.
By following these steps, you can effectively clear different types of blockages from the water line. Remember to be gentle and cautious, as excessive force or improper cleaning methods can cause damage to the water line or other components. Once the blockage is cleared, you can proceed to the next step of reconnecting the water line.
Read more: What Size Is An Ice Maker Water Line
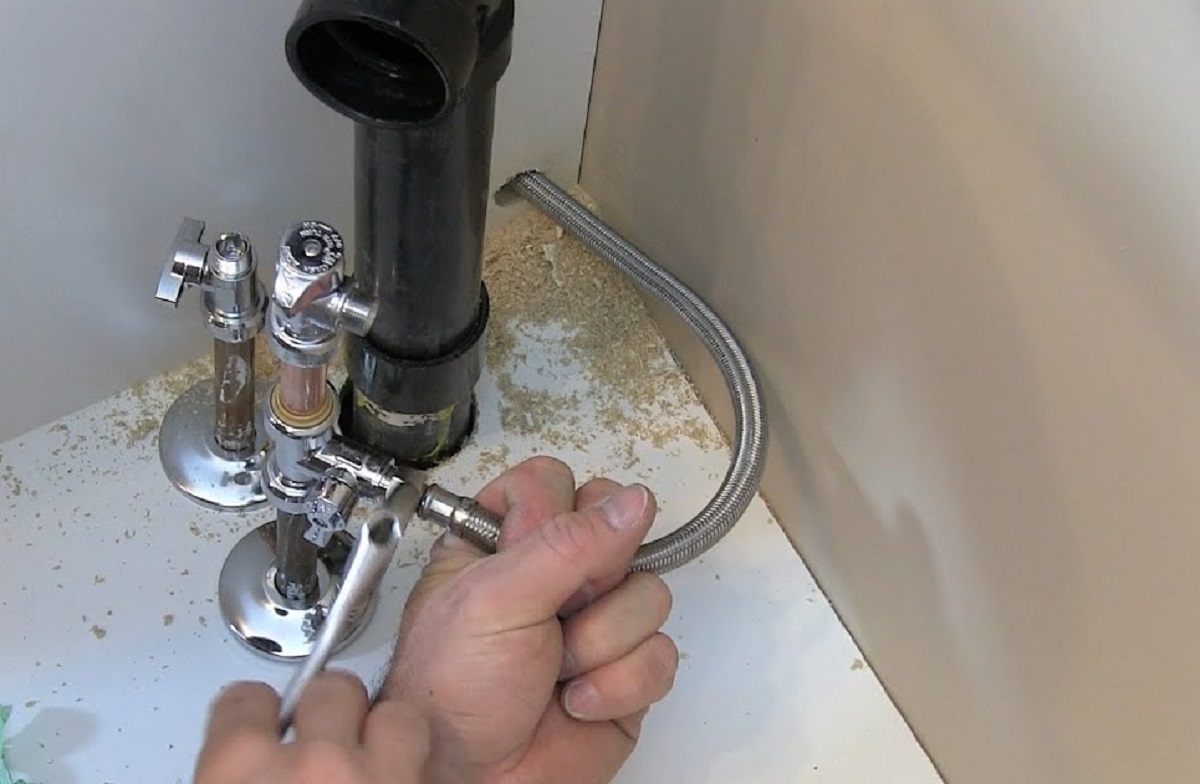
Step 5: Reconnect the Water Line
Now that you have successfully cleared the blockage from the water line, it’s time to reconnect it to the ice maker. Follow these steps to reconnect the water line:
- Prepare the Water Line: Ensure that the end of the water line is clean and free from any debris or residue. Use a soft cloth or towel to wipe away any moisture or dirt.
- Align the Water Line: Align the end of the water line with the connection on the ice maker. Make sure they are properly aligned and that there are no obstructions or twists in the line.
- Secure the Connection: Once aligned, push the water line firmly into the connection on the ice maker. If required, you may need to screw on a coupling or nut to secure the connection. Use the adjustable wrench to tighten the nut, ensuring a snug fit without over-tightening.
- Check for Leaks: Turn on the water supply valve and check for any water leaks around the connection. Inspect the area for any signs of moisture or dripping. If you notice any leaks, tighten the connection further or replace the necessary fittings to ensure a watertight seal.
- Verify Proper Water Flow: Once the water line is reconnected and secured, check that water is flowing freely through the line. Turn on the ice maker and observe if water is entering the ice maker properly.
- Monitor for Adequate Ice Production: Allow the ice maker some time to resume its normal operation. Monitor the ice production over the next few hours or days to ensure that the water line is functioning properly. If you notice any issues, such as reduced ice production or an irregular water flow, further troubleshooting may be required.
By following these steps, you can successfully reestablish the connection between the water line and the ice maker. Checking for leaks and verifying proper water flow is essential to prevent any further issues and ensure optimal ice production. Once you have completed these steps, you can proceed to turn on the power and water supply to the ice maker.
Step 6: Turn On the Power and Water Supply
With the water line reconnected, it’s time to turn on the power and water supply to your ice maker. Follow these steps to ensure a successful restart of the appliance:
- Double-check the Water Line: Before proceeding, verify that the water line is securely connected to the ice maker and that there are no visible leaks or loose fittings. This will help avoid any water damage or potential issues.
- Locate the Power Switch: If you had previously turned off the power switch, locate it and make sure it is set to the “On” position. Alternatively, if you had unplugged the ice maker, plug it back into the power outlet.
- Restore the Power: Flip the power switch to the “On” position or restore power to the ice maker by plugging it back into the outlet. This will supply electricity to the appliance and allow it to function.
- Turn on the Water Supply Valve: Gradually open the water supply valve connected to the ice maker by turning it counterclockwise. This will allow water to flow into the water line and supply the ice maker with water.
- Check for Leaks: Once the water supply valve is opened, carefully observe the water line and the ice maker for any signs of leaks. Pay close attention to the connection points and surrounding areas. If you notice any leaks, immediately close the water supply valve and recheck the connections for a proper seal.
- Allow Time for Resumption of Operation: Give the ice maker some time to resume its normal operation. It may take a few minutes or hours for the ice maker to start producing ice again. Monitor the ice production and water flow to ensure they return to normal levels.
By following these steps, you can confidently turn on the power and water supply to your ice maker. Checking for leaks and allowing the ice maker some time to restart its operation ensures a smooth transition back to optimal functionality. Now, you are ready to test the ice maker and enjoy a steady supply of ice cubes.
Step 7: Test the Ice Maker
After completing the previous steps, it’s important to test the ice maker to ensure that it is functioning properly and producing ice as expected. Follow these steps to test the ice maker:
- Allow Sufficient Time: Give the ice maker enough time to cool down and start producing ice. It may take several hours or even a full day for the ice maker to reach its optimal operating temperature.
- Check for Water Flow: Observe whether there is a steady flow of water into the ice maker. Open the freezer and look for any signs of water entering the ice maker’s tray. If you don’t see any water, you may need to double-check the water supply valve and the water line connections for proper functionality.
- Monitor Ice Production: Keep an eye on the ice production over the next few cycles. Check if the ice maker is consistently producing ice cubes of the expected size and quantity. If the ice production seems irregular or insufficient, further troubleshooting may be necessary.
- Ensure Proper Freezing: Verify that the ice cubes are freezing appropriately. They should be solid and not overly wet or soft. If the cubes are melting quickly or sticking together, there may be an issue with the ice maker’s temperature control or freezer settings.
- Check for Leaks or Drips: Continuously monitor the area around the ice maker and the water line connections for any signs of leaks or drips. If you notice any water accumulation or dripping, address the issue promptly to prevent water damage.
- Inspect for Unusual Sounds or Odors: Listen for any unusual noises coming from the ice maker. Grinding or rattling sounds could indicate a mechanical problem that needs attention. Additionally, ensure there are no unusual odors coming from the ice maker, which could suggest mold or bacterial growth.
By thoroughly testing the ice maker, you can ensure that it is functioning as it should and that the unclogging process was successful. This step allows you to identify any remaining issues and address them promptly to maintain the optimal performance of your ice maker.
If you encounter any continued issues or the ice maker is still not producing ice as expected, it may be necessary to seek professional assistance from an appliance repair technician. They have the expertise to diagnose and resolve more complex problems with your ice maker.
Congratulations! You have successfully completed the process of unclogging the water line to your ice maker and tested its functionality. Enjoy the pleasure of having a fully operational ice maker with a continuous supply of refreshing ice cubes.
Conclusion:
Clogged water lines can be a frustrating issue that can disrupt the function of your ice maker. However, by following the step-by-step instructions outlined in this guide, you can easily unclog the water line and restore your ice maker to its optimal performance. Taking the time to identify the cause of the clog, gather the necessary tools and materials, and carefully follow the instructions will ensure a successful unclogging process.
Throughout this guide, we discussed common causes of a clogged water line, including mineral buildup, ice formation, foreign objects, and frozen water. Understanding these causes can help you prevent future blockages by implementing appropriate preventive measures.
Additionally, we detailed the tools and materials you’ll need to have on hand, such as an adjustable wrench, plastic tubing, warm water, vinegar, and a flashlight. These tools will enable you to navigate through the unclogging process with ease.
The step-by-step instructions provided in this guide will guide you through disconnecting the water line, clearing the blockage, reconnecting the water line, and testing the ice maker once the unclogging process is complete. These instructions ensure that you can safely and effectively restore the water flow to your ice maker.
Remember to exercise caution during the unclogging process, ensuring proper safety measures are implemented by turning off the power and water supply. Allow adequate time for the ice maker to resume normal operation and monitor its performance for any irregularities or issues.
By successfully unclogging the water line to your ice maker, you can once again enjoy the convenience of a consistent supply of ice cubes. Regular maintenance, such as periodic cleaning and monitoring, can help prevent future clogs and prolong the lifespan of your ice maker.
If you encounter any persistent issues or are unsure about the unclogging process, it is advisable to contact a professional appliance repair technician for assistance. They have the expertise to diagnose and address more complex problems related to your ice maker.
With a clear and functioning water line, you can now sit back, relax, and enjoy the refreshing taste of chilled beverages and a hassle-free ice-making experience.
Now that you've tackled unclogging your ice maker's water line, why stop there? For those with lingering ice maker issues, our guide on ice maker repair will walk you through the necessary fixes to keep your appliance running smoothly. Homeowners looking to stay on top of their property's upkeep will benefit from our essential home maintenance checklist, ensuring everything is in tip-top shape. Lastly, don't forget about cleanliness; our easy-to-follow instructions on refrigerator maintenance will help you keep your ice maker fresh and functional.
Frequently Asked Questions about How To Unclog Water Line To Ice Maker
Was this page helpful?
At Storables.com, we guarantee accurate and reliable information. Our content, validated by Expert Board Contributors, is crafted following stringent Editorial Policies. We're committed to providing you with well-researched, expert-backed insights for all your informational needs.
0 thoughts on “How To Unclog Water Line To Ice Maker”