
Articles
Why Is My Whirlpool Washer Not Draining
Modified: January 19, 2024
Discover articles on why your Whirlpool washer is not draining. Find troubleshooting tips and step-by-step guides to fix the issue.
(Many of the links in this article redirect to a specific reviewed product. Your purchase of these products through affiliate links helps to generate commission for Storables.com, at no extra cost. Learn more)
Introduction
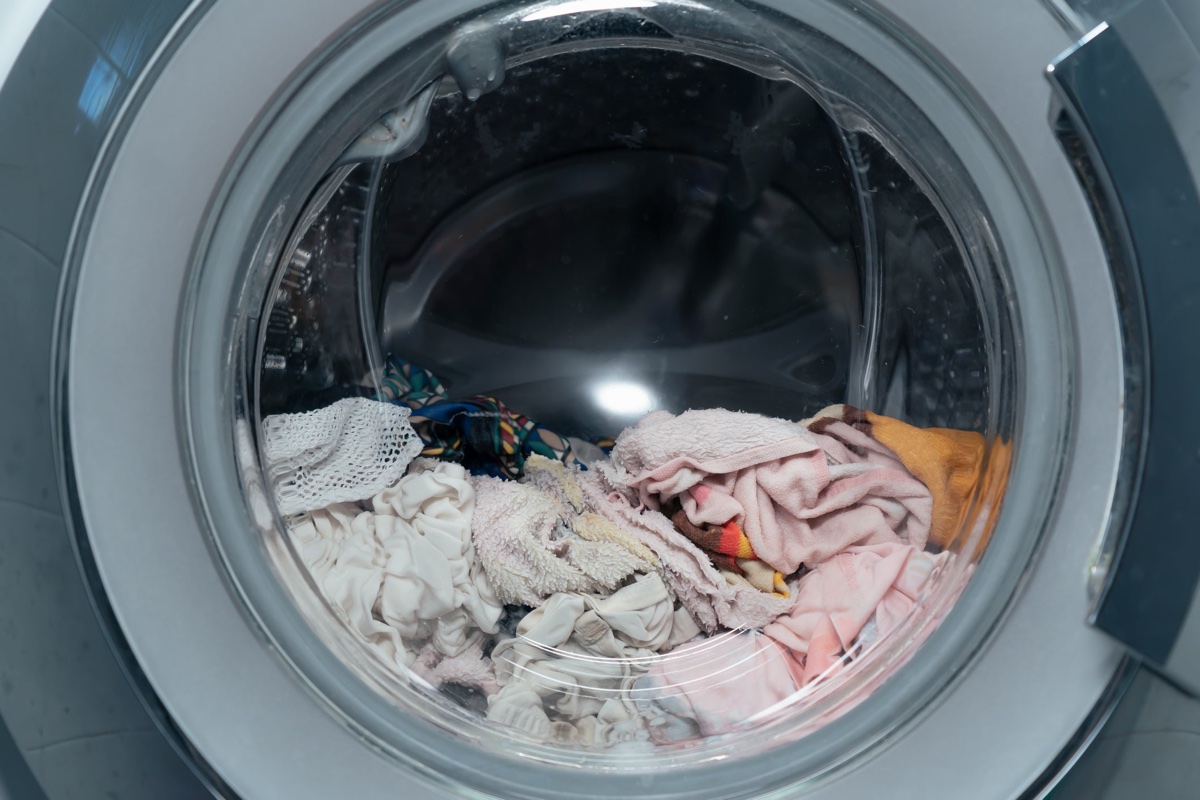
If you own a Whirlpool washer and have noticed that it is not draining properly, you may be wondering what could be causing this issue. A washer that doesn’t drain can be frustrating and may disrupt your daily routine. However, understanding the root cause of the problem can help you troubleshoot and resolve it effectively.
There are several possible reasons why your Whirlpool washer may not be draining, ranging from simple clogs to more complex mechanical or electrical issues. In this article, we will explore the potential causes and provide step-by-step troubleshooting steps to help you diagnose and fix the problem.
It’s worth mentioning that while the focus of this article is on Whirlpool washers, many of the troubleshooting steps outlined here can be applied to other brands as well. So, let’s dive in and uncover the possible causes of your washer’s draining issue.
Key Takeaways:
- Regularly checking and cleaning the drain pump filter can prevent clogs and ensure proper drainage, allowing your Whirlpool washer to operate smoothly and efficiently.
- Verifying the proper installation of the drain hose is crucial for efficient drainage, preventing water backup and ensuring optimal performance of your Whirlpool washer.
Read more: Why Is My Whirlpool Dishwasher Not Draining
Possible Causes of Whirlpool Washer Not Draining
When your Whirlpool washer is not draining, there could be several underlying causes. Understanding these potential issues can help you pinpoint the source of the problem and resolve it effectively. Here are some common causes to consider:
- Clogged Drain Pump Filter: One of the most common reasons for a washer not draining is a clogged drain pump filter. Over time, debris such as lint, coins, and small objects can get trapped in the filter, obstructing water flow. Cleaning or replacing the filter can often resolve the issue.
- Clogged Drain Hose: Another possible cause is a clogged drain hose. If the drain hose is blocked by sediment or other debris, it can prevent water from flowing out of the washer. Checking the drain hose for clogs and clearing them can help restore proper drainage.
- Improper Installation of Drain Hose: Sometimes, the drain hose may not be installed correctly, causing water to back up or not drain properly. Ensuring that the drain hose is properly secured and positioned at the correct height can help prevent this issue.
- Malfunctioning Drain Pump: A faulty drain pump can also contribute to drainage problems. If the pump fails to remove the water from the washer, it may result in water not draining properly. Inspecting the drain pump for any faults or issues is essential in troubleshooting this possibility.
- Defective Lid Switch or Door Lock Assembly: Whirlpool washers are equipped with lid switches or door lock assemblies that prevent the washer from operating when the lid or door is open. However, if these components malfunction, they can also interfere with the draining process. Checking the functionality of the lid switch or door lock assembly is crucial in addressing this issue.
These are just a few potential causes of a Whirlpool washer not draining. It’s important to note that other factors, such as electrical problems or issues with the control board, can also affect drainage. Now that we have explored the possible causes, let’s move on to the troubleshooting steps to help you rectify the problem.
Troubleshooting Steps
When your Whirlpool washer is not draining, it’s essential to follow a systematic approach to identify and resolve the issue. Here are some troubleshooting steps you can take to address the problem:
- Unplug the Washer: Before performing any troubleshooting steps, always disconnect the washer from the power source to ensure your safety.
- Check the User Manual: Refer to the user manual or the Whirlpool website to locate specific information about your washer model. This will provide you with valuable insights into troubleshooting and maintenance procedures specific to your machine.
- Inspect the Drain Pump Filter: Start by locating the drain pump filter, usually located at the bottom front of the washer. Remove any visible debris or clogs using gloves or a small brush. Be prepared for water to spill out, so keep towels handy.
- Clear the Drain Hose: Check the drain hose for any obstructions. Detach the hose from the washer and inspect both ends for clogs or kinks. Run water through the hose to flush out any debris. If necessary, use a plumbing snake or a long wire to remove stubborn clogs.
- Verify Proper Installation of Drain Hose: Ensure that the drain hose is correctly connected to the drain pump and positioned at the appropriate height. Refer to the user manual for the correct installation instructions.
- Check the Drain Pump: If the drain pump is making unusual noises or not functioning properly, it may need to be replaced. Consult the user manual or contact Whirlpool customer support for guidance on how to inspect and replace the drain pump.
- Inspect the Lid Switch or Door Lock Assembly: If the lid switch or door lock assembly is not functioning correctly, it may prevent the washer from draining. Check for any visible damage or loose connections. If necessary, consult the user manual or seek professional assistance to replace the faulty component.
- Evaluate the Pressure Switch: The pressure switch detects the water level in the washer and signals the drain pump to start draining. If the switch is faulty, it may not send the proper signal. Test the pressure switch using a multimeter or consult a technician for assistance.
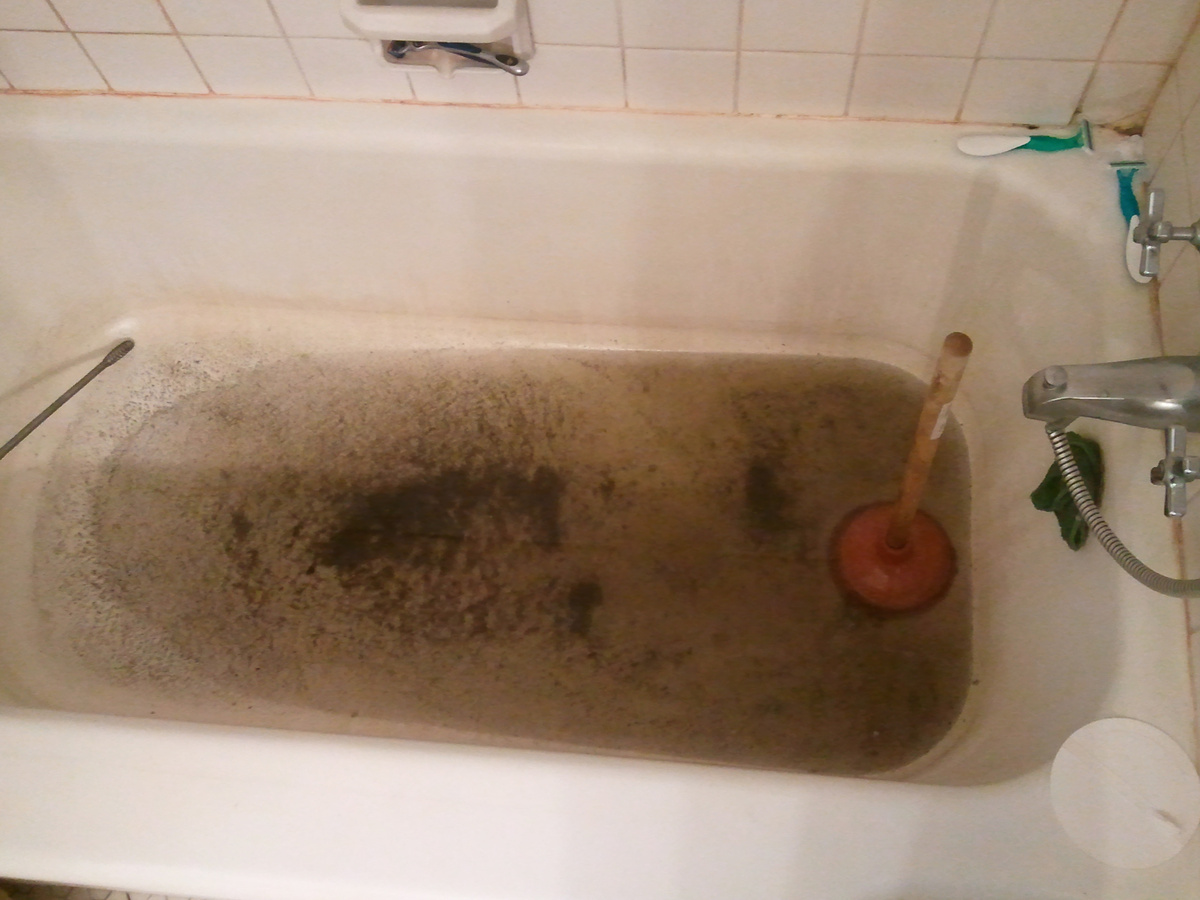
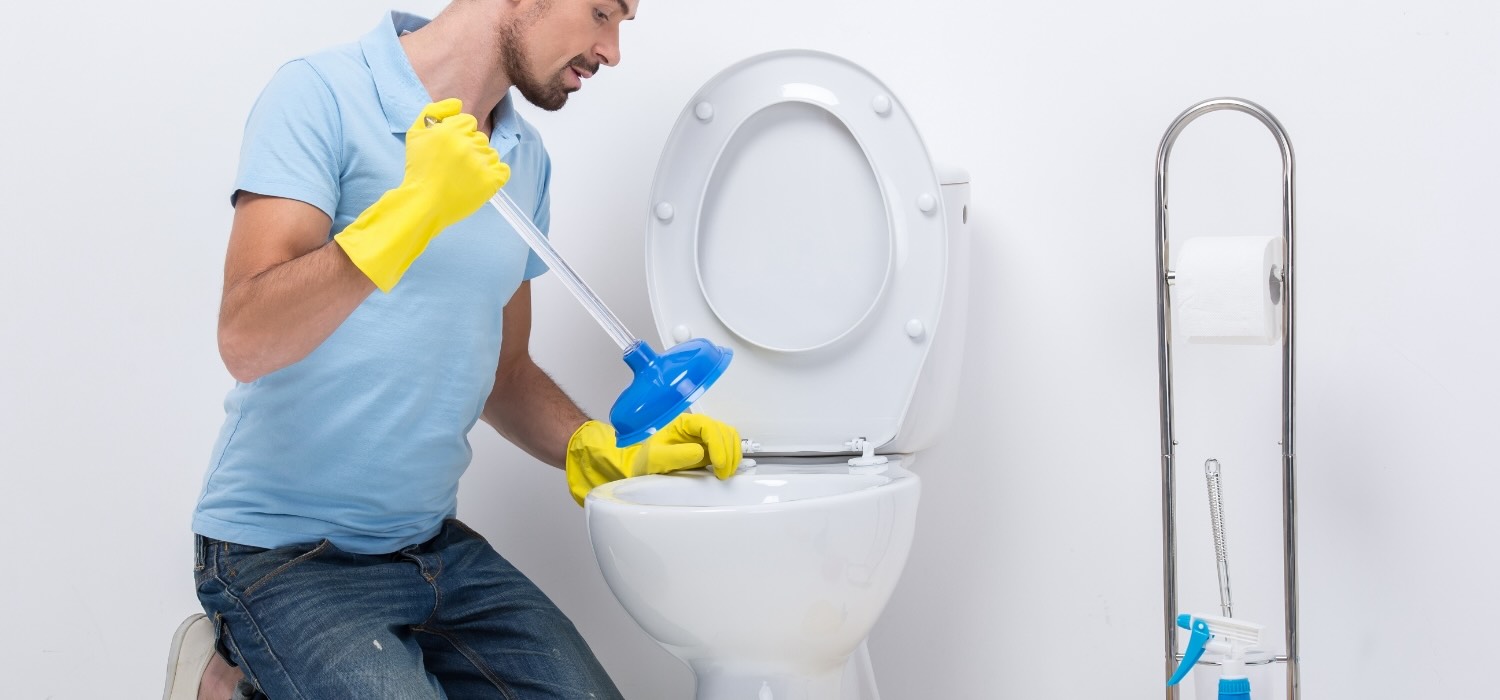
- Check for Any Blockage in the Standpipe or Sink: Ensure that the standpipe or sink drain where the washer drains into is not clogged. Clear any blockages using a drain snake or by pouring a mixture of baking soda and vinegar followed by boiling water down the drain.
Remember to always follow safety precautions and consult experts or professional technicians if you are unsure or uncomfortable performing any of the troubleshooting steps on your own. By following these steps, you can systematically identify and resolve the draining issue with your Whirlpool washer.
Checking and Cleaning the Drain Pump Filter
One common cause of a Whirlpool washer not draining properly is a clogged drain pump filter. Over time, debris such as lint, coins, and small objects can accumulate in the filter, obstructing water flow. Cleaning or replacing the filter can often resolve the issue. Here’s how you can check and clean the drain pump filter:
- Prepare the Washer: Unplug the washer from the power source and ensure that the water supply is turned off.
- Locate the Drain Pump Filter: The drain pump filter is typically located at the bottom front of the washer. Look for a small access panel or a round cover that can be twisted or pulled off.
- Place a Container: Place a shallow container or towel beneath the access panel to catch any water that may spill out during the cleaning process.
- Open the Drain Pump Filter: Remove the access panel or cover by twisting or pulling it off. Some models may have a small hose attached to the filter that can be used to release any built-up pressure.
- Inspect and Clean the Filter: Take a close look at the filter and check for any debris or clogs. Use gloves or a small brush to carefully remove any visible debris. If the filter is too dirty or damaged, consider replacing it with a new one.
- Clean the Filter Housing: While the filter is removed, take the opportunity to clean the filter housing as well. Use a soft cloth or brush to gently wipe away any dirt or residue.
- Reassemble the Filter: Once the filter and housing are clean, carefully reinsert the filter into its original position. Make sure it is securely in place and that any hoses or connectors are properly reattached.
- Clean Up and Test: Wipe away any water or debris that may have spilled during the cleaning process. Plug the washer back into the power source and turn on the water supply. Run a short cycle to test if the draining issue has been resolved.
Checking and cleaning the drain pump filter should be done regularly, as part of your washer’s maintenance routine. This simple step can help prevent clogs and ensure proper drainage, allowing your Whirlpool washer to operate smoothly.
Inspecting the Drain Hose for Clogs
If your Whirlpool washer is not draining properly, a clogged drain hose could be the culprit. Over time, debris, lint, or foreign objects can accumulate in the hose, obstructing the flow of water. Inspecting and clearing any clogs in the drain hose can help restore proper drainage. Here’s how you can inspect the drain hose:
- Prepare the Washer: Before you begin, unplug the washer from the power source to ensure your safety.
- Locate the Drain Hose: The drain hose is usually located at the back of the washer, near the bottom. It is a flexible tube that connects the washer to a drain or standpipe.
- Detach the Drain Hose: Carefully disconnect the drain hose from the washer. Place a shallow container or towel beneath the hose to catch any water that may spill out.
- Inspect the Hose: Examine the drain hose for any visible clogs or obstructions. Look for lint, small objects, or tangled debris that may be blocking the water flow. If you can see a clog, attempt to remove it using gloves or a long wire.
- Flush the Hose: Take the detached drain hose to a sink or outdoor area. Run water through the hose to flush out any remaining debris. Use a strong stream of water or attach a hose flusher to help clear the blockage.
- Clean the Hose: If necessary, use a plumber’s snake or an auger to dislodge any stubborn clogs. Carefully insert the tool into the hose and rotate it to break up the obstruction. Be cautious to avoid damaging the hose.
- Reattach the Hose: Once the drain hose is clear of clogs and debris, securely reattach it to the washer. Ensure that it is properly connected and tightened to prevent any leaks.
- Test for Proper Drainage: After reattaching the drain hose, plug the washer back into the power source and run a short cycle. Monitor the drainage to confirm that the water is flowing freely without any issues.
Inspecting and clearing the drain hose is a crucial step in resolving drainage problems with your Whirlpool washer. Regular maintenance and cleaning of the hose can help prevent future clogs and ensure optimal performance.
Read more: Why Does My Washer Not Drain
Verifying Proper Installation of Drain Hose
Proper installation of the drain hose is crucial for your Whirlpool washer to drain efficiently. If the drain hose is not installed correctly, it can lead to drainage issues and water backup. Verifying the proper installation of the drain hose can help resolve these problems. Here are the steps to follow:
- Unplug the Washer: Before attempting to verify the installation, ensure that the washer is unplugged from the power source to prevent any accidents.
- Locate the Drain Hose: The drain hose is typically located at the back of the washer and is connected to the drain pump or a standpipe.
- Check for Height Requirements: Review the user manual or the Whirlpool website to determine the recommended height at which the drain hose should be positioned. Incorrect positioning can lead to drainage problems. Ensure that the hose is not inserted too far into the standpipe or sink, as this can cause siphoning or backflow.
- Inspect for Proper Connection: Examine the connection points of the drain hose to ensure they are secure and snug. If the hose is loose or disconnected, water may leak or backup into the washer.
- Look for Kinks or Bends: Check the entire length of the drain hose for any kinks, bends, or twists. These can restrict water flow and cause drainage issues. If you find any, straighten the hose to allow for a smooth flow of water.
- Ensure Adequate Air Gap: If your washer is connected to a standpipe, make sure there is an air gap between the end of the drain hose and the pipe. This prevents water from flowing back into the washer and helps with proper drainage.
- Confirm Proper Ventilation: If the drain hose is connected to a sink or a vented drain, ensure that the vent is not blocked or obstructed. Proper ventilation is essential for effective drainage.
- Make Adjustments if Necessary: If you identify any installation issues during your inspection, make the necessary adjustments to ensure the drain hose is properly installed. This may involve repositioning the hose, tightening connections, or removing any kinks.
- Monitor Drainage: Once you have verified the proper installation of the drain hose, plug the washer back into the power source, and run a short cycle. Observe the drainage to ensure that the water is flowing smoothly without any backup or leaks.
Verifying the proper installation of the drain hose is an important step in resolving drainage issues with your Whirlpool washer. Taking the time to ensure a correct installation can prevent future problems and allow for efficient Water disposal.
Check the drain hose for clogs or kinks, and ensure it is not positioned too far into the standpipe. This can cause drainage issues in Whirlpool washers.
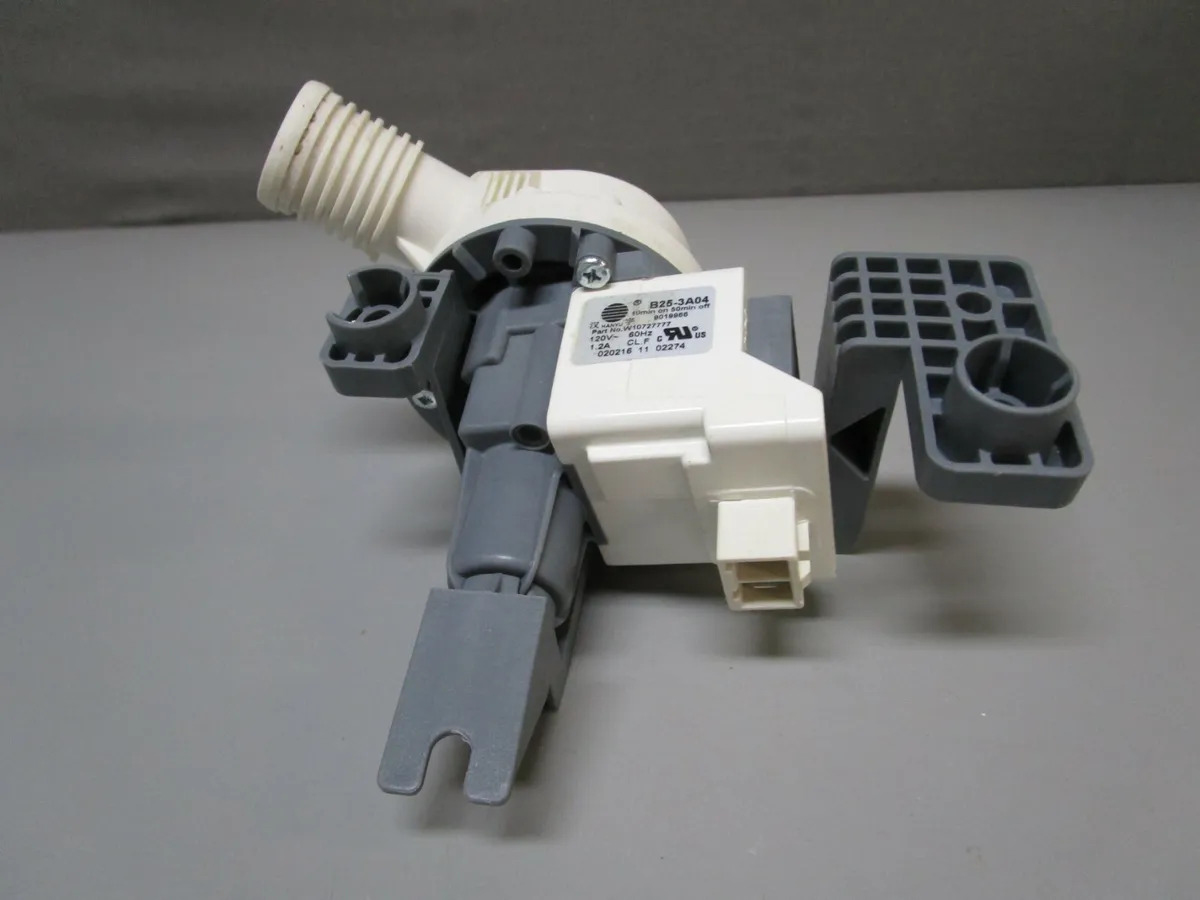
Checking the Drain Pump for Faults
If your Whirlpool washer is not draining properly, a faulty drain pump could be the underlying issue. The drain pump is responsible for removing water from the washer during the draining process. Inspecting the drain pump for faults can help identify and resolve the problem. Here’s how you can check the drain pump:
- Unplug the Washer: Before starting any inspection or maintenance tasks, unplug the washer from the power source to ensure safety.
- Locate the Drain Pump: The drain pump is typically located at the bottom front or back of the washer. Refer to the user manual or Whirlpool website to find the exact location for your model.
- Access the Drain Pump: Depending on your washer model, you may need to remove a panel or housing to access the drain pump. Follow the instructions provided in the user manual to safely open the pump compartment.
- Inspect for Obstructions: Once you have access to the drain pump, visually inspect it for any visible obstructions, such as lint, debris, or foreign objects. These obstructions can impede the functioning of the pump and prevent proper drainage.
- Check the Impeller: The drain pump contains an impeller that helps propel the water out of the washer. Ensure that the impeller is intact and free from any damage or blockages.
- Test the Pump Motor: Gently rotate the pump impeller to check if it moves freely. If it is stiff or stuck, this could indicate a mechanical issue with the pump motor. In some cases, the drain pump may need to be replaced.
- Electrical Testing: If you have the required knowledge and expertise, you can use a multimeter to test the electrical connections of the drain pump. This will help you determine if the pump is receiving power and if there are any faults in the wiring or motor.
- Seek Professional Assistance: If you are not comfortable performing electrical testing or if you suspect a significant issue with the drain pump, it is recommended to seek help from a professional technician. They will have the necessary expertise to diagnose and repair any complex pump problems.
- Reassemble the Pump: Once you have completed the inspection, carefully reassemble the drain pump and ensure that all connections are secure and tight. Follow the user manual for instructions on how to properly reattach any panels or housing.
- Test for Proper Drainage: Plug the washer back into the power source and run a short wash cycle to test if the drainage problem has been resolved. Monitor the draining process to ensure that the water is flowing correctly without any issues.
Checking the drain pump for faults is an important step in troubleshooting drainage problems with your Whirlpool washer. By carefully inspecting and testing the pump, you can determine if a malfunctioning pump is causing the issue and take the appropriate measures to fix it.
Examining the Lid Switch or Door Lock Assembly
If your Whirlpool washer is not draining properly, the lid switch or door lock assembly could be contributing to the issue. These components are designed to prevent the washer from operating when the lid or door is open. If they malfunction, they can interfere with the draining process. Here’s how you can examine the lid switch or door lock assembly:
- Unplug the Washer: Before inspecting any electrical components, disconnect the washer from the power source for safety purposes.
- Locate the Lid Switch or Door Lock Assembly: Depending on the model of your Whirlpool washer, the lid switch or door lock assembly can be found either at the top of the washer under the lid or on the front of the washer around the door area. Consult the user manual or the Whirlpool website for more specific information.
- Check for Visible Damage: Visually inspect the lid switch or door lock assembly for any signs of physical damage, such as cracks, loose connections, or broken parts. If you notice any visible issues, it may be necessary to replace the faulty component.
- Test the Functionality: Carefully operate the lid or door to engage or disengage the switch or lock. Pay attention to any unusual resistance or difficulty in locking or unlocking. If the switch or lock does not respond properly or fails to engage, it might be defective and require replacement.
- Clean the Components: Dust, dirt, or debris can sometimes interfere with the functionality of the lid switch or door lock assembly. Use a damp cloth or a small brush to clean the components and remove any buildup that may be affecting their operation.
- Ensure Proper Alignment: The lid switch or door lock assembly relies on precise alignment to function correctly. Check if the switch or lock and its corresponding counterpart on the washer align properly. If they are misaligned, adjust them accordingly to ensure a secure connection when the lid or door is closed.
- Reconnect any Loose Wires or Connections: Examine the wires and connections associated with the lid switch or door lock assembly. If any wires appear loose or disconnected, carefully reconnect them to their appropriate terminals. Ensure that the connections are secure and tight.
- Seek Professional Assistance if Needed: If you are unsure about inspecting or replacing electrical components, or if you suspect a more complex issue with the lid switch or door lock assembly, it is recommended to seek help from a professional technician. They will have the necessary expertise to diagnose and repair any intricate problems.
- Plug in the Washer and Test: Once you have completed the inspection and any necessary repairs or adjustments, plug the washer back into the power source. Run a short wash cycle and ensure that the drainage issue has been resolved. Monitor the draining process to confirm that the water is flowing smoothly without any complications.
By examining the lid switch or door lock assembly, you can determine if a malfunctioning component is causing the drainage problem in your Whirlpool washer. Taking the time to inspect, clean, and make any necessary repairs will help ensure proper operation of these crucial components.
Evaluating the Pressure Switch
If your Whirlpool washer is experiencing drainage problems, it’s important to evaluate the pressure switch. The pressure switch is responsible for detecting the water level inside the washer and signaling the drain pump to start draining. If the pressure switch malfunctions, it can lead to improper water level detection and hinder the draining process. Here’s how you can evaluate the pressure switch:
- Unplug the Washer: Before proceeding with any evaluation or maintenance tasks, always unplug the washer from the power source to ensure safety.
- Locate the Pressure Switch: The pressure switch is typically located at the top or side of the washer’s cabinet. Refer to the user manual or the Whirlpool website for the exact location and appearance of the pressure switch for your specific model.
- Examine the Pressure Switch Tube: The pressure switch is connected to a thin tube or air hose that leads to the washer’s tub. Inspect the tube for any signs of damage or blockages, such as cracks or clogs. A damaged or blocked tube can result in inaccurate water level detection and affect drainage.
- Blow into the Tube: Carefully detach the tube from the pressure switch and gently blow into it. Listen for a clicking sound from the switch as you blow. If you hear the click, it indicates that the pressure switch is functioning properly. If there is no click or the click is faint, the pressure switch may be faulty and require replacement.
- Test the Connections: Ensure that the tube is securely connected to both the pressure switch and the tub. Verify that the connections are tight and there are no air leaks. Loose or disconnected connections can disrupt the pressure signal and affect drain pump operation.
- Consult the User Manual: Refer to the user manual or the manufacturer’s instructions for any specific testing procedures recommended for your washer model. Some models may have additional steps or requirements for evaluating the pressure switch.
- Consider Electrical Testing: If you have the necessary tools and expertise, you can use a multimeter to test the electrical continuity of the pressure switch. Follow the guidelines provided in the user manual or seek professional assistance if you are unsure about performing electrical testing.
- Replace the Pressure Switch if Needed: If the pressure switch is found to be faulty or not functioning correctly, it may need to be replaced. Consult the user manual or contact Whirlpool customer support for guidance on how to purchase and install a new pressure switch.
- Reassemble and Test: After evaluating or replacing the pressure switch, reassemble any components and ensure all connections are secure. Plug the washer back into the power source and run a short cycle to test if the drainage problem has been resolved. Monitor the draining process to confirm smooth water flow without any issues.
Evaluating the pressure switch is an important step in troubleshooting drainage issues with your Whirlpool washer. By carefully examining and testing the pressure switch, you can determine if it is functioning properly and take the necessary steps to resolve any problems affecting the drainage process.
Read more: Why Is My Samsung Washer Not Draining
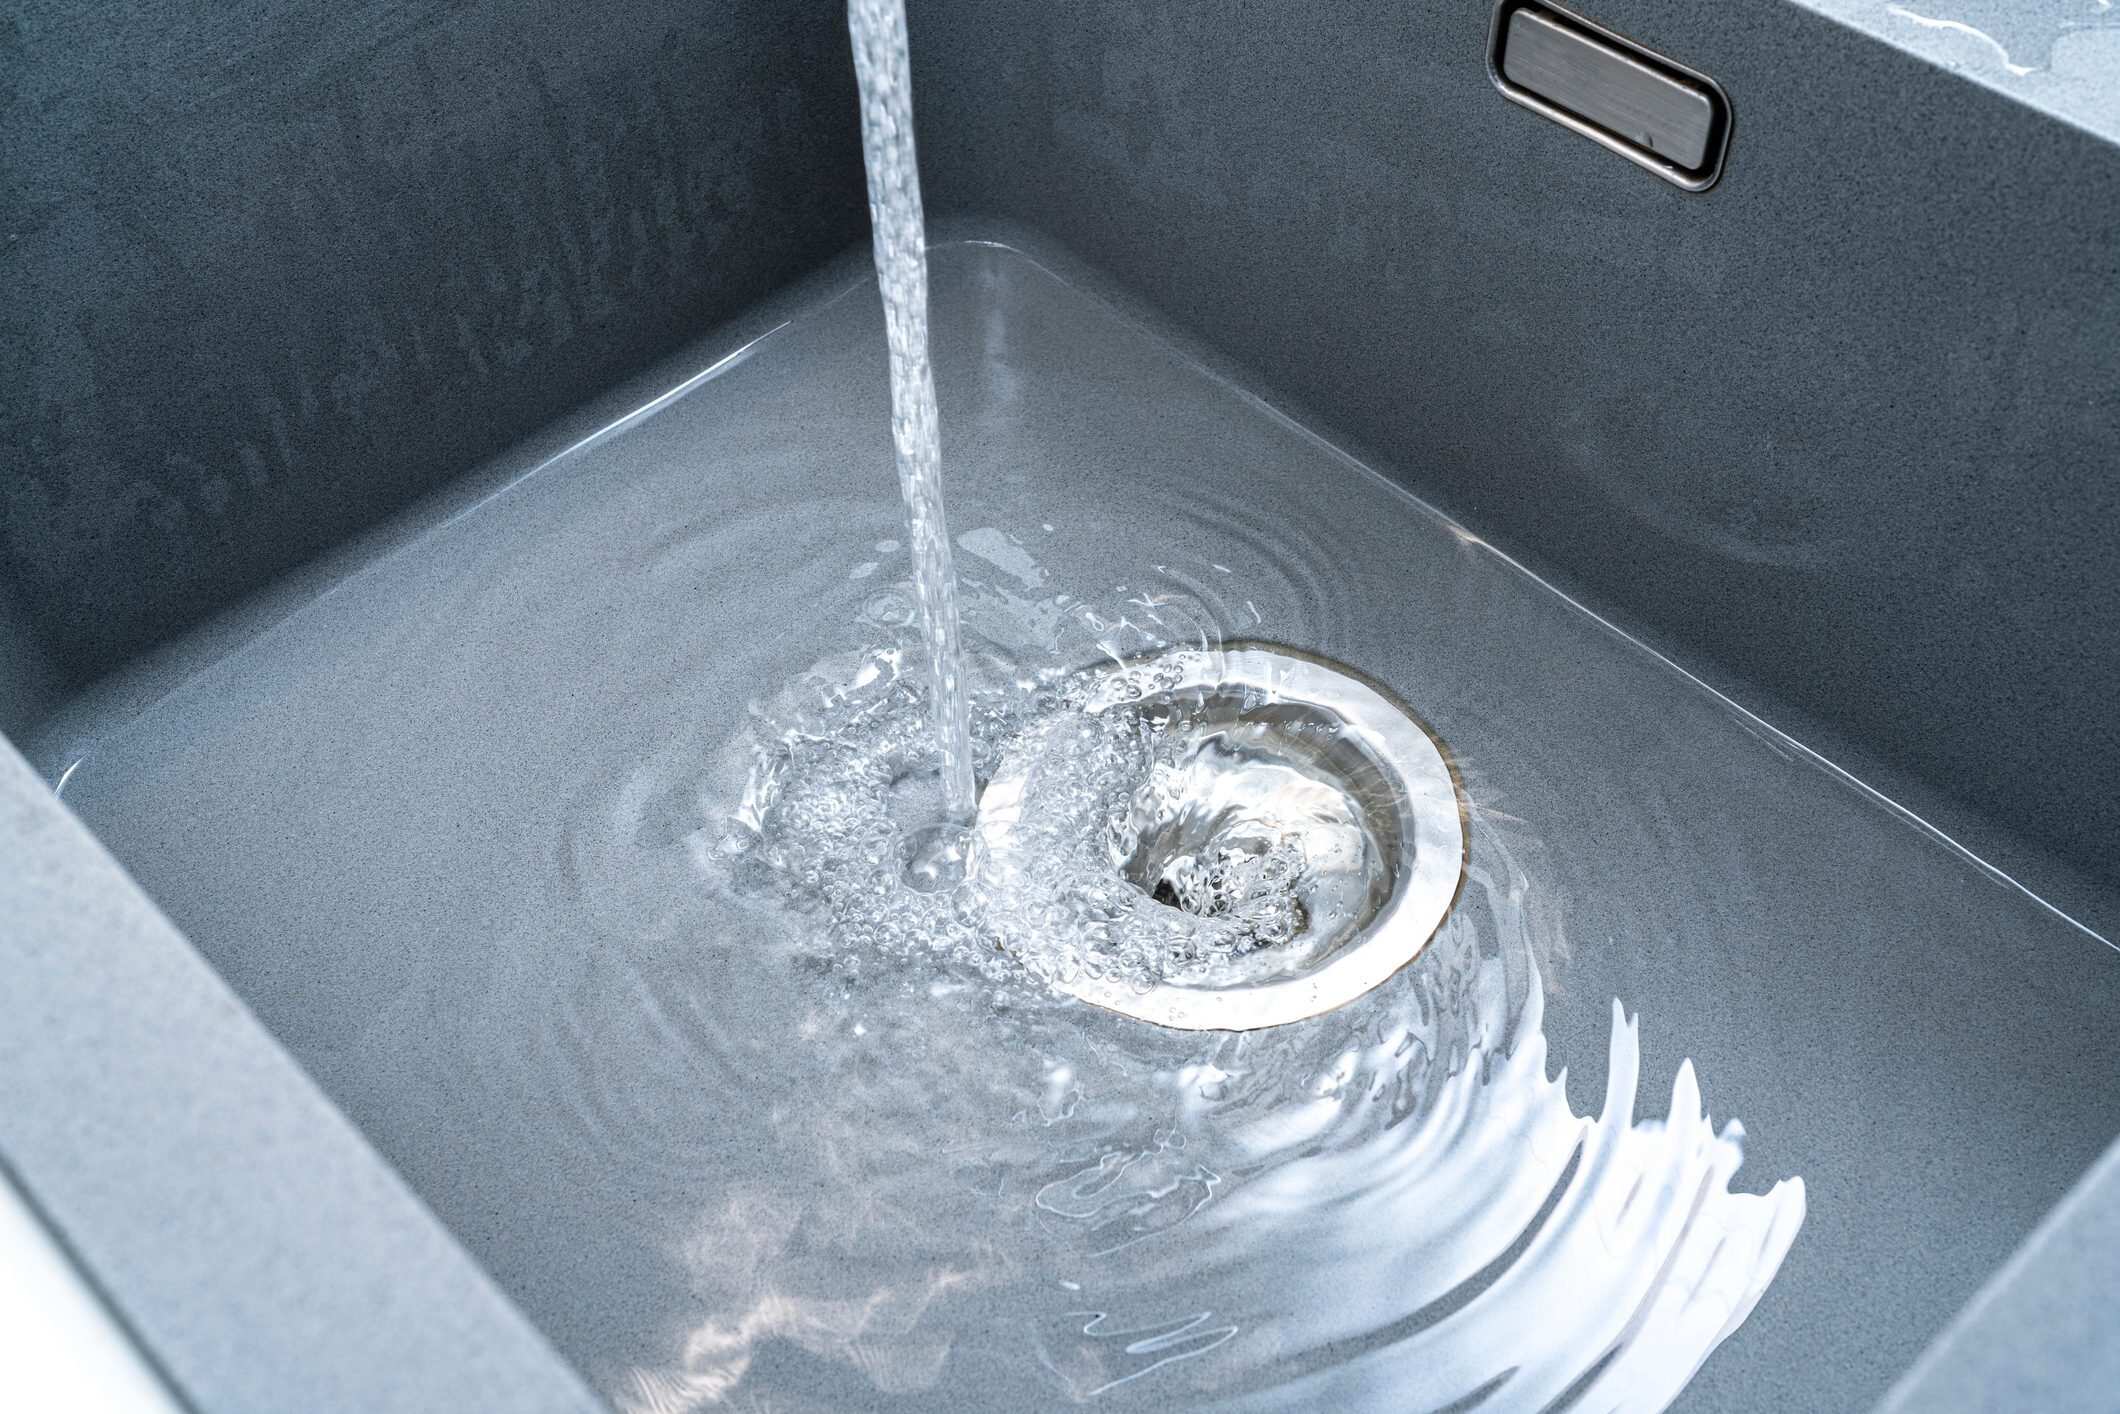
Checking for Any Blockage in the Standpipe or Sink
If your Whirlpool washer is not draining properly, it’s important to check for blockages in the standpipe or sink where the washer drains into. A blockage in the drainage system can prevent water from flowing out of the washer, leading to drainage issues. Here’s how you can check for any blockages:
- Unplug the Washer: Before starting any inspection or maintenance tasks, unplug the washer from the power source to ensure safety.
- Locate the Drainage Point: Identify the standpipe or sink where the washer drains into. This is typically located near the washer or in a nearby utility room or basement. The drain hose from the washer should be connected to this point.
- Observe the Drainage Point: Look for any signs of blockage, such as standing water, slow drainage, or gurgling sounds. These can indicate a clog in the standpipe or sink that is obstructing the flow of water from the washer.
- Clear any Visible Debris: Use gloves or a small brush to remove any visible debris or blockages. This may include lint, hair, or other objects that may have accumulated in the drain. Place a shallow container or towel beneath the drain to catch any water or debris that may spill out.
- Flush the Drainage System: Run water through the standpipe or sink to flush out any remaining debris. Use a strong stream of water or attach a hose flusher to help clear the blockage. If necessary, you can also try using a mixture of baking soda and vinegar followed by boiling water to dissolve any stubborn clogs.
- Use a Plumbing Snake: If the blockage is not being cleared by flushing alone, you can try using a plumbing snake or auger to dislodge the clog. Carefully insert the snake into the standpipe or sink drain and rotate it to break up the obstruction. Be cautious when using a plumbing snake to avoid damaging the pipes.
- Consider Professional Assistance: If you are unable to clear the blockage or suspect a more complex issue with the drainage system, it may be necessary to seek help from a professional plumber. They have the expertise and specialized tools to tackle stubborn clogs or identify and resolve drainage problems.
- Reconnect the Drain Hose: After you have cleared the blockage, securely reattach the drain hose from the washer to the standpipe or sink. Ensure that it is properly connected and tightened to prevent any leaks or further drainage issues.
- Test for Proper Drainage: Once you have cleared any blockages and reconnected the drain hose, plug the washer back into the power source and run a short cycle. Monitor the drainage to confirm that the water is flowing freely without any backup or leaks.
Checking for and clearing any blockages in the standpipe or sink is an essential step in resolving drainage problems with your Whirlpool washer. By ensuring there are no obstructions in the drainage system, you can help restore proper water flow and prevent future drainage issues.
Conclusion
When your Whirlpool washer is not draining properly, it can be frustrating and disrupt your daily routine. However, by understanding the potential causes and following the appropriate troubleshooting steps, you can effectively diagnose and resolve the issue.
In this article, we explored various possible causes of a Whirlpool washer not draining, including clogged drain pump filters, blocked drain hoses, improper installation of the drain hose, faulty drain pumps, defective lid switches or door lock assemblies, issues with the pressure switch, and blockages in the standpipe or sink. By systematically examining each of these areas, you can identify the root cause of the drainage problem and take the necessary steps to fix it.
We discussed how to check and clean the drain pump filter, inspect the drain hose for clogs, verify the proper installation of the drain hose, examine the lid switch or door lock assembly, evaluate the pressure switch, and check for any blockages in the standpipe or sink. Following these troubleshooting steps can help you resolve common drainage issues in your Whirlpool washer.
Remember to always prioritize your safety when performing any maintenance tasks, such as unplugging the washer before inspections and following proper procedures. If you are unsure or uncomfortable performing any of the troubleshooting steps, it is advisable to seek assistance from a professional technician with expertise in Whirlpool washers.
By taking the time to understand the potential causes and following the appropriate steps to troubleshoot and resolve drainage issues in your Whirlpool washer, you can ensure optimal performance and restore the convenience of smooth and efficient laundry cycles.
Frequently Asked Questions about Why Is My Whirlpool Washer Not Draining
Was this page helpful?
At Storables.com, we guarantee accurate and reliable information. Our content, validated by Expert Board Contributors, is crafted following stringent Editorial Policies. We're committed to providing you with well-researched, expert-backed insights for all your informational needs.
0 thoughts on “Why Is My Whirlpool Washer Not Draining”