Articles
How To Unclog A Basement Drain
Modified: January 18, 2024
Discover effective methods and tips on how to unclog a basement drain in our informative articles.
(Many of the links in this article redirect to a specific reviewed product. Your purchase of these products through affiliate links helps to generate commission for Storables.com, at no extra cost. Learn more)
Introduction
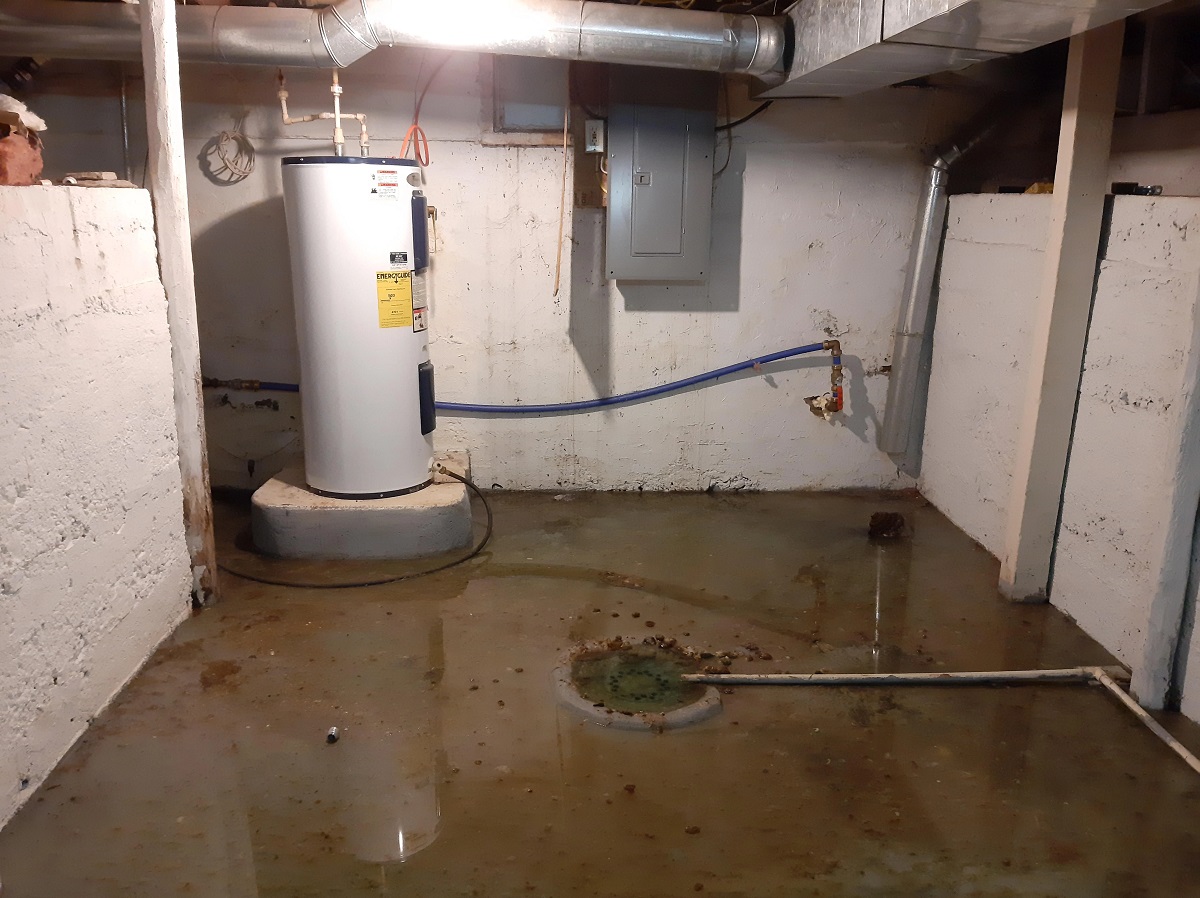
Having a clogged basement drain can be a frustrating and messy problem to deal with. Not only can it result in unpleasant odors and potential water damage, but it can also disrupt the functionality of your basement, affecting laundry, plumbing, and other activities. But fret not, as unclogging a basement drain is a relatively straightforward process that can be done with a few simple steps and the right tools.
In this article, we will guide you through the process of unclogging a basement drain, ensuring that your basement remains clean, dry, and fully functional. We will provide you with step-by-step instructions, along with the necessary tools and materials, to make the process as smooth and hassle-free as possible. So let’s dive in and get your basement drain flowing freely once again!
Key Takeaways:
- Unclogging a basement drain requires basic tools like a plunger and drain snake, along with protective gear. Using natural DIY solutions or chemical drain cleaners, followed by hot water, can effectively clear clogs and restore proper drainage.
- Regular maintenance and preventive measures, such as using drain covers and cleaning the drain with hot water, can minimize the chances of future clogs. If persistent issues arise, seeking professional help is advisable to avoid potential damage.
Read more: How To Unclog Freezer Drain
Tools and Materials Needed
Before you begin unclogging your basement drain, it’s essential to gather all the necessary tools and materials. Having everything on hand will ensure that you can complete the task without any interruptions. Here is a list of items you will need:
- Plunger: A plunger is a basic tool that can be highly effective in dislodging minor clogs in your basement drain.
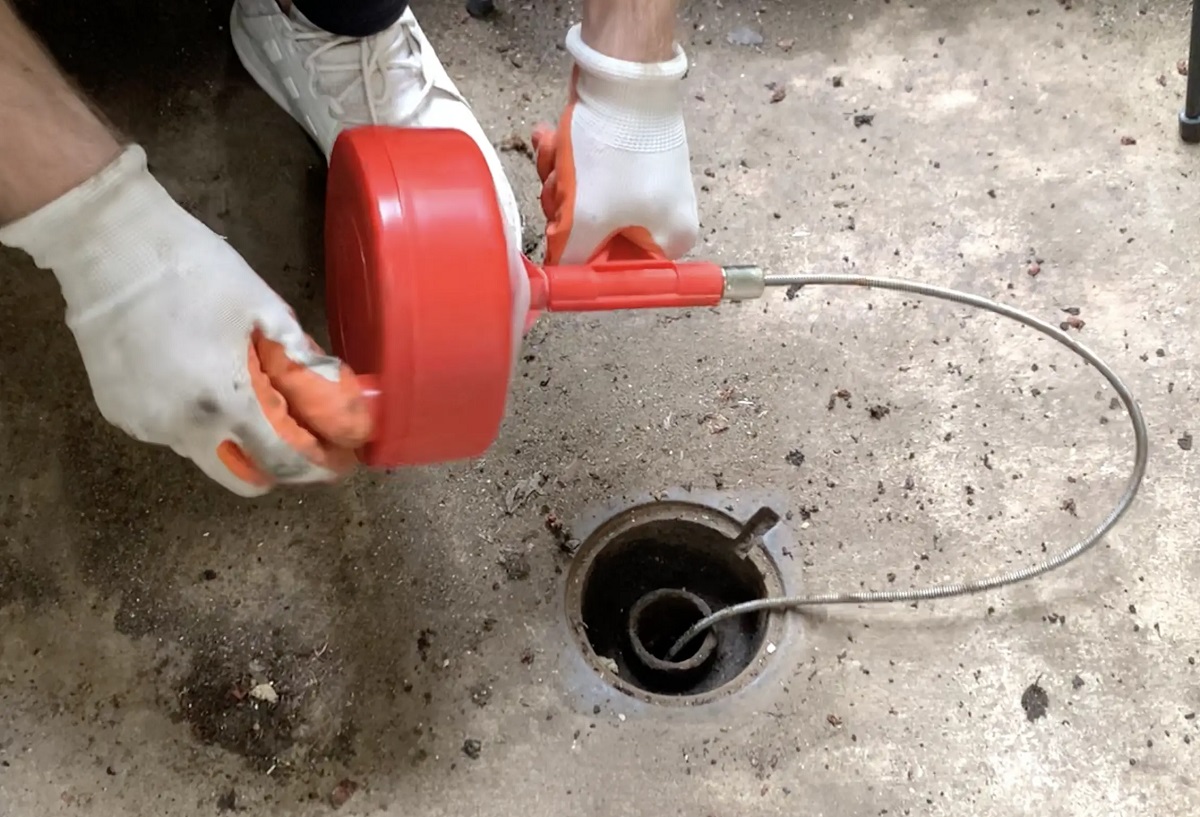
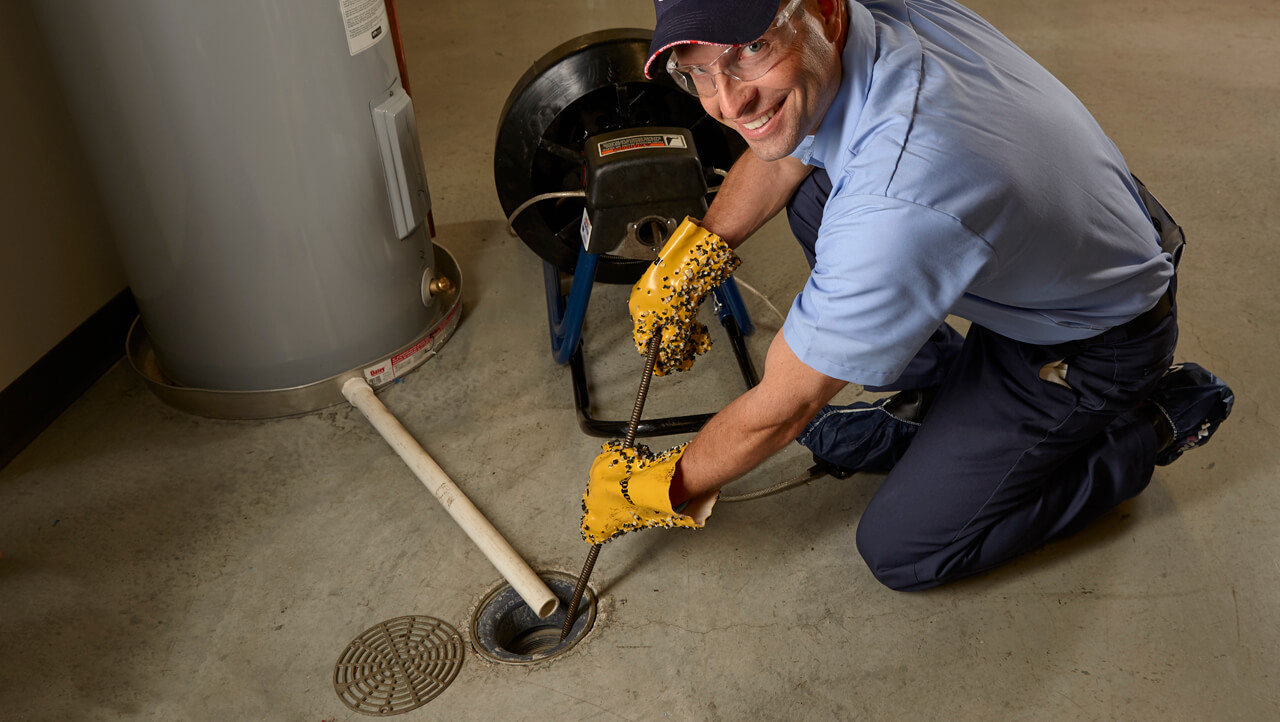
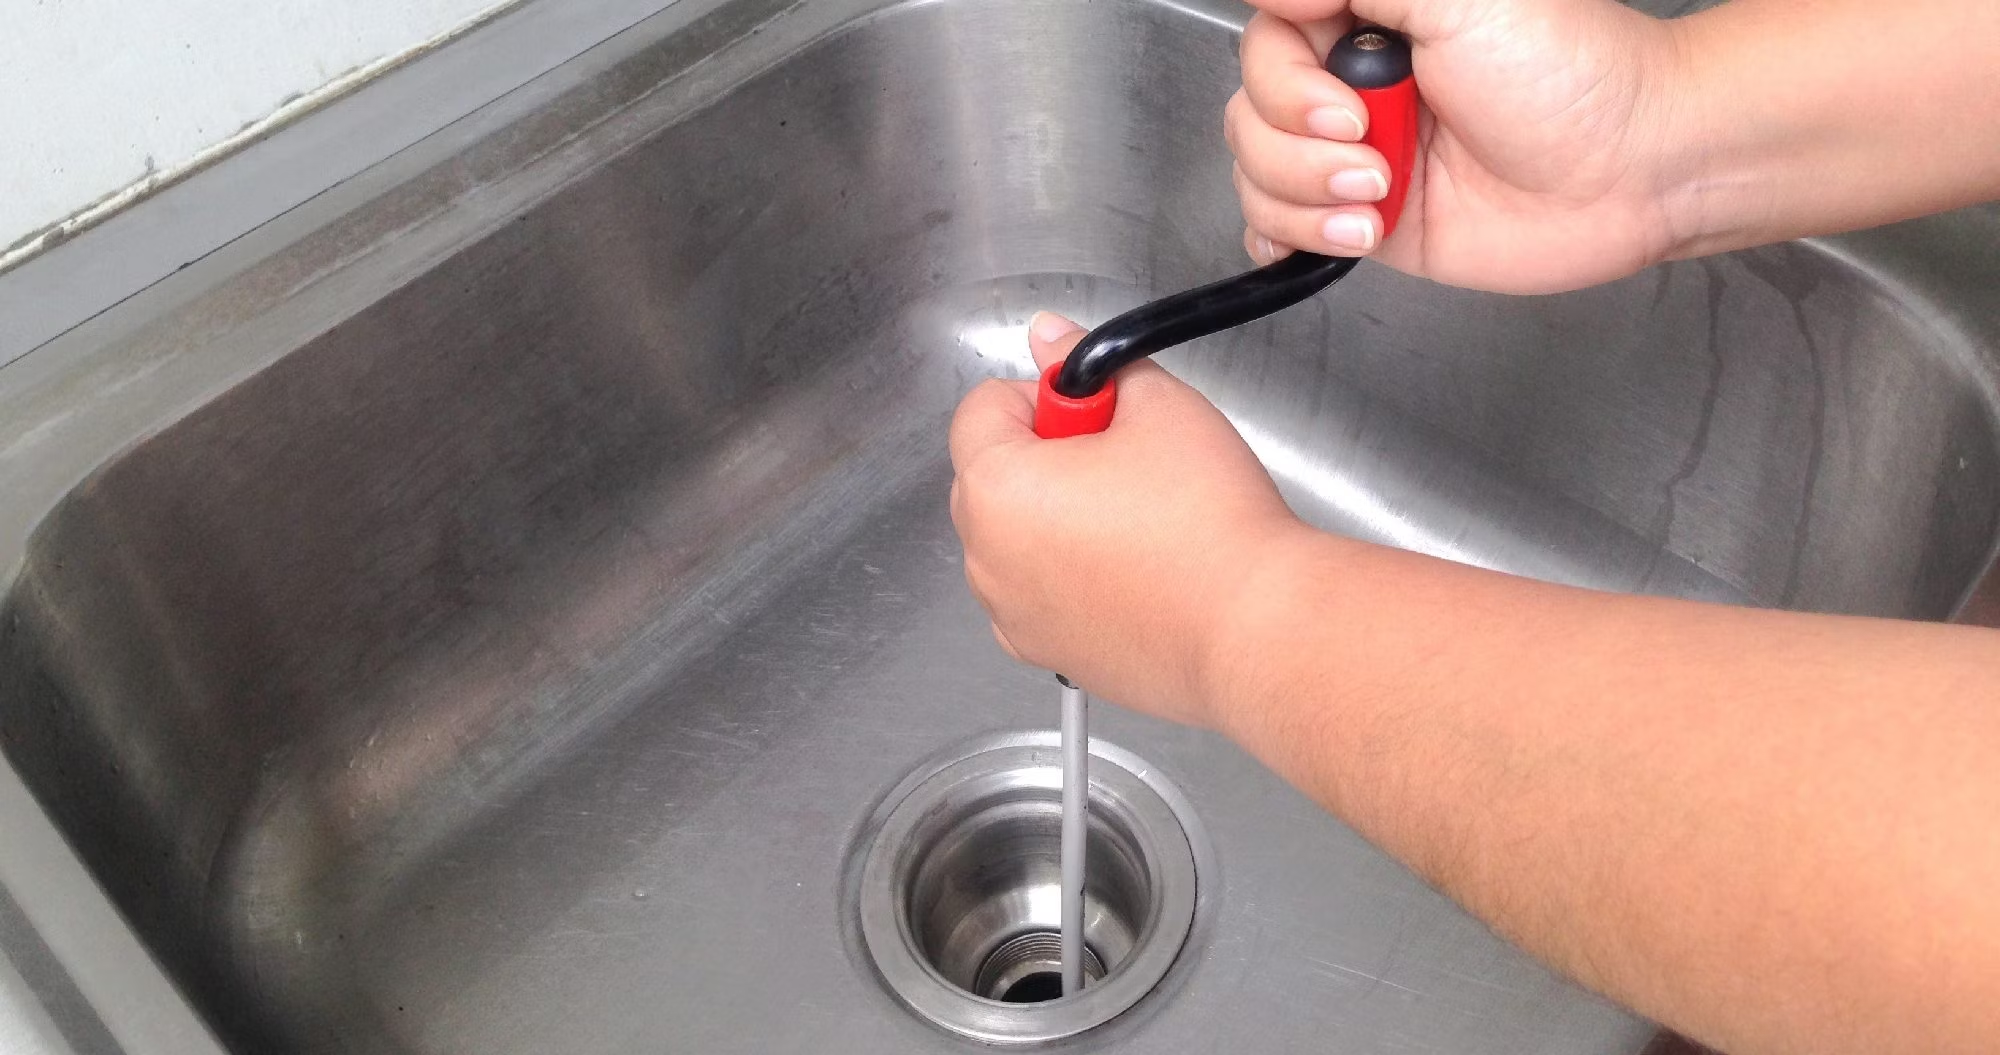
- Drain Snake: A drain snake, also known as a plumbing auger, is a long, flexible tool designed to navigate through pipes and break up clogs. This tool is particularly useful for more stubborn blockages.
- Bucket: Have a bucket or a large container nearby to catch any water that may overflow during the unclogging process.
- Gloves: To protect your hands from any potential debris or chemicals, it’s advisable to wear a pair of rubber gloves.
- Protective Eyewear: Safety should always come first. Wear protective eyewear, such as goggles, to shield your eyes from any splashing water or debris.
- Drain Cleaner: Choose a drain cleaner specifically designed for clearing clogs in basement drains. Look for products that are safe for your plumbing system and effective against common clogging agents like hair, dirt, and soap scum.
- Hot Water: Have access to hot water, either from a nearby tap or by heating it separately. Hot water can help to break down and flush away any remaining debris after using the drain cleaner.
By gathering these tools and materials in advance, you’ll be fully prepared to tackle the task of unclogging your basement drain. Now that we have everything ready, let’s move on to the step-by-step process of unclogging the drain.
Step 1: Locate the Drain
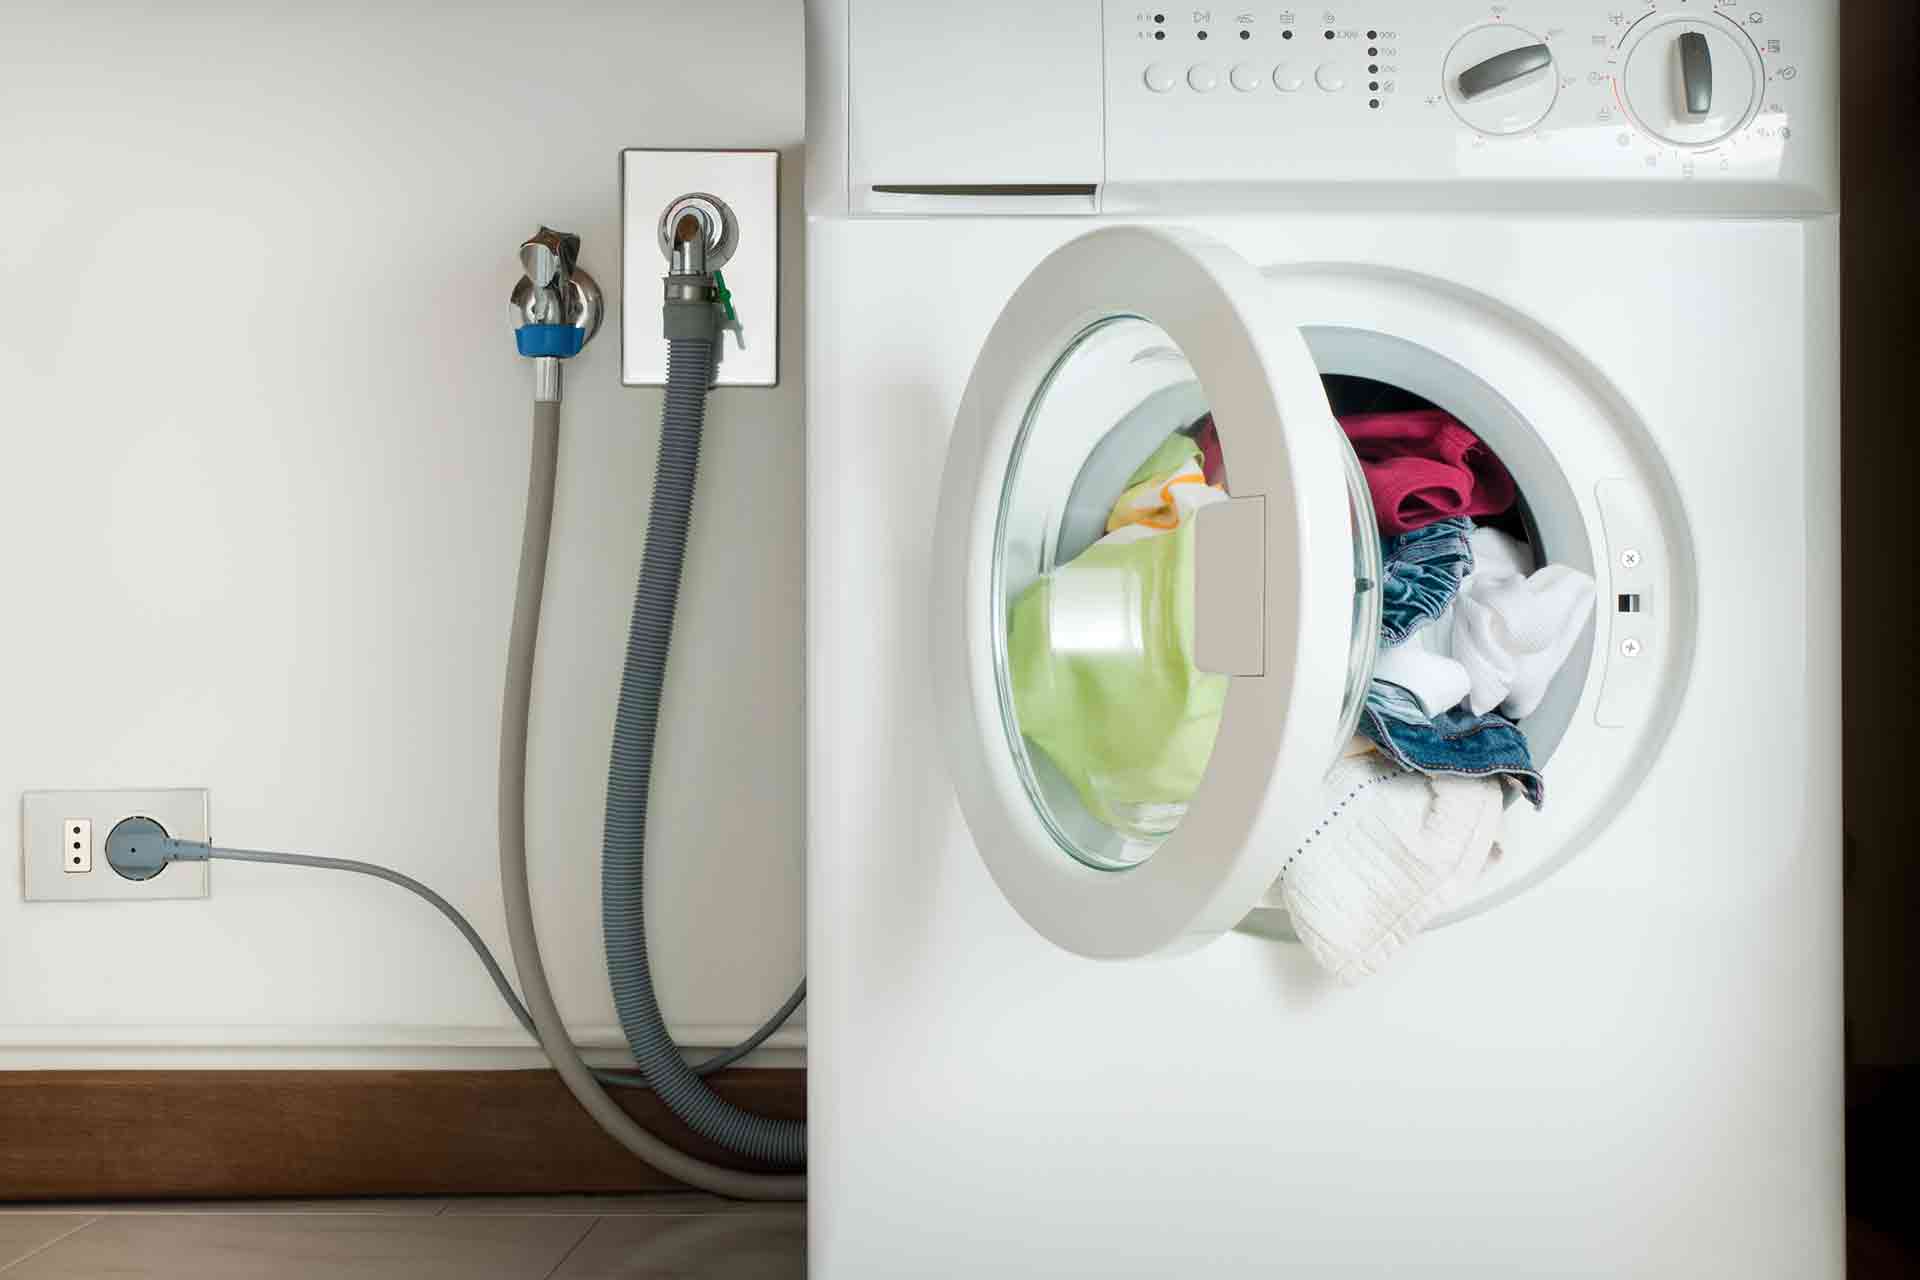
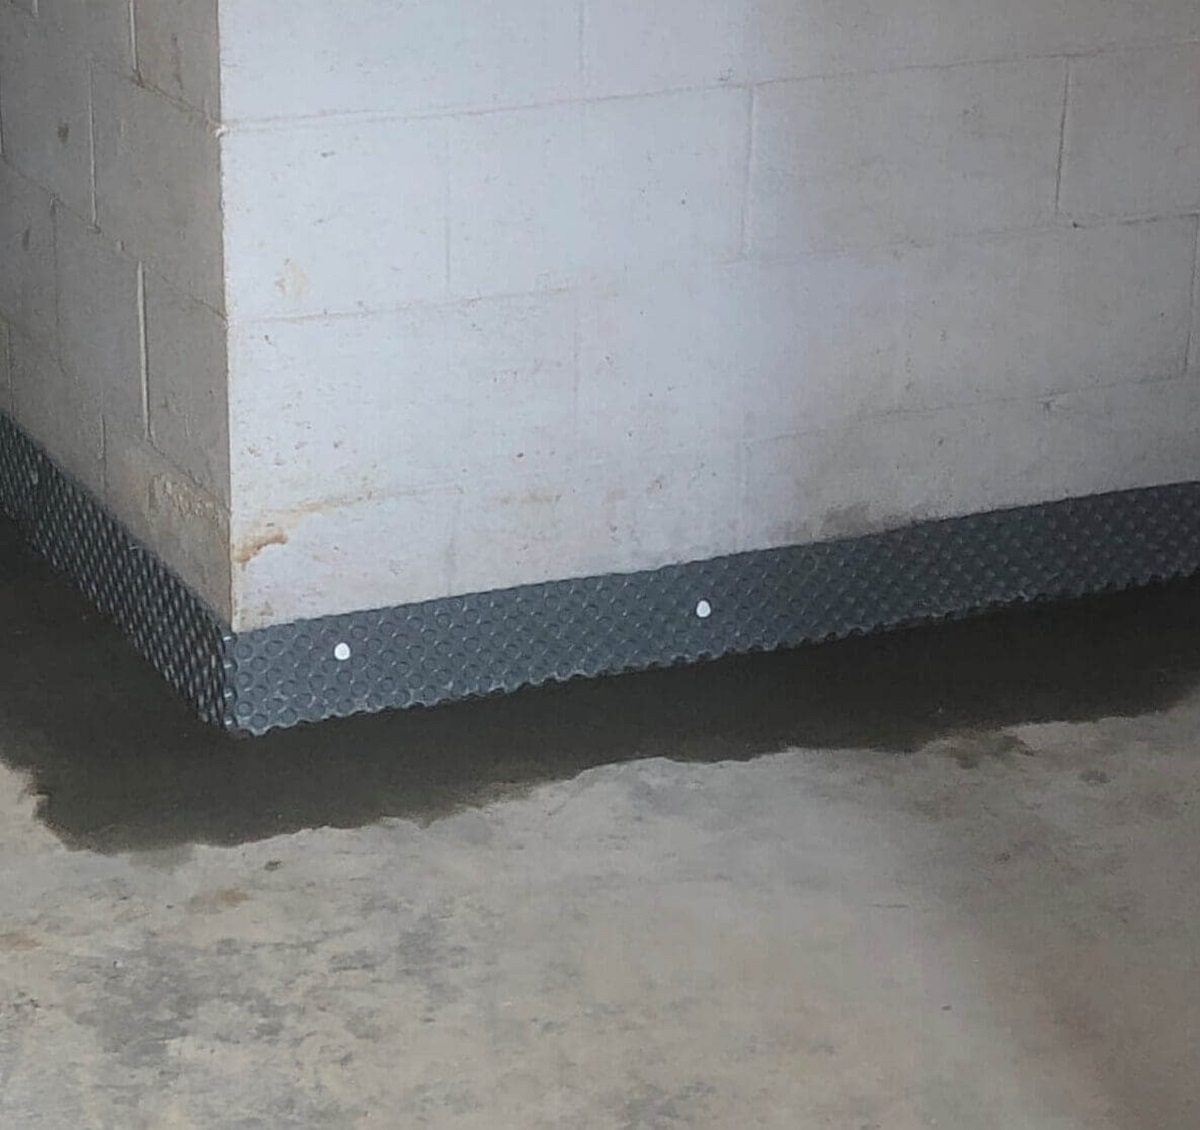
The first step in unclogging your basement drain is to locate its exact position. This will vary depending on the layout of your basement and the plumbing system. In most basements, the drain can typically be found in a utility room, laundry area, or floor drain in the center of the room.
Start by visually inspecting your basement to identify any visible drains. Look for floor grates or metal covers that indicate the presence of a drain. Additionally, you can consult your basement’s blueprints or contact a plumber for assistance if you’re unsure about the drain’s location.
Once you’ve located the drain, clear away any debris or obstructions near it. This will ensure easy access to the drain and prevent any loose objects from falling into it during the unclogging process.
It’s important to note that some basement drains may have a removable cover or grate. If applicable, carefully remove the cover by unscrewing any fasteners or lifting it off. Be cautious not to damage the cover or the surrounding area.
By taking the time to locate and clear the area around the drain, you’ll be ready to proceed with the unclogging process in the next steps. With the drain visible and accessible, you can effectively tackle the clog and restore the proper functioning of your basement drain.
Step 2: Remove any Obstructions near the Drain
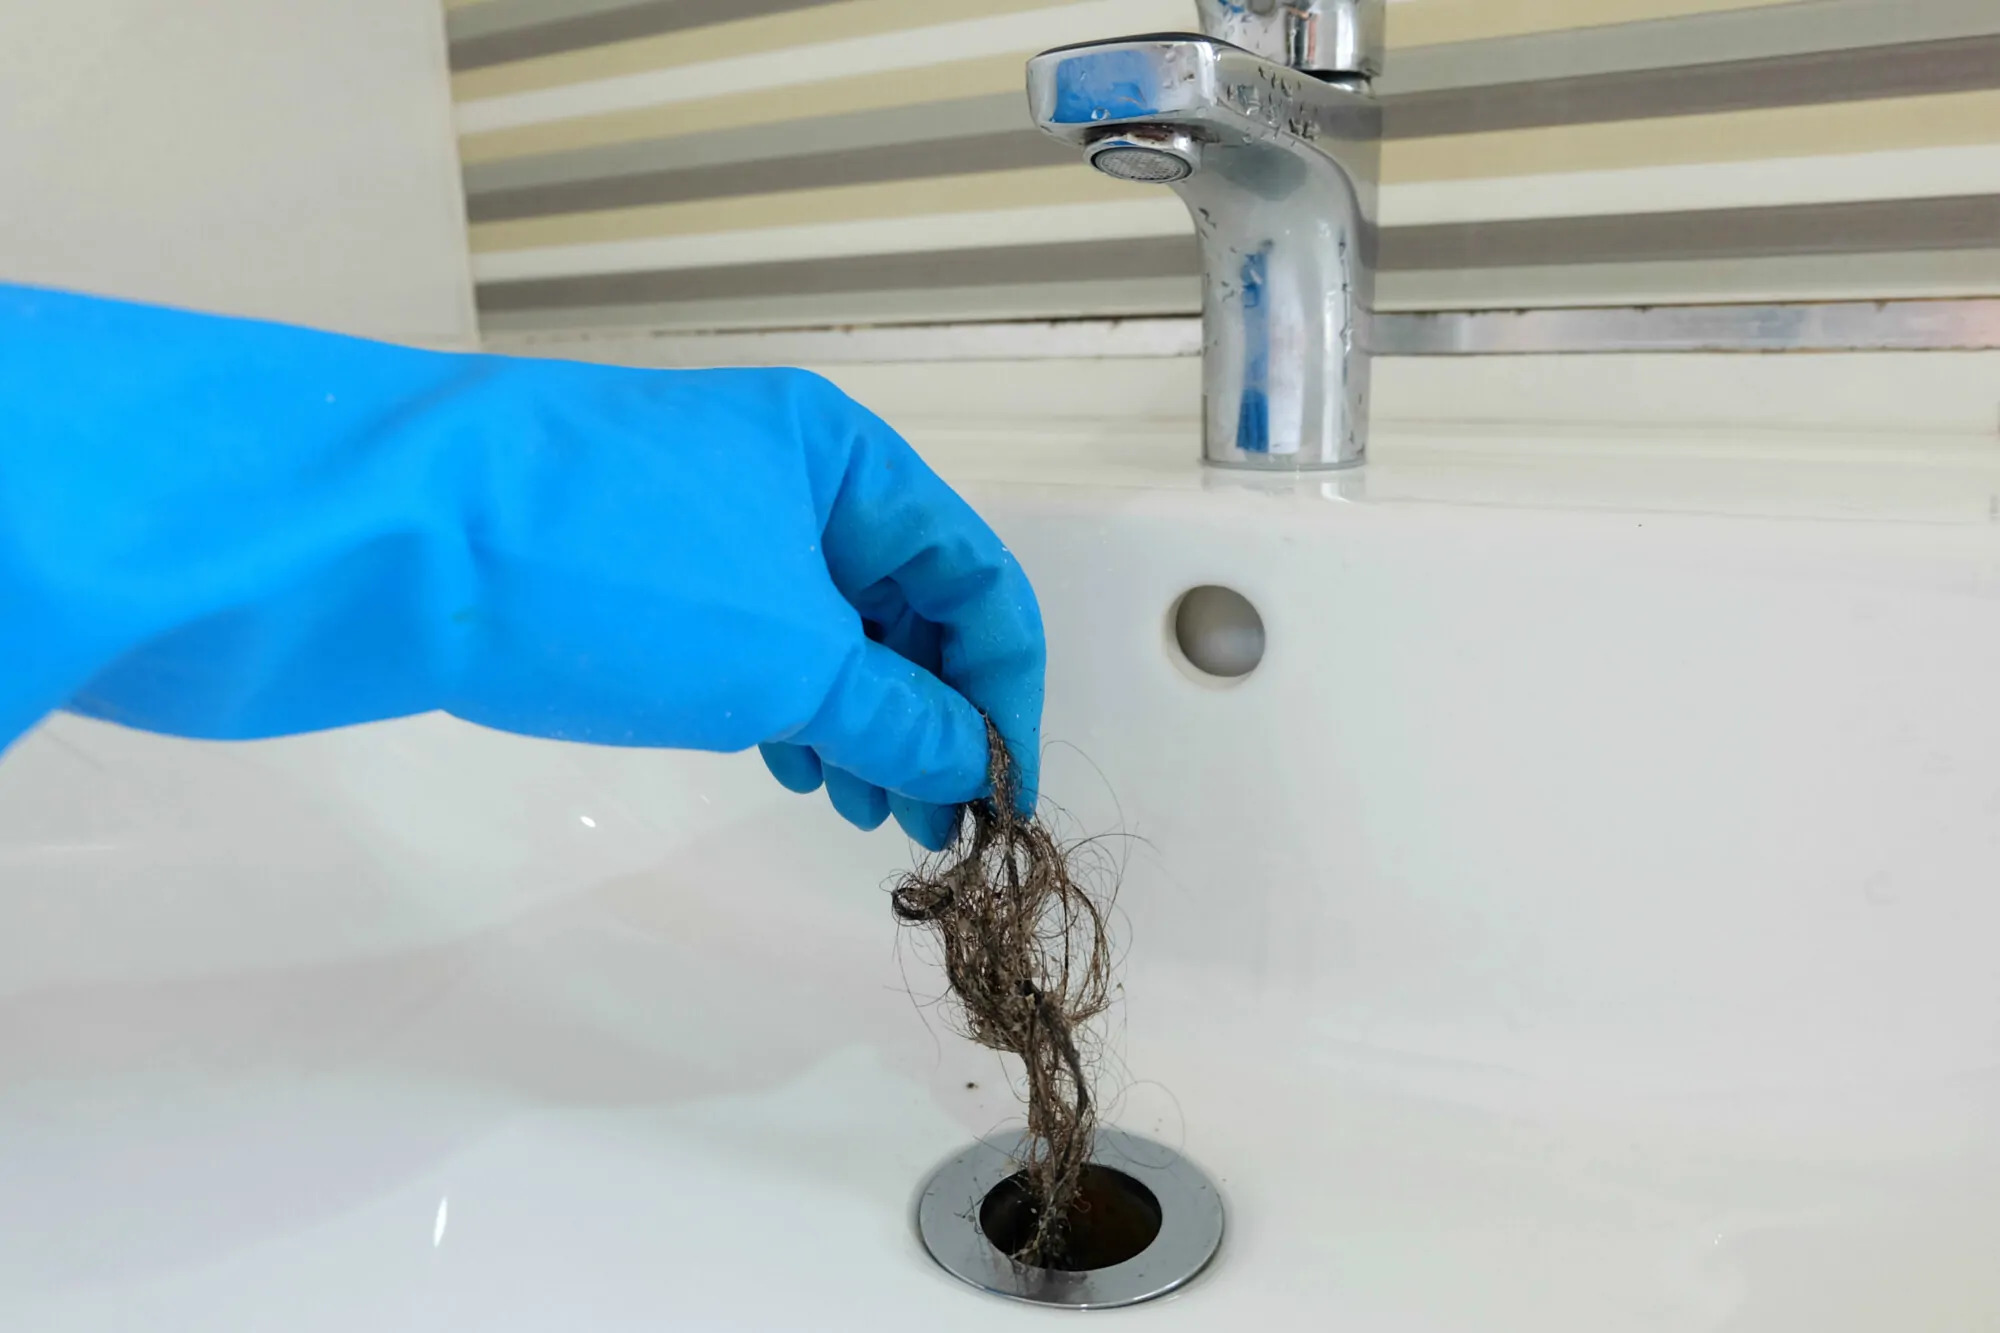
Before proceeding with unclogging the basement drain, it is important to remove any visible obstructions near the drain. This includes removing debris, dirt, or any objects that may impede the flow of water.
Start by using a flashlight to inspect the area around the drain for any visible obstructions. Remove any loose objects that may have fallen into the drain, such as small toys, hairpins, or paper towels. It’s essential to clear the area to ensure that the drain cleaner or other unclogging methods can effectively reach the clog.
If there is a removable cover or grate over the drain, clean it thoroughly as well. Remove any debris or buildup that may have accumulated on the cover. Also, check the cover for cracks or damage that may hinder water flow or contribute to future clogs.
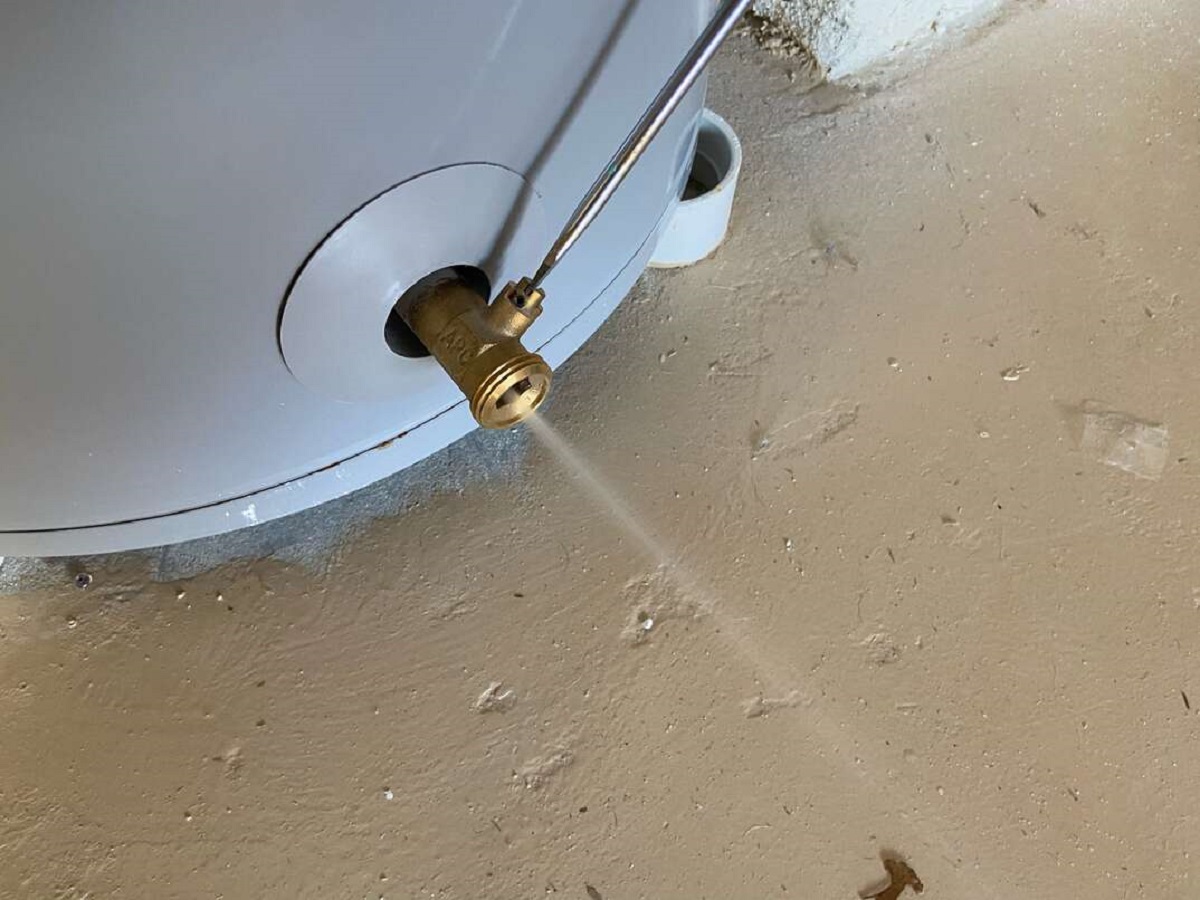
For floor drains, there may be a built-in trap or cleanout plug that needs to be accessed. Use a wrench to loosen and remove the cleanout plug, if present, to inspect and clean the trap area. Be cautious not to damage the plug or surrounding plumbing fixtures.
Once you have removed any visible obstructions and cleaned the area around the drain, you are now ready to proceed with the next step of preparing the drain cleaner.
Remember, safety is crucial when dealing with plumbing systems. Be cautious while removing obstructions and wear gloves to protect your hands from any sharp objects or debris.
Step 3: Prepare the Drain Cleaner
Now that you have cleared the area around the drain, it’s time to prepare the drain cleaner. There are several options available, ranging from chemical-based cleaners to natural DIY solutions.
If you choose to use a chemical drain cleaner, follow the instructions provided by the manufacturer. These cleaners are typically available in liquid or gel form and contain powerful chemicals that can dissolve clogs. It is important to read and understand the safety precautions and usage instructions before proceeding.
Alternatively, you can opt for a more eco-friendly approach by using a natural drain cleaner. A popular DIY solution involves combining equal parts of baking soda and vinegar. The chemical reaction between the baking soda and vinegar creates a fizzy solution that can help break down and dislodge clogs. Pour the baking soda down the drain first, followed by the vinegar. Allow the mixture to sit for a few minutes before moving on to the next step.
It’s important to note that while natural drain cleaners are generally safe for your plumbing system, they may not be as potent as chemical-based options. If you’re dealing with a stubborn or severe clog, you may need to use a stronger drain cleaner or seek professional assistance.
Regardless of the type of drain cleaner chosen, always ensure proper ventilation in the basement area. Open windows or use fans to allow fresh air to circulate, especially when working with chemical cleaners.
With the drain cleaner prepared, you are ready to move on to the next step of pouring it into the drain.
Pouring a mixture of hot water and vinegar down the basement drain can help break up clogs and clear the pipe. Let it sit for 30 minutes before flushing with hot water.
Read more: How To Unclog Dishwasher Drain
Step 4: Pour the Drain Cleaner into the Drain
With the drain cleaner prepared, it’s time to pour it into the basement drain to break down the clog. Follow these steps to ensure proper application:
- For liquid or gel drain cleaners: Carefully pour the recommended amount of drain cleaner into the drain opening. Be sure to pour it directly into the drain rather than letting it spill onto the surrounding floor or walls. Use a funnel if necessary to avoid any spills.
- For DIY solutions: If you’re using a natural drain cleaner, such as the baking soda and vinegar mixture, pour the solution into the drain. Begin by pouring the baking soda down the drain, followed by the vinegar. The fizzing reaction will help break down the clog.
- Be mindful of the quantity: Follow the instructions on the drain cleaner packaging or the proportions for the DIY solution. Using too little may not effectively break down the clog, while using too much may lead to overflow or damage to the plumbing system.
Once you have poured the drain cleaner into the drain, avoid using the sink, shower, or any other plumbing fixtures connected to the basement drain. This will give the cleaner enough time to work on breaking down the clog without interference.
It’s essential to exercise caution when handling drain cleaners, as they contain powerful chemicals. Avoid contact with your skin or eyes, and carefully follow the instructions provided by the manufacturer. If any spillage occurs, clean it up immediately and dispose of the cleaner properly according to local regulations.
Now that the drain cleaner has been applied, it’s time to allow it to sit and work its magic. Proceed to the next step for further instructions on how long to let the cleaner sit before moving to the next phase of the unclogging process.
Step 5: Let the Drain Cleaner Sit
After pouring the drain cleaner into the basement drain, it’s important to allow it some time to work its way through the clog and break it down. The duration for which the drain cleaner should sit will depend on the type of cleaner used.
If you’re using a chemical-based drain cleaner, refer to the instructions provided by the manufacturer. Typically, you will need to wait anywhere from 15 minutes to a few hours for the cleaner to dissolve the clog. During this time, avoid using any plumbing fixtures connected to the basement drain to prevent the cleaner from being washed away or diluted.
For natural DIY solutions, such as the baking soda and vinegar mixture, it’s also recommended to allow the solution to sit for about 30 minutes. This will give the fizzy reaction enough time to work on breaking down the clog.
While the drain cleaner sits, it’s a good opportunity to clean up any spills or drips that may have occurred during the pouring process. In the case of chemical cleaners, make sure to clean up any residue and dispose of it according to the manufacturer’s instructions or local regulations.
During this waiting period, it’s important to exercise caution and keep the area well-ventilated. Open windows or use fans to maintain proper airflow and prevent any potential fumes from accumulating in the basement.
Once the recommended timeframe has passed, it’s time to move on to the next step of the unclogging process: flushing the drain with hot water.
Note: If you are uncertain about the effectiveness of the drain cleaner or if the clog is particularly stubborn, you may need to repeat the application and allow the cleaner to sit for a longer period. However, always follow the instructions and dosage guidelines provided to avoid any potential damage to your plumbing system.
Step 6: Flush the Drain with Hot Water
Now that the drain cleaner has had sufficient time to work on breaking down the clog, it’s time to flush the drain with hot water. The hot water will help push any remaining debris through the pipes and clear the clog.
Follow these steps to effectively flush the drain with hot water:
- Boil a pot or kettle of hot water. Make sure the water is at a temperature that doesn’t pose any safety risks and can be safely poured down the drain.
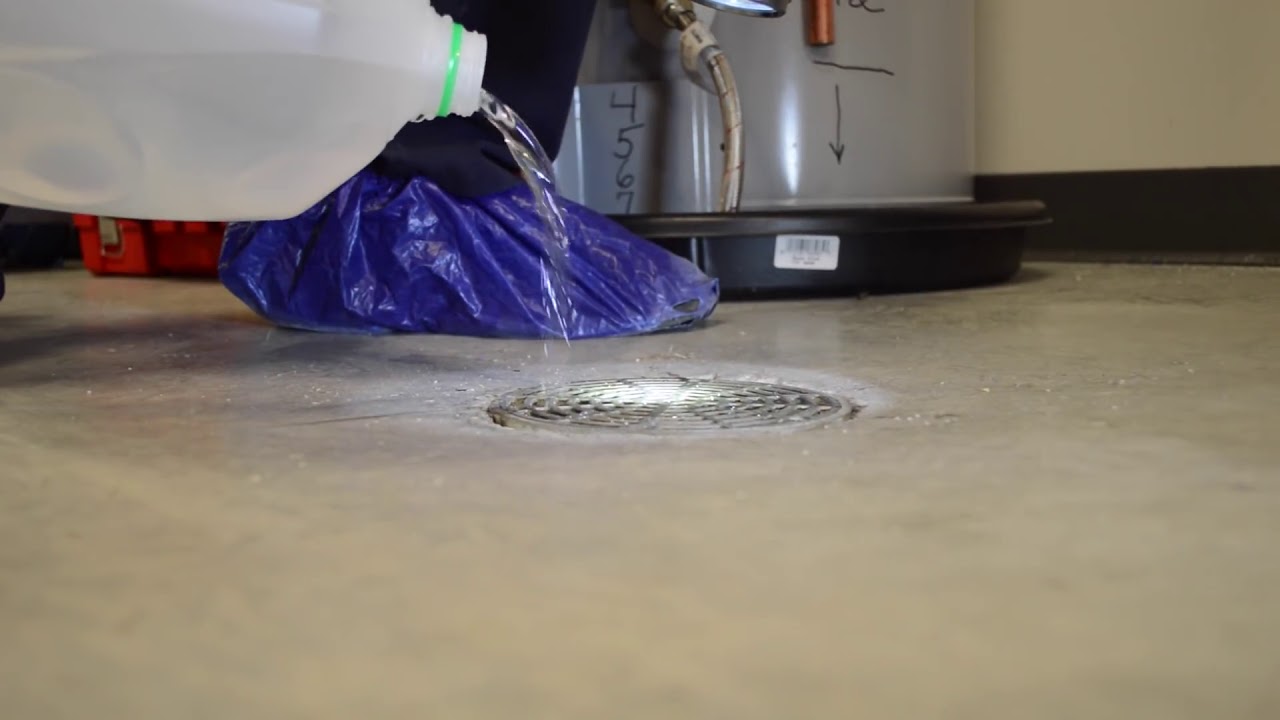
- Carefully pour the hot water into the drain. Start by pouring a small amount initially, allowing it to flow through and evaluate the drainage. If the water drains quickly and smoothly, you can continue pouring the remaining hot water. If the water drains slowly or appears to be backing up, wait for it to recede before pouring more.
- Slowly and steadily pour the hot water down the drain. If you’re pouring from a pot, use a steady and controlled motion to avoid any splashing or spills. If needed, use a funnel to direct the flow of water into the drain.
- Continue pouring the hot water until the drain runs clear. This may take several rounds of pouring and waiting for the water to drain. Keep an eye on the water flow, and if it seems to be improving with each round, you’re on the right track.
Flushing the drain with hot water helps to ensure that any remaining residue, debris, or loosened clog material is flushed away. The hot water acts as a natural cleanser, helping to clear the pipes and restore proper drainage.
Once you have completed the hot water flush, it is time to test the drain for any remaining clogs in the next step.
Note: Be cautious when handling hot water to prevent burns. Use appropriate safety measures, such as wearing oven mitts or using a heat-resistant pitcher, when pouring the hot water into the drain.
Step 7: Test the Drain for Clogs
After flushing the drain with hot water, it’s important to test the drain to ensure that it is fully cleared of any remaining clogs. Testing the drain will help determine if further action is needed or if the unclogging process was successful.
Follow these steps to test the drain for clogs:
- Turn on the faucet or shower connected to the basement drain. Allow the water to flow at full force for a few minutes to simulate normal usage.
- Observe the drainage. Pay attention to the speed at which the water drains. If the water quickly and smoothly drains without any signs of slowing down or backup, it indicates that the clog has been successfully cleared.
- If the water drains slowly or appears to be backing up, it may indicate that there is still a partial clog remaining. In this case, consider repeating the unclogging process starting from Step 3 or try using a drain snake to further dislodge the clog.
Remember, the success of the unclogging process may depend on the severity of the clog and the effectiveness of the drain cleaner used. If repeated attempts to clear the clog are unsuccessful, it may be necessary to seek professional help from a plumber who can provide expert advice and assistance.
Once you have determined that the drain is clear and functioning properly, it’s a good idea to take preventive measures to avoid future clogs. Regularly clean the drain by flushing it with hot water and using natural DIY solutions to break down any build-up. Additionally, consider using drain covers or screens to prevent large debris from entering the drain.
Congratulations! You have successfully followed the steps to unclog your basement drain and restore proper drainage. By conducting regular maintenance and practicing good drain care habits, you can minimize the chances of future clogs and keep your basement drain flowing freely.
Conclusion
Dealing with a clogged basement drain can be a frustrating experience, but by following the steps outlined in this guide, you can effectively unclog the drain and restore proper functionality. Remember, patience and proper technique are key to success.
Start by locating the drain and clearing any obstructions around it. Prepare the drain cleaner, whether it’s a chemical solution or a natural DIY remedy. Pour the drain cleaner into the drain and let it sit for the recommended amount of time. Flush the drain with hot water to clear any remaining debris. Finally, test the drain to ensure it’s fully unclogged.
Keep in mind that prevention is always better than cure when it comes to clogged drains. Take proactive measures to prevent future clogs by using drain covers, regularly cleaning the drain, and being mindful of what goes down it. If you encounter persistent clogs or larger plumbing issues, don’t hesitate to seek professional help.
By taking care of your basement drain and providing regular maintenance, you can avoid the inconvenience and potential damage that comes with clogs. Keep this guide handy so that you can quickly and effectively address any future clogs that may arise.
Now armed with knowledge and the right tools, you can confidently tackle any clogs that come your way. Say goodbye to a clogged basement drain and hello to a clean, dry, and fully functional space!
Frequently Asked Questions about How To Unclog A Basement Drain
Was this page helpful?
At Storables.com, we guarantee accurate and reliable information. Our content, validated by Expert Board Contributors, is crafted following stringent Editorial Policies. We're committed to providing you with well-researched, expert-backed insights for all your informational needs.


0 thoughts on “How To Unclog A Basement Drain”