Articles
How To Install Soap Dispenser On Kitchen Sink
Modified: August 16, 2024
Learn how to easily install a soap dispenser on your kitchen sink with this helpful guide. Read articles on the step-by-step process for a convenient and stylish addition to your kitchen.
(Many of the links in this article redirect to a specific reviewed product. Your purchase of these products through affiliate links helps to generate commission for Storables.com, at no extra cost. Learn more)
Introduction
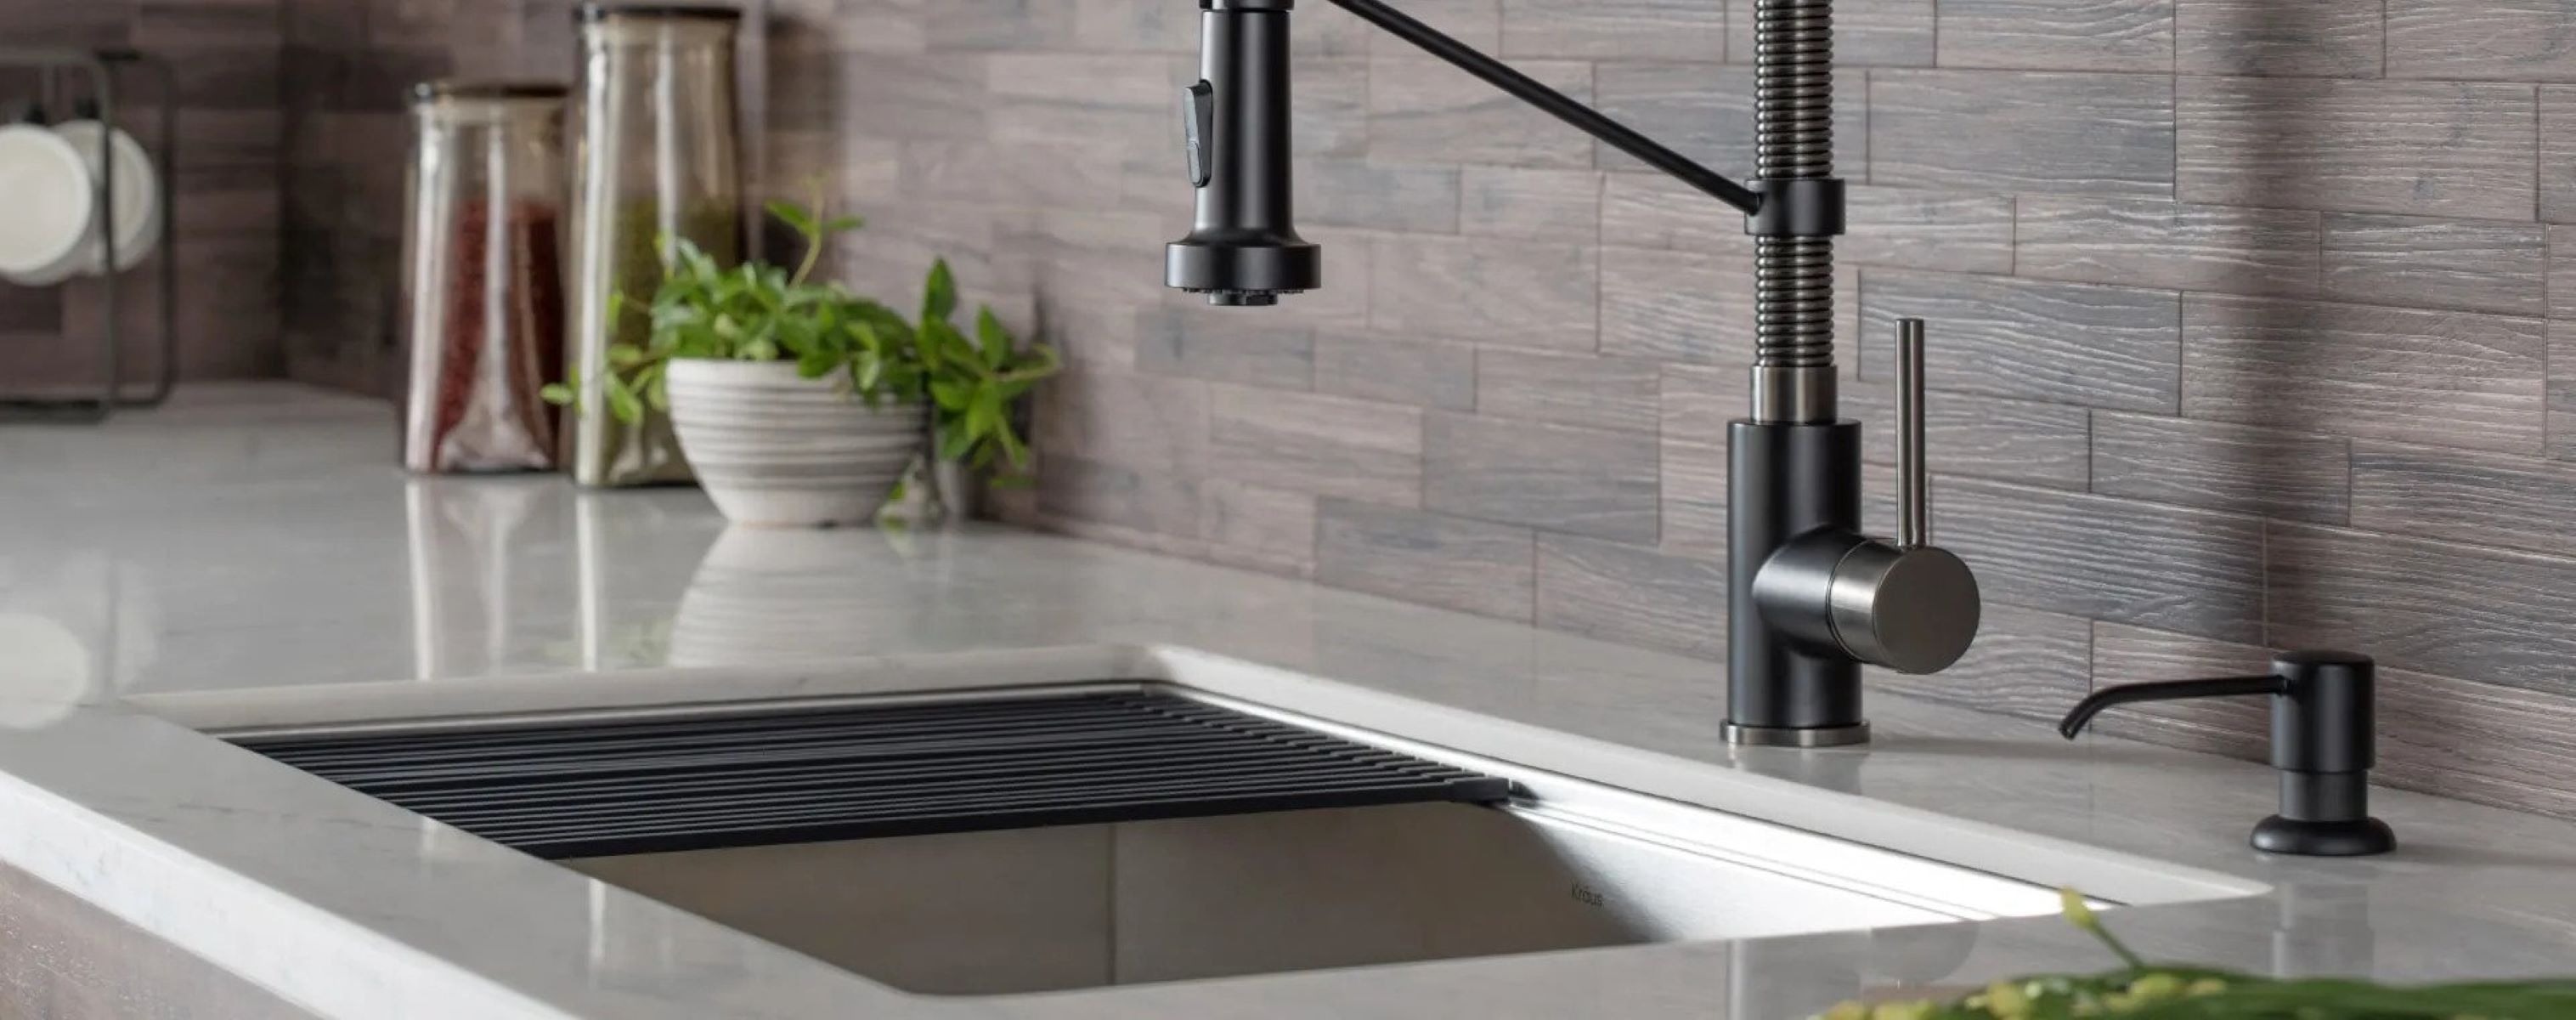
Installing a soap dispenser on your kitchen sink can be a convenient and practical addition to your kitchen setup. Not only does it eliminate the need for soap bottles cluttering your countertop, but it also ensures that soap is easily accessible whenever you need it. Whether you’re a cooking enthusiast who frequently needs to wash your hands or a parent who wants to promote good hygiene in the kitchen, a soap dispenser is a must-have accessory.
Fortunately, installing a soap dispenser on your kitchen sink is a relatively simple task that can be accomplished with just a few tools and materials. In this step-by-step guide, we will walk you through the process of installing a soap dispenser on your kitchen sink, ensuring that you have all the necessary information to complete the project successfully.
Before we dive into the installation process, let’s start by gathering the necessary tools and materials. By having everything on hand, you can complete the project smoothly and efficiently, without any unnecessary delays.
So, let’s get started and transform your kitchen sink into a more functional and convenient space by installing a soap dispenser. Remember, clean hands are happy hands, and with a soap dispenser right at your fingertips, you’ll be able to keep your hands squeaky clean without any hassle.
Key Takeaways:
- Say goodbye to cluttered countertops and promote good hygiene by installing a soap dispenser on your kitchen sink. Enjoy easy access to soap for squeaky clean hands without the hassle of bottles.
- Transform your kitchen into a more functional and convenient space with a soap dispenser. Enjoy the convenience of easy handwashing and the streamlined, clutter-free look it brings to your sink area.
Step 1: Gather necessary tools and materials
Before you begin the installation process, it’s essential to gather all the necessary tools and materials to ensure a smooth and successful installation. Here’s a list of items you’ll need:
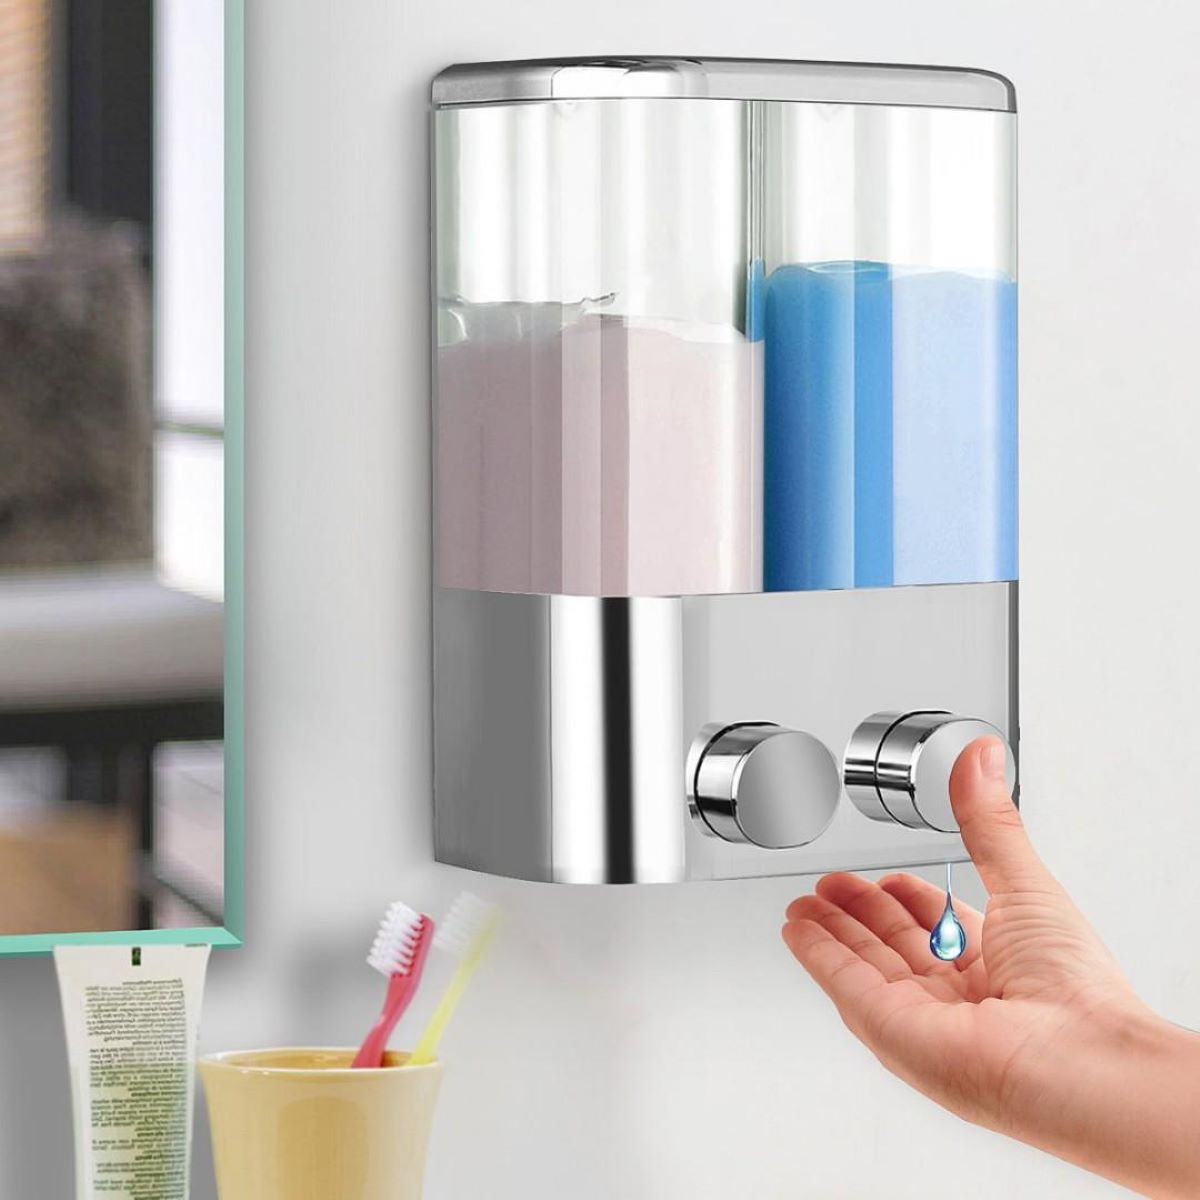
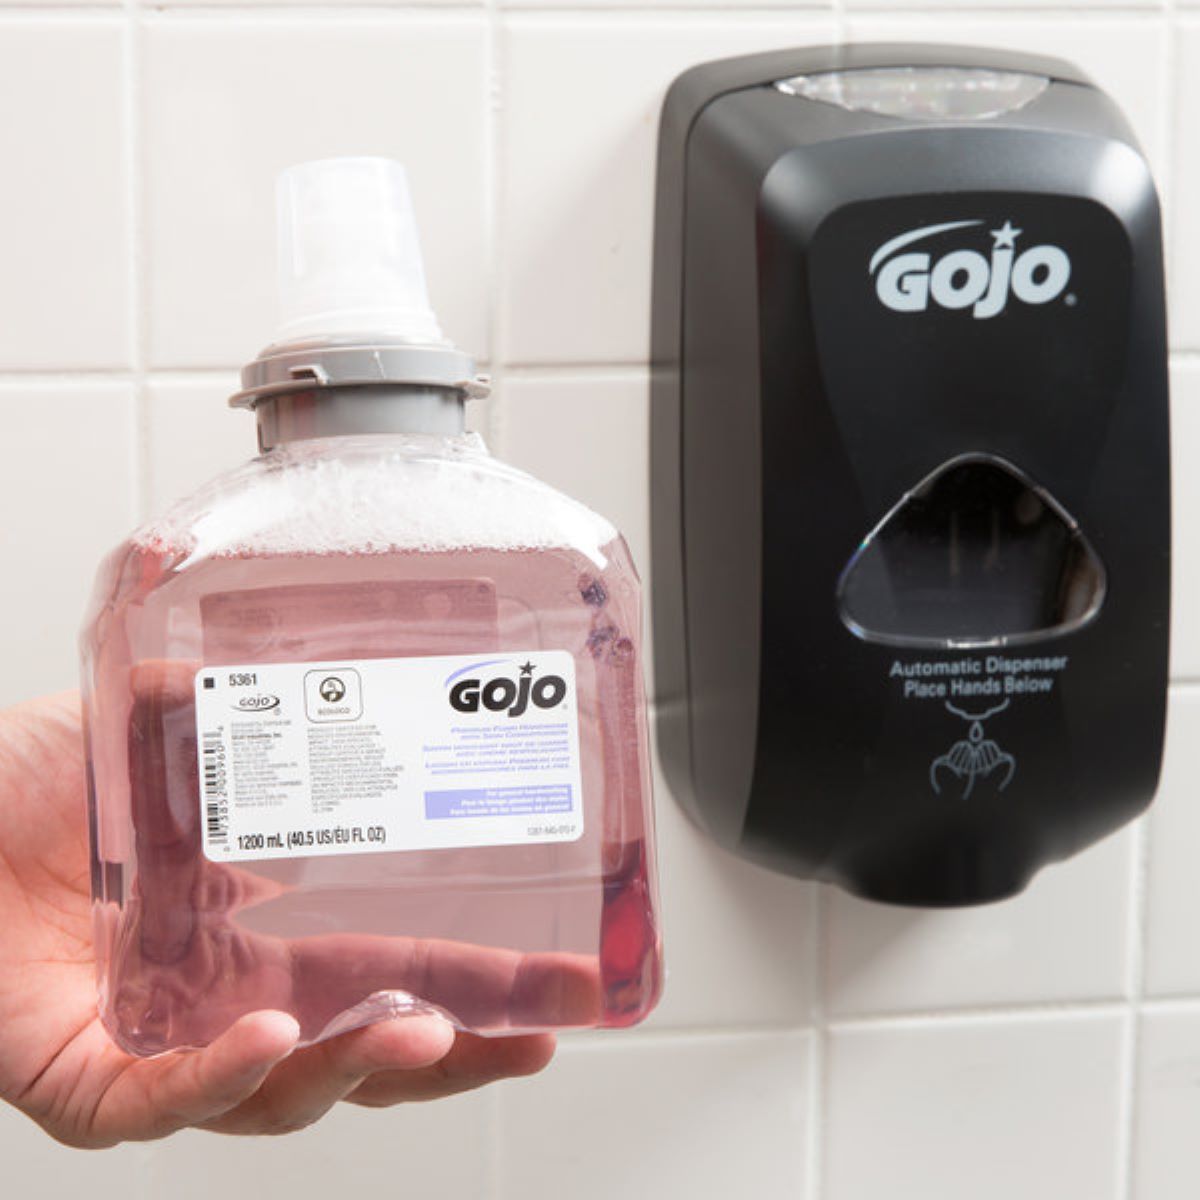
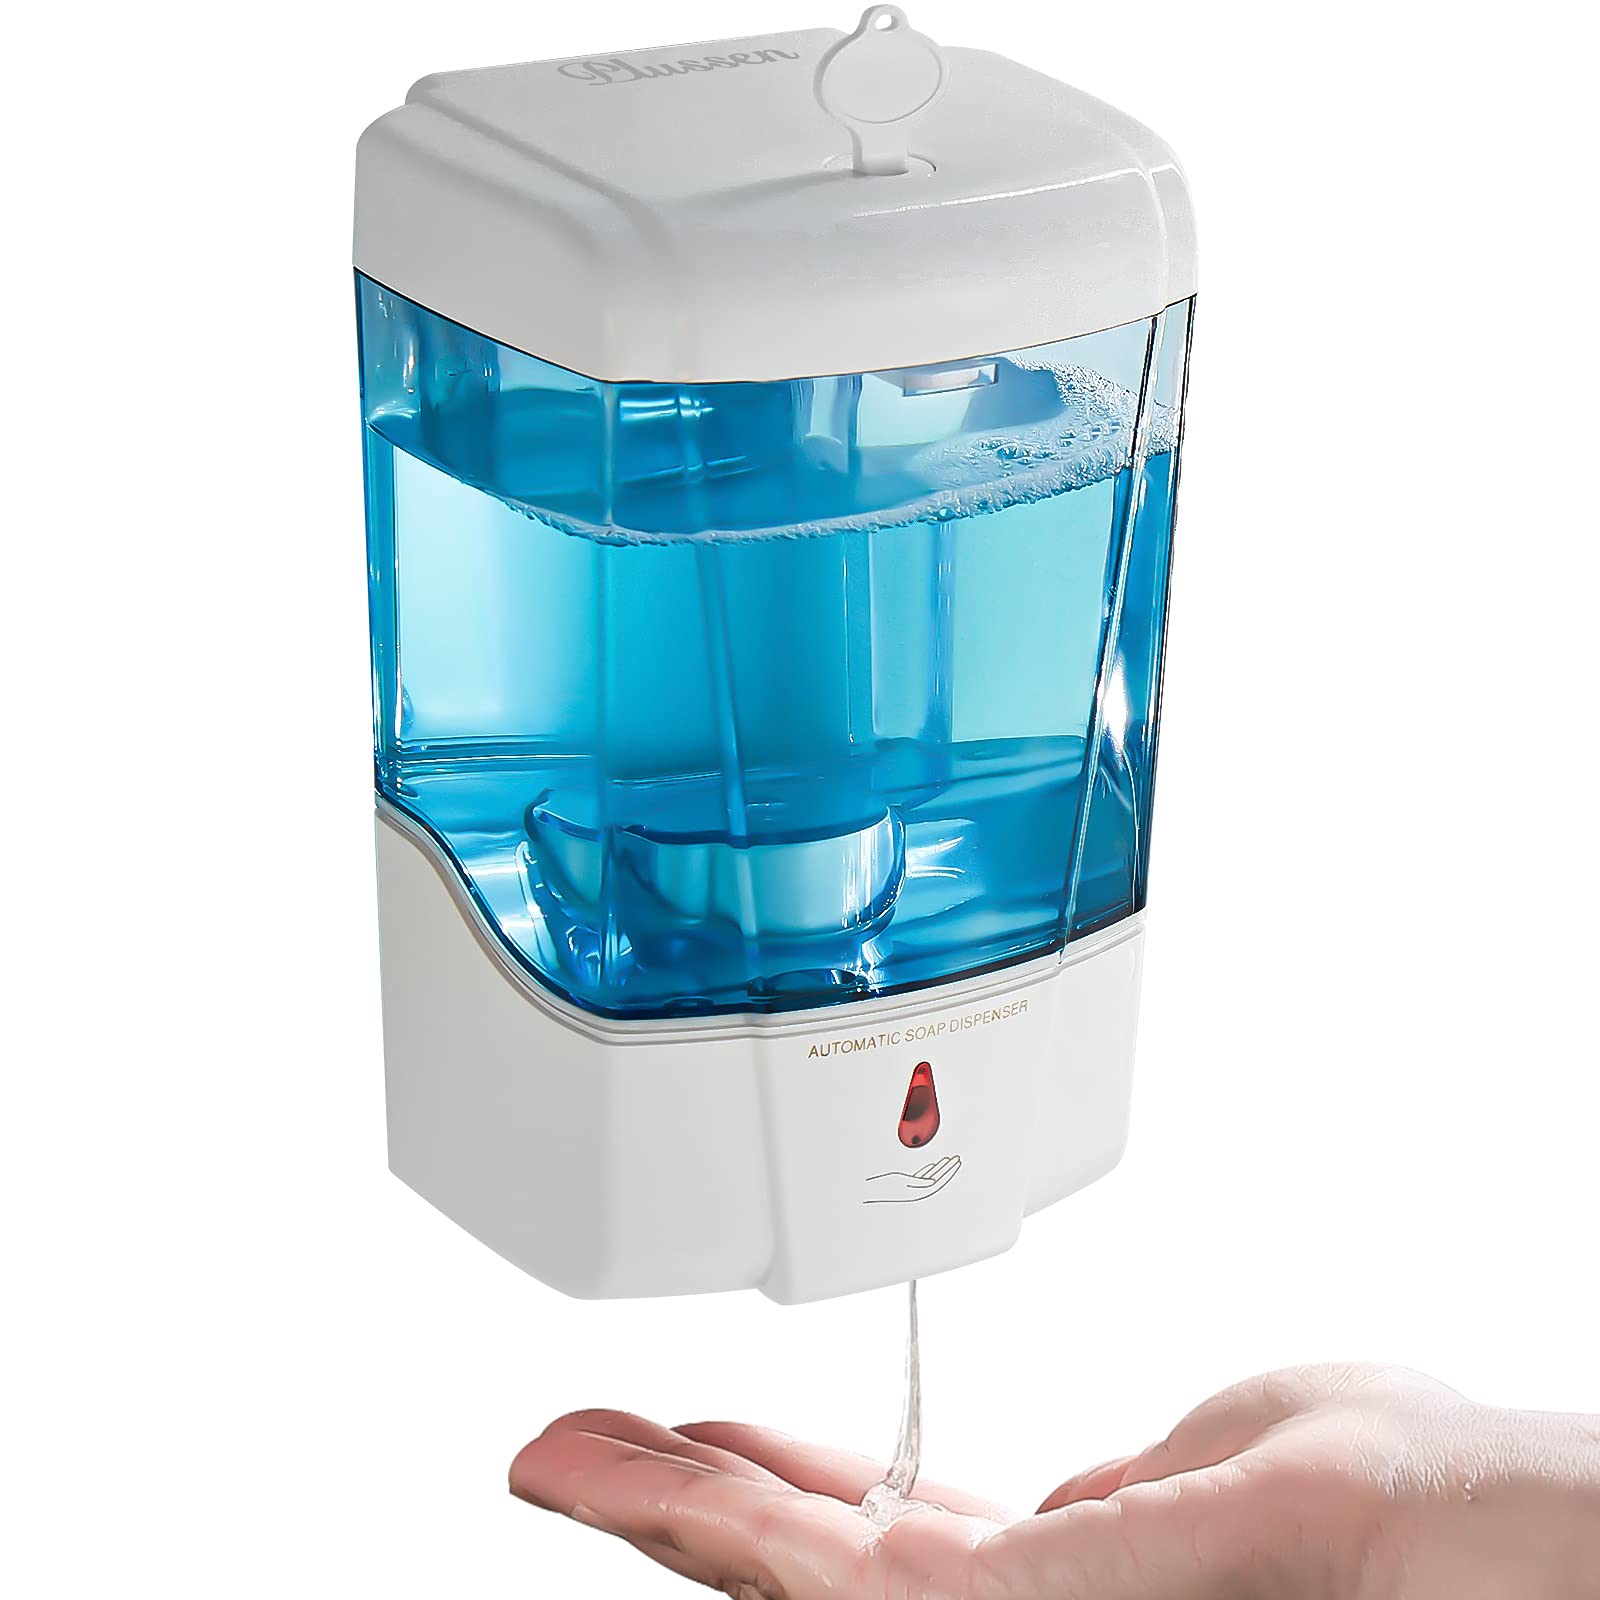
1. Soap dispenser kit: Start by purchasing a soap dispenser kit that includes the pump, bottle, and any necessary hardware. You can find these kits at your local hardware store, home improvement store, or online.
2. Screwdriver: You’ll need a screwdriver compatible with the screws provided with your soap dispenser kit. Make sure it’s the right size to avoid damaging the screws or fasteners.
3. Adjustable wrench: An adjustable wrench will come in handy for tightening any nuts or bolts during the installation process. Make sure it’s adjustable to fit different sizes.
4. Plumber’s tape: Plumber’s tape, also known as Teflon tape, is used to create a watertight seal between threaded pipes and fittings. It helps prevent leaks and ensures a secure connection.
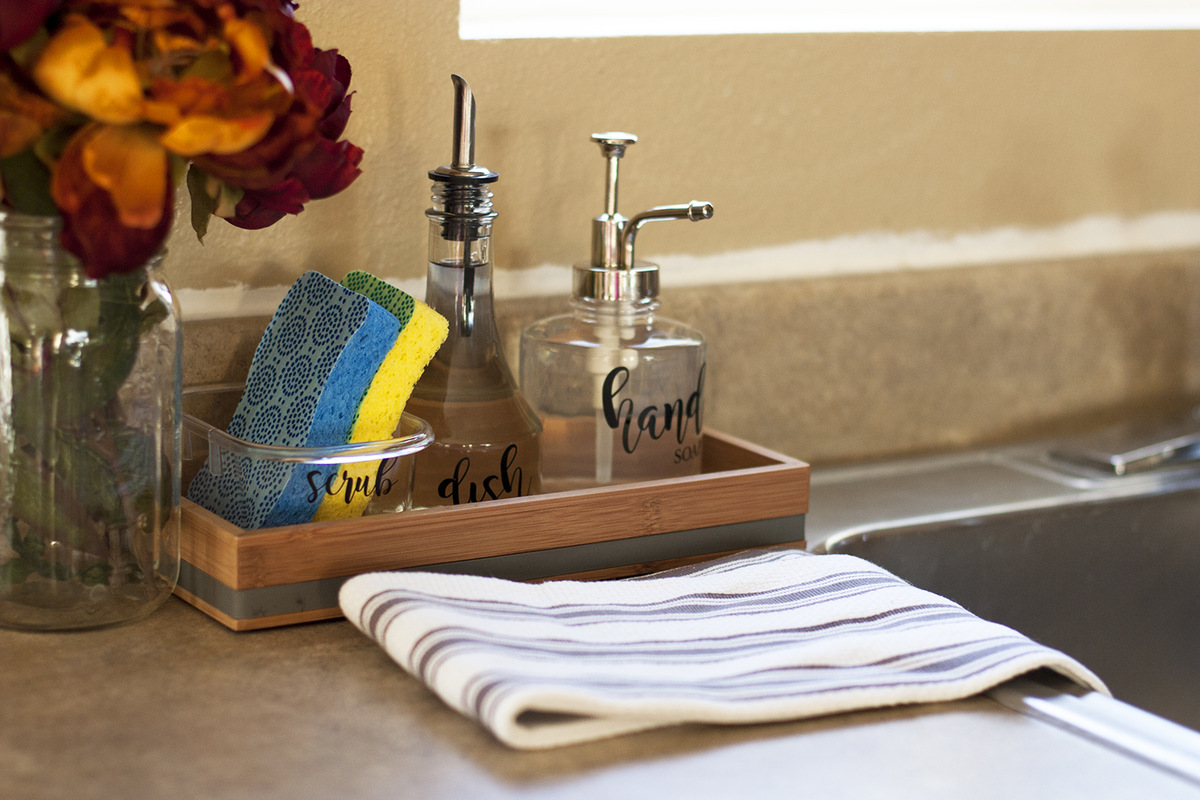
5. Mild soap and clean cloth: Before installing the soap dispenser, it’s a good idea to clean the sink surface and remove any dirt or debris. Use a mild soap and a clean cloth to wipe down the area where the dispenser will be installed.
6. Bucket or bowl: Keep a bucket or bowl nearby to catch any water that may come out when disconnecting the existing soap dispenser or removing any plumbing components. This will prevent any mess and make the cleanup process easier.
7. Optional: Power drill and hole saw: If your sink doesn’t have a pre-drilled hole for the soap dispenser, you may need to use a power drill and a suitable hole saw to create a hole in the countertop or sink. Make sure to choose a hole saw size that matches the diameter of the soap dispenser pump.
By gathering these tools and materials before you begin, you’ll save time and ensure a smooth installation process. Now that you’re well-equipped with everything you need, let’s move on to the next step of preparing the sink surface before installation.
Step 2: Prepare the sink surface
Before installing the soap dispenser, it’s important to prepare the sink surface to ensure a proper and secure installation. Follow these steps to prepare the sink surface:
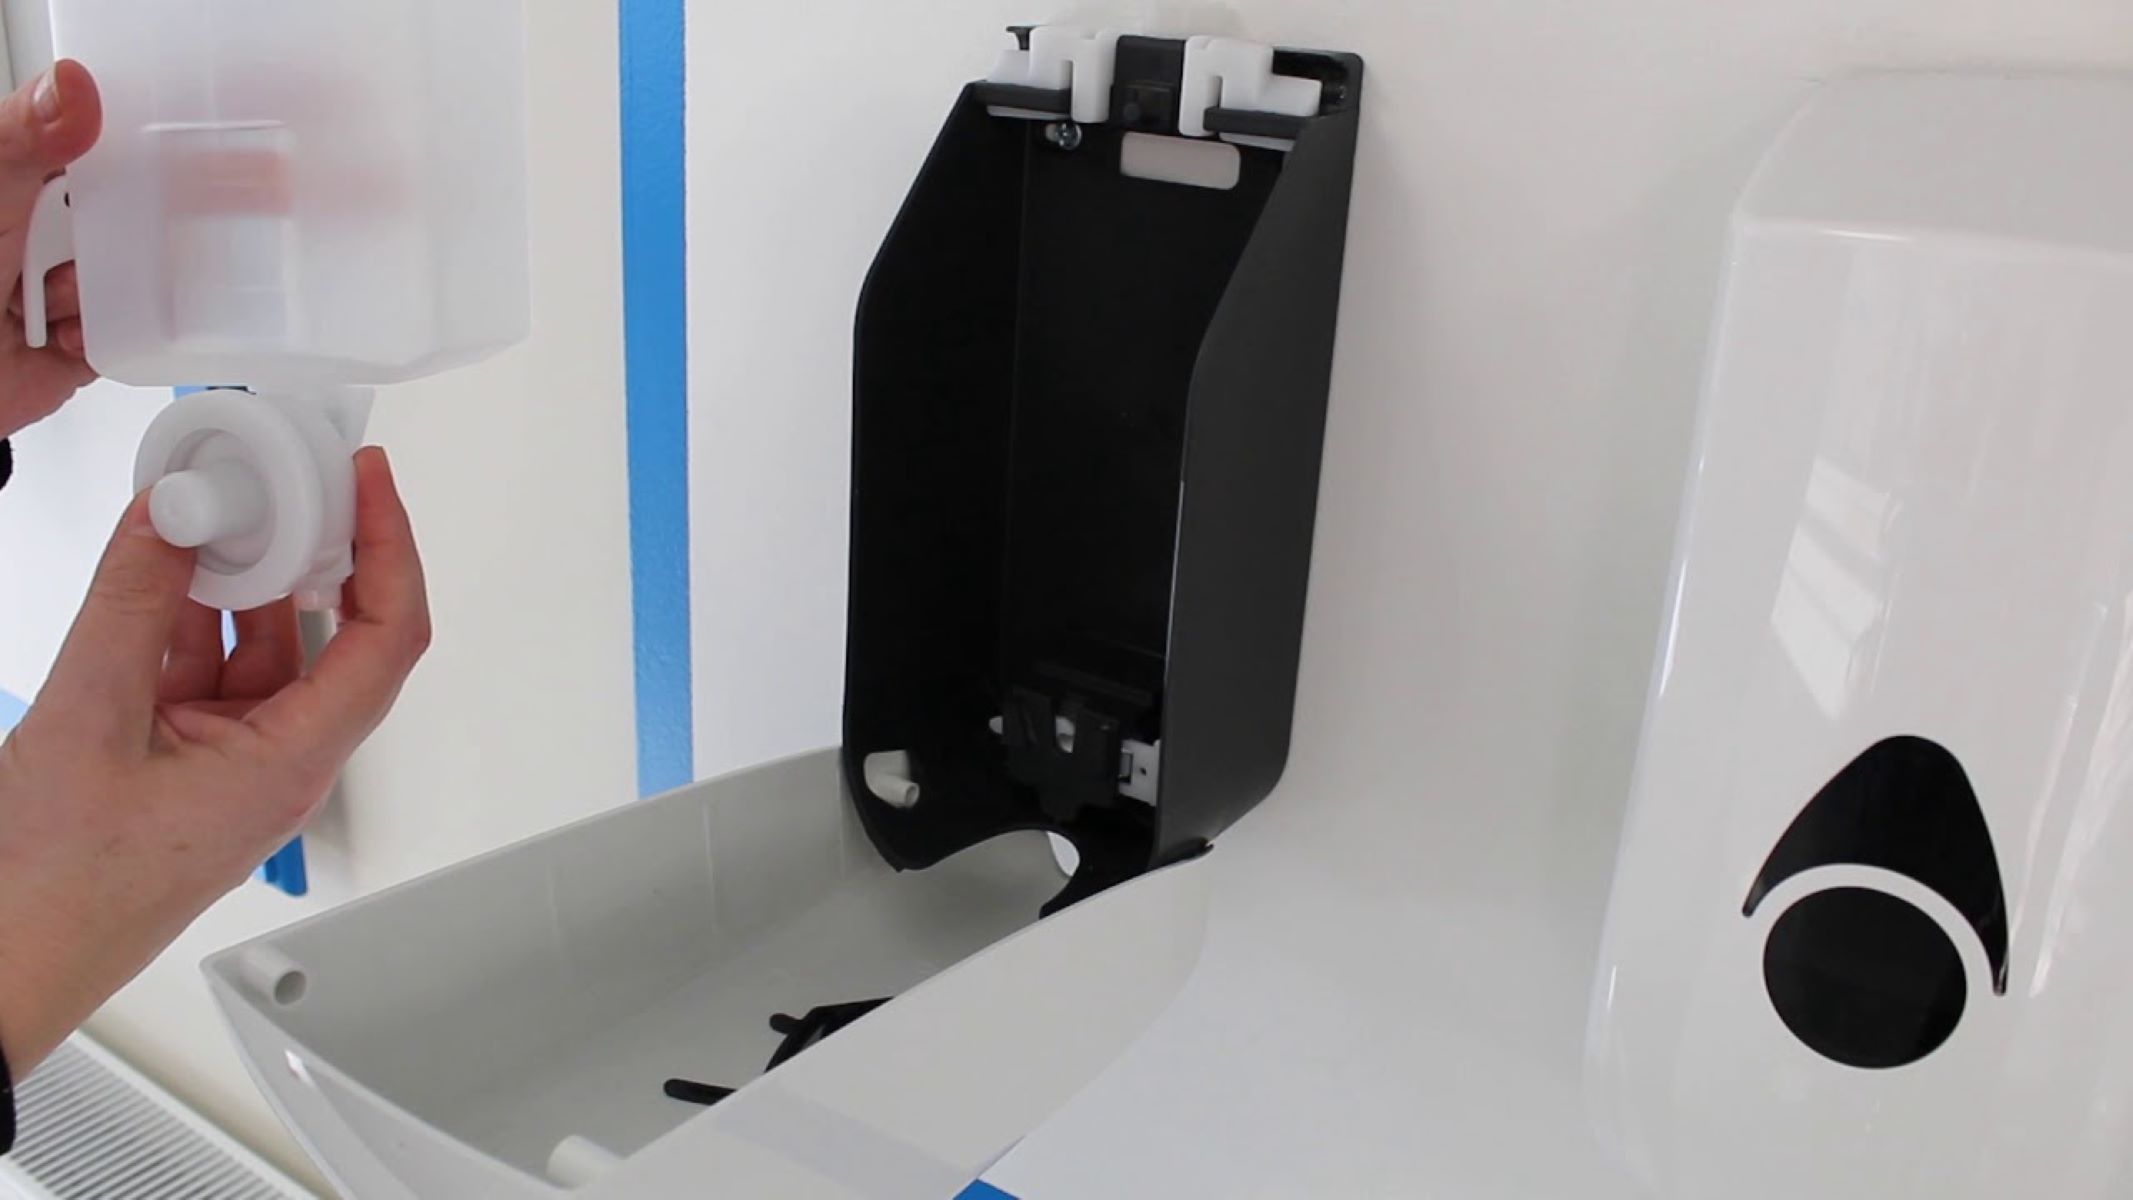
1. Remove any existing soap dispenser: If there is already a soap dispenser installed on your sink, you’ll need to remove it before proceeding. Most soap dispensers can be unscrewed or easily lifted out of their mount. Disconnect any hoses or tubing connected to the dispenser and set it aside.
2. Clean the area: Use a mild soap and a clean cloth to thoroughly clean the area where the soap dispenser will be installed. Remove any soap scum, dirt, or debris. Ensure that the surface is completely dry before moving on to the next step.
3. Locate the installation hole: If your sink has a pre-drilled hole for the soap dispenser, locate it and ensure that it is clear of any obstructions. If your sink doesn’t have a pre-drilled hole, you’ll need to create one using a power drill and a suitable hole saw. Measure the diameter of the soap dispenser pump to determine the appropriate size of the hole.
4. Apply plumber’s tape (optional): Wrapping a few layers of plumber’s tape around the threaded part of the soap dispenser pump can help create a watertight seal and prevent leaks. It’s an optional step, but it can provide added security and peace of mind.
By preparing the sink surface properly, you’ll ensure a clean and stable foundation for your soap dispenser. Once the sink surface is ready, you can move on to the next step of installing the soap dispenser pump. Stay tuned for step 3!
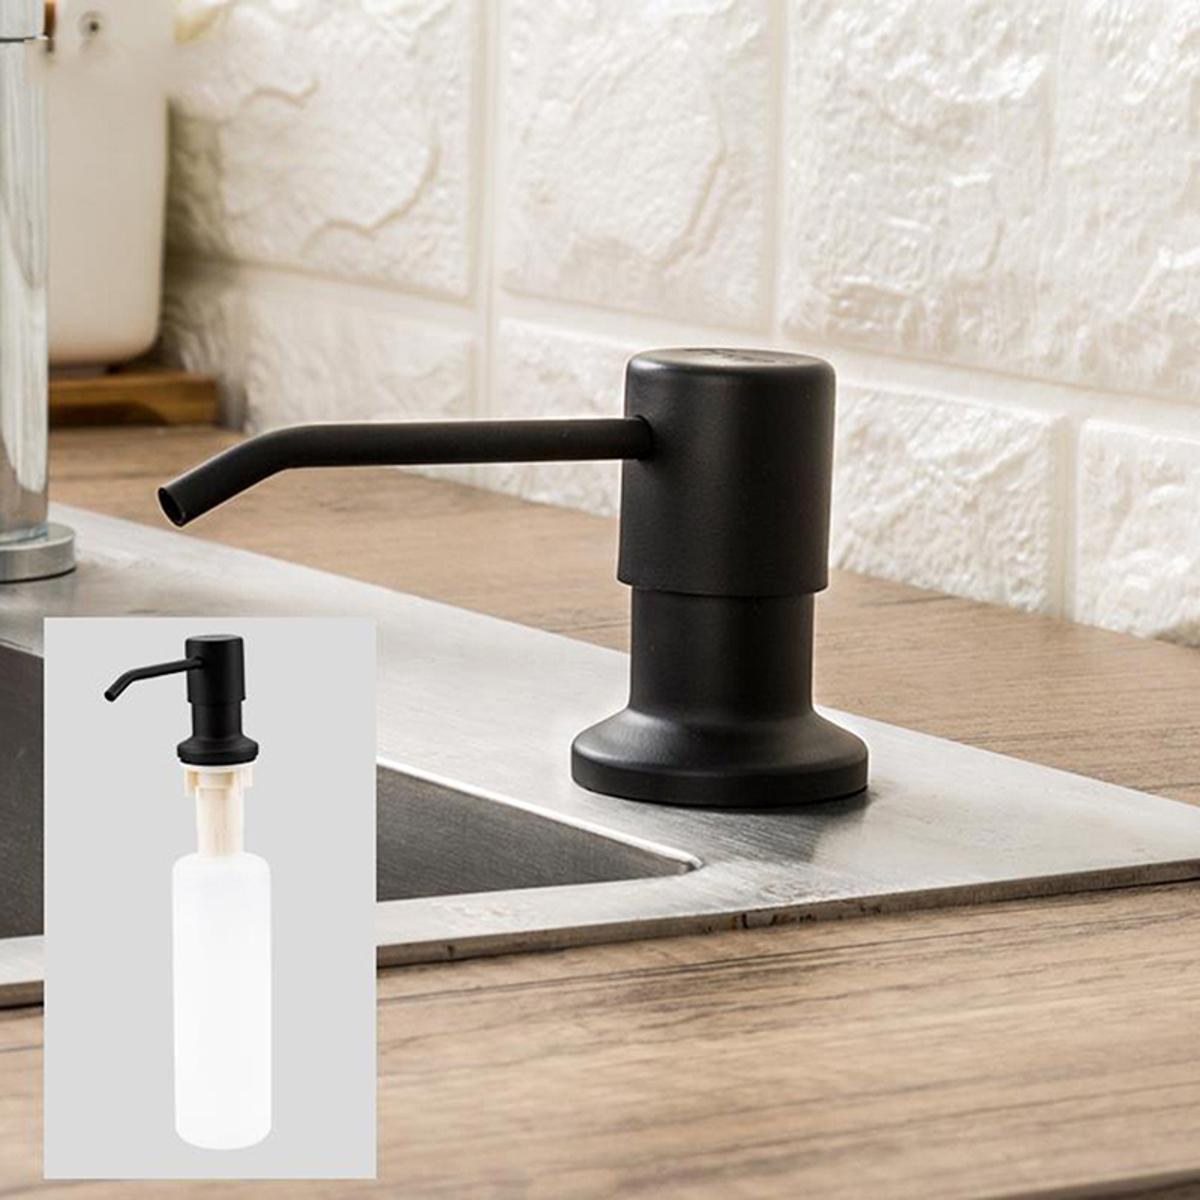
Step 3: Install the soap dispenser pump
Now that you have prepared the sink surface, it’s time to install the soap dispenser pump. Follow these steps to ensure a secure and proper installation:
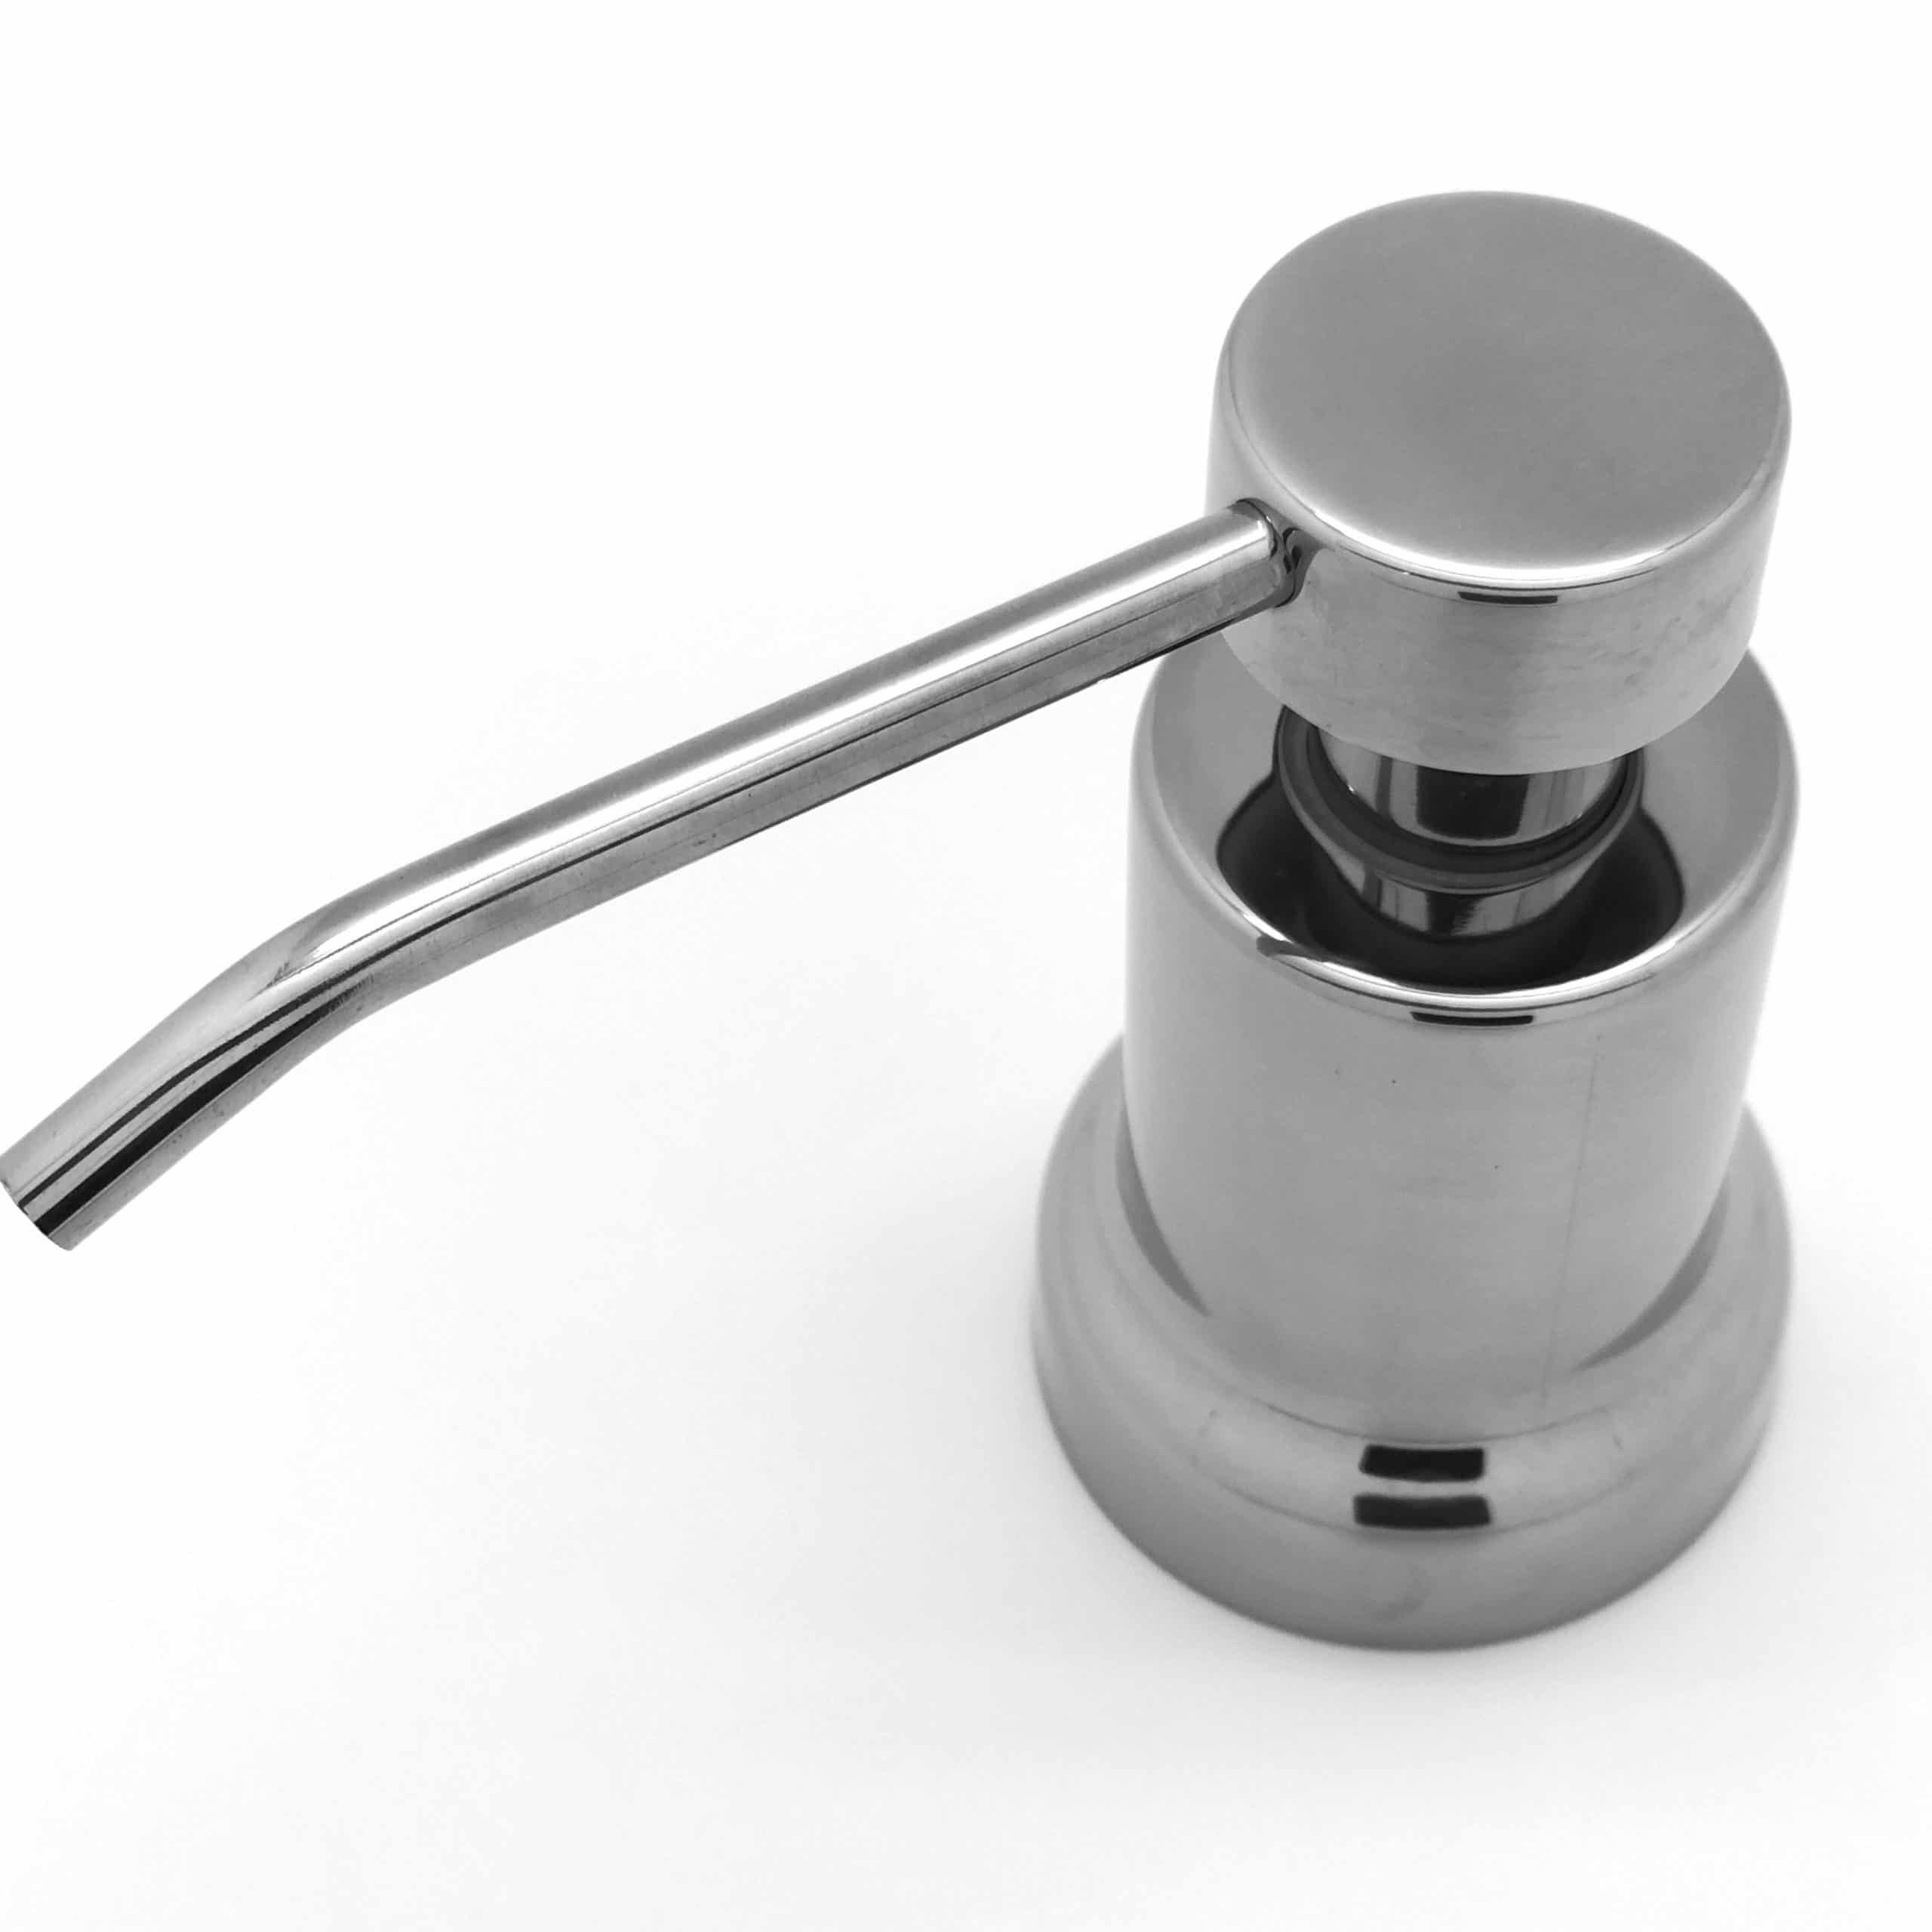
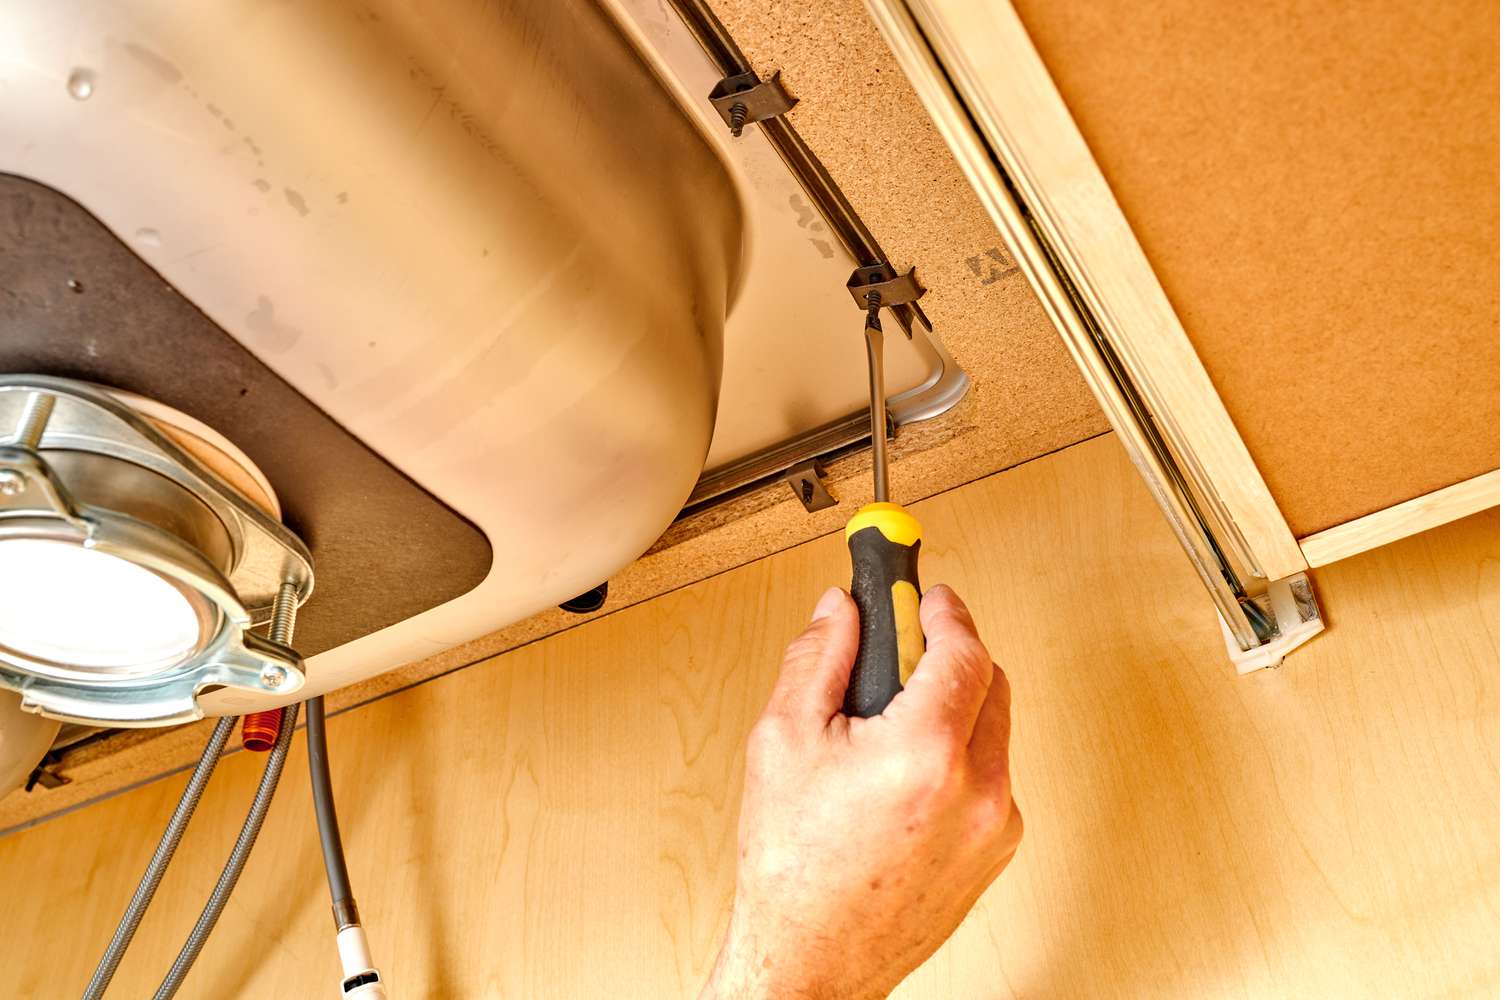
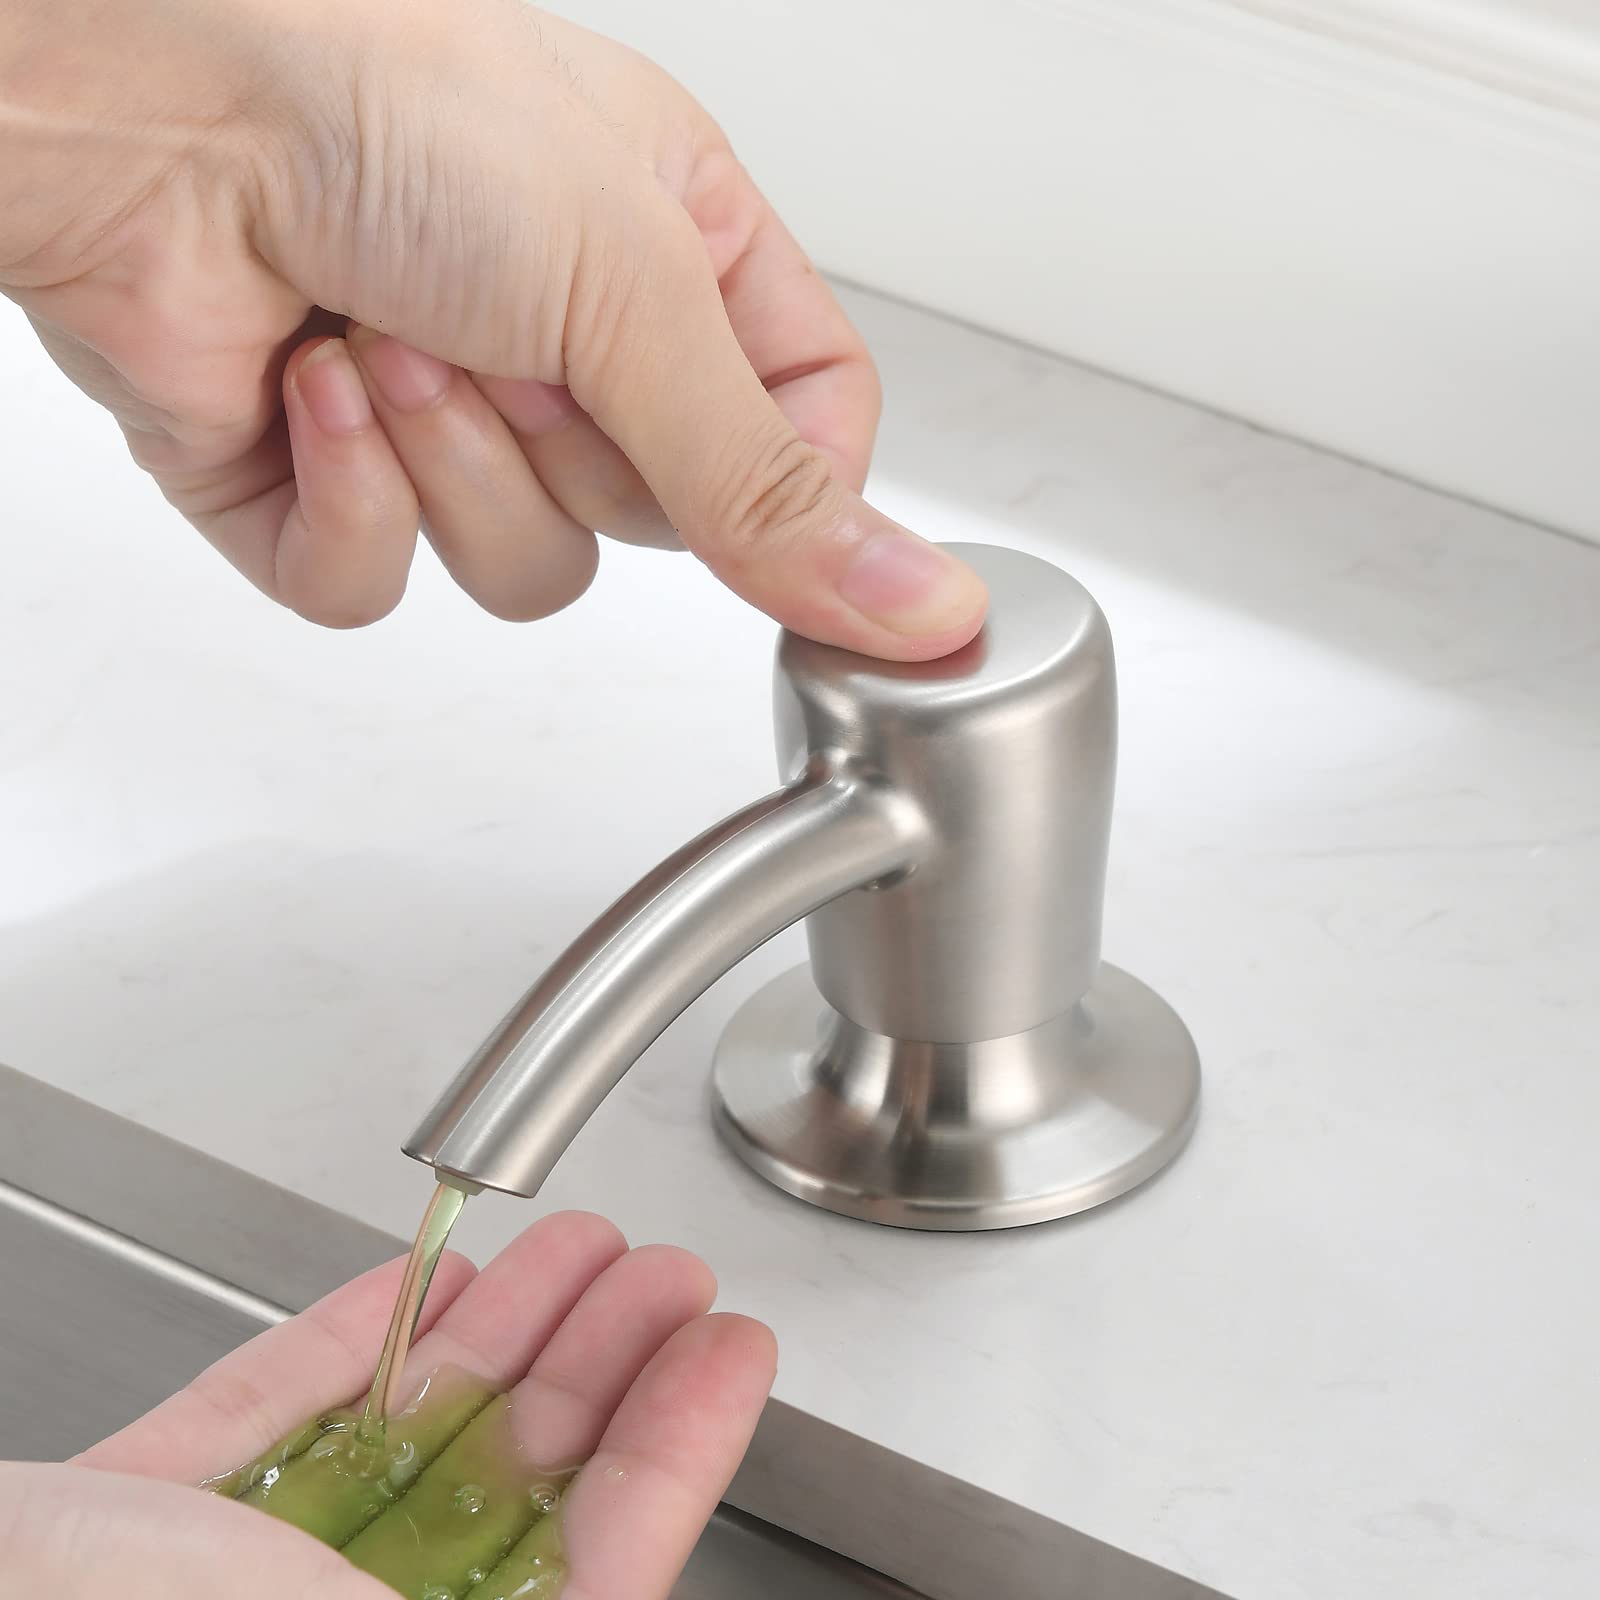
1. Insert the pump into the installation hole: If your sink has a pre-drilled hole, carefully insert the soap dispenser pump into the hole, making sure it fits snugly. If you had to create a hole, gently lower the pump into the newly drilled hole, ensuring it is properly aligned.
2. Secure the pump from underneath: Depending on the design of your soap dispenser kit, there may be a securing nut or a threaded ring that needs to be fastened underneath the sink to hold the pump in place. Use your adjustable wrench to tighten the nut or threaded ring until the pump feels secure.
3. Test the pump’s movement: Press down on the soap dispenser pump to test its movement. Ensure that it moves freely and smoothly without any obstruction. If the pump feels stiff or doesn’t move as expected, check the securing nut or ring to ensure it is not too tight and impeding the pump’s operation.
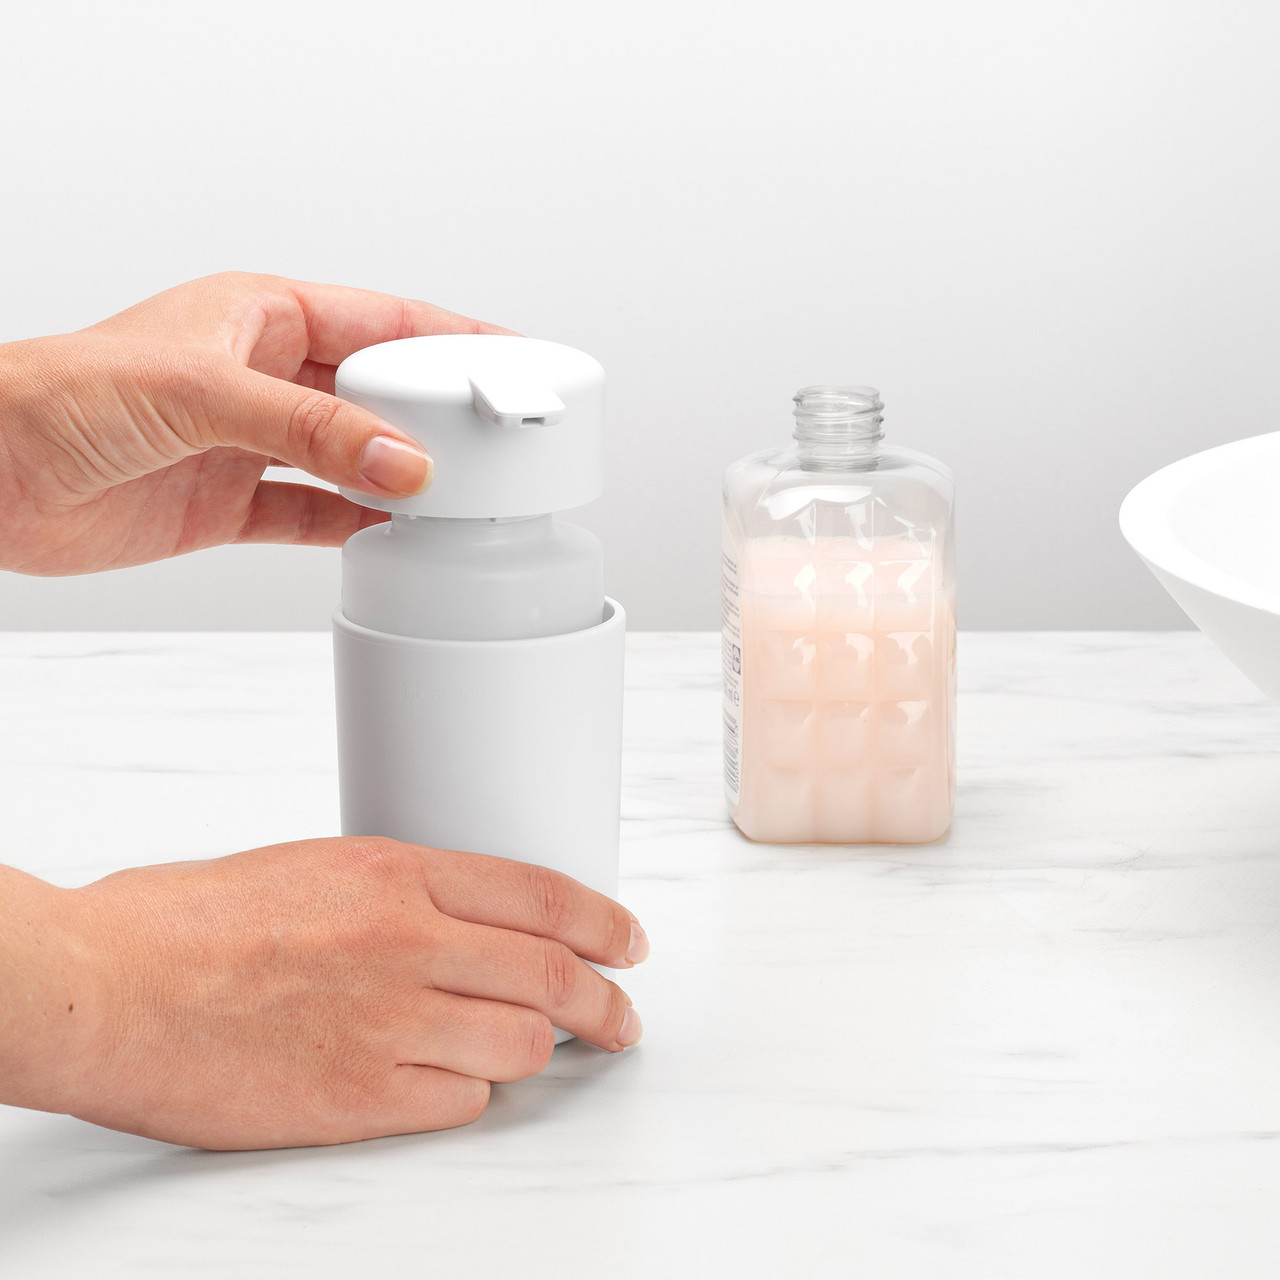
4. Attach the soap dispenser bottle: Most soap dispenser kits come with a plastic bottle that holds the soap. Attach the bottle to the pump by screwing it onto the threaded connector at the bottom of the pump. Ensure it is securely tightened, but be careful not to overtighten and risk damaging the bottle or pump.
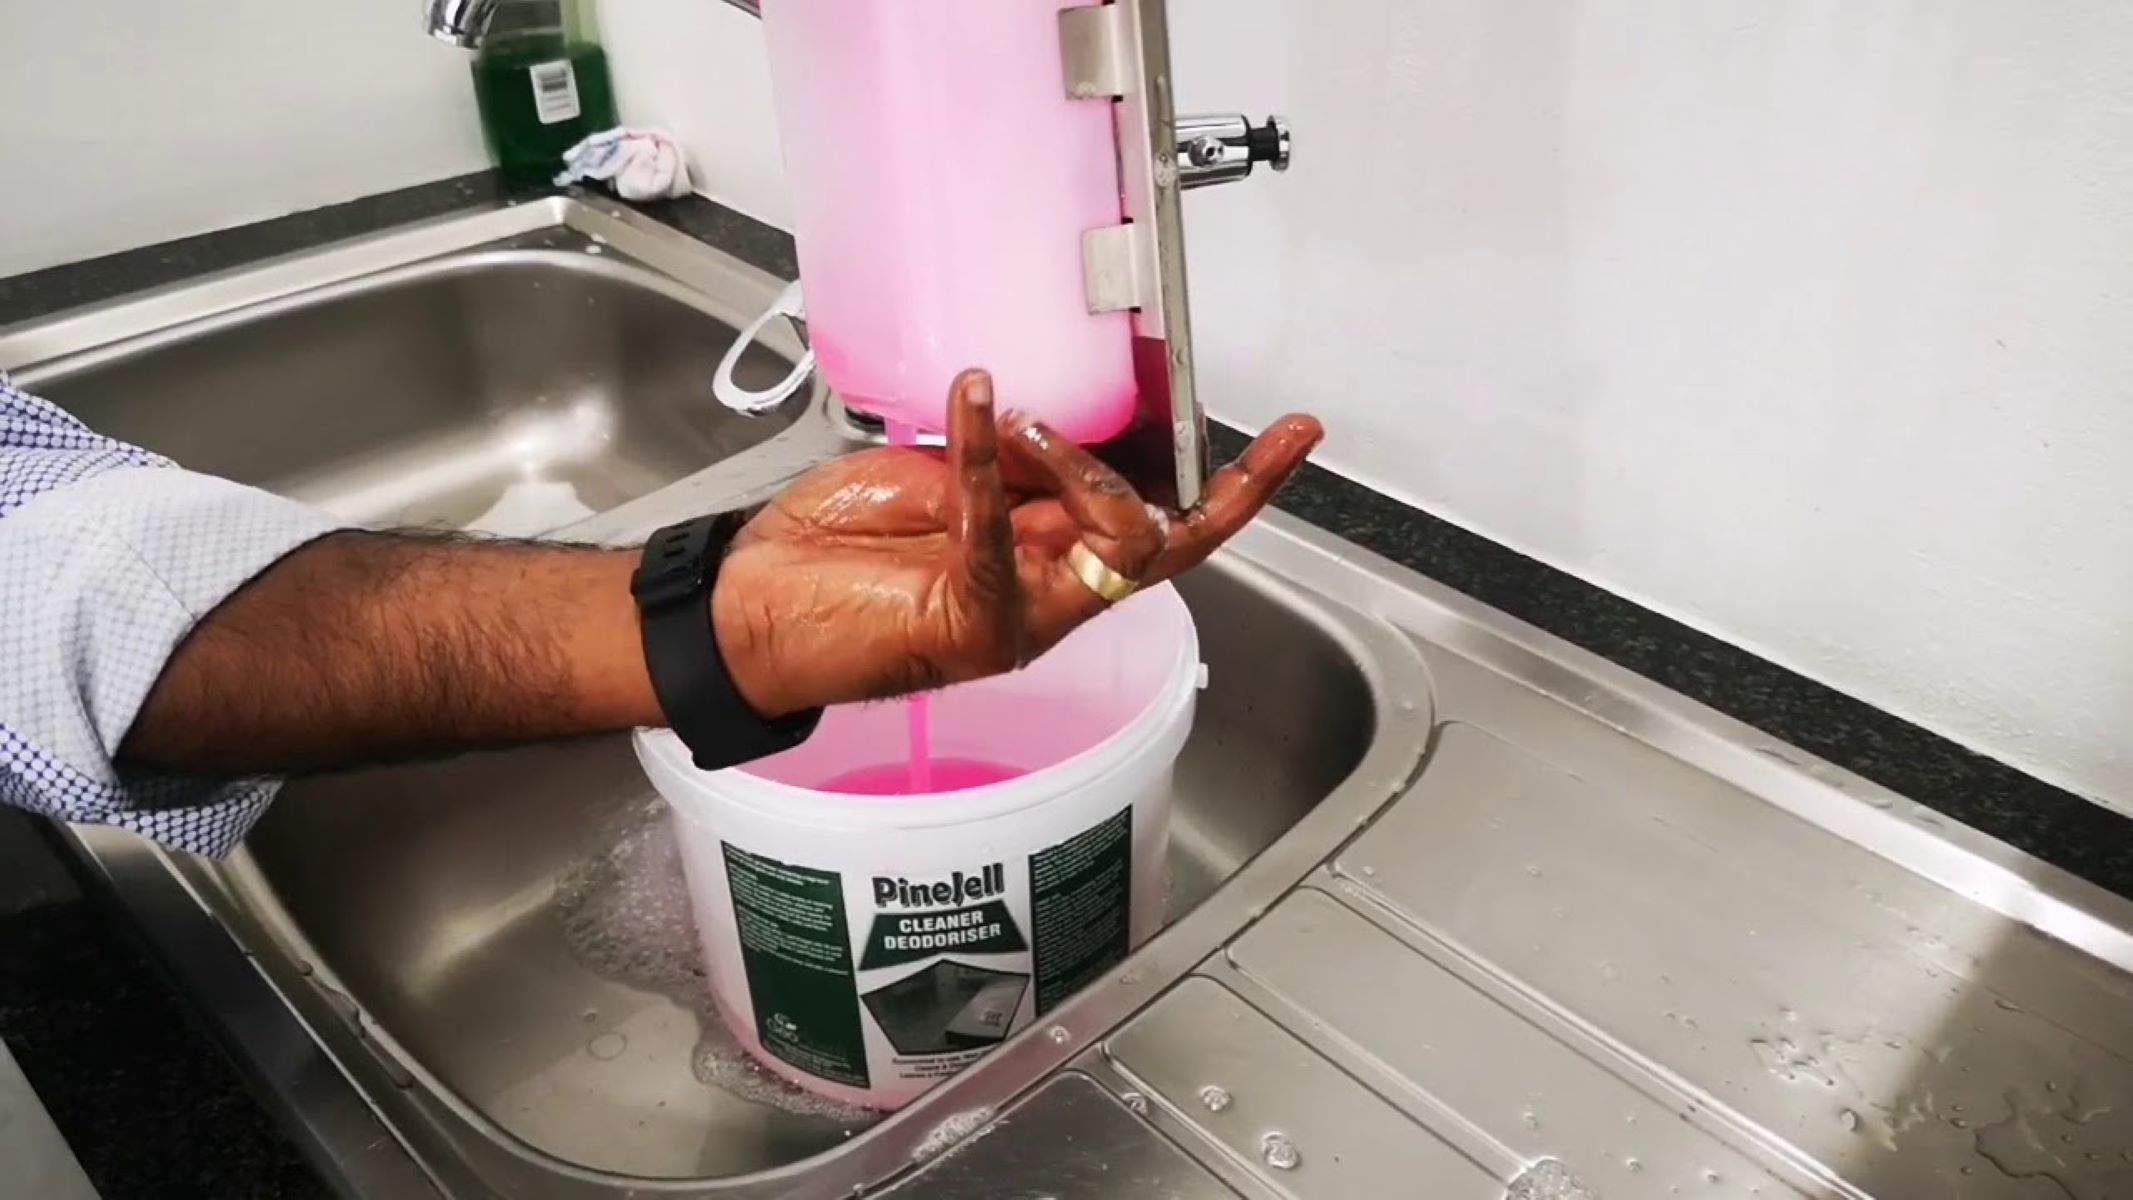
5. Fill the soap dispenser bottle: Remove the pump head or cap from the bottle and fill it with the desired liquid soap or hand sanitizer. Avoid filling it to the brim to prevent spills when using the dispenser.
Congratulations! You have successfully installed the soap dispenser pump on your kitchen sink. The next step is to connect the soap dispenser to the sink and its plumbing. Keep reading to learn how to complete this final step and start using your new soap dispenser in no time.
When installing a soap dispenser on a kitchen sink, make sure to use the appropriate size hole saw to create a hole for the dispenser. Use plumber’s putty to create a watertight seal around the base of the dispenser before securing it in place.
Step 4: Connect the soap dispenser to the sink
Now that you have installed the soap dispenser pump, it’s time to connect it to the sink and its plumbing. Follow these steps to ensure a proper connection:
1. Determine the type of connection: There are two common types of connections for soap dispensers – a direct connection to the water supply line or a connection to the sink’s existing soap dispenser hole. Depending on the type of soap dispenser kit you have, follow the appropriate steps below.
2. Direct connection to the water supply line:
– Locate the hot water supply valve under the sink and turn it off by turning it clockwise.
– Look for the flexible tube that connects to the hot water valve. This tube is usually used for a side sprayer or a dishwasher. Disconnect the tube from the valve.
– Attach the soap dispenser tube provided in the kit to the hot water valve. Use an adjustable wrench to tighten the connection securely.
– Connect the other end of the soap dispenser tube to the soap dispenser pump. Ensure it is tightly fastened.
3. Connection to the sink’s existing soap dispenser hole:
– Remove the cover or cap from the existing soap dispenser hole on the sink.
– Insert the tube provided in the soap dispenser kit into the hole until it reaches the soap dispenser pump.
– Ensure the tube is securely attached to both the sink and the pump.
4. Test the soap dispenser:
– Turn on the water supply under the sink by turning the hot water supply valve counterclockwise.
– Press the pump of the soap dispenser to check if the soap comes out smoothly and without any leaks.
– Adjust the soap dispenser pump if necessary to ensure comfortable access and proper dispensing of the soap.
By following these steps, you’ll successfully connect the soap dispenser to the sink and its plumbing. The last step is to test the soap dispenser and make any final adjustments before you can start enjoying the convenience of soap at your fingertips.
Read more: How To Remove Sink Soap Dispenser
Step 5: Test the soap dispenser
After connecting the soap dispenser to the sink, it’s important to test it to ensure it functions properly. Follow these steps to test the soap dispenser:
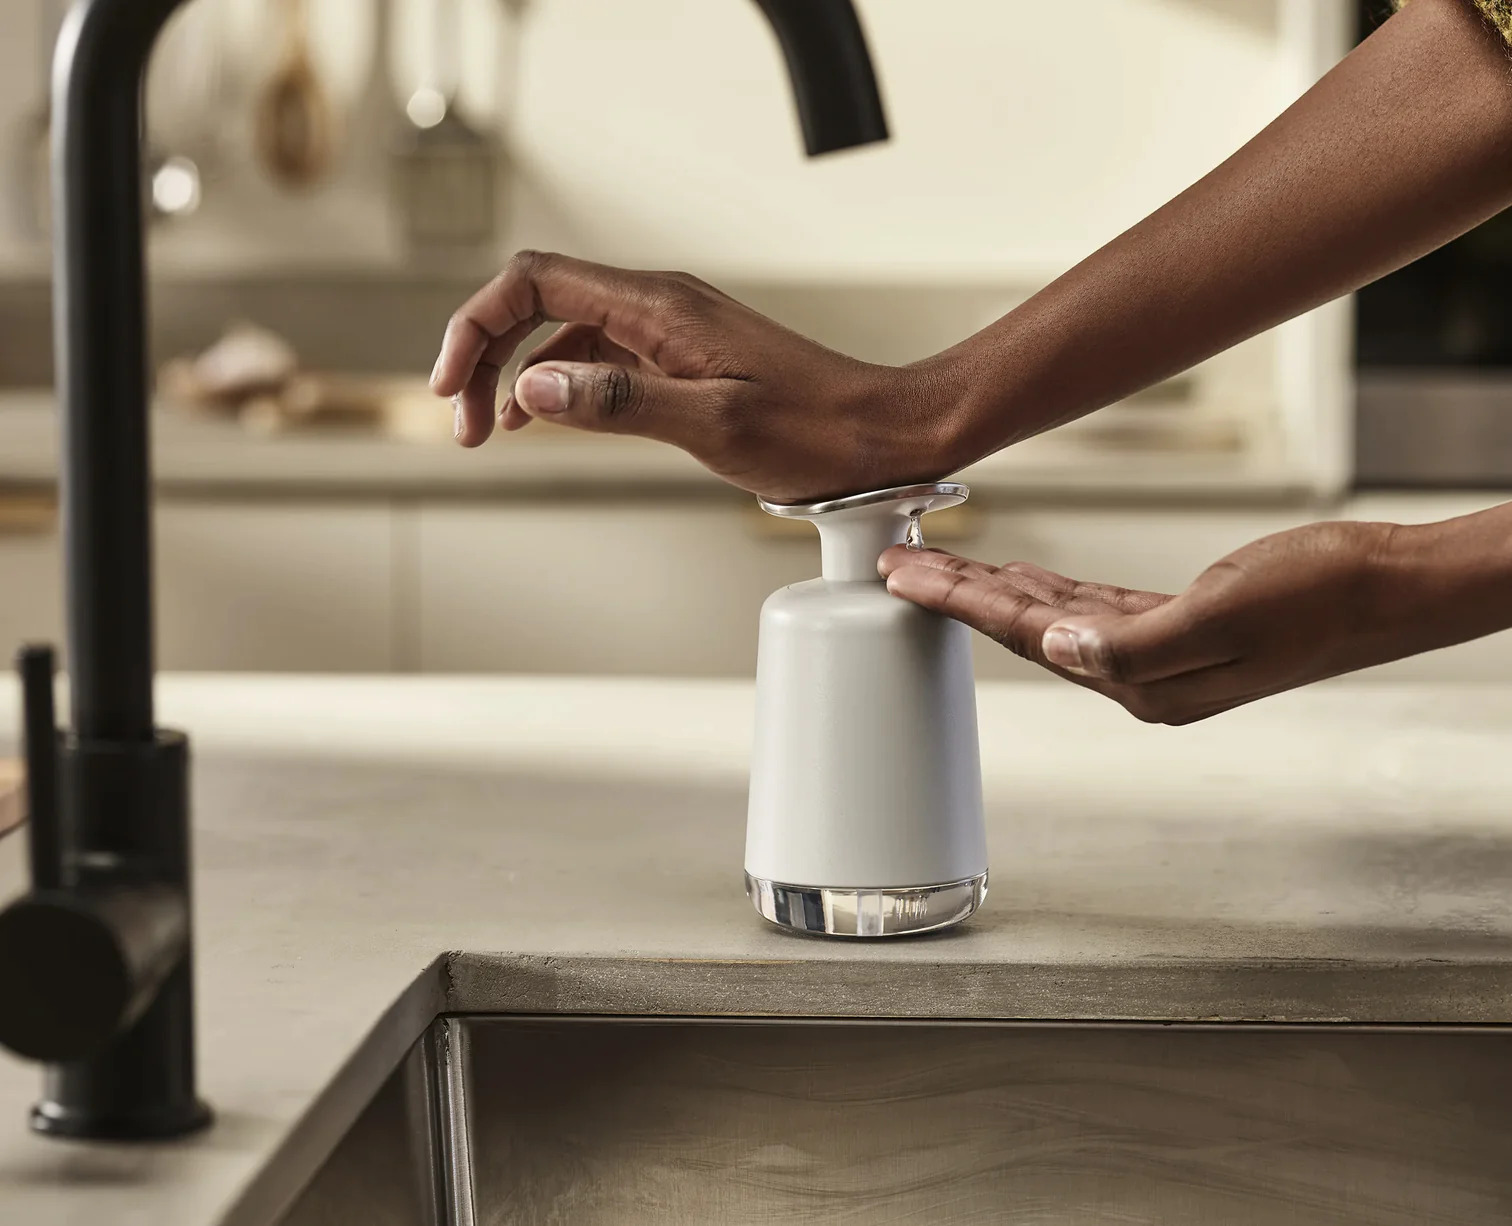
1. Fill the soap dispenser bottle: If you haven’t already done so, remove the pump head or cap from the soap dispenser bottle and fill it with your preferred liquid soap or hand sanitizer. Make sure not to overfill it to prevent spills.
2. Prime the pump: To ensure the soap flows smoothly, you may need to prime the pump initially. Press the pump head down several times until the soap starts to dispense. This helps remove any air and ensures a consistent flow of soap.
3. Adjust the soap dispenser pump: If the soap doesn’t dispense as desired, you may need to adjust the pump. Some soap dispensers have an adjustable screw or dial to control the amount of soap dispensed per pump. Refer to the manufacturer’s instructions to make the necessary adjustments.
4. Test the soap dispenser: Place your hand or a dish below the soap dispenser and press down on the pump head. Confirm that the soap is dispensed smoothly, without any clogs or leaks. Adjust the amount of soap dispensed, if needed, by pressing the pump more or less firmly.
5. Check for any leaks: While testing the soap dispenser, keep an eye out for any leaks around the pump connection or bottle. If you notice any leaks, try tightening the connections or replacing any faulty parts as needed.
6. Clean up and make final adjustments: Once you have tested the soap dispenser and confirmed its functionality, clean up any spills or drips and make any final adjustments to the soap dispenser’s positioning or pump mechanism, if necessary.
By testing the soap dispenser, you can ensure that it is functioning properly and dispensing the desired amount of soap. As a result, you can confidently start using your new soap dispenser to maintain cleanliness and hygiene in your kitchen.
Conclusion
Congratulations on successfully installing and testing your new soap dispenser on your kitchen sink! By following the step-by-step instructions outlined in this guide, you have transformed your kitchen into a more functional and convenient space.
Installing a soap dispenser not only eliminates the hassle of dealing with soap bottles cluttering your countertop but also promotes good hygiene practices in your kitchen. With the soap dispenser right at your fingertips, you can easily and conveniently wash your hands whenever needed.
Remember, cleanliness and hygiene are essential in the kitchen, where we handle food and engage in various cooking activities. Having a soap dispenser readily available encourages regular handwashing, which is crucial in preventing the spread of germs and ensuring the safety of your family.
With the soap dispenser installed, take a moment to appreciate the improved aesthetics and organization in your kitchen. The sink area will now appear more streamlined and clutter-free, enhancing the overall look of your kitchen.
As with any installation, it’s important to periodically check the soap dispenser for any potential leaks or malfunctions. Maintenance is key to keeping it in good working condition. Additionally, ensure that the soap dispenser bottle is regularly refilled with your preferred soap or hand sanitizer to provide a continuous and convenient supply of hygiene products.
We hope this guide has provided you with the necessary information and guidance to install your soap dispenser successfully. Enjoy the convenience and cleanliness that it brings to your kitchen. Happy handwashing!
Frequently Asked Questions about How To Install Soap Dispenser On Kitchen Sink
Was this page helpful?
At Storables.com, we guarantee accurate and reliable information. Our content, validated by Expert Board Contributors, is crafted following stringent Editorial Policies. We're committed to providing you with well-researched, expert-backed insights for all your informational needs.


0 thoughts on “How To Install Soap Dispenser On Kitchen Sink”