Home>Home Maintenance>How To Find A Leak In An Air Conditioner
Home Maintenance
How To Find A Leak In An Air Conditioner
Modified: August 27, 2024
Learn how to find a leak in your air conditioner with our comprehensive guide. Ensure optimal home maintenance and fix any HVAC issues with ease.
(Many of the links in this article redirect to a specific reviewed product. Your purchase of these products through affiliate links helps to generate commission for Storables.com, at no extra cost. Learn more)
Introduction
Welcome to our guide on how to find a leak in an air conditioner. If you’re experiencing issues with your AC system, such as reduced cooling efficiency or water leakage, there’s a high possibility that there’s a leak. Identifying and fixing the leak is crucial to ensure optimal performance and prevent further damage.
Understanding the signs of a possible leak is the first step in this process. If you notice water pooling around the unit, a musty odor, or a sudden decrease in cooling capacity, these are clear indications that a leak may be present. Neglecting this issue can lead to extensive water damage, mold growth, and potentially costly repairs.
To successfully locate and fix the leak, you’ll need the right tools and materials. Gathering these resources beforehand will save you time and make the process more efficient. You’ll need safety goggles, gloves, a flashlight, a UV dye kit, a coil cleaning brush, a leak repair sealant, and refrigerant if necessary. Having these items handy will enable you to tackle the problem head-on.
Now let’s dive into the step-by-step process of finding and resolving the leak in your air conditioner.
Key Takeaways:
- Regularly checking for signs of leaks, such as water pooling, musty odors, or reduced cooling, can help prevent extensive damage to your air conditioner and ensure a comfortable indoor environment.
- Using a leak detection kit with UV dye and performing a thorough inspection of the evaporator coil are essential steps in identifying and repairing leaks in your air conditioner, ensuring its optimal performance.
Understanding the Signs of a Possible Leak
Before you begin the process of locating a leak in your air conditioner, it’s important to be able to recognize the signs that indicate a potential leak. By familiarizing yourself with these signs, you can take prompt action and prevent further damage to your AC system.
One of the most common signs of a leak is the presence of water around your air conditioner. You may notice water collecting in a puddle near the unit or seeping out from the bottom. This can be an indication that the condensate drain line is clogged or that there is a leak in the refrigerant line.
In addition to water leakage, an musty or unpleasant odor coming from your air conditioner can also indicate a leak. This odor is often caused by the growth of mold or mildew, which thrives in damp environments. If you detect a musty smell when your AC is running, it’s crucial to address the issue promptly to prevent further mold growth.
Another sign that a leak may be present is a sudden decrease in cooling capacity. If your air conditioner is no longer able to cool your space effectively, it may be due to a refrigerant leak. Since refrigerant is responsible for absorbing and releasing heat, a reduction in its quantity can lead to inadequate cooling performance.
It’s important to note that not all leaks are visible or come with obvious signs. In some cases, an AC system may be leaking refrigerant without any visible indications. This is why regular maintenance and inspections by a professional are important to catch and address leaks before they cause significant damage.
By being aware of these signs, you can take proactive measures and address a possible leak in your air conditioner. In the next section, we will discuss the necessary tools and materials you’ll need for this task.
Gathering the Necessary Tools and Materials
Before you can begin the process of finding and fixing a leak in your air conditioner, it’s important to gather the necessary tools and materials. Having these items on hand will make the task easier and more efficient. Here are the tools and materials you’ll need:
- Safety goggles: Protect your eyes from any potential debris or harmful chemicals.
- Gloves: Keep your hands safe from sharp edges and substances.
- Flashlight: Provide ample lighting to help you see into the internal components of your air conditioner.
- UV dye kit: This kit contains a fluorescent dye that helps identify and locate leaks in the refrigerant system.
- Coil cleaning brush: Use a brush with soft bristles to clean the evaporator coils and remove any debris or dust that may be obstructing them.
- Leak repair sealant: If you find a small leak, a sealant can be used to patch it up. Make sure to choose a sealant that is compatible with your AC system and the type of leak you are addressing.
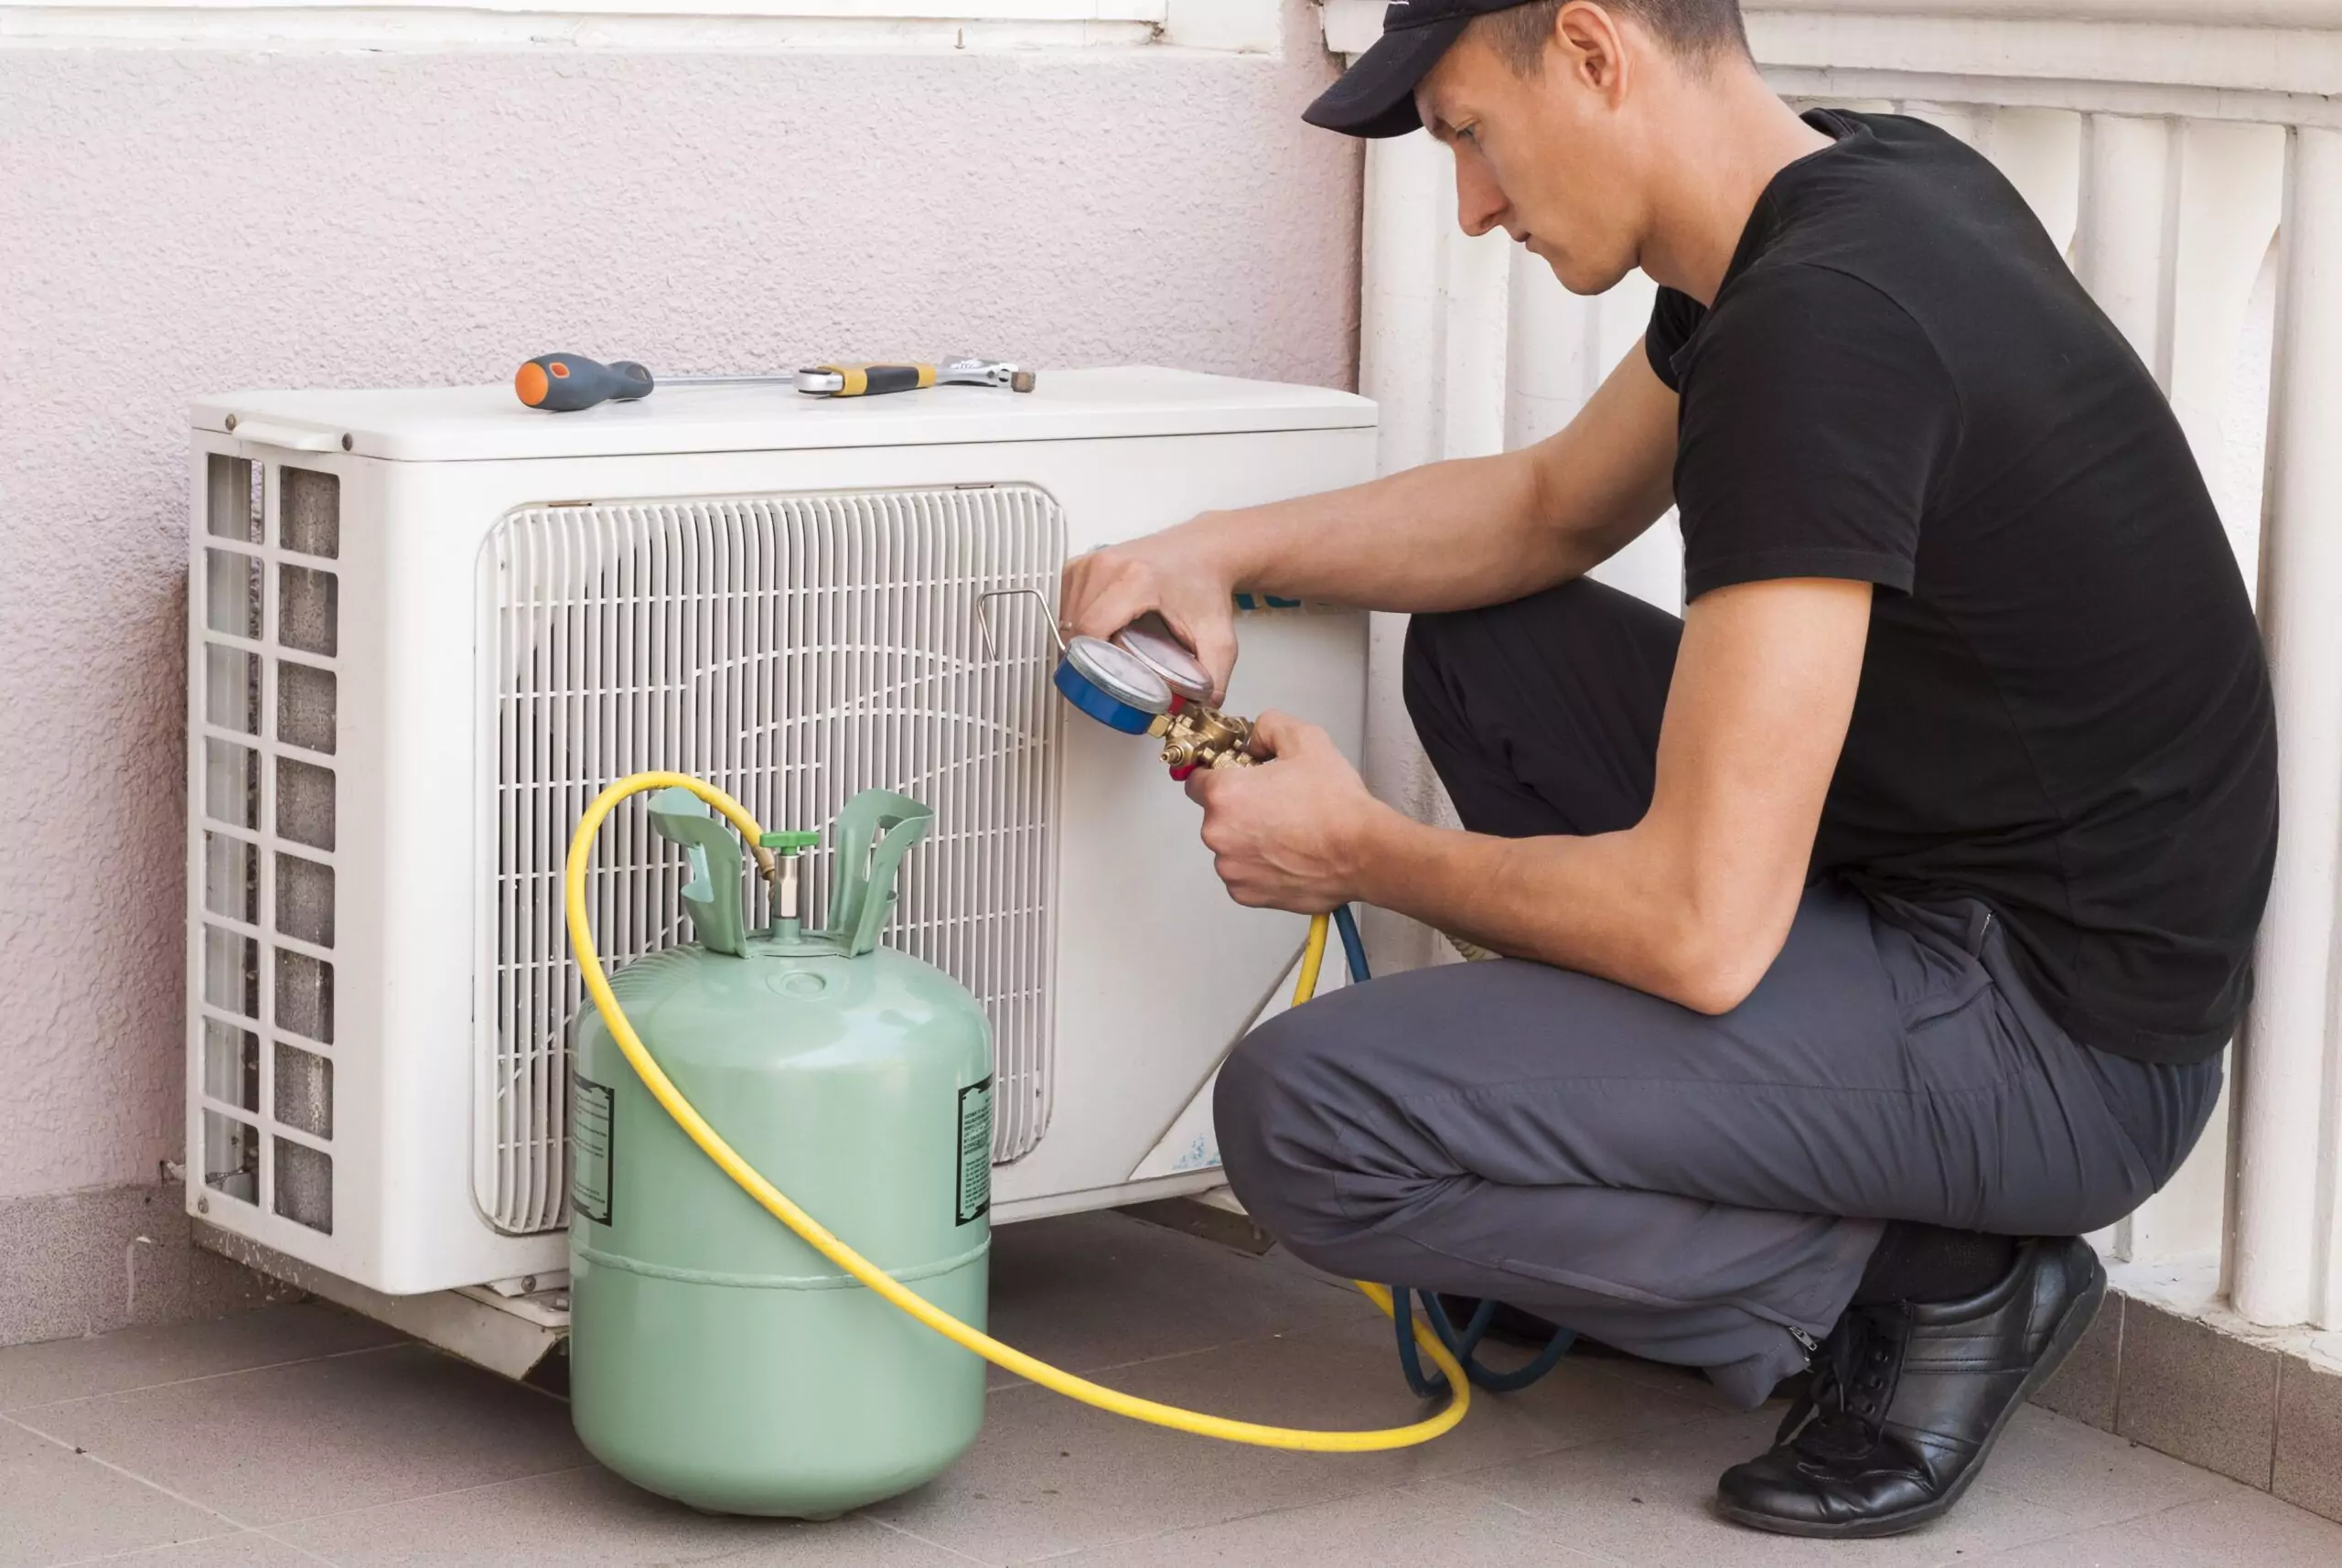
- Refrigerant (if necessary): In some cases, a leak may result in a loss of refrigerant. If this is the case, you may need to recharge the system with the appropriate refrigerant.
By having these tools and materials readily available, you’ll be well-prepared to tackle any leak that you may encounter. It’s important to prioritize safety when handling AC components, so don’t forget to wear protective gear like safety goggles and gloves throughout the process.
In the next section, we will walk you through the step-by-step process of finding a leak in your air conditioner.
Step 1: Shutting off the Power
Before you begin any work on your air conditioner, it’s crucial to ensure your safety by shutting off the power to the unit. Working on an energized AC system can be extremely dangerous and can cause electric shocks or other accidents.
To shut off the power, start by locating the electrical circuit breaker panel in your home. It is typically found in the basement, garage, or utility room. Once you have located the breaker panel, look for the breaker that controls the air conditioner. The breaker should be clearly labeled, but if it isn’t, consult your AC unit’s manual or contact a professional for assistance.
Once you have identified the correct breaker, flip it to the “off” position. This will cut off the power supply to your air conditioner and ensure that it is safe to proceed with the leak detection and repair process.
For an extra layer of precaution, you can also use a non-contact voltage tester to verify that the power is indeed off. This device can detect the presence of electrical currents without direct contact, giving you peace of mind that the power is truly turned off.
Remember, safety should always be the top priority when working with electrical systems. Make sure to follow all safety procedures and guidelines to protect yourself and prevent any accidents from occurring.
Once you have shut off the power to your air conditioner, you can move on to the next step: locating the air conditioner’s evaporator coil. This will be covered in detail in the following section.
Step 2: Locating the Air Conditioner’s Evaporator Coil
After ensuring the power is turned off, the next step is to locate the air conditioner’s evaporator coil. The evaporator coil is a vital component of the AC system and is responsible for cooling the air as it passes through.
To find the evaporator coil, you’ll need to access the indoor unit of your air conditioner. This is typically located in a utility closet, attic, or basement. Here’s how you can locate the evaporator coil:
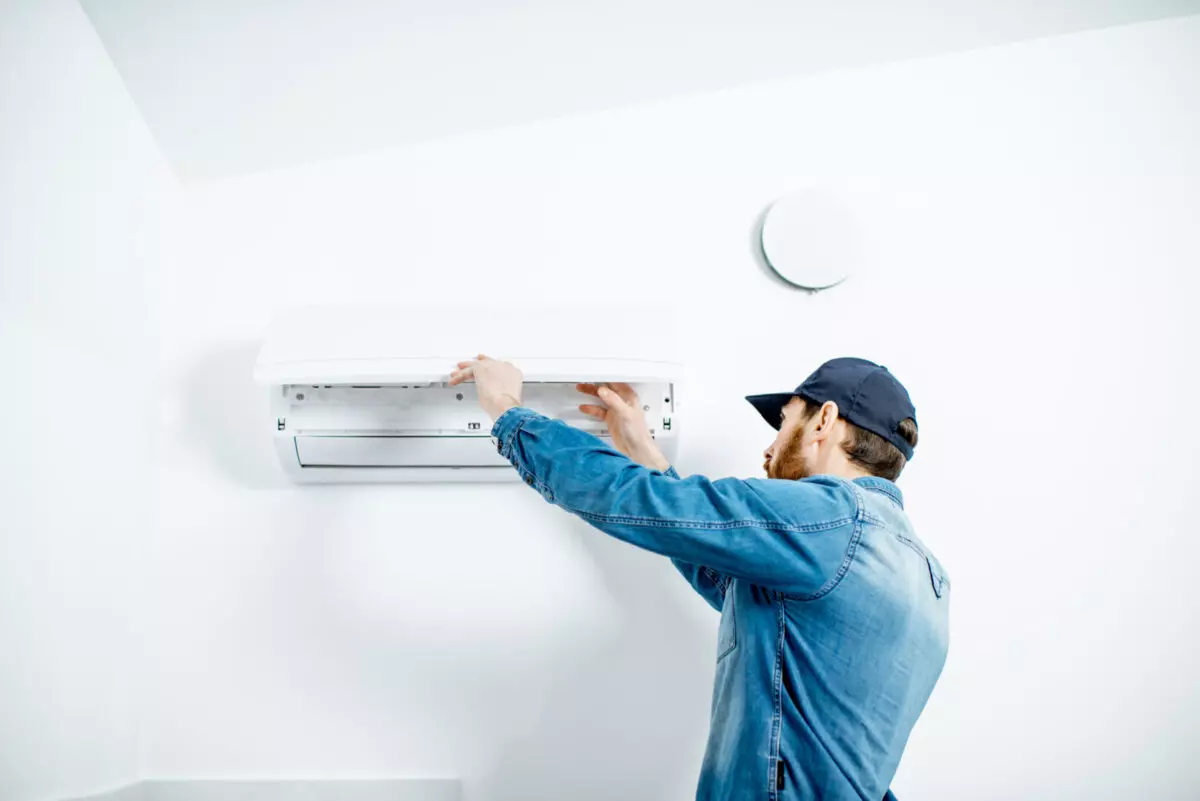
- Remove the access panels: Begin by removing the outer access panel to expose the internal components of the air conditioner. Use a screwdriver or the appropriate tools to carefully unscrew and remove the panel.
- Find the metal box: Once you’ve removed the access panel, you’ll see a metal box inside. This is where the evaporator coil is housed. It will usually be located near the bottom of the unit.
- Inspect the metal box: Take a close look at the metal box to find the evaporator coil. It is a set of looped or coiled tubes and will have fins attached to it. The coil may be covered with a layer of dust or debris, so it’s important to clean it gently before proceeding with the leak inspection.
Once you have located the evaporator coil, you can move on to the next step: inspecting the coil for any signs of leaks. This will involve a careful examination of the coil for visible damage or indications of a refrigerant leak. We will discuss this step in detail in the following section.
Step 3: Inspecting the Evaporator Coil for Leaks
Now that you have located the air conditioner’s evaporator coil, it’s time to inspect it for any signs of leaks. A leak in the evaporator coil can often be a culprit behind reduced cooling efficiency and water leakage in your AC system.
To inspect the evaporator coil, follow these steps:
- Turn on your flashlight: Since the evaporator coil is usually located in a confined space, proper lighting is essential. Turn on your flashlight to get a clear view and ensure you can inspect the coil thoroughly.
- Check for visible signs of leaks: Carefully examine the surface of the evaporator coil for any visible signs of leaks. Look for oily residue or coolant stains, which can indicate a refrigerant leak. Take note of any damage, such as bent fins or corrosion, as these can also contribute to leaks.
- Inspect the surrounding area: Along with the coil itself, pay attention to the area surrounding it. Look for moisture, water droplets, or traces of excessive condensation, as these can also indicate a potential leak.
- Clean the coil: If you notice any dust or debris buildup on the evaporator coil, use a soft brush or a vacuum cleaner with a brush attachment to gently clean it. This will help ensure that your inspection is accurate and free from any obstructions.
It’s important to note that while a visual inspection can reveal some leaks, not all leaks are easily visible. Some leaks may be small or located in hard-to-reach areas, requiring further tests and tools for detection. In the next step, we will explore the use of a leak detection kit to identify any hidden leaks in the system.
By performing a thorough inspection of the evaporator coil, you’ll be able to identify any visible leaks and assess the overall condition of the coil. Once you have completed the inspection, you can proceed to the next step: using a leak detection kit to further pinpoint any leaks in your air conditioner.
Check the condensate drain line for clogs or leaks. A clogged or damaged drain line can cause water to back up and leak from the air conditioner.
Step 4: Using a Leak Detection Kit
After inspecting the evaporator coil for any visible signs of leaks, the next step is to use a leak detection kit to further identify any hidden leaks in your air conditioner. A leak detection kit typically consists of a UV dye and a UV light, which work together to make leaks more visible.
Follow these steps to use a leak detection kit:
- Prepare the UV dye: The first step is to prepare the UV dye by following the instructions provided with the kit. Typically, you will need to mix the dye with a small amount of refrigerant and inject it into the AC system. Make sure to use the appropriate amount of dye as recommended by the manufacturer.
- Inject the dye into the system: Using the designated ports, inject the UV dye into the air conditioner’s refrigerant lines. This is usually done near the evaporator coil or the low-pressure side of the system. Take caution and follow safety guidelines to ensure the dye is injected properly.
- Run the AC system: Once the dye has been injected, turn on the air conditioner and let it run for a while. This will allow the dye to circulate throughout the system, including the condenser, refrigerant lines, and evaporator coil.
- Use the UV light: After the AC system has run for some time, use the UV light provided in the kit to inspect the various components for any signs of the UV dye. Shine the UV light in the areas where leaks are typically found, such as the joints, connections, and fittings.
- Identify the leaks: The UV dye will fluoresce under the UV light, making leaks more visible. As you inspect the components, look for areas where the dye is present. This will help you pinpoint the exact locations of any leaks in your air conditioner.
Using a leak detection kit with UV dye is an effective method for identifying hidden leaks in the AC system. By following the steps above, you’ll be able to locate the leaks and take appropriate action to address them. In the next step, we’ll discuss performing a dye test to further confirm any leaks and their severity.
Remember to always follow the instructions provided with the leak detection kit and take the necessary safety precautions when working with refrigerant and UV dye.
Step 5: Performing a Dye Test
After using a leak detection kit to identify possible leaks in your air conditioner, the next step is to perform a dye test. This test will help confirm the presence and severity of the leaks, allowing you to take appropriate action for repairs.
Follow these steps to perform a dye test:
- Shut off the AC system: Before starting the dye test, ensure that the air conditioner is turned off and the power is safely shut off at the circuit breaker.
- Inspect the components: Using the UV light provided in the leak detection kit, carefully examine the AC system’s components, including the evaporator coil, refrigerant lines, condenser, and fittings. Look for any areas where the UV dye is concentrated or detectable.
- Document the findings: Take note of the locations and severity of the leaks. This will help you communicate the information to a professional technician if needed.
- Consult a professional (if necessary): Depending on the severity of the leaks and your comfort level with AC repairs, it may be necessary to consult a professional HVAC technician. They can provide expert advice and assistance in fixing the leaks and restoring your air conditioner’s functionality.
Performing a dye test allows you to further confirm the presence of leaks and provides vital information for the repair process. Remember to follow the instructions provided with the leak detection kit and take all necessary safety precautions.
In the next step, we will discuss how to repair the leak once it has been identified. This will help you restore the proper functioning of your air conditioner and prevent further damage or inefficiency.
Step 6: Repairing the Leak
Once you have identified the location and severity of the leak in your air conditioner, it’s time to proceed with the repair. Repairing the leak will help restore the proper functioning of your AC system and prevent any further damage or refrigerant loss.
Depending on the size and type of the leak, there are several repair options available:
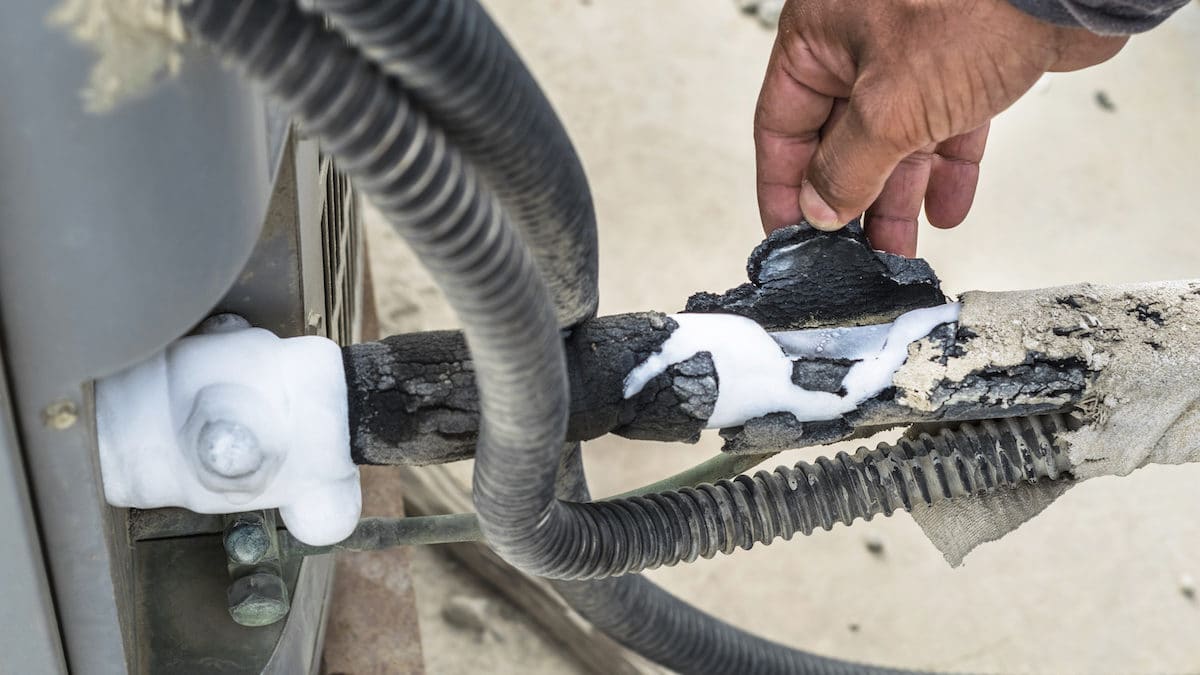
- Using a sealant: For small leaks in accessible areas, a sealant specifically designed for air conditioner repairs can be applied. Follow the manufacturer’s instructions to properly apply the sealant and ensure a secure and effective fix.
- Replacing damaged components: In some cases, the leak may be due to damaged or corroded components, such as a cracked refrigerant line or a faulty connection. In these situations, the damaged components will need to be replaced with new ones to eliminate the leak.
- Welding or soldering: If the leak is located at a joint or fitting, welding or soldering may be necessary to seal the area effectively. This repair method requires specialized equipment and skills, so it is recommended to consult a professional technician for this type of repair.
It’s important to note that repairing a leak in an air conditioner can be a complex task, especially for larger or hard-to-reach leaks. If you are not comfortable with performing the repair yourself or the leak is significant, it is recommended to seek the assistance of a professional HVAC technician who has the expertise and tools to handle the repair safely and effectively.
Remember to follow all safety precautions and guidelines when performing any repair work on your air conditioner. Additionally, it’s crucial to ensure that the repair is done correctly and thoroughly to prevent future leaks or potential damage to your AC system.
Once the leak has been properly repaired, you can proceed to the final step: testing for any additional leaks.
Step 7: Testing for Additional Leaks
After repairing the initial leak in your air conditioner, it’s important to test for any potential additional leaks. This step will help ensure that your AC system is completely sealed and free from any further leaks that may cause future issues.
Follow these steps to test for additional leaks:
- Turn on the AC system: After the repair work is completed and any replaced components are properly installed, turn on your air conditioner.
- Observe for any signs of leakage: Pay close attention to the AC unit and the surrounding area for any signs of water leakage or refrigerant odor. Check for any water puddles, excessive condensation, or musty smells that may indicate another leak.
- Monitor cooling performance: Keep an eye on the cooling performance of your air conditioner. Ensure that it is effectively cooling your space and maintaining the desired temperature. If you notice any drops in cooling efficiency, it may be an indication of a residual leak.
- If additional leaks are found: If you discover any signs of additional leaks or experience a decline in cooling performance, it may be necessary to repeat the inspection and repair process. Address any new leaks promptly to prevent further damage to your air conditioner.
Testing for additional leaks is crucial to ensure the long-term effectiveness and efficiency of your air conditioner. By thoroughly checking for any remaining leaks, you can mitigate the risk of future problems and extend the lifespan of your AC system.
If you encounter any difficulties during the testing process or suspect there may be additional leaks, it’s recommended to consult a professional HVAC technician. They have the expertise and tools to thoroughly assess your air conditioner and provide the necessary repairs or maintenance.
With the completion of the testing process, you have successfully inspected, repaired, and tested for leaks in your air conditioner. By following these steps, you can ensure the optimal functioning of your AC system and enjoy a comfortable and cool environment.
Remember, regular maintenance and inspections are key to identifying and preventing leaks in your air conditioner. It’s recommended to schedule professional maintenance checks on a regular basis and address any potential issues promptly to avoid costly repairs and ensure the longevity of your AC system.
Conclusion
Finding and repairing a leak in your air conditioner is a crucial step in maintaining its optimal performance and preventing potential damage. By identifying and addressing leaks promptly, you can extend the lifespan of your AC system, improve energy efficiency, and ensure a comfortable indoor environment.
Throughout this guide, we have covered the step-by-step process of finding and fixing a leak in an air conditioner. From understanding the signs of a possible leak to gathering the necessary tools and materials, inspecting the evaporator coil, using a leak detection kit, and performing a dye test, each step plays a vital role in successfully addressing the issue.
Repairing a leak in an air conditioner requires attention to detail, proper safety measures, and, in some cases, the assistance of a professional HVAC technician. It’s important to note that not all leaks can be fixed with DIY methods, especially if they involve complex repairs or require specialized skills and equipment.
Regular maintenance, including professional inspections, can help prevent leaks and address any potential issues before they escalate. Routinely cleaning and checking your air conditioner, replacing filters, and scheduling professional maintenance checks will go a long way in avoiding leaks and prolonging the life of your AC system.
Remember, safety should always be a priority while working with any electrical or HVAC systems. If you are unsure about any step of the process or encounter difficulties, it is highly recommended to consult with a licensed HVAC professional.
By following the steps outlined in this guide and staying proactive in the maintenance of your air conditioner, you can ensure that your AC system operates effectively and efficiently, providing you with cool, refreshing air for years to come.
Frequently Asked Questions about How To Find A Leak In An Air Conditioner
Was this page helpful?
At Storables.com, we guarantee accurate and reliable information. Our content, validated by Expert Board Contributors, is crafted following stringent Editorial Policies. We're committed to providing you with well-researched, expert-backed insights for all your informational needs.