
Articles
How To Find HVAC Leak
Modified: January 6, 2024
Looking for informative articles on how to find HVAC leaks? Explore our comprehensive guide to locate and fix leaks in your heating, ventilation, and air conditioning system.
(Many of the links in this article redirect to a specific reviewed product. Your purchase of these products through affiliate links helps to generate commission for Storables.com, at no extra cost. Learn more)
Introduction
Welcome to the world of HVAC (Heating, Ventilation, and Air Conditioning), where comfort and functionality are key. However, even the most well-maintained HVAC systems can develop leaks over time, leading to a variety of issues such as decreased efficiency, elevated energy costs, and compromised indoor air quality. Discovering and addressing these leaks is crucial in order to ensure optimal performance and a comfortable living or working environment.
In this article, we will guide you through the process of finding HVAC leaks, step by step. Whether you are a homeowner or a business owner, understanding the signs of leaks and knowing how to locate and address them can save you time, money, and headaches in the long run.
It’s important to note that while some minor leaks can be fixed with DIY methods, others may require the expertise of a professional HVAC technician. By following the steps outlined in this article, you will be equipped with the knowledge to assess the severity of the leak and determine if a professional intervention is necessary.
So, let’s dive in and explore the world of HVAC leaks. By the end of this article, you will have a clear understanding of what to look for and how to take appropriate action to ensure your HVAC system is running smoothly and efficiently.
Key Takeaways:
- Regular visual inspections, checking air filters, and inspecting ductwork are essential for identifying and addressing HVAC leaks. DIY methods can help, but professional intervention may be necessary for complex leaks.
- Utilizing leak detection kits and calling professional HVAC technicians when needed can ensure efficient and safe resolution of HVAC leaks. Preventative maintenance is key to avoiding leaks and optimizing system performance.
Read more: How To Find Roof Leak
Understanding HVAC Leaks
Before we start discussing how to find HVAC leaks, let’s first understand what exactly an HVAC leak is. HVAC leaks can occur in various components of the system, including air ducts, refrigerant lines, condensate drains, and even the evaporator coil. These leaks can result in the loss of conditioned air, refrigerant, or water, depending on the location and type of leak.
One of the most common types of leaks in HVAC systems is air leaks. When air leaks occur in the ductwork, it means that the conditioned air that is supposed to be delivered to different rooms in a building is escaping into unconditioned spaces like attics or crawl spaces. This leads to decreased efficiency as the system works harder to compensate for the lost air.
Refrigerant leaks, on the other hand, can have more serious consequences. Refrigerant is responsible for absorbing heat from indoor spaces and releasing it outside. When there is a refrigerant leak, the system may not be able to cool the air as effectively, resulting in reduced cooling capacity and higher energy consumption.
Another common type of leak is associated with the condensate drain. HVAC systems produce condensation as they remove moisture from the air. This excess water is typically drained through a condensate drain. If this drain is blocked or damaged, water can back up and cause damage to the system or create a breeding ground for mold and bacteria.
Lastly, the evaporator coil, which is responsible for cooling the air in the HVAC system, can develop leaks over time. This can lead to reduced cooling performance and potential damage to other components of the system.
Understanding the different types of HVAC leaks helps us better assess the signs and symptoms that indicate a potential problem. By being aware of these leaks, we can take the necessary steps to identify and address them, preventing further damage and maximizing the efficiency of our HVAC system.
Signs of HVAC Leaks
Now that we have a basic understanding of HVAC leaks, let’s explore the signs that indicate the presence of a leak in your system. Detecting these signs early on can help you prevent further damage and address the issue promptly.
1. Decreased Cooling/Heating Efficiency: If you notice that your HVAC system is taking longer than usual to cool or heat your space, it could be a sign of a leak. Leaks cause the system to work harder to achieve the desired temperature, resulting in decreased efficiency.
2. Increased Energy Bills: Leaks in an HVAC system can cause it to work overtime, leading to higher energy consumption and increased utility bills. If you notice a sudden and unexplained increase in your energy costs, it’s worth investigating for potential leaks.
3. Uneven Temperatures: If certain areas of your home or office feel significantly warmer or cooler than others, it could indicate a leak in your ductwork. Air leaks can result in inconsistent airflow distribution, causing temperature imbalances.
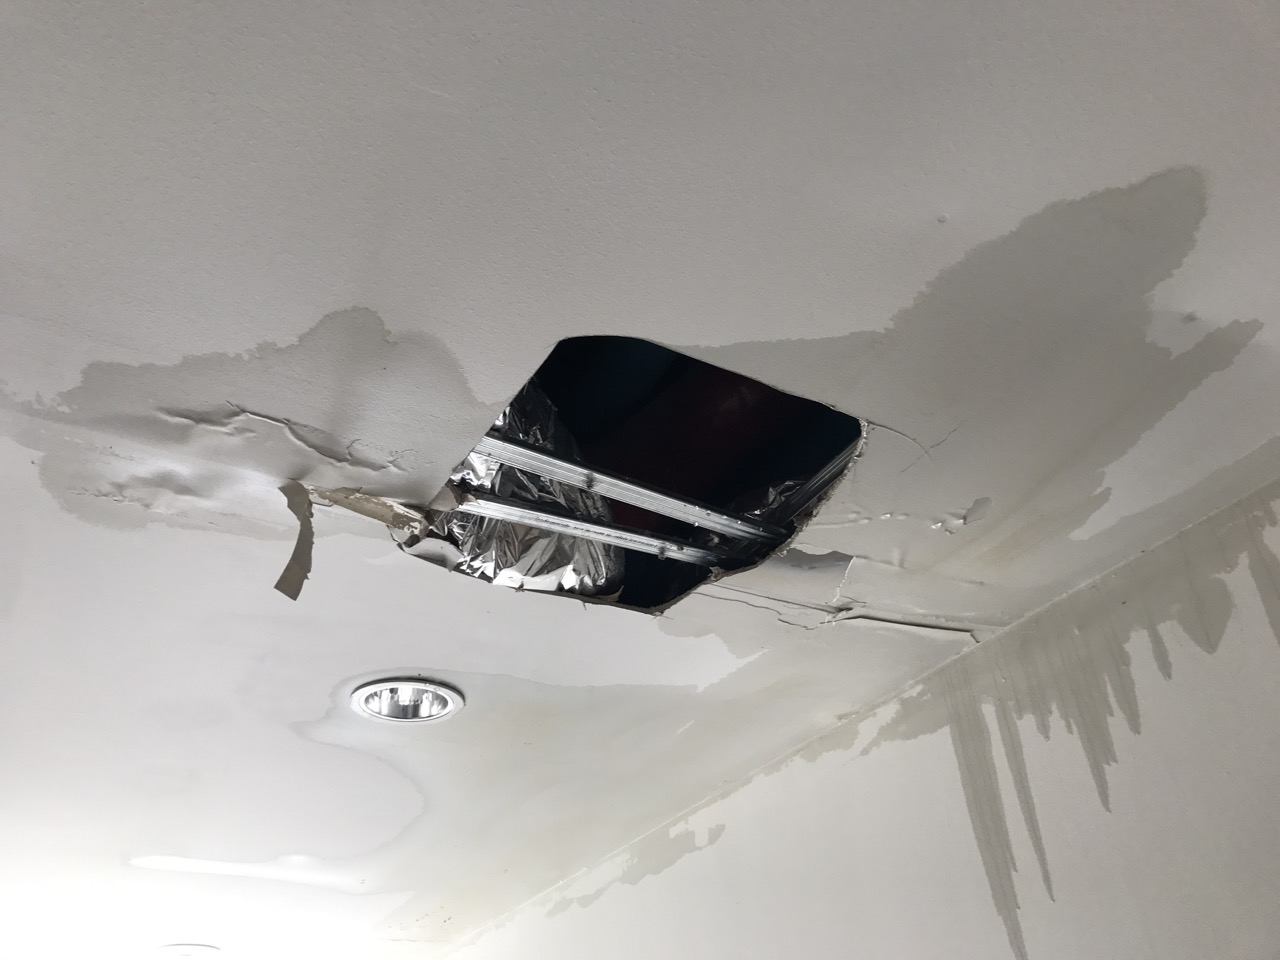
4. Visible Water or Moisture: An obvious sign of a leak is the presence of water or moisture around the unit or in the vicinity of the air ducts. This could indicate a condensate drain blockage or a refrigerant leak.
5. Strange Odors: Leaks in the HVAC system can lead to mold and mildew growth, which can produce unpleasant odors. If you notice musty or moldy smells when the system is running, there may be a leak contributing to the issue.
6. Hissing or Whistling Noises: Air leaks in the ductwork can create hissing or whistling sounds. If you hear unusual noises coming from your HVAC system, it’s essential to investigate the cause, as it could be a sign of a leak.
7. Frequent Cycling: If your HVAC system is turning on and off more frequently than usual, it could be a result of a refrigerant leak. The system needs adequate refrigerant to cool the air effectively, and a leak can disrupt this process.
Pay attention to these signs, as they can help you identify potential HVAC leaks. While some signs may be more obvious, it’s important to remember that not all leaks manifest in the same way. If you suspect a leak but are unsure, it’s always best to consult a professional HVAC technician for a thorough inspection and diagnosis.
Step 1: Visual Inspection
The first step in finding HVAC leaks is to conduct a thorough visual inspection of your system. This step allows you to identify any obvious signs of leaks or damage. Here’s how to go about it:
1. Turn off the HVAC System: Before you begin your visual inspection, turn off the HVAC system to ensure your safety and prevent any unnecessary damage.
2. Inspect the Air Handler Unit: Start by examining the air handler unit, which is usually located inside your home or building. Look for any visible signs of water or moisture around the unit. Check the condensate drain pan for standing water or signs of overflow.
3. Check the Air Ducts: Inspect the air ducts for any signs of damage, such as disconnected joints, holes, or gaps. These can be potential sources of air leaks. Use a flashlight to help spot any hidden areas that may be difficult to reach.
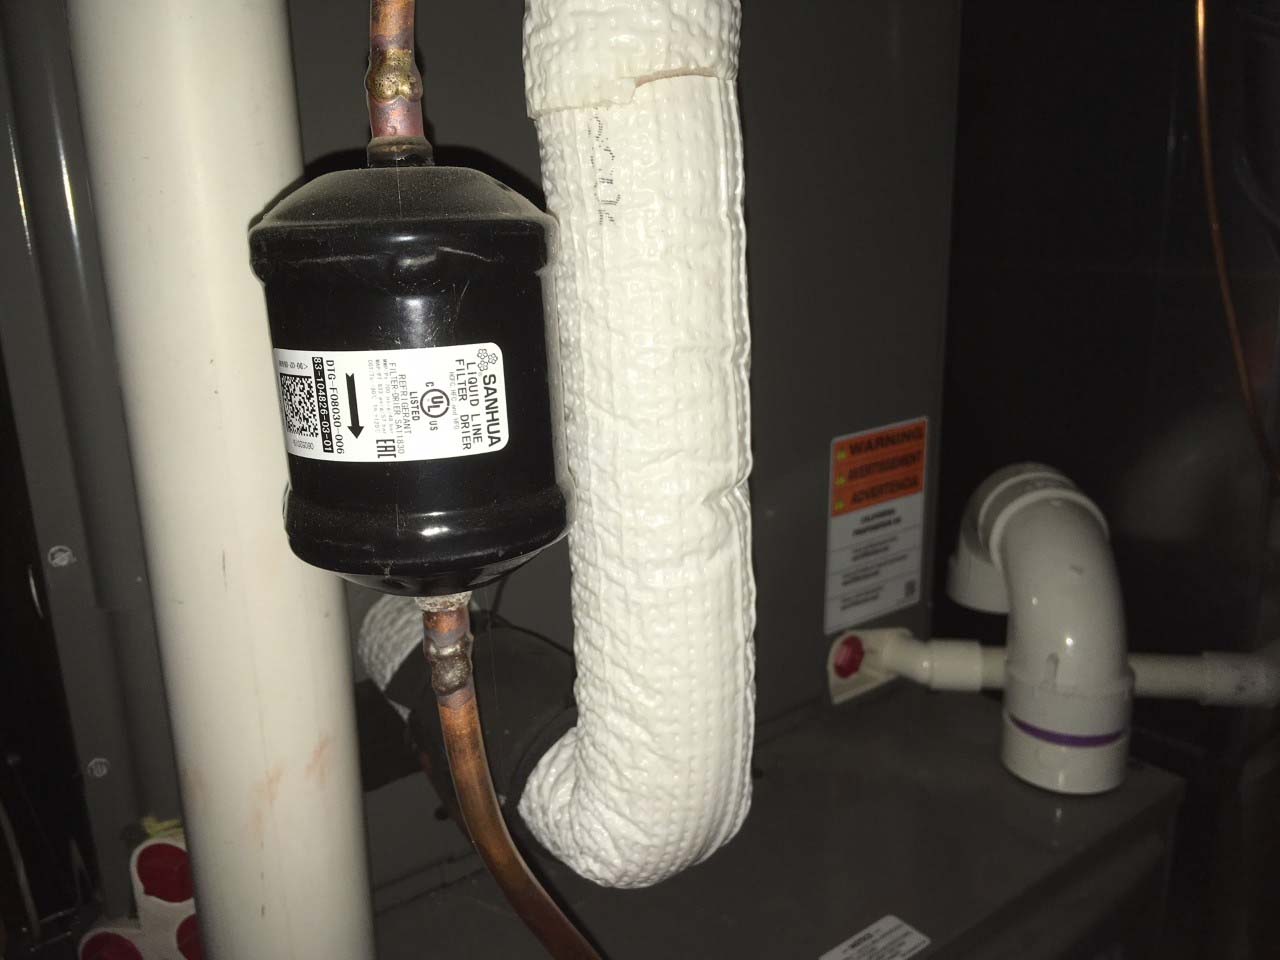
4. Examine the Refrigerant Lines: Next, examine the refrigerant lines for any signs of refrigerant leakage. Look for oil stains or residue around the connections. If you notice oily spots or a hissing sound coming from the lines, it could indicate a refrigerant leak.
5. Inspect the Evaporator Coil: Take a close look at the evaporator coil, which is responsible for cooling the air. Look for any signs of corrosion, ice buildup, or visible leaks. Moisture or water pooling around the coil can be a clear indicator of a problem.
6. Check the Condensate Drain Line: Inspect the condensate drain line for any blockages or clogs. If the line appears to be obstructed or if there is water backing up, it may indicate a problem that needs attention.
7. Look for Air Leaks Around Registers and Vents: Finally, inspect the registers and vents throughout your space. Check for signs of air leaks around the edges or gaps between the ductwork and the registers. Leaks in these areas can contribute to decreased heating or cooling efficiency.
As you conduct the visual inspection, make note of any issues or abnormalities you observe. This information will be helpful when taking further steps to address the leaks. However, keep in mind that not all HVAC leaks are visible or easily detectable. If you suspect a leak but cannot identify it during the visual inspection, it may be necessary to move on to the next step in the process.
Step 2: Checking the Air Filter
When it comes to HVAC system maintenance, checking and replacing the air filter is a crucial step in ensuring optimal performance and preventing potential leaks. A dirty or clogged air filter can restrict airflow and put additional strain on the system, leading to various issues. Here’s how to check the air filter:
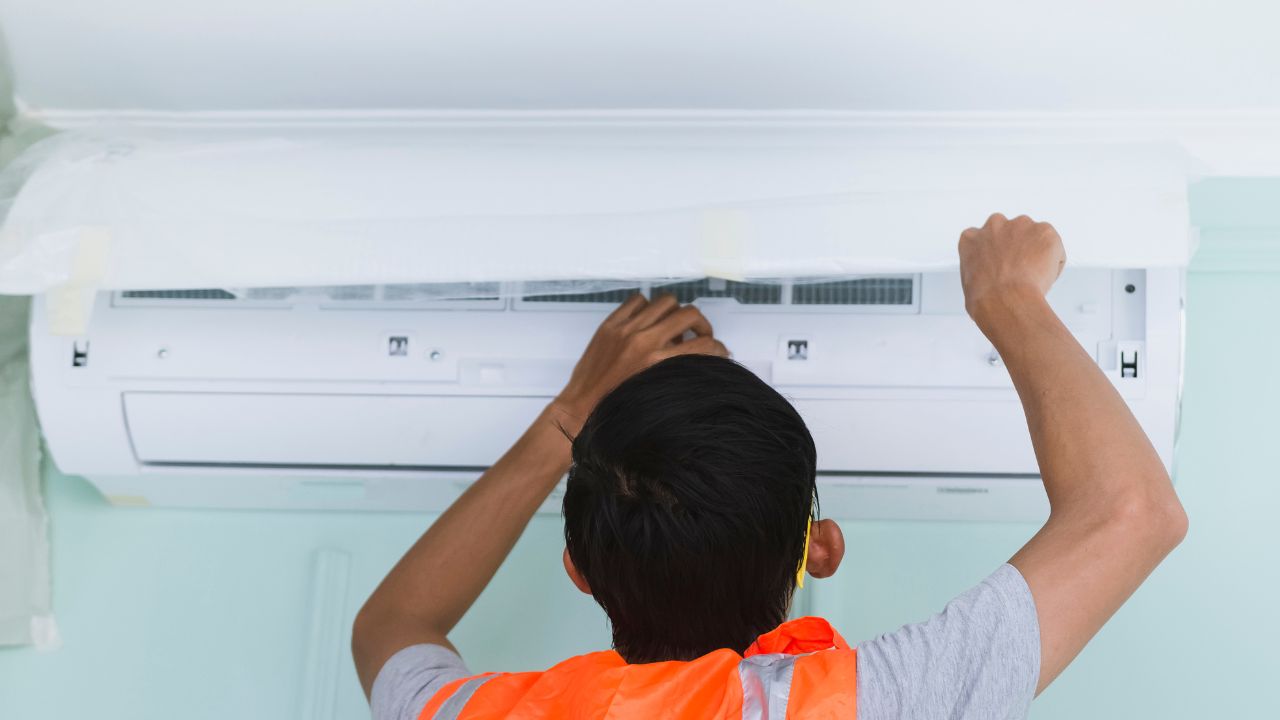
1. Locate the Air Filter: The air filter is typically located in the return air duct or in the air handler unit. Refer to your HVAC system’s manual or follow the ductwork to find the air filter.
2. Turn off the HVAC System: Before you remove the air filter, make sure to turn off the HVAC system. This prevents any debris or dust from getting sucked into the system during the filter inspection.
3. Inspect the Air Filter: Carefully remove the air filter and hold it up to the light. Inspect it for any layers of dust, debris, or visible signs of damage. A dirty or clogged filter will appear gray or brown and may have clumps of dirt or debris accumulated on the surface.
4. Check the Filter’s Condition: Assess the overall condition of the air filter. If it is torn, damaged, or falling apart, it needs to be replaced. Additionally, check if the filter is the correct size and properly fits in the housing. An ill-fitting filter can bypass the filter’s effectiveness and allow dust to enter the system.
5. Determine the Filter’s Lifespan: Most air filters have a recommended lifespan listed on the packaging or in the user manual. If the filter has been in use for longer than the recommended lifespan, it’s time for a replacement, even if it doesn’t appear visibly dirty.
6. Clean or Replace the Air Filter: If the air filter is dirty but still in good condition, it can be cleaned. Follow the manufacturer’s instructions for cleaning, which usually involves gently vacuuming or rinsing with water. However, if the filter is excessively dirty, damaged, or has reached the end of its lifespan, it’s best to replace it with a new one.
7. Reinstall the Air Filter: Once the air filter has been cleaned or replaced, carefully insert it back into the housing. Ensure it fits securely and is placed in the correct direction (usually indicated by arrows on the filter).
Regularly checking and maintaining the air filter is essential in preventing HVAC leaks. It promotes proper airflow, reduces strain on the system, and improves overall efficiency. Make a note to check and clean or replace the air filter on a regular basis, typically every 1-3 months, depending on the manufacturer’s recommendations and the air quality in your environment.
Read more: How To Find AC Leak
Step 3: Checking the Air Ducts
Now that you have inspected the air filter, it’s time to move on to the next step: checking the air ducts. The air ducts play a crucial role in delivering conditioned air throughout your space, and any leaks or damage in the ductwork can lead to energy loss and decreased efficiency. Here’s how to check the air ducts for potential leaks:
1. Access the Ductwork: Start by gaining access to the ductwork. This may involve removing vents or registers to gain visibility and reach into the ducts. Use a screwdriver or the appropriate tools to remove the covers without damaging them.
2. Inspect the Ducts: As you examine the ductwork, look for any signs of damage, gaps, or disconnected joints. Pay close attention to areas where the ducts connect to each other or to registers. Look for visible cracks, holes, or loose connections that could cause air leaks.
3. Check for Air Leaks: Run your hand along the edges of the ductwork, feeling for any cool or warm air escaping. You can also use a damp hand or a piece of tissue paper, which will indicate airflow by moving or fluttering in the presence of a leak.
4. Look for Insulation Issues: Insulation is essential in preventing energy loss in the ductwork. Check for any damaged or missing insulation in the ducts. Insulation that is deteriorated or improperly installed can contribute to temperature inconsistencies and potential leaks.
5. Note Damaged or Disconnected Ducts: If you come across any damaged or disconnected ducts, make a note of their location. These issues should be addressed promptly to prevent further energy loss and inefficiency.
6. Address Small Leaks: If you discover small gaps or holes in the ductwork, you can attempt to seal them yourself using metal tape or mastic sealant. Apply the tape or sealant to cover the gaps, ensuring a tight and secure seal. This can help minimize air leaks and improve the efficiency of your HVAC system.
7. Consider Professional Inspection: For larger or more complex air duct issues, it may be necessary to enlist the help of a professional HVAC technician. They have the expertise and equipment to identify and address leaks or damage in the ductwork effectively.
By checking the air ducts for leaks, you can ensure that the conditioned air is properly delivered to each room in your space. Identifying and addressing any leaks or damage in the ductwork can improve the overall efficiency and performance of your HVAC system, leading to energy savings and enhanced comfort throughout your home or office.
One tip for finding an HVAC leak is to use a leak detection solution, which is a liquid that can be applied to the suspected area of the leak. If there is a leak, the solution will bubble, making it easier to locate and repair.
Step 4: Inspecting Refrigerant Lines
Inspecting the refrigerant lines is an essential step in finding HVAC leaks, especially when it comes to cooling systems. The refrigerant lines are responsible for carrying the refrigerant, which absorbs heat from indoor spaces and releases it outside. A refrigerant leak can result in reduced cooling capacity and increased energy consumption. Follow these steps to inspect the refrigerant lines:
1. Safety First: Before you begin, ensure that the HVAC system is turned off. This will prevent any potential hazards and injuries during the inspection process.
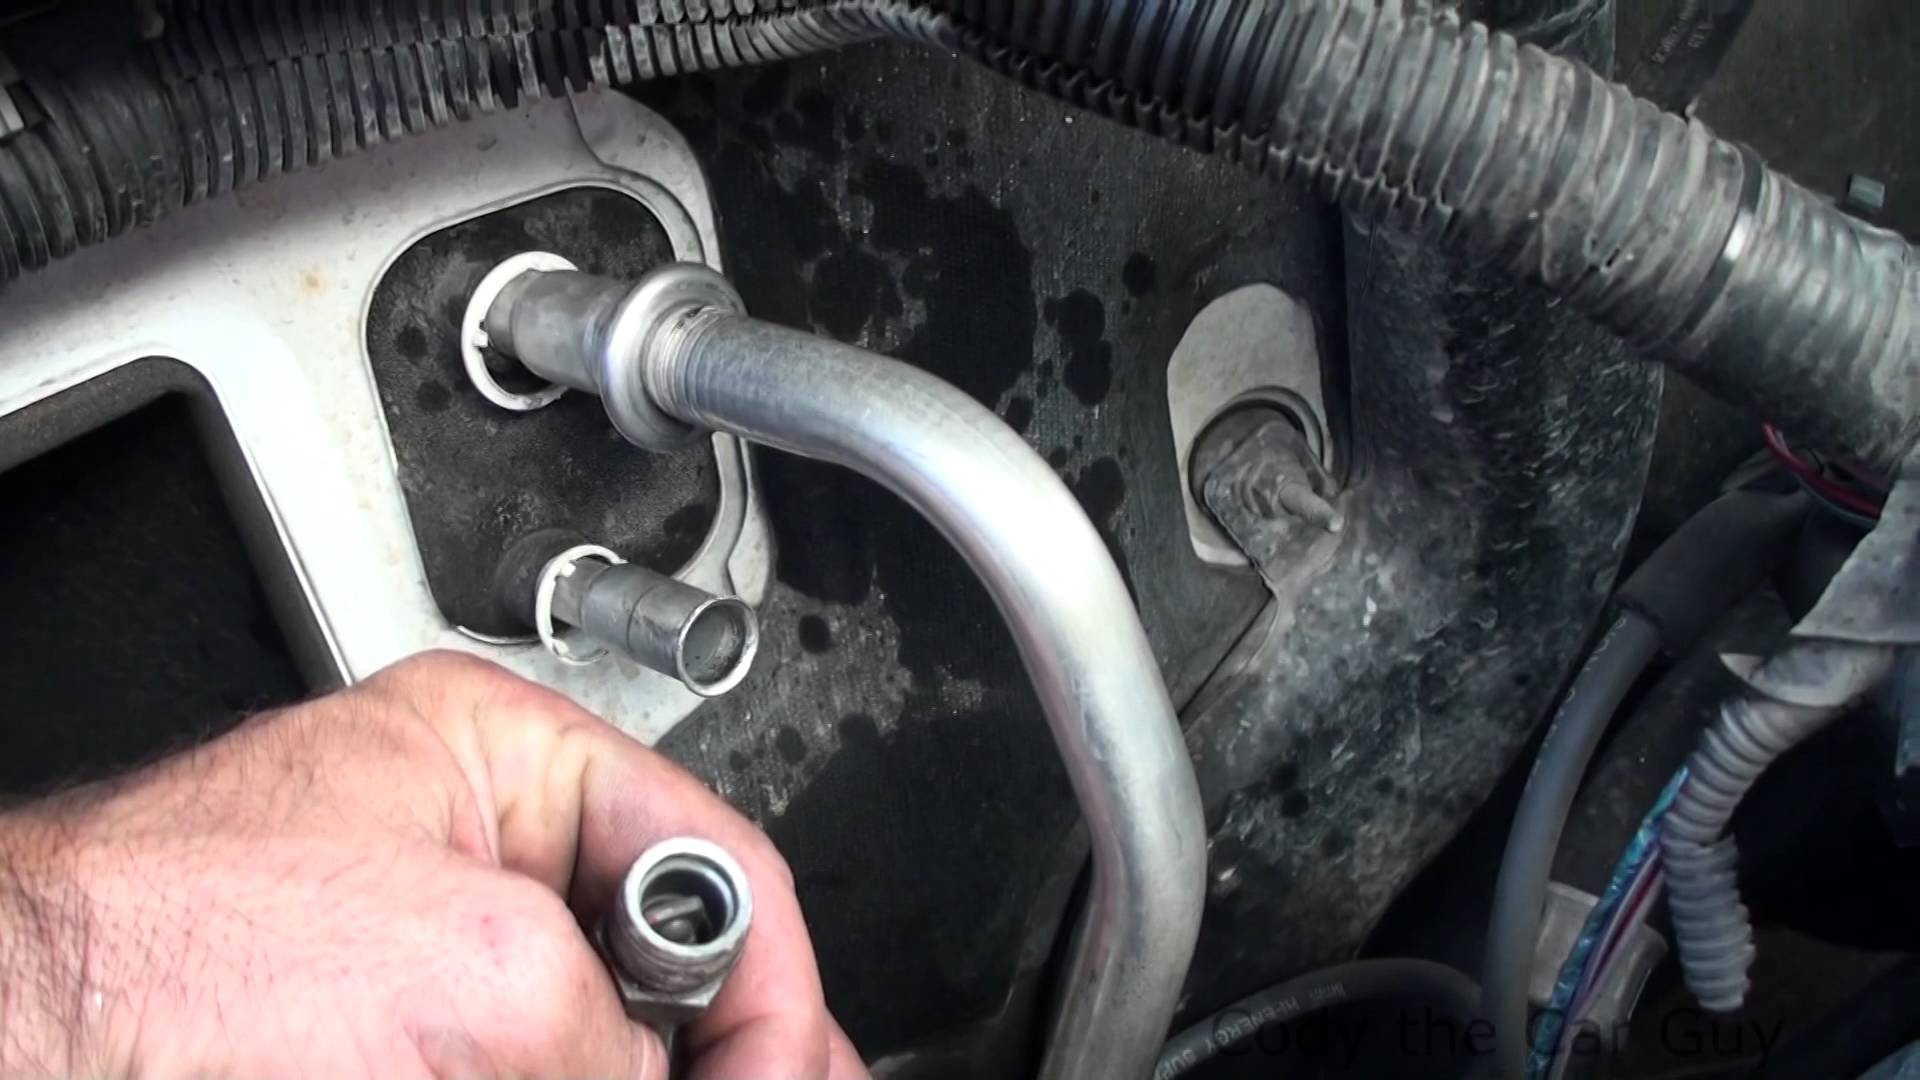
2. Locate the Refrigerant Lines: The refrigerant lines are usually located near the outdoor unit of the HVAC system. Look for the copper pipes that connect to the unit. They may be covered by insulation or located in a conduit.
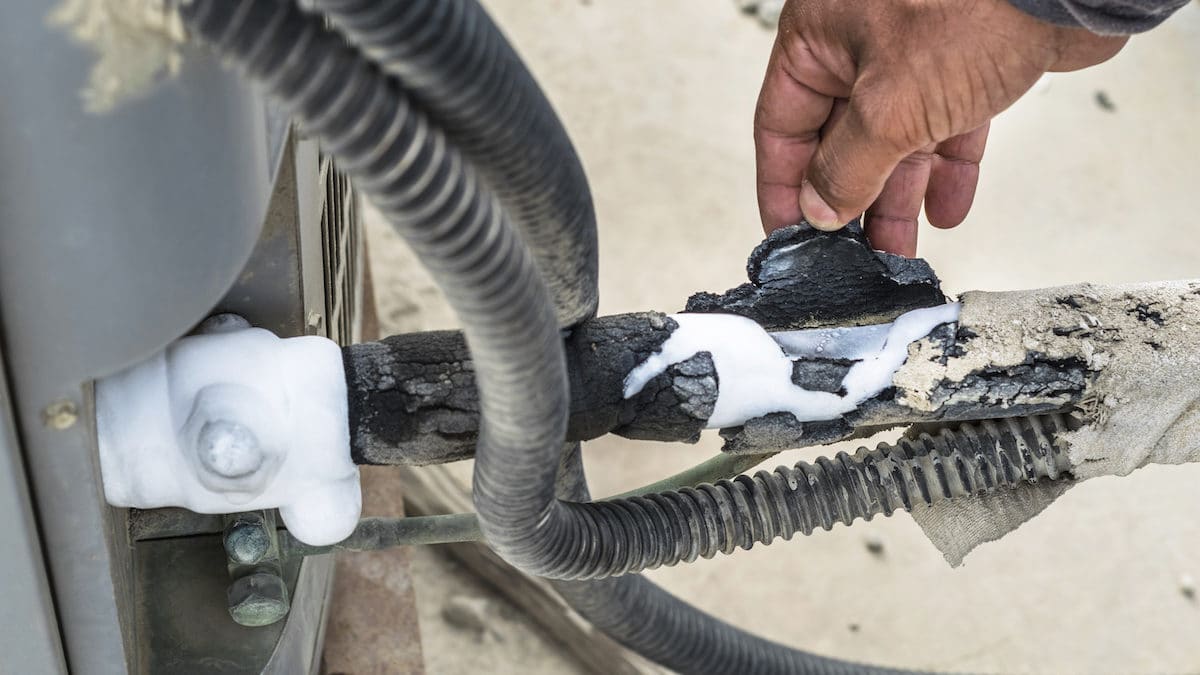
3. Visually Inspect the Lines: Carefully examine the refrigerant lines for any signs of damage, such as cracks, punctures, or corrosion. Pay attention to the areas where the lines are connected or pass through walls or other structures.
4. Check for Oil Stains: Refrigerant leaks often leave behind oil stains, indicating the location of the leak. Look for any oily spots or residue around the connections or along the length of the lines. These stains can be an indication of a refrigerant leak.
5. Listen for Hissing Sounds: Slowly run your hands along the refrigerant lines while lightly pressing. Listen for any hissing sounds, as this can signal a refrigerant leak. The escaping gas produces a distinct noise that can help pinpoint the area of the leak.
6. Use a Leak Detection Solution: If you suspect a refrigerant leak but are unable to visually or audibly detect it, you can use a leak detection solution. Apply the solution to the refrigerant lines and connections. If there is a leak, the solution will bubble or change color, indicating the source of the leak.
7. Consult a Professional: If you suspect a refrigerant leak but are unsure of how to proceed or if the leak appears to be significant, it is advisable to contact a professional HVAC technician. They have the necessary tools and expertise to accurately diagnose and repair refrigerant leaks.
Inspecting the refrigerant lines is crucial in maintaining the efficiency and cooling capacity of your HVAC system. Identifying and addressing any leaks will not only improve the performance of the system but also help prevent potential environmental hazards. Regular inspection of the refrigerant lines will ensure the smooth operation of your HVAC system and prolong its lifespan.
Step 5: Inspecting the Condensate Drain
The condensate drain plays a vital role in removing excess water produced by your HVAC system. If the drain becomes blocked or damaged, it can lead to water backup, which can cause damage to the system and create a breeding ground for mold and bacteria. Here’s how to inspect the condensate drain:
1. Safety First: Before you begin inspecting the condensate drain, make sure the HVAC system is turned off to prevent any potential hazards or injuries.
2. Locate the Condensate Drain: The condensate drain is typically located near the indoor unit of your HVAC system. It may be a PVC pipe or a metal pipe connected to a drain line or a condensate pump.
3. Visually Inspect the Drain Line: Carefully examine the drain line for any signs of blockages or damage. Look for visible debris, such as dirt, dust, or mold, that may obstruct the flow of water.
4. Check for Water Buildup: Use a flashlight to check for any water buildup around the condensate drain area. If you notice standing water or moisture, it could be an indication of a clogged or damaged drain.
5. Clear Debris: If you observe any debris or dirt blocking the condensate drain, use a small brush or a pipe cleaner to remove the obstructions. Gently insert the tool into the drain and carefully clear away the blockage.
6. Flush with Water: Pour a small amount of clean water into the condensate drain to check if it drains properly. If the water flows smoothly and drains without any issues, the drain is clear. However, if you notice slow drainage or water backup, further action is needed.
7. Consider Using a Condensate Treatment: If you’ve had recurrent issues with condensate drain blockages, you may want to consider using a condensate treatment product. These products can help prevent the buildup of mold, algae, and bacteria within the drain, reducing the chances of clogs.
8. Contact a Professional: If you encounter persistent condensate drain blockages or if there are signs of damage to the drain line, it’s best to consult a professional HVAC technician. They have the expertise to address more complex issues and ensure the proper functioning of the condensate drain.
Regular inspection of the condensate drain system is essential in preventing water damage and maintaining the efficiency of your HVAC system. By checking and clearing any blockages, you can avoid potential issues and keep your system running smoothly.
Step 6: Evaluating the Evaporator Coil
The evaporator coil is a crucial component of your HVAC system that is responsible for cooling the air. Over time, the coil can develop leaks or become dirty, which can affect its performance and lead to issues such as reduced cooling capacity and energy inefficiency. Here’s how to evaluate the evaporator coil:
1. Safety First: Before you begin, ensure that the HVAC system is turned off to prevent any potential hazards or injuries during the evaluation process.
2. Locate the Evaporator Coil: The evaporator coil is typically located inside the air handler unit or above the furnace. Refer to your HVAC system’s manual or follow the manufacturer’s instructions to locate the coil.
3. Inspect for Visible Damage: Carefully examine the evaporator coil for any visible signs of damage, such as corrosion, bent fins, or leaks. Check for oil stains or wet spots around the coil, as they may indicate a refrigerant leak.
4. Assess for Ice Buildup: A common issue with the evaporator coil is the buildup of ice. Look for any ice or frost on the surface of the coil. If ice is present, it may indicate issues with airflow or refrigerant levels that need to be addressed.
5. Check for Dirt and Debris: The evaporator coil can accumulate dust, dirt, and debris over time, which can impair its efficiency. Inspect the coil for any visible dirt buildup. If the coil appears dirty, it may require cleaning to ensure optimal performance.
6. Clean the Coil (if necessary): If the evaporator coil is dirty, you can clean it using a soft brush or a vacuum cleaner with a brush attachment. Gently brush off any loose dirt or debris, being cautious not to bend the coil fins. If deeper cleaning is required, consult a professional HVAC technician.
7. Monitor Drainage: As you evaluate the evaporator coil, pay attention to the condensate drainage. Make sure the condensate drain pan is clear of obstructions and water is flowing properly into the drain line. Address any issues with drainage, as they can lead to water damage or mold growth.
8. Consider Professional Maintenance: Regular maintenance of the evaporator coil is recommended to ensure its longevity and efficiency. Professional HVAC technicians have the expertise and equipment to perform thorough coil cleaning and maintenance.
By conducting a comprehensive evaluation of the evaporator coil, you can identify any issues or maintenance needs to ensure optimal cooling performance. Regular maintenance and cleaning of the coil can help maintain the efficiency of your HVAC system and prolong its lifespan.
Read more: How To Find A Leak In Pool Plumbing
Step 7: Utilizing a Leak Detection Kit
When it comes to finding HVAC leaks, sometimes the source may not be easily visible or identifiable through visual inspection alone. In such cases, utilizing a leak detection kit can be a helpful tool to pinpoint the exact location of the leak. Here’s how to use a leak detection kit:
1. Choose the Appropriate Leak Detection Kit: There are various types of leak detection kits available, including electronic leak detectors, ultrasonic leak detectors, and fluorescent dye kits. Select the kit that best suits your needs and the type of leak you suspect in your HVAC system.
2. Follow the Kit Instructions: Each leak detection kit will come with its own set of instructions. It’s essential to carefully read and follow the instructions provided by the manufacturer to ensure accurate results. This will guide you on the proper setup and usage of the kit.
3. Prepare the HVAC System: Before using the leak detection kit, make sure to turn off the HVAC system and allow it to cool down. This ensures your safety and prevents any potential interference with the kit’s readings or functionality.
4. Wear Protective Gear: Depending on the type of leak detection kit you are using, it may require specific safety precautions. This can include wearing gloves, goggles, or other protective gear to ensure your well-being during the process.
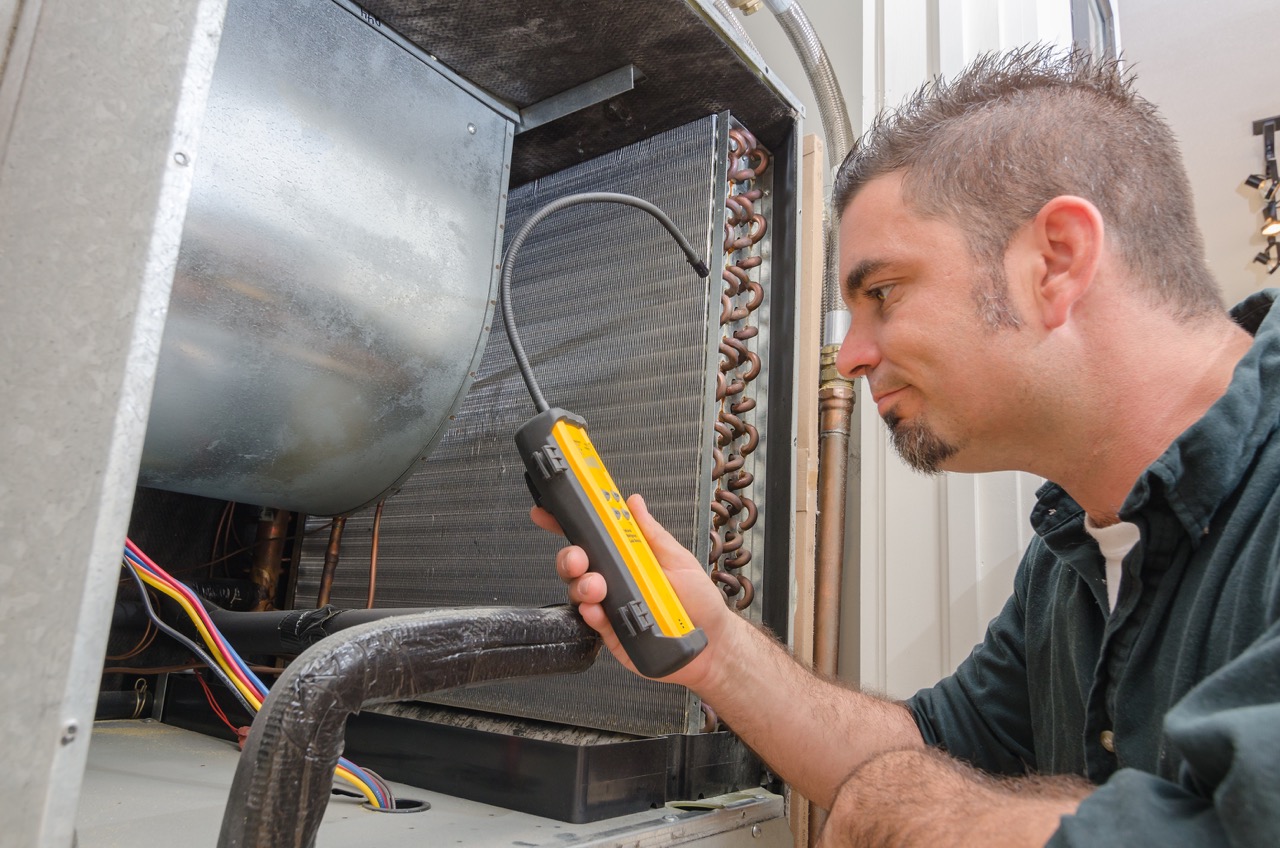
5. Implement the Leak Detection Method: Different kits utilize different methods to detect leaks. For example, an electronic leak detector uses sensors to detect refrigerant leaks, while a fluorescent dye kit requires you to inject a UV dye into the system, which will later glow under UV light. Follow the specific instructions provided with your chosen kit to implement the leak detection method accurately.
6. Scan the HVAC System: Run the leak detection kit around the areas where leaks are suspected, focusing on common problem areas such as connections, valves, joints, or areas of visible damage. Follow the instructions and guidelines to ensure a comprehensive scan of the system.
7. Interpret the Results: Depending on the type of leak detection kit, you may receive visual or auditory signals indicating the presence of a leak. Pay close attention to these signals as they can guide you to the exact location of the leak. Note any readings or indications provided by the kit for future reference.
8. Take Appropriate Action: Once you have identified the location of the leak, take the necessary steps to address it. Depending on the severity and nature of the leak, this may involve repair, replacement of a component, or contacting a professional HVAC technician for further assistance.
Leak detection kits are valuable tools in locating HVAC leaks that might not be immediately visible. By utilizing these kits, you can enhance your ability to find and resolve leaks in your system, ultimately improving the efficiency and reliability of your HVAC system.
Step 8: Calling a Professional
While some HVAC leaks can be addressed with DIY methods, there are instances where it is best to call a professional HVAC technician. An experienced technician has the knowledge, skills, and specialized equipment to accurately diagnose and repair complex leaks in your system. Here’s when it’s time to seek professional assistance:
1. Persistent or Severe Leaks: If you have attempted to locate and fix the leak yourself, but the problem persists or the leak is severe, it’s time to call a professional. They have the expertise to handle more challenging leaks that may require specialized tools or replacement parts.
2. Refrigerant Leaks: Refrigerant leaks pose potential health and environmental risks. Handling refrigerant should be left to licensed professionals who have the proper training and certifications to handle these substances safely. A professional technician can safely and effectively diagnose and repair refrigerant leaks.
3. Complex Repairs: Some HVAC leaks may require complex repairs that are beyond the scope of a DIY approach. This can involve intricate system components, such as the compressor or evaporator coil. Attempting these repairs without proper knowledge and experience can result in further damage or safety hazards.
4. Warranty Considerations: If your HVAC system is still under warranty, it is essential to consult a professional technician for any leak-related issues. Attempting repairs yourself may void the warranty, leaving you responsible for any future repairs or replacement costs.
5. Preventative Maintenance: Even if you haven’t noticed any leaks in your HVAC system, it is still beneficial to schedule preventative maintenance with a professional HVAC technician. They can inspect your system, identify potential issues, and perform necessary maintenance tasks to prevent leaks and ensure optimal performance.
6. Long-Term Cost Savings: While calling a professional may require an upfront cost, it can result in long-term cost savings. A professional technician can diagnose and repair leaks efficiently, preventing further damage and potential energy waste. This can lead to improved system efficiency, lower energy bills, and fewer future repairs.
Remember, HVAC systems are complex, and attempting to fix leaks without the necessary knowledge and experience can lead to costly mistakes or safety hazards. By calling a professional, you can rest assured that the leak will be properly diagnosed and repaired, ensuring the reliability and efficiency of your HVAC system.
Conclusion
Finding and addressing HVAC leaks is crucial for maintaining the efficiency and performance of your heating and cooling system. By following the steps outlined in this article, you can identify potential leaks and take appropriate action to resolve them. From visual inspections and checking the air filter to inspecting the air ducts, refrigerant lines, condensate drain, evaporator coil, and utilizing leak detection kits, each step plays a vital role in maintaining the optimal functioning of your HVAC system.
By addressing HVAC leaks, you can reap several benefits. First and foremost, resolving leaks helps to improve energy efficiency, reducing your utility bills and minimizing your environmental impact. Additionally, fixing leaks enhances the overall comfort levels in your space by ensuring consistent temperature control. It also helps maintain better indoor air quality by preventing mold and bacteria growth associated with water leaks.
While some leaks can be resolved through simple DIY methods, it is important to know when to call a professional HVAC technician. They have the expertise, experience, and specialized equipment to handle more complex leaks, especially refrigerant leaks. Seeking professional assistance ensures that the necessary repairs are done correctly and safely.
Remember, preventative maintenance is key to avoiding HVAC leaks in the first place. Regularly inspecting and cleaning filters, checking ductwork integrity, and scheduling professional maintenance can go a long way in preventing leaks and prolonging the lifespan of your HVAC system.
In conclusion, taking proactive steps to find and address HVAC leaks is essential for keeping your system in peak condition. By following the steps outlined in this article and knowing when to seek professional help, you can enjoy a comfortable, energy-efficient, and reliable HVAC system for years to come.
Frequently Asked Questions about How To Find HVAC Leak
Was this page helpful?
At Storables.com, we guarantee accurate and reliable information. Our content, validated by Expert Board Contributors, is crafted following stringent Editorial Policies. We're committed to providing you with well-researched, expert-backed insights for all your informational needs.



0 thoughts on “How To Find HVAC Leak”