
Articles
How To Level A Laser Level Tripod
Modified: August 21, 2024
Learn how to level a laser level tripod with these helpful articles. Get step-by-step instructions and expert tips for achieving precise measurements.
(Many of the links in this article redirect to a specific reviewed product. Your purchase of these products through affiliate links helps to generate commission for Storables.com, at no extra cost. Learn more)
Introduction
Welcome to our comprehensive guide on how to level a laser level tripod. If you’re a construction professional, surveyor, or DIY enthusiast, you probably rely on laser levels for accurate measurements and precise alignments. However, even the most advanced laser level won’t perform optimally if it’s not set up correctly.
One crucial element in setting up a laser level is the tripod. A tripod provides a stable and adjustable platform for your laser level, ensuring that it remains steady and level throughout the task at hand. A poorly leveled tripod can result in inaccurate measurements, leading to costly mistakes and rework.
In this article, we’ll walk you through the process of leveling a laser level tripod, covering everything from understanding laser level tripods to troubleshooting common issues. By following these steps, you’ll be able to achieve precise measurements and accurate alignments for your projects.
Before we dive into the leveling process, let’s take a moment to understand the different types of laser level tripods available on the market, as well as the factors to consider when choosing the right one for your needs.
Key Takeaways:
- Properly leveling a laser level tripod is crucial for accurate measurements and precise alignments in construction and DIY projects. Understanding tripod types, considering factors, and following a step-by-step process are essential for success.
- Maintenance, troubleshooting, and selecting the right tripod based on stability, durability, and adjustability are key to ensuring consistent performance and longevity of a laser level tripod. Regular care and adherence to manufacturer guidelines are vital.
Read also: 8 Amazing Tripod For Laser Level for 2025
Understanding Laser Level Tripods
Laser level tripods are specially designed stands that securely hold and support laser levels. They are adjustable, allowing you to fine-tune the height and leveling of the laser level. Understanding the various components and features of a laser level tripod is essential before delving into the leveling process.
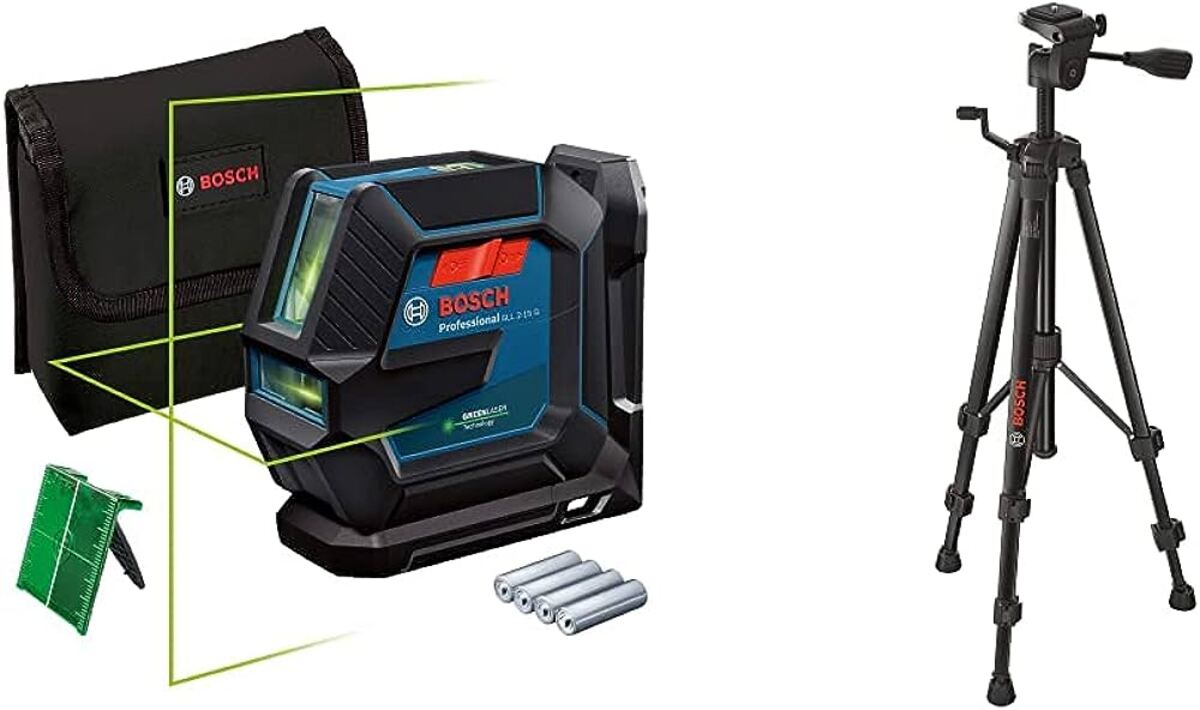
One of the key components of a tripod is the head, also known as the mounting plate or platform. The head is where the laser level is attached or mounted. It typically has a screw or clamp mechanism that holds the laser level securely in place.
The legs of a laser level tripod are responsible for providing stability and adjustability. Most tripods have three legs, hence the name “tripod.” High-quality tripods often feature telescopic legs that can be extended or retracted to adjust the height of the laser level. The legs are usually made from durable materials such as aluminum or fiberglass.
The feet of a tripod play a role in maintaining stability and preventing slippage. Some tripods come with rubberized feet that provide better grip on different surfaces, while others may have sharp metal spikes for stability when working on soft or uneven ground.
Another important feature to consider is the leveling bubble or vial. This is a small circular bubble indicator, similar to what you find on a carpenter’s level. The bubble should be perfectly centered within the vial when the tripod is level. This helps you determine if the tripod is properly leveled before attaching the laser level.
Additionally, some laser level tripods come with a built-in fine-tuning mechanism. This mechanism allows you to make small adjustments to the leveling of the tripod without having to reposition the legs. It’s a useful feature for achieving precise alignments.
Now that we have a better understanding of laser level tripods, let’s explore the different types available and consider the factors to keep in mind when choosing the right tripod for your needs.
Types of Laser Level Tripods
When it comes to choosing a laser level tripod, there are several options available to suit different needs and preferences. Let’s take a look at the most common types of tripods you’ll come across:
- Aluminum Tripods: Aluminum tripods are lightweight and durable, making them a popular choice among professionals and DIYers. They are resistant to rust and corrosion, making them suitable for both indoor and outdoor use. Aluminum tripods are often height adjustable and offer good stability.
- Fiberglass Tripods: Fiberglass tripods are known for their strength and stability. They are commonly used in rugged environments or construction sites where extra durability is required. These tripods can handle heavier laser levels and withstand rough handling.
- Carbon Fiber Tripods: Carbon Fiber tripods are relatively newer to the market but have gained popularity due to their lightweight yet robust construction. They offer high stability and vibration resistance, making them suitable for precision tasks.
- Mini Tripods: Mini tripods are compact and portable, ideal for small-scale projects or situations where space is limited. They are commonly used for indoor projects, such as hanging shelves or aligning tiles.
- Elevator Tripods: Elevator tripods, also known as column tripods, offer exceptional height adjustment capabilities. They feature a telescopic column that allows you to elevate the laser level to various heights. These tripods are particularly useful when working on large-scale projects or in situations where you need to reach higher elevations.
When selecting a tripod, it’s important to consider factors such as the weight and size of your laser level, the intended use (indoor or outdoor), the terrain you’ll be working on, and your budget. Opt for a tripod that offers a good balance between stability, durability, and portability to meet your specific requirements.
Now that we understand the different types of laser level tripods available, let’s move on to the factors to consider before leveling a laser level tripod.
Factors to Consider Before Leveling a Laser Level Tripod
Before you begin the process of leveling your laser level tripod, there are a few factors you should consider to ensure a successful setup. These factors will help you achieve accurate measurements and minimize errors. Let’s take a look at them:
- Surface Stability: Ensure that the surface where you are placing the tripod is stable and even. Uneven or sloping surfaces can affect the stability of the tripod and compromise the accuracy of your laser level.
- Leveling Range: Check the leveling range of your laser level. Some laser levels have a limited leveling range, so it’s essential to choose a tripod that can accommodate the level’s range. Make sure the tripod can provide the required adjustability to achieve the desired level.
- Load Capacity: Consider the weight of your laser level and ensure that the tripod you choose has a sufficient load capacity to support it. Overloading a tripod can lead to instability and inaccurate measurements, so it’s crucial to select a tripod that can handle the weight.
- Height Adjustment: Determine the required height for your laser level. Depending on your project’s needs, you may need a tripod with extended height capabilities or one that allows for precise height adjustments. Consider the maximum and minimum height settings of the tripod to ensure it meets your requirements.
- Working Environment: Assess the working environment in which you’ll be using the laser level tripod. If you frequently work outdoors or in rough conditions, choose a tripod that is durable and weather-resistant. For indoor use, a lightweight and portable tripod may suffice.
- Budget: Finally, consider your budget for purchasing a laser level tripod. Tripods come in a wide range of prices, so it’s essential to find one that fits within your budget while still meeting your needs for stability and accuracy.
By taking these factors into account, you can make an informed decision when selecting a tripod and ensure a successful leveling process for your laser level. Now that we’re familiar with the key factors to consider, let’s move on to the step-by-step process of leveling a laser level tripod.
Make sure the tripod legs are fully extended and locked in place to ensure stability. Use a bubble level to check for any unevenness before attaching the laser level. Adjust the tripod legs as needed to achieve a level position.
Step-by-Step Process of Leveling a Laser Level Tripod
Once you’ve chosen the right laser level tripod and taken into account the necessary factors, it’s time to level the tripod. Follow these step-by-step instructions to ensure a properly leveled setup:
- Choose the Location: Select a suitable location for your tripod, ensuring that the surface is stable and even. If working outdoors, clear any debris or obstructions that could interfere with the stability of the tripod.
- Extend the Tripod Legs: Extend the legs of the tripod to the desired height. If you’re unsure of the required height, start with a lower setting and adjust as needed once the laser level is mounted.
- Attach the Laser Level: Securely attach the laser level to the mounting plate or head of the tripod. Use the provided screw or clamp mechanism to ensure a tight fit.
- Adjust the Tripod Legs: Adjust the length of each tripod leg individually to level the tripod. Start with the leg opposite to the laser level, extending or retracting it until the bubble indicator in the leveling vial is centered. Repeat the process with the other two legs until the tripod is level. Some tripods may have a built-in fine-tuning mechanism, allowing for small adjustments without changing the leg length.
- Check the Level: Once you believe the tripod is level, double-check by looking at the leveling vial or using a separate bubble level on the tripod head. Make any necessary adjustments if the tripod is not perfectly level.
- Test the Stability: Gently nudge the tripod to ensure it is stable and firmly planted on the surface. If there is any wobbling or instability, readjust the legs until the tripod is securely stable.
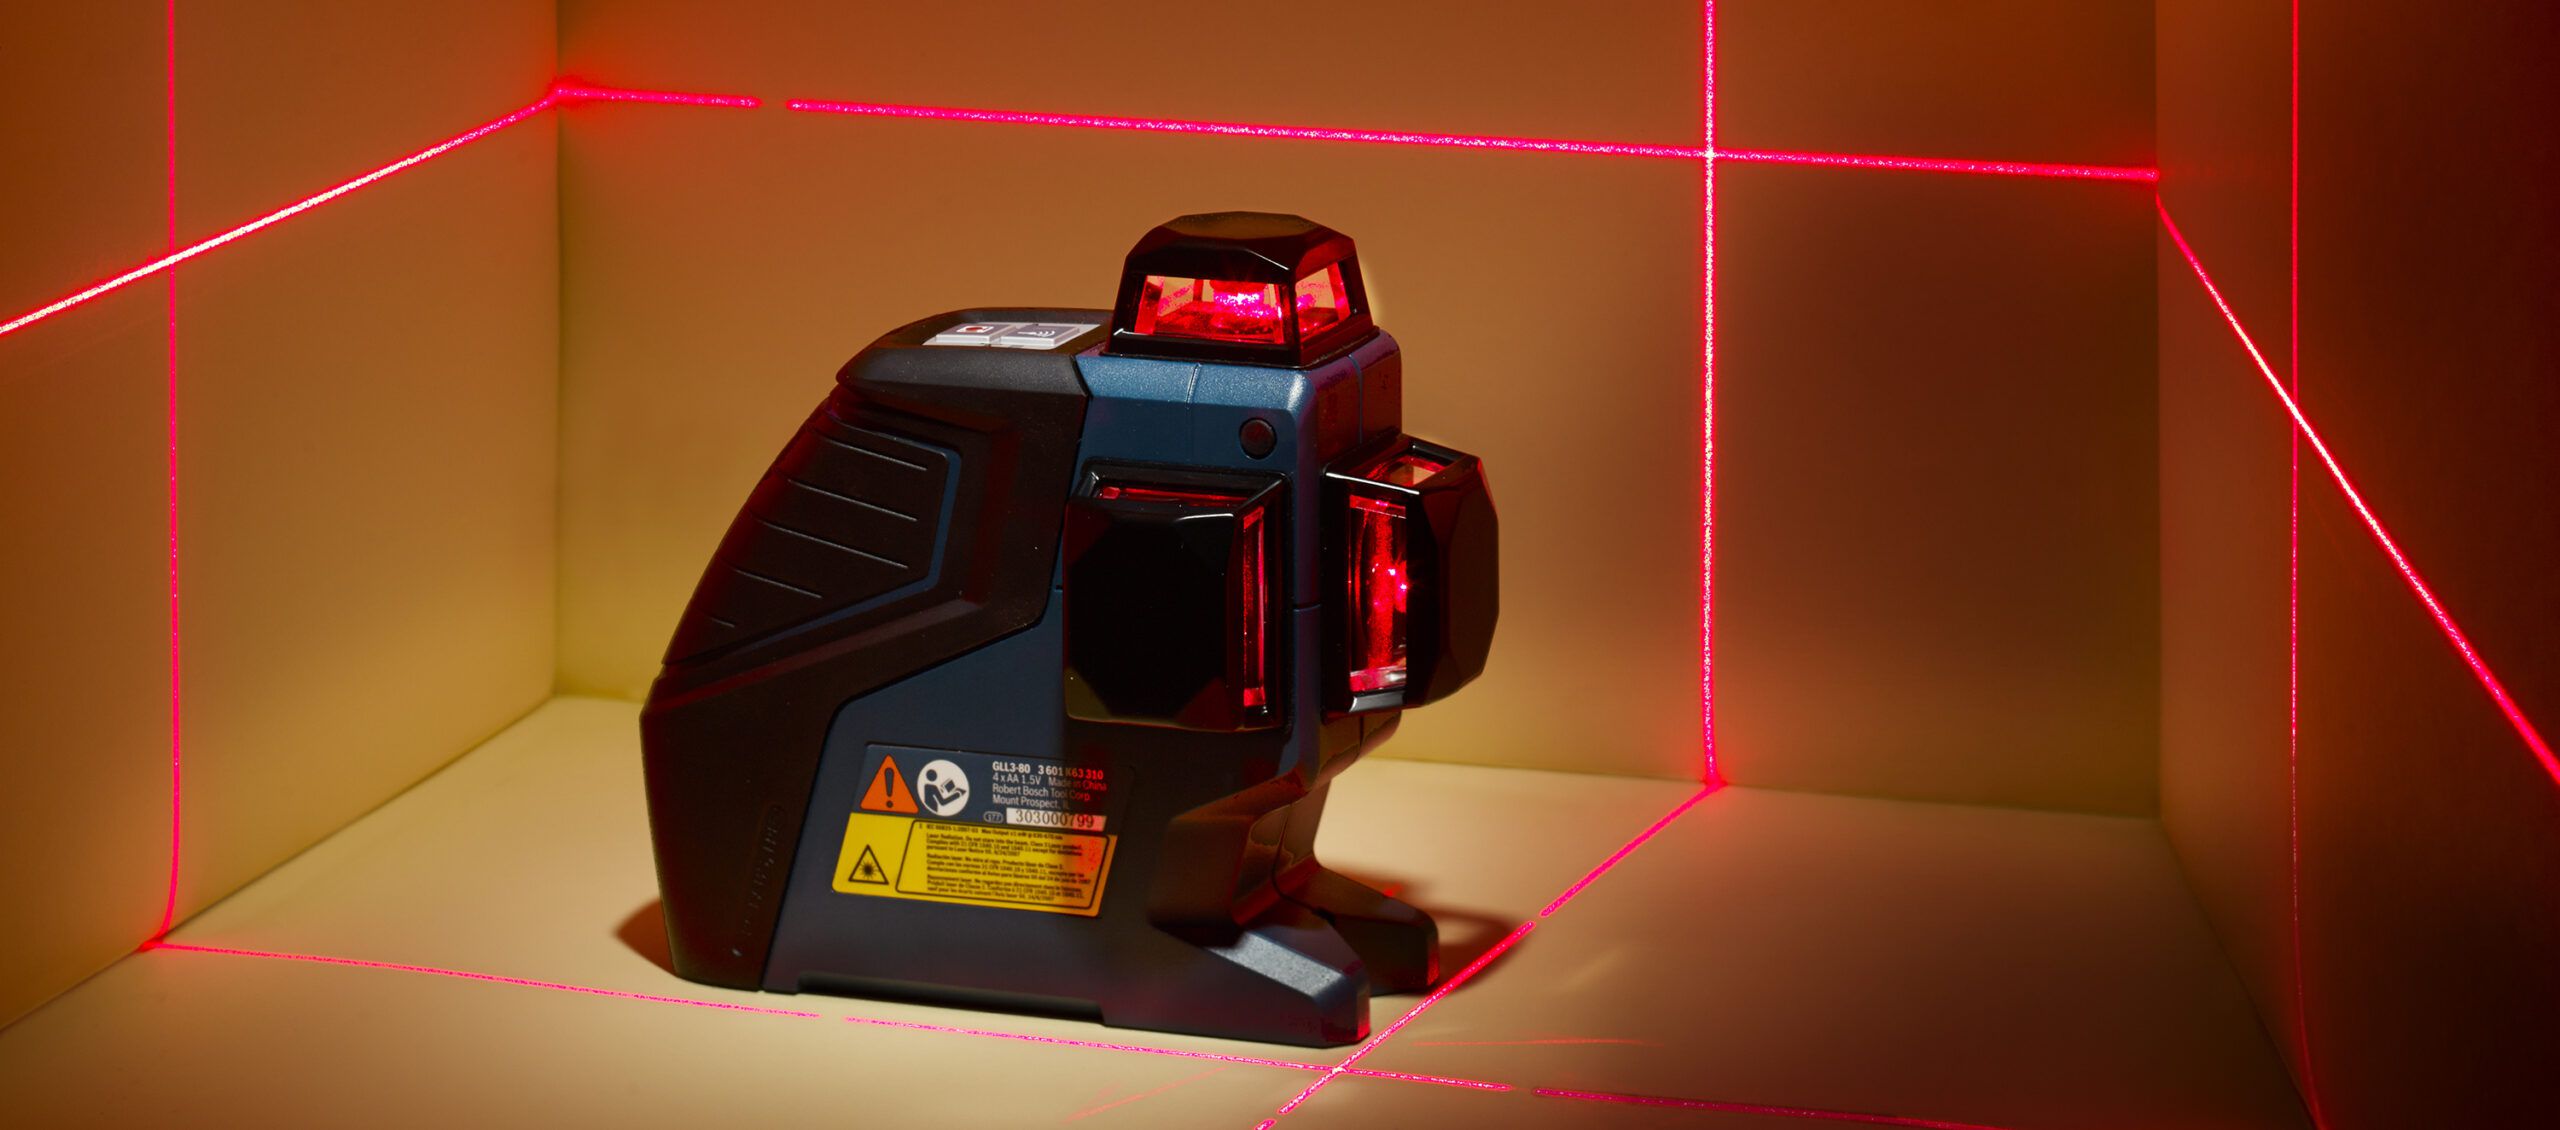
- Confirm the Laser Level: Activate the laser level and observe the projected beam. If the beam is not level or aligned as desired, make any necessary adjustments to the laser level itself. Refer to the manufacturer’s instructions for specific steps on adjusting the laser level.
Following these steps will help you achieve a properly leveled laser level tripod setup, ensuring accurate measurements and precise alignments. However, please note that it’s always essential to consult the manufacturer’s instructions for your specific laser level and tripod model, as the leveling process may vary slightly.
Next, let’s explore some common troubleshooting tips and issues you may encounter when using a laser level tripod.
Read also: 12 Best Laser Level With Tripod for 2025
Troubleshooting and Common Issues
While leveling a laser level tripod is generally a straightforward process, there are some common issues that you may encounter. Here are a few troubleshooting tips to help you address these issues:
- Instability: If your tripod is unstable or wobbly, check the leg lengths and ensure they are adjusted correctly. Make sure that the legs are extended evenly and securely locked in place. Also, confirm that the surface on which the tripod is placed is stable and level.
- Uneven Alignment: If the laser level beam appears to be misaligned or uneven, first double-check that the tripod is perfectly level. If the tripod is level but the beam is still misaligned, the issue may lie with the laser level itself. Refer to the manufacturer’s instructions for troubleshooting steps specific to your laser level model.
- Poor Visibility: If the laser level beam is dim or difficult to see, check the battery or power source of the laser level. Ensure that the batteries are fully charged or the power source is functioning correctly. Additionally, make sure that the laser level lens is clean and free from any dust or debris that may obstruct the beam.
- Inaccurate Measurements: If you’re experiencing inaccurate measurements, it’s crucial to verify that the laser level is leveled properly on the tripod. Additionally, ensure that the laser level is calibrated correctly according to the manufacturer’s instructions. Recheck the tripod stability and make any necessary adjustments.
- Interference: Laser levels can be sensitive to external factors that may interfere with the beam, such as bright sunlight, dust, or reflective surfaces. Try to work in a shaded area or use a laser detector to enhance the visibility and accuracy of the beam. If there are reflective surfaces, try covering them or adjusting the laser level angle to minimize interference.
If you’re experiencing persistent issues with your laser level tripod, it’s advisable to consult the manufacturer’s customer support or refer to the user manual for further assistance. They will be able to provide specific troubleshooting guidance for your particular model.
Now that we’ve covered troubleshooting, let’s explore some maintenance tips to keep your laser level tripod in optimal condition.
Maintenance Tips for Laser Level Tripods
To ensure the longevity and optimal performance of your laser level tripod, it’s essential to follow some maintenance practices. Here are a few tips to help you take care of your tripod:
- Clean Regularly: Keep your tripod clean by wiping it down with a damp cloth after each use. Remove any dirt, dust, or debris that may have accumulated on the legs or head. This will prevent buildup and maintain the tripod’s functionality.
- Protect from Moisture: If you’ve been working in wet or damp conditions, make sure to dry the tripod thoroughly before storing it. Moisture can cause corrosion and damage the tripod’s components over time.
- Store Properly: When not in use, store your laser level tripod in a dry and secure location. Consider using a carrying case or bag to protect it from scratches, impacts, and dust.
- Inspect for Damage: Regularly inspect your tripod for any signs of damage or wear. Check the leg locks, leveling bubble, and mounting plate for any cracks or defects. If you notice any issues, it’s advisable to get them repaired or replaced to maintain the accuracy and stability of your tripod.
- Keep Moving Parts Lubricated: If your tripod has moving parts, such as telescopic legs or adjustable mechanisms, apply a suitable lubricant periodically. This will ensure smooth operation and prevent stiff or stuck parts.
- Follow Manufacturer’s Guidelines: Always refer to the manufacturer’s instructions for specific maintenance recommendations and guidelines for your particular tripod model. They may provide additional tips or precautions to keep your tripod in its best condition.
By following these maintenance tips, you can prolong the lifespan of your laser level tripod and ensure consistent performance over time. Regular maintenance not only enhances the accuracy of your measurements but also prevents any unexpected issues during your projects.
Now that we’ve covered maintenance, let’s wrap up this guide on leveling a laser level tripod.
Conclusion
Leveling a laser level tripod is an essential step in achieving accurate measurements and precise alignments for your construction or DIY projects. By understanding laser level tripods, selecting the right type, considering important factors, and following the step-by-step process, you can ensure a properly leveled setup.
Remember to choose a tripod that offers stability, durability, and adjustability to meet your specific needs. Consider factors such as surface stability, leveling range, load capacity, height adjustment, working environment, and budget before making a decision.
When leveling your laser level tripod, take your time to adjust the legs, ensure stability, and confirm the levelness with a bubble vial or separate level. Test the laser level beam for accuracy and make any necessary adjustments to achieve precise alignments.
If you encounter any issues during the leveling process, such as instability, uneven alignment, or poor visibility, refer to our troubleshooting tips to address the problems. Regular maintenance, including cleaning, protection from moisture, proper storage, and inspection, will help maintain the longevity and performance of your tripod.
Remember to consult the manufacturer’s instructions and guidelines specific to your laser level and tripod model to ensure proper usage and maintenance.
We hope that this comprehensive guide has provided valuable insights and guidance on how to level a laser level tripod. By following these steps and taking care of your tripod, you’ll be able to achieve accurate measurements, precise alignments, and successful project outcomes.
Frequently Asked Questions about How To Level A Laser Level Tripod
Was this page helpful?
At Storables.com, we guarantee accurate and reliable information. Our content, validated by Expert Board Contributors, is crafted following stringent Editorial Policies. We're committed to providing you with well-researched, expert-backed insights for all your informational needs.


0 thoughts on “How To Level A Laser Level Tripod”