Articles
How To Check Accuracy Of Laser Level
Modified: October 27, 2024
Discover how to check the accuracy of a laser level through this informative article. Ensure precise measurements for your projects with expert tips and techniques.
(Many of the links in this article redirect to a specific reviewed product. Your purchase of these products through affiliate links helps to generate commission for Storables.com, at no extra cost. Learn more)
Introduction
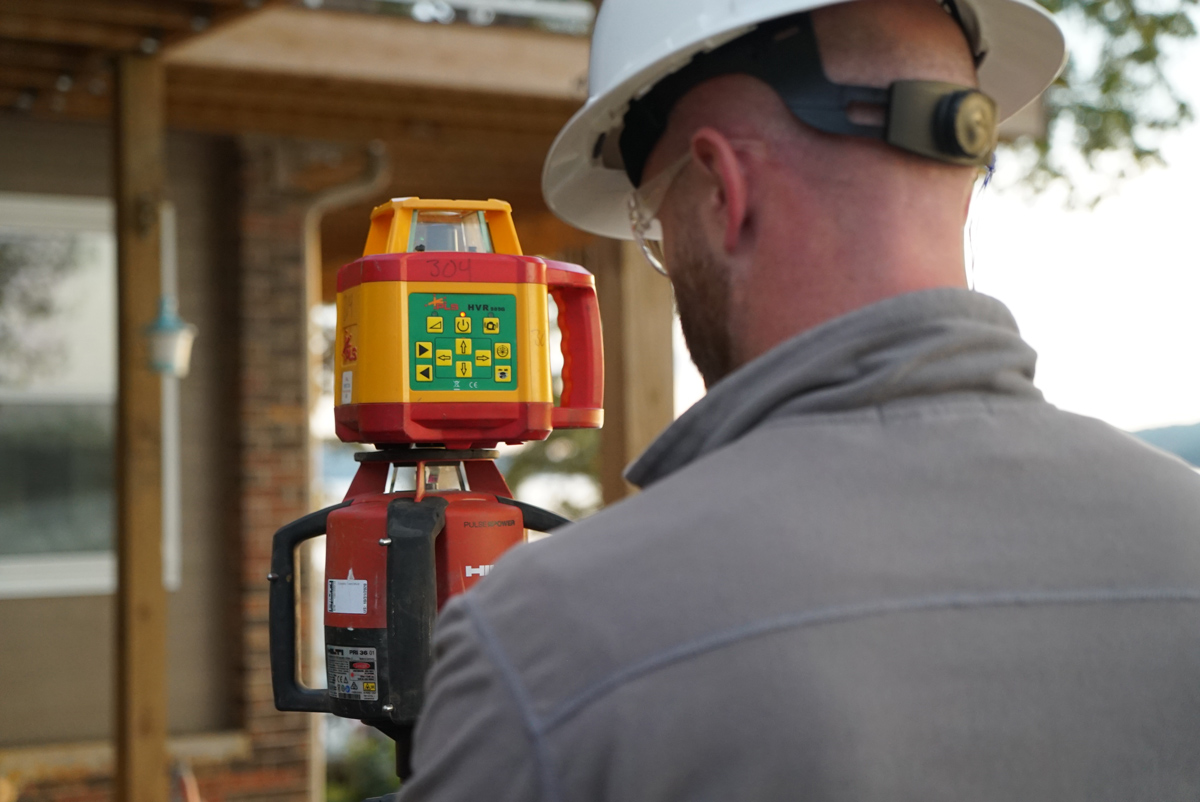
Laser levels have become an essential tool in various industries, from construction to interior design. They provide a precise and efficient way to establish accurate horizontal and vertical reference lines. However, ensuring the accuracy of a laser level is crucial to achieve reliable and dependable results.
In this article, we will discuss the importance of accuracy in laser leveling and explore the factors that can affect the precision of a laser level. We will also provide you with step-by-step methods to check the accuracy of your laser level and troubleshoot any issues that may arise. Let’s dive in!
Key Takeaways:
- Ensuring the accuracy of your laser level is crucial for precise measurements in construction, design, and surveying. By understanding factors affecting accuracy and using methods like visual comparison and target measurement, you can achieve reliable results.
- Troubleshooting inaccurate laser level readings is essential for addressing potential issues. By checking for obstructions, verifying leveling, and considering environmental conditions, you can mitigate inaccuracies and ensure the success of your projects.
Read more: How To Use A Laser Level To Check A Floor
Why Accuracy is Important in Laser Leveling
Accuracy is paramount when it comes to laser leveling for several reasons. First and foremost, any construction or design project requires precise measurements and alignments. A slight deviation in the laser level’s accuracy can result in significant errors and subpar outcomes.
One of the main advantages of using a laser level is its ability to provide a straight, level reference line over long distances. This is particularly valuable in tasks such as installing tile, cabinets, or shelving, where any imperfection in alignment can be easily noticeable. Achieving a level line is critical for a professional and aesthetically pleasing finish.
Moreover, accurate laser leveling is essential in ensuring the structural integrity of buildings and infrastructure projects. Properly aligned foundations, walls, and floors are crucial for the stability and safety of a structure. When using laser levels in construction, accuracy is paramount to prevent issues such as uneven weight distribution, weak joints, or compromised load-bearing capacity.
Accurate laser leveling is not limited to construction alone. It is equally important in other applications, such as landscaping or surveying. In landscaping, laser levels are used to create level terrains and drainage systems, ensuring proper water flow and preventing waterlogging issues. In surveying, accurate laser levels are used to establish precise benchmarks and control points for mapping and measurements.
By prioritizing accuracy in laser leveling, professionals can minimize the need for rework, thus saving time and resources. It helps to ensure that projects run smoothly and efficiently, meeting the required standards and customer expectations.
Now that we understand the significance of accuracy in laser leveling, let’s explore the factors that can affect the precision of a laser level.
Factors Affecting Laser Level Accuracy
Several factors can impact the accuracy of a laser level. It is vital to be aware of these factors to minimize any potential errors. Here are some key considerations:
- Calibration: Laser levels need to be calibrated regularly to maintain accuracy. Improper calibration can lead to inaccurate readings. It is recommended to consult the manufacturer’s instructions for calibration procedures and frequency.
- Environmental factors: The surrounding environment can affect the accuracy of a laser level. Factors such as dust, smoke, fog, and extreme temperatures can distort the laser beam or make it difficult to see. It is essential to work in clean conditions and avoid areas with excessive humidity or temperature fluctuations.
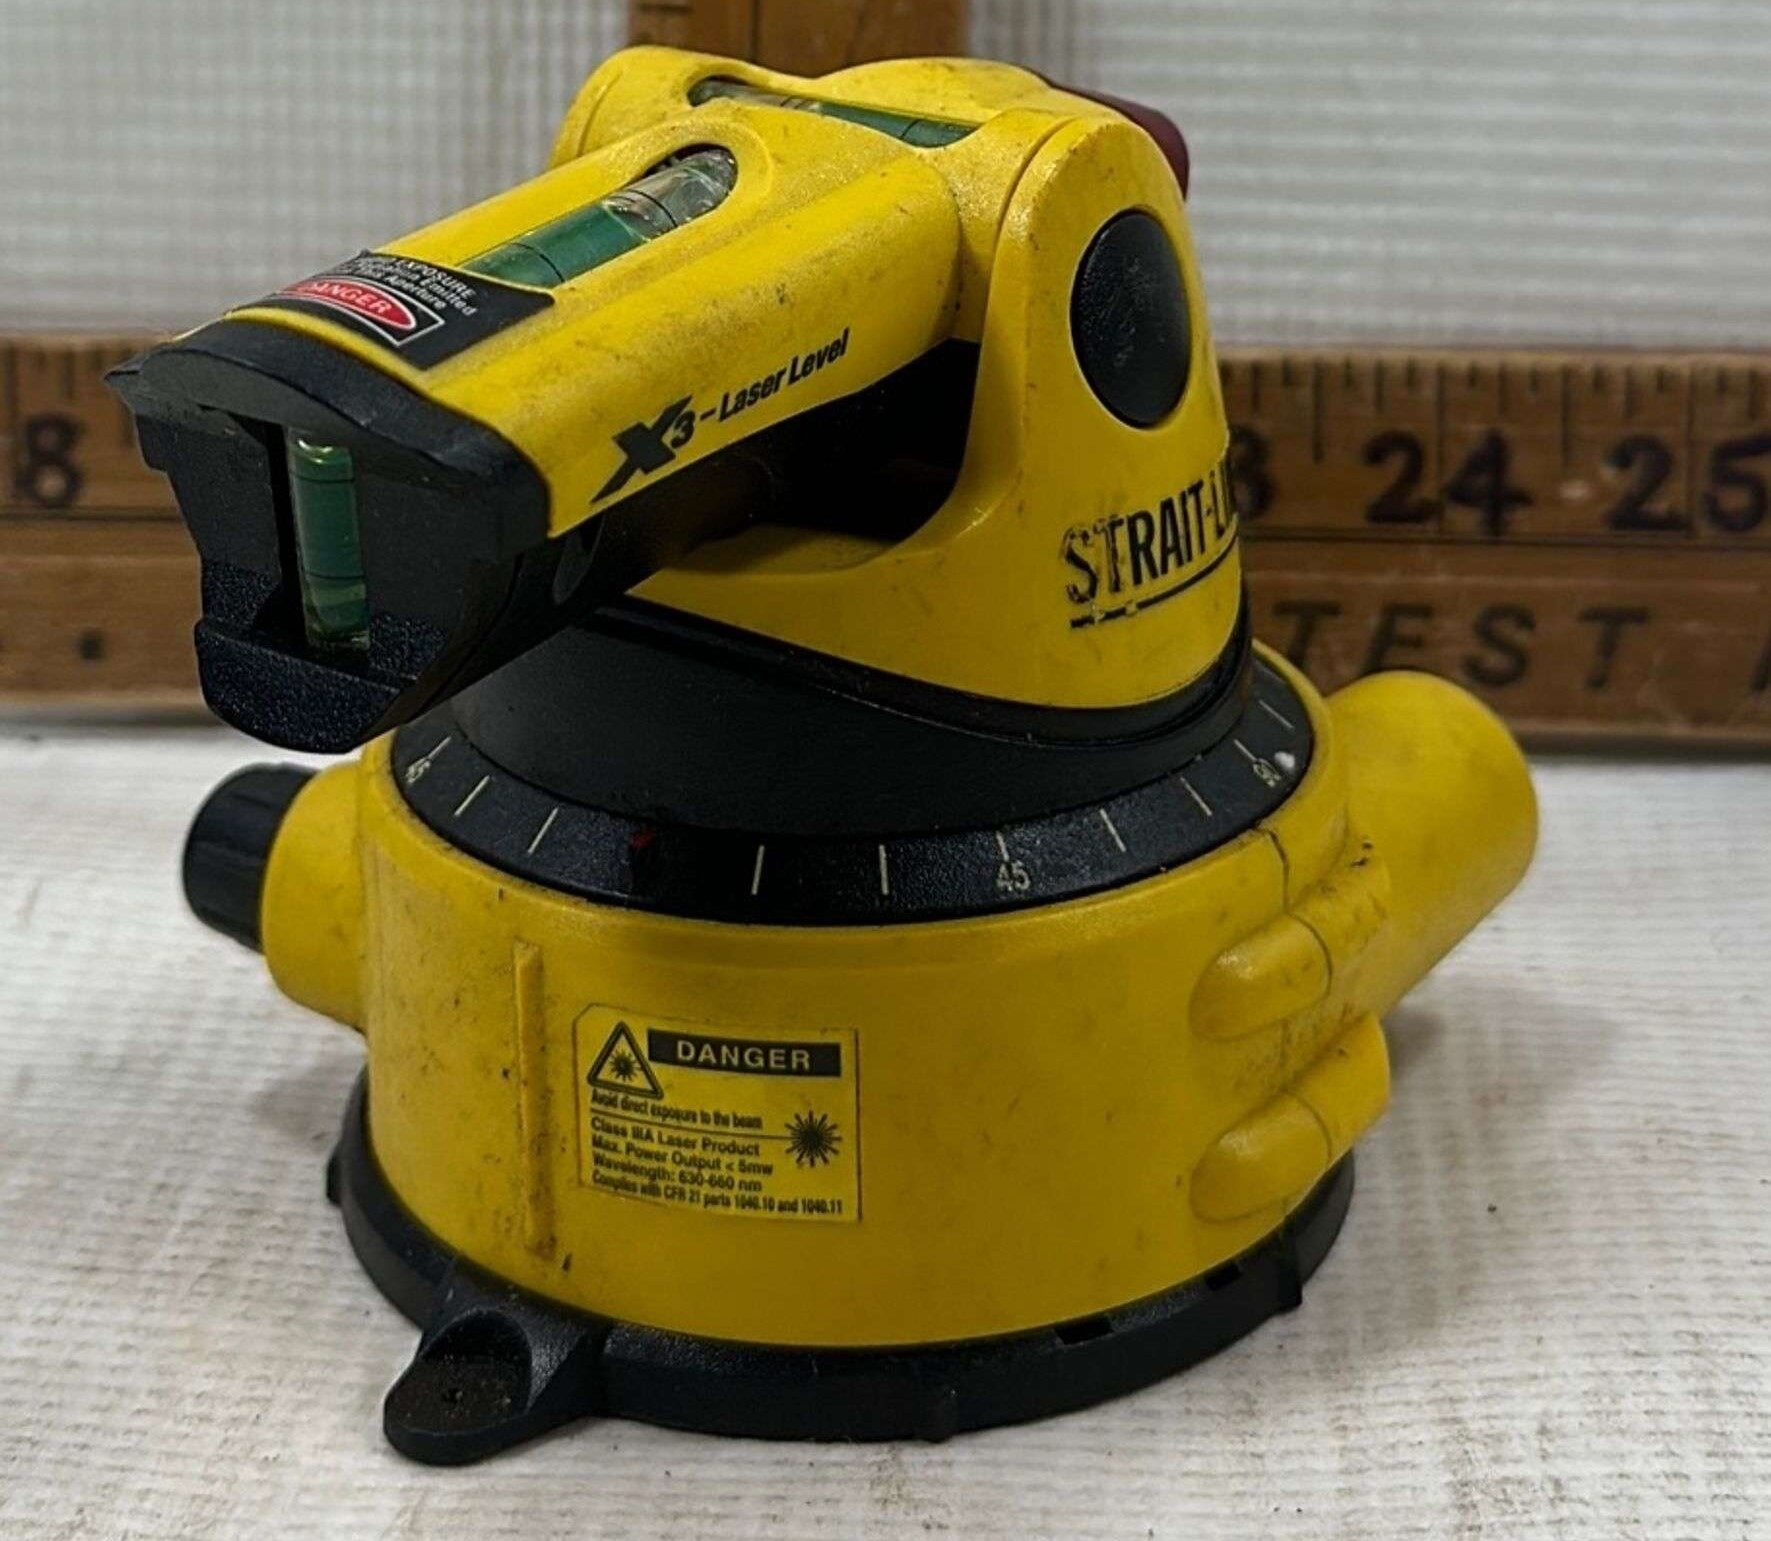
- Surface stability: The stability of the surface where the laser level is placed is crucial. Vibrations, uneven surfaces, or movement can impact the accuracy of the laser level. It is recommended to use a stable tripod or mounting device to ensure a secure and level base.
- Distance limitations: Each laser level has a specific range within which it can provide accurate measurements. Going beyond this range can lead to decreased accuracy. It is essential to check the manufacturer’s specifications for the maximum distance and work within those limits.
- Battery life: Low battery levels can affect the performance of a laser level. It is important to monitor the battery life and replace or recharge them as needed to maintain accurate readings.
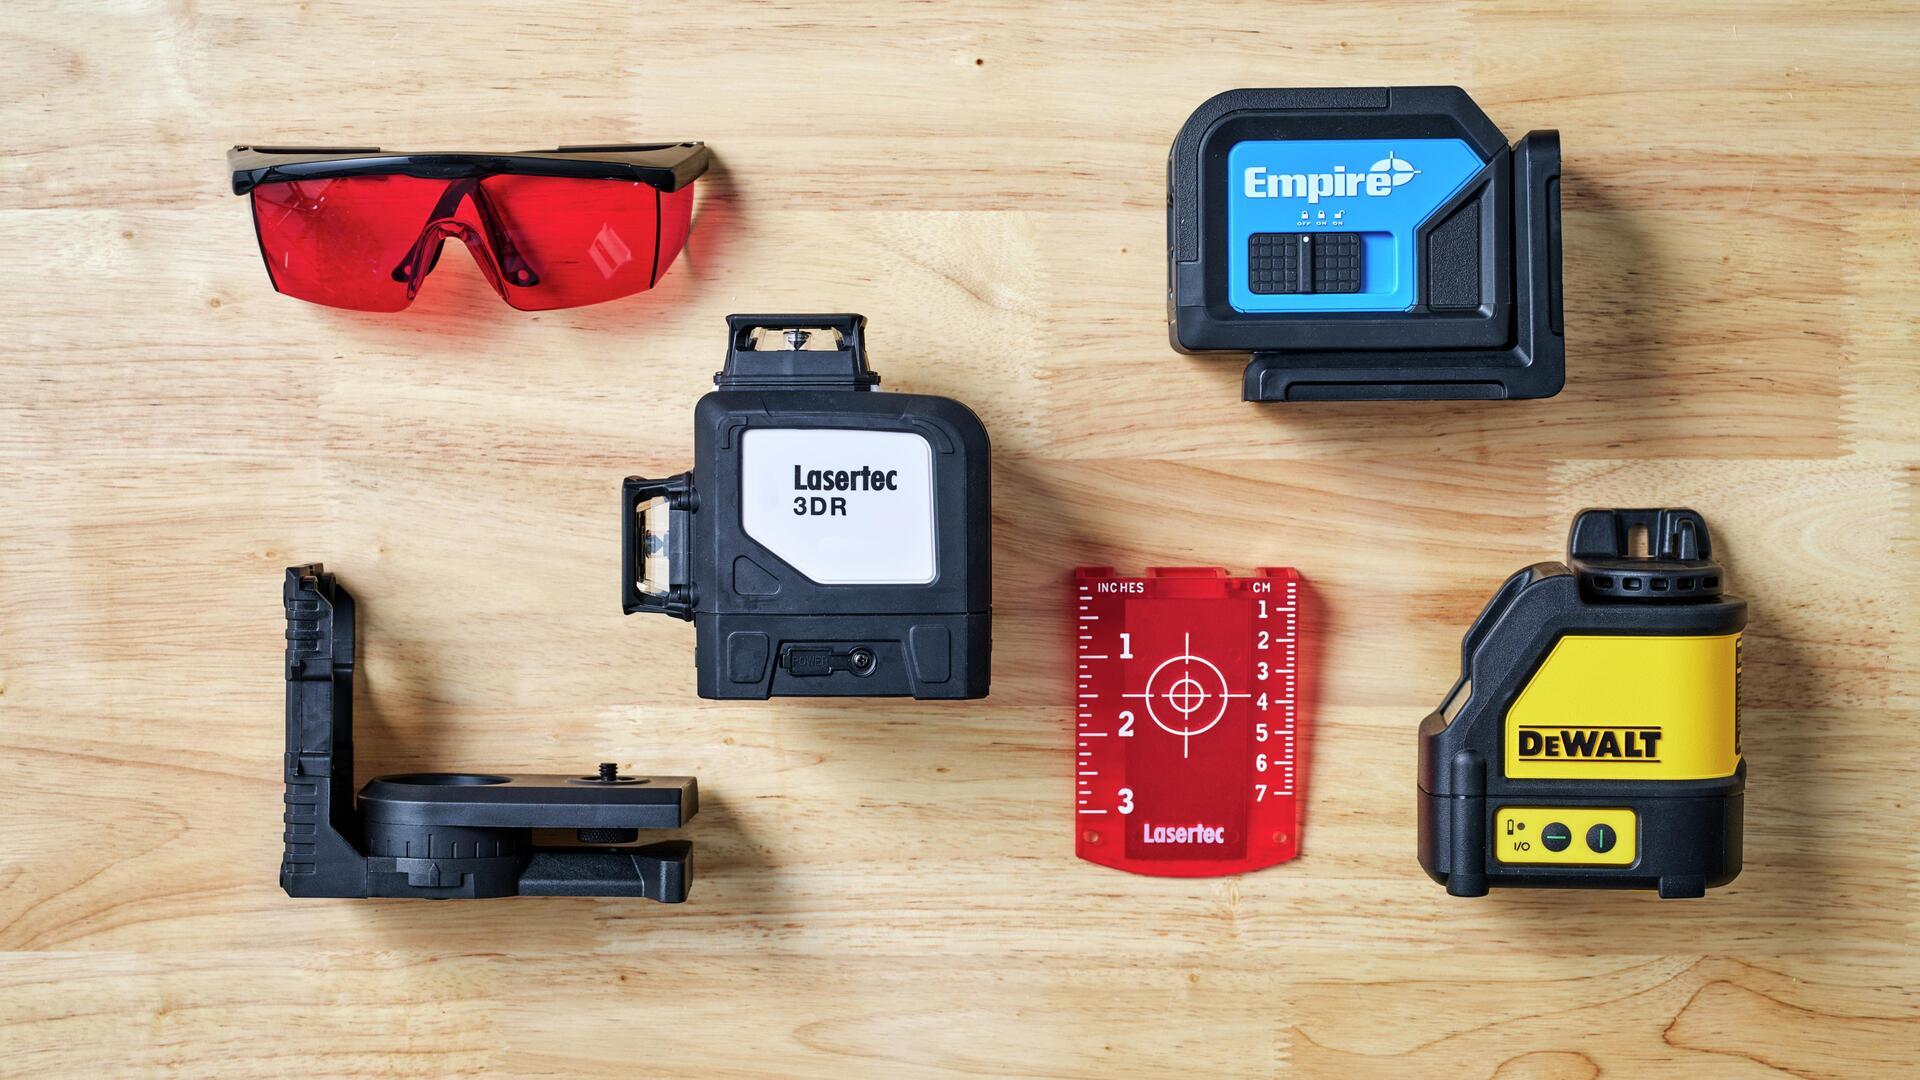
- Beam quality: The quality and visibility of the laser beam can affect accuracy. High-quality lasers with clear and sharp beams are preferable to ensure precise measurements.
By understanding these factors and taking appropriate measures, such as regular calibration, selecting suitable working conditions, and ensuring stable surfaces, you can enhance the accuracy of your laser level and achieve reliable results.
Next, let’s discuss how to prepare for accuracy checks to ensure the effectiveness of your measurements.
Preparing for Accuracy Check
Before performing an accuracy check on your laser level, there are a few steps you should take to ensure accurate and reliable results. Here’s how to prepare:
- Read the manual: Start by reading the manufacturer’s manual for your specific laser level. It will provide you with detailed instructions on how to perform an accuracy check and any specific requirements or considerations.
- Choose a suitable location: Find a well-lit area with minimal obstructions where you can set up your laser level. Ensure the area is free from dust, smoke, or other factors that may affect the accuracy of the laser beam.
- Check the battery: Ensure that your laser level has sufficient battery power or is connected to a power source. Low battery levels can impact the accuracy of the readings, so it’s important to have a fully charged or new set of batteries.
- Set up a stable base: Place your laser level on a stable tripod or mounting device. Make sure the base is level and secure to prevent any movement or vibrations that could affect the accuracy.
- Clear any obstructions: Remove any objects or obstacles that may interfere with the laser beam’s path. Keep the area around the laser level clear to obtain accurate readings.
- Level the laser: Use the built-in leveling mechanism or bubble vials to ensure your laser level is properly leveled. Most laser levels have automatic leveling capabilities, but it’s always a good idea to confirm and fine-tune if necessary.
- Set the laser’s height: If you’re planning to check vertical accuracy, adjust the laser’s height according to your specific requirements and the measurements you’ll be taking.
- Allow the laser to stabilize: Give your laser level a few minutes to stabilize and settle after setup. This will ensure that it’s ready to provide accurate readings.
By following these preparation steps, you’ll ensure that your laser level is set up correctly and ready for an accurate check. Now, let’s move on to different methods you can use to check the accuracy of your laser level.
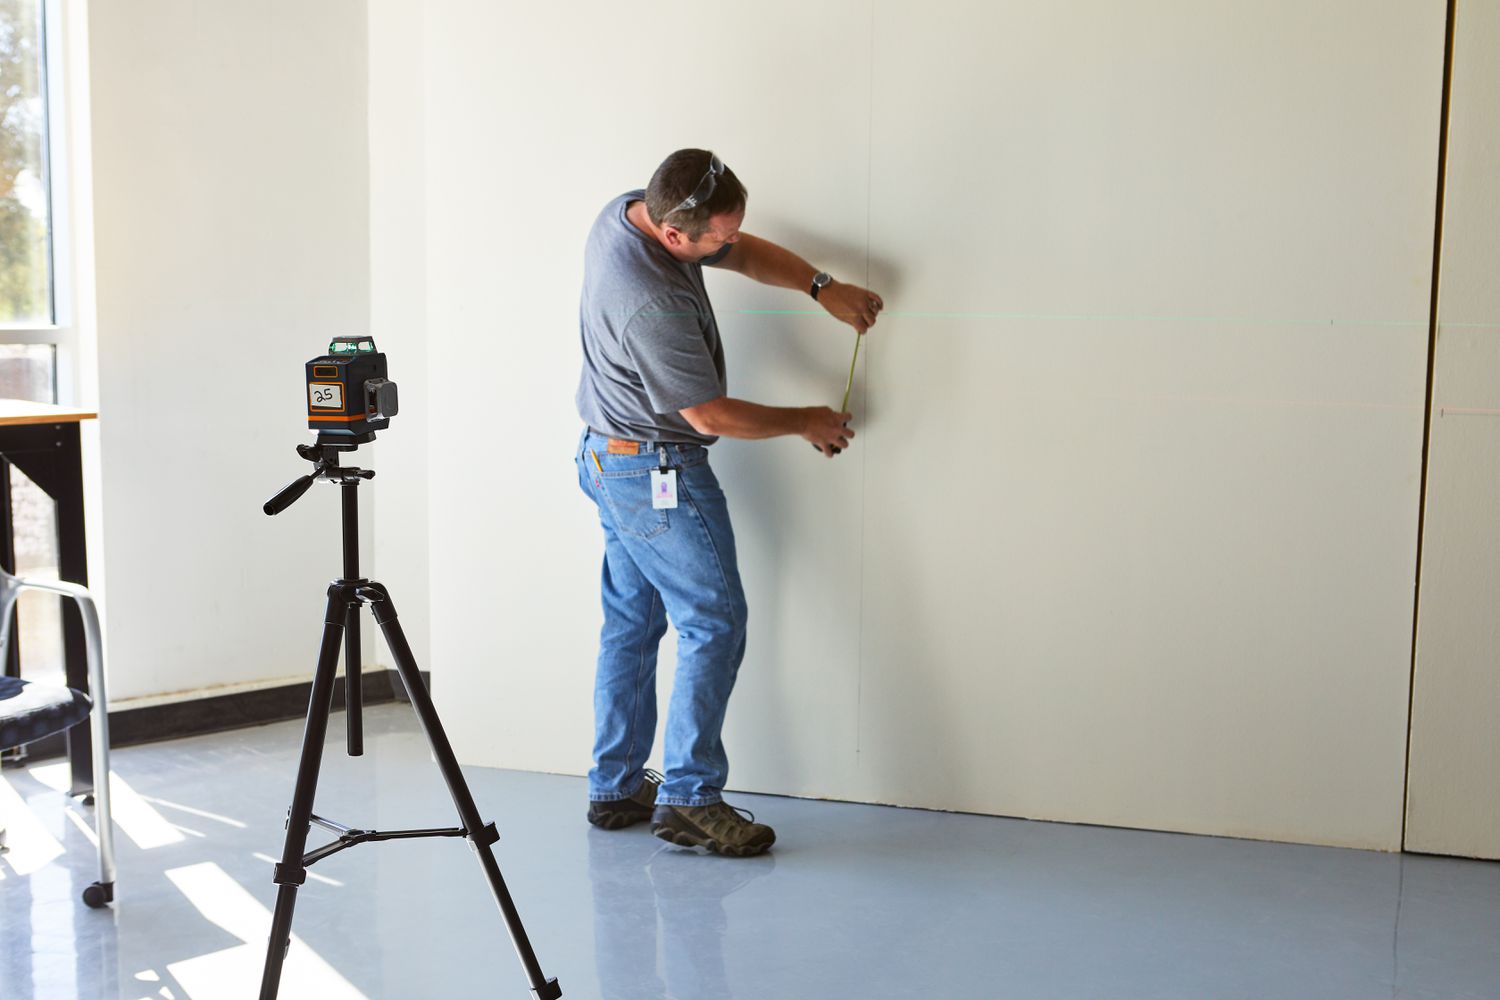
Method 1: Visual Comparison
Visual comparison is a simple and effective method to check the accuracy of your laser level. Here’s how to do it:
- Find a reference point: Identify a known reference point or line. This could be a mark on a wall or a previously established level line.
- Set up your laser level: Place your laser level on a tripod or mounting device, ensuring it is stable and level.
- Aim the laser: Adjust the laser level’s position and aim the laser beam towards the reference point.
- Compare the lines: Use your eyes to visually compare the laser line and the reference line. Check for any discrepancies or misalignments. If the laser line deviates significantly from the reference line, it indicates a potential accuracy issue with your laser level.
- Make necessary adjustments: If you find any misalignment, refer to your laser level’s manual for adjustment instructions. It may involve calibrating the laser or adjusting the leveling mechanism.
- Recheck: Repeat the process to ensure that the adjustments have improved the accuracy of your laser level.
Visual comparison is a quick and convenient method to get a general sense of your laser level’s accuracy. However, keep in mind that this method may not provide precise measurements. For more accurate readings, consider using additional methods such as target measurement, cross-checking with a bubble level, or utilizing a plumb bob.
Next, let’s explore the second method: target measurement.
Before using a laser level, check its accuracy by setting it up on a known level surface and comparing the laser line to a traditional bubble level. If they match, the laser level is accurate.
Read more: How To Use A Laser Level
Method 2: Target Measurement
The target measurement method allows for a more precise assessment of your laser level’s accuracy. Follow these steps to perform a target measurement:
- Set up your laser level: Place your laser level on a stable tripod or mounting device and ensure it is leveled and aligned properly.
- Choose a target: Select a target with a reference point at a known height or distance. This could be a measuring tape, a marked wall, or a specific point on the ground.
- Aim the laser: Position your laser level so that the laser beam hits the chosen target accurately.
- Measure the discrepancy: Use a measuring tape or a measuring tool to measure the distance between the laser beam and the reference point on the target. Note any differences between the expected measurement and the laser level’s reading.
- Calculate the error: Compare the measured discrepancy with the laser level’s specified accuracy. If the difference exceeds the stated accuracy range, it indicates a potential issue with the laser level’s precision.
- Make necessary adjustments: Consult your laser level’s manual for instructions on adjusting the accuracy. This may involve calibration or fine-tuning the leveling mechanism of the laser level.
- Recheck: Repeat the target measurement process to verify whether the adjustments have improved the accuracy of your laser level.
The target measurement method provides a quantitative measurement of the accuracy of your laser level. By comparing the actual measurements with the laser level’s readings, you can identify any discrepancies and take corrective action.
Next, let’s explore the third method: cross-checking with a bubble level.
Method 3: Cross-Checking with Bubble Level
Cross-checking your laser level with a bubble level is an effective way to verify its accuracy. Here’s how to perform this method:
- Set up your laser level: Place your laser level on a stable tripod or mounting device and ensure it is leveled.
- Place the bubble level: Attach a bubble level to a straight edge, such as a ruler or a piece of wood.
- Position the bubble level: Position the bubble level close to the laser level and align it parallel to the laser beam.
- Check the bubble level’s readings: Observe the bubble level’s readings. If the bubble is centered between the indicator lines, it indicates that the laser level is accurately leveled.
- Compare with the laser level’s reading: Compare the bubble level’s readings with the laser level’s built-in leveling mechanism or digital display. If they match, it confirms the accuracy of the laser level. If they do not align, adjustments may be required.
- Make necessary adjustments: Consult your laser level’s manual for instructions on adjusting the leveling mechanism. It may involve calibrations or fine-tuning to align the bubble level and the laser level.
- Recheck: Repeat the process to ensure the adjustments have improved the accuracy of your laser level.
Using a bubble level provides a reliable and independent method to cross-check the accuracy of your laser level’s leveling mechanism. It helps ensure that the laser level is adequately leveled, which is crucial for accurate measurements.
Next, let’s explore the fourth method: utilizing a plumb bob.
Method 4: Utilizing a Plumb Bob
Utilizing a plumb bob is another effective method to check the accuracy of your laser level. Here’s how you can do it:
- Set up your laser level: Place your laser level on a stable tripod or mounting device and ensure it is leveled.
- Choose a reference point: Identify a known vertical reference point, such as a mark on a wall or a corner of a room.
- Aim the laser: Position your laser level so that the laser beam aligns with the chosen reference point.
- Attach the plumb bob: Attach a plumb bob to a sturdy string or line and hang it near the reference point.
- Observe alignment: Observe whether the laser beam and the plumb bob align vertically. They should overlap or be very close to each other. If there is a noticeable discrepancy, it indicates a potential accuracy issue with your laser level.
- Make necessary adjustments: Refer to your laser level’s manual for adjustment instructions. It may involve fine-tuning the leveling mechanism or making calibration adjustments.
- Recheck: Repeat the process to ensure the adjustments have improved the accuracy of your laser level.
Using a plumb bob allows you to determine the vertical accuracy of your laser level. If the laser beam and the plumb bob are not aligned, adjustments should be made to ensure accurate vertical measurements.
By using these methods, you can check the accuracy of your laser level and make any necessary adjustments to maintain precise measurements in your projects.
Now, let’s explore some common troubleshooting techniques for inaccurate laser level readings.
Troubleshooting Inaccurate Laser Level Readings
If you encounter inaccurate readings with your laser level, there are several troubleshooting steps you can take to address the issue. Here are some common troubleshooting techniques:
- Check for obstructions: Ensure that there are no obstructions blocking the laser beam’s path. Clear the area around the laser level to allow for a clear and unobstructed line of sight.
- Verify the leveling: Double-check that your laser level is properly leveled. If it is not, adjust the leveling mechanism according to the manufacturer’s instructions.
- Calibrate your laser level: Follow the calibration procedure outlined in your laser level’s manual if available. Calibration helps ensure the accuracy of the laser level’s internal components.
- Replace or recharge your batteries: Low battery levels can affect the performance and accuracy of your laser level. Replace the batteries or recharge them to ensure optimal power.
- Adjust the laser’s height: If you are performing vertical measurements and notice inaccuracies, check that the laser’s height is set correctly according to your measurements and the laser level’s specifications.
- Consider environmental conditions: Extreme temperatures, dust, smoke, or humidity can affect the accuracy of your laser level. Work in clean, suitable conditions to reduce any adverse effects.
- Consult the manufacturer: If you have followed these troubleshooting steps and are still experiencing accuracy issues, reach out to the laser level’s manufacturer for further assistance. They can provide specific guidance and address any technical concerns.
It’s important to note that even with proper troubleshooting, some inaccuracies may be inherent to the laser level’s design or limitations. Always refer to the manufacturer’s specifications and guidelines to understand the accuracy range and capabilities of your specific laser level.
By following these troubleshooting techniques, you can address and mitigate any inaccuracies in your laser level readings, ensuring reliable and precise measurements for your projects.
Now, let’s wrap up our discussion.
Read more: How To Laser Level A Floor With GLL 2
Conclusion
Ensuring the accuracy of your laser level is crucial for achieving precise and reliable measurements in various applications, including construction, interior design, landscaping, and surveying. By following the methods outlined in this article, you can effectively check the accuracy of your laser level and troubleshoot any potential issues.
Visual comparison, target measurement, cross-checking with a bubble level, and utilizing a plumb bob are valuable techniques that provide different perspectives on your laser level’s accuracy. These methods allow you to identify any discrepancies and make necessary adjustments to improve the precision of your measurements.
It’s important to consider factors that can affect laser level accuracy, such as calibration, environmental conditions, surface stability, distance limitations, battery life, and beam quality. By understanding these factors and taking appropriate measures, you can enhance the accuracy and reliability of your laser level.
In instances where troubleshooting is required, checking for obstructions, verifying the leveling, calibrating the laser level, replacing or recharging batteries, adjusting the laser’s height, and considering environmental conditions can help resolve accuracy issues. Consulting the manufacturer for further assistance is always recommended if troubleshooting efforts do not yield satisfactory results.
Remember, accuracy is key when it comes to laser leveling. By maintaining precise measurements, you can ensure the success and quality of your projects, save time and resources, and meet the expectations of your clients or customers.
With the knowledge and techniques outlined in this article, you are well-equipped to check the accuracy of your laser level and achieve accurate and reliable results in your professional endeavors.
Happy leveling!
Frequently Asked Questions about How To Check Accuracy Of Laser Level
Was this page helpful?
At Storables.com, we guarantee accurate and reliable information. Our content, validated by Expert Board Contributors, is crafted following stringent Editorial Policies. We're committed to providing you with well-researched, expert-backed insights for all your informational needs.


0 thoughts on “How To Check Accuracy Of Laser Level”