
Articles
How To Build A Ladder Bookcase
Modified: December 7, 2023
Learn how to build a versatile ladder bookcase with our step-by-step articles. Create a functional and stylish storage solution for your space.
(Many of the links in this article redirect to a specific reviewed product. Your purchase of these products through affiliate links helps to generate commission for Storables.com, at no extra cost. Learn more)
Introduction
Building a ladder bookcase is a great way to add both storage and style to your home. Whether you’re an avid reader or simply want to display some prized possessions, a ladder bookcase offers a unique and eye-catching solution. While it may seem daunting at first, with the right materials and a little bit of effort, you can create a beautiful piece of furniture that will be the envy of all your guests. In this article, we will guide you through the step-by-step process of building your own ladder bookcase.
Not only is building a ladder bookcase a rewarding project, but it also allows you to customize the design and size to perfectly fit your space. Plus, you’ll have the satisfaction of knowing that you created a functional and stylish piece of furniture with your own hands. So, grab your tools and let’s get started!
Key Takeaways:
- Building a ladder bookcase is a rewarding DIY project that allows for customization of design, size, and finish to fit your space and style, providing both functionality and elegance.
- Safety is crucial when working with tools and materials, so always wear appropriate safety gear and follow proper handling instructions to ensure a successful and enjoyable ladder bookcase construction experience.
Read also: 10 Amazing Ladder Bookcase for 2024
Step 1: Gather Materials and Tools
Before diving into the construction process, it’s essential to gather all the necessary materials and tools for building your ladder bookcase. Having everything prepared in advance will make the project run smoothly and efficiently. Here’s a list of what you’ll need:
- Wood: Choose a sturdy and durable wood type such as pine, oak, or plywood. The amount of wood you’ll need will depend on the size of the bookcase.
- Saw: A handheld circular saw or a table saw will be necessary to cut the wood pieces to the desired dimensions.
- Sander: A power sander or sanding blocks will help smooth the edges and surfaces of the wood.
- Measuring Tape: Accurate measurements are essential to ensure the proper fit of the shelves and frame.
- Safety Gear: Protect yourself during the construction process by wearing safety goggles, gloves, and a face mask.
- Pencil and Square: These tools will help you mark measurements and ensure straight lines when cutting the wood.
- Screws and Nails: Select screws and nails that are appropriate for your chosen wood type and thickness.
- Drill and Drill Bits: A drill will come in handy for pre-drilling holes and attaching screws.
- Wood Glue: Use wood glue to strengthen joints and ensure a solid construction.
- Paint or Stain: Choose a paint or stain color that suits your style and complements your existing decor.
- Paintbrushes or Rollers: These will be used to apply the paint or stain to the wood surfaces.
Once you have gathered all the necessary materials and tools, you are ready to move on to the next step: measuring and cutting the wood pieces.
Step 2: Measure and Cut Wood Pieces
Now that you have all the materials and tools ready, it’s time to measure and cut the wood pieces for your ladder bookcase. Precise measurements are crucial to ensure a proper fit and stability. Follow these steps to get started:
- Plan the dimensions: Determine the desired height, width, and depth of your bookcase. Consider the available space and the items you plan to display.
- Measure the wood: Use a measuring tape to measure and mark the wood pieces according to your desired dimensions. Remember to account for the width of the shelves and the thickness of the wood itself.
- Cut the wood: Using a saw, carefully cut the wood according to the marked measurements. A table saw or circular saw will provide clean and accurate cuts.
- Sand the edges: After cutting the wood, use a sander or sanding blocks to smooth out any rough edges and ensure a polished look.
It’s essential to take your time and double-check your measurements before cutting the wood. Remember the famous carpenter’s saying: “Measure twice, cut once.” This mantra will help prevent errors and ensure a precise fit for your ladder bookcase.
Additionally, it’s a good idea to label the wood pieces to keep them organized during the assembly process. This will save you time and avoid confusion later on.
Once you have measured and cut all the necessary wood pieces, you are ready to move on to the next step: sanding and painting the wood.
Step 3: Sand and Paint Wood
Once you have measured and cut the wood pieces for your ladder bookcase, it’s time to sand and paint them. Sanding not only smoothes out any rough surfaces but also prepares the wood for painting or staining. Here’s how to proceed with this step:
- Sanding the Wood: Start by using a power sander or sanding blocks to sand all the wood pieces. Focus on smoothing the surfaces and rounding the edges. This will prevent splinters and create a clean and polished look.
- Cleaning the Wood: After sanding, use a damp cloth or tack cloth to remove any dust or debris from the wood surfaces. This will ensure a smooth paint application.
- Priming (optional): If you choose to paint your ladder bookcase, applying a primer beforehand can enhance the paint’s adhesion and durability. Follow the primer manufacturer’s instructions and allow it to dry completely.
- Painting or Staining: Select a paint or stain color that complements your interior decor. Using a paintbrush or roller, apply a thin and even coat of paint or stain to all the wood pieces. Allow each coat to dry before applying additional layers, if needed.
- Finishing Touches: Once the paint or stain has dried, you may consider adding a protective finish such as a clear coat sealer. This will safeguard the wood and enhance its longevity.
Take your time during the sanding and painting process to ensure a high-quality finish. Remember to work in a well-ventilated area and wear appropriate safety gear, such as a mask and gloves, when handling chemicals or paints.
With the wood pieces now sanded and painted, it’s time to move on to the next step: assembling the frame of your ladder bookcase.
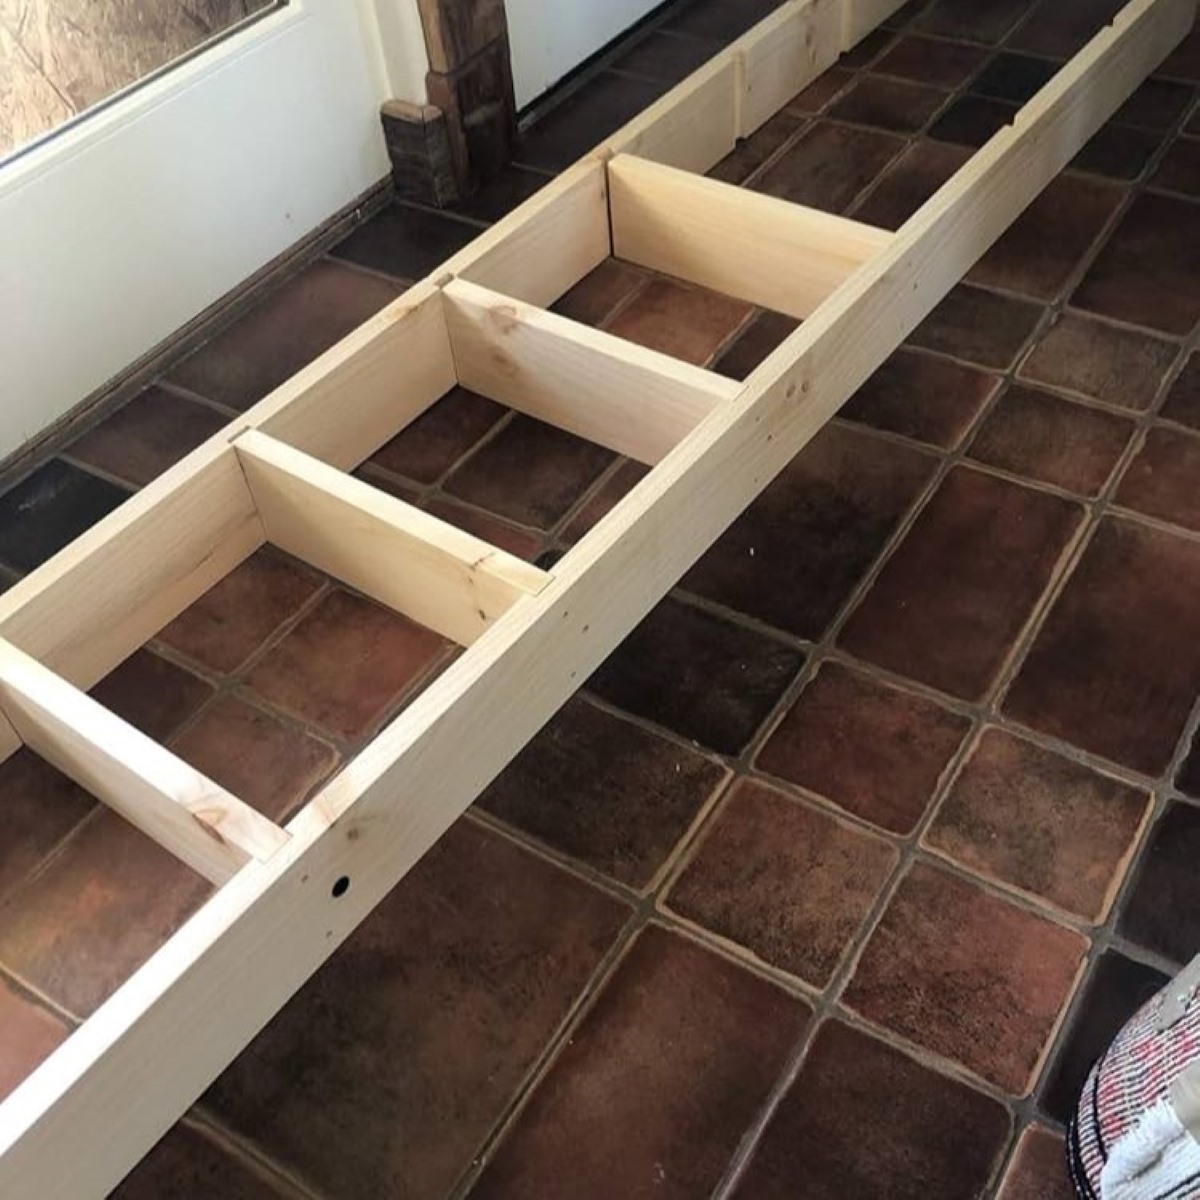
Step 4: Assemble the Frame
With the wood pieces sanded and painted, it’s time to assemble the frame of your ladder bookcase. The frame will provide the structure and stability for the shelves. Follow these steps to assemble the frame:
- Organize the Wood Pieces: Lay out all the wood pieces in the designated order to ensure an organized and smooth assembly process.
- Position the Side Rails: Take two of the longer wood pieces, which will serve as the side rails of your bookcase. Position them parallel to each other, ensuring that the top and bottom ends are aligned.
- Attach the Rungs: Place the shorter wood pieces, known as rungs, between the side rails at equal intervals. These rungs will provide support for the shelves. Use wood glue and screws to attach the rungs to the side rails securely.
- Secure the Joints: Make sure to reinforce the joints with additional screws or nails. This will add extra stability to the frame.
- Check for Levelness: Use a level to ensure that the frame is balanced and level. Adjust if necessary.
Double-check the alignment and stability of the frame before moving on to the next step. A strong and sturdy frame will provide a solid foundation for your ladder bookcase.
With the frame assembled, it’s time to proceed to the next step: attaching the shelves.
When building a ladder bookcase, make sure to use sturdy and durable materials such as solid wood or metal for the frame to ensure stability and longevity.
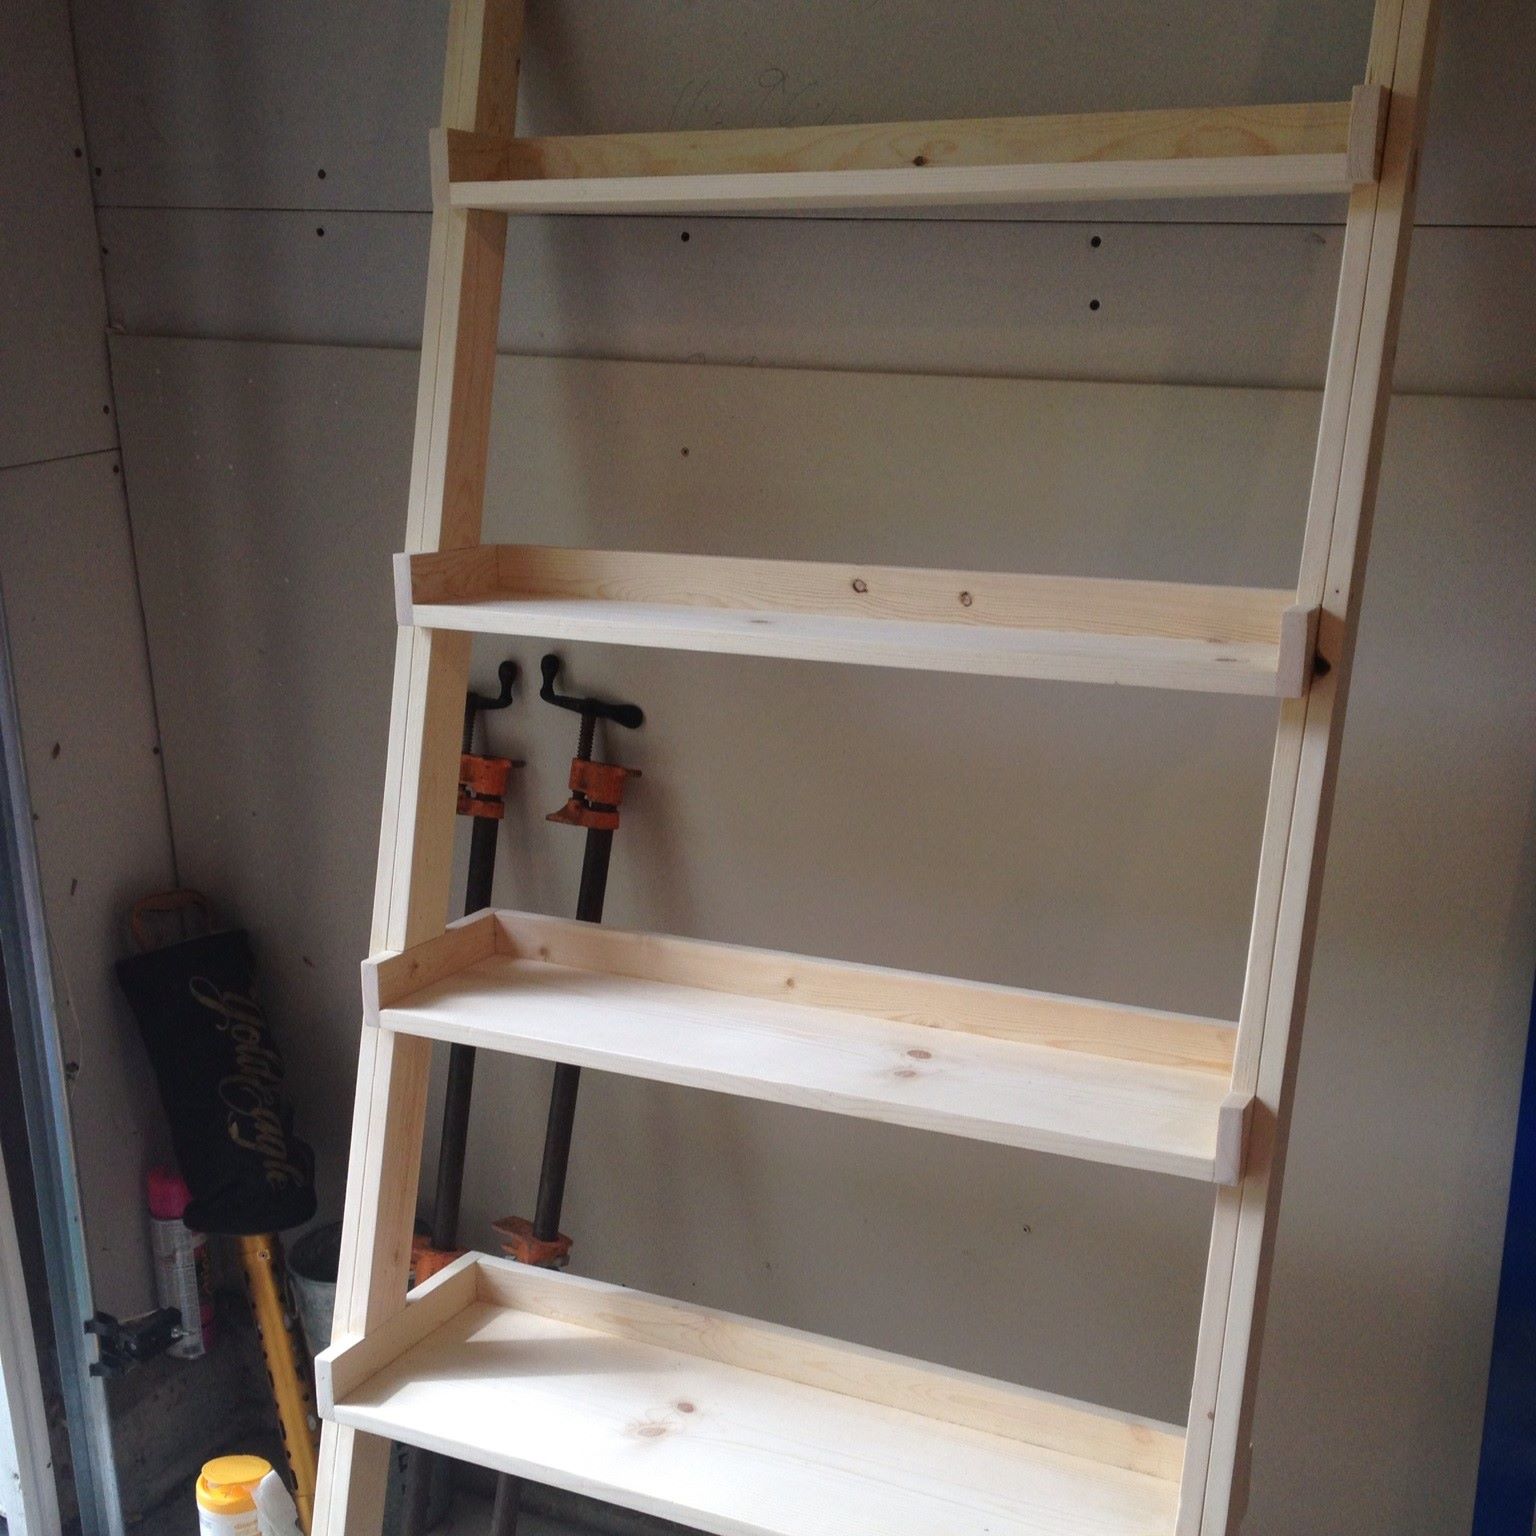
Step 5: Attach Shelves
Attaching the shelves is a crucial step in building your ladder bookcase. Properly secured shelves will not only provide functionality but also contribute to the overall aesthetic appeal of the piece. Follow these steps to attach the shelves:
- Measure and Mark: Use a measuring tape to determine the desired placement of the shelves on the ladder frame. Mark the locations with a pencil.
- Pre-Drill Holes: To prevent splitting of the wood, pre-drill holes into the side rails at the marked locations.
- Insert and Attach: Insert the shelves into the pre-drilled holes and secure them to the side rails using screws or nails. Make sure the shelves are level and securely attached.
- Reinforce Support: For additional stability, consider adding support brackets under each shelf. These brackets can be attached to the ladder frame and the underside of the shelves.
Take the time to ensure that all the shelves are evenly spaced and properly aligned. This will create a cohesive and visually appealing look for your ladder bookcase. Additionally, check for any wobbling or instability and reinforce the connections if necessary.
With the shelves securely attached, you’re one step closer to completing your ladder bookcase. The next step will involve adding support brackets for added strength and stability.
Step 6: Add Support Brackets
The addition of support brackets is an important step in ensuring the strength and stability of your ladder bookcase. Support brackets provide extra reinforcement for the shelves and help prevent any sagging or warping over time. Follow these steps to add support brackets to your bookcase:
- Measure and Mark: Determine the placement of the support brackets under each shelf. Use a measuring tape to ensure equal spacing between brackets.
- Pre-Drill Holes: Pre-drill holes into the ladder frame and underside of the shelves at the marked locations. This will allow for easier installation of the brackets.
- Attach the Brackets: Use screws or nails to attach the support brackets to both the ladder frame and the underside of the shelves. Make sure the brackets are securely fastened and aligned properly with the pre-drilled holes.
- Double-Check Alignment: Ensure that the brackets are level and parallel to each other. This will ensure the stability and balanced weight distribution of your ladder bookcase.
Adding support brackets to your ladder bookcase will provide added strength and longevity to the piece. It is important to choose brackets that are strong and durable, capable of supporting the weight of the items placed on the shelves.
With the support brackets in place, your ladder bookcase is almost complete. The final step involves securing the bookcase to the wall for added safety and stability.
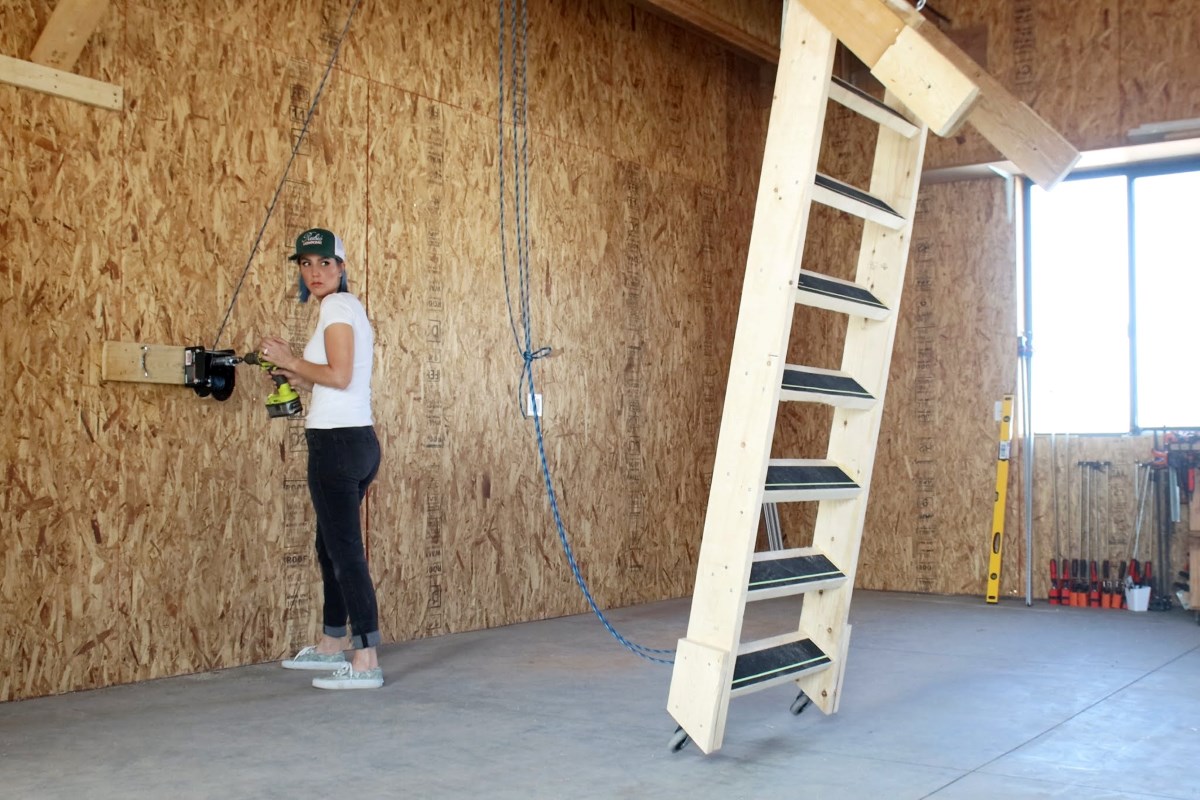
Step 7: Secure the Bookcase to the Wall
Securing your ladder bookcase to the wall is an essential step to ensure safety and stability. This is especially important if you have children or pets who may accidentally tip over the bookcase. Follow these steps to properly secure your bookcase to the wall:
- Find the Studs: Use a stud finder to locate the wall studs where you will be anchoring the bookcase.
- Mark the Wall: Mark the locations of the studs with a pencil. This will guide you when attaching the bookcase to the wall.
- Attach L-Brackets: Use L-brackets or metal brackets to anchor the top and bottom of the bookcase to the wall. Position the brackets over the marked stud locations.
- Secure with Screws: Drill screws through the brackets and into the wall studs, ensuring a secure connection.
- Double-Check Stability: Test the stability of the bookcase by gently pushing and pulling on it. It should feel solid and securely anchored to the wall.
Securing your ladder bookcase to the wall is a critical safety measure, preventing any accidents or tipping. It is important to use proper hardware and ensure a strong connection to the wall studs for maximum stability.
With the bookcase securely attached to the wall, you’re almost done! The final step involves adding the finishing touches to complete your ladder bookcase.
Step 8: Finishing Touches
The finishing touches you add to your ladder bookcase will truly bring it to life and make it a standout piece in your home. Here are some ideas to consider for the final step:
- Fill Nail Holes: If you used nails to attach the shelves or support brackets, fill the nail holes with wood filler and sand them smooth. This will give your bookcase a polished and professional look.
- Touch-Up Paint: Inspect the paint or stain on your bookcase for any areas that may need touch-ups. Use a small paintbrush to fix any imperfections and ensure a consistent finish.
- Add Decorative Elements: Consider adding decorative elements such as trim, molding, or decorative knobs to enhance the visual appeal of your bookcase. These small details can make a big difference in the overall design.
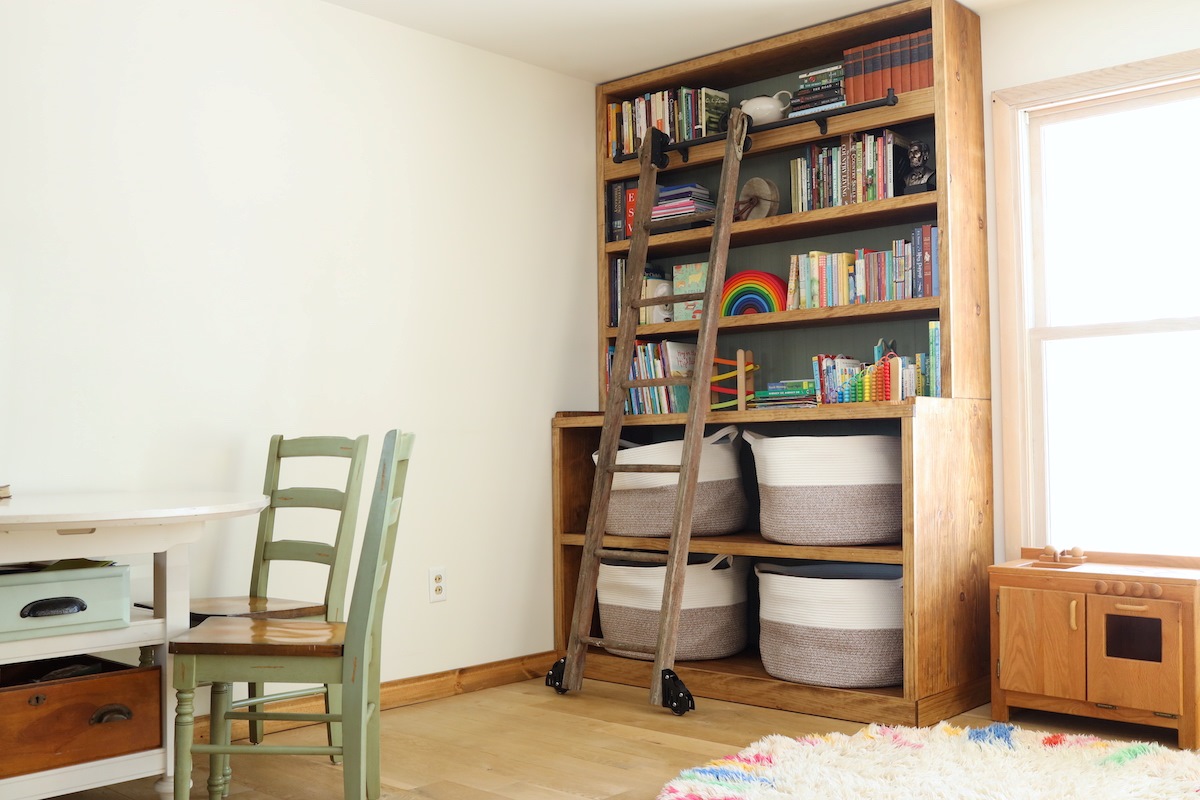
- Organize and Style: Once your ladder bookcase is complete, it’s time to arrange your books, plants, or other decorative items on the shelves. Experiment with different layouts and styles to create a personalized and eye-catching display.
- Enjoy Your Creation: Step back and admire the beautiful ladder bookcase you’ve built. It’s not only a functional piece of furniture but also a testament to your craftsmanship and creativity. Sit back, relax, and enjoy the fruits of your labor.
Remember, the finishing touches are what truly make your ladder bookcase unique. Don’t be afraid to let your personal style shine through in the final design.
Congratulations! You have successfully completed all the steps and built your very own ladder bookcase. This stylish and functional piece will be a wonderful addition to your home, providing both storage and visual appeal for years to come.
Thank you for following along with this guide. We hope you found it helpful and enjoyed the process of building your ladder bookcase!
Read more: How To Build Ladder
Conclusion
Building a ladder bookcase is a fulfilling and rewarding DIY project that allows you to showcase your creativity and craftsmanship. Throughout this step-by-step guide, we have covered everything you need to know to construct your own ladder bookcase, from gathering materials and tools to adding the finishing touches.
By following each step carefully, you can create a stunning piece of furniture that not only serves as a functional storage solution but also adds a touch of elegance to any room. Building your own ladder bookcase allows you to customize the design, size, and finish to perfectly fit your space and personal style.
Remember, safety is of utmost importance when working with tools and materials. Always wear appropriate safety gear and follow proper handling instructions.
So, why wait? Get started on your ladder bookcase project today and enjoy the sense of accomplishment that comes with creating a beautiful and practical piece of furniture with your own two hands. Whether you’re displaying your favorite books, family photos, or decorative items, you’ll love the unique and eye-catching look of your custom-built ladder bookcase.
Thank you for joining us on this DIY journey. We hope this guide has been informative and inspiring. Happy building!
Frequently Asked Questions about How To Build A Ladder Bookcase
Was this page helpful?
At Storables.com, we guarantee accurate and reliable information. Our content, validated by Expert Board Contributors, is crafted following stringent Editorial Policies. We're committed to providing you with well-researched, expert-backed insights for all your informational needs.


0 thoughts on “How To Build A Ladder Bookcase”