Articles
How To Fix Attic Ladder Spring
Modified: August 16, 2024
Learn how to fix your attic ladder spring with our informative articles. Get step-by-step instructions and expert tips to make your repairs easier.
(Many of the links in this article redirect to a specific reviewed product. Your purchase of these products through affiliate links helps to generate commission for Storables.com, at no extra cost. Learn more)
Introduction
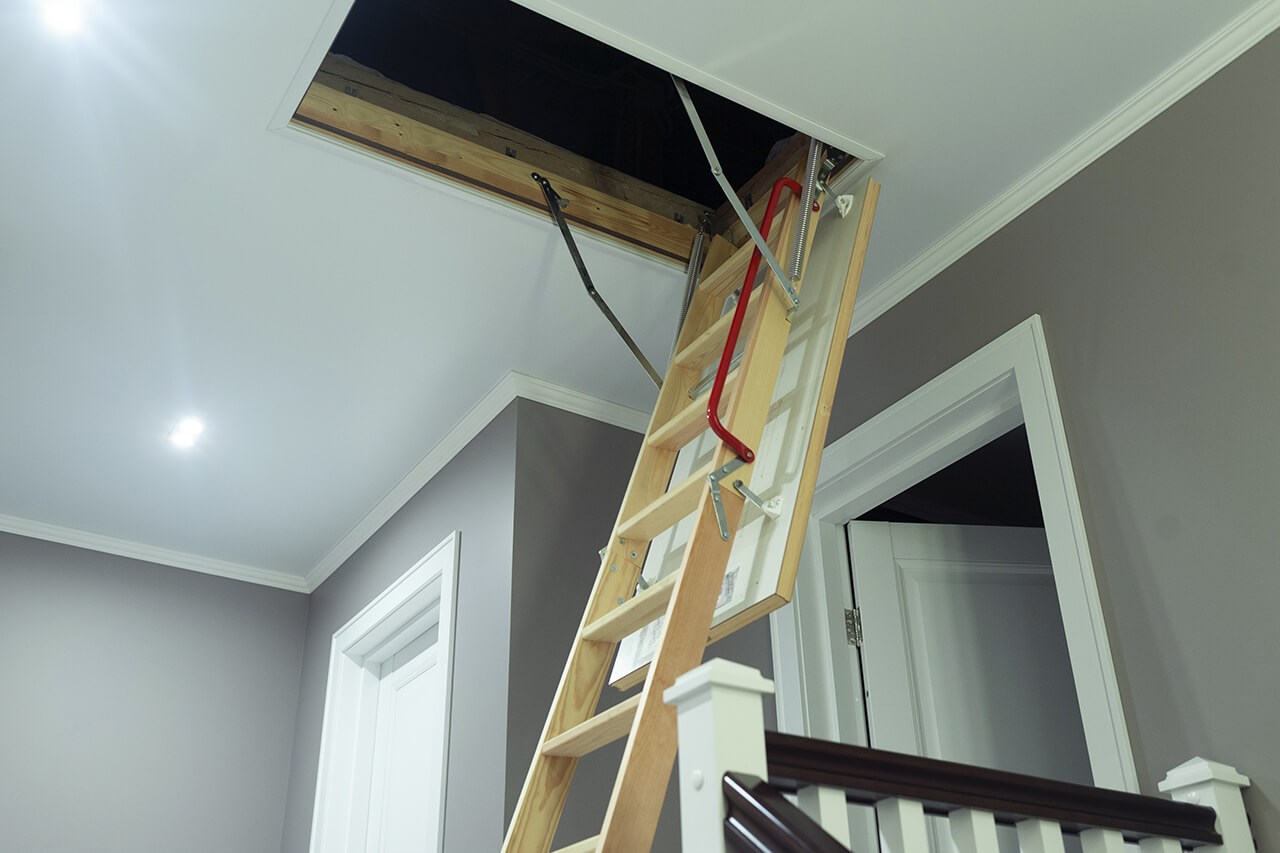
Welcome to our comprehensive guide on how to fix an attic ladder spring. Attic ladders are a convenient and space-saving solution for accessing your attic. However, over time, the springs that assist in the opening and closing of the ladder may weaken or break, making it difficult or unsafe to use. Fortunately, with the right tools and know-how, you can easily fix a faulty attic ladder spring and restore its functionality.
In this article, we will explain the importance of understanding attic ladder springs, the signs of a faulty spring, and provide you with a step-by-step guide on how to fix it. Whether you are a seasoned DIY enthusiast or a homeowner looking to save some money on repairs, this article aims to help you tackle this common issue with confidence.
Before we dive into the details, it’s worth mentioning that while fixing an attic ladder spring can be a relatively straightforward process, it does require some basic knowledge of tools and a cautious approach. If at any point you feel unsure or uncomfortable with the task, don’t hesitate to seek professional assistance. Safety should always be a top priority when working with ladders and related equipment.
Now, let’s take a closer look at attic ladder springs and how they work.
Key Takeaways:
- Attic ladder springs are crucial for smooth operation, and signs of a faulty spring include difficulty in opening/closing, rapid closure, and visible damage. Regular maintenance and prompt repairs ensure safe and convenient attic access.
- Fixing a faulty attic ladder spring requires basic tools, safety precautions, and a step-by-step approach. By identifying, replacing, and testing the spring, you can restore the ladder’s functionality and ensure long-term safety and convenience.
Read more: How To Close Attic Ladder
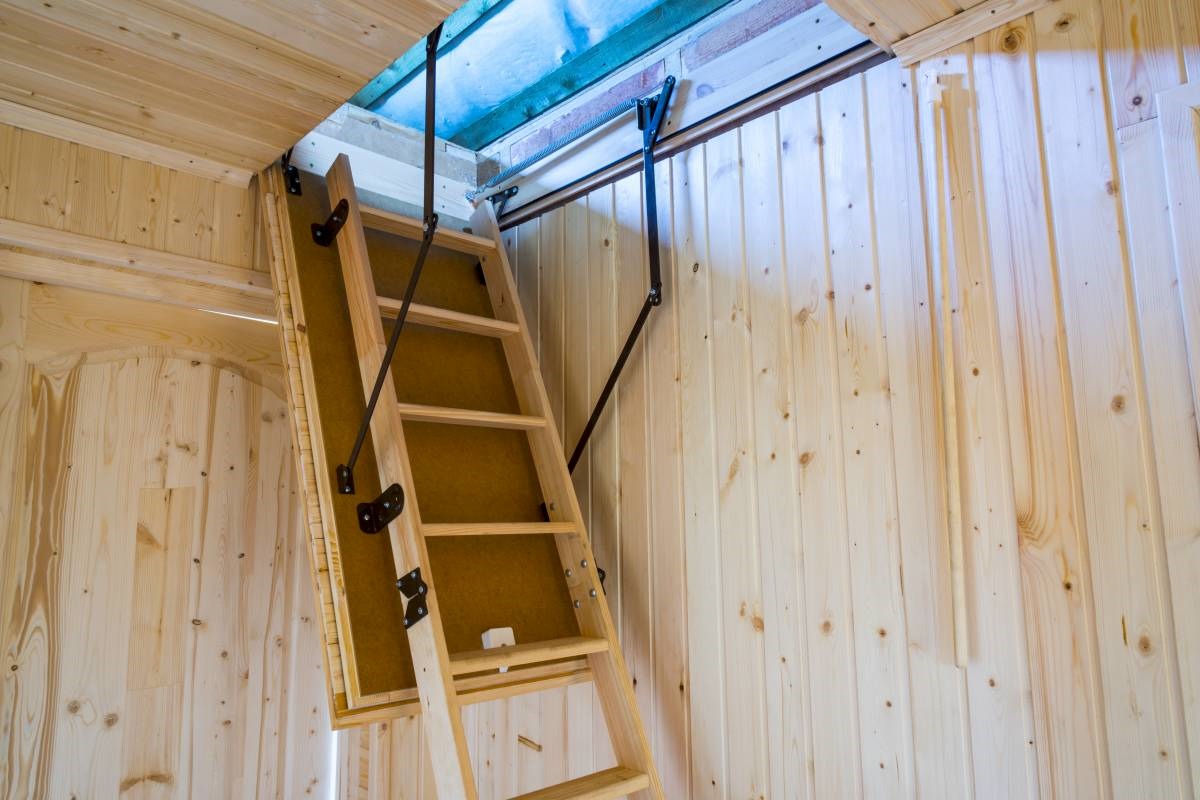
Understanding Attic Ladder Springs
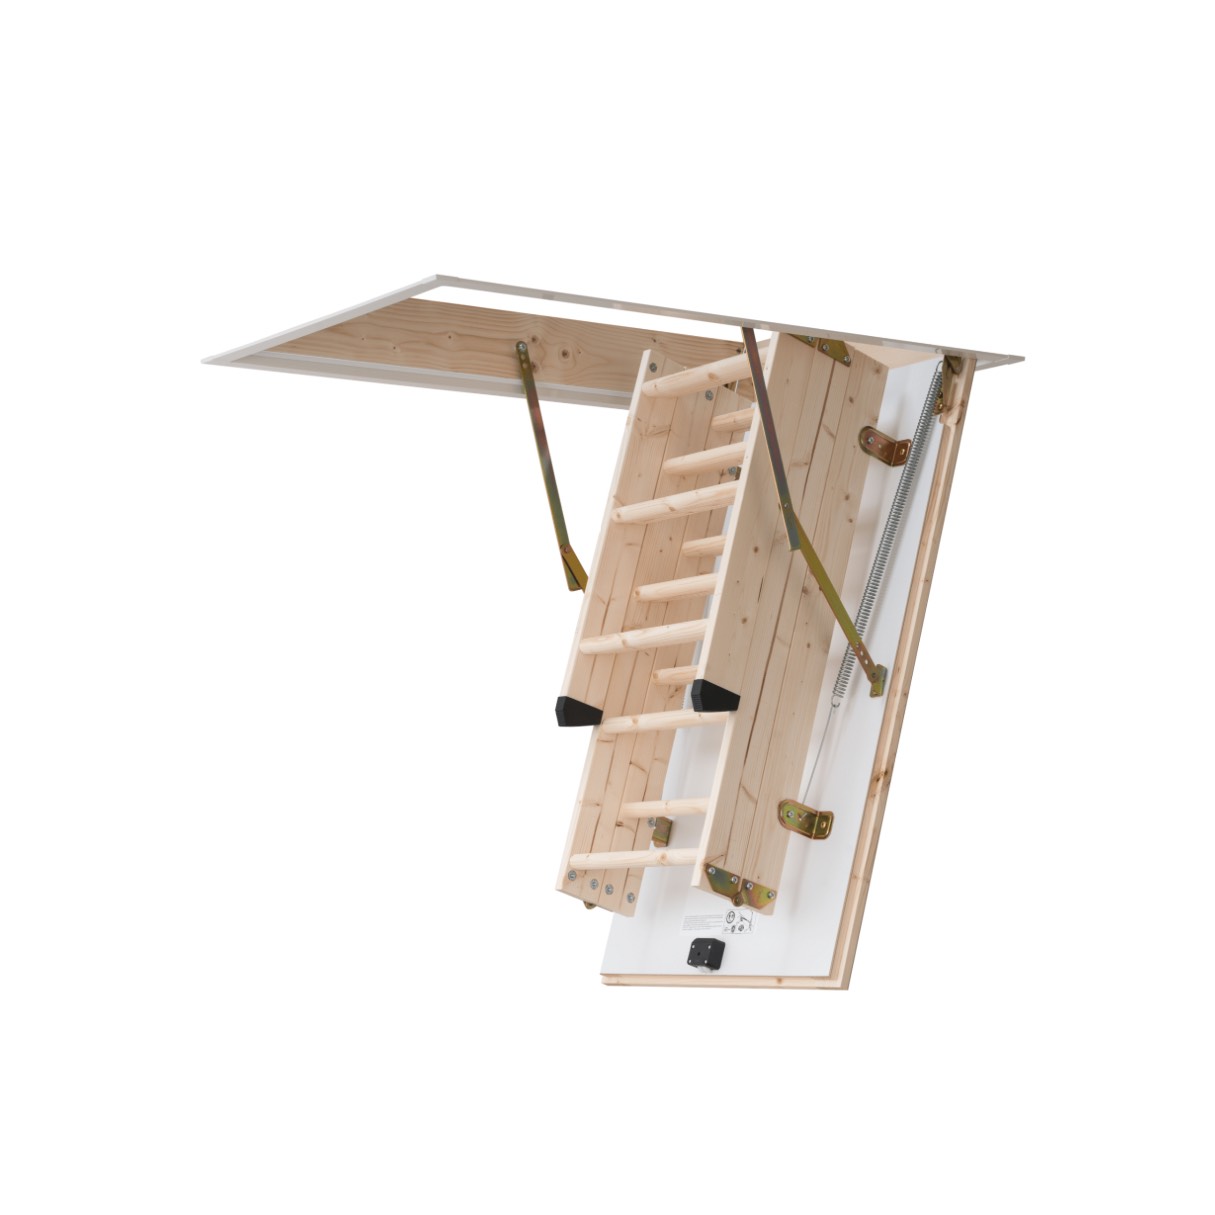
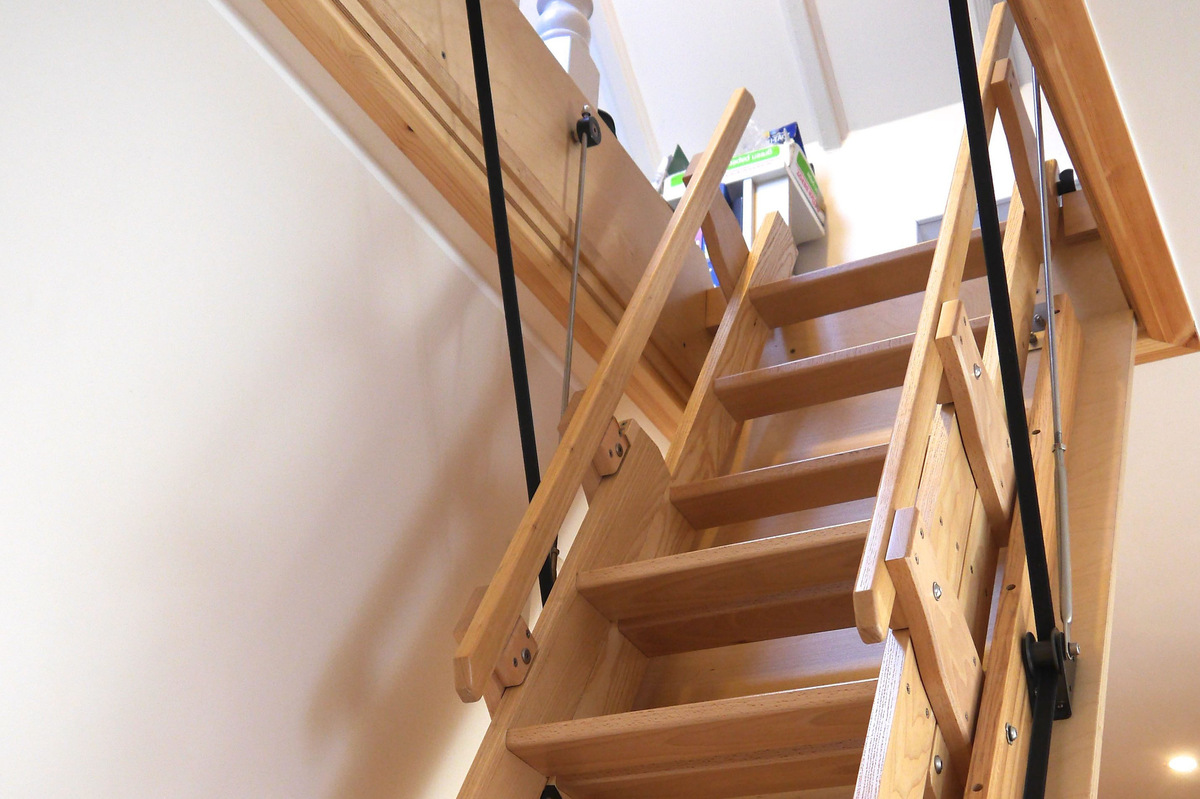
Attic ladder springs play a crucial role in the smooth operation of your attic ladder. They are responsible for counterbalancing the weight of the ladder, making it easier to open and close. The springs are typically located on either side of the ladder, hidden within the framework.
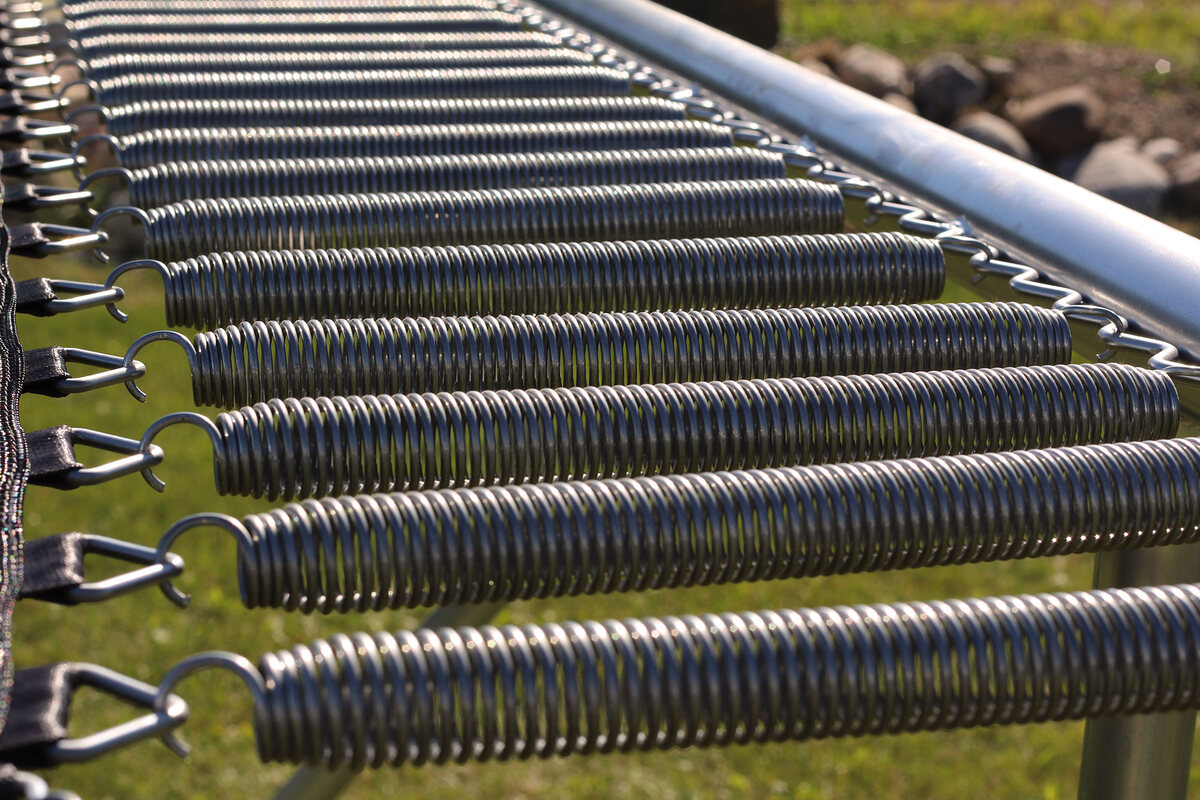
There are two primary types of attic ladder springs: extension springs and tension springs. Extension springs are the most common and are designed to stretch and release tension as the ladder opens and closes. Tension springs, on the other hand, are compressed tightly when the ladder is closed and release tension as it is opened. The type of spring used in your attic ladder will depend on the ladder’s design and manufacturer.
Attic ladder springs are subject to wear and tear over time, especially with frequent use. Factors such as humidity, temperature fluctuations, and poor maintenance can also contribute to their deterioration. When a spring weakens or breaks, it can lead to issues such as the ladder not staying open or closing too quickly. It is important to identify and address these problems promptly to prevent any accidents or further damage.
The good news is that fixing or replacing an attic ladder spring is a relatively straightforward task. However, it is essential to first diagnose if the spring is indeed causing the problem, as there could be other underlying issues with the ladder itself. Let’s take a look at some common signs of a faulty attic ladder spring.
Signs of a Faulty Attic Ladder Spring
Recognizing the signs of a faulty attic ladder spring is crucial in determining whether it is indeed the cause of the problem. Here are some common indicators to look out for:
- Difficulty in opening or closing the ladder: If you find that the attic ladder requires excessive force to open or close, or if it doesn’t stay open on its own, it is likely a sign of a worn-out or broken spring.
- Ladder closes too quickly: When the ladder spring loses its tension, it can result in the ladder rapidly folding shut when you try to close it. This poses a significant safety risk, as it can catch fingers or cause an abrupt fall.
- Sagging or uneven ladder: A faulty spring can cause the ladder to sag or hang unevenly when it’s extended. This can make it unstable and unsafe to climb.
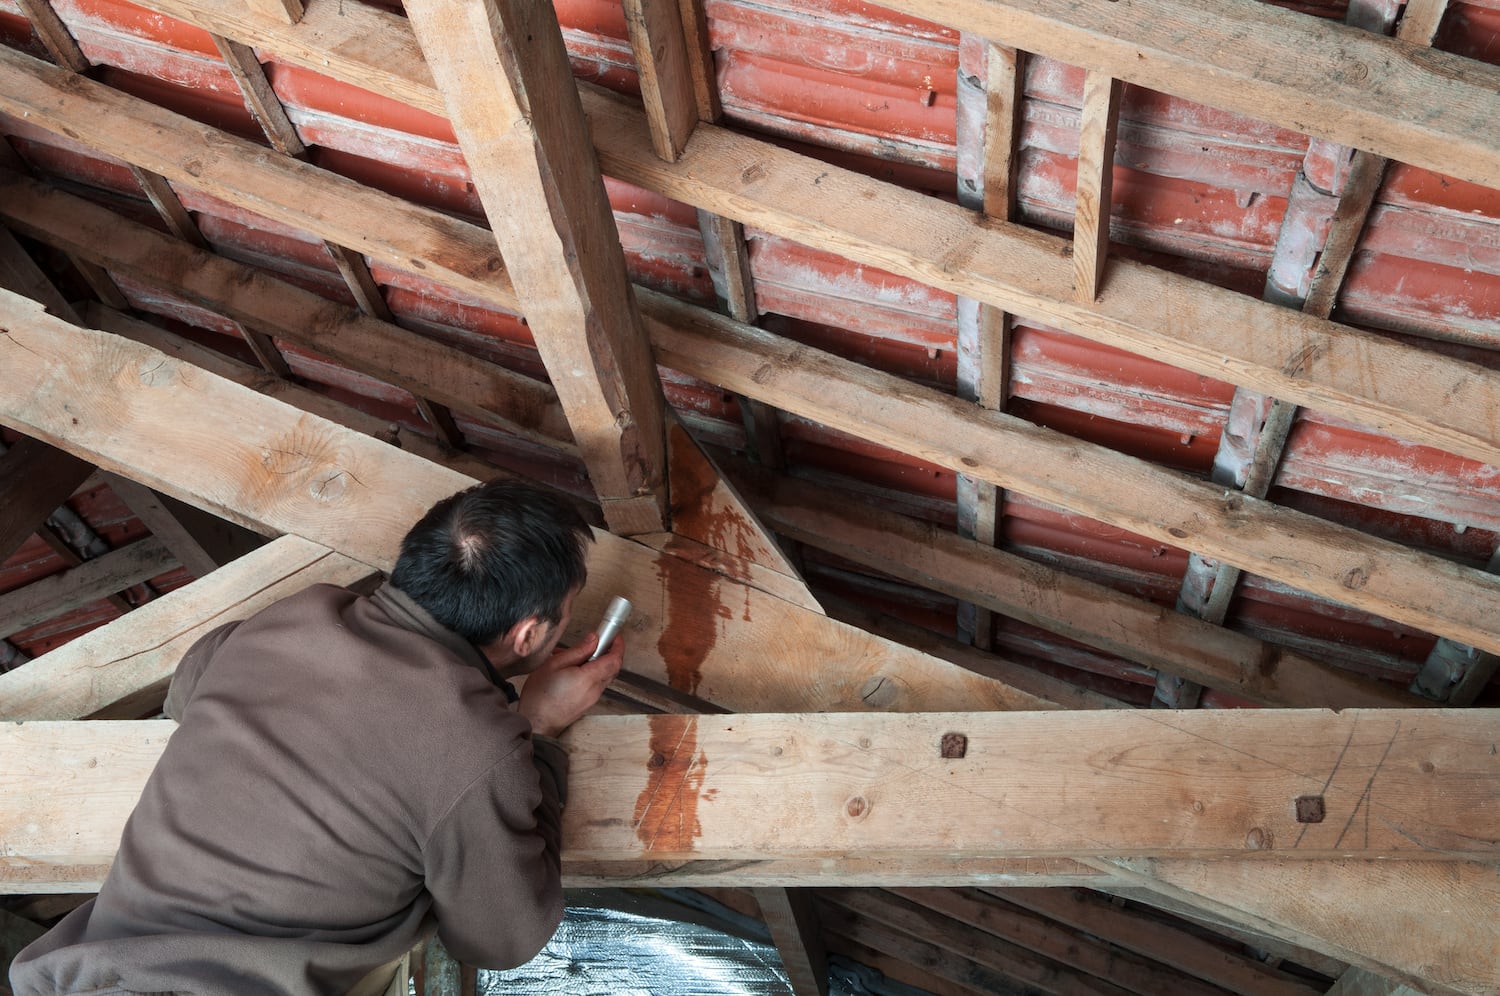
- Visible signs of damage: Inspect the springs for any visible signs of damage, such as rust, corrosion, or any noticeable wear and tear. These are clear indications of a malfunctioning spring that needs attention.
If you observe any of these signs, it’s time to fix or replace your attic ladder spring. Before starting the repair process, gather the necessary tools and materials.
When fixing an attic ladder spring, start by ensuring the ladder is fully closed. Then, carefully remove the tension from the spring and replace it if necessary. Finally, test the ladder to ensure it is working properly.
Tools and Materials Needed
Before you begin fixing your attic ladder spring, it’s important to gather the necessary tools and materials. Here is a list of items you’ll need:
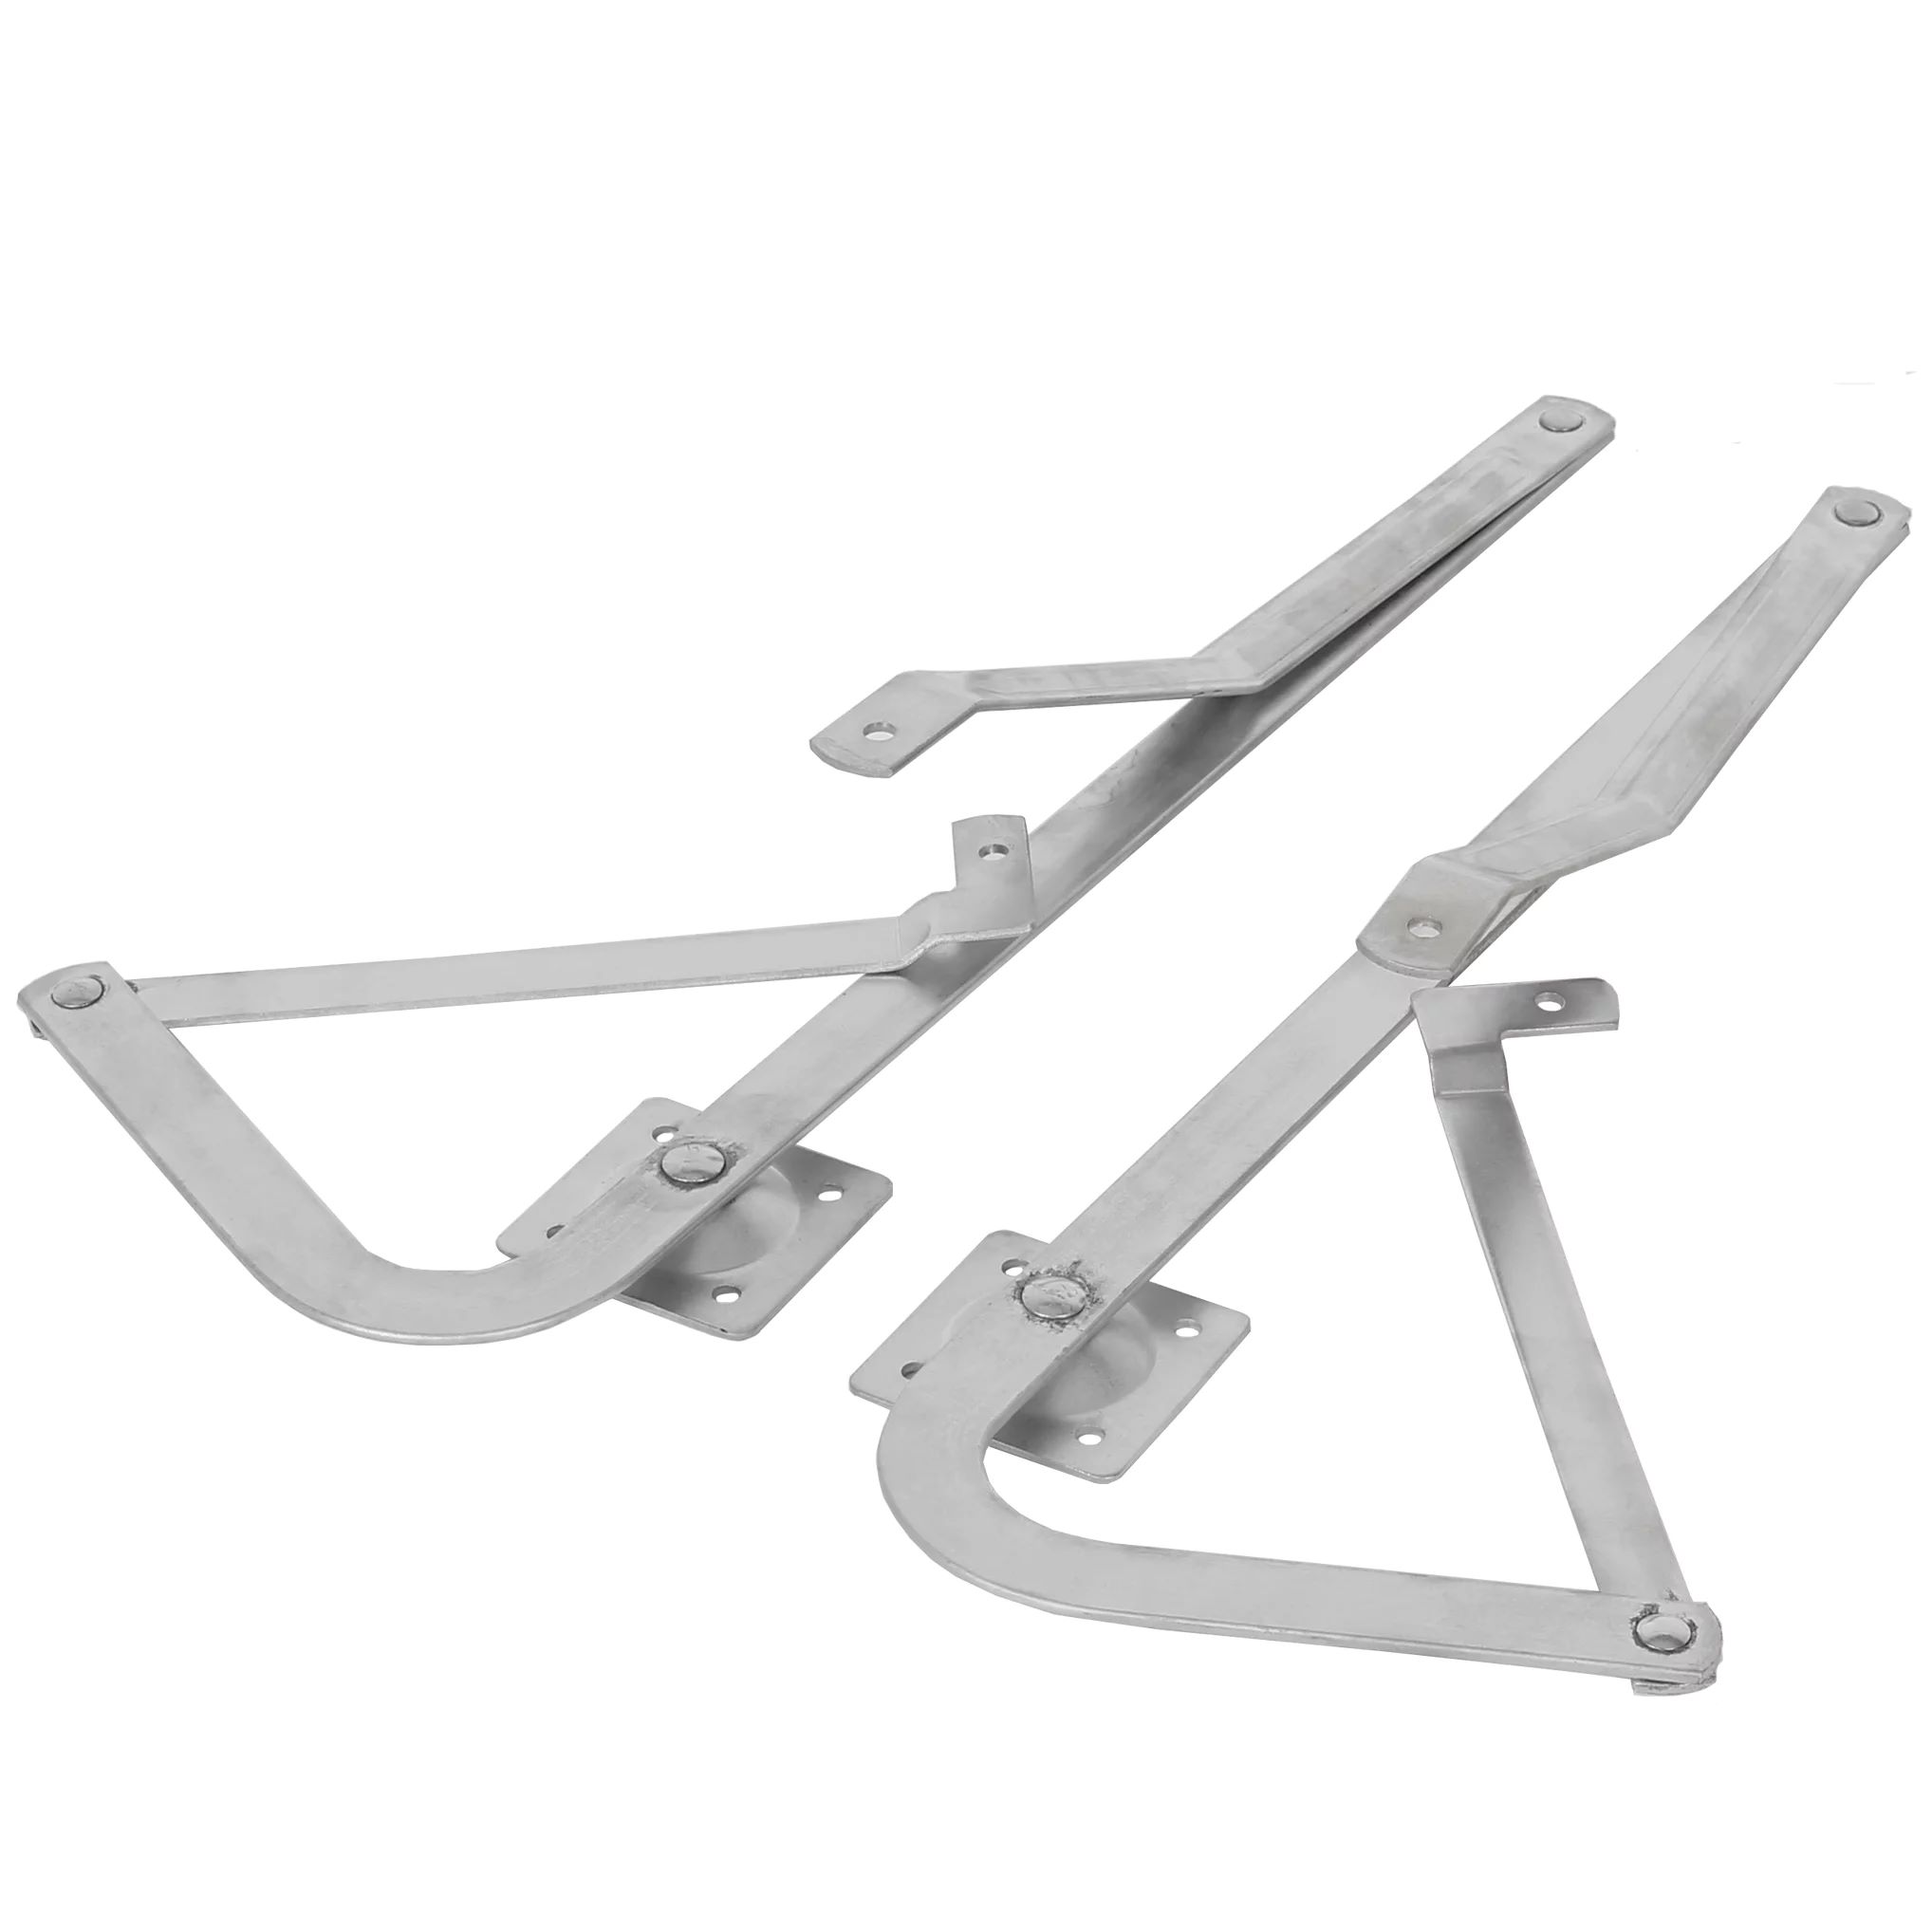
- Replacement spring: The first step is to identify the type of spring used in your attic ladder and purchase a suitable replacement. Measure the dimensions and take note of any specific requirements or specifications provided by the manufacturer.
- Safety goggles and gloves: It’s crucial to protect your eyes and hands while working with tools. Safety goggles will shield your eyes from debris, and gloves will provide grip and protect against potential injuries.
- Adjustable wrench: An adjustable wrench will be necessary to loosen and tighten bolts or nuts during the repair process.
- Screwdriver: Depending on the type of fasteners used, you may need both a flathead and a Phillips head screwdriver to remove and install screws.
- Pliers: Pliers will come in handy for gripping and holding onto various components during the repair process.
- Step ladder: To safely access the attic and work on the ladder, you’ll need a stable step ladder of appropriate height.
- Lubricant: A silicone-based lubricant can help maintain the smooth operation of the ladder and reduce friction on moving parts.
- Cleaning supplies: It’s a good idea to have some cleaning supplies on hand to remove any dirt, debris, or rust that may have accumulated on the ladder components.
By having these tools and materials ready, you’ll be well-prepared to tackle the task of fixing your attic ladder spring. Now, let’s move on to the step-by-step guide that will walk you through the repair process.
Step-by-Step Guide to Fixing Attic Ladder Spring
Now that you have gathered the necessary tools and materials, let’s dive into the step-by-step guide on how to fix your attic ladder spring:
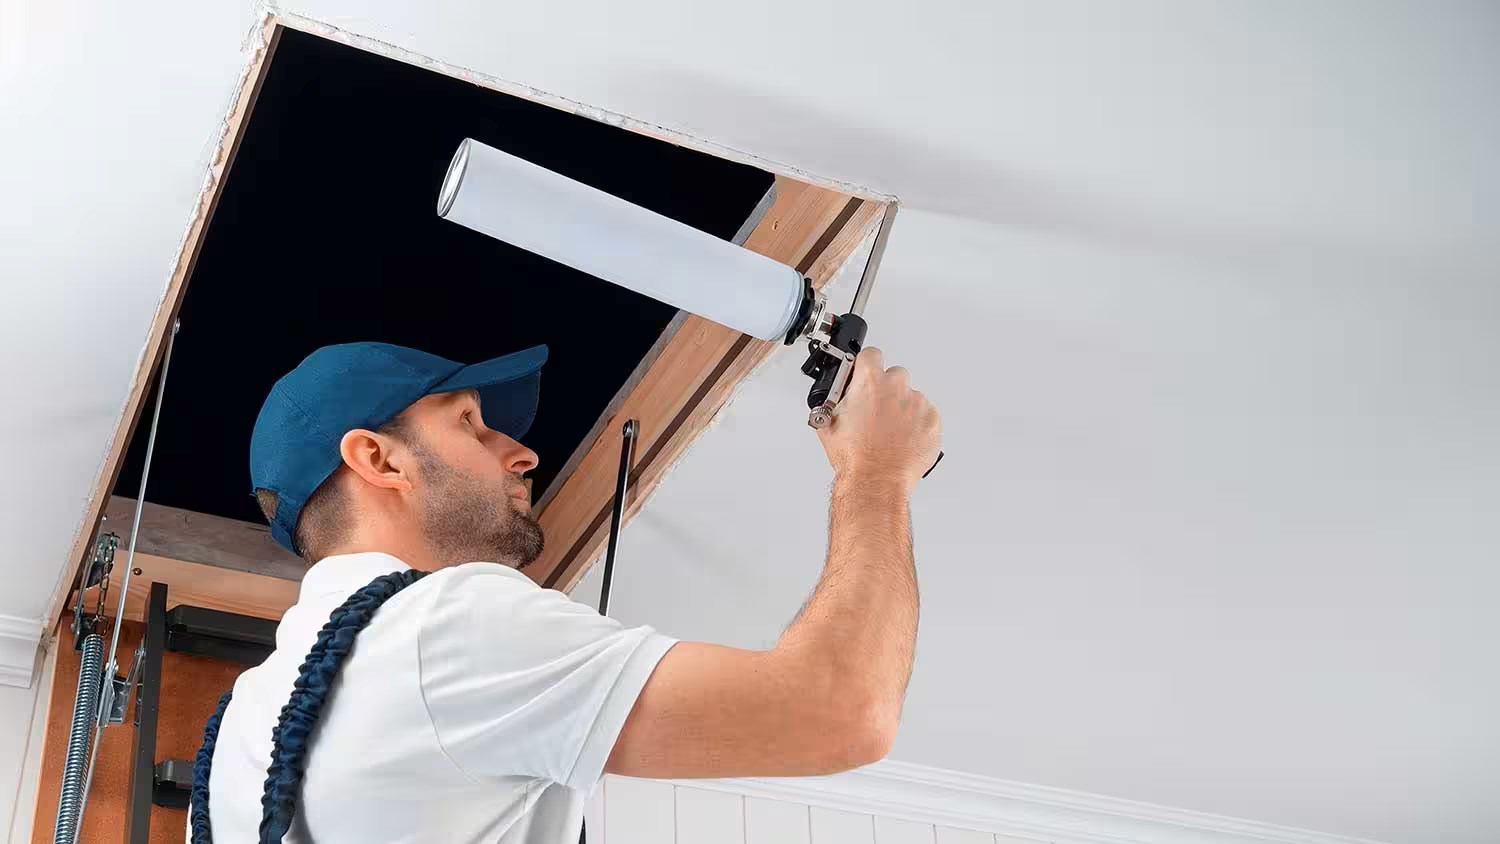
- Ensure safety: Before you begin any work, make sure to wear your safety goggles and gloves to protect your eyes and hands throughout the process. Position your step ladder securely beneath the attic ladder, ensuring stability.
- Identify the faulty spring: Inspect the ladder springs and determine which one is causing the issue. If only one spring is faulty, it is recommended to replace both springs to maintain balance and ensure even tension.
- Detach ladder from the frame: Carefully remove any fasteners or screws that connect the ladder to the frame. Use your screwdriver to loosen and remove these fasteners while keeping a firm hold on the ladder to prevent it from accidentally falling.
- Remove the faulty spring: Locate the attachment points of the faulty spring and use your adjustable wrench to loosen and remove the fasteners. Gently disconnect the spring from the ladder mechanism, taking note of its position and orientation.
- Install the new spring: Take the replacement spring and position it in the same orientation as the old spring. Attach it to the ladder mechanism using the appropriate fasteners and secure them tightly with your adjustable wrench.
- Reattach the ladder to the frame: Carefully align the ladder with the frame and reinsert the screws or fasteners to securely attach it. Use your screwdriver to tighten them back into place.
- Test the ladder: Now that the new spring is installed, carefully test the ladder by opening and closing it a few times. Ensure that it operates smoothly and remains open without any issues.
- Apply lubricant: To maintain the smooth operation of the ladder, apply a silicone-based lubricant to the moving parts, such as hinges and pivot points. This will help reduce friction and ensure longevity.
- Clean up: Use cleaning supplies to remove any dirt, debris, or rust that may have accumulated on the ladder components during the repair process. This will help keep your ladder in good condition.
Remember, when working on any repairs, it is important to follow safety guidelines and exercise caution. If at any point you feel unsure or uncomfortable with a particular step, consult a professional.
By following this step-by-step guide, you can successfully fix your attic ladder spring and restore its functionality. With a properly functioning ladder, accessing your attic will be safe and convenient once again.
Read more: How To Measure An Attic Ladder
Conclusion
Fixing a faulty attic ladder spring may seem like a daunting task, but with the right tools, materials, and guidance, it is a manageable project that can save you time and money. By understanding the importance of attic ladder springs and recognizing the signs of a faulty spring, you can take the necessary steps to address the issue promptly.
In this guide, we have covered the basics of attic ladder springs, including their types and functions. We have also discussed the common signs of a faulty spring and provided you with a step-by-step guide to fix it. Remember to prioritize safety throughout the process, wear appropriate protective gear, and exercise caution when handling tools and equipment.
It is worth mentioning that if you are unsure about any aspect of the repair, or if you encounter unexpected difficulties, it is advisable to seek the assistance of a professional. Remember, safety should always be your top priority when working with ladders and related equipment.
By successfully fixing your attic ladder spring, you can restore the functionality and safety of your attic ladder, making it easier for you to access your attic and utilize the valuable storage space it offers. Regular maintenance and periodic inspections of your attic ladder will help identify potential issues before they escalate, saving you from more extensive repairs in the future.
We hope that this comprehensive guide has provided you with the necessary knowledge and confidence to tackle your attic ladder spring repair successfully. Remember, with the right approach and proper maintenance, your attic ladder can serve you well for years to come.
Just fixed that attic ladder spring? Great job! But don't stop there—keeping your home in top condition is vital. Dive into our detailed guide on home repair and discover practical solutions for a variety of issues. If you're keen on crafting and personalizing your space, our article on DIY projects will surely spark your interest with creative ideas. Regular upkeep is essential too; don't miss out on our essential home maintenance tips to ensure everything's running smoothly. Keep your home safe, stylish, and functional with these expert insights!
Frequently Asked Questions about How To Fix Attic Ladder Spring
Was this page helpful?
At Storables.com, we guarantee accurate and reliable information. Our content, validated by Expert Board Contributors, is crafted following stringent Editorial Policies. We're committed to providing you with well-researched, expert-backed insights for all your informational needs.


0 thoughts on “How To Fix Attic Ladder Spring”