Articles
How To Put Shutters On Vinyl Siding
Modified: May 6, 2024
Discover the best step-by-step guide on how to easily install shutters on vinyl siding. Read our informative articles for expert tips and advice to enhance your home's exterior.
(Many of the links in this article redirect to a specific reviewed product. Your purchase of these products through affiliate links helps to generate commission for Storables.com, at no extra cost. Learn more)
Introduction
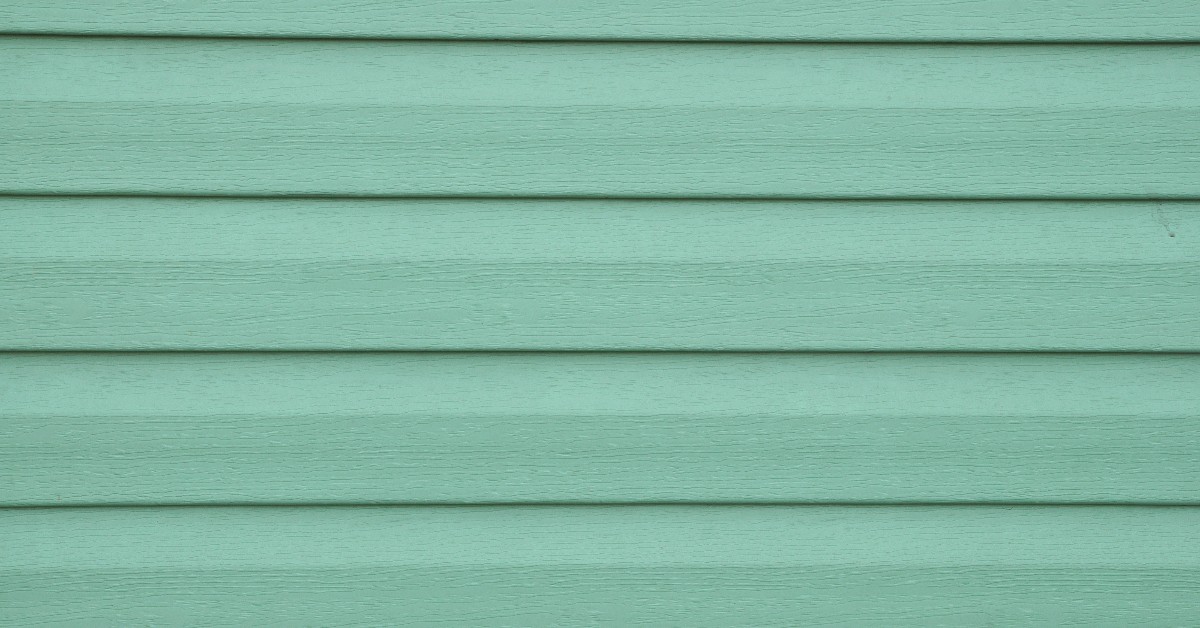
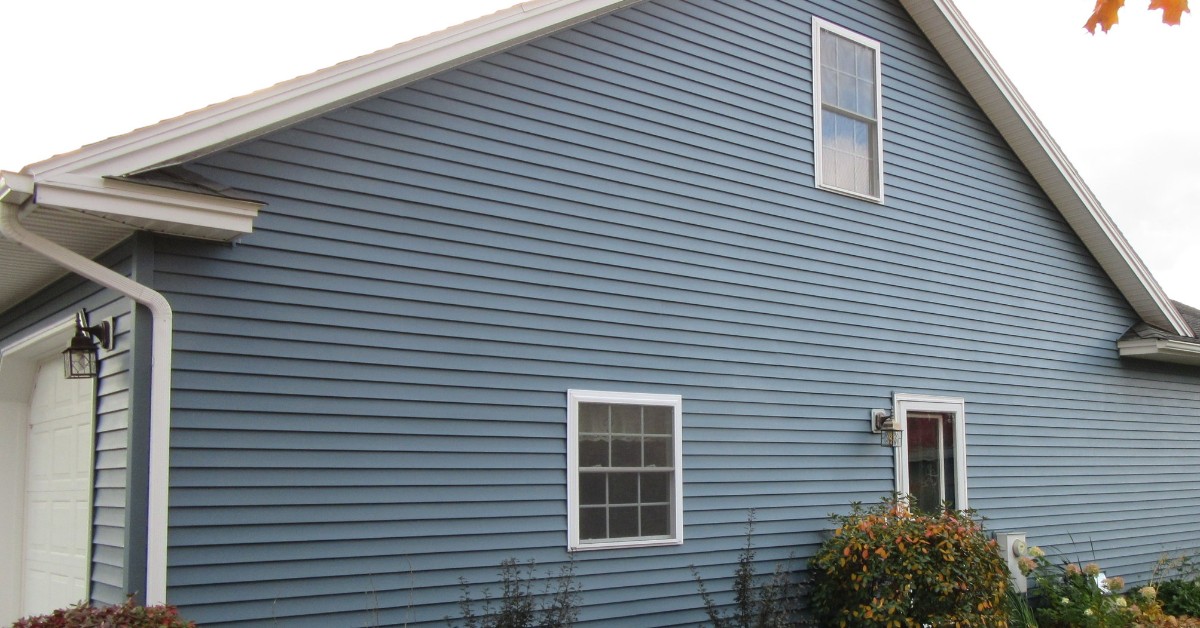
Are you looking to enhance the visual appeal of your home’s exterior? Installing shutters on vinyl siding can be a great way to add charm and character to your house. Not only do shutters provide a decorative element, but they also offer practical functionality by providing shade, protection, and privacy. With a few simple steps, you can easily install shutters on vinyl siding and transform the look of your home.
In this article, we will guide you through the process of installing shutters on vinyl siding. Whether you are a DIY enthusiast or a homeowner looking to save some money on professional installation, our step-by-step instructions will help you achieve professional-looking results.
Before we dive into the installation process, let’s first gather the necessary tools and materials to ensure a smooth and successful project.
Key Takeaways:
- Easily enhance your home’s exterior by installing shutters on vinyl siding. Follow our step-by-step guide for professional-looking results and a charming, elegant touch.
- Attention to detail is key when adding shutters to vinyl siding. From measuring and preparing to securing and adjusting, achieve a polished, professional look with the right tools and techniques.
Read more: What Color Shutters With Gray Siding
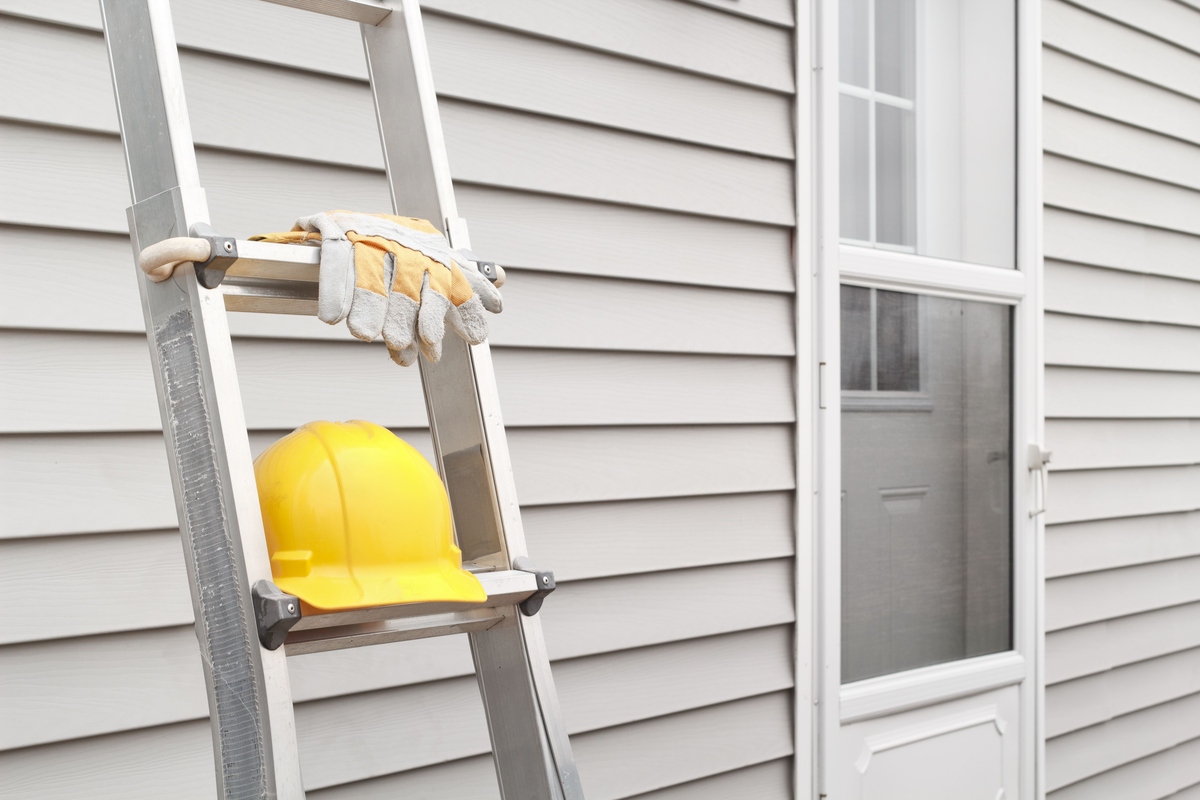
Required Tools and Materials
Before you begin installing shutters on vinyl siding, it’s important to gather all the necessary tools and materials. Having everything in place will make the installation process efficient and hassle-free. Here’s a list of items you’ll need:
Tools:
- Measuring tape
- Pencil
- Level
- Drill
- Screwdriver
- Hacksaw or miter saw
Materials:
- Shutters
- Mounting strips
- Screws
- Anchors
Make sure to choose shutters that are suitable for vinyl siding and complement the style of your home. Measure the height and width of your windows before purchasing the shutters to ensure a proper fit. Additionally, check the manufacturer’s instructions for any specific tools or materials they recommend for installation.
Now that you have all the necessary tools and materials, let’s move on to the step-by-step process of installing shutters on vinyl siding.
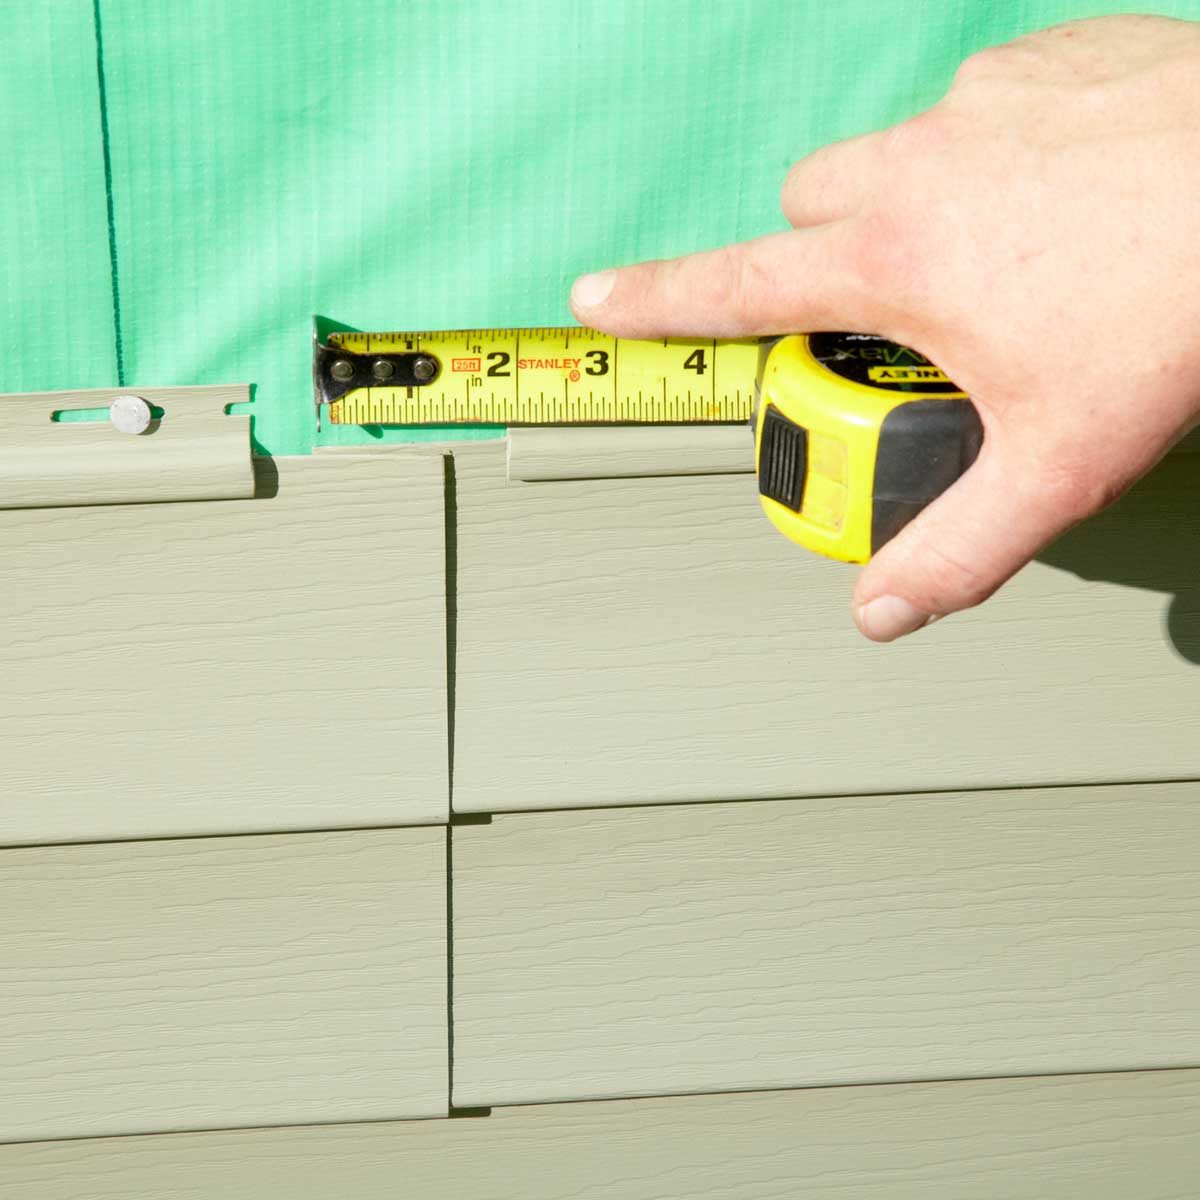
Step 1: Measure and Prepare
The first step in installing shutters on vinyl siding is to measure and prepare the area where the shutters will be installed. This will ensure that the shutters fit properly and are positioned correctly. Here’s what you need to do:
- Start by measuring the height and width of the window. This will help you determine the size of the shutters you need to purchase. Make sure to measure both the inside and outside dimensions of the window frame, as the shutters can be installed on either.
- Next, mark the desired location for the shutters on the vinyl siding. Use a pencil to make small marks at the top and bottom corners of the window. Take into account the desired spacing between the shutters and the window edges. Typically, a distance of a few inches is recommended for aesthetic purposes.
- Once the marks are made, use a level to ensure that they are straight and aligned. This step is crucial to ensure that the shutters are properly aligned with the window and will appear symmetrical.
- If you plan on installing multiple shutters on the same window, make sure to measure and mark the spacing between each shutter panel as well.
- Finally, prepare the mounting strips by cutting them to the desired length. The mounting strips will serve as the base for attaching the shutters to the vinyl siding. Use a hacksaw or miter saw to cut the strips to the appropriate size.
By taking the time to accurately measure and prepare the area, you’ll ensure that the installation process goes smoothly and that the shutters are properly aligned and positioned. Now that you have measured and prepared the area, let’s move on to the next step: attaching the mounting strips.
Read more: How Thick Is Vinyl Siding
Step 2: Attach Mounting Strips
Once you have measured and prepared the area for the shutters, the next step is to attach the mounting strips. These strips will serve as the foundation for securely installing the shutters onto the vinyl siding. Follow these steps for attaching the mounting strips:
- Position the mounting strips vertically along the sides of the window, aligning them with the marks you made in Step 1. Make sure the strips are straight and level.
- Using a drill and the appropriate screws, secure the mounting strips to the vinyl siding. Be careful not to overtighten the screws, as this could damage the siding.
- If you are installing shutters on a wider window, you may need to add additional mounting strips in the middle for added support. Repeat the above steps for attaching the strips at the desired locations.
- Double-check the alignment and levelness of the mounting strips to ensure that they are straight and properly positioned. Adjust if necessary.
Attaching the mounting strips is a crucial step in providing a solid foundation for the shutters. Take your time to ensure that the strips are securely fastened and properly aligned. Once the mounting strips are in place, you are ready to move on to the next step: installing the shutter panels.
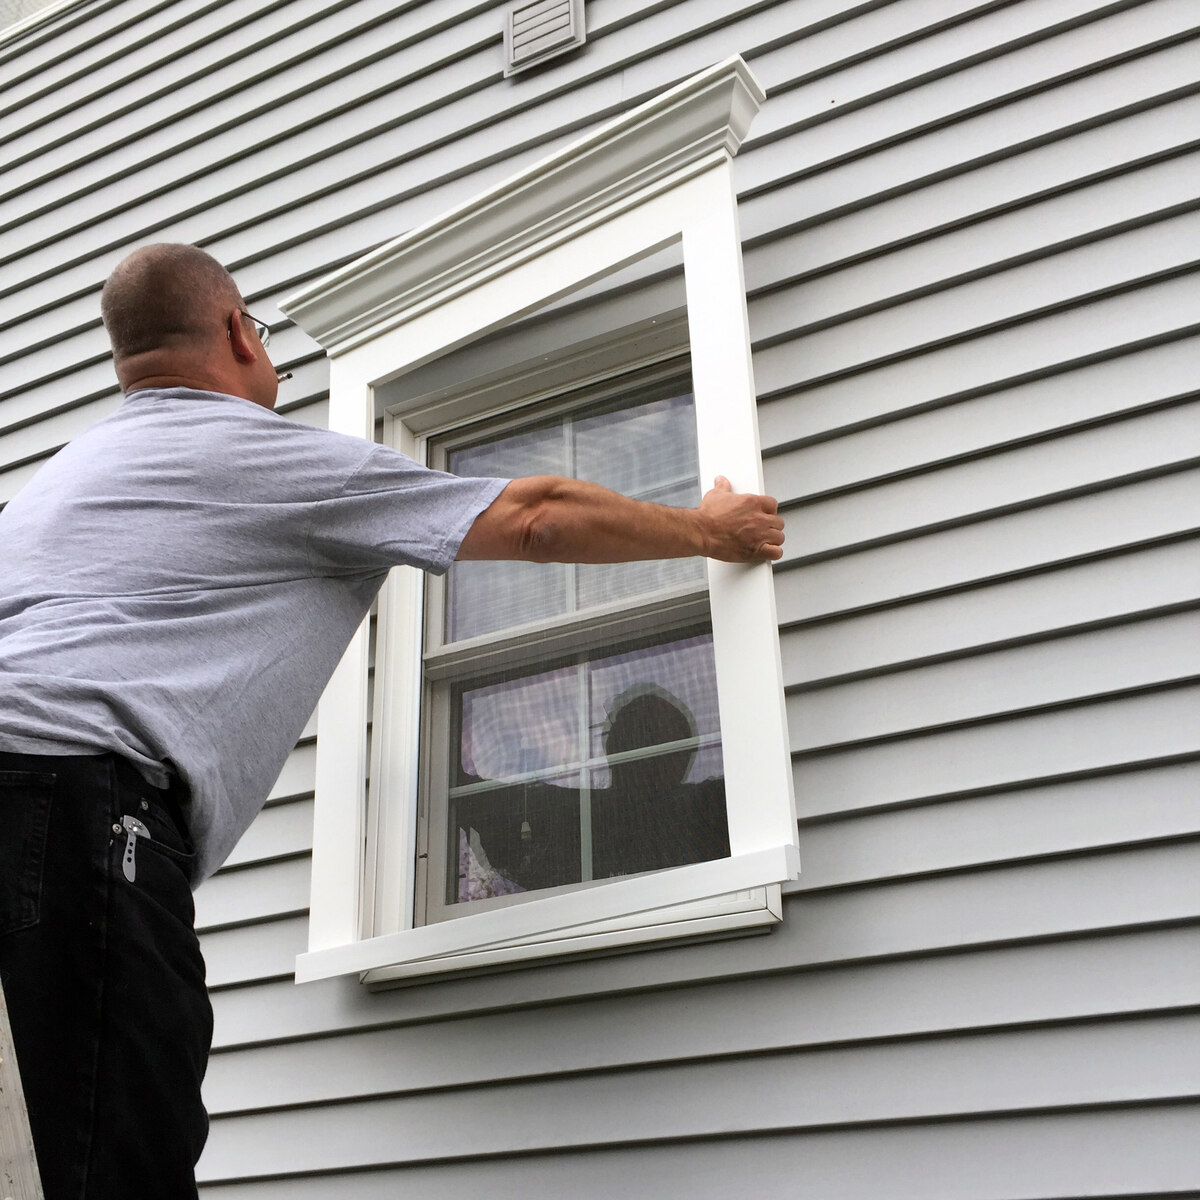
Step 3: Install Shutter Panels
With the mounting strips securely in place, it’s time to install the shutter panels onto the vinyl siding. Follow these steps to properly install the shutter panels:
- Align the first shutter panel with the mounting strips. Position it in the desired location, making sure it is centered and level. It’s important to have a helper hold the panel in place while you proceed to the next step.
- Using a drill or screwdriver, insert screws through the pre-drilled holes in the shutter panel and into the mounting strips. Tighten the screws enough to secure the panel, but be cautious not to overtighten, as this could damage the panel or the mounting strips.
- If you are installing multiple shutter panels on the same window, repeat the above steps for each panel. Remember to leave the desired spacing between each panel for a visually pleasing arrangement.
- Check the placement and alignment of each shutter panel as you go along. Make any necessary adjustments to ensure that they are straight, level, and symmetrical.
As you install each shutter panel, take the time to step back and observe the overall appearance. This will allow you to make any adjustments or corrections as needed. Once all the shutter panels are securely installed, you can move on to the next step: securing the panels in place.
Step 4: Secure Panels in Place
After you have successfully installed the shutter panels onto the vinyl siding, the next step is to secure them in place. This will ensure that the shutters remain firmly attached even in windy conditions. Follow these steps to properly secure the panels:
- Check each shutter panel to ensure it is securely fastened to the mounting strips using the screws. If any screws are loose, tighten them with a screwdriver to provide a more secure hold.
- For added stability, consider using anchors in addition to screws. Anchors provide extra reinforcement and prevent the shutters from loosening or shifting over time. Insert the anchors into the pre-drilled holes, and then screw the screws directly into the anchors.
- Once all the panels are securely fastened, give them a gentle tug to test their stability. They should not move or wobble. If any panels feel loose, tighten the screws or add extra anchors to provide a more secure hold.
Securing the shutter panels in place is an essential step in ensuring their longevity and durability. Take the time to check each panel and make any necessary adjustments to guarantee a solid installation. With the panels securely in place, you can now move on to the next step: adjusting and leveling the shutters.
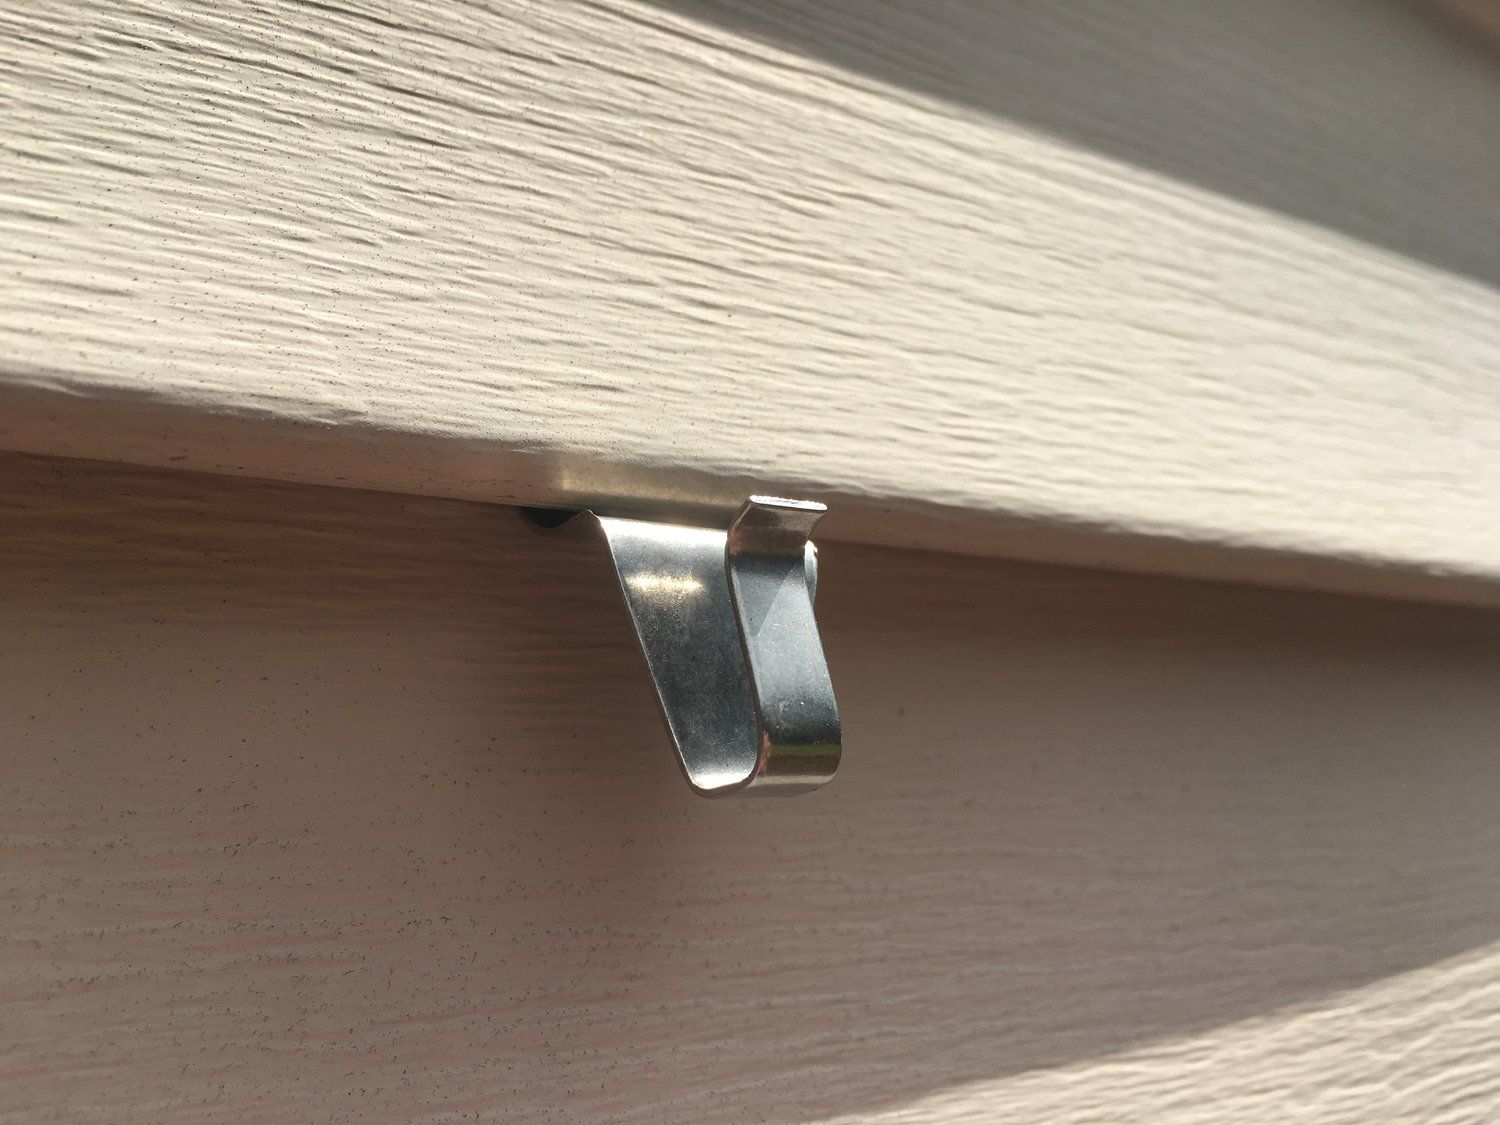
When installing shutters on vinyl siding, use shutter fasteners designed for vinyl siding to ensure a secure and long-lasting installation. These fasteners are specifically designed to attach to the siding without causing damage.
Step 5: Adjust and Level Shutters
Once the shutter panels are securely installed and fastened, the next step is to adjust and level them to achieve a neat and professional look. Follow these steps to ensure that your shutters are properly adjusted and level:
- Stand back and visually inspect the shutters to check if they are aligned and level. Look from different angles to ensure they appear straight and symmetrical with the window.
- If adjustments are needed, use a level to determine the areas that require correction. Gently loosen the screws on the mounting strips, allowing you to adjust the position of the shutters.
- Move the shutters slightly to align them correctly, ensuring equal spacing between adjacent shutters as well as between the shutters and the window edges.
- Once the shutters are aligned, double-check that they are level both horizontally and vertically. Adjust as necessary until they are perfectly level.
- Finally, retighten the screws on the mounting strips to secure the shutters in their adjusted position.
Ensuring that the shutters are properly adjusted and level is crucial for achieving a polished and professional appearance. Take your time during this step to make any necessary corrections for a visually pleasing result. With the shutters adjusted and level, you are almost done with the installation process. Let’s move on to the final step: adding the finishing touches.
Read more: How To Drill Into Vinyl Siding
Step 6: Finishing Touches
With the shutter panels securely installed, adjusted, and leveled, it’s time to add the final finishing touches to complete the installation process. These small details will enhance the overall aesthetic and ensure a polished look. Follow these steps for the finishing touches:
- Inspect the shutters and surrounding areas for any visible gaps or imperfections. Use a caulk gun to fill in any gaps between the shutters and the siding or window frame. Smooth out the caulk with a caulking tool or your finger for a seamless finish.
- Take a step back and observe the overall appearance of the shutters. Check for any loose screws or potential areas of concern. If needed, tighten any screws or make necessary adjustments to ensure everything is secure.
- Consider adding decorative shutter hardware, such as hinges or holdbacks, for an extra touch of style. These hardware pieces can further enhance the aesthetics and give your shutters a more authentic look.
- Lastly, clean the shutters and the surrounding areas to remove any dirt or debris. Use a mild detergent solution and a soft cloth or sponge to gently wipe down the shutters. This will help maintain their appearance and keep them looking fresh and clean.
By paying attention to these finishing touches, you can achieve a professional and well-refined look for your installed shutters. Taking the time to address any gaps, tighten loose screws, add decorative hardware, and clean the shutters will ensure a visually appealing and completed project.
Congratulations! You have successfully installed shutters on your vinyl siding. Step back and admire the transformation they have brought to your home’s exterior.
Conclusion
Adding shutters to your vinyl siding is an affordable and effective way to enhance the aesthetics and overall curb appeal of your home. With a few simple steps and the right tools, you can easily transform the look of your house and give it a charming and elegant touch.
In this article, we walked you through the step-by-step process of installing shutters on vinyl siding. We discussed the importance of measuring and preparing the area, attaching the mounting strips, installing the shutter panels, securing them in place, adjusting and leveling the shutters, and adding the finishing touches.
Remember, accuracy and attention to detail are key when installing shutters on vinyl siding. Take your time to measure accurately, ensure proper alignment, and secure the shutters firmly in place. By following these steps and utilizing the right tools, you can achieve professional-looking results and enjoy the beauty of your newly installed shutters.
So go ahead and give your home a facelift with the addition of shutters on your vinyl siding. Not only will you enhance the visual appeal, but you’ll also add functionality and character to your house. Enjoy the transformation and the compliments that will surely come along!
Ready for more ways to spruce up your home's exterior? If you're intrigued by what's coming, our article on vinyl siding showcases exciting options for 2024. For those who love tackling home improvements themselves, our insights on DIY home projects are a must-read. And for an in-depth look at enhancing your house's curb appeal, explore our recommended selections of house siding available next year. Dive into these articles and transform your space with confidence!
Frequently Asked Questions about How To Put Shutters On Vinyl Siding
Was this page helpful?
At Storables.com, we guarantee accurate and reliable information. Our content, validated by Expert Board Contributors, is crafted following stringent Editorial Policies. We're committed to providing you with well-researched, expert-backed insights for all your informational needs.


0 thoughts on “How To Put Shutters On Vinyl Siding”