Articles
How To Fix Aluminum Siding
Modified: January 8, 2024
Discover effective tips and techniques in our comprehensive articles on how to fix aluminum siding. Protect your home and maintain the beauty of your exterior with our expert advice.
(Many of the links in this article redirect to a specific reviewed product. Your purchase of these products through affiliate links helps to generate commission for Storables.com, at no extra cost. Learn more)
Introduction
Aluminum siding is a popular choice for homeowners due to its durability, low maintenance requirements, and ability to withstand harsh weather conditions. However, over time, it can become damaged or worn, detracting from the overall appearance of your home. Whether it’s small holes, cracks, dents, or fading paint, addressing these issues promptly is essential to maintain the curb appeal and integrity of your home’s exterior.
In this article, we will guide you through the process of fixing aluminum siding, providing step-by-step instructions to help you restore its original beauty. From assessing the damage to cleaning, repairing, and painting, we will cover all the necessary steps to ensure a successful repair job. Additionally, we will share tips on how to prevent future damage and maintain your siding in top condition.
Before we get started, it’s important to note that some repairs may require professional help or specialized tools. If you feel uncomfortable or unsure about any aspect of the process, it’s always best to consult a professional contractor or handyman.
Now, let’s dive into the details and learn how to fix aluminum siding, transforming your home’s exterior into a stunning showcase of beauty and craftsmanship.
Key Takeaways:
- Proper maintenance and timely repairs are essential for preserving the beauty and integrity of aluminum siding. From assessing damage to cleaning, repairing, and painting, following a comprehensive process ensures a stunning and long-lasting exterior.
- Regular cleaning, proactive inspections, and preventative measures such as trimming vegetation and ensuring proper drainage are crucial for extending the lifespan of aluminum siding. By implementing these practices, homeowners can minimize the need for extensive repairs and enjoy a well-maintained home.
Read more: How To Fix A Hole In Aluminum Siding
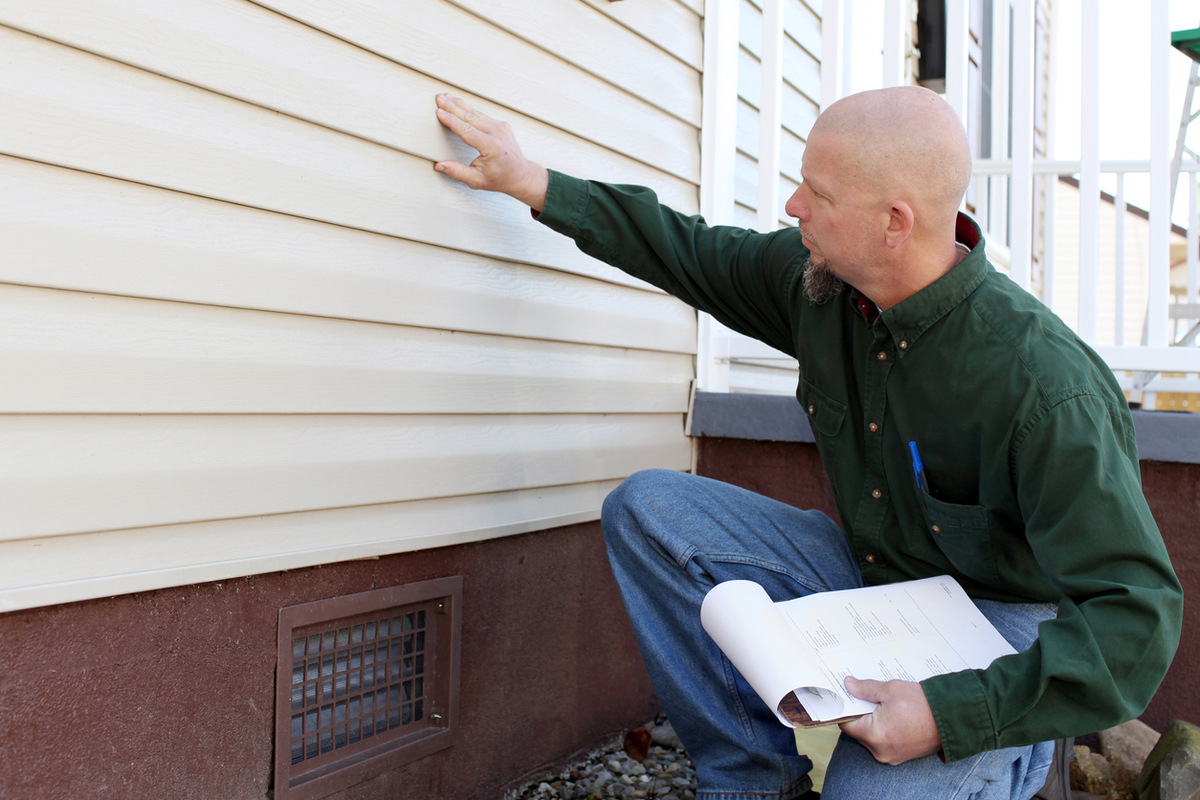
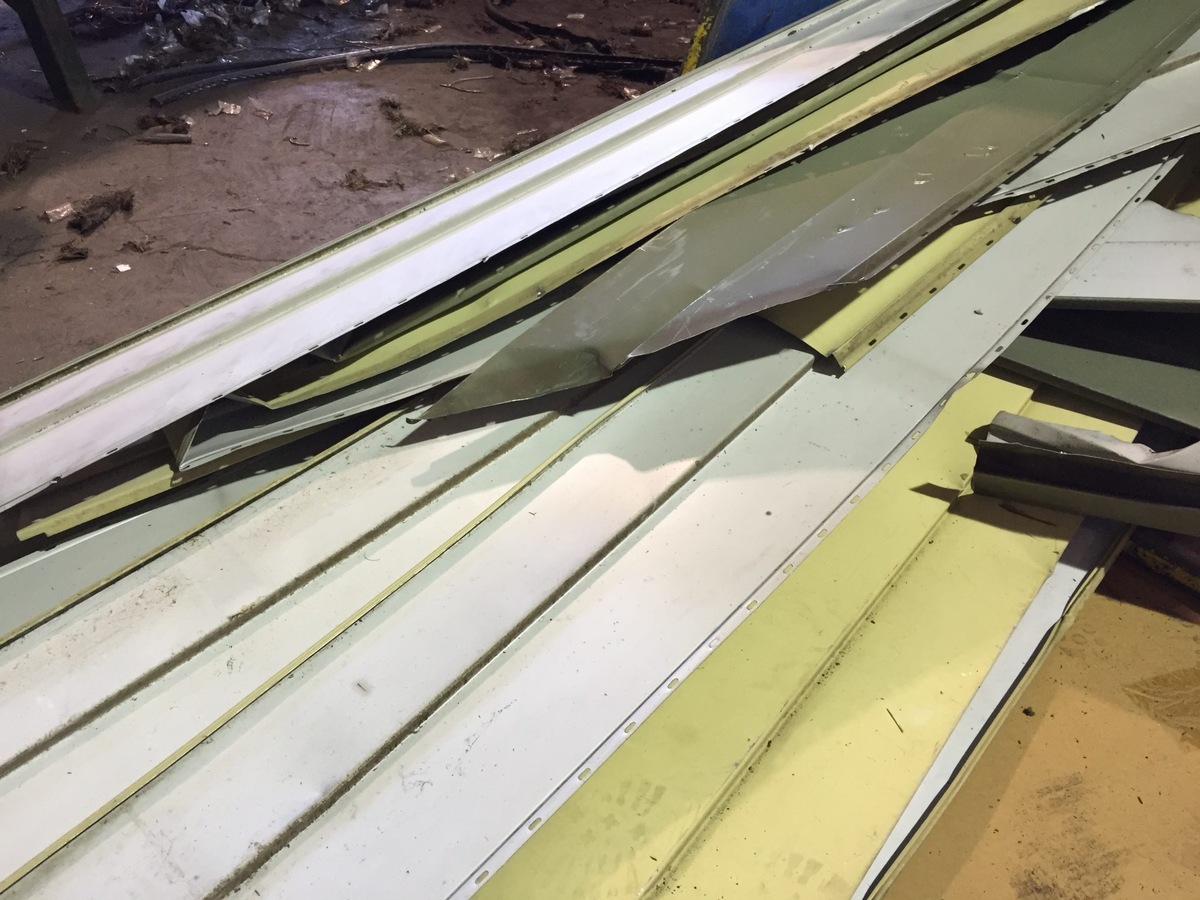
Step 1: Assessing the Damage
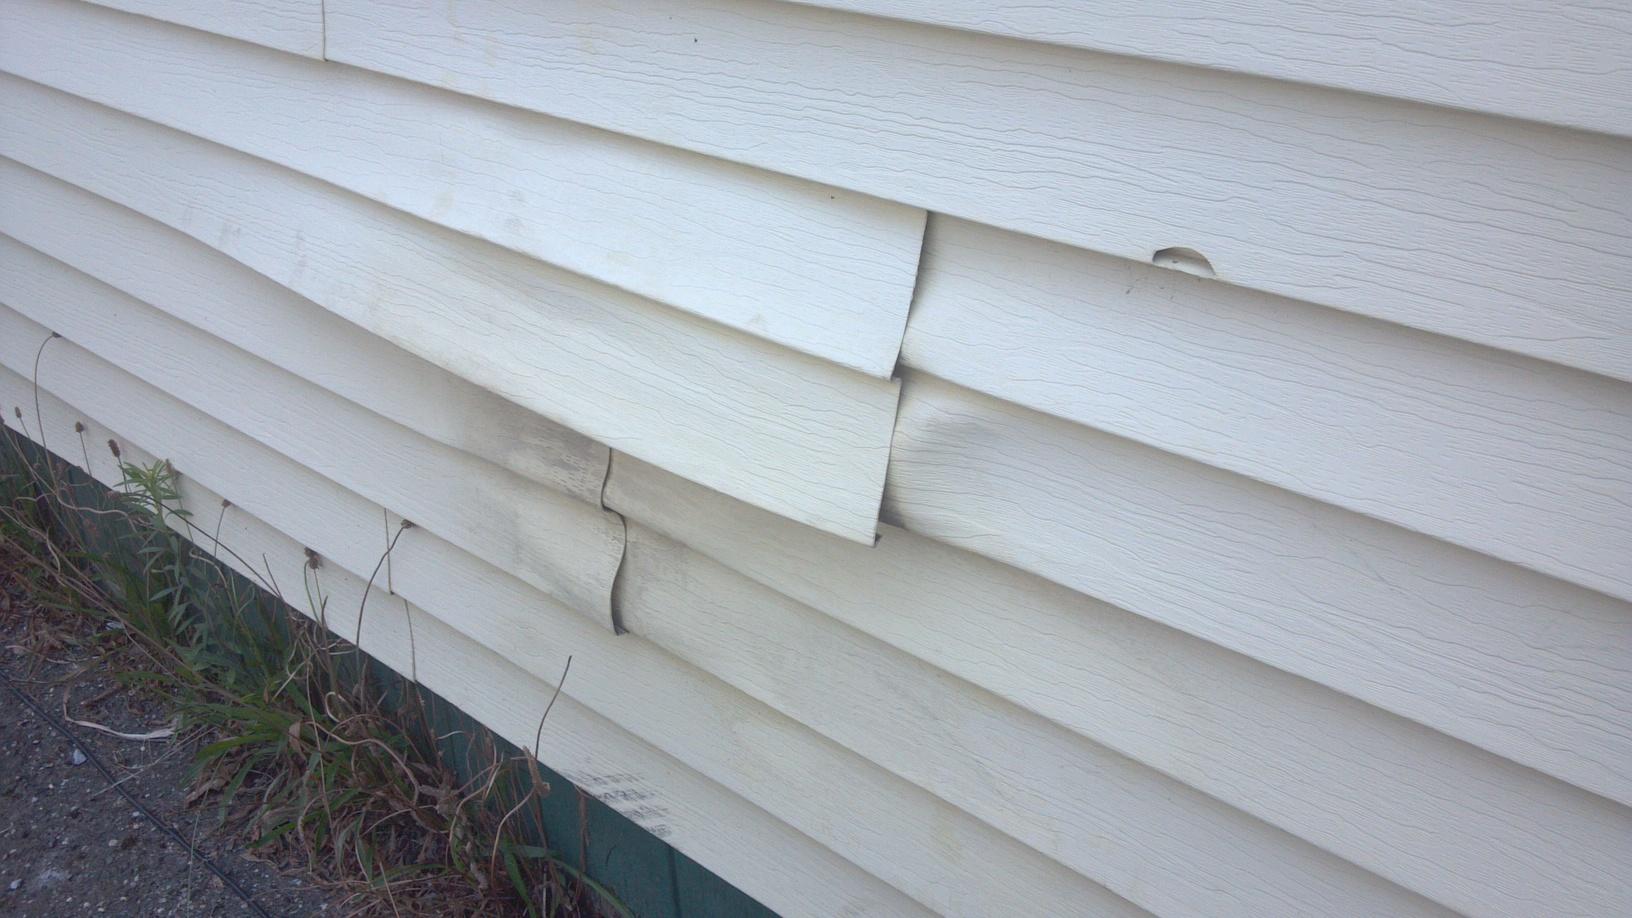
The first step in fixing aluminum siding is to assess the extent of the damage. Take a thorough look at your siding and identify any areas that need repair. Common issues to look out for include:
- Holes or cracks: Small holes or cracks can occur over time due to weather exposure or accidental damage.
- Dents and dings: Siding can get dented or dinged from impacts such as hail, fallen branches, or everyday wear and tear.
- Fading or peeling paint: If the paint on your siding is peeling, faded, or discolored, it may be time for a fresh coat.
Once you’ve identified the areas that require attention, make a list and prioritize the repairs based on their severity. This will help you plan and gather the necessary materials before moving on to the next steps.
Additionally, it’s important to consider the age and overall condition of your siding. If it is severely damaged, has extensive rot, or if a large portion of it needs to be replaced, you might need to consult a professional for guidance. In such cases, it may be more cost-effective and efficient to replace the siding rather than attempting extensive repairs.
By assessing the damage upfront, you’ll have a clear understanding of the scope of the project, enabling you to plan accordingly and ensure a successful repair process.
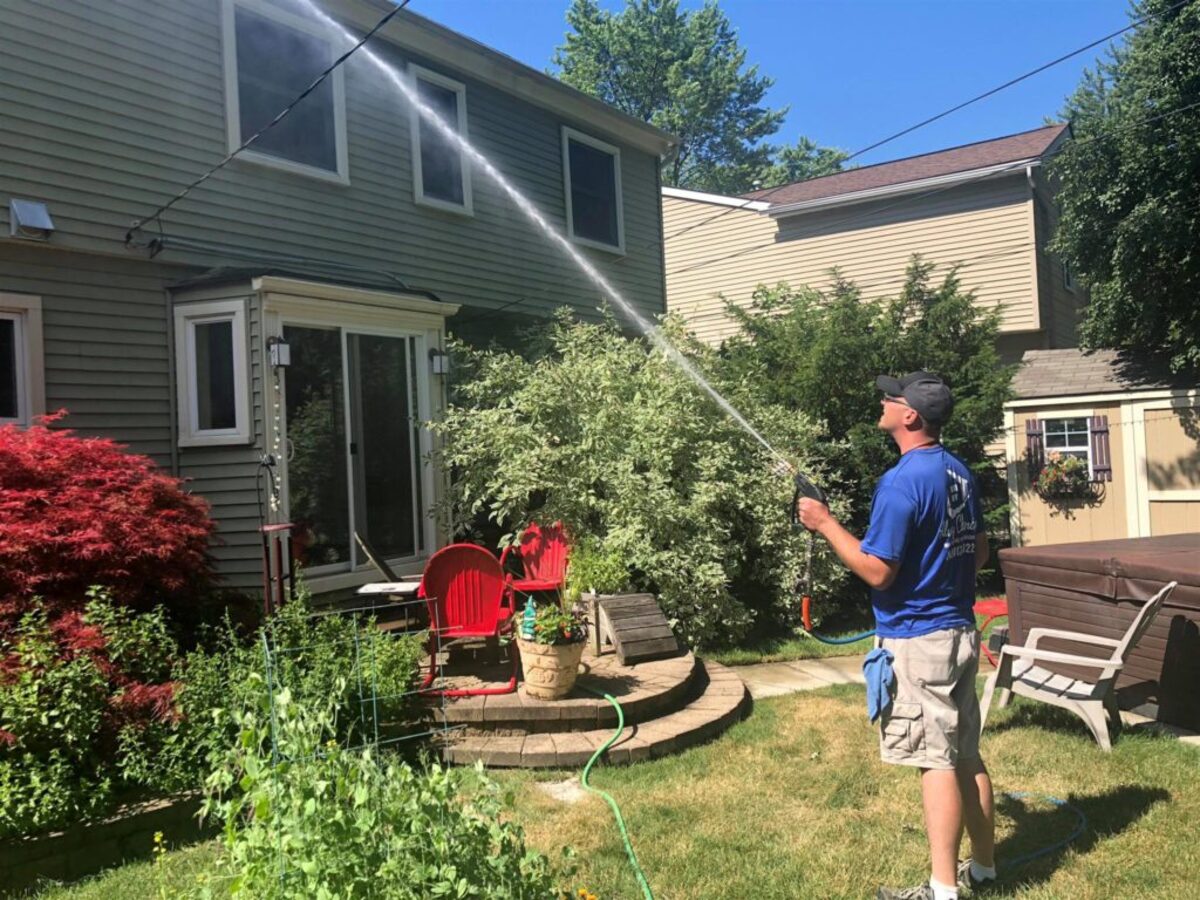
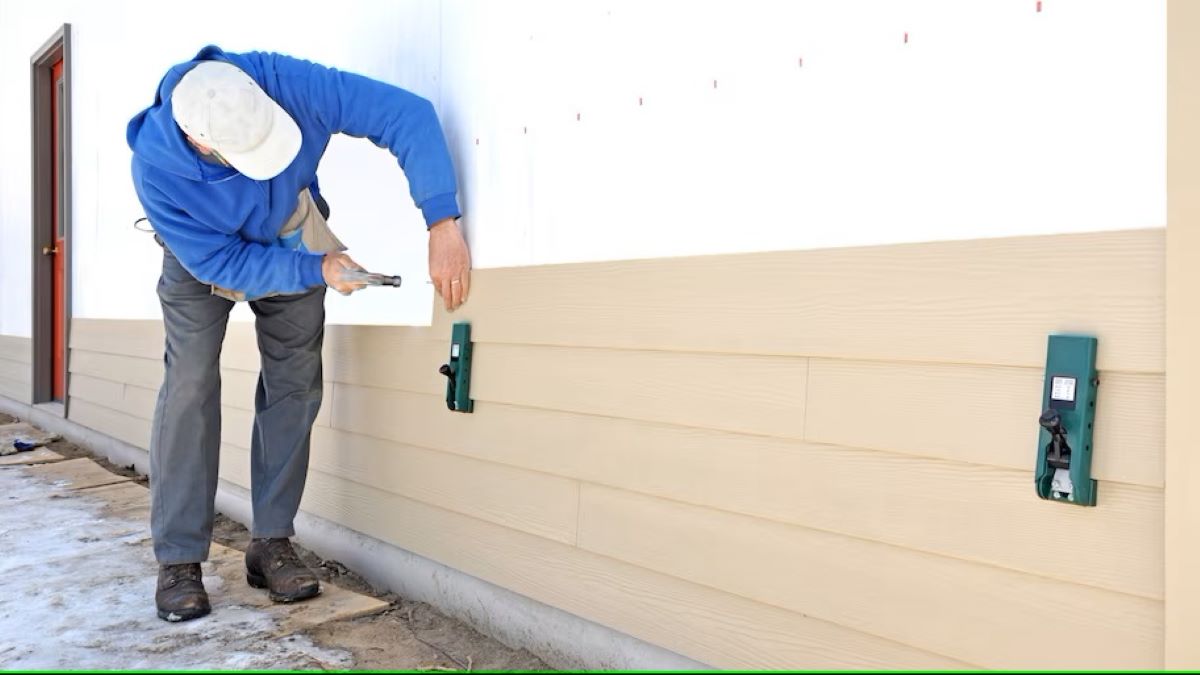
Step 2: Cleaning the Siding
Before you can begin repairing the aluminum siding, it’s crucial to thoroughly clean it. Over time, dirt, grime, mold, and mildew can accumulate on the surface, making it difficult for any repairs or paint to adhere properly. Here’s how to clean your siding:
- Prepare the cleaning solution: In a bucket, mix a mild detergent or dish soap with warm water. Avoid using harsh chemicals or abrasive cleaners as they can damage the siding.
- Rinse the siding: Start by rinsing the siding with a hose to remove loose debris and dirt.
- Apply the cleaning solution: Use a soft-bristle brush or a sponge to apply the soapy water to the siding. Work in small sections, gently scrubbing the surface using circular motions.
- Rinse off the cleaning solution: After scrubbing, rinse off the cleaning solution thoroughly with a hose. Make sure to remove all soap residue.
- Remove mold or mildew: If you notice any mold or mildew stains, you can create a solution of one part bleach to four parts water. Apply it to the affected areas and let it sit for a few minutes before rinsing it off.
- Dry the siding: Allow the siding to air dry completely before proceeding to the next step. Ensure that there is no moisture left on the surface.
Cleaning the siding not only improves the appearance but also provides a clean surface for the repair materials or paint to adhere to. It’s an essential step for achieving a successful repair job and ensuring the longevity of your repairs.
Once the siding is clean and dry, you can move on to the next step of repairing small holes or cracks in the aluminum siding.
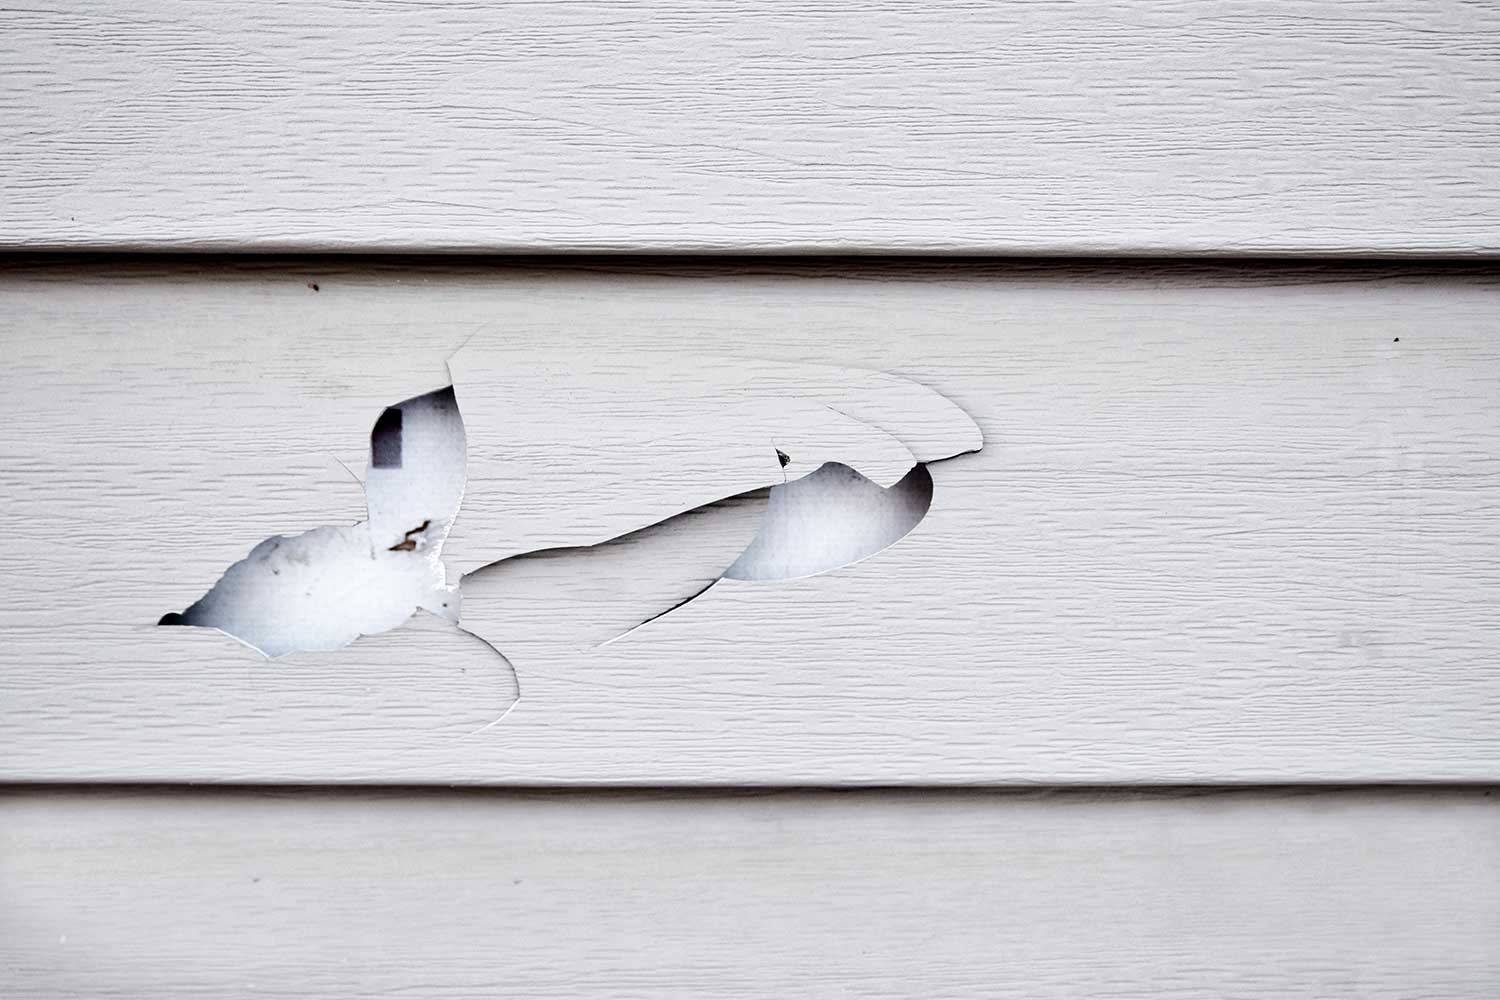
Step 3: Repairing Small Holes or Cracks
Small holes or cracks in aluminum siding can occur due to various reasons such as harsh weather conditions, accidents, or general wear and tear. Here’s how to repair them:
- Clean the damaged area: Before starting the repair, make sure the area is clean and free from any dirt or debris. You can use a brush or cloth to remove any loose particles.
- Apply patching compound: Using a putty knife, apply a thin layer of patching compound to fill in the hole or crack. Smooth it out evenly, ensuring it is slightly above the surface of the siding.
- Let it dry: Allow the patching compound to dry according to the manufacturer’s instructions. This typically takes a few hours or overnight.
- Sand the patched area: Once the patch is dry, gently sand down the excess compound using a fine-grit sandpaper. This will help create a smooth and even surface.
- Prime the repaired area: Apply a coat of primer to the patched area to promote adhesion and ensure a seamless finish. Let the primer dry completely.
- Paint the repaired area: Finally, match the color of the existing siding and paint over the repaired area. Use a high-quality exterior paint and apply a couple of coats for maximum coverage. Allow the paint to dry completely between coats.
- Inspect the repair: Once the paint is dry, inspect the repaired area for any imperfections. If necessary, touch up any spots or apply an additional coat of paint to ensure a seamless blend.
Repairing small holes or cracks in aluminum siding is a relatively simple process that can significantly improve the appearance and integrity of your siding. However, if you have larger holes or extensive damage, you may need to follow a different repair approach or seek professional assistance.
Now that you’ve repaired the small holes and cracks, let’s move on to patching larger holes in the aluminum siding.
Step 4: Patching Larger Holes
If you have larger holes in your aluminum siding, they may require a different approach to ensure a sturdy and long-lasting repair. Follow these steps to patch larger holes:
- Assess the hole: Examine the size and shape of the hole to determine the best approach. If the hole is larger than a few inches in diameter, you may need to create a backing or use a patching material.
- Create a backing: For holes without structural support, cut a piece of aluminum or plywood slightly larger than the hole. This backing will provide stability and support for the patching material.
- Fit the backing: Place the backing behind the hole, ensuring it covers the entire area. Use screws or nails to secure it in place, making sure it is flush with the surrounding siding.
- Apply patching material: Using a putty knife or a similar tool, fill the hole with a suitable patching material, such as epoxy or a specialized patching compound designed for aluminum siding. Apply it in thin layers, allowing each layer to dry before adding the next one. Follow the manufacturer’s instructions for drying times.
- Sand and smooth: Once the patching material is completely dry, sand the repaired area with fine-grit sandpaper to create a smooth surface. Remove any excess material or rough edges.
- Prime and paint: Apply a layer of primer to the patched area to prepare it for painting. Allow the primer to dry, then paint over the repaired area with a matching exterior paint. Apply multiple coats if necessary, allowing the paint to dry between each coat.
- Inspect the repair: Once the paint is dry, inspect the patched area for any imperfections. If needed, touch up any spots or apply an additional coat of paint to blend it seamlessly with the surrounding siding.
Patching larger holes requires more time and effort, but it’s crucial for maintaining the structural integrity of the aluminum siding. By following these steps, you can effectively repair larger holes and ensure your siding remains in top condition.
Now that you have learned how to patch larger holes, let’s move on to step 5, which involves fixing dents and dings in the aluminum siding.
When fixing aluminum siding, make sure to clean the area thoroughly before making any repairs. Use a mild detergent and water to remove dirt and grime, and allow the surface to dry completely before applying any patches or sealants.
Read more: What Is Aluminum Siding
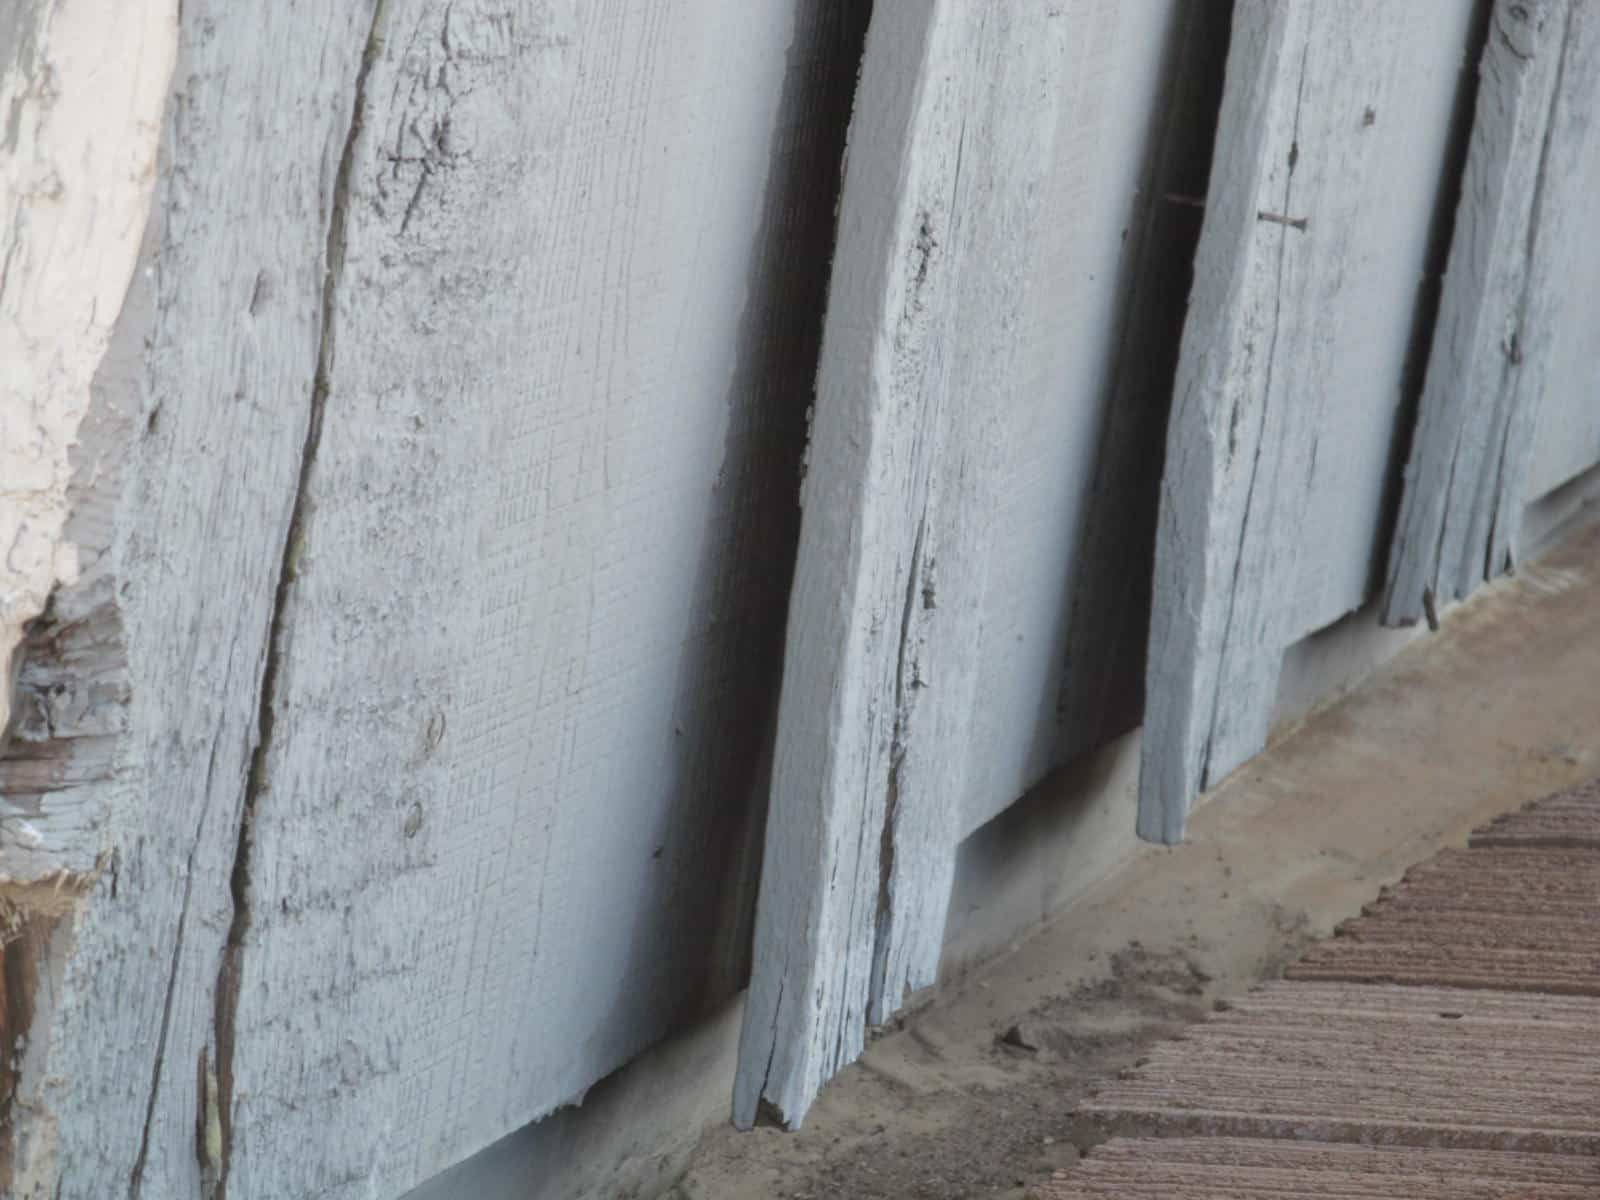
Step 5: Fixing Dents and Dings
Dents and dings can be unsightly and can affect the overall appearance of your aluminum siding. Follow these steps to fix dents and dings:
- Assess the damage: Determine the extent of the dent or ding. If the dent is shallow and the paint is not cracked, you may be able to fix it yourself. However, deeper dents or those with cracked paint may require professional help.
- Apply heat: Using a heat gun or a hairdryer set on high, apply heat to the dented area for a few minutes. The heat will cause the metal to expand, making it easier to manipulate.
- Use a rubber mallet or a block of wood: While the aluminum is still warm, gently tap the dented area from the inside using a rubber mallet or a block of wood. Start from the outside edges and work your way towards the center, gradually pushing the dent out. Be careful not to apply too much force, as it may cause further damage.
- Sand and smooth the area: Once the dent has been pushed out, use fine-grit sandpaper to smooth the area. This will help to blend the repaired section with the surrounding siding.
- Prime and paint: Apply a layer of primer to the repaired area for better paint adhesion. Allow it to dry, then paint over the patched area with a matching exterior paint. Apply multiple coats if needed, allowing the paint to dry between each coat.
- Inspect the repair: After the paint has dried, inspect the fixed area for any imperfections. If necessary, touch up any spots or apply an additional coat of paint for a seamless finish.
While fixing dents and dings can be challenging, taking the time to address them will greatly improve the appearance of your aluminum siding. However, if you are unsure or uncomfortable with the repair process, it’s best to consult a professional to ensure the job is done correctly.
Now that you’ve repaired the dents and dings, let’s move on to step 6, which involves painting or coating the siding.
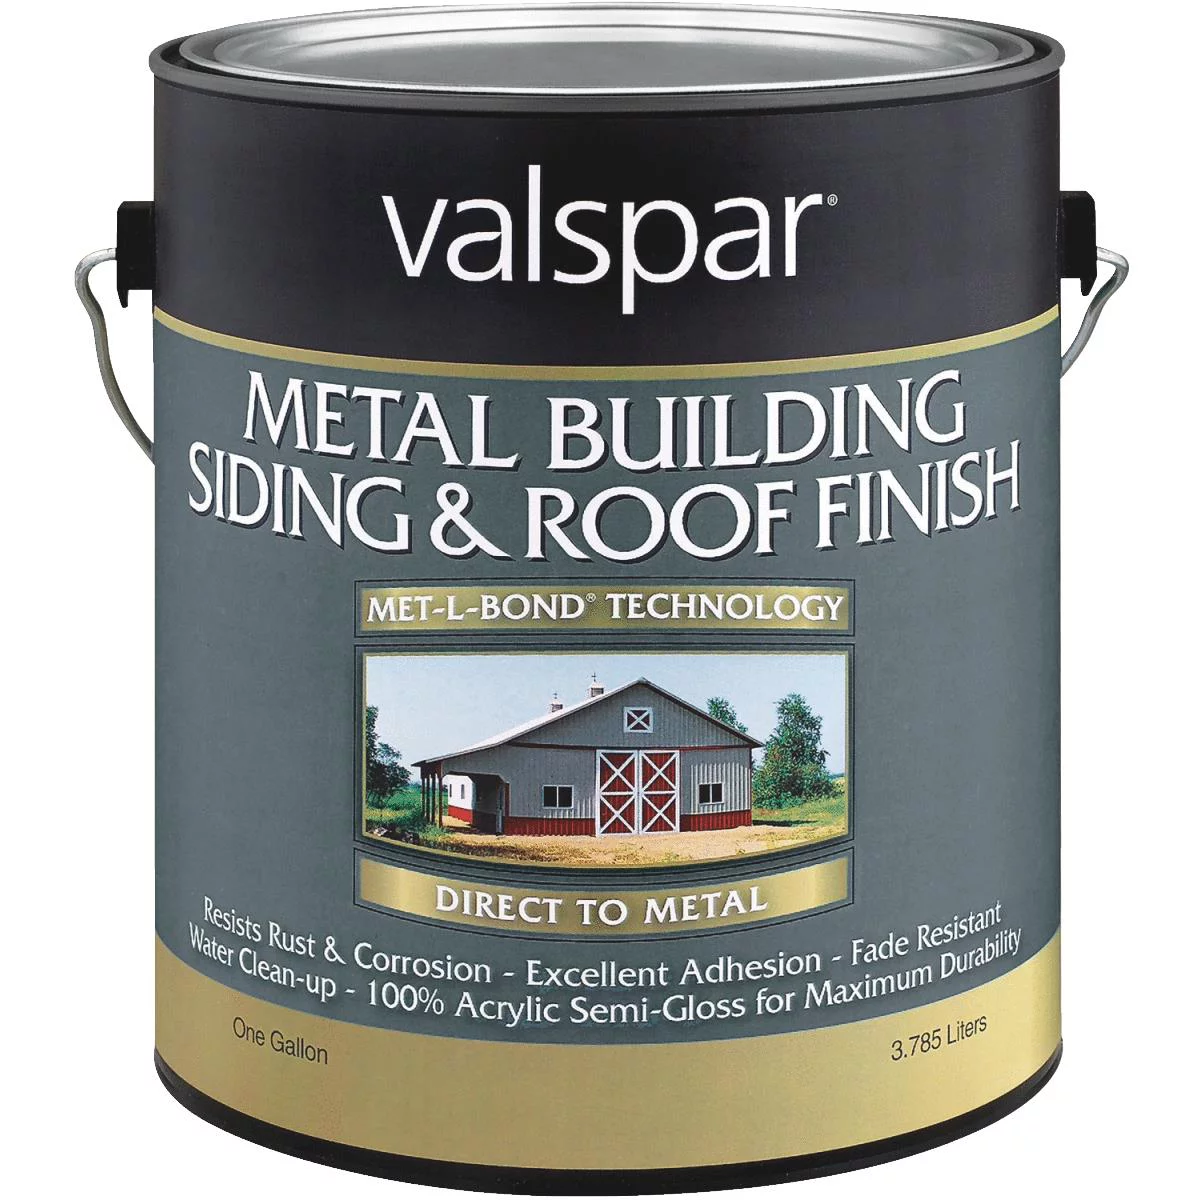
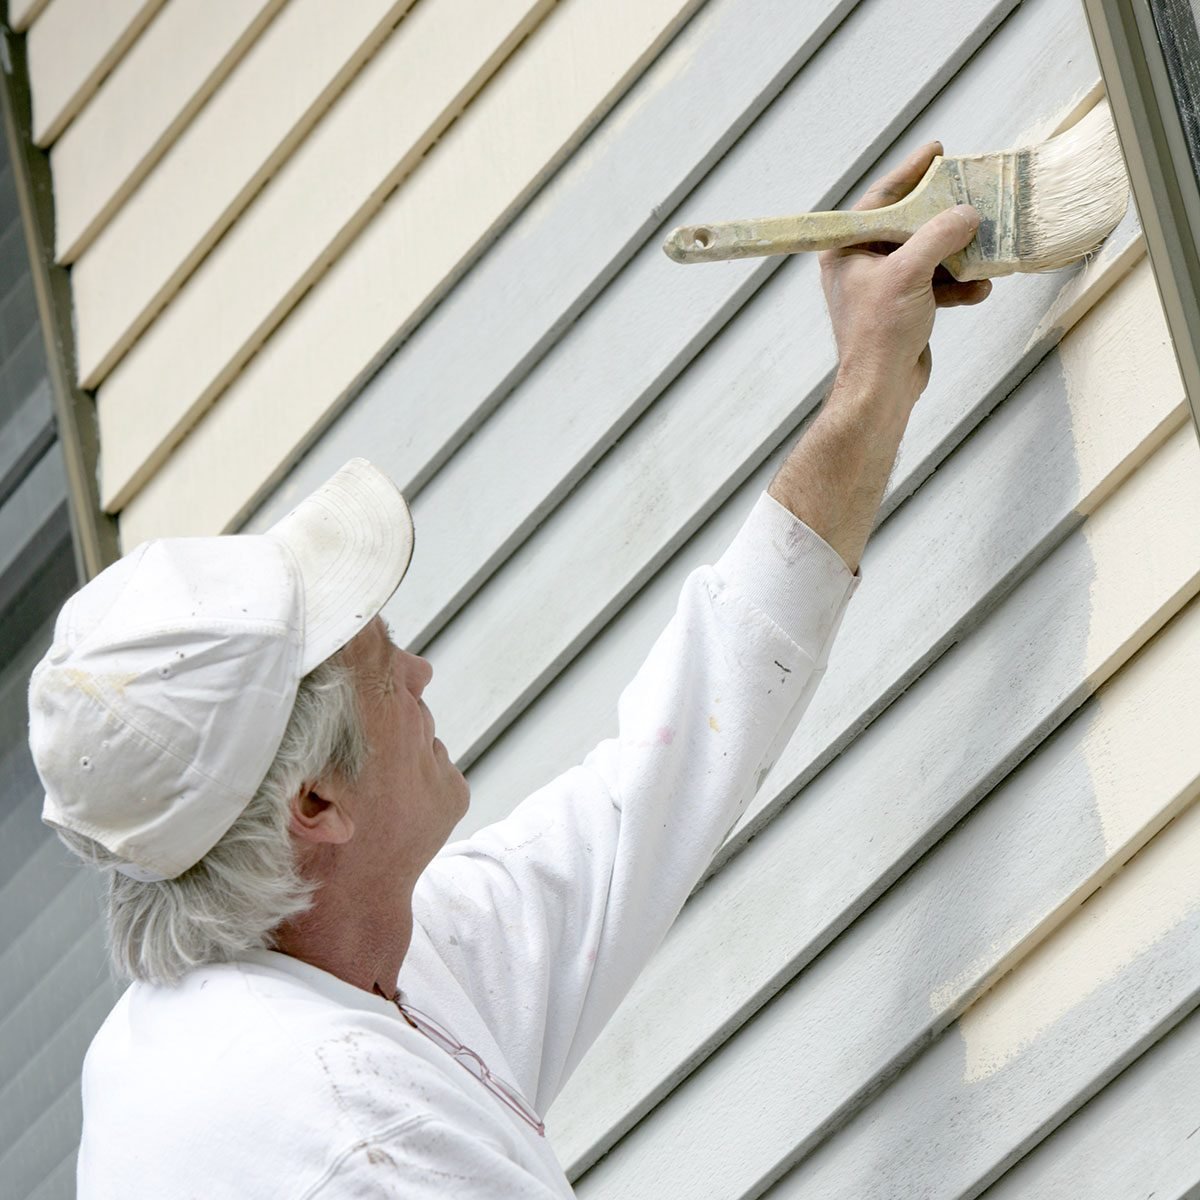
Step 6: Painting or Coating the Siding
Painting or coating your aluminum siding is an excellent way to refresh its appearance and provide added protection against the elements. Follow these steps to paint or coat your siding:
- Clean the siding: Begin by thoroughly cleaning the siding using the steps outlined in Step 2. Remove any dirt, debris, or loose paint to ensure a smooth surface.
- Repair any damage: Take a close look at the siding and address any remaining holes, cracks, or dents using the appropriate techniques discussed in previous steps. It’s important to have a smooth and even surface before painting or coating.
- Choose the paint or coating: Select a high-quality exterior paint or coating specifically formulated for aluminum siding. Consider factors such as color, finish, and durability. Opt for lighter colors to prevent excessive heat absorption.
- Prepare the surface: Before applying paint or coating, ensure the siding is dry and free from any moisture. Use masking tape or painter’s tape to protect any adjacent surfaces or areas you don’t want to paint.
- Apply primer (if needed): Depending on the condition of the existing paint and the type of paint or coating you choose, you may need to apply a primer. Priming helps improve adhesion and provides a consistent base for the paint or coating.
- Paint or coat the siding: Using a paintbrush, roller, or sprayer, apply the paint or coating in smooth, even strokes. Follow the manufacturer’s instructions regarding application techniques, drying times, and the number of coats required. Allow each coat to dry completely before applying the next one.
- Clean up and maintain: Once you’ve finished painting or coating, clean any tools or equipment used and remove the masking tape. Properly dispose of any leftover paint or coating materials.
Painting or coating your aluminum siding not only enhances its appearance but also provides a protective barrier against moisture, UV rays, and other elements. It’s a crucial step in maintaining the longevity and durability of your siding.
Remember, always follow the manufacturer’s instructions and safety precautions when painting or coating your siding. If you’re unsure about any aspect of the process, it’s best to consult a professional for guidance.
Now that you’ve painted or coated your siding, let’s move on to the final step, which involves maintaining and preventing future damage.
Step 7: Maintaining and Preventing Future Damage
After putting in the effort to fix and enhance your aluminum siding, it’s essential to maintain it properly and prevent future damage. Follow these tips to keep your siding in top condition:
- Regular cleaning: Regularly clean your siding using a gentle detergent and a soft brush or cloth. This helps remove dirt, debris, and pollutants that can accumulate over time and cause damage.
- Inspect for damage: Periodically inspect your siding for any signs of damage, such as cracks, holes, or loose panels. Address any issues promptly to prevent further damage and costly repairs.
- Trim vegetation: Trim back any tree branches, shrubs, or vines that come into contact with your siding. These can scratch or damage the surface and promote moisture retention, leading to potential rot or mold growth.
- Prevent moisture buildup: Ensure proper drainage around your home to prevent water from accumulating near the foundation or seeping into the siding. Monitor gutters and downspouts for clogs or blockages and redirect water away from the siding.
- Avoid harsh chemicals: When cleaning your siding, avoid using harsh chemicals or abrasive cleaners that can damage the surface or strip away protective coatings. Opt for mild detergent solutions instead.
- Touch up paint as needed: Over time, the paint on your siding may chip or fade. Regularly inspect and touch up any areas with paint that has deteriorated to protect the underlying aluminum and maintain a consistent appearance.
- Consider professional inspections: If you’re uncertain about the condition of your siding or if you notice significant damage, it’s advisable to seek professional inspections and maintenance from experienced contractors. They can provide expert guidance and identify any hidden issues.
By following these maintenance practices and taking preventative measures, you can prolong the lifespan of your aluminum siding and minimize the need for extensive repairs.
With proper maintenance and care, your aluminum siding will continue to enhance the beauty and value of your home for years to come.
Now that you have learned how to maintain and prevent future damage, you have completed all the necessary steps to fix and protect your aluminum siding. Cheers to a beautiful and well-maintained home!
Conclusion
Repairing and maintaining your aluminum siding is crucial for preserving the beauty and structural integrity of your home’s exterior. By following the steps outlined in this article, you can tackle common issues such as small holes, cracks, dents, and fading paint, ensuring your siding looks its best.
Assessing the damage, cleaning the siding, and repairing small holes and cracks are the initial steps to take. Patching larger holes may require additional techniques such as creating a backing and using specialized patching materials. Similarly, fixing dents and dings involves applying heat and gently reshaping the metal. Painting or coating the siding is an important step to enhance its appearance and provide protection against the elements.
Maintenance and prevention are vital for the longevity of your siding. Regular cleaning, inspecting for damage, trimming vegetation, and preventing moisture buildup are key practices to adopt. Additionally, touch up paint as needed and consider professional inspections for a comprehensive assessment of your siding’s condition.
Remember, if you feel unsure or uncomfortable with any step of the repair process, it is always best to consult a professional contractor or handyman. They can provide expert guidance and ensure the proper repair and maintenance of your aluminum siding.
By following the steps and implementing proper maintenance, you can keep your aluminum siding in excellent condition, enhancing the curb appeal and protecting your investment. Enjoy the benefits of a beautiful and well-maintained home with stunning aluminum siding!
Frequently Asked Questions about How To Fix Aluminum Siding
Was this page helpful?
At Storables.com, we guarantee accurate and reliable information. Our content, validated by Expert Board Contributors, is crafted following stringent Editorial Policies. We're committed to providing you with well-researched, expert-backed insights for all your informational needs.


0 thoughts on “How To Fix Aluminum Siding”