Articles
How To Fix Holes In Siding
Modified: October 27, 2024
Learn how to fix holes in siding with our informative articles. Discover expert tips and techniques to repair and restore your home's exterior.
(Many of the links in this article redirect to a specific reviewed product. Your purchase of these products through affiliate links helps to generate commission for Storables.com, at no extra cost. Learn more)
Introduction
Welcome to our guide on how to fix holes in siding. Whether your siding has sustained damage from severe weather, pests, or any other reason, it’s important to address the issue promptly to maintain the structural integrity and visual appeal of your home. In this article, we will walk you through the step-by-step process of repairing holes in your siding, so you can restore its functionality and aesthetic appeal with ease.
Before we begin, let’s discuss the materials you will need for this project:
- Replacement siding piece
- Hole saw or utility knife
- Chisel or pry bar (if necessary)
- Caulk or construction adhesive
- Spackling compound or wood filler
- Sandpaper (medium and fine grit)
- Primer
- Paint that matches your siding
- Paintbrush or roller
- Putty knife
- Protective gloves and eyewear
Now that you have gathered your materials, let’s get started on fixing those holes in your siding.
Key Takeaways:
- Properly assess the damage and choose the right materials to effectively repair small cracks or large holes in your siding. Following the step-by-step process will ensure a professional-looking and long-lasting repair.
- After repairing the siding, don’t forget the final touches and maintenance tips. Regular inspections, cleaning, and touch-ups will help preserve the integrity and visual appeal of your home’s exterior.
Read more: How To Fix A Hole In Aluminum Siding
Materials Needed
Before you begin repairing holes in your siding, make sure you have the following materials on hand:
- Replacement siding piece: This is necessary if the hole in your siding is too large to be repaired with fillers alone. Make sure to purchase a replacement piece that matches the style and color of your existing siding.
- Hole saw or utility knife: You’ll need a hole saw or a utility knife to cut out the damaged section of siding. A hole saw is recommended for larger holes, while a utility knife works well for smaller holes.
- Chisel or pry bar (if necessary): In some cases, you may need a chisel or pry bar to remove any damaged or loose siding pieces surrounding the hole. This will allow you to create a clean and even surface for the repair.
- Caulk or construction adhesive: Caulk or construction adhesive is used to secure the replacement siding piece in place. It helps to create a strong bond and prevents moisture from seeping in.
- Spackling compound or wood filler: Spackling compound or wood filler is used to fill small holes and cracks in the siding. It provides a smooth and even surface for painting.
- Sandpaper (medium and fine grit): Sandpaper is essential for smoothing out the repaired area and creating a seamless finish. Medium grit sandpaper is used for removing rough edges, while fine grit sandpaper is used for achieving a smooth surface.
- Primer: Primer is applied to the repaired area to create a proper base for paint and ensure better adhesion. Choose a primer that is compatible with your siding material.
- Paint that matches your siding: Finally, you’ll need paint that matches the color of your siding. This will help to blend the repaired area seamlessly with the rest of your siding.
- Paintbrush or roller: Depending on the size of the repair area, you can use a paintbrush or roller to apply paint. A paintbrush is more suitable for smaller repairs, while a roller is efficient for larger areas.
- Putty knife: A putty knife is used for applying spackling compound, wood filler, and primer. It helps to spread the materials evenly and remove any excess.
- Protective gloves and eyewear: Safety should always be a priority when working on home repairs. Wearing protective gloves and eyewear will protect your hands and eyes from any potential hazards.
Make sure you have all these materials ready bef
Step 1: Assessing the Damage
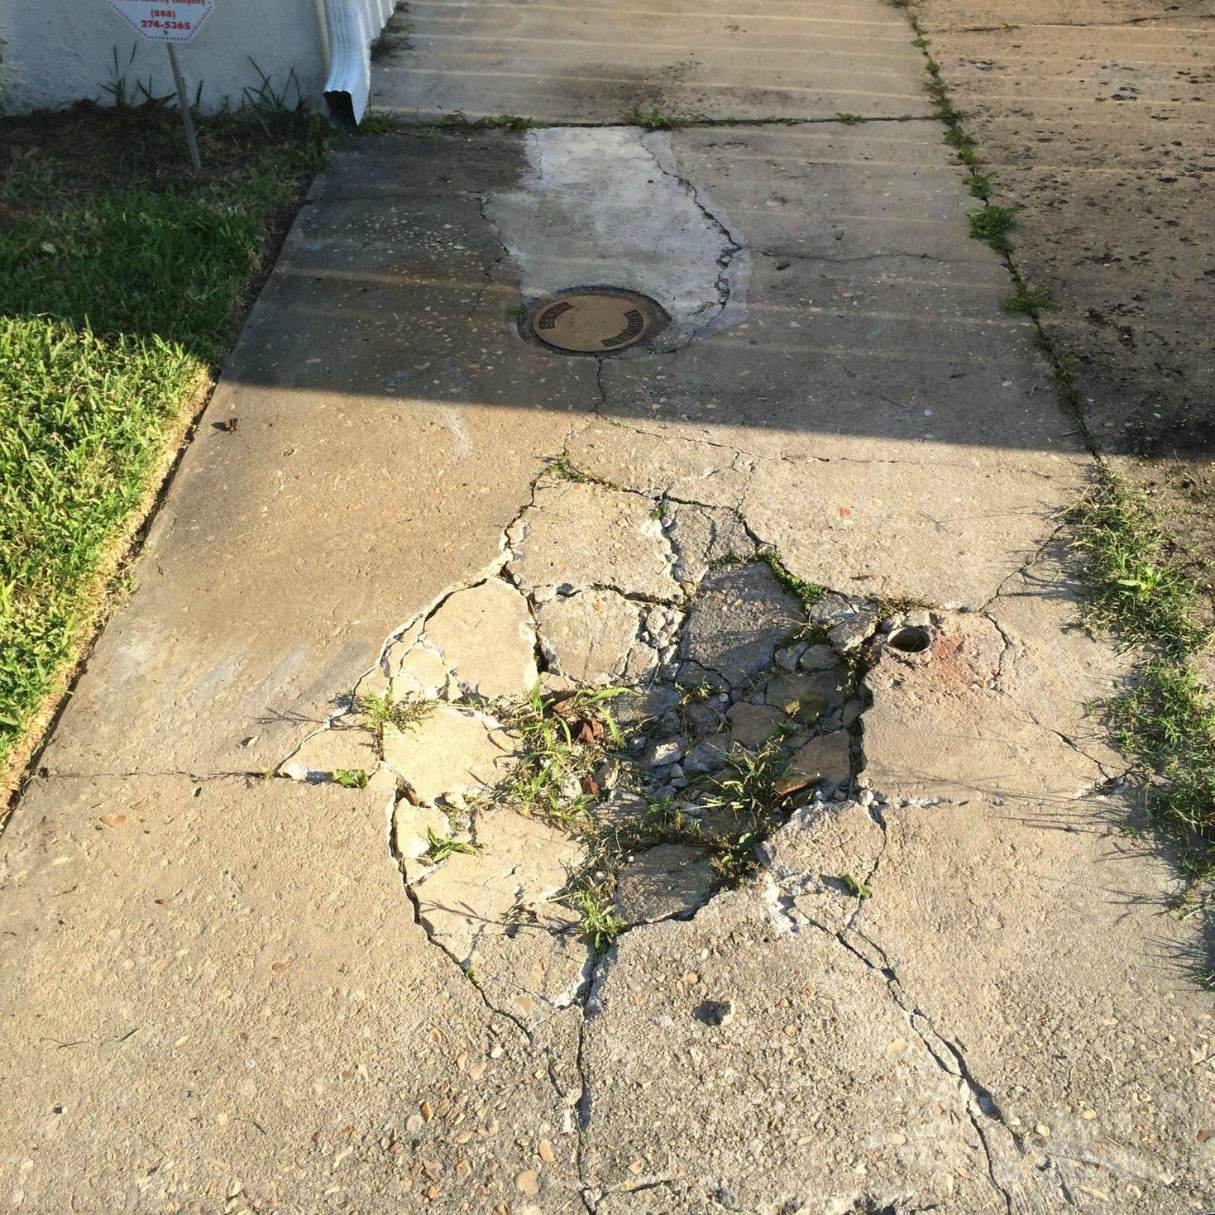
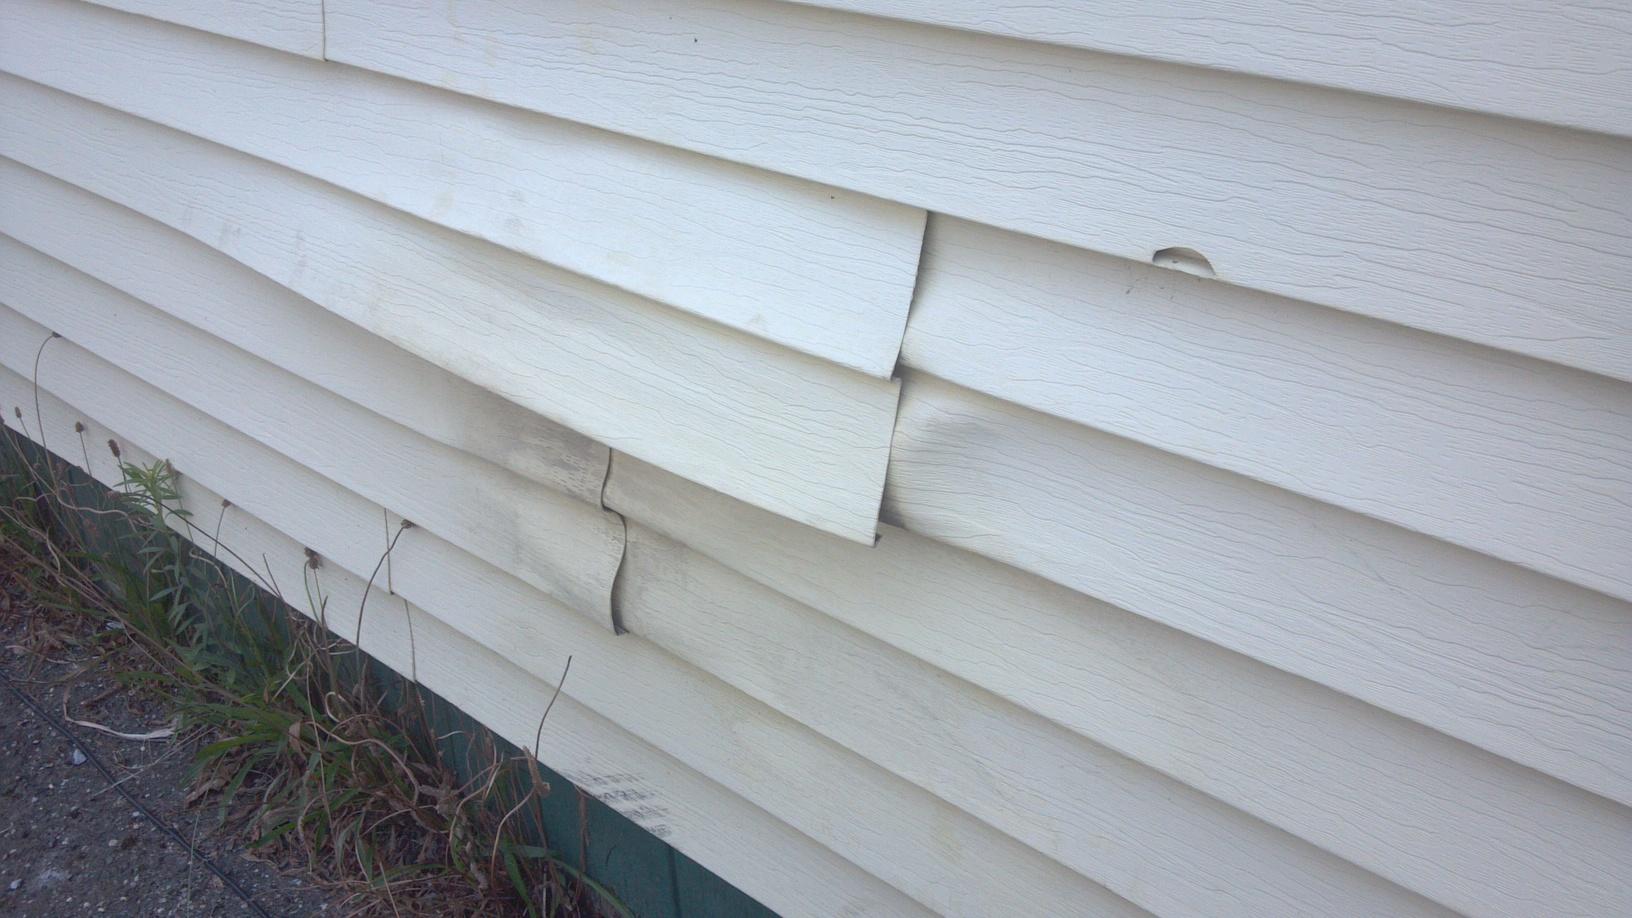
The first step in repairing holes in your siding is to assess the extent of the damage. Take a close look at the holes and surrounding area to determine the size and type of repair needed. Here’s how to do it:
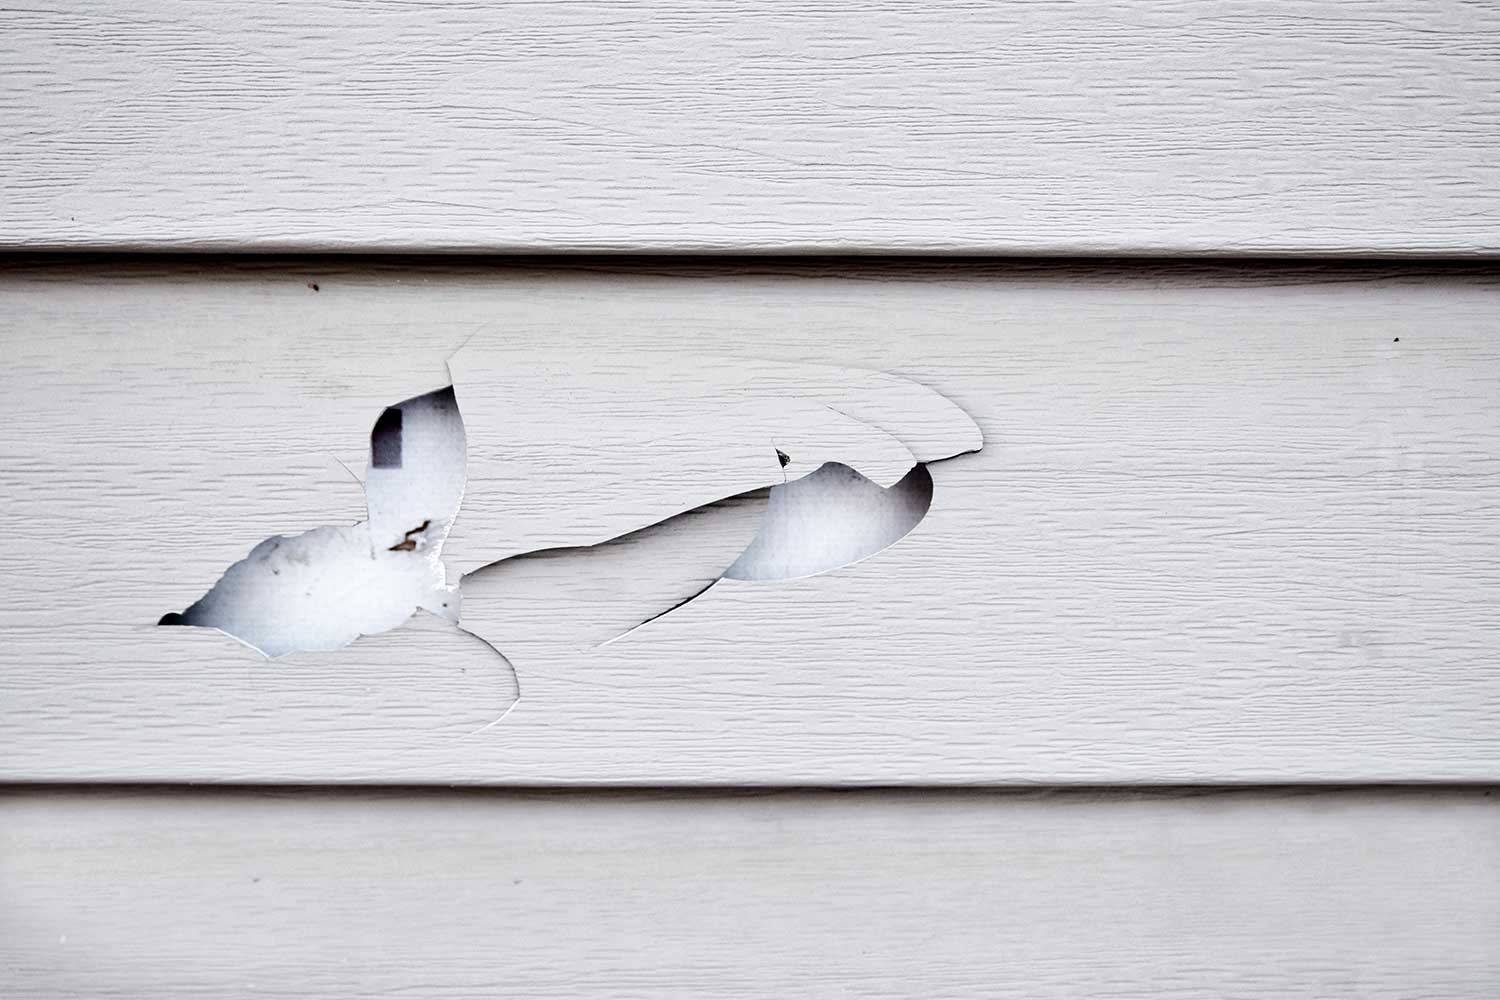
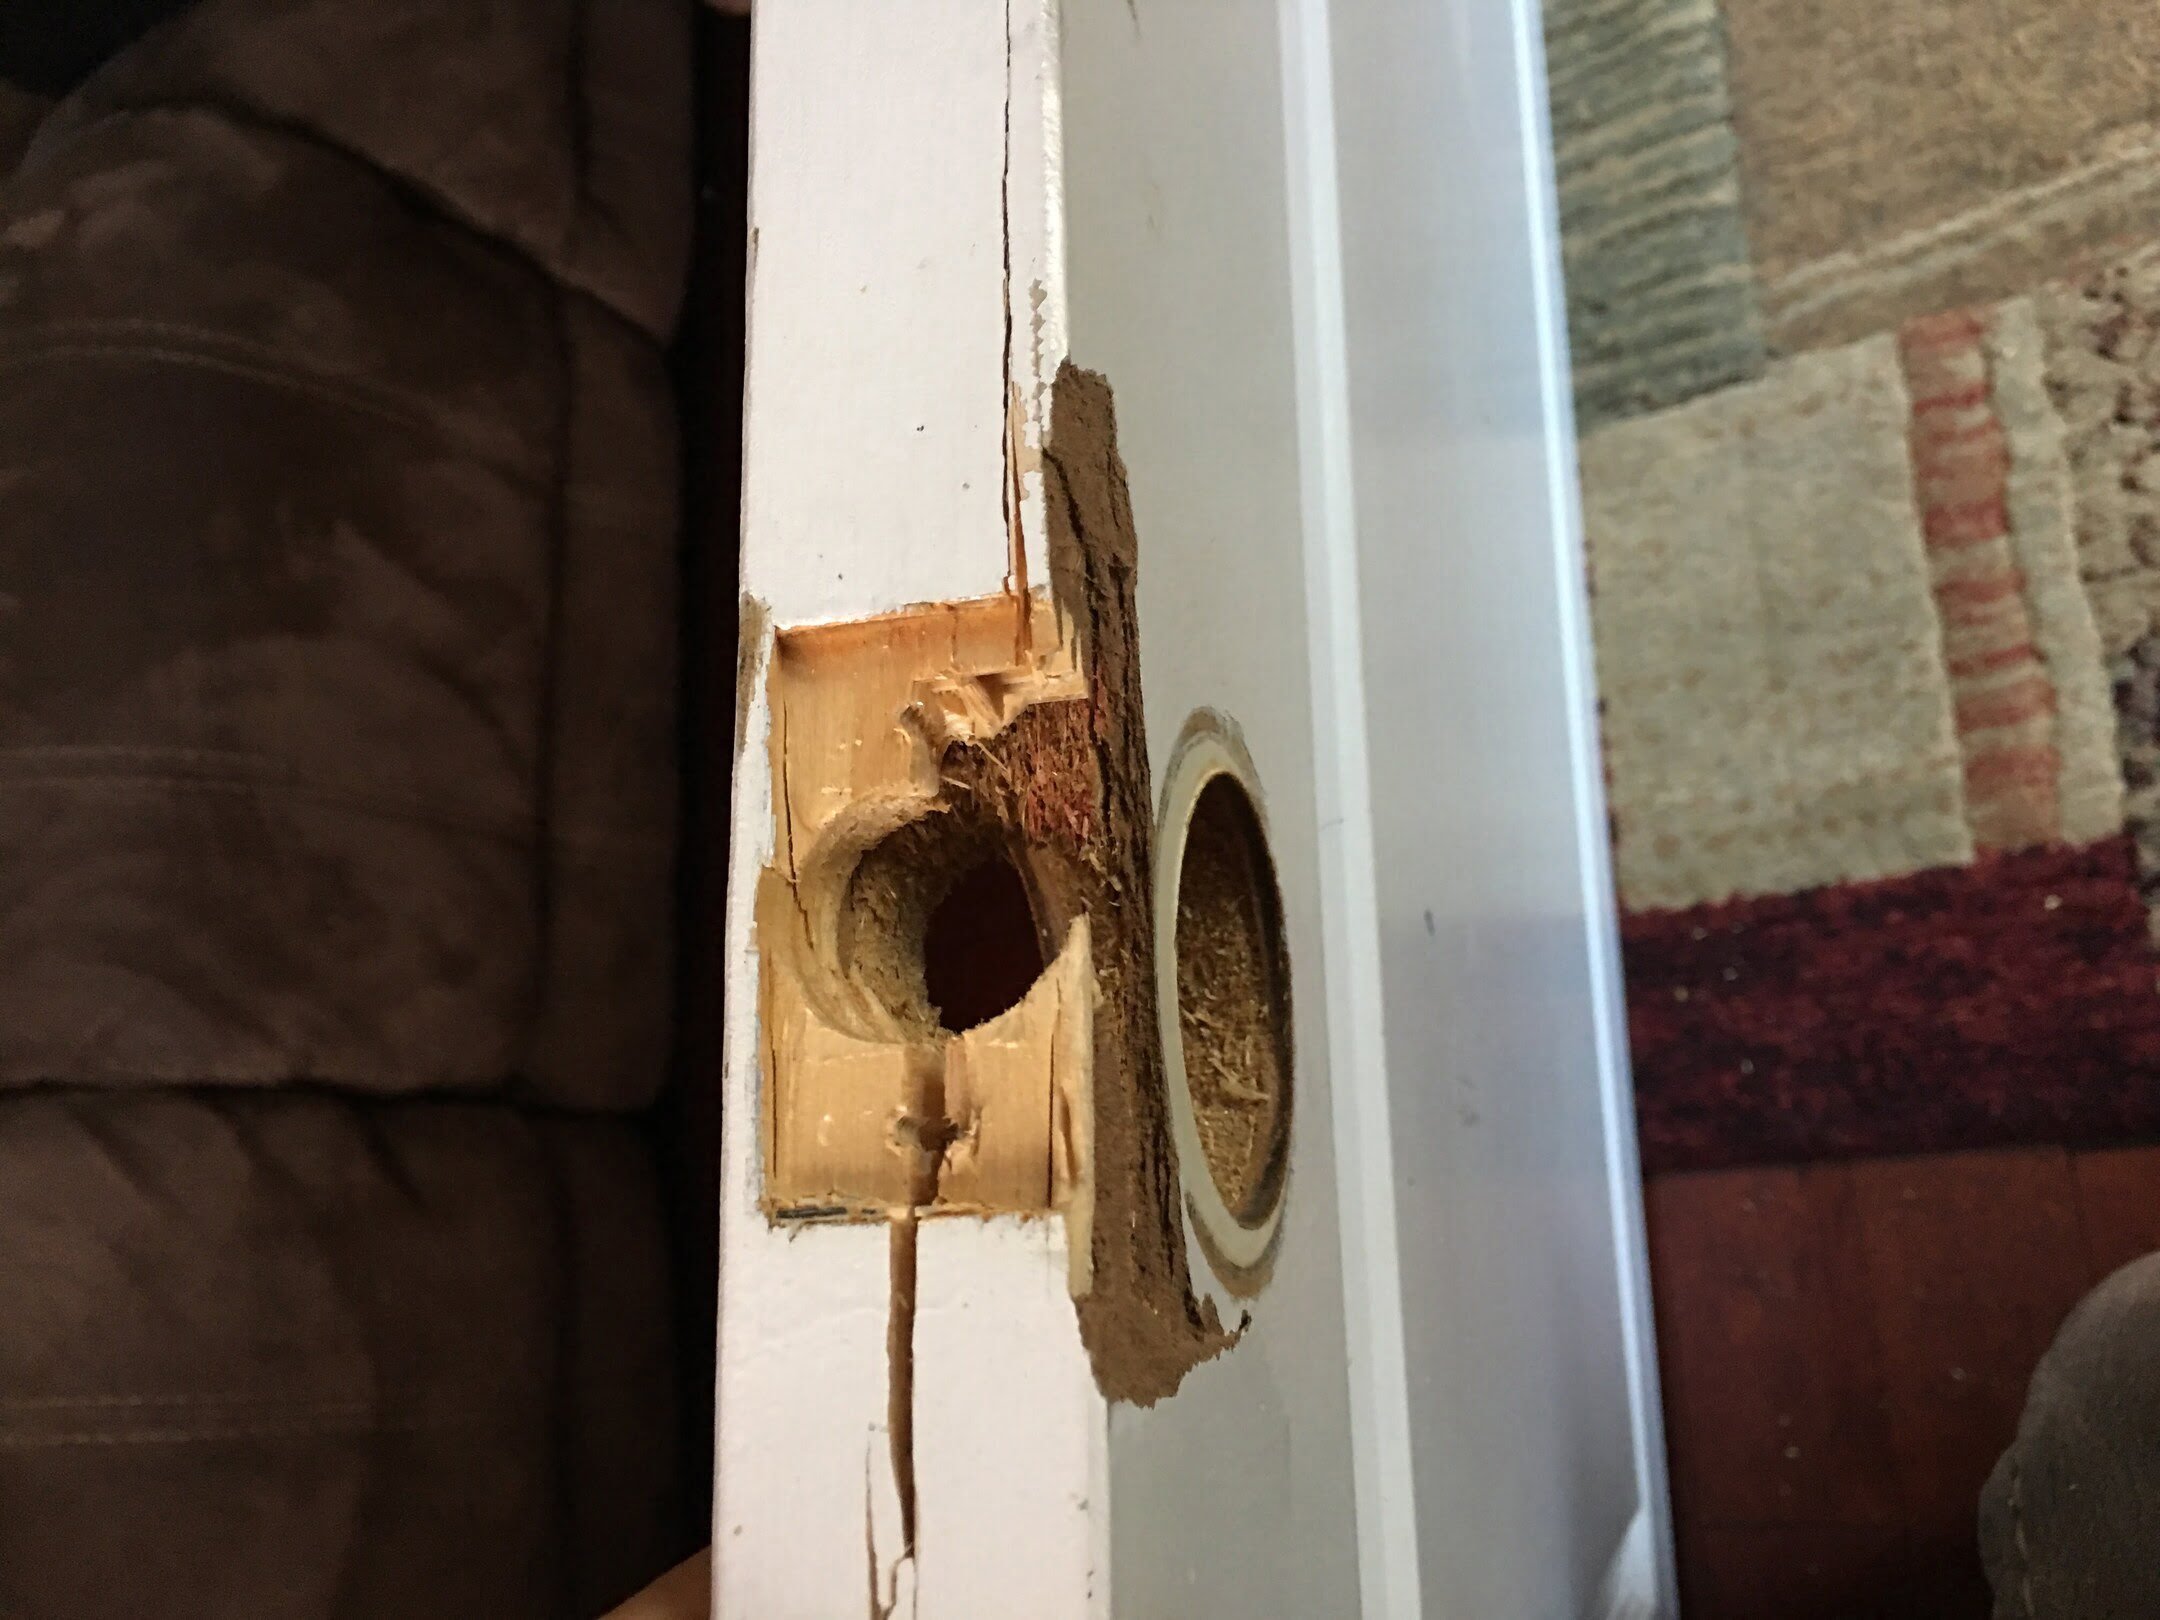
- Inspect the holes: Examine each hole carefully. Note the size, shape, and location of the holes. Is the surrounding siding intact, or is it also damaged?
- Identify the siding material: Determine the type of siding you have, such as vinyl, wood, fiber cement, or metal. This will help you choose the appropriate repair materials.
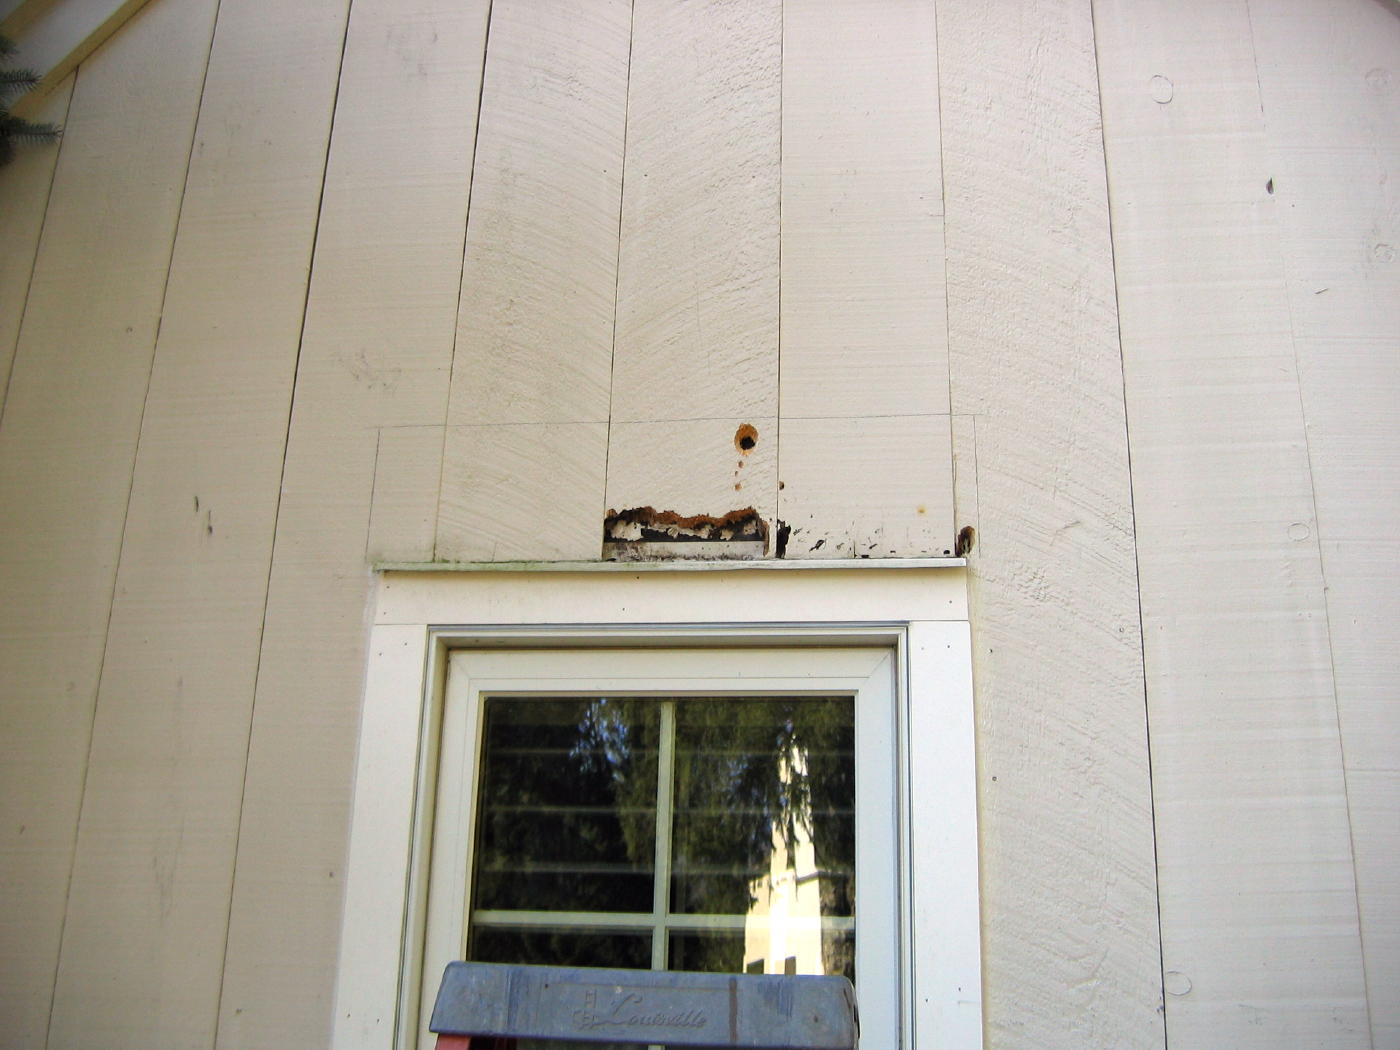
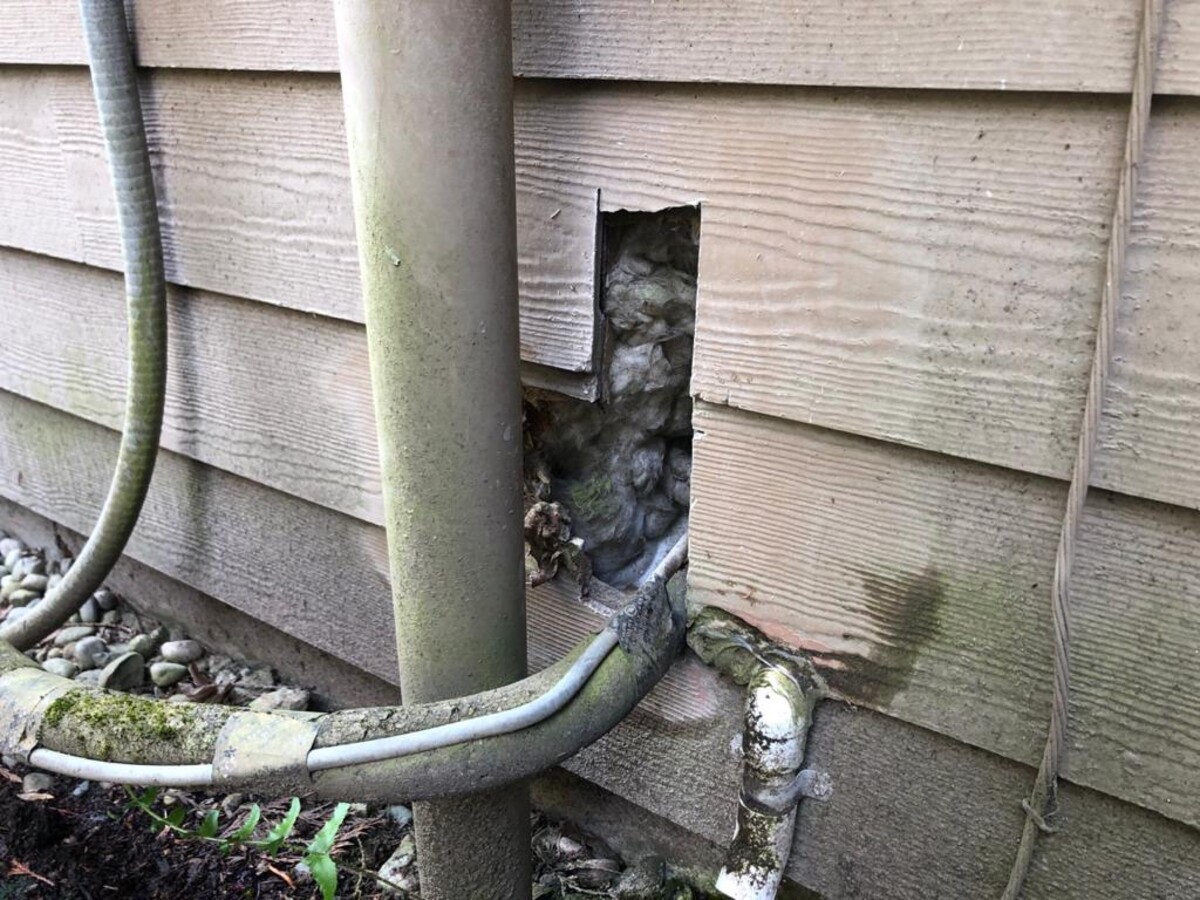
- Check for underlying issues: Look for any underlying issues that may have contributed to the damage. Common culprits include water leaks, pest infestations, or improper installation.
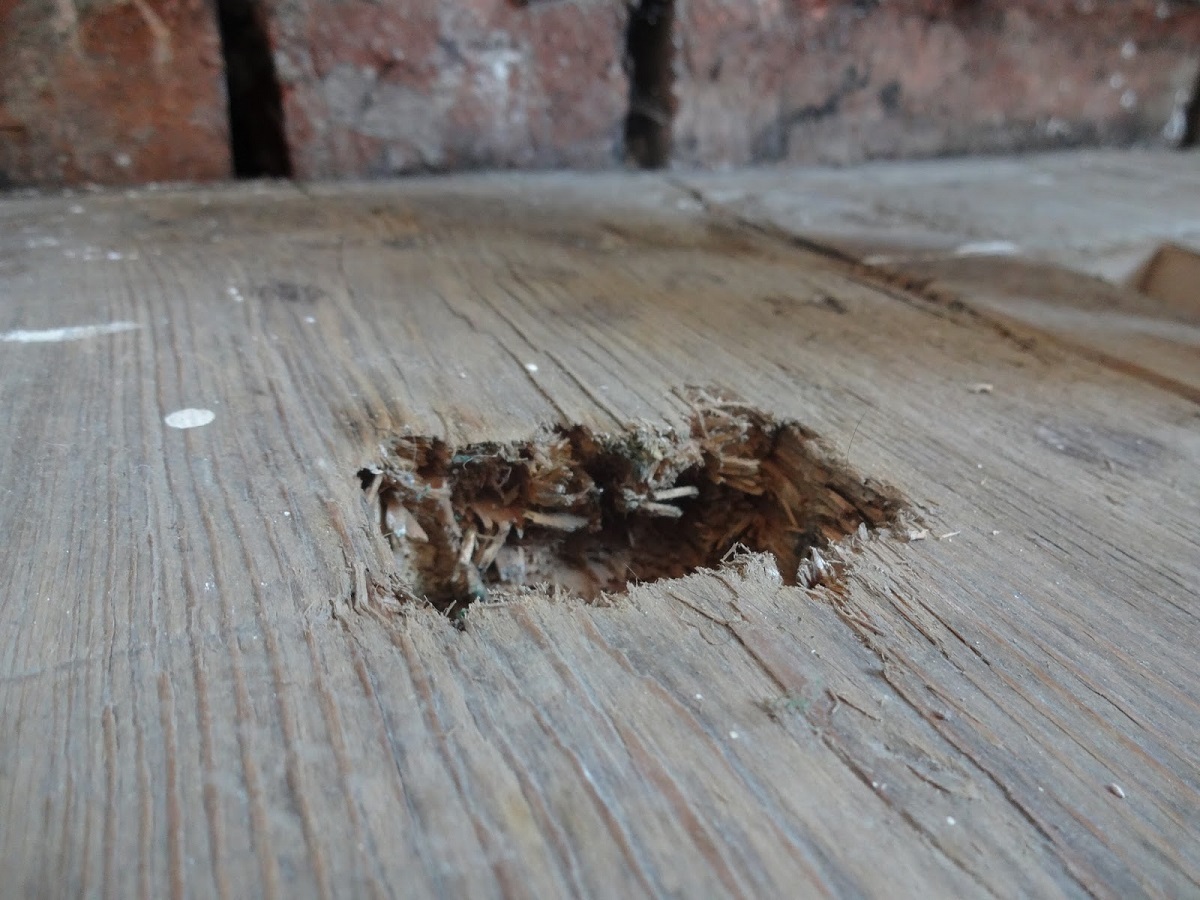
- Assess structural integrity: Assess the structural integrity of the damaged area. If the damage is severe or compromises the stability of the siding, consider consulting a professional.
By thoroughly assessing the damage, you can gather the necessary information for a successful repair. If the holes are small and only affect the surface of the siding, you can proceed with the repair on your own. However, if the damage is extensive or indicates a larger problem, it’s best to seek professional assistance.
Step 2: Preparation
Once you have assessed the damage and determined that you can proceed with the repair, it’s time to prepare the area and gather the necessary tools. Follow these steps to get ready:
- Clean the area: Before starting the repair, clean the damaged area thoroughly. Use a soft brush or cloth to remove any dirt, debris, or loose paint.
- Protect surrounding surfaces: To avoid accidental damage, cover any nearby surfaces, such as windows, trim, or adjacent siding, with plastic sheeting or tape.
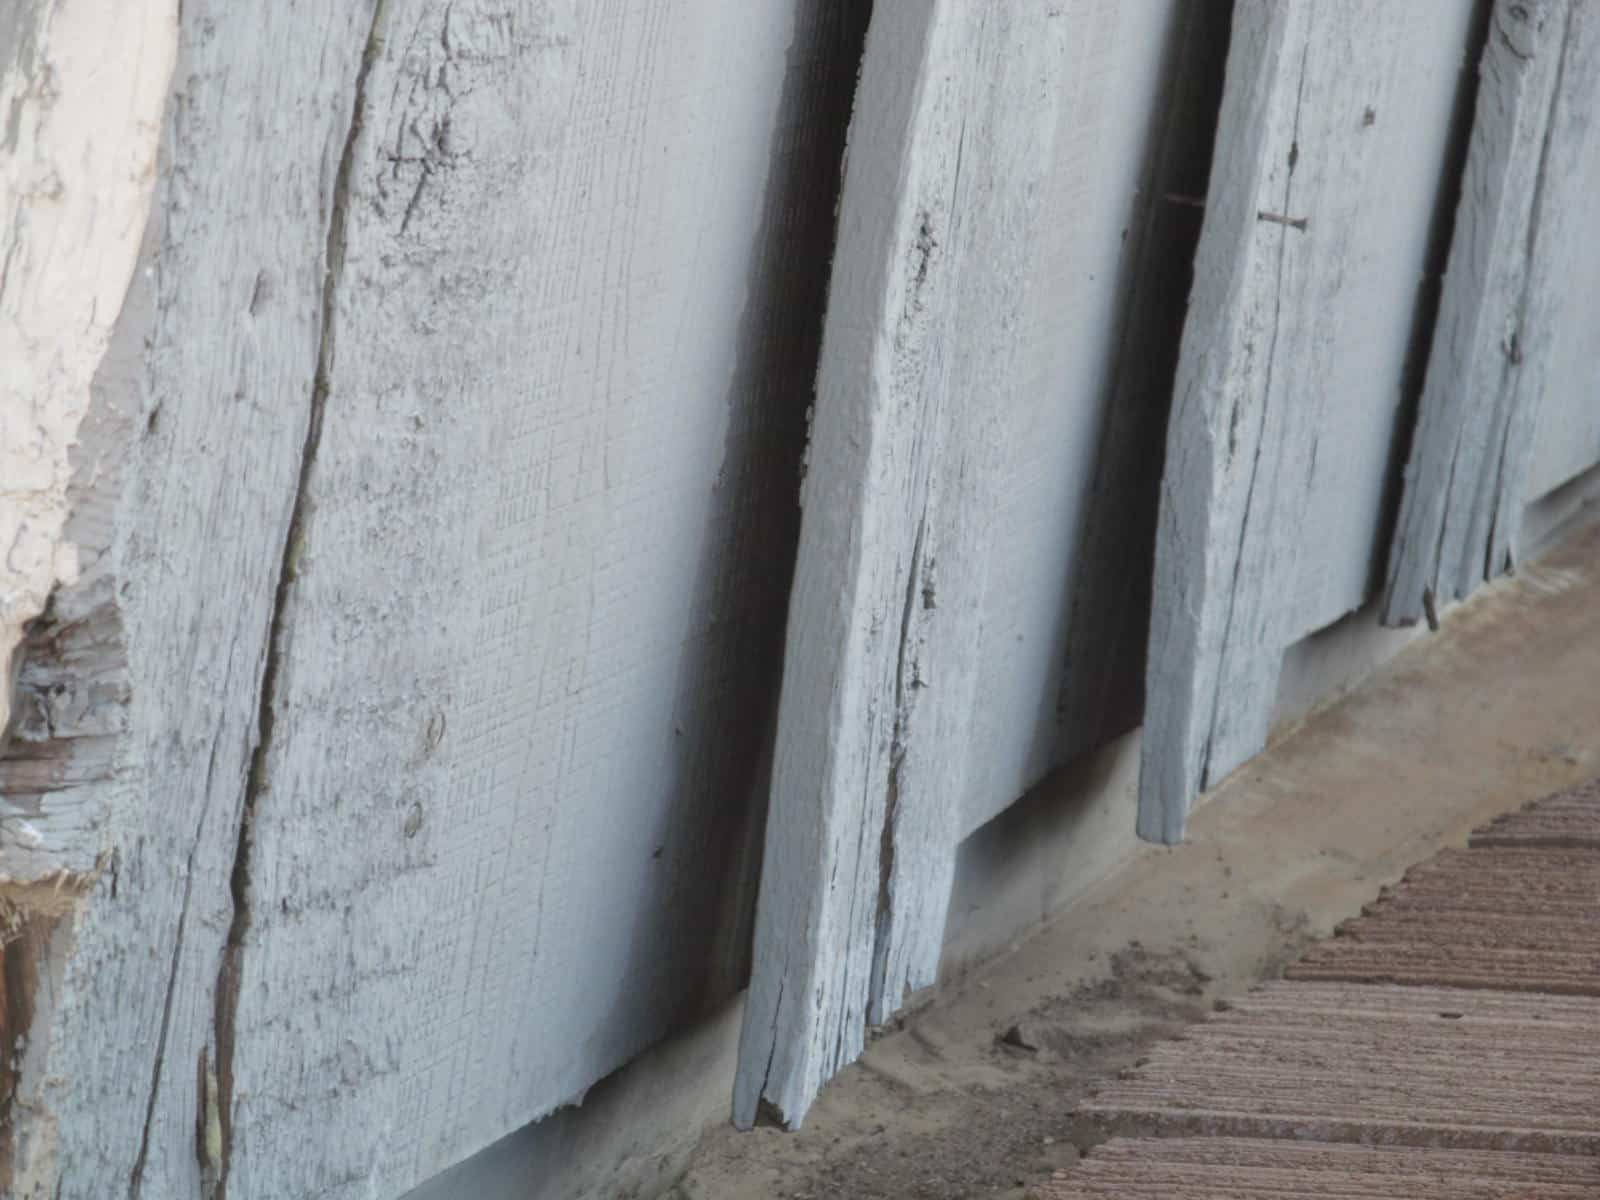
- Remove any loose pieces: If you notice any loose or damaged pieces of siding around the holes, carefully remove them using a chisel or pry bar. This will ensure a clean and secure surface for the repair.
- Prepare the replacement siding piece: If the holes are too large to be filled with fillers, you may need to replace the damaged section. Measure and cut a replacement siding piece that matches the size and style of your existing siding using a hole saw or utility knife.
- Check the weather conditions: It’s important to choose a day with suitable weather conditions for the repair. Avoid working in extreme heat, cold, or rain, as it can affect the bonding and drying process of the repair materials.
By preparing the area and ensuring you have the necessary tools and materials, you set yourself up for a smooth and successful repair process. Taking these steps will help create the ideal environment for the repair and ensure a professional-looking end result.
Step 3: Filling Small Holes
If you have small holes in your siding, such as small cracks or punctures, you can easily repair them using a filler. Follow these steps to fill small holes:
- Prepare the filler: Depending on the type of siding you have, choose an appropriate filler such as spackling compound or wood filler. Follow the manufacturer’s instructions for mixing or preparing the filler.
- Apply the filler: Using a putty knife, apply the filler to the small holes, making sure to fill them completely. Smooth out the surface of the filler with the putty knife to create an even finish.
- Allow the filler to dry: Give the filler sufficient time to dry, following the manufacturer’s instructions. This typically takes a few hours, but it may vary depending on the product and environmental conditions.
- Sand the repaired area: Once the filler is dry, use medium-grit sandpaper to carefully sand the repaired area. This will help smooth out any unevenness and create a seamless surface.
- Clean the area: After sanding, clean the repaired area to remove any dust or debris generated from the sanding process. Use a gentle brush or cloth to wipe away the particles.
By filling small holes in your siding, you ensure that they are properly sealed and protected from moisture and further damage. This step is crucial for maintaining the integrity and longevity of your siding.
Read more: How Do You Fix A Hole In Vinyl Siding
Step 4: Repairing Large Holes
If you have large holes in your siding that cannot be filled with a simple filler, you will need to replace the damaged section. Follow these steps to repair large holes:
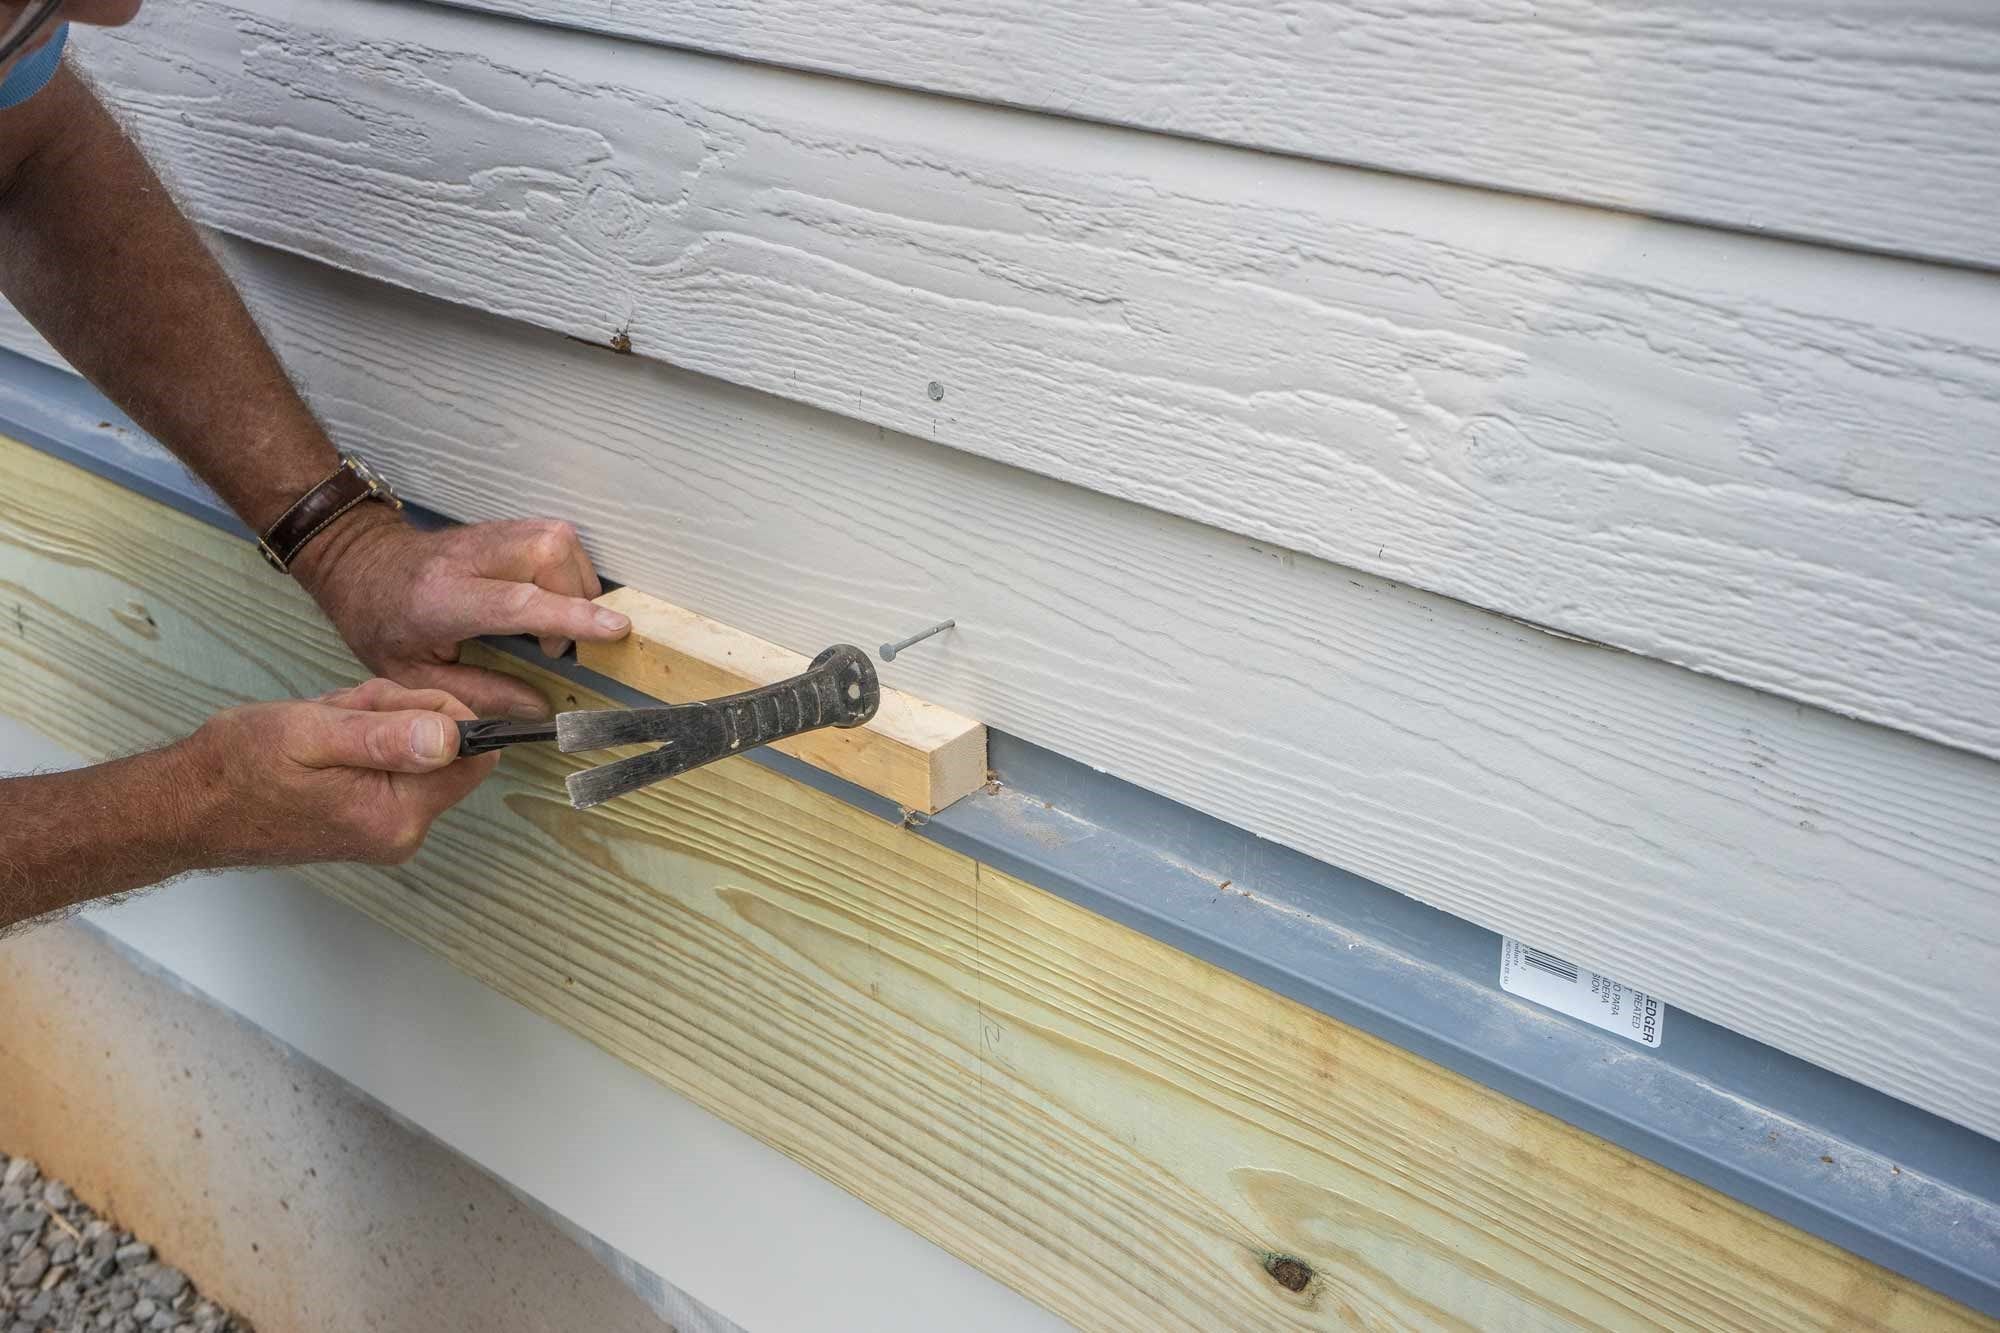
- Measure and mark: Measure the size of the damaged area and mark the dimensions on the replacement siding piece. Use a hole saw or utility knife to cut out the damaged section, following the marked lines.
- Remove the damaged section: Carefully remove the damaged section of siding using a chisel or pry bar. Be gentle to avoid causing further damage to the surrounding siding.
- Apply caulk or construction adhesive: Apply caulk or construction adhesive along the edges of the surrounding siding where the replacement piece will be placed. This will provide a secure bond and prevent moisture from seeping in.
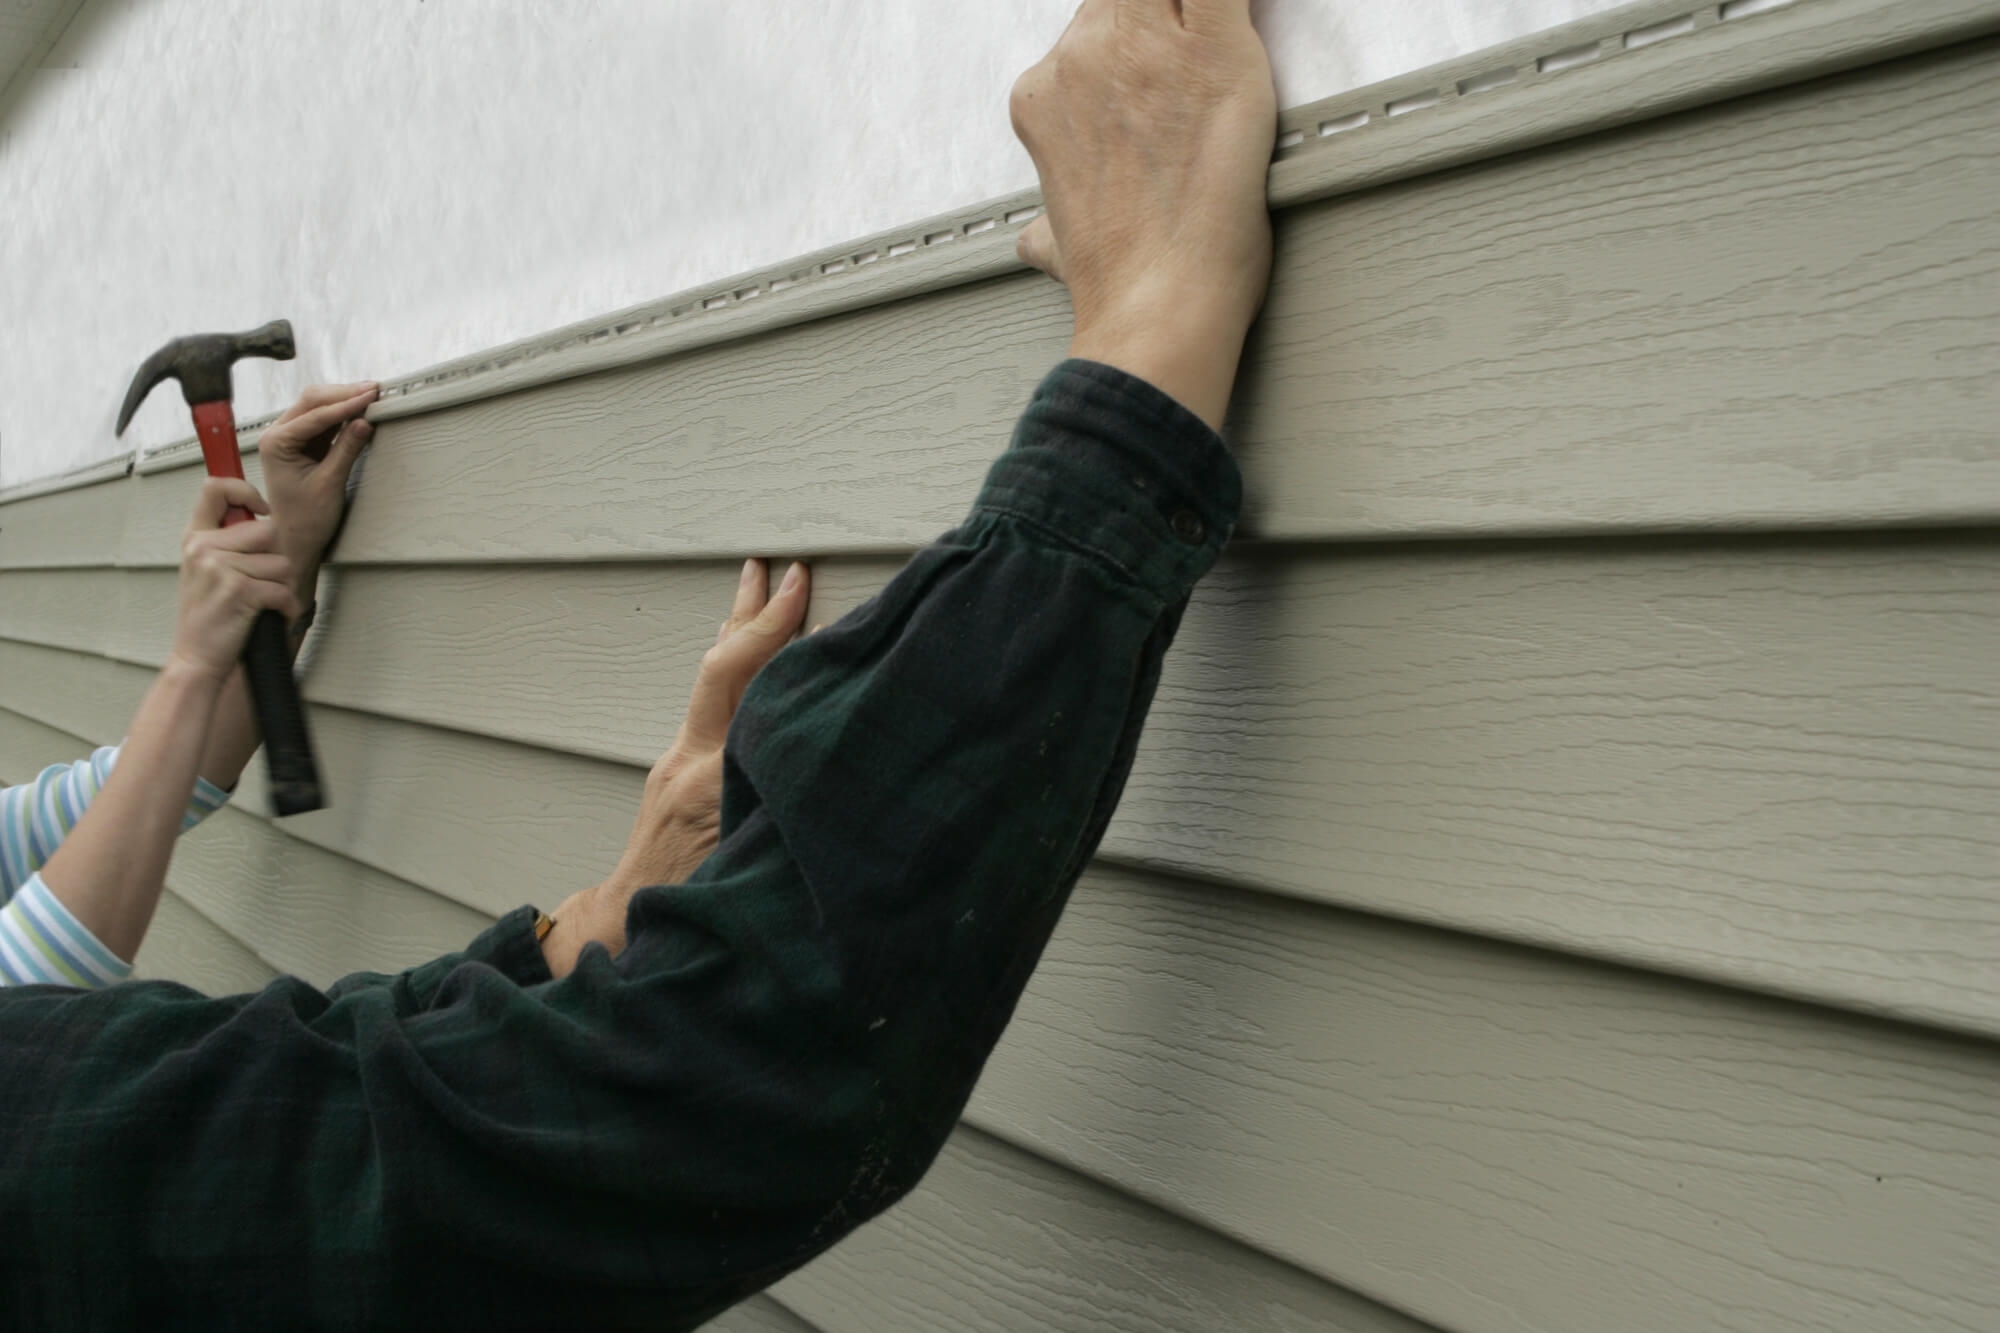
- Install the replacement piece: Fit the replacement siding piece into the hole, making sure it aligns with the surrounding siding. Press it firmly into place, ensuring a snug fit against the adhesive or caulk.
- Secure the replacement piece: Use nails, screws, or clips to secure the replacement siding piece in place. Follow the manufacturer’s instructions and make sure the fasteners are spaced evenly.
Repairing large holes in your siding may be a more involved process, but it is necessary for restoring the structural integrity and appearance of your home’s exterior. Taking the time and effort to replace the damaged section will ensure a long-lasting and professional-looking repair.
Use a putty knife to fill small holes in siding with exterior caulk. For larger holes, cut a patch from a spare piece of siding and secure it with adhesive. Sand and paint to match.
Step 5: Sanding and Smoothing
After filling small holes or replacing a damaged section of siding, it’s important to sand and smooth the repaired area. This step will help create a seamless finish and ensure that the repaired section blends in with the rest of the siding. Follow these steps to sand and smooth the repaired area:
- Begin with medium-grit sandpaper: Start by using medium-grit sandpaper to gently sand the repaired area. Sand in a circular motion, applying light pressure. This will help smooth out any rough edges or uneven surfaces.
- Check your progress: Periodically check your progress by running your hand over the repaired area. This will allow you to feel any remaining rough spots or inconsistencies that need further sanding.
- Switch to fine-grit sandpaper: Once the repaired area feels relatively smooth, switch to fine-grit sandpaper. Continue sanding in a circular motion, applying light pressure. This finer grit will help achieve a polished and seamless finish.
- Clean the area: After sanding, use a soft brush or cloth to remove any dust or debris from the sanded area. Properly cleaning the surface will ensure a smooth application of primer and paint.
Sanding and smoothing the repaired area is essential for achieving a professional-looking result. By taking the time to properly sand, you’ll be one step closer to a seamless and well-blended repair that will enhance the overall appearance of your siding.
Step 6: Primer Application
Once you have sanded and smoothed the repaired area, it’s time to apply a primer. Primer creates a smooth and even surface for the paint to adhere to, while also helping to seal the repaired section and protect it from moisture. Follow these steps to apply primer:
- Choose the right primer: Select a primer that is compatible with your siding material. Consult with your local hardware store or follow the manufacturer’s recommendations for the best primer option.
- Prepare the primer: Mix or shake the primer according to the manufacturer’s instructions. Make sure to open windows or provide proper ventilation in the area where you will be applying the primer.
- Apply the primer: Use a paintbrush or roller to apply an even coat of primer to the repaired area. Work in smooth, overlapping strokes to ensure complete coverage. Avoid applying the primer too thickly, as this can result in drips or uneven drying.
- Allow the primer to dry: Follow the manufacturer’s instructions for the drying time of the primer. Typically, it takes a few hours for the primer to dry completely, but it may vary depending on the product and environmental conditions.
- Sand the primed surface (optional): If you notice any imperfections or rough spots on the primed surface, you can lightly sand them with fine-grit sandpaper to achieve a smoother finish. However, be careful not to sand through the primer, as it serves as a protective barrier.
- Clean the area: After priming and sanding (if necessary), clean the repaired area once again to remove any dust or debris. This will ensure a clean surface for the paint application.
Applying a primer is a crucial step in the repair process as it prepares the surface for paint and helps the repaired area blend seamlessly with the rest of the siding. By following these steps, you will ensure that the primer application is done correctly, resulting in a professional-looking finish.
Step 7: Painting the Repaired Area
Now that you have completed the primer application and the repaired area is properly prepared, it’s time to paint the area to match the rest of your siding. Follow these steps for a successful paint application:
- Choose the right paint: Select a paint that matches the color and finish of your existing siding. It’s important to use a high-quality exterior paint that is designed for your specific siding material.
- Prepare the paint: Stir the paint thoroughly to ensure an even consistency. If necessary, thin the paint according to the manufacturer’s instructions.
- Protect surrounding surfaces: Use plastic sheeting or tape to protect any nearby surfaces, such as windows, trim, or adjacent siding, from accidental paint splatters.
- Apply the paint: Use a paintbrush or roller to apply the paint evenly to the repaired area. Work in smooth, even strokes, overlapping the edges with the surrounding siding to achieve a seamless blend.
- Allow the paint to dry: Follow the manufacturer’s instructions for the drying time of the paint. Typically, it takes a few hours for the paint to dry, but it may vary depending on the product and environmental conditions.
- Apply additional coats (if needed): Depending on the coverage and color matching, you may need to apply additional coats of paint. Make sure to allow sufficient drying time between each coat.
By painting the repaired area, you will ensure that it seamlessly integrates with the rest of your siding, creating a cohesive and visually appealing exterior. Take your time and pay attention to details to achieve a professional-looking finish.
Read more: How To Fix A Hole In A Trampoline
Step 8: Final Touches and Maintenance Tips
As you near the completion of your siding repair project, it’s important to add the final touches and follow some maintenance tips to ensure the longevity and durability of your newly repaired siding. Consider the following steps:
- Inspect the entire siding: After completing the repair, take a step back and inspect the entire siding surface. Look for any other areas that may need attention or future repairs. It’s always best to address any issues before they become major problems.
- Clean and maintain your siding: Regularly clean your siding to remove dirt, debris, and potential mold or mildew buildup. Use a soft brush or a power washer on a low setting to avoid damaging the siding surface. Additionally, trim any overgrown vegetation that may come in contact with the siding to prevent damage.
- Monitor for signs of damage: Keep an eye out for any signs of damage or deterioration in your siding, even after you’ve completed the repairs. Check for cracks, warping, or areas where the siding may have become loose. Address these issues promptly to prevent further damage.
- Consider preventative measures: To protect your siding from future damage, consider applying a protective coating or sealant. This can provide an additional layer of defense against harsh weather conditions, UV rays, and pests.
- Regularly touch up the paint: Over time, the paint on your siding may start to fade or chip. To maintain the appearance of your repair work, periodically touch up the paint in the repaired area to ensure it matches the rest of the siding.
By following these final touches and maintenance tips, you can ensure that your repaired siding remains in excellent condition for years to come. Regular inspections and proactive maintenance will help preserve the integrity and visual appeal of your home’s exterior.
Conclusion
Repairing holes in siding is an important task to maintain the structural integrity and visual appeal of your home. Whether you have small cracks or large holes, following the step-by-step process outlined in this guide will help you successfully restore your siding. By assessing the damage, preparing the area, and using the right materials, you can effectively fill small holes or replace damaged sections.
Remember to sand and smooth the repaired area before applying a primer to create a seamless finish. Once the primer has dried, paint the repaired area to match the rest of your siding, ensuring a cohesive and professional appearance. By adding final touches, such as inspecting the entire siding and following proper maintenance, you can prolong the lifespan of your repaired siding and prevent future damage.
Regularly monitoring the condition of your siding and addressing any issues promptly will help you maintain its integrity. Consider implementing preventative measures and touch up the paint as needed to keep your siding looking its best. By investing time and effort in repairing and maintaining your siding, you can enhance the curb appeal of your home and protect its exterior from further damage.
I hope this guide has been helpful in assisting you with fixing holes in your siding. Remember to take the necessary safety precautions, gather all the required materials, and follow the steps outlined in this guide for a successful siding repair project. With proper care and maintenance, your siding will continue to protect your home for years to come.
Frequently Asked Questions about How To Fix Holes In Siding
Was this page helpful?
At Storables.com, we guarantee accurate and reliable information. Our content, validated by Expert Board Contributors, is crafted following stringent Editorial Policies. We're committed to providing you with well-researched, expert-backed insights for all your informational needs.


0 thoughts on “How To Fix Holes In Siding”