Home>Gardening & Outdoor>Outdoor Structures>How To Attach A Pergola To A House With Siding
Outdoor Structures
How To Attach A Pergola To A House With Siding
Modified: May 6, 2024
Learn how to securely attach a pergola to a house with siding in this comprehensive guide. Ensure the stability and durability of your outdoor structures.
(Many of the links in this article redirect to a specific reviewed product. Your purchase of these products through affiliate links helps to generate commission for Storables.com, at no extra cost. Learn more)
Introduction
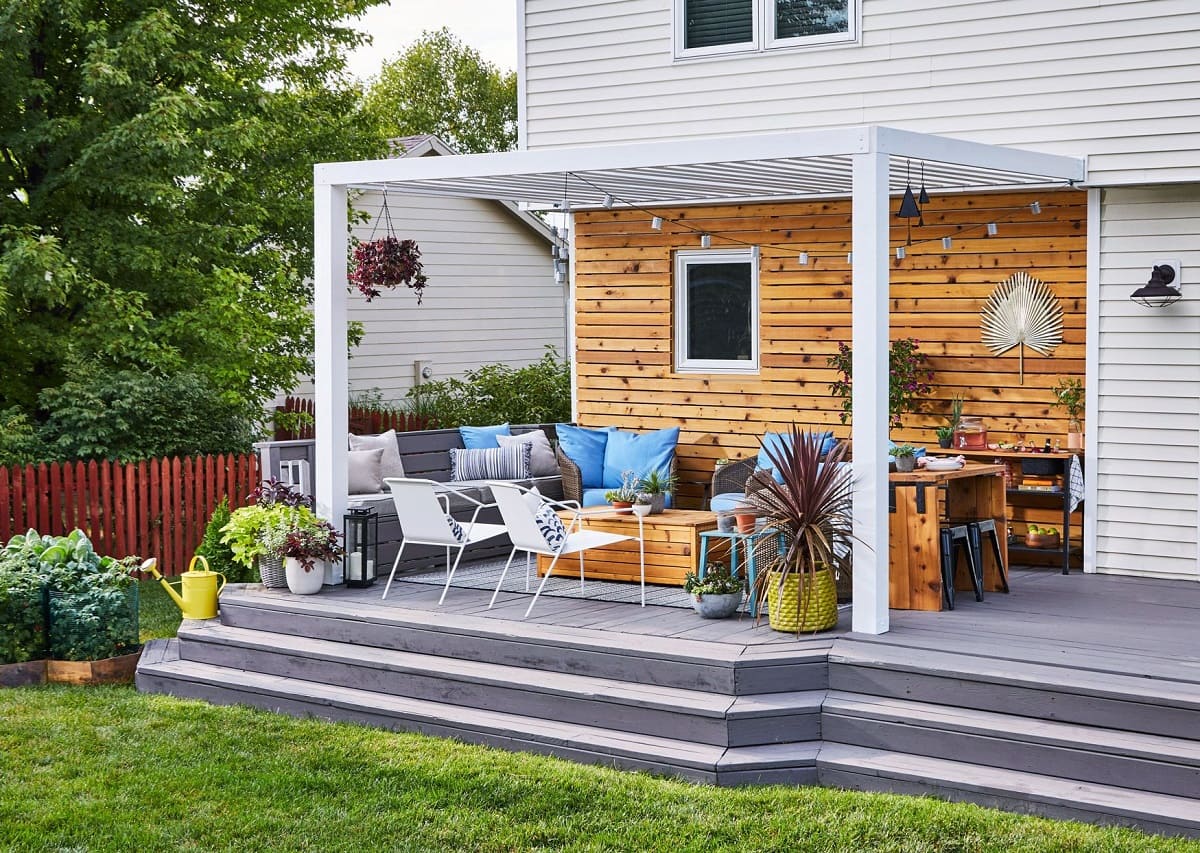
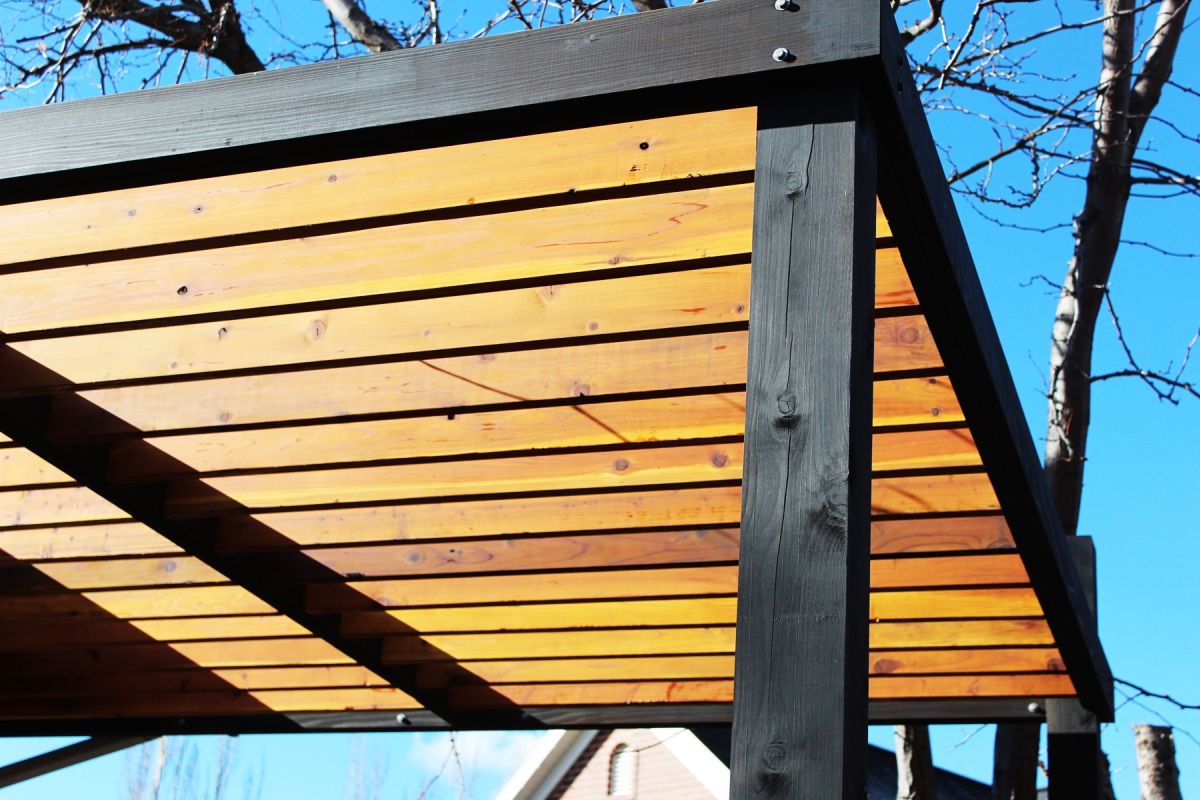
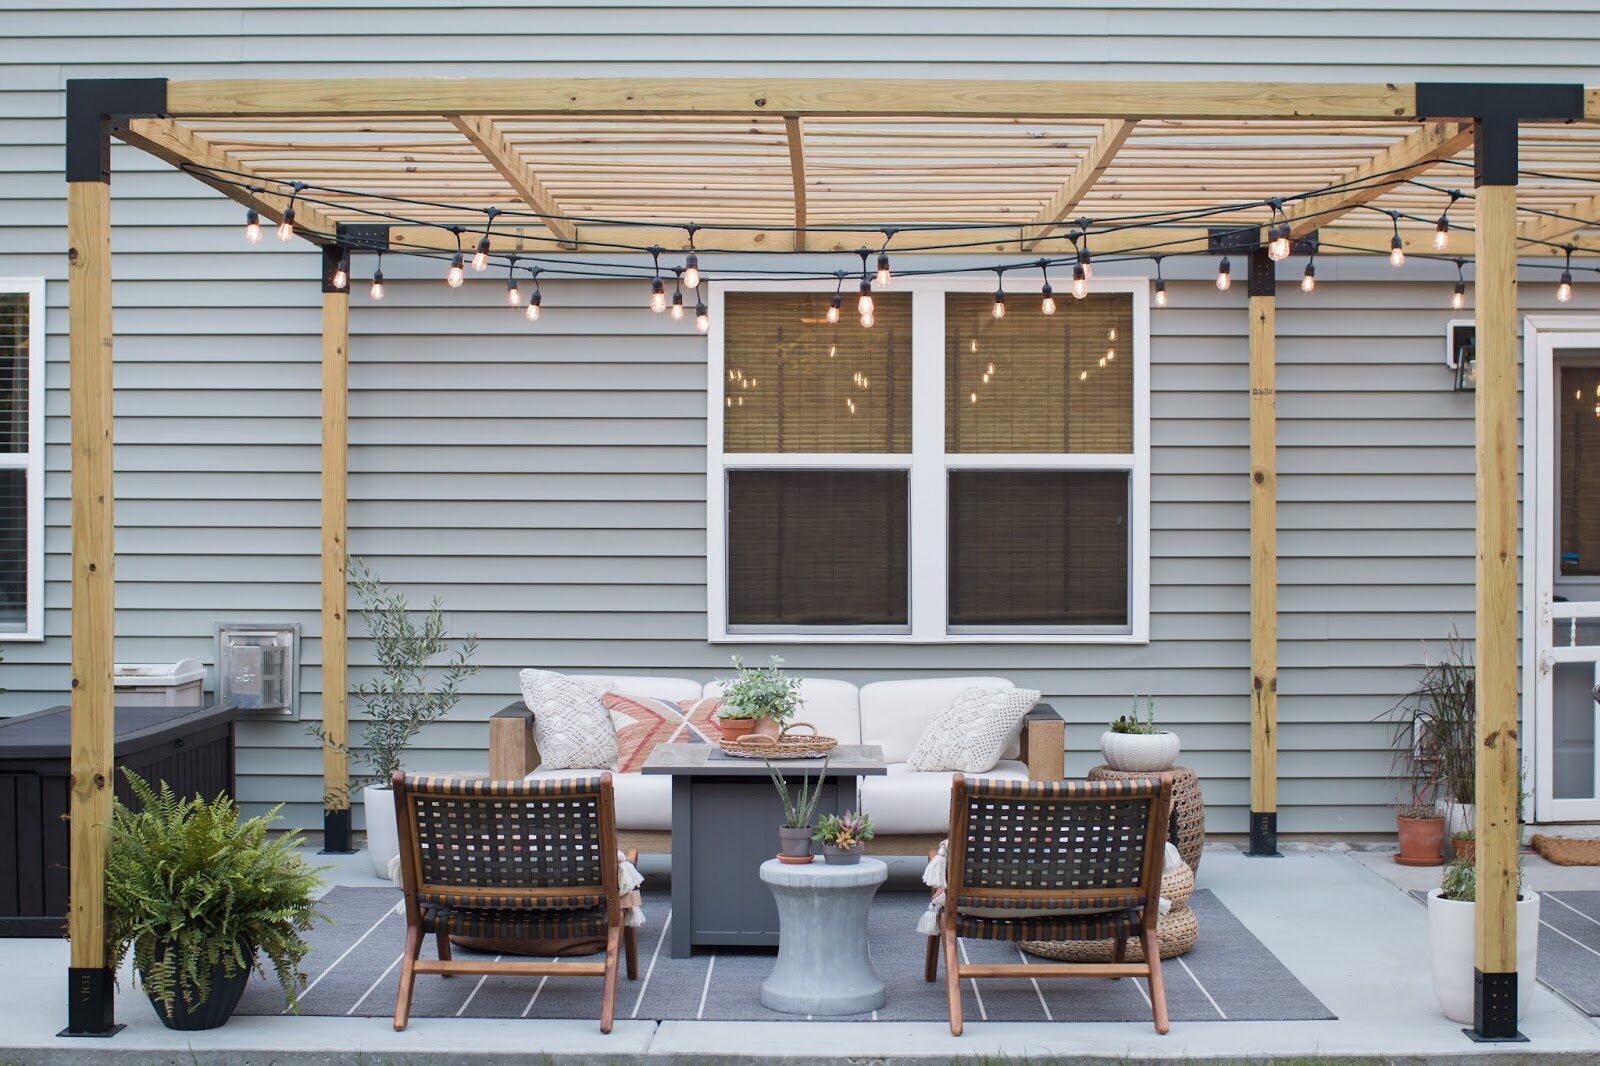
So, you've decided to enhance your outdoor living space by adding a pergola to your house. A pergola not only adds aesthetic appeal but also provides a functional space for outdoor activities and relaxation. However, attaching a pergola to a house with siding requires careful planning and precise execution to ensure stability and safety.
In this comprehensive guide, we will walk you through the step-by-step process of attaching a pergola to a house with siding. From choosing the right attachment method to preparing the siding and installing the pergola, we've got you covered. Whether you're a seasoned DIY enthusiast or a homeowner looking to embark on your first outdoor construction project, this guide will equip you with the knowledge and confidence to tackle this endeavor.
Let's dive into the details and explore the essential steps to seamlessly attach a pergola to your house with siding, creating a captivating and functional outdoor space for years to come.
Key Takeaways:
- Choosing the right attachment method and preparing the siding are crucial for safely and securely attaching a pergola to a house with siding. These steps ensure stability and protect the integrity of the house.
- Attaching the ledger board and installing the pergola require precision and attention to detail. By following these steps, you can create a beautiful and functional outdoor space for relaxation and enjoyment.
Read more: How To Attach A Pergola To A Brick House
Step 1: Choose the Right Attachment Method
Before you begin the process of attaching a pergola to your house with siding, it’s crucial to determine the most suitable attachment method for your specific structure and siding type. The attachment method you choose will directly impact the stability and longevity of your pergola, making it a critical decision in the construction process.
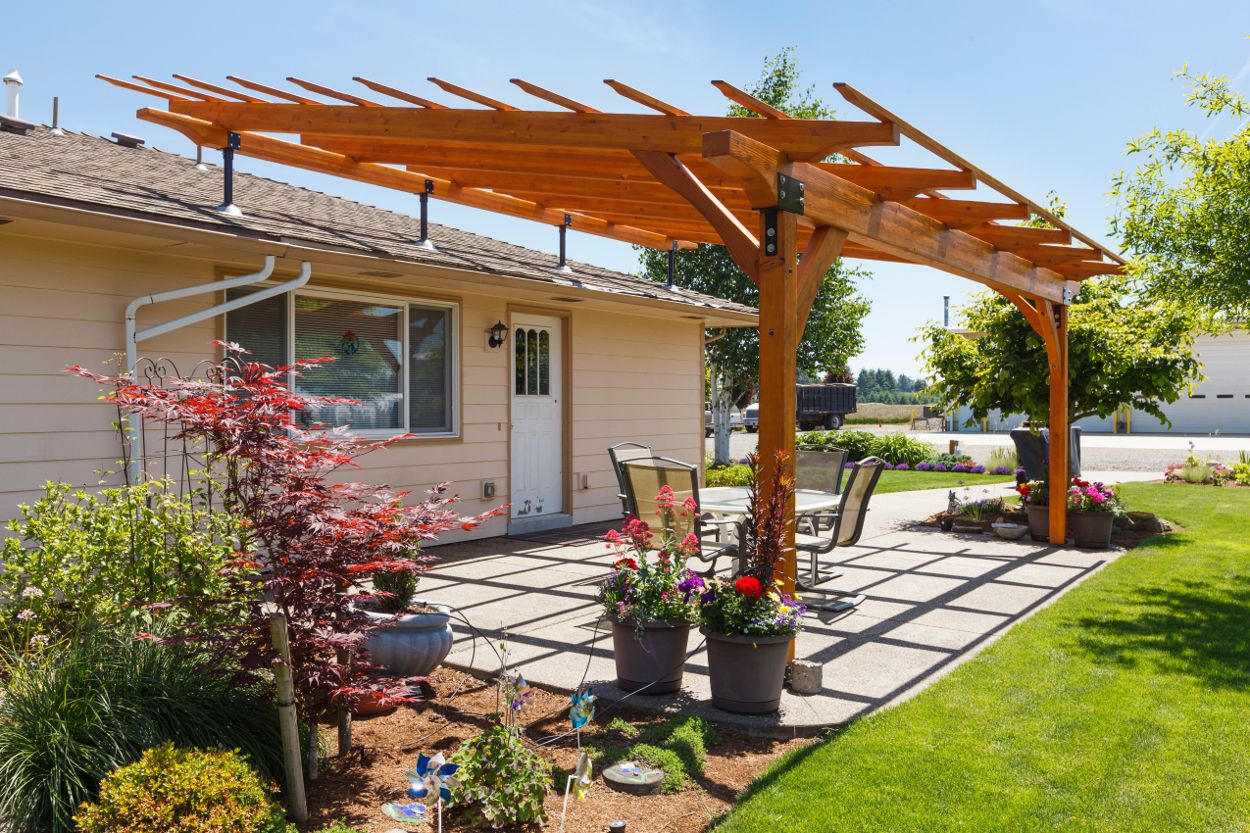
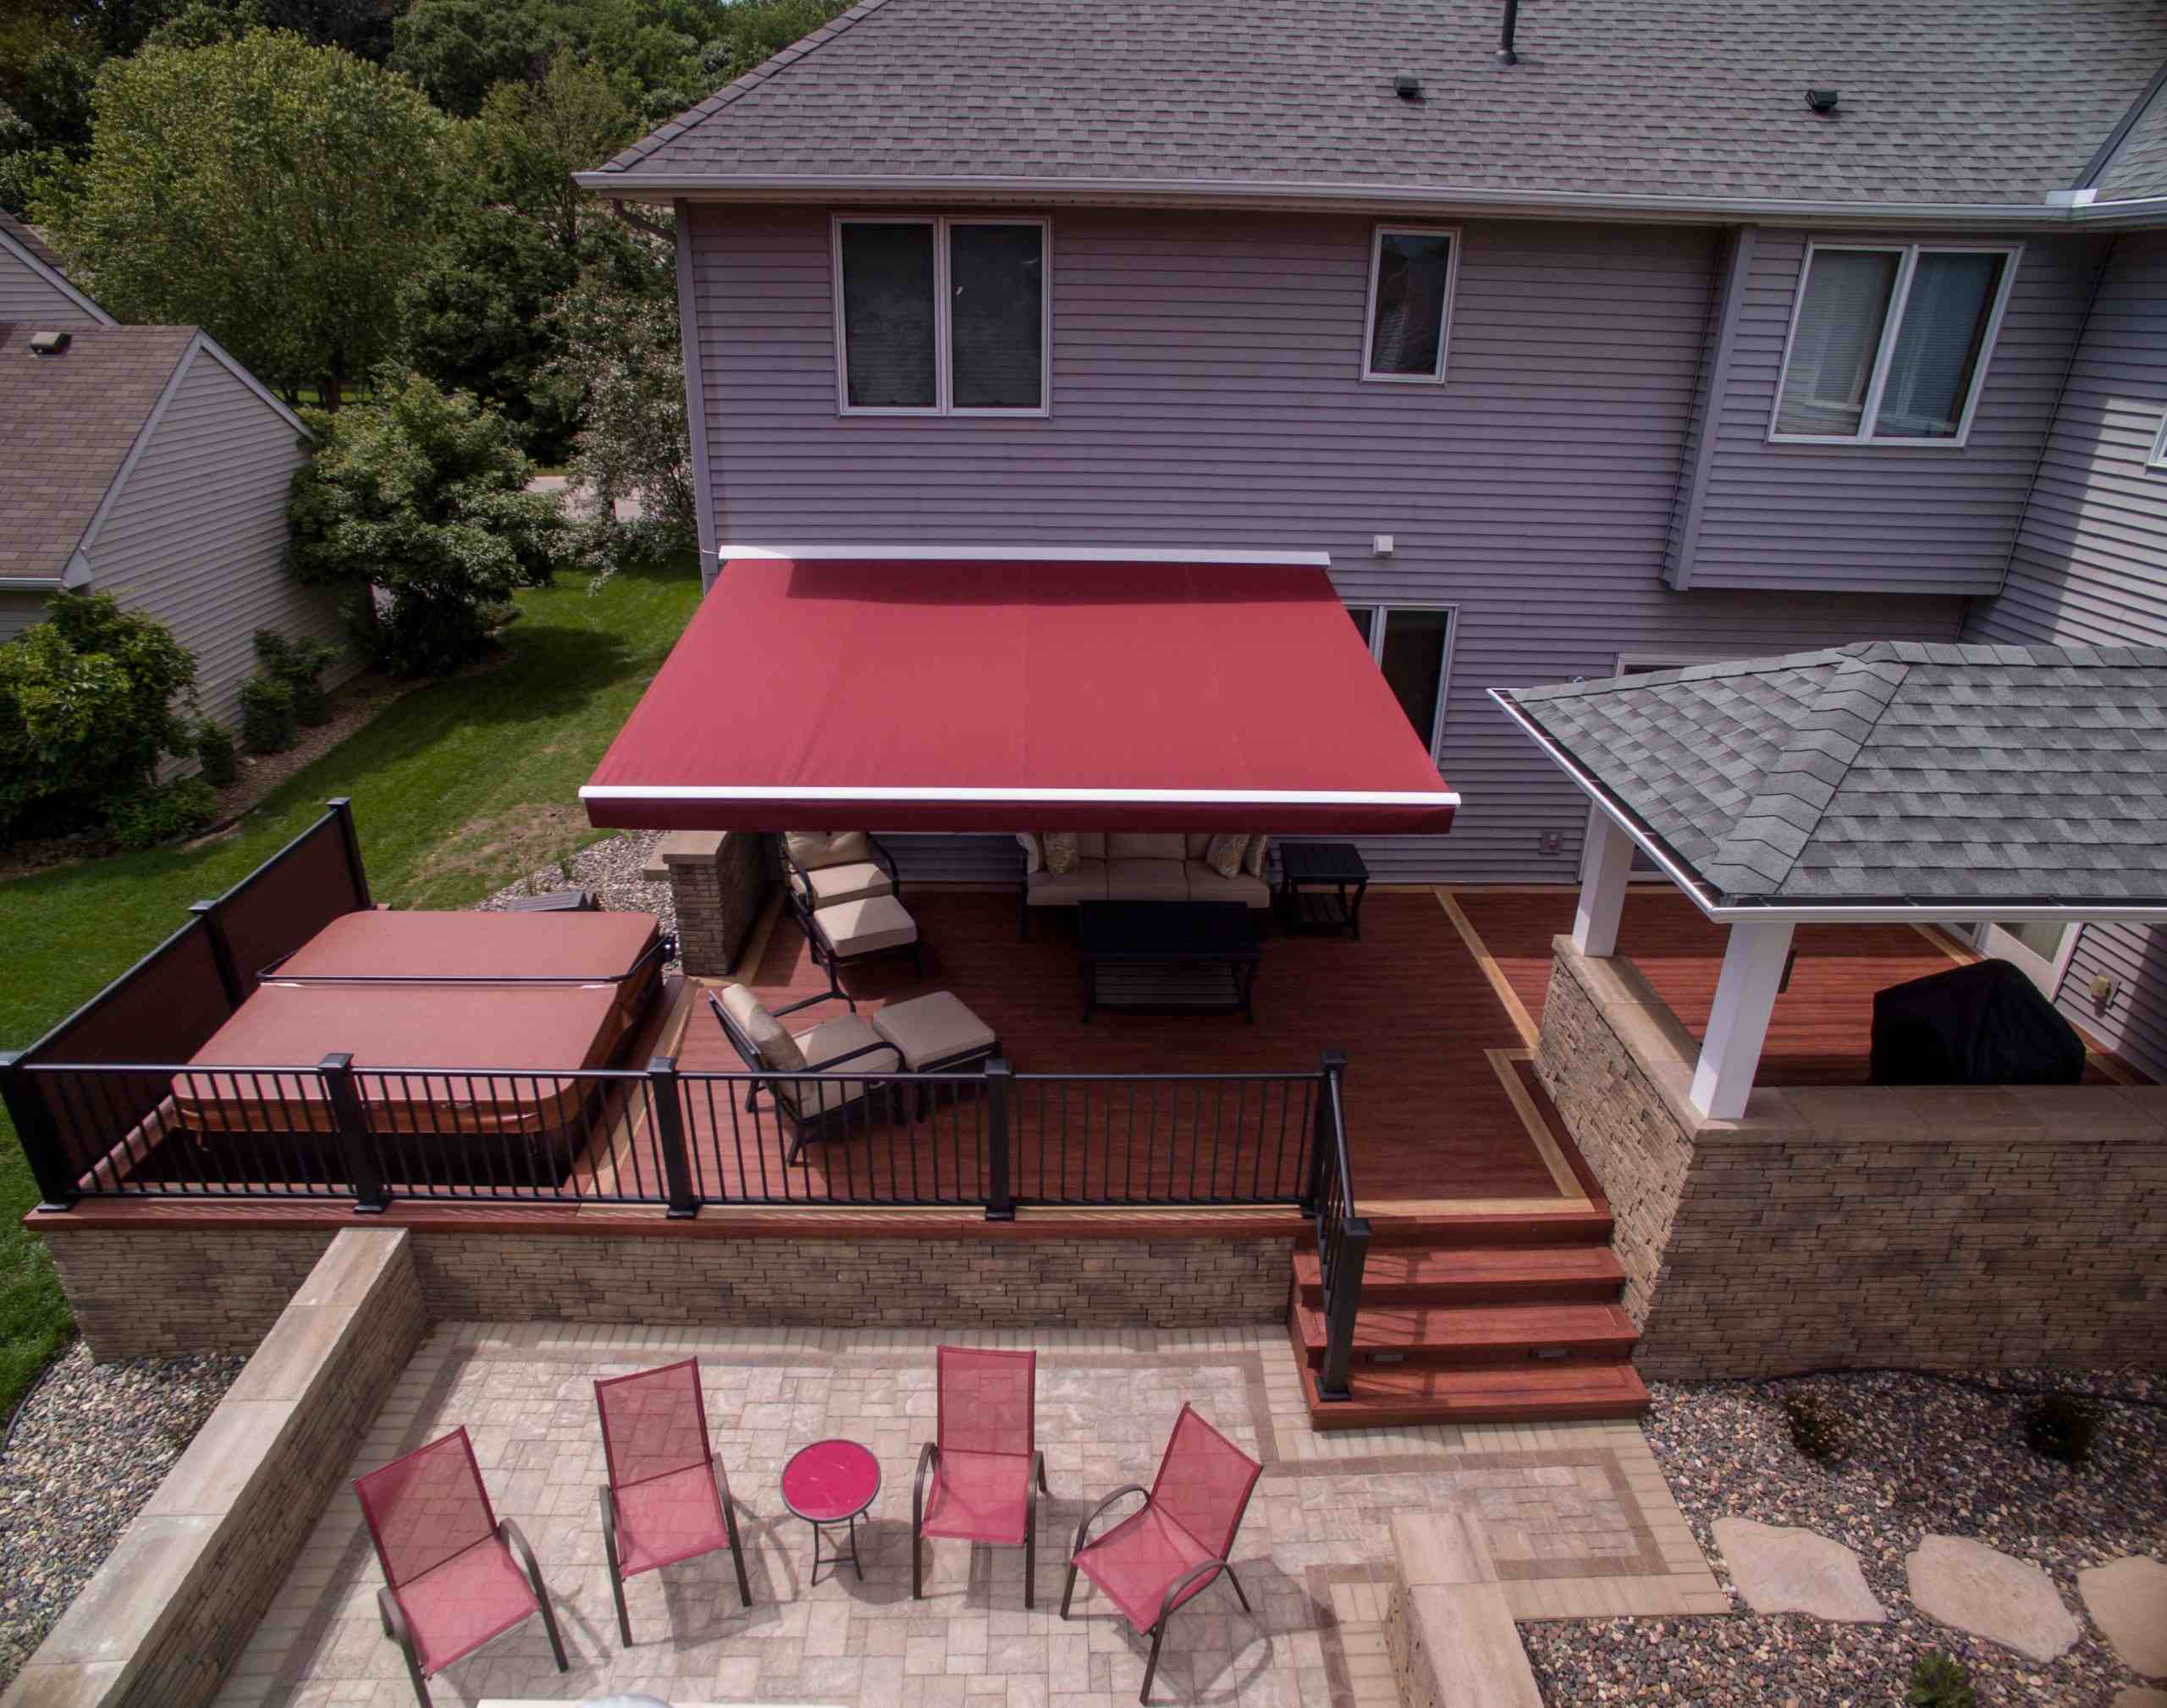
One common and reliable attachment method is using a ledger board, which is a horizontal piece of lumber securely fastened to the house. The ledger board serves as the primary anchor point for the pergola and provides essential support. Another approach involves using a freestanding pergola design, which doesn’t require attachment to the house but instead relies on sturdy posts and footings for stability.
When selecting the attachment method, consider factors such as the existing structure of your house, the type of siding material, local building codes, and the overall design of the pergola. If you opt for a ledger board attachment, ensure that it is made of durable, weather-resistant material and is properly flashed to prevent water infiltration behind the siding.
Additionally, if your house has vinyl siding, special care must be taken to avoid damaging the siding during the attachment process. It’s advisable to consult with a professional or experienced contractor to determine the best attachment method based on your specific circumstances.
By carefully evaluating and choosing the right attachment method, you’ll set the foundation for a secure and visually appealing integration of your pergola with the existing structure of your house.
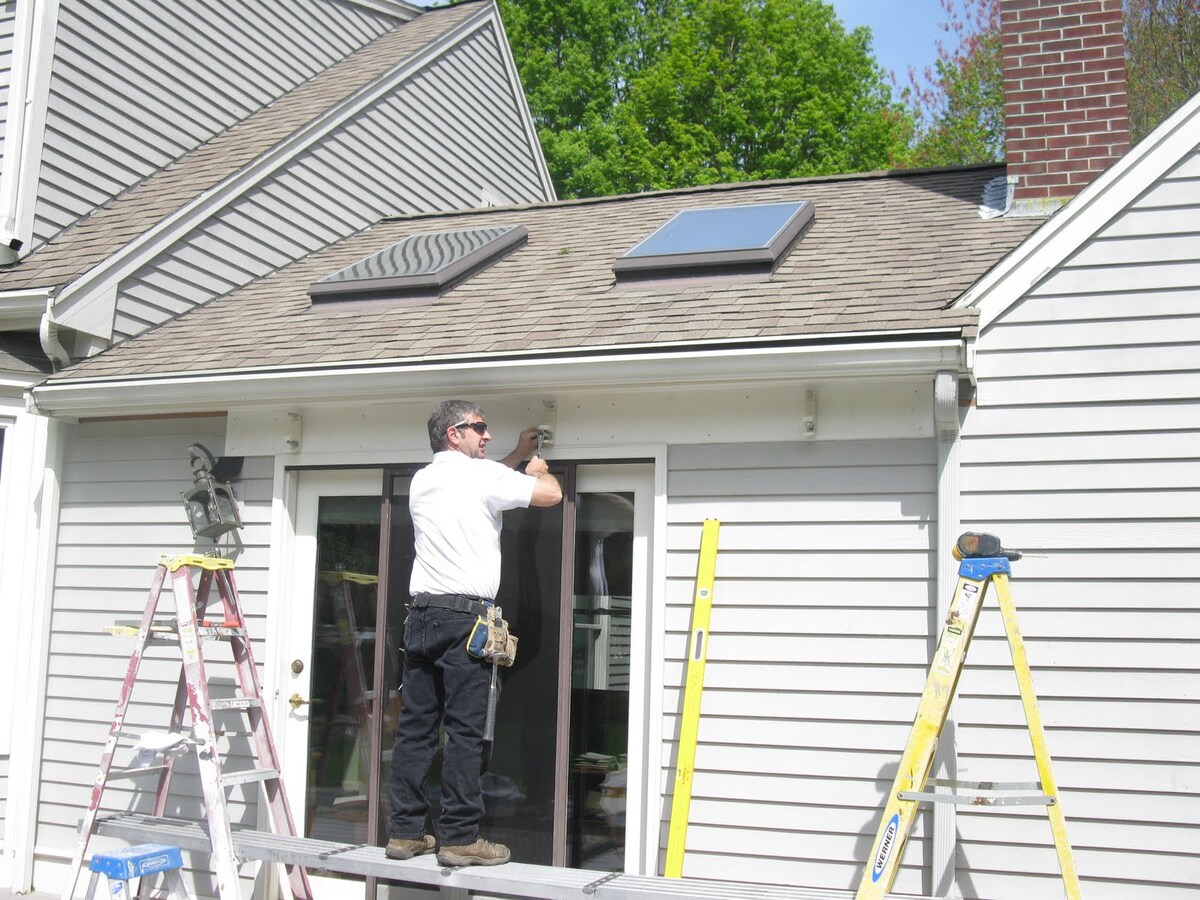
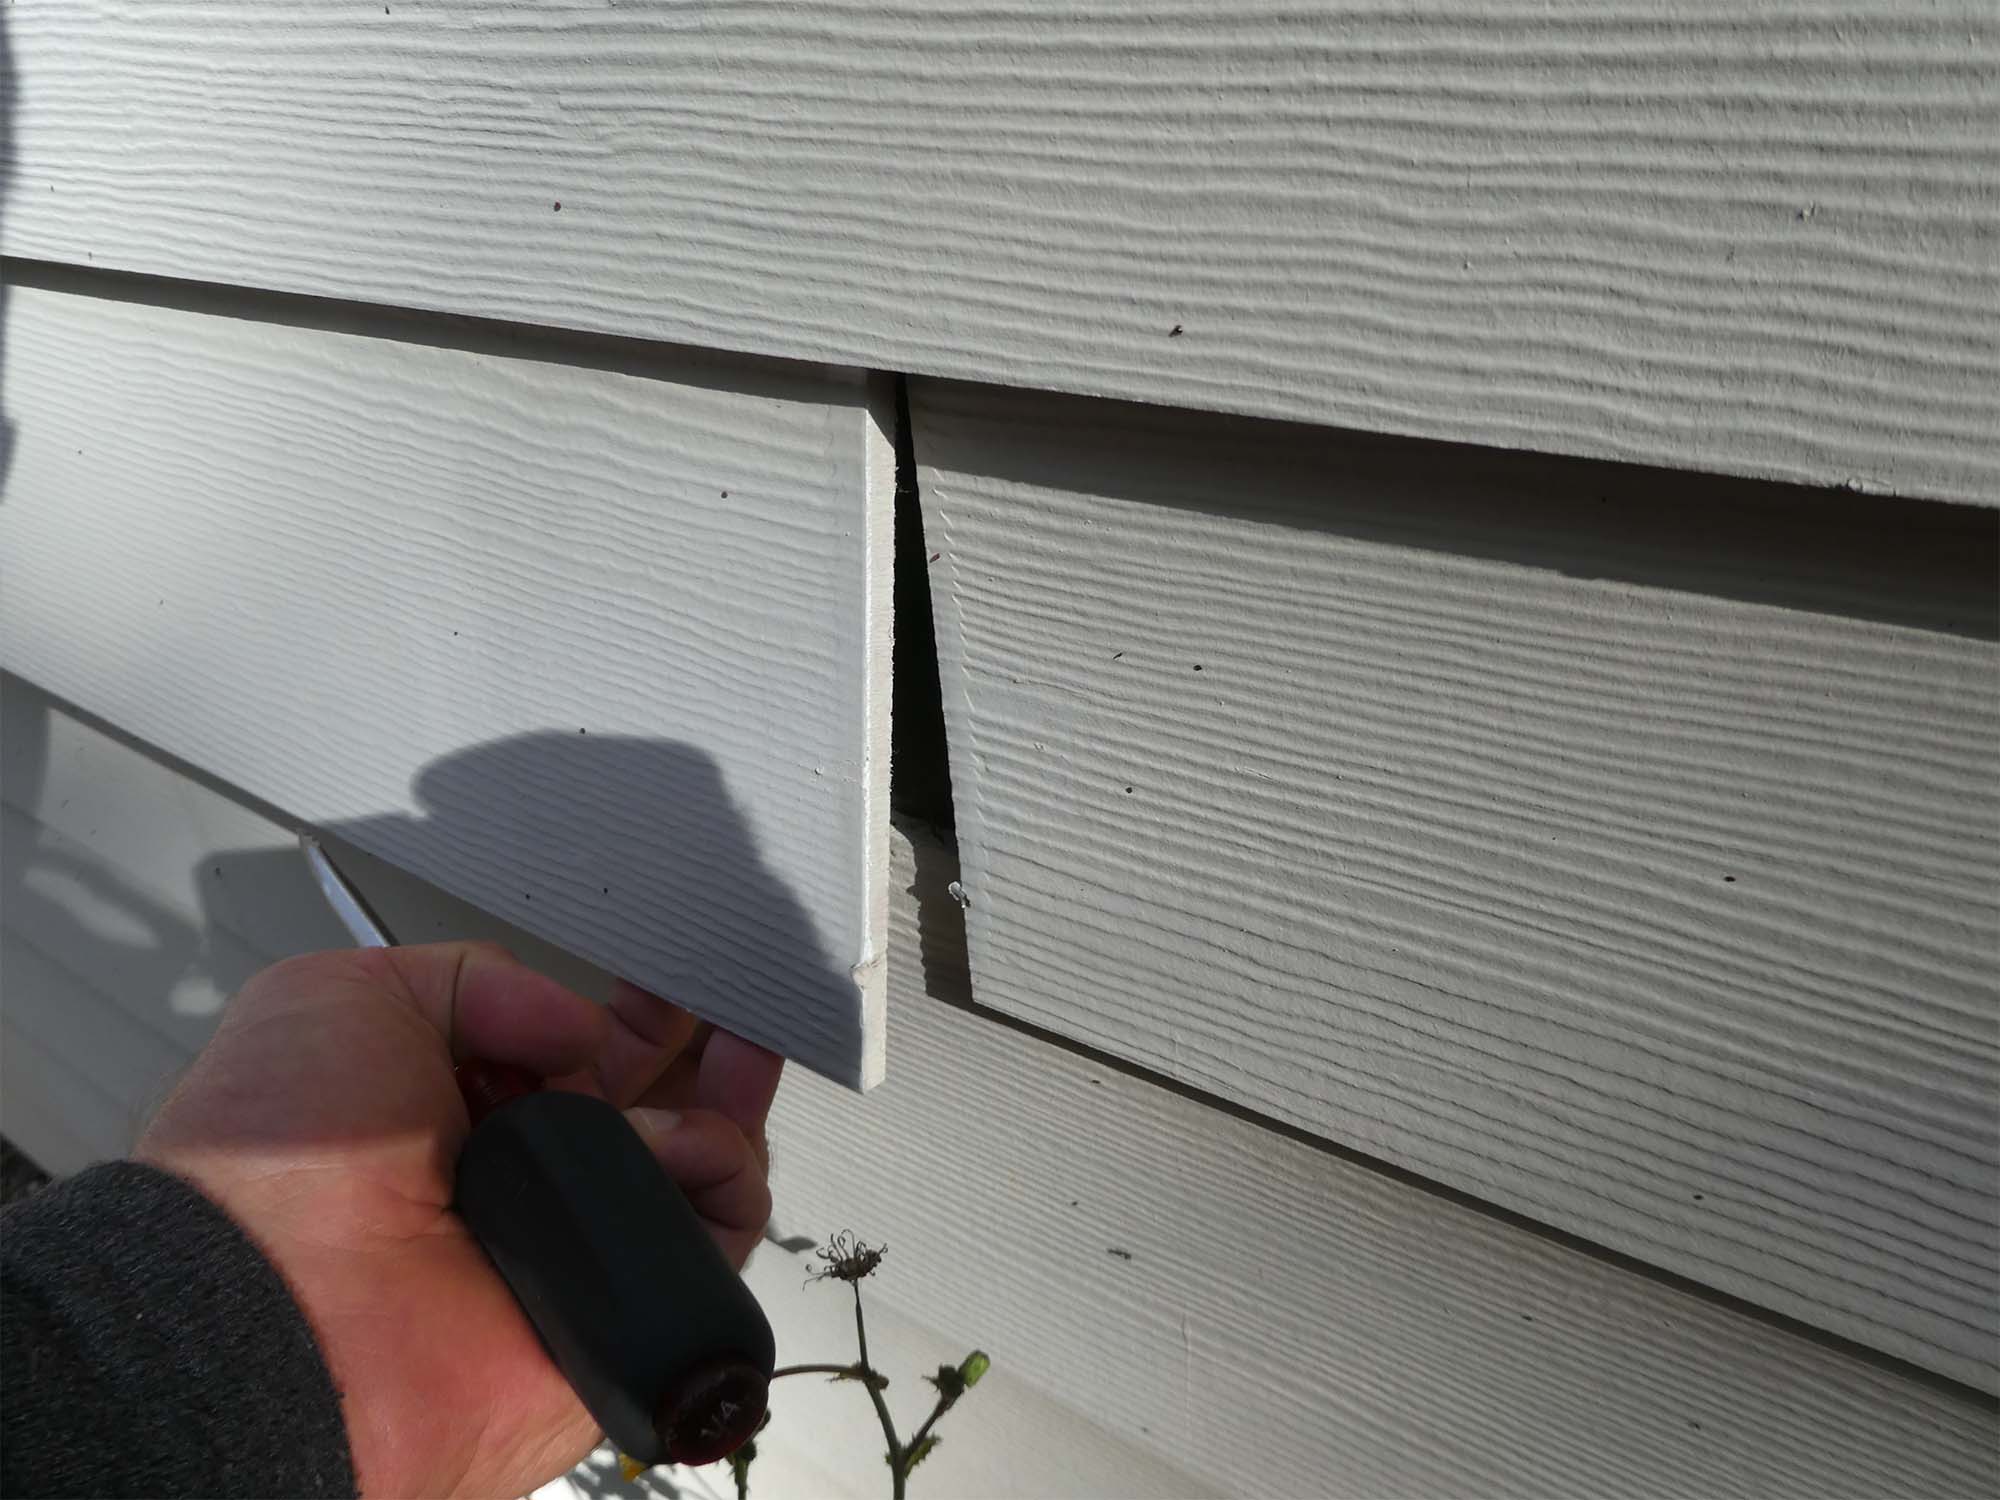
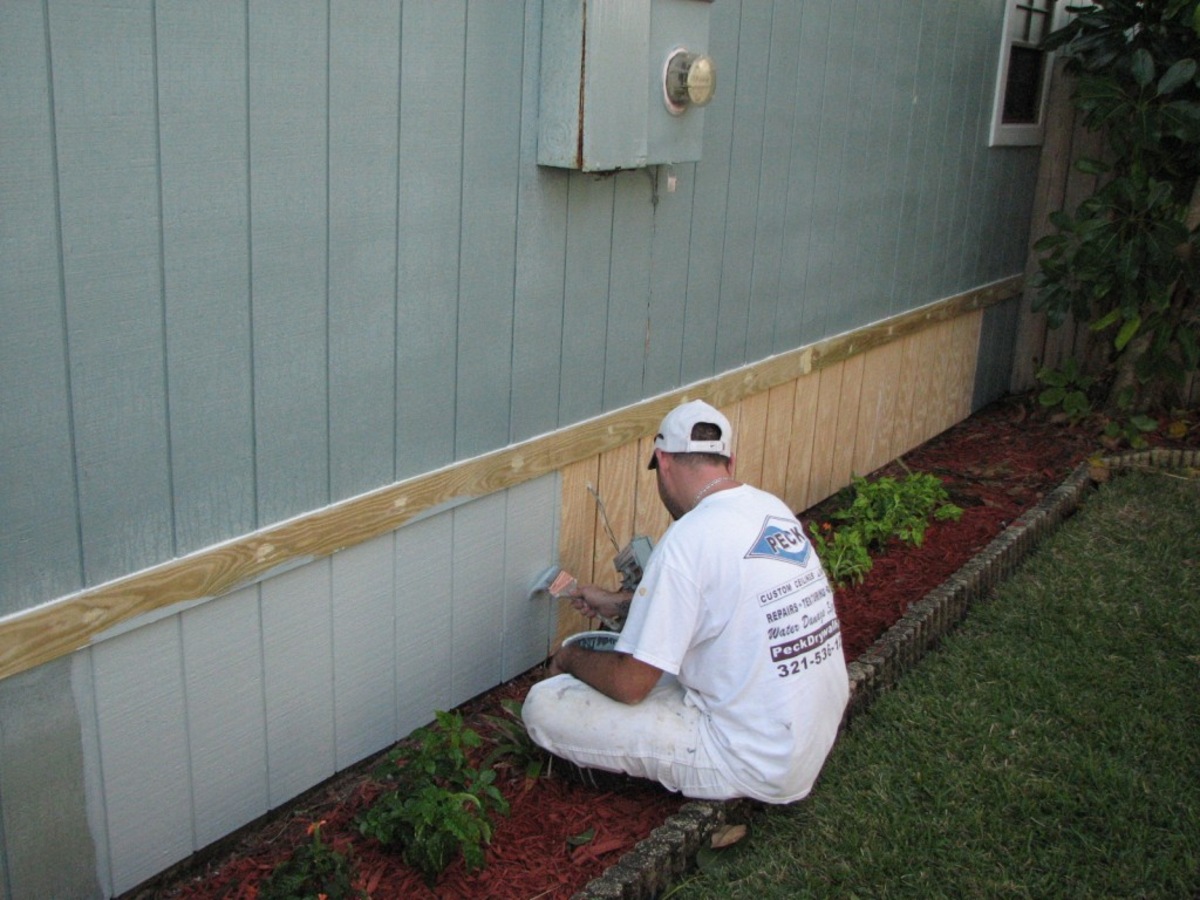
Step 2: Prepare the Siding
Properly preparing the siding of your house is a crucial preliminary step before attaching a pergola. This preparation ensures that the attachment process goes smoothly and minimizes the risk of damage to the siding during installation. Whether your house has vinyl, wood, fiber cement, or metal siding, specific measures should be taken to safeguard the integrity of the siding.
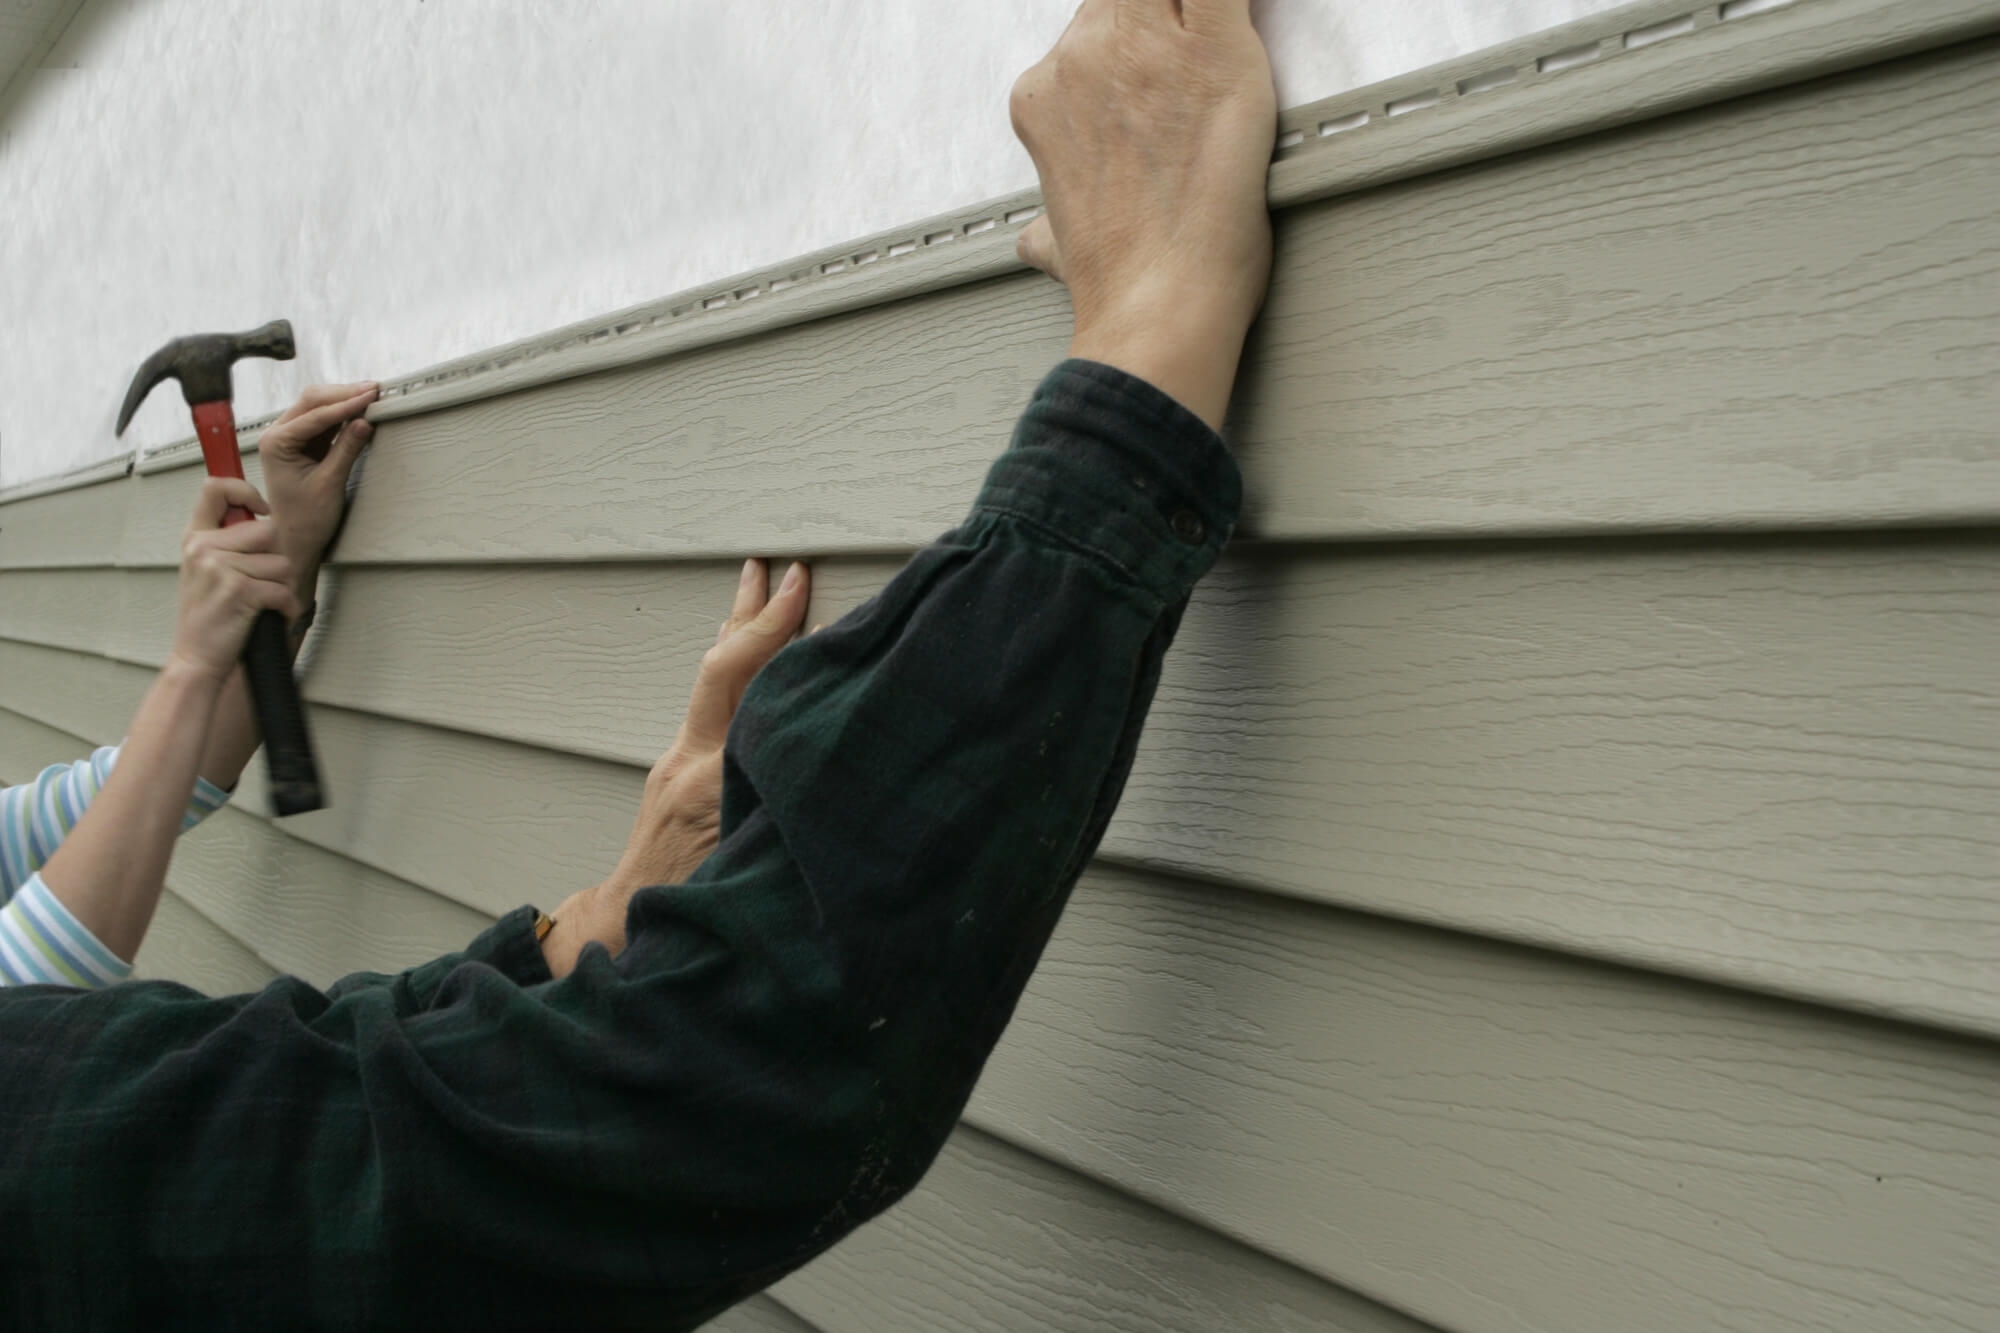
If your house has vinyl siding, it’s essential to locate the wall studs behind the siding to provide a secure anchoring point for the ledger board. Using a stud finder, carefully mark the positions of the studs to guide the placement of screws or lag bolts for attaching the ledger board. Additionally, if the vinyl siding is interlocking, you may need to unlock and remove specific panels to access the underlying wall and studs.
For wood siding, inspect the condition of the boards and replace any damaged or rotted sections before proceeding with the attachment of the pergola. Ensure that the wood siding is firmly attached to the wall studs and make any necessary repairs to reinforce its structural integrity. Applying a protective sealant or primer to the areas where the ledger board will be attached can help prevent moisture infiltration and prolong the lifespan of the siding.
When dealing with fiber cement or metal siding, take care to avoid denting or warping the material during the attachment process. Use appropriate fasteners and installation techniques recommended by the siding manufacturer to maintain the integrity of the siding while securely affixing the ledger board.
Prior to attaching the pergola, thoroughly clean the siding to remove dirt, debris, and any potential obstacles that could hinder the attachment or cause damage. By preparing the siding meticulously, you’ll create a solid and protective foundation for attaching the pergola, ensuring a seamless integration with the exterior of your house.
When attaching a pergola to a house with siding, use a ledger board to secure the pergola to the house. Make sure to locate the wall studs and use appropriate screws to prevent damage to the siding.
Step 3: Attach the Ledger Board
Attaching the ledger board securely to the house is a pivotal step in the process of integrating a pergola with the existing structure. The ledger board serves as the primary anchor point for the pergola and provides essential support, making the attachment process crucial to the overall stability and safety of the structure.
First and foremost, it’s imperative to select the appropriate fasteners for attaching the ledger board to the house. Depending on the type of siding and the underlying wall material, you may use lag screws, through bolts, or specialized fastening systems designed for ledger board installations. Ensure that the chosen fasteners are corrosion-resistant and capable of withstanding outdoor conditions to maintain long-term stability.
Prior to drilling or fastening the ledger board, carefully align it with the predetermined location, ensuring that it is level and securely positioned against the house. Utilize a level and measuring tools to achieve precise alignment and spacing for the attachment points. Mark the locations for the fasteners on the ledger board, taking into account the positions of the wall studs for optimal support.
When drilling into the house’s exterior, exercise caution to avoid damaging the siding and underlying wall structure. For vinyl siding, it may be necessary to create clearance holes in the siding panels to accommodate the fasteners and allow for smooth attachment of the ledger board to the wall studs. Additionally, consider using flashing or a waterproof membrane to protect the attachment points and prevent water intrusion behind the siding.
Once the ledger board is properly positioned and the attachment points are marked, proceed with drilling pilot holes and fastening the board to the house using the selected fasteners. Tighten the fasteners securely, ensuring that the ledger board is firmly anchored to the house and capable of supporting the weight of the pergola.
By meticulously attaching the ledger board to the house, you’ll establish a solid and reliable connection for integrating the pergola with the existing structure, laying the groundwork for the subsequent installation steps.
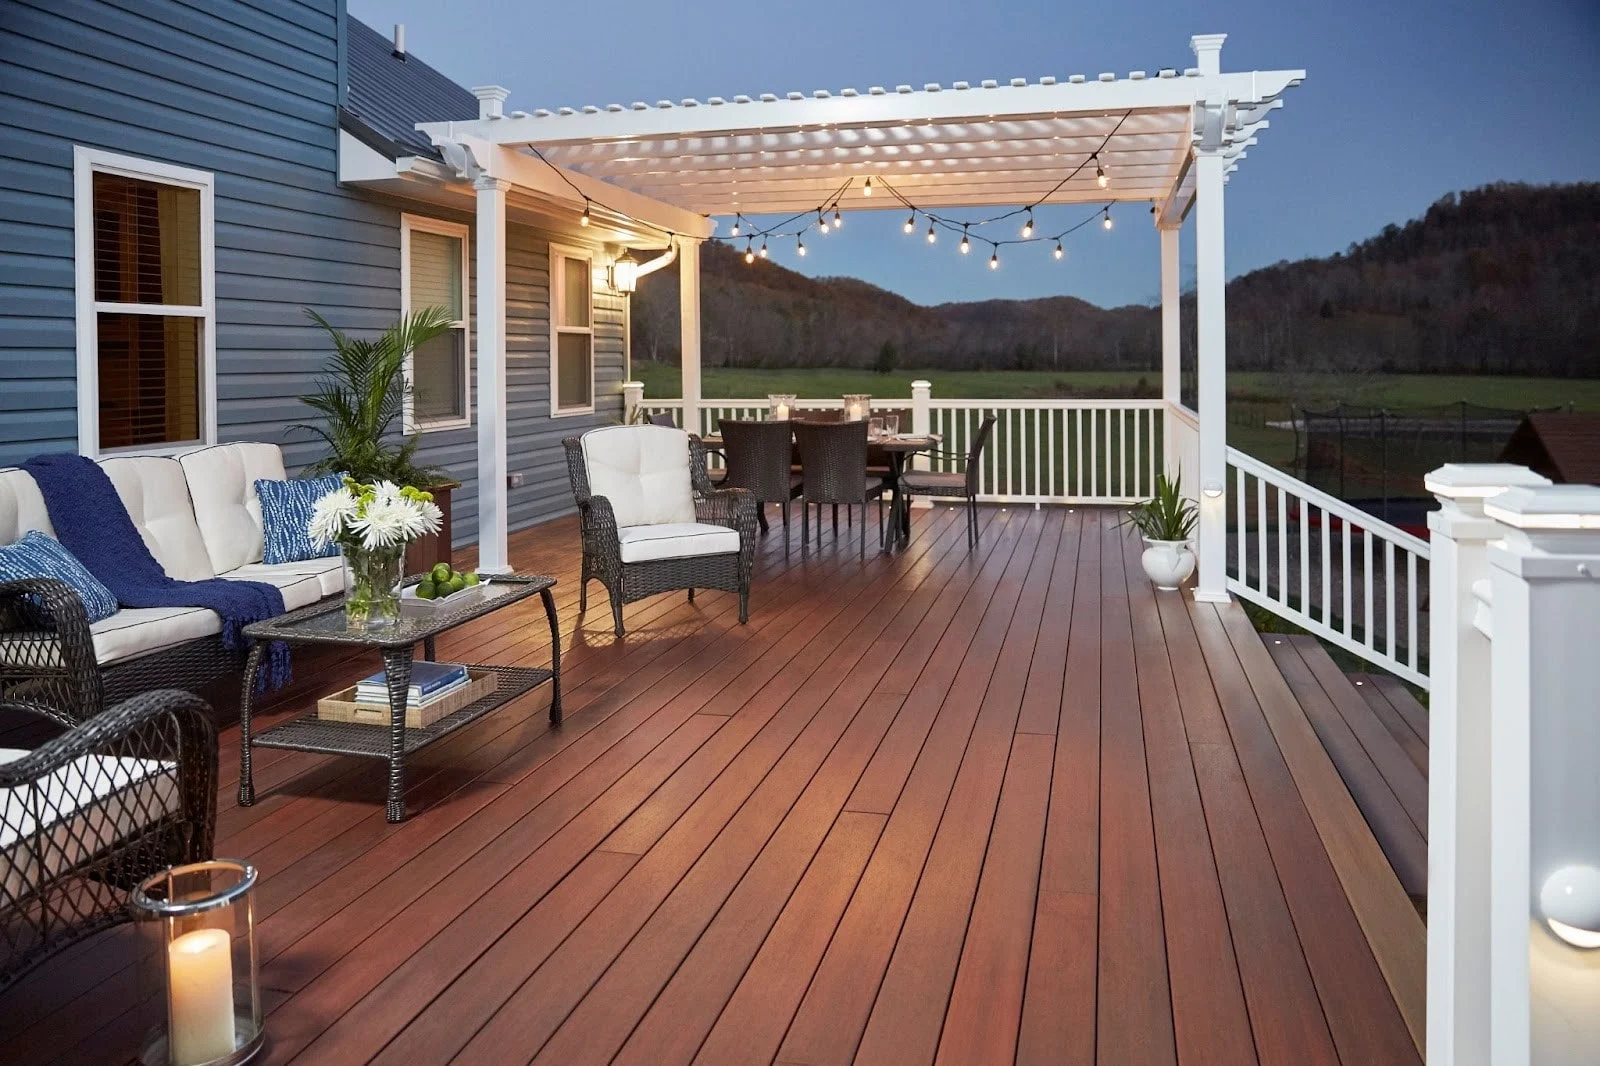
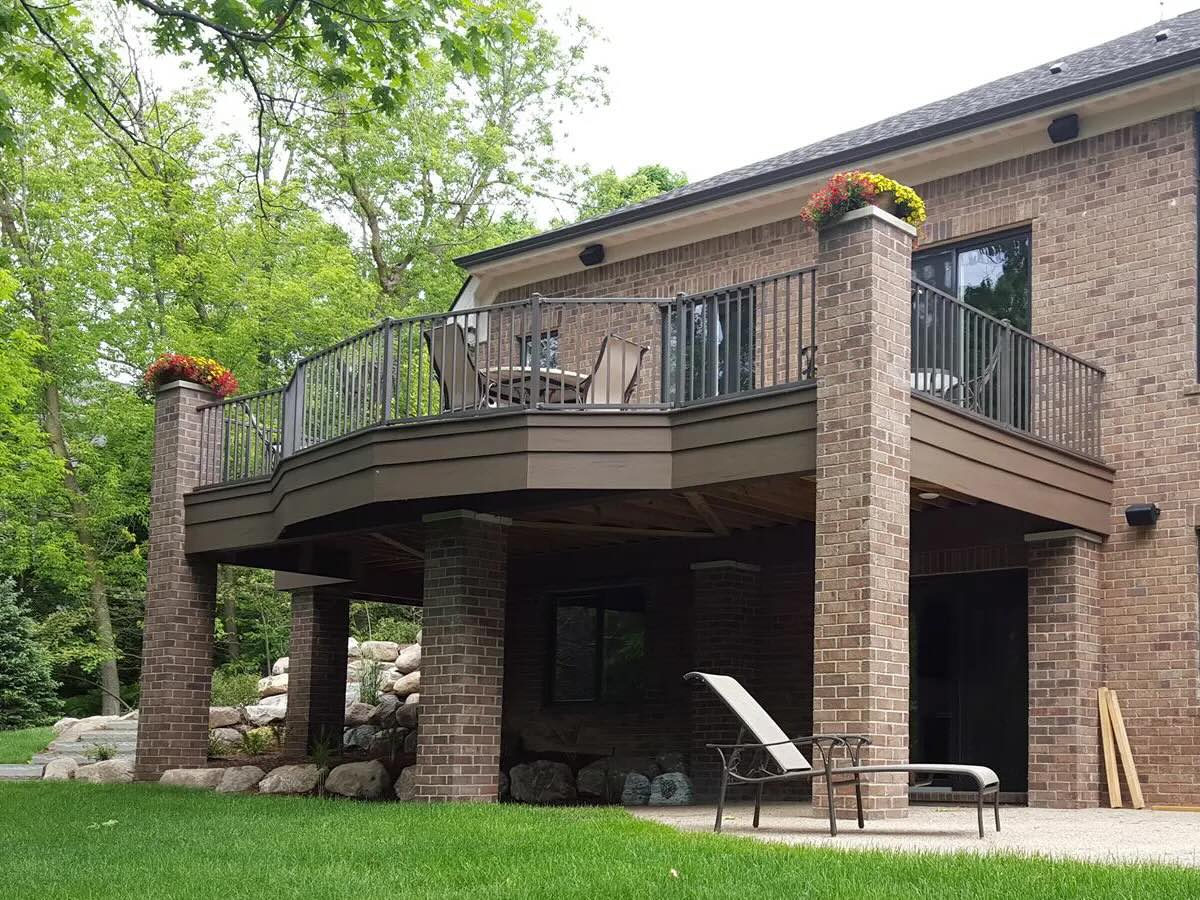
Step 4: Install the Pergola
With the ledger board securely attached to the house and the siding properly prepared, it’s time to proceed with the installation of the pergola. This phase of the process involves assembling the pergola components and integrating them with the existing structure to create a seamless and visually appealing outdoor space.
Begin by positioning the pre-assembled or individual components of the pergola in the designated location, ensuring that the posts align with the attachment points on the ledger board. If your pergola features overhead beams and rafters, carefully position them to achieve the desired layout and structural integrity. Utilize a level and measuring tools to verify the alignment and ensure that the pergola components are plumb and evenly spaced.
Once the positioning is finalized, secure the pergola posts to the footings or ground anchors, providing a stable foundation for the structure. Depending on the design and size of the pergola, you may need to enlist the assistance of additional individuals to aid in lifting and positioning the components during the installation process.
With the posts securely anchored, proceed to attach the overhead beams and rafters to the posts, creating the distinctive framework of the pergola. Utilize appropriate fasteners and construction techniques to ensure that the components are securely connected and capable of withstanding outdoor elements and loads.
If your pergola includes decorative elements such as lattice panels, trellises, or ornamental details, incorporate them into the installation process to enhance the visual appeal and functionality of the structure. Pay close attention to the alignment and attachment of these elements to achieve a cohesive and aesthetically pleasing result.
Throughout the installation process, periodically assess the structural integrity and alignment of the pergola components, making any necessary adjustments to ensure a precise and stable installation. Once the pergola is fully assembled and integrated with the house, take a moment to admire the transformation of your outdoor space and envision the countless enjoyable moments that await in your newly enhanced environment.
By meticulously installing the pergola and attending to the finer details of its integration with the house, you’ll create a captivating and functional outdoor oasis that enriches your living experience and adds a touch of elegance to your home.
Read more: How To Attach House Numbers To Vinyl Siding
Conclusion
Embarking on the journey of attaching a pergola to a house with siding is a rewarding endeavor that elevates the aesthetics and functionality of your outdoor living space. By following the essential steps outlined in this guide, you’ve gained valuable insights into the meticulous process of integrating a pergola with the existing structure, ensuring a secure and visually appealing outcome.
From carefully selecting the right attachment method to preparing the siding and executing the installation with precision, each step contributes to the seamless integration of the pergola with your house. The attention to detail and thoughtful consideration of the structural and aesthetic aspects of the project lay the foundation for a captivating outdoor space that enhances your lifestyle and enriches your home environment.
As you envision the countless gatherings, tranquil moments, and cherished memories that await in your newly adorned outdoor oasis, take pride in the craftsmanship and dedication invested in attaching the pergola to your house. The fusion of architectural elegance and functional design creates a space that beckons you to unwind, entertain, and savor the beauty of the outdoors, right at your doorstep.
Whether you’re basking in the dappled sunlight filtering through the pergola’s lattice roof or hosting intimate gatherings beneath its welcoming embrace, the attached pergola stands as a testament to your vision and commitment to enhancing your living space. It embodies the harmony of form and function, seamlessly bridging the indoor and outdoor realms to create a haven that reflects your unique style and enriches your daily experiences.
With the pergola gracefully integrated with your house, you’ve not only expanded your living space but also added a touch of sophistication and charm to your home’s exterior. As the seasons change and the landscape evolves, your attached pergola remains a steadfast symbol of craftsmanship and creativity, inviting you to savor the simple joys and tranquil moments that unfold within its sheltering embrace.
As you embark on this transformative journey, remember that the process of attaching a pergola to your house with siding is not merely a construction project; it’s a testament to your desire to create a captivating and inviting outdoor sanctuary that enriches your life and captivates your senses.
Now that you've mastered attaching a pergola, why not dive deeper into home improvement and personal projects? For those who find joy in creating and building, our guide on DIY projects offers invaluable insights. If you're looking to enhance your outdoor space further, our feature on outdoor structures provides plenty of inspiration. And for homeowners considering upgrades, don't miss our review of house siding options that are making waves in 2024. Each article is packed with tips to help you make informed decisions and bring your vision to life.
Frequently Asked Questions about How To Attach A Pergola To A House With Siding
Was this page helpful?
At Storables.com, we guarantee accurate and reliable information. Our content, validated by Expert Board Contributors, is crafted following stringent Editorial Policies. We're committed to providing you with well-researched, expert-backed insights for all your informational needs.


0 thoughts on “How To Attach A Pergola To A House With Siding”