Articles
How To Repair Damaged Siding On House
Modified: August 31, 2024
Looking for articles on how to repair damaged siding on your house? Find expert tips and step-by-step guides to fix your siding and restore its original beauty.
(Many of the links in this article redirect to a specific reviewed product. Your purchase of these products through affiliate links helps to generate commission for Storables.com, at no extra cost. Learn more)
Introduction
Welcome to our comprehensive guide on how to repair damaged siding on your house. Your home’s siding plays a crucial role in protecting it from external elements such as rain, wind, and harsh weather conditions. Over time, siding can become damaged due to various factors, including age, accidents, or improper installation. Regardless of the cause, it’s essential to address damaged siding promptly to prevent further deterioration and potential structural issues.
In this article, we will walk you through a step-by-step process to assess the damage, gather the necessary materials and tools, remove the damaged siding, and successfully repair or replace it. Whether you have vinyl, wood, fiber cement, or any other type of siding, these instructions will help you restore the integrity and aesthetic appeal of your home.
Repairing damaged siding might seem like a daunting task, especially if you have limited DIY experience. However, with the right guidance and some basic tools, you can tackle this project and save money on professional repairs.
Before we dive into the specifics of repairing your damaged siding, it’s important to note that safety should always be your top priority. Take necessary precautions such as wearing protective gloves and eyewear, using a secure ladder, and working in dry weather conditions. If you’re unsure about your ability to complete the repairs, it’s best to consult a professional.
Now, let’s get started with Step 1: Assessing the Damage.
Key Takeaways:
- Promptly assess and repair damaged siding to prevent further deterioration and potential structural issues. Follow safety precautions and gather necessary materials for a successful DIY repair.
- Whether it’s minor cracks or extensive rot, this guide provides step-by-step instructions to repair or replace damaged siding, ensuring your home’s integrity and aesthetic appeal.
Read more: How To Fix Siding On House
Step 1: Assessing the Damage
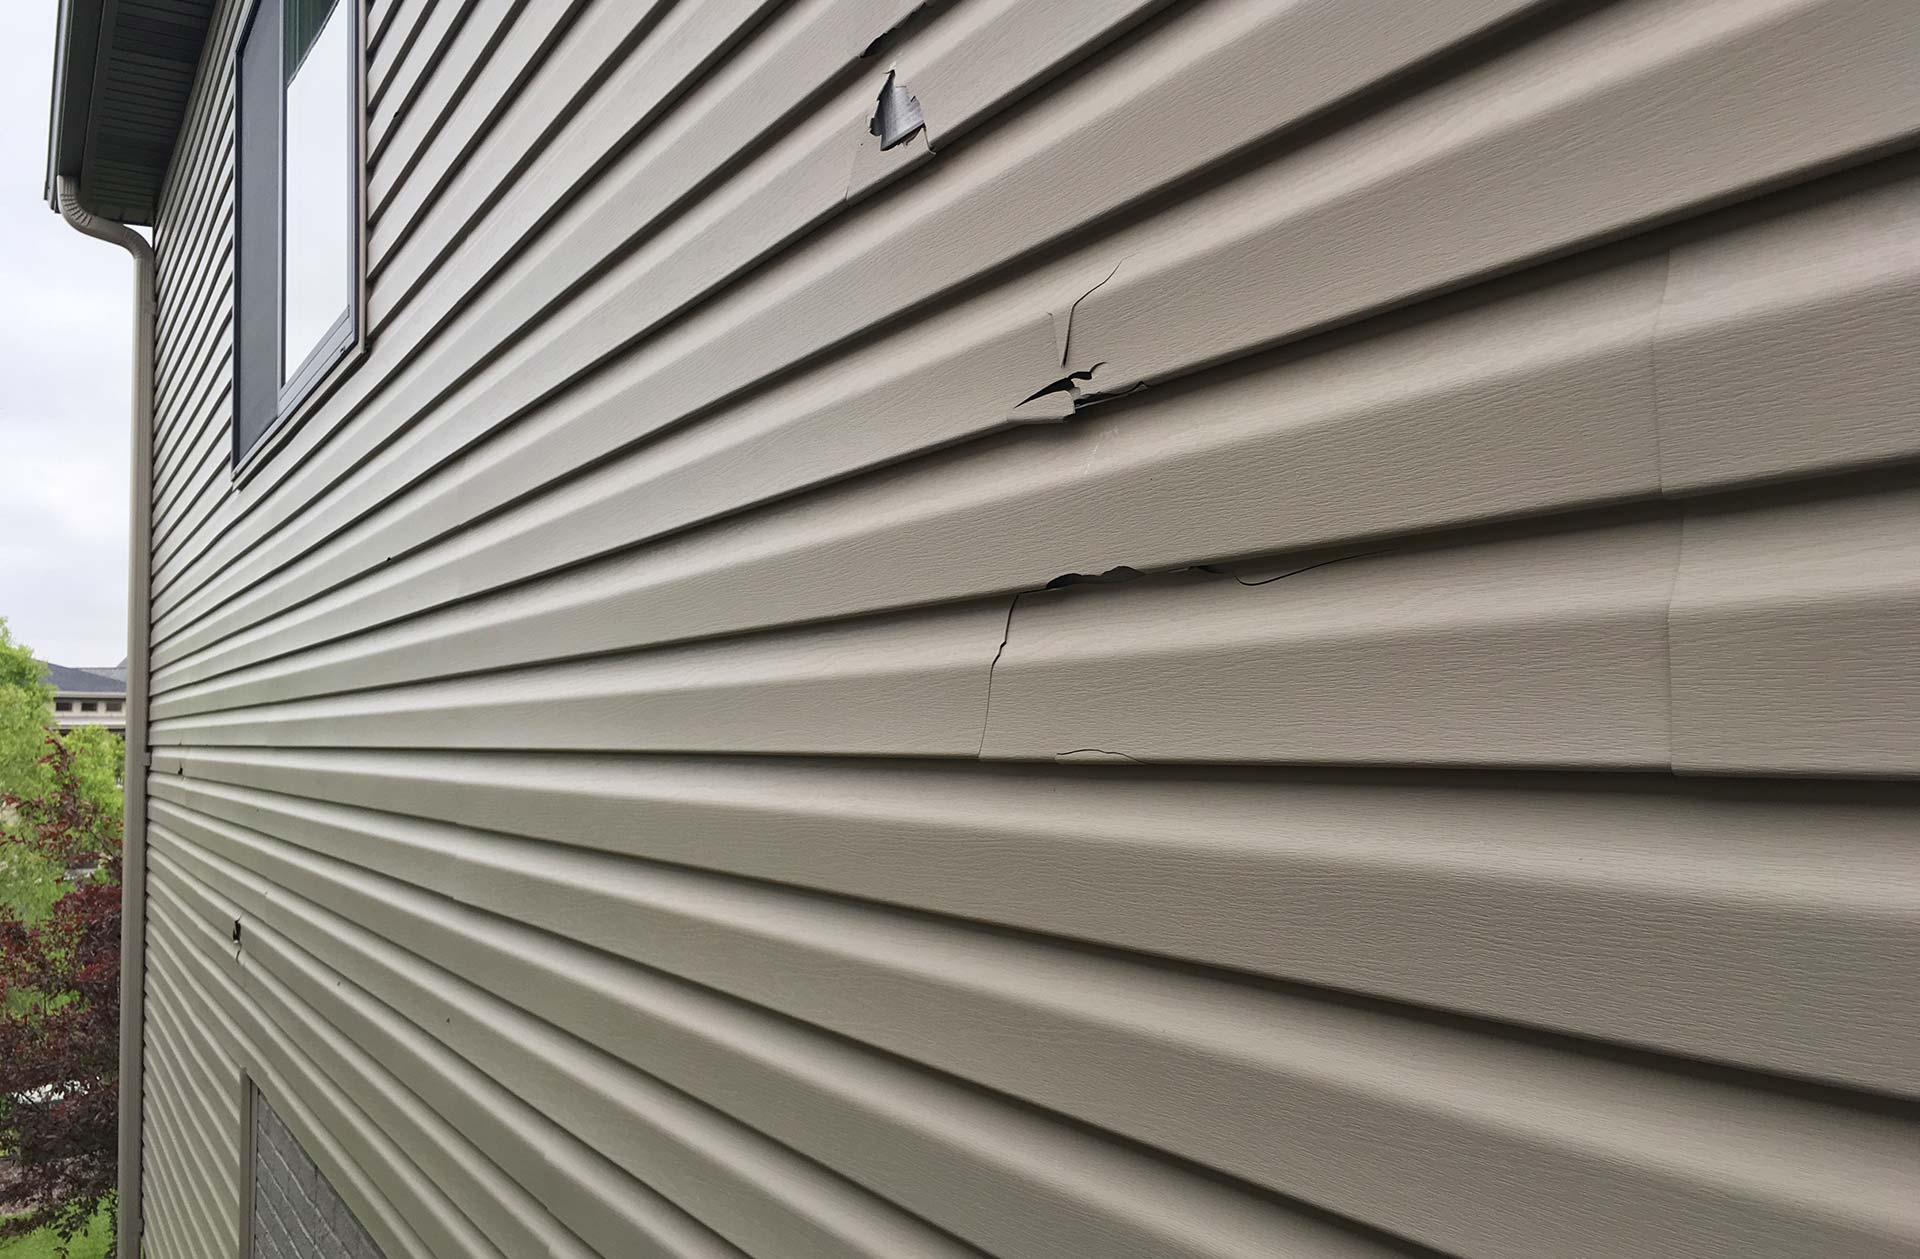
Before you begin repairing your damaged siding, it’s important to assess the extent of the damage. This will help you determine whether the siding can be repaired or if it needs to be replaced entirely. Here’s how you can assess the damage:
1. Start by visually inspecting the siding. Look for signs of cracks, holes, rot, or warping. Pay attention to any areas where the siding appears loose or detached from the wall.
2. Gently press on the siding with your hand to check for any soft or spongy spots. This could indicate rotting or water damage beneath the surface.
3. Inspect the surrounding areas for signs of water infiltration, such as water stains or mold growth. These can indicate that the damaged siding is allowing water to seep into your home.
4. Check for any insect infestations, such as termites or carpenter ants, which can cause significant damage to your siding.
5. If you have access to the interior of the wall, examine it for any moisture or water damage. This can be a sign that the siding is not effectively protecting your home.
Based on your assessment, you will be able to determine the best course of action for repairing the damaged siding. In some cases, minor cracks or holes can be patched and repaired, while severe damage or extensive rot may require complete replacement of the affected area.
Keep in mind that if the damage is widespread or if you’re unsure about the severity of the issue, it’s advisable to consult a professional to get an accurate assessment and expert recommendations.
Now that you’ve assessed the damage, let’s move on to Step 2: Gathering Materials and Tools.
Step 2: Gathering Materials and Tools
Once you have assessed the damage to your siding, the next step is to gather the necessary materials and tools for the repair or replacement process. Here’s a list of items you will need:
- Siding material: Depending on the type of siding you have, such as vinyl, wood, or fiber cement, purchase enough matching siding to replace the damaged sections. You can usually find replacement siding at home improvement stores or from siding manufacturers.
- Utility knife: This will be used to cut and trim the siding.
- Pry bar: A pry bar will help you remove the damaged siding by loosening the nails or fasteners holding it in place.
- Hammer: You will need a hammer to remove nails and secure the new siding in place.
- Caulk gun and exterior caulk: Caulking will help seal any gaps or joints in the siding to prevent water infiltration.
- Level: Use a level to ensure the new siding is installed straight and level.
- Tape measure: Measure and cut the new siding accurately with a tape measure.
- Screws or nails: Depending on the type of siding and your personal preference, you will need screws or nails to secure the new siding.
- Saw: If the damaged siding requires replacement, you may need a saw to cut out and remove the affected sections.
- Ladder or scaffolding: For work on higher levels of your home, ensure you have a stable ladder or scaffolding to safely reach and access the damaged siding.
- Protective gear: It’s essential to protect yourself during the repair process. Wear safety goggles, gloves, and appropriate clothing to prevent injuries.
Make sure to gather all your materials and have them readily available before you start the repair process. This will help you complete the project efficiently without the need for multiple trips to the store.
Now that you’ve gathered all the necessary materials and tools, you’re ready to move on to Step 3: Removing the Damaged Siding.
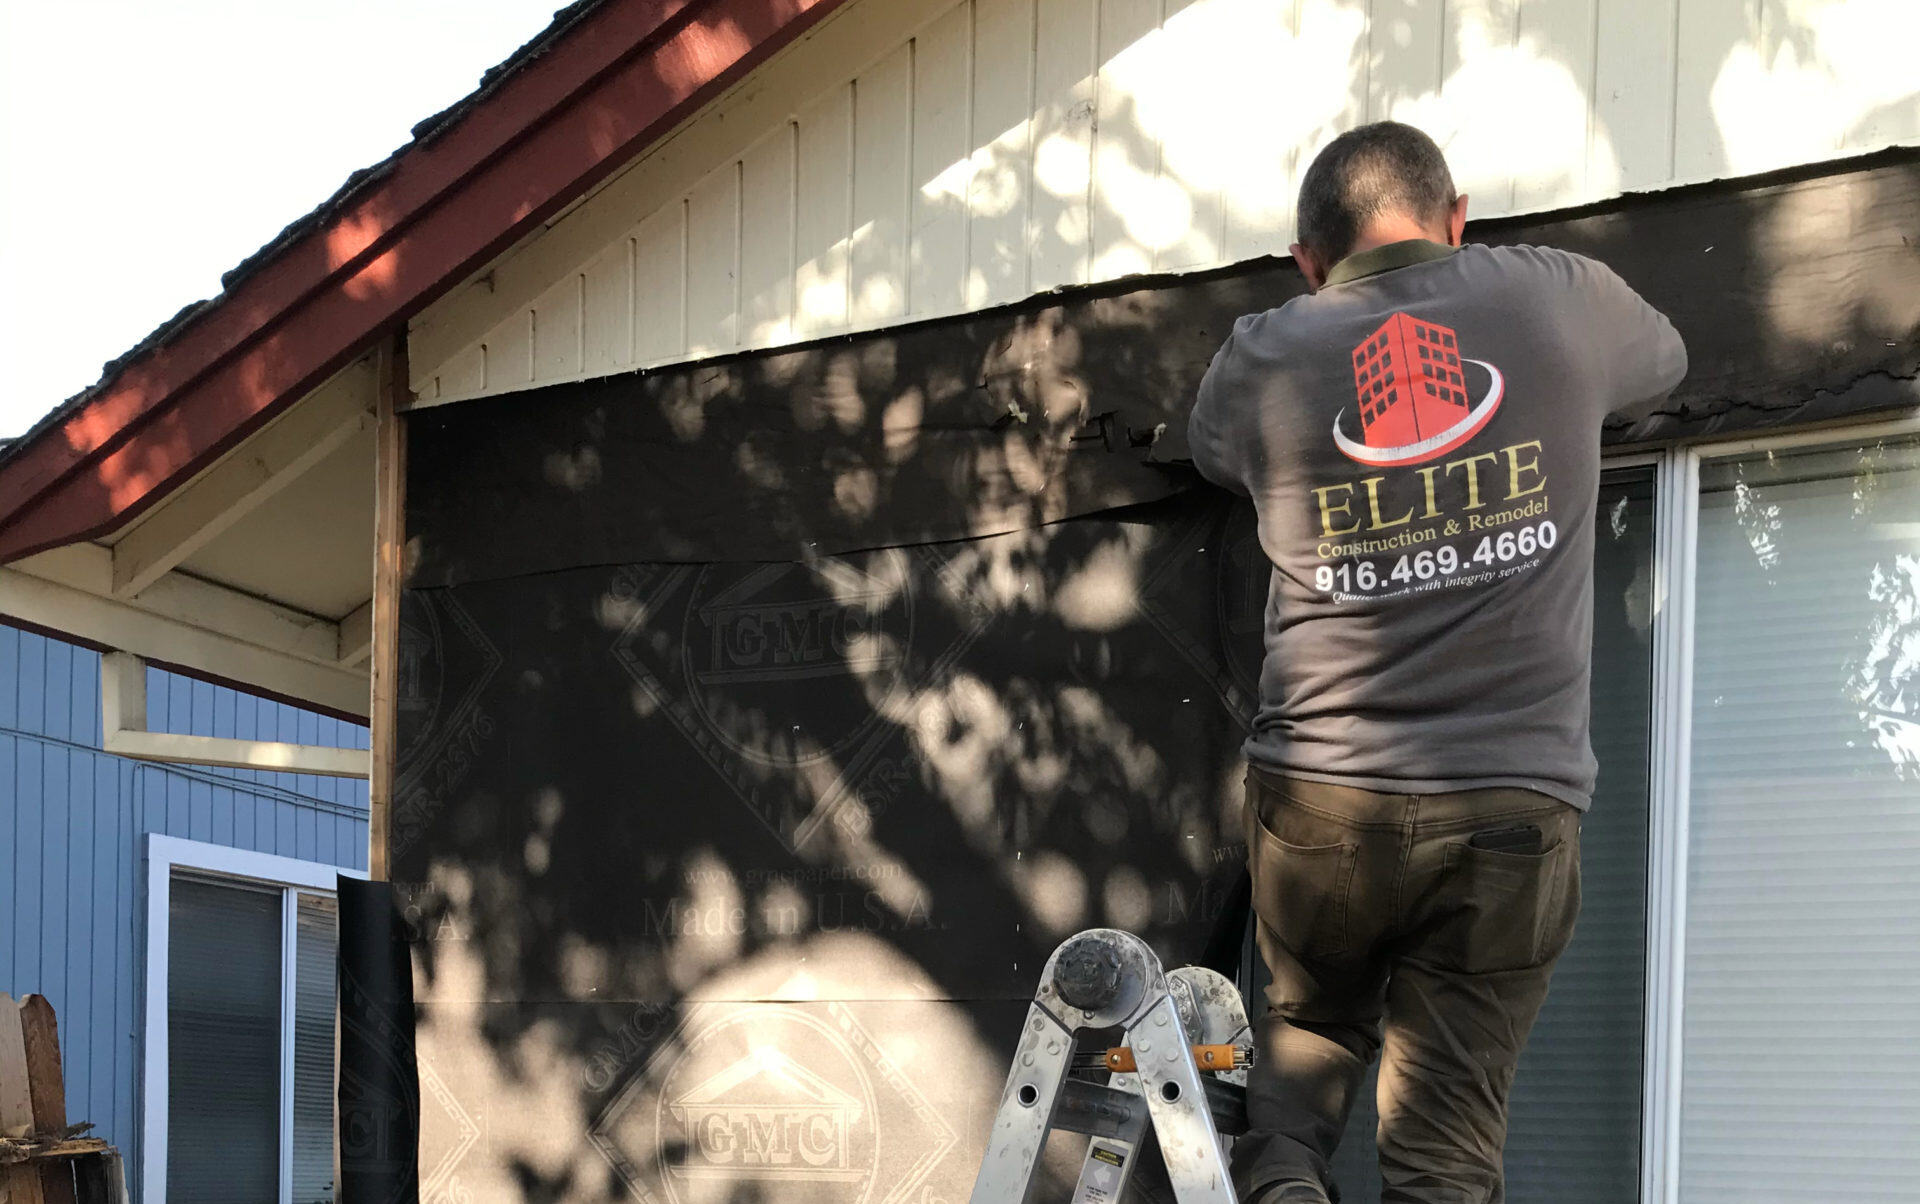
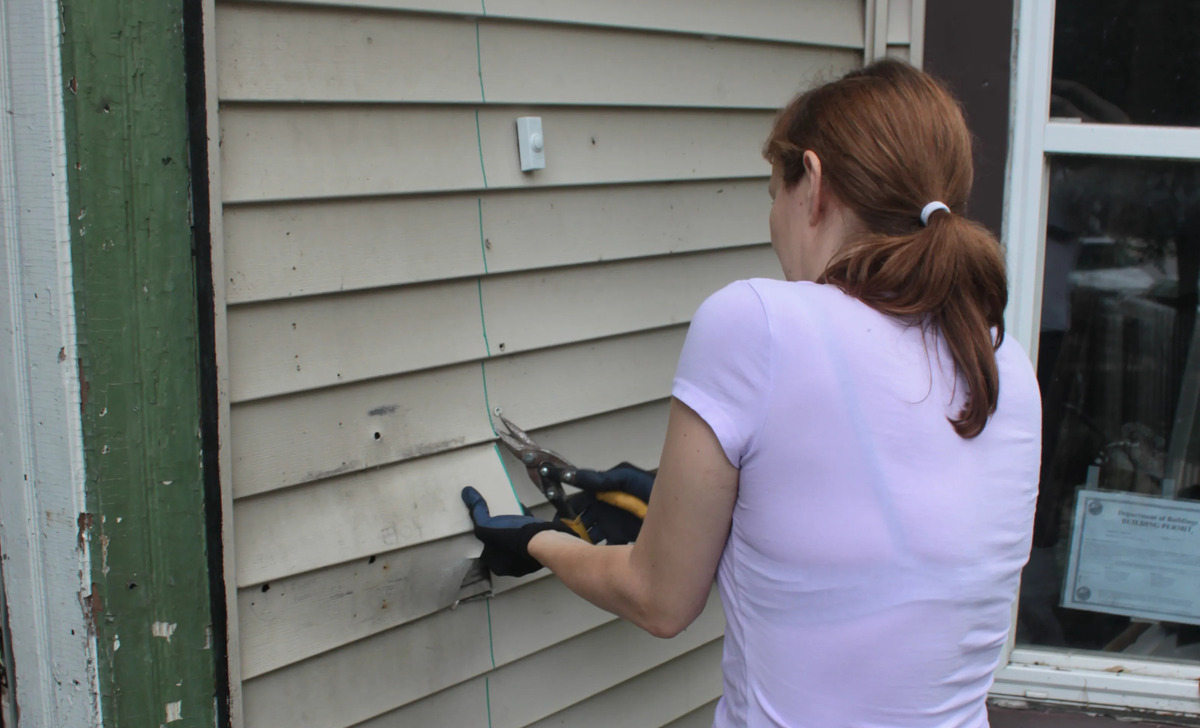
Step 3: Removing the Damaged Siding
Now that you have assessed the damage and gathered all the materials and tools, it’s time to remove the damaged siding. Follow these steps to safely and effectively remove the damaged siding:
- Start by positioning your ladder or scaffolding securely to reach the damaged area. Ensure that you have a stable and level surface to work on.
- Using a pry bar, gently insert it between the damaged siding and the overlapping piece above it. Apply slight pressure to loosen the siding from the wall. Be cautious not to damage adjacent undamaged siding.
- Move along the length of the damaged area, working your way from top to bottom. Carefully pry the siding away from the wall, gradually detaching it from the nails or fasteners holding it in place.
- If the siding is nailed, use a hammer to remove the nails. If it’s secured with screws, use a screwdriver or drill to unscrew them and remove the damaged siding.
- Once the damaged siding is removed, inspect the exposed area for any underlying issues, such as rot or moisture damage. If necessary, make any repairs or fix the underlying problem before proceeding with the installation of the new siding.
It’s crucial to handle the removal process with care to avoid causing additional damage to the surrounding siding or the wall underneath. Take your time and be mindful of any fragile or delicate sections.
Now that you have successfully removed the damaged siding, let’s move on to Step 4: Repairing or Replacing the Siding.
When repairing damaged siding on a house, be sure to thoroughly clean the area before making any repairs. This will ensure that the new siding adheres properly and lasts longer.
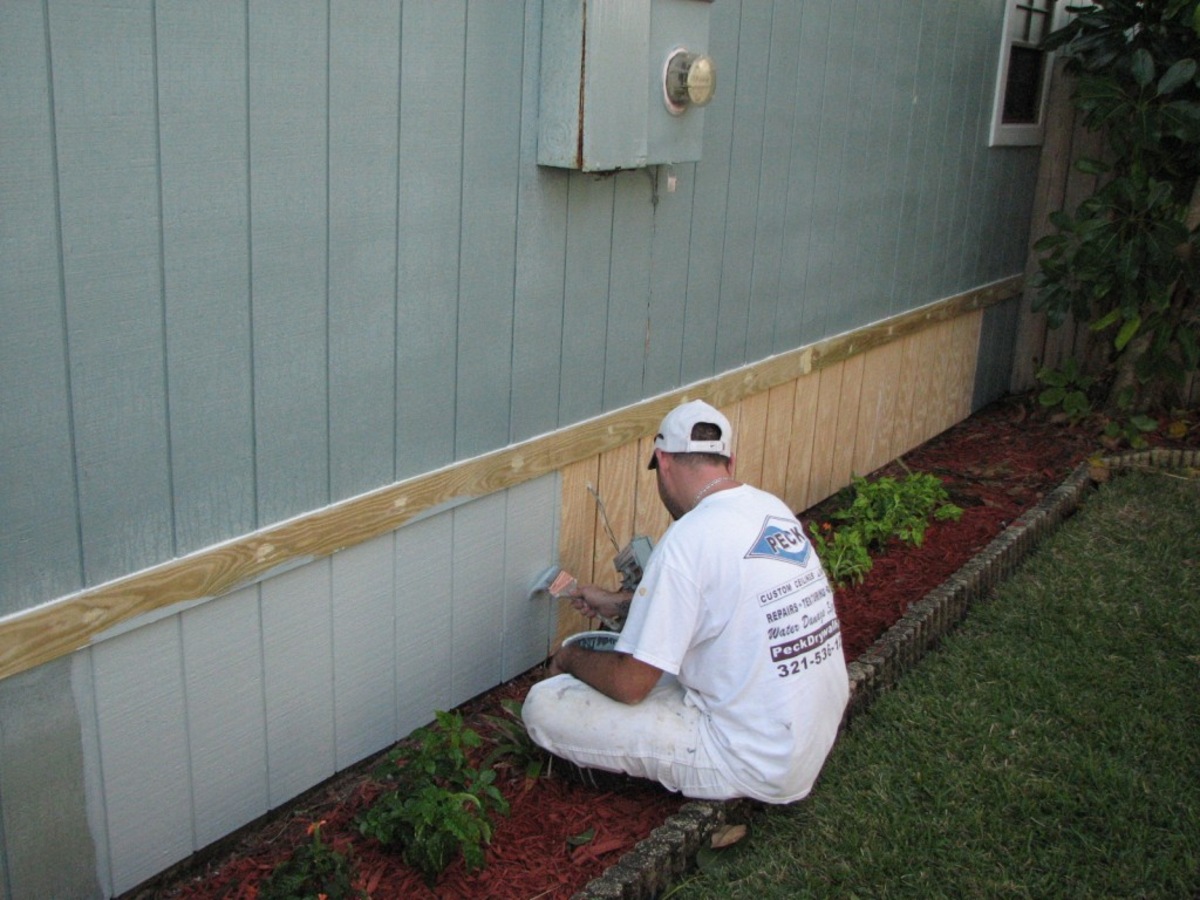
Step 4: Repairing or Replacing the Siding
With the damaged siding removed, you can now move on to the next phase of the repair process: repairing or replacing the siding. The specific steps will depend on the extent of the damage and the type of siding you have. Here’s how you can proceed:
If the damage is minor, such as small cracks or holes:
- Clean the area thoroughly to remove any dirt, debris, or loose particles.
- If there are any visible gaps or cracks, fill them with exterior caulk. Apply the caulk using a caulk gun, ensuring a smooth and even application.
- Allow the caulk to dry completely before moving on to the next step.
- Inspect the repaired area to ensure it blends seamlessly with the surrounding siding. If necessary, you can lightly sand and paint the repaired section to match the color of the rest of the siding.
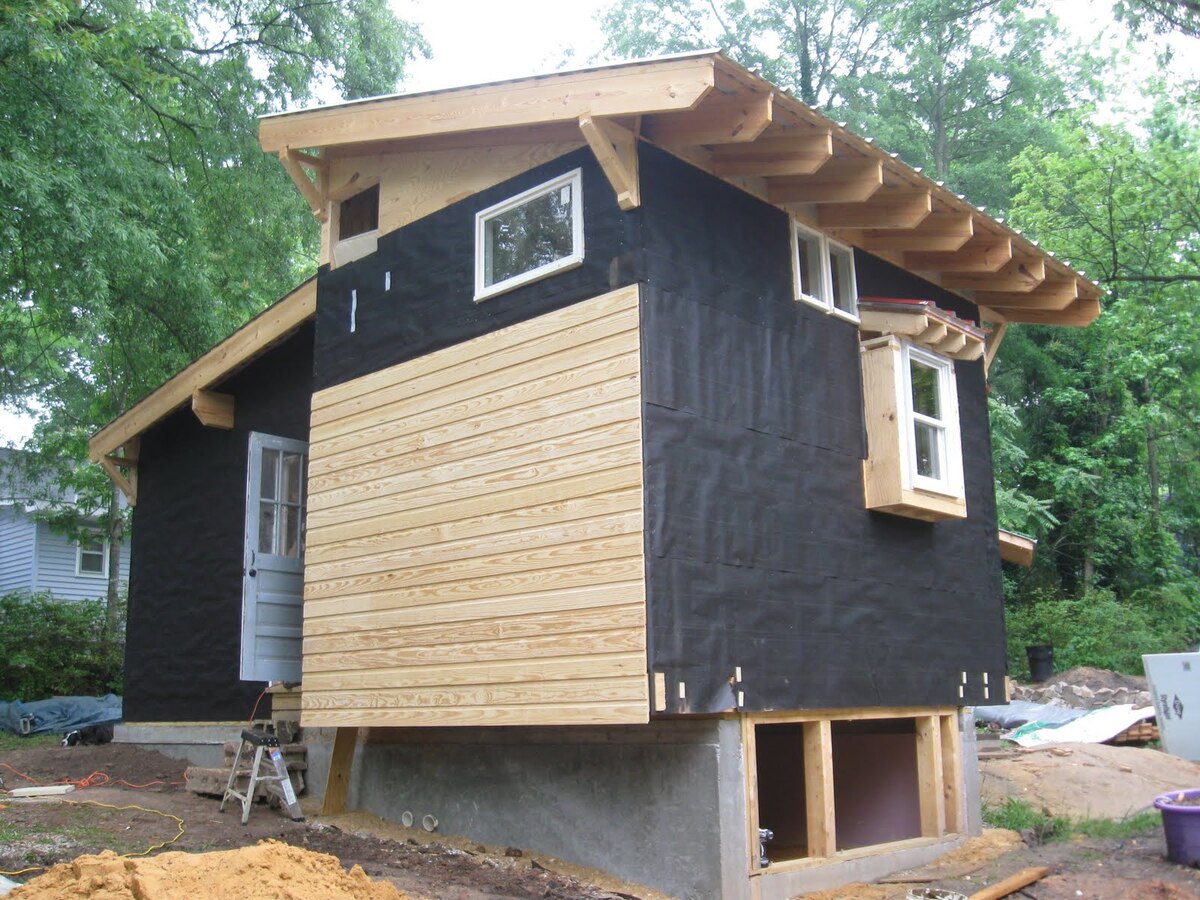
If the damage is severe or widespread, such as extensive rot or large sections needing replacement:
- Measure the dimensions of the damaged area and mark those measurements on the new siding material.
- Using a utility knife or saw, carefully cut the new siding to match the marked measurements.
- Position the new siding against the wall, ensuring it aligns correctly with the existing siding and any surrounding trim.
- If necessary, adjust the size or shape of the new siding to fit perfectly.
- Secure the new siding in place using screws or nails, ensuring they are evenly spaced and properly driven into the wall.
Remember to refer to any specific manufacturer instructions for your particular type of siding to ensure the most accurate and effective repair or replacement process.
Now that you have repaired or replaced the damaged siding, let’s move on to Step 5: Installing and Securing the New Siding.
Read more: How Much Hail Damage To Replace Siding
Step 5: Installing and Securing the New Siding
Now that you have repaired or replaced the damaged siding, it’s time to install and secure the new siding. Follow these steps to ensure a successful installation:
- Place the new siding piece against the wall, aligning it with the existing siding and any surrounding trim. Make sure it fits correctly and sits flush against the wall.
- Using your level, check that the new siding is straight and level. Adjust as needed.
- Insert screws or nails through the top edge of the new siding, leaving a small gap between the siding and the wall to allow for expansion and contraction.
- Continue securing the siding by placing screws or nails every 6 to 8 inches along the length of the siding.
- Make sure the fasteners penetrate both the new siding and the underlying wall for a secure and stable hold.
- Repeat the process for any additional siding pieces, ensuring they are properly aligned and secured to the wall.
It’s important to note that the specific installation process may vary depending on the type of siding you have. Refer to the manufacturer’s guidelines or consult with a professional if you have any doubts or questions during this step.
Now that the new siding is installed and secured, let’s move on to Step 6: Finishing Touches and Painting.
Step 6: Finishing Touches and Painting
With the new siding installed, it’s time to put the finishing touches on your repair project. Here’s what you need to do in this final step:
- Clean the area around the repaired or replaced siding. Remove any dust, debris, or excess caulk from the surface.
- If necessary, sand down any rough edges or uneven surfaces to ensure a smooth finish.
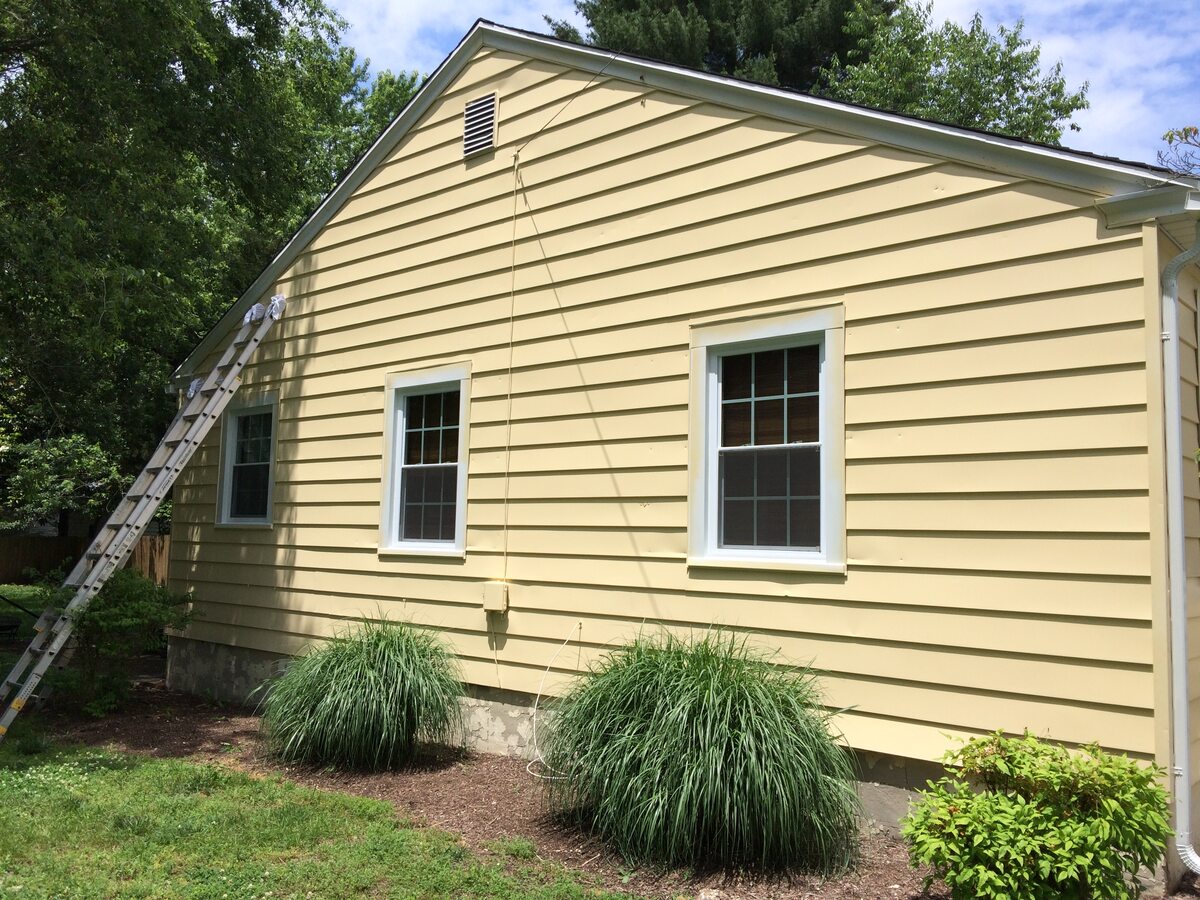
- Inspect the repaired area to ensure it blends seamlessly with the surrounding siding. If needed, apply a coat of matching paint or stain to achieve a consistent appearance.
- Allow the paint or stain to dry completely according to the manufacturer’s instructions.
- Perform a final inspection to ensure all repairs are secure, and the siding looks uniform and aligned with the rest of your home’s exterior.
Finishing touches such as painting not only improve the aesthetic appeal of your repaired siding but also help protect it from the elements and extend its lifespan.
Now that you have completed the repair process and applied the finishing touches, stand back and admire your handiwork. Your siding should now be restored and ready to withstand the elements for years to come.
Remember, regular maintenance and timely repairs are crucial to preserving the integrity and appearance of your siding. If you notice any future damage or issues, address them promptly to avoid more extensive repairs or potential structural damage.
Congratulations on successfully repairing your damaged siding! Not only have you saved money by tackling the project yourself, but you have also helped maintain the beauty and functionality of your home.
Thank you for following our comprehensive guide on how to repair damaged siding on your house. We hope you found this article helpful and informative. If you have any further questions or need assistance, feel free to consult a professional or reach out to your local home improvement store for guidance.
Conclusion
Repairing damaged siding on your house is an important task that should not be neglected. By addressing the damage promptly, you can prevent further deterioration, protect your home from the elements, and maintain its curb appeal. This comprehensive guide has provided you with a step-by-step process to assess the damage, gather materials and tools, remove the damaged siding, repair or replace it, and ensure a proper installation.
Throughout the repair process, it’s important to prioritize safety and take necessary precautions. Wear protective gear, work on stable surfaces, and consult a professional if you’re unsure about your abilities or encounter complex issues. By following these guidelines and taking proper care, you can successfully repair your damaged siding and save money on professional repairs.
Remember that regular maintenance and timely repairs are crucial for the longevity and appearance of your siding. Inspect your siding periodically to spot any signs of damage or wear, and address them promptly to prevent further issues down the line. By maintaining your siding, you not only preserve the functionality of your home but also enhance its overall aesthetic appeal.
We hope that this comprehensive guide has provided you with the necessary knowledge and confidence to repair damaged siding on your house. If you have any further questions or need assistance, don’t hesitate to reach out to a professional or consult your local home improvement store for guidance.
Thank you for taking the time to read this article, and we wish you success in your siding repair endeavors!
Frequently Asked Questions about How To Repair Damaged Siding On House
Was this page helpful?
At Storables.com, we guarantee accurate and reliable information. Our content, validated by Expert Board Contributors, is crafted following stringent Editorial Policies. We're committed to providing you with well-researched, expert-backed insights for all your informational needs.


0 thoughts on “How To Repair Damaged Siding On House”