
Articles
How To Fix Cracked Siding
Modified: October 27, 2024
Learn effective techniques to repair cracked siding with our informative articles. Discover step-by-step guides and expert tips to restore your home's exterior.
(Many of the links in this article redirect to a specific reviewed product. Your purchase of these products through affiliate links helps to generate commission for Storables.com, at no extra cost. Learn more)
Introduction
Having cracked siding on your home can be a frustrating problem. Not only does it impact the overall appearance of your property, but it can also lead to more serious issues such as water damage and mold growth. Fortunately, fixing cracked siding is a task that can be tackled with some know-how and a few basic tools.
In this article, we will guide you through the process of fixing cracked siding, step by step. Whether you have a small crack that needs repair or need to replace an entire siding panel, we’ve got you covered. We’ll also provide tips on preventing future cracks and maintaining the longevity of your siding.
Before we dive into the details, it’s important to note that the specific methods and materials required for repairing cracked siding can vary depending on the type of siding you have. From vinyl to wood to fiber cement, understanding the composition and characteristics of your siding will help you choose the most appropriate repair techniques.
So, without further ado, let’s get started on fixing that cracked siding and restoring the beauty and integrity of your home!
Key Takeaways:
- Understanding the causes and extent of cracked siding is crucial for effective repair. Assess the damage, gather the right tools, and take preventative measures to ensure a successful and long-lasting restoration.
- Whether patching small cracks or replacing entire panels, attention to detail and proper finishing touches, such as painting, are essential for a professional and polished result. Regular maintenance and proactive care can prevent future cracks and preserve the beauty of your home’s exterior.
Read more: How To Fix Cracked Sink
Understanding the Problem
Before you can effectively repair cracked siding, it’s crucial to have a clear understanding of the problem and what might have caused it. Cracked siding can occur due to a variety of factors, such as:
- Weathering: Over time, exposure to harsh elements like sun, wind, and rain can cause the siding material to deteriorate and eventually crack.
- Impact Damage: Accidental impacts from objects like tree branches, hail, or even a stray baseball can result in cracks or holes in the siding.
- Improper Installation: If the siding wasn’t properly installed, it can lead to stress points and eventually result in cracking.
- Settling of the House: As a house settles over the years, it can put strain on the siding, leading to cracks.
Identifying the cause of the cracked siding will help you determine the best course of action for repairing it. It’s also important to note that different siding materials may exhibit different types of cracks. For example, vinyl siding might develop vertical cracks, while wood siding can have splitting or warping. Understanding the specific characteristics of your siding will guide you in choosing the appropriate repair methods.
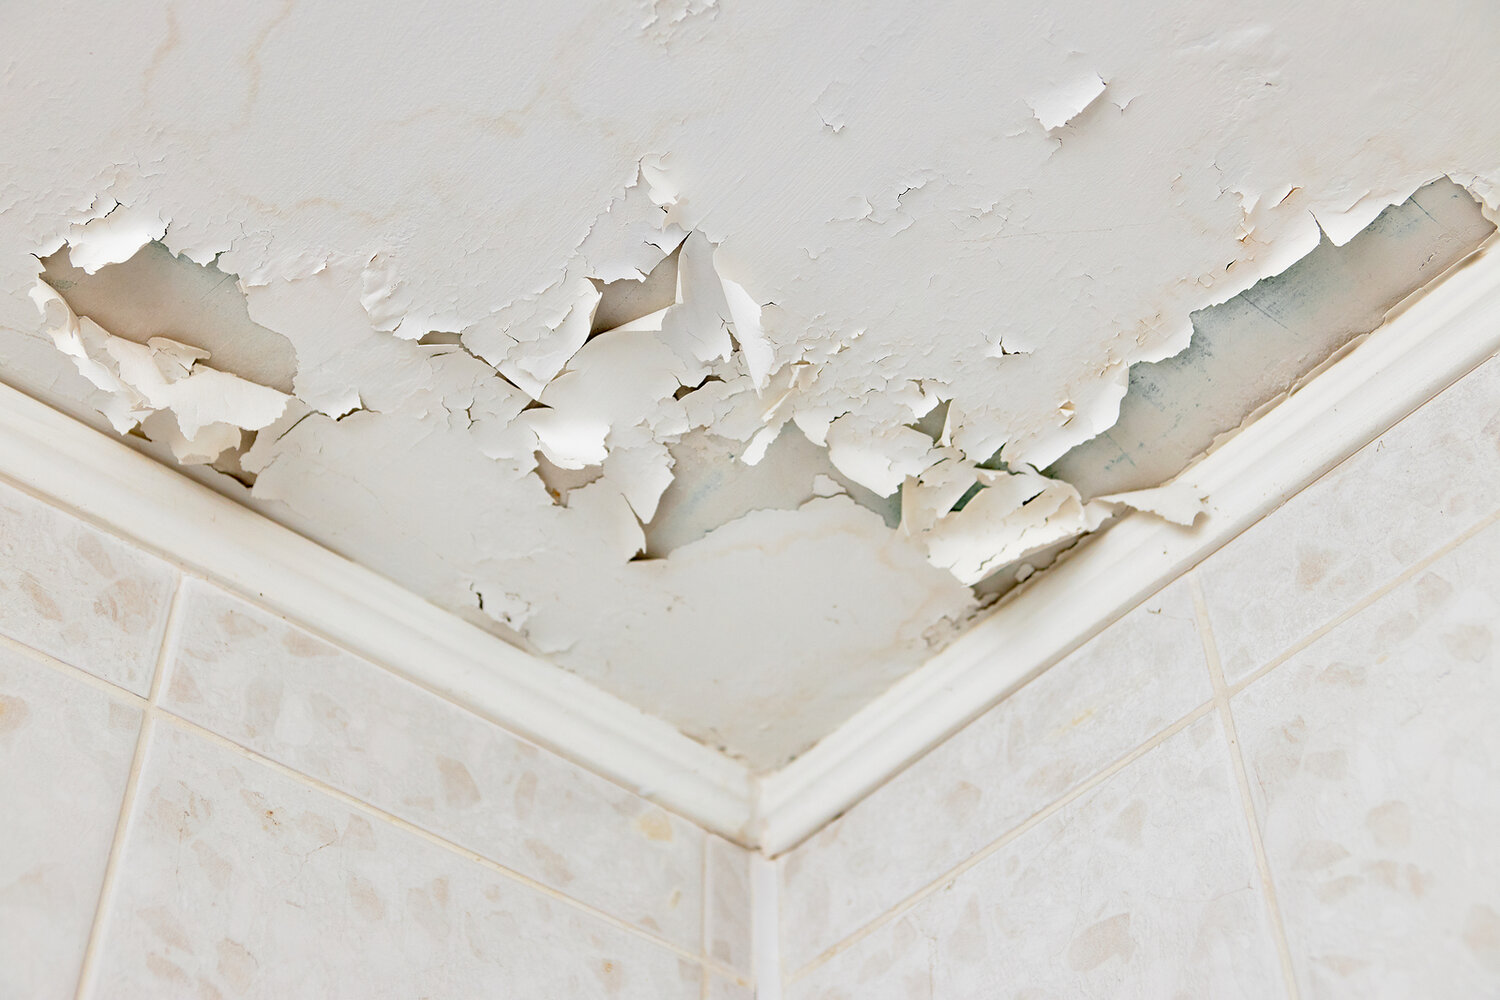
When inspecting the cracked siding, take note of the severity and extent of the damage. Are there just a few small cracks, or is an entire section of siding compromised? This will determine whether you need to simply patch the cracks or replace entire panels. It’s also a good idea to check for any signs of underlying issues, such as water damage or mold growth, as these should be addressed before proceeding with the repairs.
By thoroughly understanding the problem and its causes, you can proceed with confidence in repairing your cracked siding and preventing future issues.
Assessing the Damage
Once you’ve identified the cracked siding and understood the potential causes, the next step is to assess the extent of the damage. This will help you determine the best approach for repair and replacement.
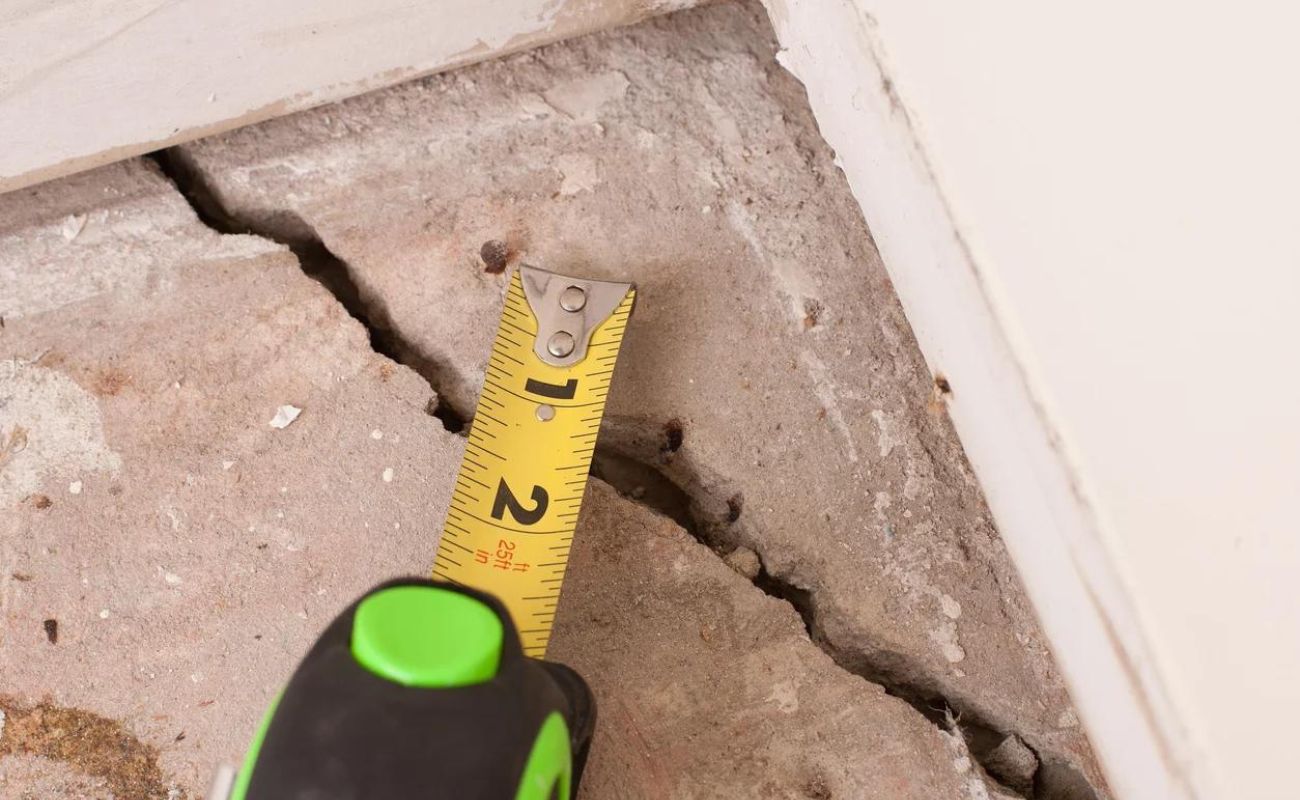
Begin by inspecting the cracked siding up close. Examine the size and length of the crack, as well as whether it is a surface-level crack or if it extends deeper into the siding material. Small, superficial cracks can often be repaired easily, while larger or more extensive cracks may require more involved repair or replacement.
Next, determine if the cracked siding is isolated or if it is part of a larger area of damage. If there are multiple cracks in the same vicinity, it may be more efficient to replace an entire section of siding rather than attempting to repair each individual crack.
Additionally, check for any signs of moisture infiltration or rotting beneath the cracked siding. This is especially common in wooden siding, where moisture can seep in and compromise the structural integrity of the material. If severe water damage or rot is present, it is essential to address this issue before proceeding with the siding repair.
Lastly, evaluate the overall condition of the rest of the siding on your home. If the cracked siding is older and showing signs of wear and tear, it may be a good opportunity to consider replacing all or a significant portion of the siding to ensure a more uniform appearance and improved longevity.
By thoroughly assessing the damage, you can make an informed decision about the best course of action for repairing or replacing the cracked siding. This will help you achieve lasting results and restore the aesthetic appeal and functionality of your home’s exterior.
Gathering Materials and Tools
Before you begin repairing the cracked siding, it’s important to gather all the necessary materials and tools. Having everything on hand will save you time and ensure a smooth and efficient repair process.
The specific materials and tools you’ll need can vary depending on the type of siding and the severity of the damage, but here are some common items to consider:
- Siding Repair Kit: These kits are often available for specific types of siding, such as vinyl or wood, and typically include filler or patching material, adhesive, and sometimes color-matching paint or stain.
- Pry Bar: A pry bar will come in handy for removing damaged siding panels and accessing the underlying structure if necessary.
- Hammer: A hammer is essential for removing nails, securing new siding, and making minor adjustments.
- Utility Knife: A utility knife will be useful for cutting and shaping siding pieces and trim.
- Caulking Gun: If there are any gaps or joints in the siding, a caulking gun and appropriate sealant can help prevent water infiltration.
- Measuring Tape: Accurate measurements are crucial for cutting replacement siding panels to the correct size.
- Ladder or Scaffolding: Depending on the height of your home, you may need a ladder or scaffolding to safely reach and repair the cracked siding.
- Safety Gear: Don’t forget to prioritize safety. Wear gloves, safety glasses, and appropriate footwear to protect yourself during the repair process.
It’s also a good idea to refer to the manufacturer’s guidelines for your specific type of siding. They may provide additional recommendations or specifications for repair materials and tools.
By gathering all the necessary materials and tools before you begin, you’ll be well-prepared and able to complete the repair efficiently and effectively.
Cleaning the Area
Before you can start repairing the cracked siding, it’s important to clean the area surrounding the damage. This will ensure proper adhesion of the repair materials and a smooth finish.
Begin by removing any dirt, debris, or loose paint from the cracked siding. You can use a soft brush or broom to sweep away loose particles, or gently wipe the area with a damp cloth or sponge.
If there are any stubborn stains or mildew growth, you may need to use a mild detergent or specialized cleaning solution. Follow the manufacturer’s instructions and apply the cleaner to the affected area, using a scrub brush or sponge to gently work it in. Be sure to rinse thoroughly with clean water afterward to remove any residue.
If you’re dealing with mold or mildew, it’s crucial to address the underlying issue before proceeding with the repair. Use a mixture of water and bleach to clean the affected area. Make sure to wear protective gloves and eyewear, and ensure proper ventilation to avoid inhaling the fumes. Allow the bleach solution to sit for a few minutes, then scrub the area gently with a brush. Rinse thoroughly with clean water to remove any traces of bleach.
Once the area is clean and dry, inspect it again to ensure there are no lingering dirt, stains, or debris. A clean surface will provide a better foundation for the repair materials and help to achieve a seamless finish.
By taking the time to clean the area properly, you’ll ensure a successful repair and improve the overall appearance of your siding.
Inspect the cracked siding to determine the cause, such as moisture or structural issues. Then, repair the crack using a high-quality exterior caulk and paint to match the existing siding.
Read more: How To Fix A Crack In Stucco
Repairing Small Cracks
If you’re dealing with small cracks in your siding, you can often repair them using a simple patching method. Here’s how:
- Start by cleaning the cracked area thoroughly, following the steps outlined in the previous section. This will ensure proper adhesion of the patching material.
- Once the area is clean and dry, prepare the patching material according to the manufacturer’s instructions. This may involve mixing the filler or applying adhesive to the back of the patch.
- Apply a small amount of the patching material to the crack, using a putty knife or a similar tool. Smooth it out and ensure the crack is completely filled. If necessary, apply additional layers to achieve a flush finish.
- Allow the patching material to dry completely. This may take several hours or even overnight, depending on the product.
- Once the patch is dry, use a fine sandpaper to gently sand down any rough edges or excess filler. This will help to create a smooth and seamless surface.
- If the patching material does not perfectly match the color of your siding, you can touch it up with paint or stain. Use a small brush to carefully apply the color, blending it with the surrounding siding for a cohesive look.
- Inspect the repaired area to ensure the crack is no longer visible and the patch is secure. Make any necessary adjustments or additional touch-ups as needed.
Repairing small cracks in your siding is a relatively straightforward process that can be completed with basic tools and materials. By following these steps, you’ll be able to restore the integrity and appearance of your siding, ensuring its longevity and aesthetic appeal.
Replacing Damaged Siding Panels
If you’re dealing with larger cracks or extensive damage to your siding, the best solution may be to replace the damaged panels. Here’s a step-by-step guide to help you through the process:
- Start by removing any trim or molding that may be covering the edges of the damaged panel. Use a pry bar and gently work it under the trim to loosen and remove it.
- Once the trim is removed, locate the nails or fasteners securing the damaged panel to the underlying structure. Use a pry bar or hammer to carefully remove the nails, being cautious not to damage the surrounding siding.
- After removing the nails, slide the damaged panel out from the neighboring panels. Depending on the type of siding, you may need to lift it up or slide it sideways to disengage it from the adjacent pieces.
- Once the damaged panel is removed, assess the condition of the underlying structure. If there is any water damage, rot, or other issues, take the necessary steps to address and repair them before proceeding.
- Measure the dimensions of the replacement siding panel, taking into account any necessary allowances for expansion and contraction. Use a pencil or marker to mark the cutting line on the new panel.
- Using a saw or shears appropriate for your siding material, carefully cut along the marked line to create the replacement panel.
- Apply adhesive or caulk to the back of the replacement panel, following the manufacturer’s instructions. Carefully slide the panel into place, ensuring a snug fit and aligning it with the existing siding.
- Secure the replacement panel by using nails or fasteners recommended for your siding material. Place the nails in the designated locations, being careful not to drive them in too tightly to allow for natural expansion and contraction.
- After the replacement panel is securely in place, reinstall any trim or molding that was previously removed. Use nails or adhesive to affix the trim, ensuring a clean finish.
- Inspect the repaired area to ensure the replacement panel is properly installed and matches the surrounding siding. Make any necessary adjustments or touch-ups as needed.
Replacing damaged siding panels can be a more involved process than repairing small cracks, but it allows for a more seamless and longer-lasting solution. With proper care and attention to detail, you’ll be able to restore the appearance and functionality of your siding.
Painting and Finishing Touches
Once you have repaired or replaced the damaged siding, it’s important to finish off the project by painting and adding some final touches. Here are the steps to follow:
- If you have replaced siding panels, ensure that the replacement panel or patches have dried completely before proceeding with painting.
- Start by selecting a paint color that matches the existing siding. It’s best to choose a paint specifically formulated for outdoor use and compatible with your siding material.
- Clean the surrounding siding and the repaired area to remove any dirt, dust, or debris. This will ensure a smooth and even paint application.
- Use painter’s tape to mask off any adjacent areas or trim that you want to protect from accidental paint splatters.
- Apply a coat of primer to the repaired area. This will help the paint adhere better and provide a uniform appearance.
- Once the primer is dry, you can begin painting. Use a brush or roller to apply the paint evenly, following the manufacturer’s instructions for your specific type of siding and paint.
- Apply additional coats of paint as needed, allowing each coat to dry completely before applying the next. This will ensure a durable and long-lasting finish.
- Inspect the painted area once the final coat of paint has dried. Make any necessary touch-ups or adjustments to achieve a seamless blend with the surrounding siding.
- Remove the painter’s tape carefully once the paint is fully dried, ensuring clean edges and a professional appearance.
- To complete the finishing touches, consider adding any necessary trim or molding to enhance the overall aesthetic and protect the repaired area.
By carefully painting and adding the finishing touches, you will not only protect the repaired siding but also enhance the overall appearance of your home. Take your time and pay attention to detail to achieve a professional and polished result.
Preventing Future Cracks
While repairing cracked siding is essential, taking proactive steps to prevent future cracks can help you maintain the integrity and beauty of your home’s exterior. Here are some tips to consider:
- Schedule Regular Inspections: Conduct routine inspections of your siding to check for any signs of damage or wear. Catching and addressing small cracks early can prevent them from becoming bigger issues.
- Maintain Proper Clearance: Ensure that trees, shrubs, and other objects are kept a safe distance away from your siding. Overhanging branches or dense foliage can cause damage and create unnecessary stress on the siding.
- Trim Trees and Shrubs: Regularly trim tree branches and shrubs to prevent them from rubbing against the siding or causing impact damage during storms.
- Keep Gutters Clean: Clean your gutters regularly to prevent water buildup and ensure proper drainage. Clogged gutters can overflow and cause water to seep into the siding, leading to cracks and water damage.
- Maintain Proper Ventilation: Properly ventilate your home to prevent excess moisture buildup, which can lead to siding damage. Ensure that vents and fans are functioning correctly and that there is proper airflow throughout your home.
- Avoid Pressure Washing: While it may be tempting to use a pressure washer to clean your siding, it can actually cause damage and lead to cracks. Instead, opt for a softer cleaning method, such as using a gentle detergent and a soft sponge or brush.
- Address Underlying Issues: If you notice any signs of water damage, mold growth, or structural issues, address them promptly. Ignoring these problems can lead to further damage to your siding and potentially affect the structural integrity of your home.
- Choose Quality Materials: When replacing or installing siding, opt for high-quality materials that are durable and resistant to cracking. Consult with a professional to ensure you select the best siding option for your specific climate and needs.
By taking these preventive measures, you can significantly reduce the risk of future cracks in your siding. Regular maintenance and proactive care will help preserve the appearance and structural integrity of your home for years to come.
Read more: How To Fix Fireplace Cracks
Conclusion
Fixing cracked siding is a task that may seem daunting at first, but with the right knowledge and tools, it can be accomplished successfully. Whether you are repairing small cracks or replacing entire siding panels, following the proper steps and taking preventative measures will help restore the beauty and functionality of your home’s exterior.
By understanding the causes of cracked siding and assessing the extent of the damage, you can determine the most appropriate repair method. Gathering the necessary materials and tools, cleaning the area, and taking the time to properly repair or replace the damaged siding will ensure long-lasting results.
Adding finishing touches, such as painting and incorporating preventative measures, will not only enhance the aesthetics of your home but also protect your siding in the future. Regular inspections, proper clearance, maintenance of gutters, and addressing underlying issues are key to preventing future cracks and maintaining the integrity of your siding.
Remember, if you ever feel unsure or overwhelmed with the repair process, don’t hesitate to seek professional help. A skilled contractor or siding specialist can provide expert guidance and assistance for more complex repairs or installations.
By taking care of your siding and addressing cracks and damages promptly, you can enjoy a beautiful and well-maintained home. So, roll up your sleeves, gather your tools, and embark on the journey of restoring your cracked siding to its former glory!
Frequently Asked Questions about How To Fix Cracked Siding
Was this page helpful?
At Storables.com, we guarantee accurate and reliable information. Our content, validated by Expert Board Contributors, is crafted following stringent Editorial Policies. We're committed to providing you with well-researched, expert-backed insights for all your informational needs.


0 thoughts on “How To Fix Cracked Siding”