
Articles
How To Fix Spalling Concrete Driveway
Modified: October 22, 2024
Learn effective techniques and proven solutions for repairing spalling concrete driveways in our comprehensive articles. Increase the durability and aesthetics of your driveway today!
(Many of the links in this article redirect to a specific reviewed product. Your purchase of these products through affiliate links helps to generate commission for Storables.com, at no extra cost. Learn more)
Introduction
Having a well-maintained and visually appealing driveway is an important aspect of enhancing the curb appeal of your home. However, over time, your concrete driveway may develop a common issue known as spalling. This is when the surface of the concrete starts to deteriorate, resulting in small chips, pits, or flakes.
Spalling can occur due to various reasons, including freeze-thaw cycles, excessive moisture, the use of improper concrete mixtures, or the use of de-icing salts. Not only does it affect the appearance of your driveway, but it can also lead to further damage if left untreated. Therefore, it is crucial to address spalling as soon as possible to prevent it from worsening and preserve the integrity of your concrete driveway.
In this article, we will guide you through the process of fixing a spalling concrete driveway. By following these steps, you can restore your driveway’s functionality and aesthetic appeal, saving time and money in the long run.
Key Takeaways:
- Addressing spalling in a concrete driveway is crucial for preserving its appearance and integrity. Understanding the causes, assessing damage severity, and following a step-by-step repair process can restore functionality and save time and money in the long run.
- Proper maintenance, including regular cleaning, avoiding de-icing salts, and prompt crack repairs, is essential for preventing spalling in concrete driveways. Applying a concrete sealer and practicing proper drainage can significantly extend the lifespan of the driveway.
Read more: How To Fix Holes In A Concrete Driveway
Understanding Spalling Concrete Driveways
Before diving into the process of fixing a spalling concrete driveway, it is essential to understand why this issue occurs in the first place. Spalling is primarily caused by the penetration of moisture into the concrete surface, which then leads to the deterioration of the top layer.
Moisture is often the culprit behind spalling because it seeps into the concrete and causes the formation of small cracks. When the temperature drops, this moisture freezes and expands, exerting pressure on the concrete and resulting in the formation of larger cracks and flakes. Additionally, the use of de-icing salts during winter can accelerate the spalling process, as these salts contain chemicals that can further damage the concrete surface.
Another common cause of spalling is the use of improper concrete mixtures during the initial installation of the driveway. If the concrete mix lacks the necessary proportions of cement, sand, and aggregate, it becomes more susceptible to spalling and other forms of deterioration.
Furthermore, the age of the concrete driveway can also contribute to spalling. Over time, exposure to various weather conditions, heavy vehicle traffic, and general wear and tear can weaken the surface, making it more prone to spalling and other damages.
It is essential to address spalling as soon as it is noticed to prevent further deterioration and potential safety hazards. By understanding the causes of spalling, you can take necessary preventive measures and implement proper repair techniques to restore your concrete driveway.
Assessing the Severity of the Damage
Before proceeding with any repairs, it is crucial to assess the severity of the damage to your spalling concrete driveway. This will help determine the appropriate course of action and the extent of repairs needed.
Start by visually inspecting the driveway for signs of spalling. Look for areas where the concrete surface is chipped, pitted, or flaking off. Pay attention to any cracks that may have formed as well.
Next, examine the depth of the damage. Use a screwdriver or another sharp object to gently probe the surface of the spalled areas. If the probe easily penetrates the concrete, it indicates significant deterioration and deeper damage.
Consider the size and quantity of the spalled areas. If there are only a few small chips or flakes, repairs may be relatively simple. However, if the spalling covers a large portion of the driveway or there are extensive cracks, it may require more extensive repair work.
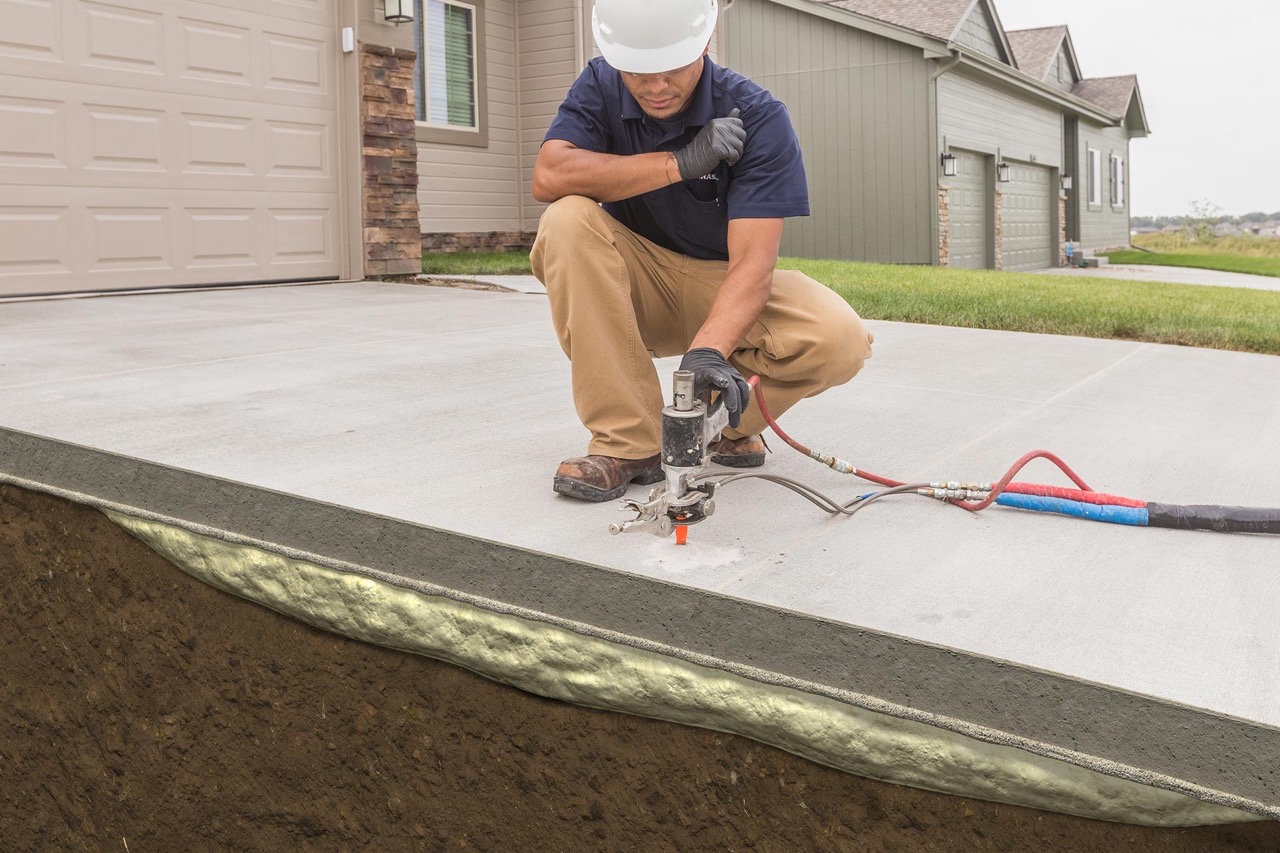
Additionally, assess the overall structural integrity of the driveway. If you notice any sinking or shifting of concrete sections, this may indicate a more severe problem that requires professional assistance.
Finally, consider the age and condition of the driveway. Older driveways that have undergone multiple rounds of spalling and repairs may require more in-depth restoration or concrete replacement.
By assessing the severity of the damage, you can determine the appropriate repair methods and materials needed to fix your spalling concrete driveway. In some cases, minor repairs and surface treatments may be sufficient, while in others, more comprehensive restoration work may be required.
Preparing the Necessary Tools and Materials
Before you begin fixing your spalling concrete driveway, it is important to gather all the necessary tools and materials. Having everything prepared beforehand will ensure a smoother repair process. Here are the tools and materials you will need:
- Protective gear: Safety should always be a priority when working with concrete. Equip yourself with safety goggles, gloves, and a dust mask to protect your eyes, hands, and respiratory system.
- Power washer: A power washer will help in removing any loose debris, dirt, or stains on the surface of the driveway. It is an essential tool for achieving a clean and smooth surface for repair.
- Wire brush: A wire brush is useful for removing any loose or flaking concrete from the spalled areas. It will help create a rougher surface that will better bond with the repair material.
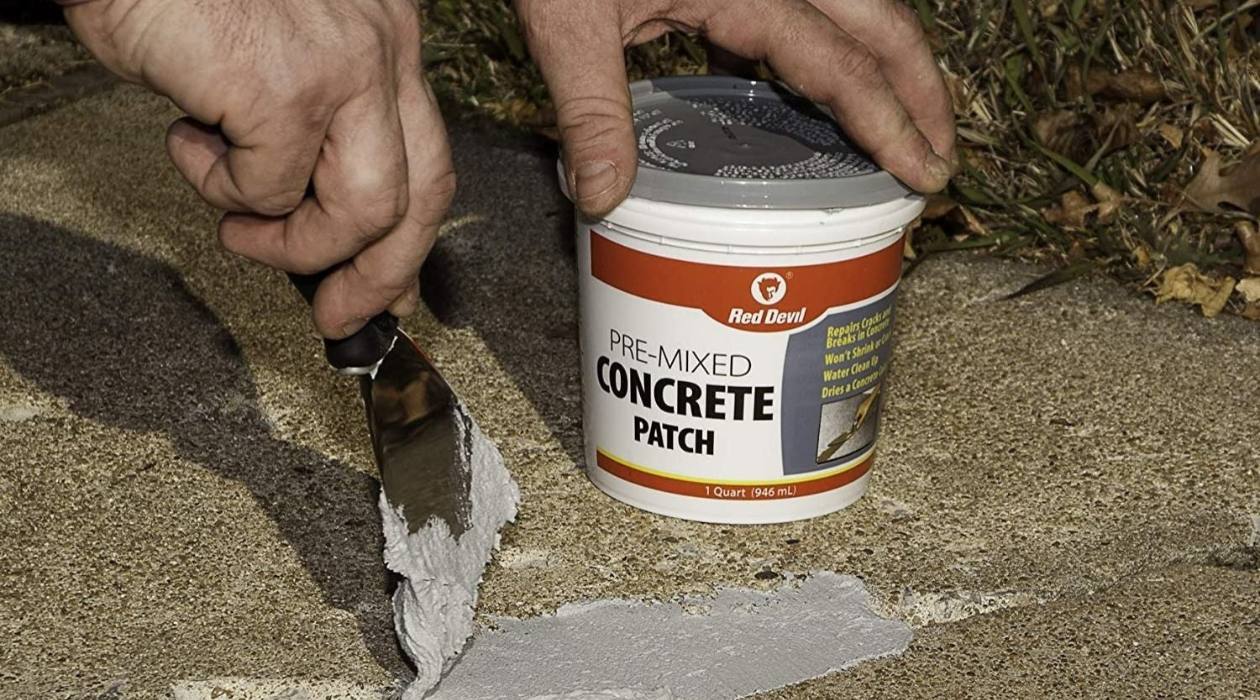
- Concrete patching compound: This is the main material you will use to repair the spalled areas. Choose a high-quality patching compound specifically designed for concrete repairs. It should be able to bond well and withstand heavy traffic.
- Trowel: A trowel is necessary for applying and smoothing out the patching compound on the surface of the driveway. Choose a trowel with a comfortable handle and a flat, smooth surface.
- Concrete resurfacer: If the spalling damage is extensive, you may need a concrete resurfacer to restore the entire driveway. This material helps create a new, fresh concrete layer on top of the existing surface.
- Broom or brush: A broom or brush will be used to sweep away any debris or loose particles after the repairing process is complete.
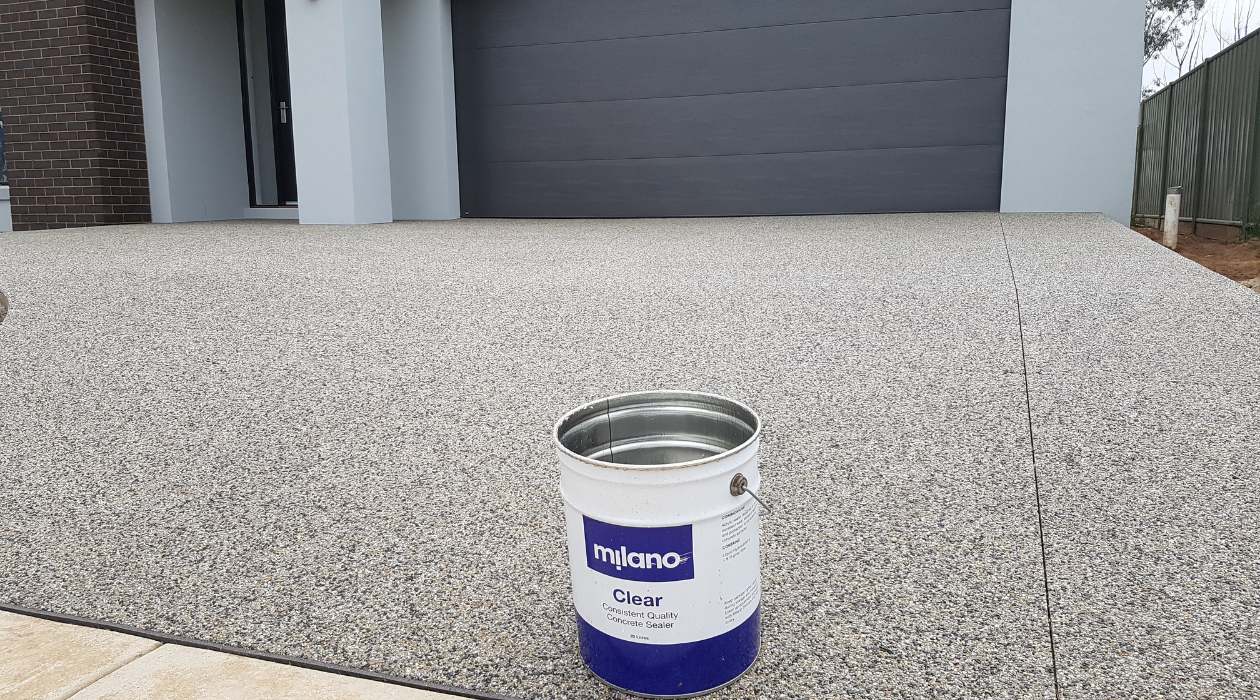
- Sealer: Once the repairs have been made, applying a concrete sealer is crucial for protecting the driveway and preventing future spalling. Choose a sealer suitable for your climate and driveway conditions.
Make sure to read the instructions and follow safety guidelines for all the tools and materials you will be using. By having everything prepared, you can proceed with confidence and efficiency in repairing your spalling concrete driveway.
Step-by-Step Guide to Fixing a Spalling Concrete Driveway
Now that you have gathered all the necessary tools and materials, it’s time to start repairing your spalling concrete driveway. Follow these step-by-step instructions for a successful repair:
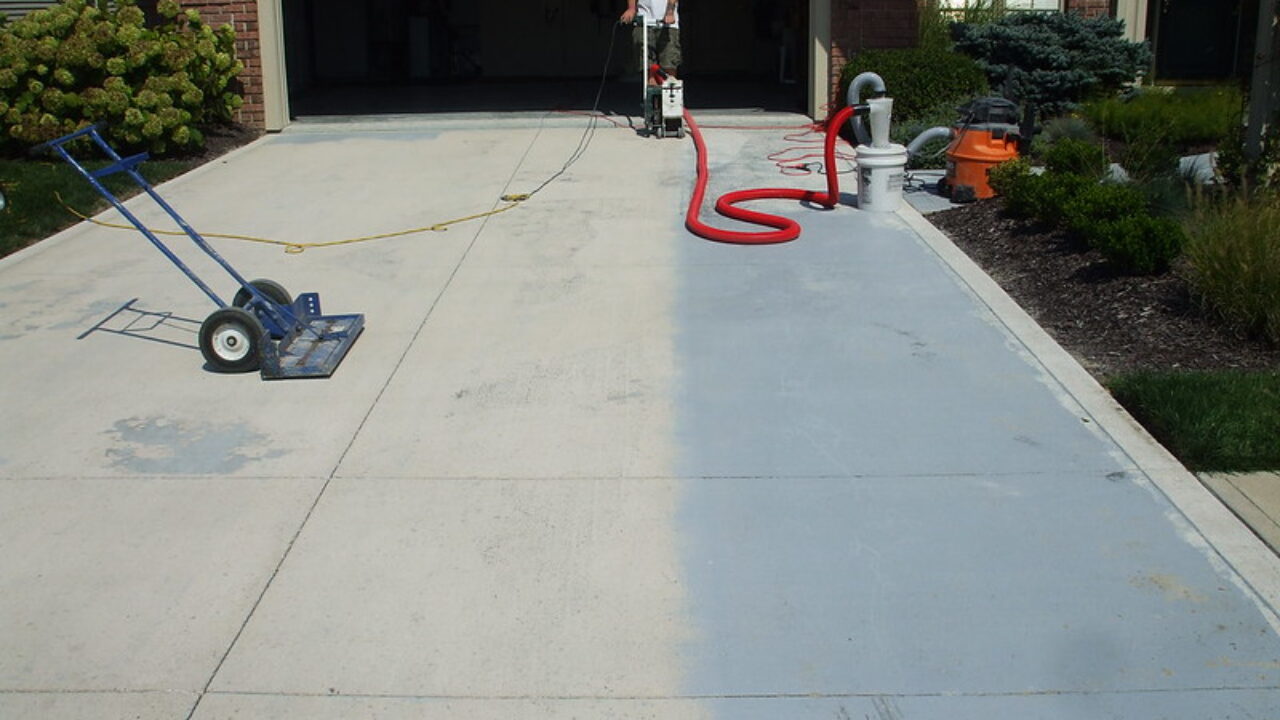
- Clean the driveway: Begin by thoroughly cleaning the driveway to remove any dirt, debris, or loose particles. Use a power washer to blast away surface stains and grime. Allow the driveway to dry completely before proceeding to the next step.
- Remove loose concrete: Use a wire brush to remove any loose or flaking concrete from the spalled areas. This will create a rougher surface that will provide better adherence for the patching compound.
- Prepare the patching compound: Follow the manufacturer’s instructions to prepare the concrete patching compound. Mix it in a clean bucket or container, making sure to achieve the right consistency. The compound should resemble a thick paste that can be easily spread and molded.
- Apply the patching compound: Using a trowel, apply the patching compound to the spalled areas, filling them in completely. Smooth out the surface with the trowel, ensuring that it is level with the surrounding concrete. Work in small sections at a time to achieve a uniform finish.
- Allow the patch to cure: Give the patching compound enough time to cure. Refer to the manufacturer’s instructions for the recommended curing time. During this period, keep the repaired area protected from foot traffic or vehicular weight.
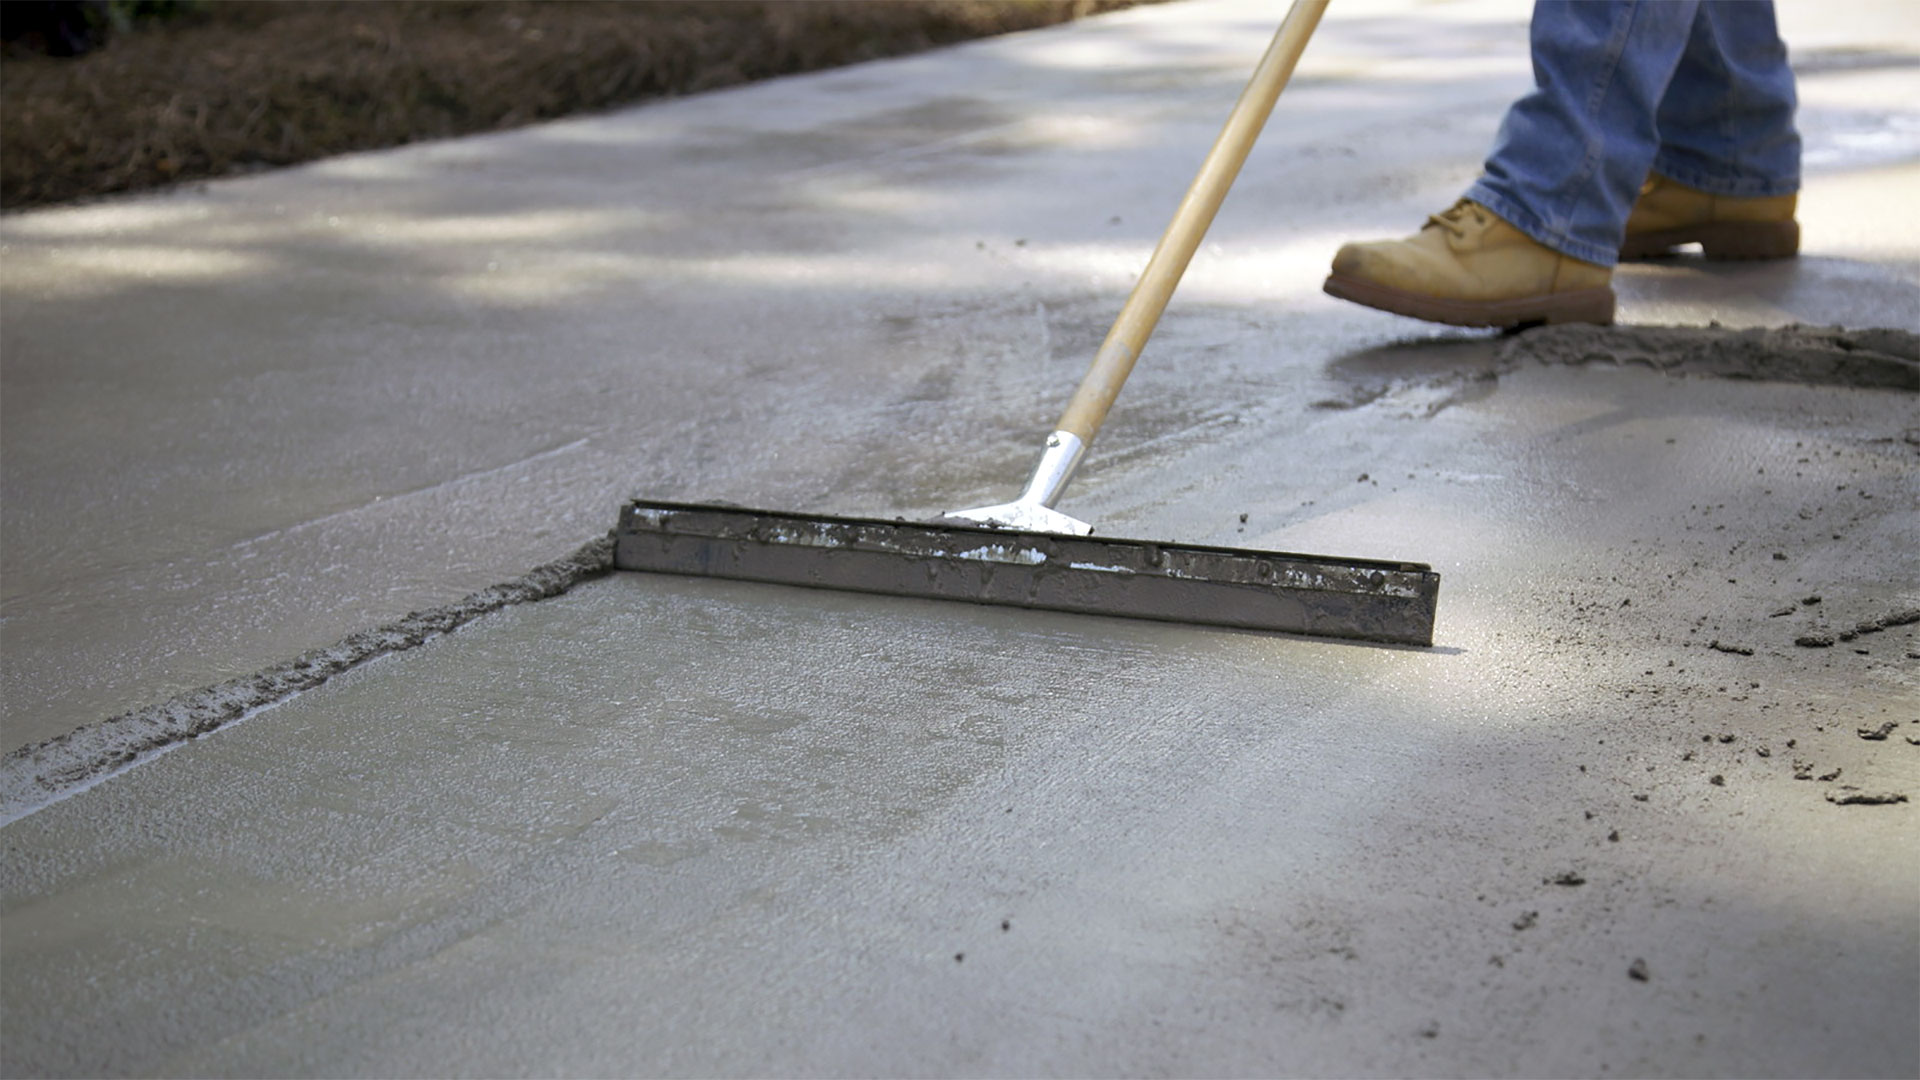
- Apply a concrete resurfacer (if needed): If the spalling damage is extensive or you prefer a uniform surface, consider applying a concrete resurfacer to the entire driveway. Follow the manufacturer’s instructions for mixing and application. Use a trowel or squeegee to spread the resurfacer evenly, creating a new surface layer.
- Cure and seal the repaired area: Once the patching compound or resurfacer has cured, follow the manufacturer’s instructions for sealing the repaired area. Apply a concrete sealer to protect the driveway from future spalling and enhance its longevity. Allow the sealer to dry completely before using the driveway.
Remember to work patiently and carefully throughout the repair process. Following these steps will help you restore your spalling concrete driveway and improve its durability and appearance.
Regularly sealing your concrete driveway can help prevent spalling by protecting it from water and salt damage. Use a high-quality concrete sealer and reapply as needed.
Read more: How To Fix Brick Spalling
Applying a Concrete Resurfacer
If the spalling damage on your concrete driveway is extensive or if you desire a uniform surface, applying a concrete resurfacer can be an effective solution. A concrete resurfacer is a special formulation designed to create a new, fresh layer on top of the existing concrete, giving it a smooth and rejuvenated appearance. Here is a step-by-step guide on applying a concrete resurfacer:
- Clean the driveway: Before applying the resurfacer, ensure that the driveway is clean and free from any debris, oil stains, or loose particles. Use a power washer or a hose to wash away dirt and stains, and let the surface dry completely.
- Prepare the resurfacer: Follow the manufacturer’s instructions to prepare the concrete resurfacer. Typically, you will need to mix the resurfacer with water in a clean bucket or container. Use a stirring stick or drill attachment to create a smooth, lump-free mixture.
- Dampen the surface: Prior to applying the resurfacer, lightly dampen the surface of the concrete driveway. This helps improve the bonding between the existing concrete and the resurfacer. However, make sure the surface is not overly wet.
- Apply the resurfacer: Start by pouring a small amount of the resurfacer onto the driveway. Use a long-handled squeegee or a concrete squeegee to spread the resurfacer evenly across the surface. Work in small sections, overlapping each pass to ensure a uniform layer. Pay attention to maintaining an even thickness.
- Smooth and level the resurfacer: Once the resurfacer is spread across the entire driveway, use a long-handled trowel or a concrete float to smooth and level the surface. Work in circular motions, ensuring a smooth and even finish. Make any necessary adjustments to create a uniform appearance.
- Allow curing and drying: Follow the manufacturer’s instructions for the recommended curing time of the resurfacer. Keep the driveway protected from foot traffic or vehicular weight during this time. Also, consider placing barricades or caution tape around the driveway to prevent accidental usage.
- Cure and seal the resurfaced area: After the resurfacer has cured, apply a concrete sealer to protect the newly resurfaced area. Choose a sealer suitable for your climate and driveway conditions. Apply it according to the manufacturer’s instructions and allow it to dry completely before using the driveway.
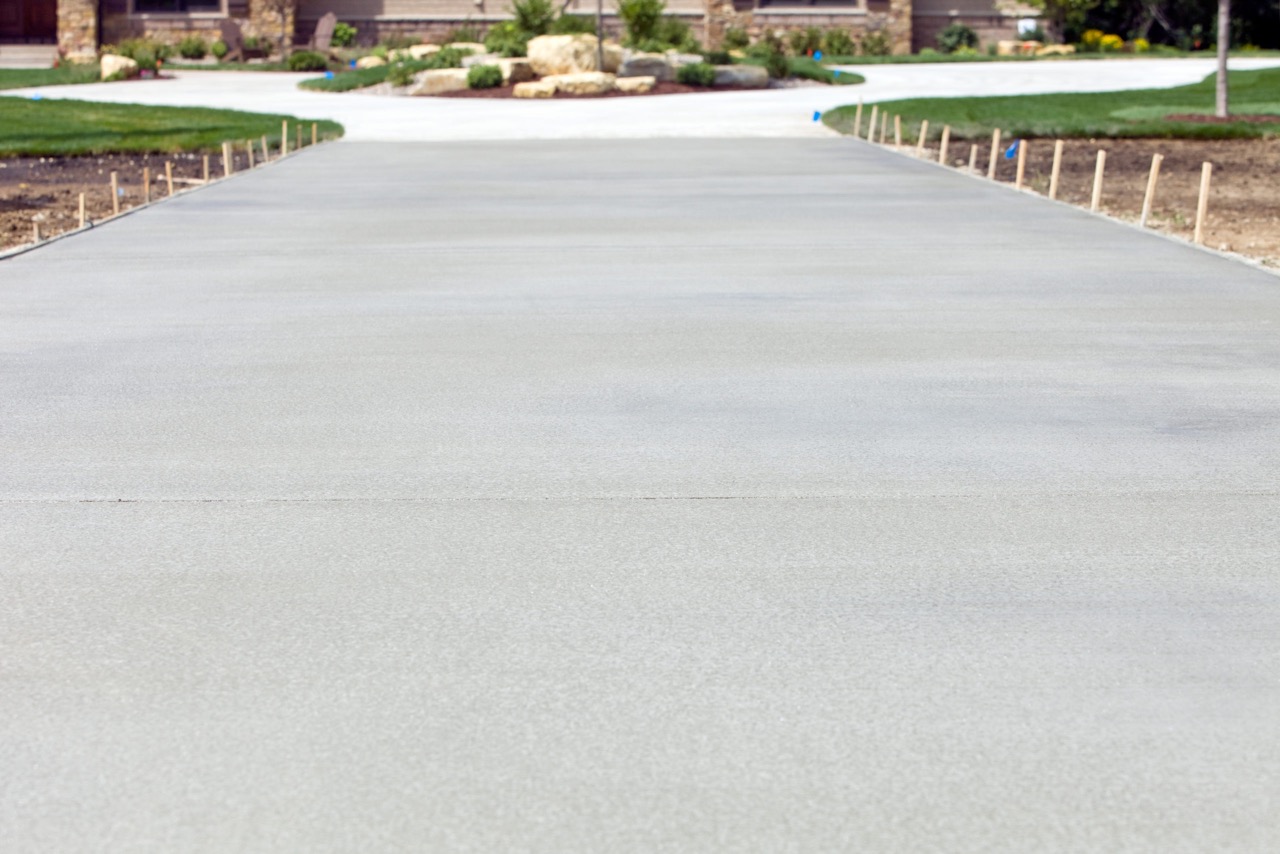
Applying a concrete resurfacer can transform your spalling concrete driveway into a renewed and attractive surface. Follow these steps carefully to achieve a smooth and durable finish that enhances the aesthetic appeal of your driveway.
Curing and Sealing the Repaired Area
After repairing the spalling areas on your concrete driveway, it is essential to properly cure and seal the repaired section. Curing allows the repaired concrete to strengthen and harden, while sealing provides protection against moisture, chemicals, and general wear and tear. Follow these steps to ensure the long-lasting durability of your repaired driveway:
- Read the instructions: Start by reading the manufacturer’s instructions on curing and sealing products. Different products may have specific recommendations regarding application methods, drying time, and environmental conditions.
- Curing the repaired area: After applying the patching compound or concrete resurfacer, it is important to allow sufficient curing time. Follow the manufacturer’s instructions for the recommended curing duration. This typically involves keeping the repaired area moist and protected from outside elements, such as direct sunlight or extreme temperatures. Consider covering the repaired area with plastic sheeting or using a curing compound to retain moisture during the curing process.
- Testing for curing completion: To ensure that the repaired area has fully cured, perform a simple water droplet test. Sprinkle a few droplets of water onto the surface of the repaired area. If the water beads up or remains on the surface, curing is complete. However, if the water is absorbed into the repaired area, allow more time for curing.
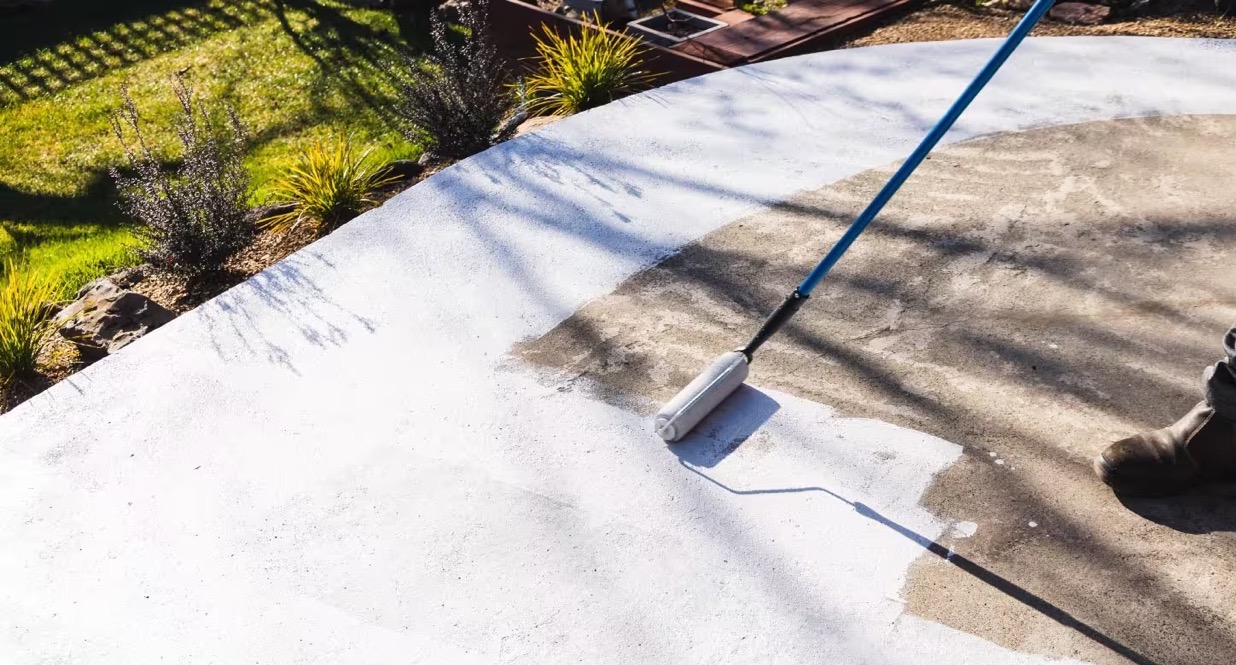
- Sealing the repaired area: Once the repaired area has cured, it is time to apply a concrete sealer. Choose a sealer specifically formulated for outdoor use and suitable for your climate. Before applying the sealer, thoroughly clean the surface of the repaired area to remove any dirt, debris, or dust. Follow the manufacturer’s instructions for proper application, using a brush or roller to evenly coat the surface. Apply multiple coats if necessary, allowing each coat to dry as directed.
- Allowing sufficient drying time: After sealing, it is crucial to give the sealer enough time to dry and cure. This period can vary depending on the product and environmental conditions. Avoid foot traffic or vehicular weight on the sealed area during this time to allow for optimal bonding and hardening.
- Maintaining the sealed area: Once the sealer has dried, continue to maintain the repaired and sealed area. Regularly clean the driveway to remove dirt, debris, and stains. Avoid using harsh chemicals or de-icing salts, as these can deteriorate the sealant. Periodically inspect the sealed area for any signs of damage or wear and reapply sealer as necessary.
By following these steps, you can ensure proper curing and sealing of the repaired section of your concrete driveway. This will not only protect the repair from future damage but also enhance the overall longevity and appearance of your driveway for years to come.
Tips for Maintaining a Spalling-Free Concrete Driveway
Once you have repaired and restored a spalling concrete driveway, it’s important to implement proper maintenance practices to prevent future damage and keep your driveway in excellent condition. Here are some valuable tips to help you maintain a spalling-free concrete driveway:
- Regular cleaning: Regularly clean your driveway to remove dirt, debris, leaves, and other materials that can accumulate and trap moisture. Use a broom, leaf blower, or a garden hose to keep the surface clean and free from potential sources of damage.
- Avoid de-icing salts: Refrain from using de-icing salts, especially those containing calcium chloride or magnesium chloride. These salts can accelerate the spalling process by causing freeze-thaw damage to the concrete surface. Instead, use sand or gravel to improve traction during icy conditions.
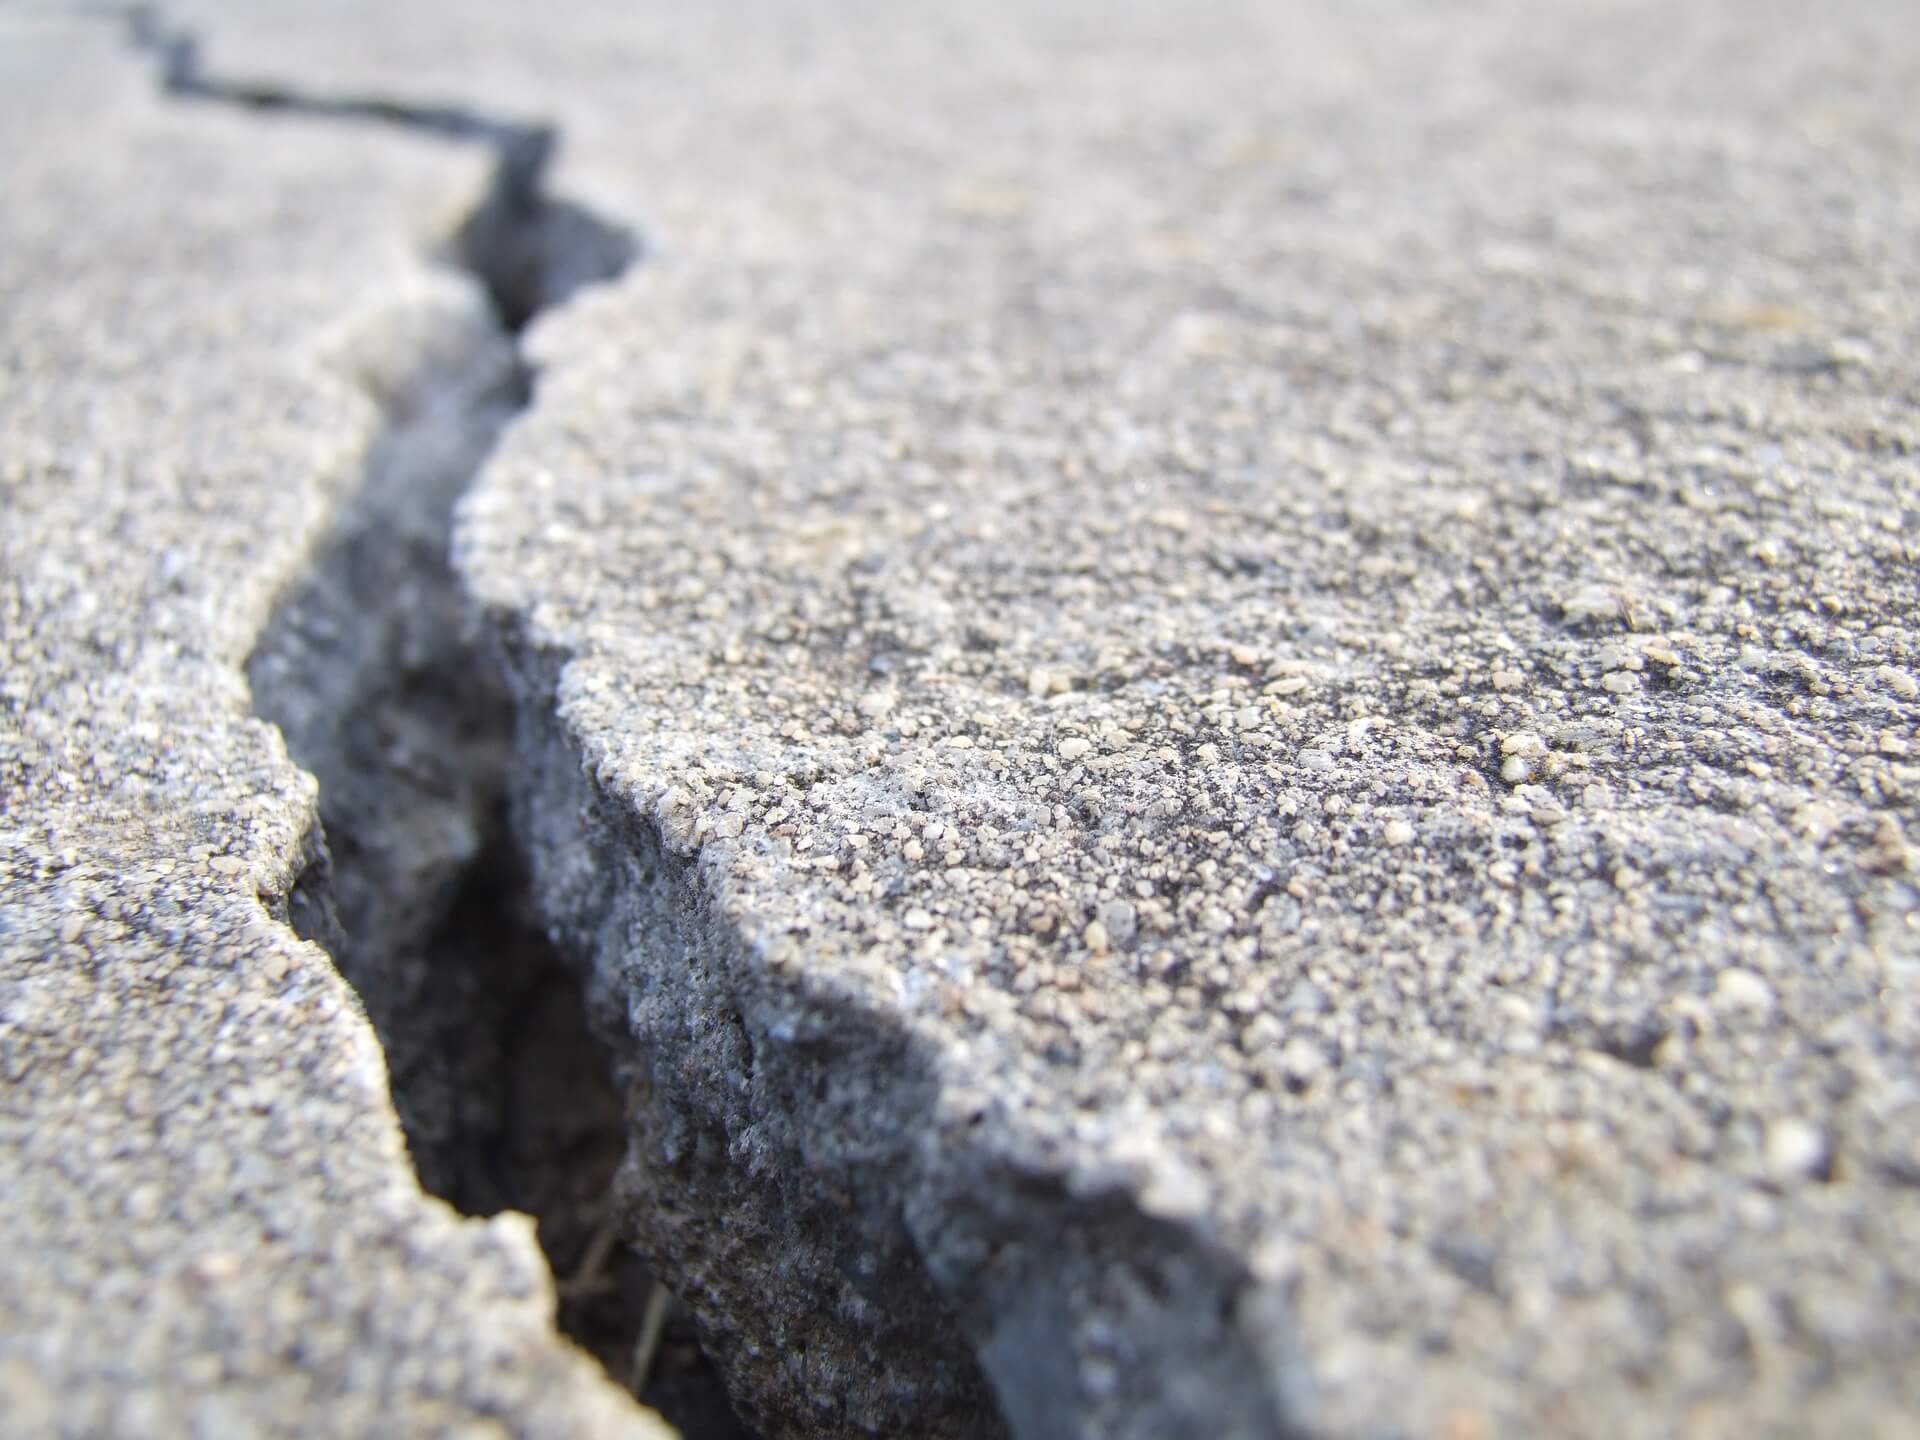
- Repair cracks promptly: Monitor your driveway for any cracks and address them promptly. Small cracks can quickly escalate into larger ones, leading to spalling and further deterioration. Use a concrete crack filler or patching compound to repair minor cracks before they worsen.
- Protect from heavy loads: Minimize the exposure of your concrete driveway to heavy loads, such as oversized vehicles or machinery. Excessive weight and pressure can damage the surface, causing cracks and spalling. If necessary, consider reinforcing the driveway with rebar or installing a thicker concrete slab for added strength.
- Seal the surface regularly: Apply a concrete sealer every 2-3 years to protect the surface from moisture, chemicals, UV rays, and general wear. Choose a high-quality sealer designed for outdoor use and follow the manufacturer’s instructions for proper application. Regular sealing will help maintain the integrity and appearance of your driveway.
- Practice proper drainage: Ensure that your driveway has proper drainage to prevent the accumulation of water. Improper drainage can lead to prolonged moisture exposure, which can contribute to spalling. Clear any debris or obstructions in gutters, downspouts, and drainage channels to ensure the efficient flow of water away from the driveway.
- Avoid sharp objects: Be mindful of sharp objects, such as metal shovels or blades, that can scrape or chip the concrete surface. Use plastic or rubber-edged shovels and snow removal tools to minimize the risk of damage during winter maintenance.
- Address spills and stains promptly: Clean up oil spills, gas leaks, or other chemical stains on your driveway as soon as you notice them. These substances can penetrate the concrete and cause deterioration over time, leading to spalling. Use a suitable concrete cleaner and follow the instructions for stain removal.
- Regular inspections: Conduct regular inspections of your driveway to identify any signs of spalling, cracks, or other damage. Early detection allows for timely repairs and prevents the problem from worsening.
By following these maintenance tips, you can significantly extend the lifespan of your concrete driveway and prevent spalling. Regular care and prompt repairs will help keep your driveway in optimal condition, enhancing its appearance and functionality for years to come.
Conclusion
A spalling concrete driveway can be an eyesore and a potential hazard if left untreated. However, by following the steps outlined in this article, you can effectively repair and restore your driveway, ensuring its longevity and maintaining its aesthetic appeal.
Understanding the causes of spalling and assessing the severity of the damage are crucial first steps. Preparing the necessary tools and materials is essential for a smooth and efficient repair process. Applying a concrete resurfacer can provide a fresh layer and a uniform appearance to your driveway.
Once the repair is complete, curing and sealing the repaired area are vital for protection against future spalling and damage. Regular maintenance practices, such as cleaning, crack repairs, and avoidance of harsh chemicals, further contribute to a spalling-free driveway.
Remember, a well-maintained driveway not only enhances the curb appeal of your home but also provides a safe and functional space for your vehicles. By following the tips outlined in this article, you can enjoy a spalling-free concrete driveway for years to come.
By taking the time and effort to address spalling, you are investing in the long-term health and value of your property. With proper care and maintenance, your driveway will continue to serve you well, providing a smooth and sturdy surface for years of use.
Frequently Asked Questions about How To Fix Spalling Concrete Driveway
Was this page helpful?
At Storables.com, we guarantee accurate and reliable information. Our content, validated by Expert Board Contributors, is crafted following stringent Editorial Policies. We're committed to providing you with well-researched, expert-backed insights for all your informational needs.

0 thoughts on “How To Fix Spalling Concrete Driveway”