Articles
How To Fix Holes In A Concrete Driveway
Modified: February 23, 2024
Learn effective techniques and tips from our comprehensive articles on how to fix holes in your concrete driveway.
(Many of the links in this article redirect to a specific reviewed product. Your purchase of these products through affiliate links helps to generate commission for Storables.com, at no extra cost. Learn more)
Introduction
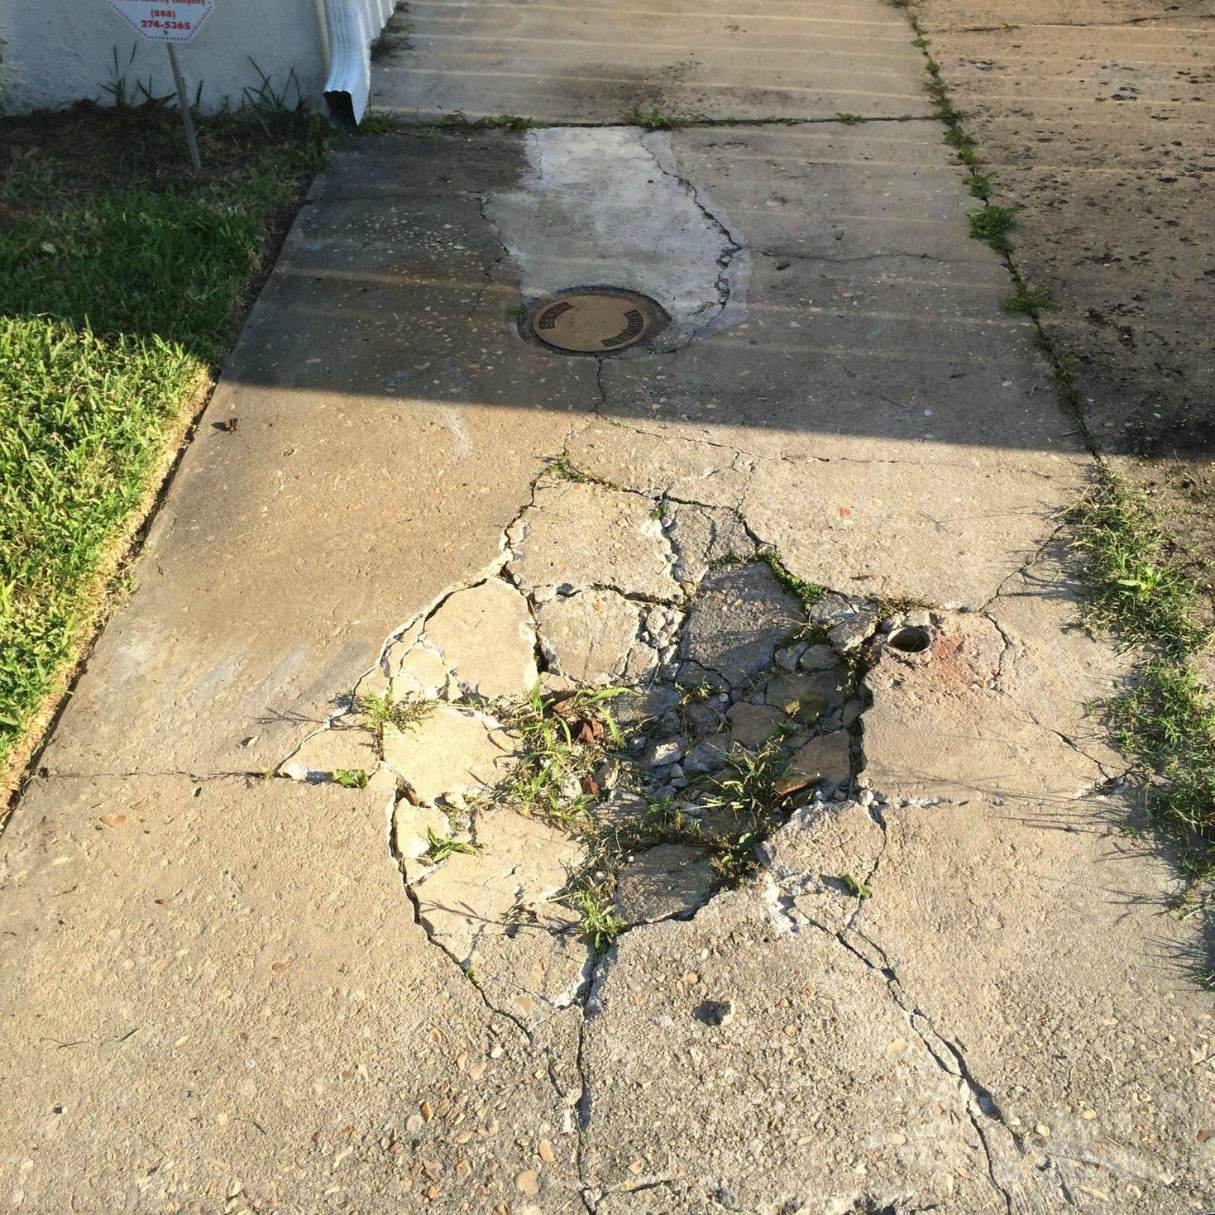
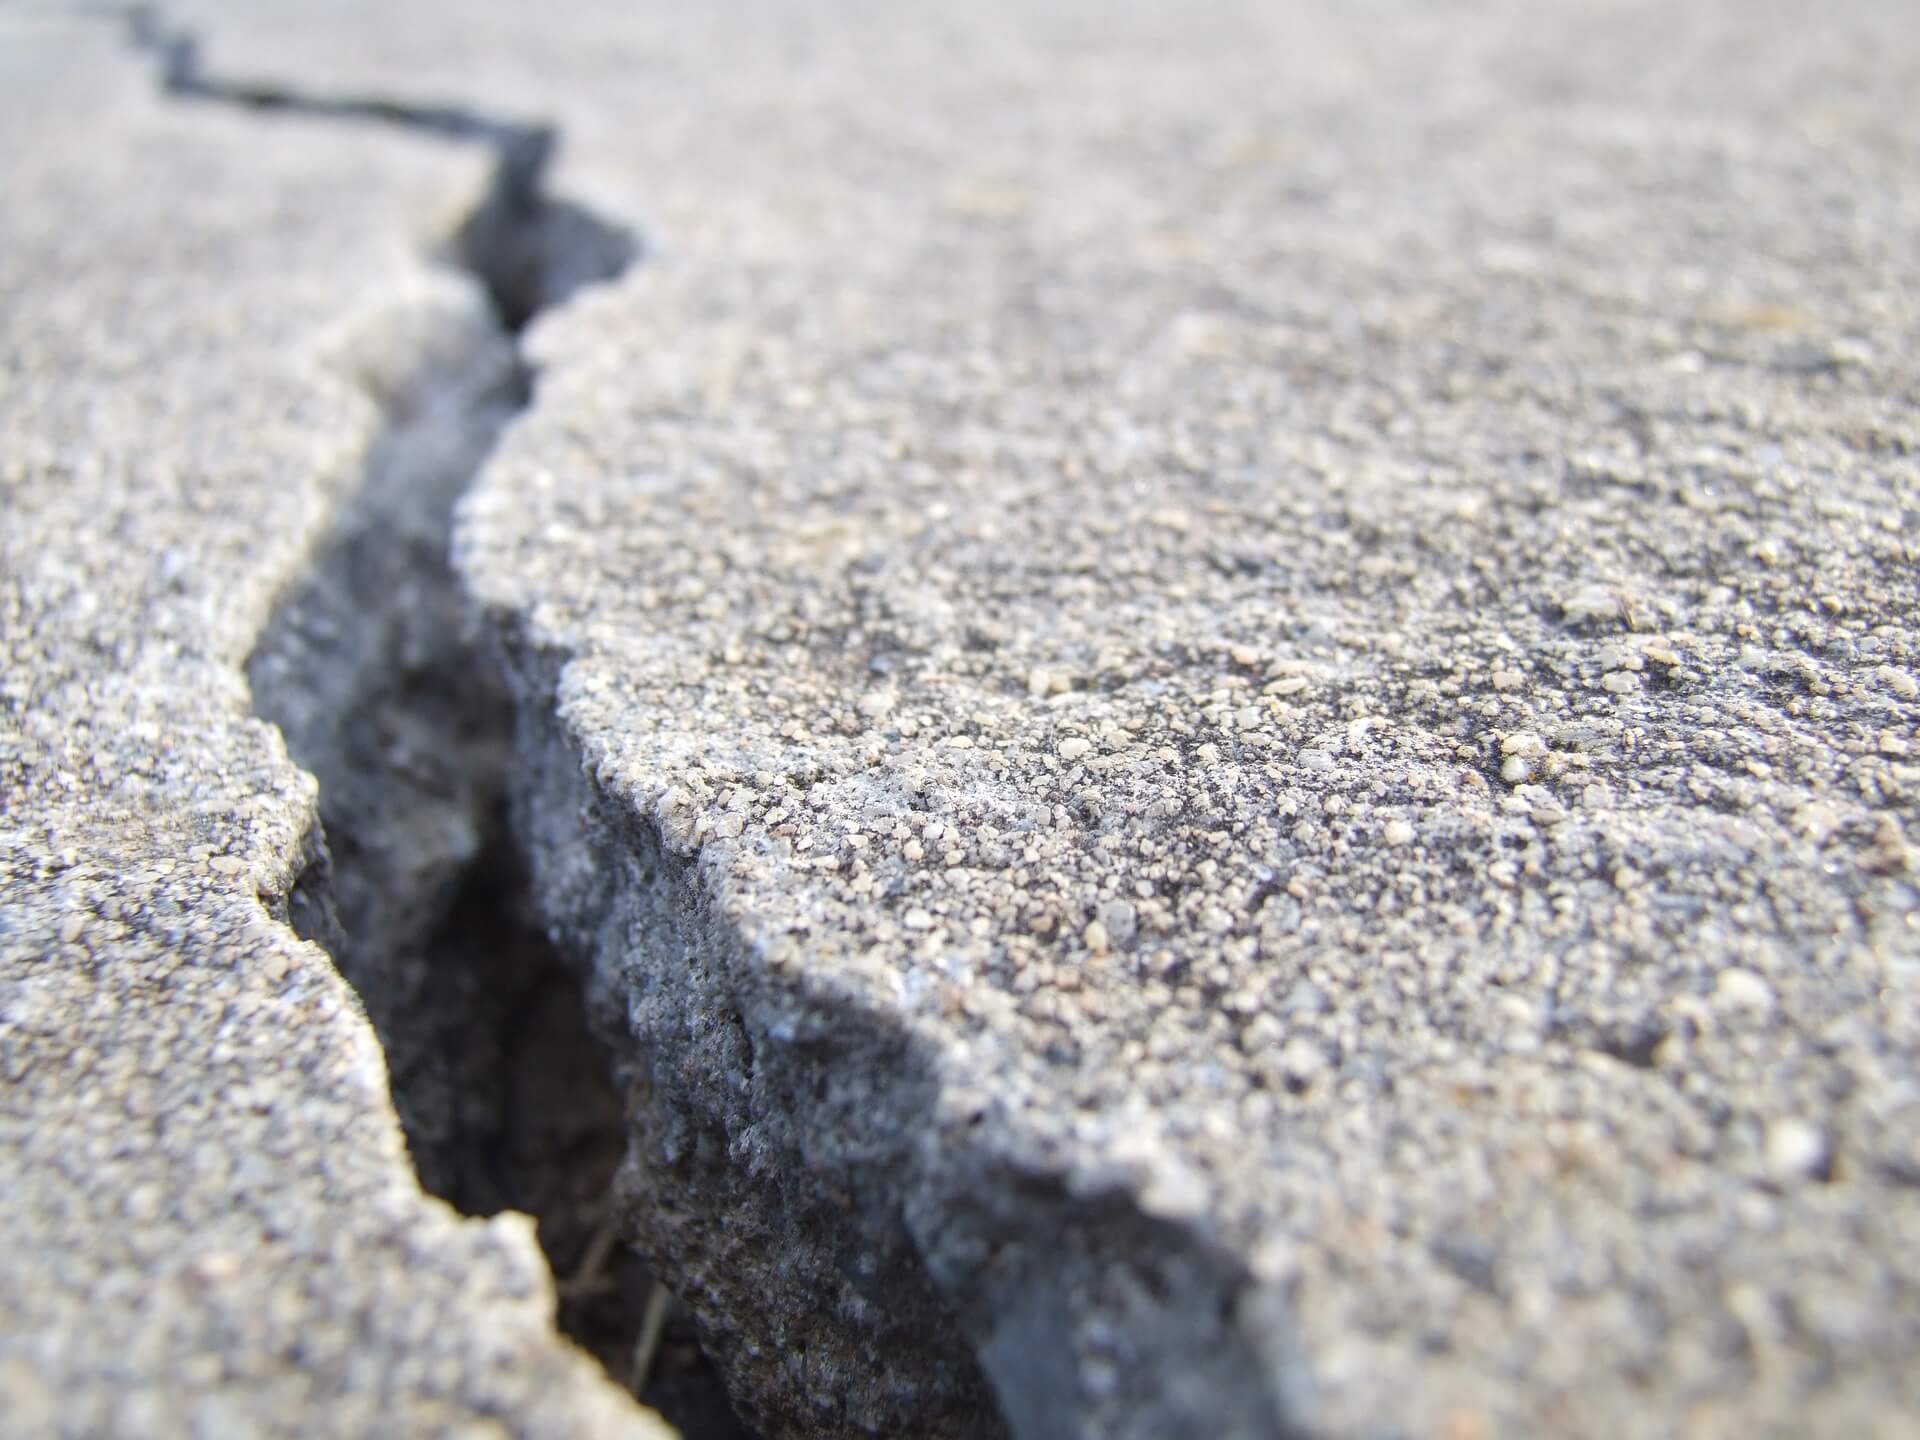
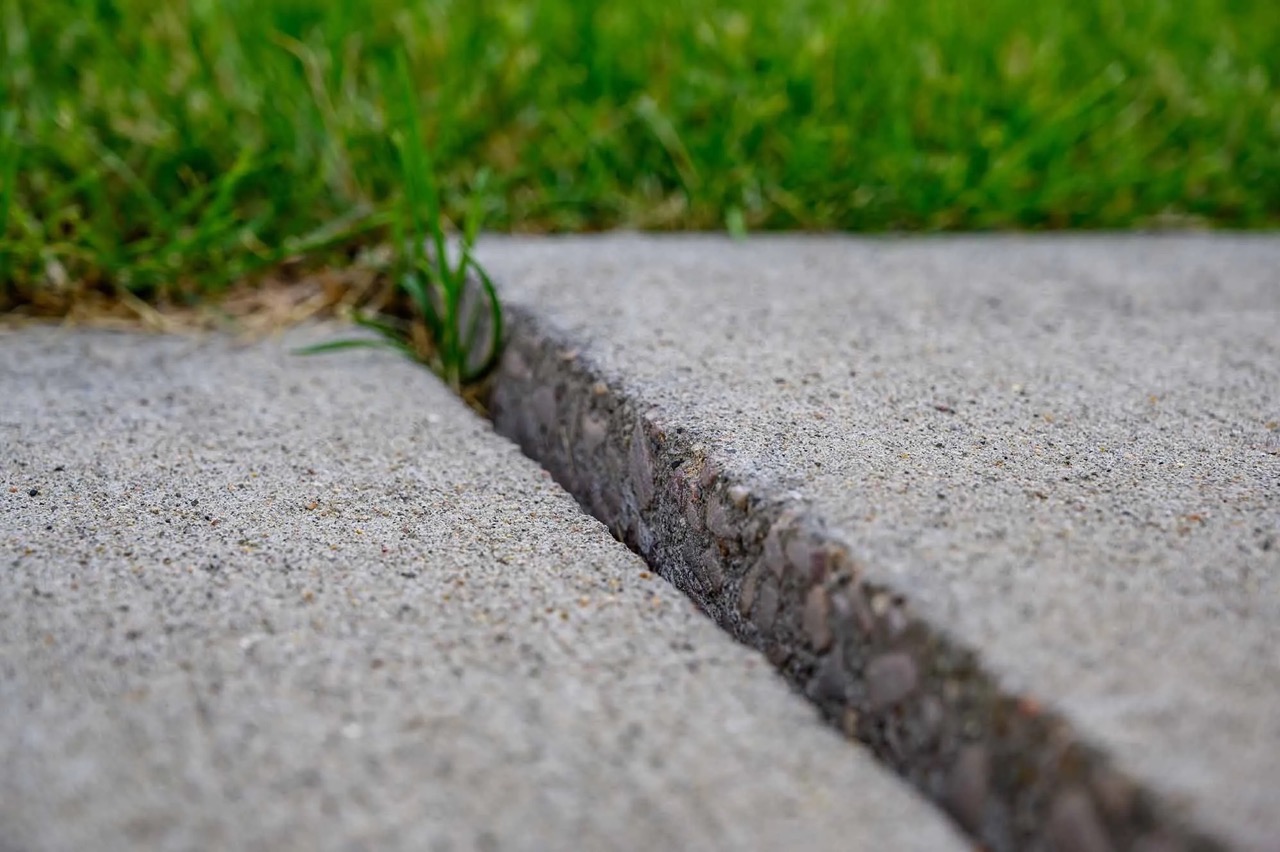
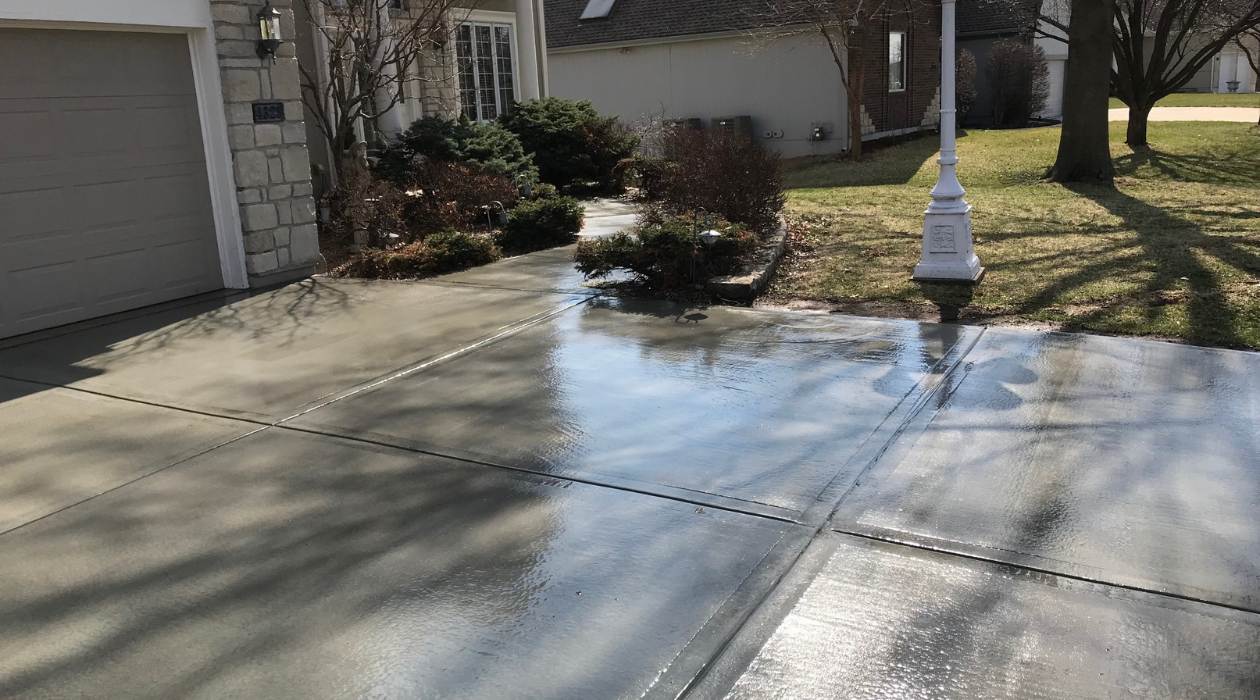
Having a concrete driveway can be a great addition to your home. Not only does it provide a sturdy and durable surface for your vehicles, but it also adds to the overall aesthetic appeal of your property. However, over time, concrete driveways can develop cracks and holes due to various factors such as weathering, heavy vehicle traffic, or even improper installation. These holes not only compromise the integrity of your driveway but also pose a potential safety hazard.
Fortunately, repairing holes in a concrete driveway is a relatively straightforward process that can be done by most homeowners with the right tools and materials. In this article, we will walk you through the step-by-step process of fixing holes in your concrete driveway. By following these instructions, you can restore the functionality and appearance of your driveway, avoiding costly repairs or replacement.
Before we begin, let’s take a look at the materials you will need for this project:
- Protective gloves and goggles
- Rigid brush or broom
- Chisel or hammer
- Concrete patching compound
- Bucket and mixing paddle
- Trowel or putty knife
- Water
- Concrete sealer
Now that you have gathered all the necessary materials, let’s move on to the first step: cleaning the driveway.
Key Takeaways:
- Restore the integrity and appearance of your concrete driveway by following these 8 steps to repair holes. Prioritize safety, clean the surface, fill and level the holes, and seal the patched areas for long-lasting durability.
- With the right materials and steps, repairing holes in your concrete driveway is a manageable DIY project. From cleaning and preparing the holes to mixing and applying the patching compound, each step contributes to a professional and durable repair.
Read more: How To Fix Spalling Concrete Driveway
Step 1: Gather Materials
Before you begin repairing the holes in your concrete driveway, it’s important to gather all the necessary materials. Having everything you need on hand will help streamline the process and ensure a successful repair. Here’s a list of the materials you will need:
- Protective gloves and goggles: Safety should always be a top priority when working with concrete. Wearing gloves and goggles will protect your hands and eyes from any potential hazards.
- Rigid brush or broom: You’ll need a brush or broom with stiff bristles to thoroughly clean the surface of the driveway.
- Chisel or hammer: If there are any loose pieces of concrete around the hole, a chisel or hammer will come in handy for removing them.
- Concrete patching compound: This is the main material used to fill in the holes and restore the surface of the driveway. Choose a high-quality patching compound that is specifically designed for outdoor use.
- Bucket and mixing paddle: You will need a bucket to mix the patching compound with water. A mixing paddle attached to a power drill can make the mixing process easier and more efficient.
- Trowel or putty knife: A trowel or putty knife will be used to apply the patching compound to the holes in the driveway.
- Water: You’ll need water to mix with the patching compound and ensure the right consistency for application.
- Concrete sealer: Once the patched areas have fully cured, applying a concrete sealer will help protect the surface and prolong its lifespan.
Make sure to gather all these materials before you start the repair process. It’s also a good idea to check if you need any additional tools or equipment based on the specific condition of your driveway.
With all the materials ready, proceed to the next step: cleaning the driveway.
Step 2: Clean the Driveway
Before you can proceed with repairing the holes in your concrete driveway, it’s crucial to thoroughly clean the surface. Cleaning the driveway will remove any dirt, debris, or loose particles that can interfere with the adhesion of the patching compound. Here’s how you can clean your driveway:
- Start by using a rigid brush or broom to sweep away any loose dirt, leaves, or debris. Pay special attention to the areas around the holes, ensuring that they are completely free of any obstructions.
- If there are any stains or oil spots on the driveway, you can use a driveway cleaner or degreaser to remove them. Follow the manufacturer’s instructions for application and make sure to rinse the area thoroughly with water.
- If there are any loose pieces of concrete around the holes, use a chisel or hammer to gently remove them. Be careful not to cause any further damage to the driveway during this process.
- Once the surface is clear of dirt, debris, and loose concrete, you can use a hose or pressure washer to rinse the entire driveway. This will remove any remaining dirt and ensure a clean surface for the patching compound to adhere to.
- Allow the driveway to dry completely before moving on to the next step. This may take a few hours or even a full day, depending on the weather conditions in your area.
Cleaning the driveway is an essential step in the repair process. It ensures that the patching compound will bond properly to the surface, resulting in a durable and long-lasting repair. Once the driveway is clean and dry, you can proceed to the next step: preparing the hole for patching.
Step 3: Prepare the Hole
After cleaning the driveway, the next step is to prepare the holes for patching. Properly preparing the holes will ensure that the patching compound adheres well and provides a seamless repair. Here’s how you can prepare the holes:
- Inspect the holes in your driveway and remove any loose debris or dirt that may be present. You can use a wire brush or a vacuum cleaner to clean out the holes.
- If there are any cracks around the holes, use a chisel or a grinder to widen them slightly. This will create space for the patching compound to fill and bond with the surrounding concrete.
- Moisten the holes with water using a sponge or a spray bottle. This will prevent the dry concrete surface from absorbing the moisture from the patching compound too quickly, ensuring proper curing.
- If the holes are deeper than half an inch, it’s recommended to use a bonding agent. Apply the bonding agent to the holes with a brush, following the instructions provided by the manufacturer.
- Before adding the patching compound, it’s a good idea to place a backer rod or a piece of foam in the holes. This will help prevent the patching compound from sinking too much and ensure a more level surface.
By thoroughly preparing the holes, you are creating an optimal environment for the patching compound to bond and cure. This step is crucial for achieving a successful and long-lasting repair. Once the holes are prepared, it’s time to mix the concrete patching compound.
Step 4: Mix the Concrete Patch
Now that you have prepared the holes in your driveway, it’s time to mix the concrete patching compound. The patching compound serves as the filling material for the holes, providing a strong and durable repair. Here’s how you can mix the concrete patch:
- Read the instructions provided by the manufacturer of the concrete patching compound to ensure proper mixing ratios and curing times.
- Wear protective gloves and goggles to protect yourself from any potential hazards.
- Take a clean bucket and pour the recommended amount of patching compound into it.
- Add water gradually to the patching compound while mixing it with a mixing paddle attached to a power drill or by hand using a trowel. Follow the manufacturer’s guidelines for the correct water-to-patching-compound ratio.
- Continue mixing until you achieve a smooth and workable consistency. The mixture should be similar to pancake batter – not too runny, but not too thick either.
It’s important not to mix more patching compound than you can use within the recommended pot life. This is the time duration during which the compound remains workable before it starts to harden. Mixing smaller batches at a time will help ensure a manageable and efficient repair process.
Once the patching compound is properly mixed, it’s time to move on to the next step: filling the holes with the concrete patch.
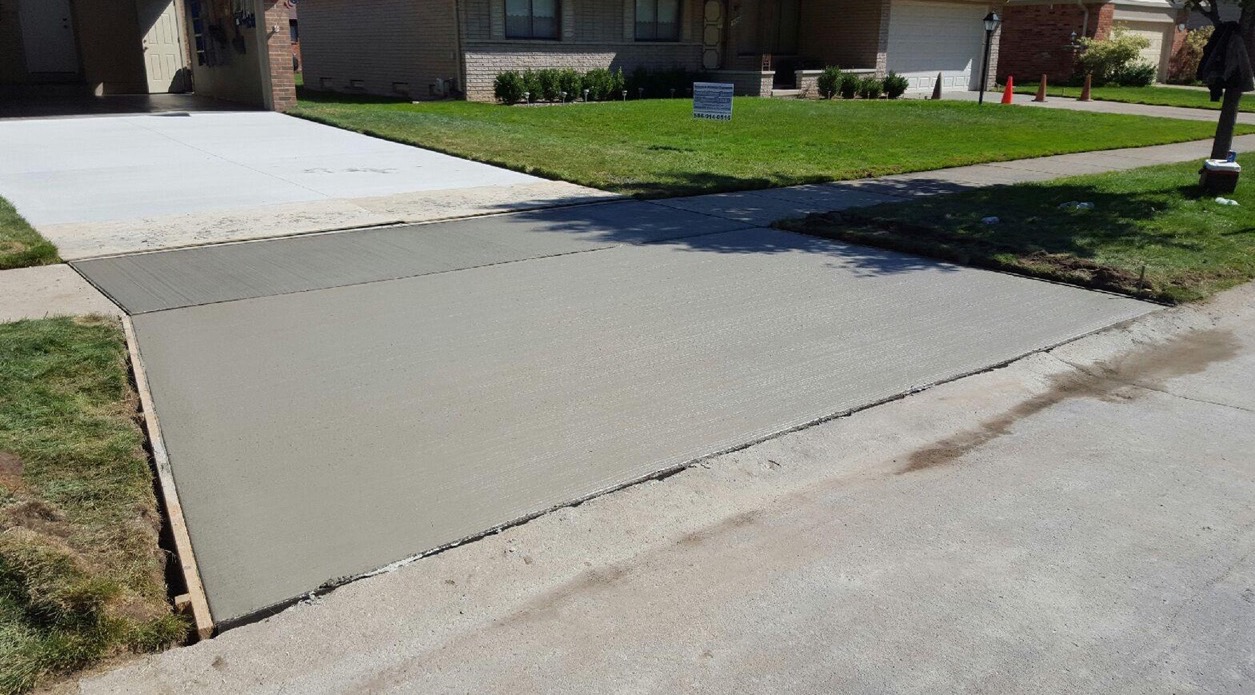
Clean the hole thoroughly, then fill it with a concrete patching compound. Smooth the surface with a trowel and allow it to dry completely before using the driveway.
Read more: How To Patch Holes In Driveway
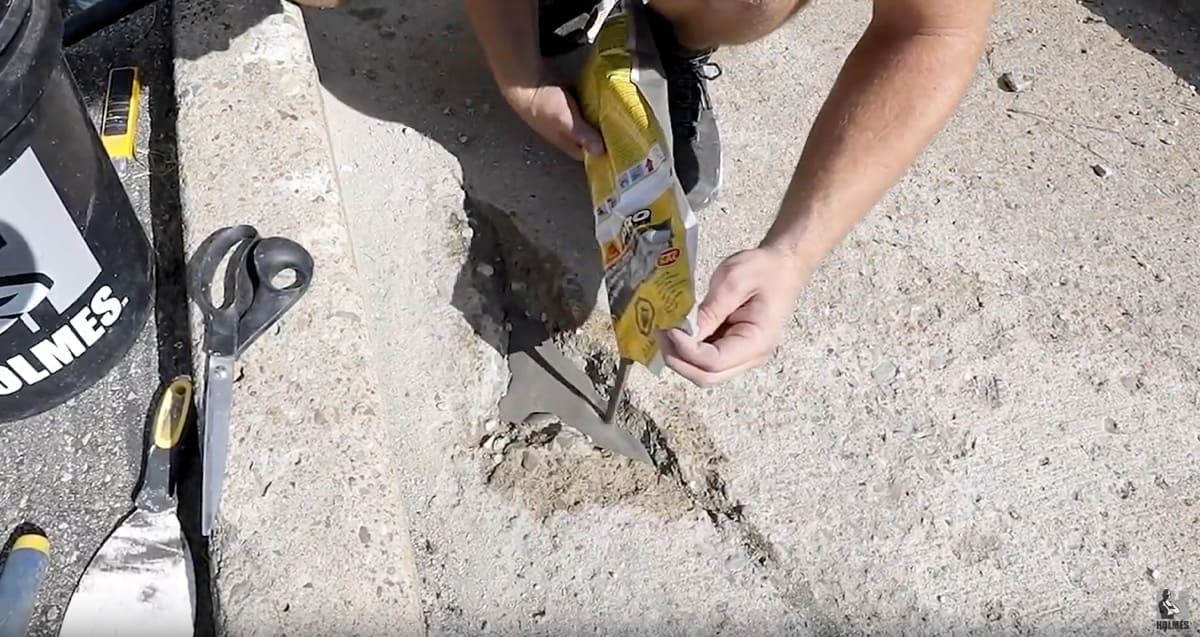
Step 5: Fill the Hole with Concrete Patch
Now that you have successfully mixed the concrete patch, it’s time to fill the holes in your driveway. Filling the holes with the patching compound will restore the integrity and appearance of your driveway. Follow these steps to fill the holes:
- Using a trowel or putty knife, scoop a sufficient amount of the mixed patching compound and apply it directly into the holes.
- Press the patching compound firmly into the holes, ensuring that it completely fills the void and is level with the surrounding concrete surface. You can use the back of the trowel or putty knife to smooth out the surface.
- If the patching compound sinks or settles below the level of the surrounding concrete, add more compound and repeat the process until the hole is properly filled and level.
- Continue filling all the holes in a similar manner until all the damaged areas of your driveway have been repaired.
Make sure to work efficiently and quickly, especially on larger repairs, as the patching compound may start to harden within a certain timeframe. Take care to create a smooth and even surface without any excess or uneven distributions of the compound.
Once all the holes have been filled, it’s time to move on to the next step: smoothing and leveling the surface.
Step 6: Smooth and Level the Surface
After filling the holes in your driveway with the concrete patching compound, it’s important to smooth and level the surface for a seamless finish. By properly smoothing and leveling the repaired areas, you can ensure that they blend in seamlessly with the rest of the driveway. Follow these steps to achieve a smooth and level surface:
- Using a trowel or putty knife, gently smooth out the surface of the patched areas. Spread the patching compound evenly, making sure it is flush with the surrounding concrete.
- Continue smoothing and leveling the surface until you have achieved a uniform appearance. Smooth out any ridges or unevenness in the patching compound, ensuring a seamless transition between the repaired areas and the rest of the driveway.
- If necessary, lightly moisten the surface with water to help in the smoothing process.
- Take a step back and visually inspect the repaired areas. Make any adjustments or additional smoothing as needed to achieve a satisfactory result.
By taking the time to properly smooth and level the surface, you can create a cohesive and professional-looking repair. This step is crucial to ensure that the repaired areas blend in seamlessly with the rest of the driveway, enhancing its overall appearance.
Once you are satisfied with the smoothness and levelness of the repaired areas, it’s time to proceed to the next step: allowing the patch to cure.
Step 7: Allow the Patch to Cure
After smoothing and leveling the surface, it’s essential to allow the patched areas to cure properly. Curing is the process in which the patching compound gains strength and durability. Here are the steps to ensure proper curing:
- Refer to the manufacturer’s instructions to determine the recommended curing time for the specific patching compound you are using.
- Avoid stepping or driving on the repaired areas during the curing process to prevent any damage or disruption to the patch.
- Place caution tape or markers around the repaired areas to alert others and help prevent accidental disturbances.
- Protect the patched areas from any direct sunlight or extreme weather conditions. Consider using a tarp or plastic sheeting to shield the repaired areas if needed.
- Allow the patching compound to cure undisturbed for the recommended duration. This can typically range from a few hours to several days, depending on the specific product and environmental conditions.
Properly allowing the patch to cure will ensure that it reaches its full strength and durability. Rushing this step may result in a weaker repair and may require additional touch-ups or future repairs. Take the time to be patient and allow the patch to fully cure before proceeding to the final step: sealing the patched area.
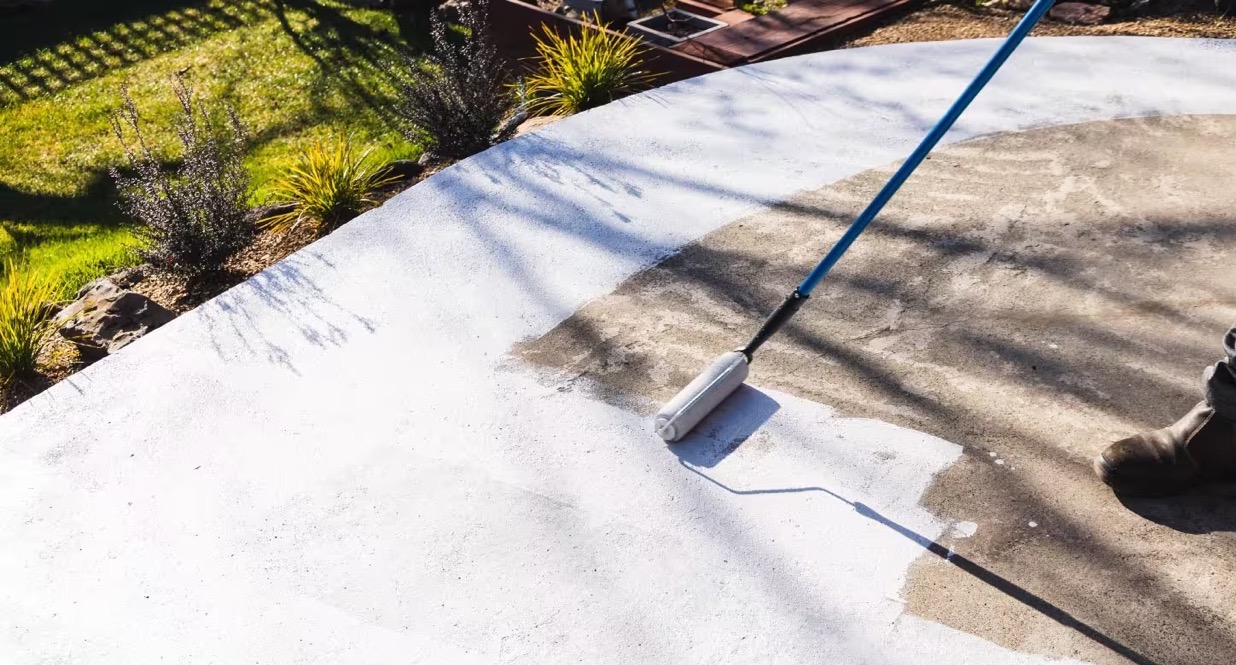
Step 8: Seal the Patched Area
Once the patched areas have fully cured, it is highly recommended to seal them. Sealing the patched area helps protect it from moisture, UV rays, and other elements, ensuring the longevity and durability of the repair. Follow these steps to seal the patched area:
- Choose a high-quality concrete sealer specifically designed for outdoor use.
- Read the manufacturer’s instructions to understand the proper application technique and drying time.
- Ensure that the patched areas are clean and free of any debris or loose particles.
- Using a brush or roller, apply an even coat of the sealer to the patched areas, making sure to cover the entire surface. Follow the recommended thickness and coverage instructions provided by the manufacturer.
- Avoid applying excessive sealer, as this can lead to a blotchy appearance or surface damage.
- Allow the sealer to dry completely according to the manufacturer’s instructions. This typically takes a few hours or longer, depending on the specific product.
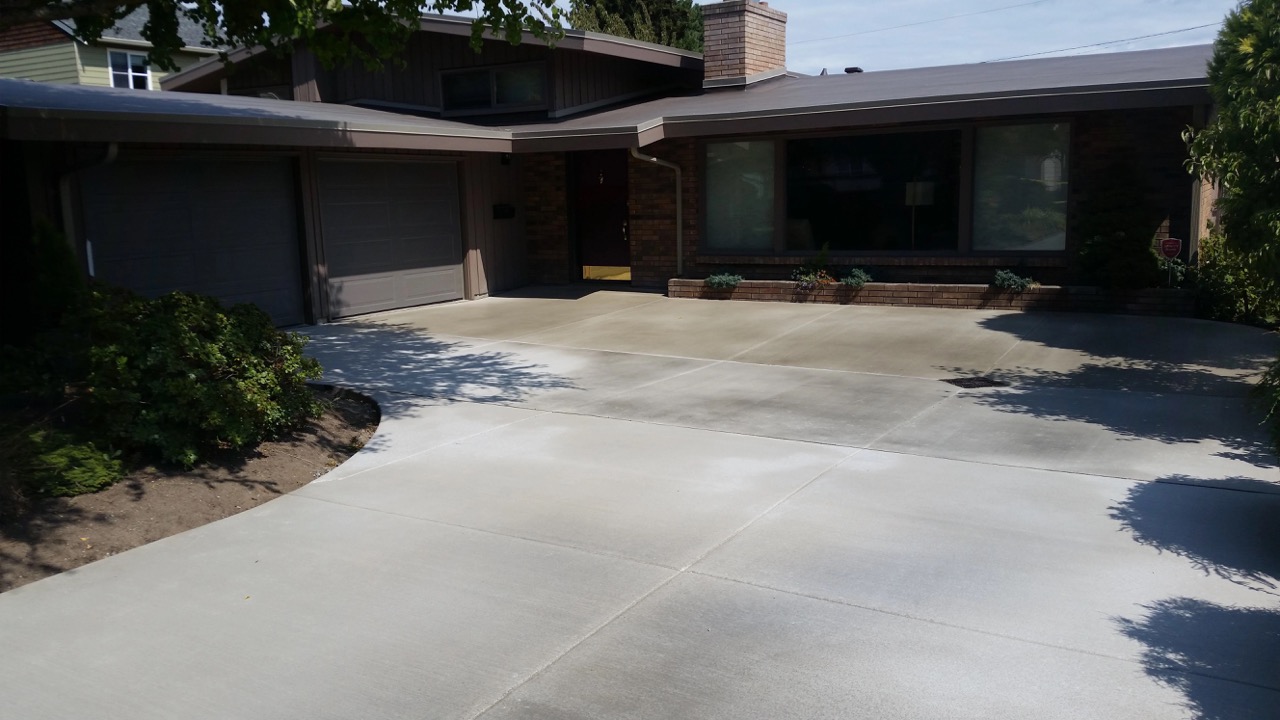
Sealing the patched area provides an additional layer of protection, helping to prevent future damage and extending the life of the repair. It also enhances the overall appearance of the driveway by providing a uniform finish. Regularly resealing the patched areas, as recommended by the manufacturer, will further ensure their long-term durability.
Congratulations! By following these eight steps, you have successfully repaired and restored the holes in your concrete driveway. Your driveway is now more durable, safer, and visually appealing. It’s important to maintain your driveway by keeping it clean and promptly addressing any new cracks or holes that may appear in the future. With proper care and maintenance, your driveway will continue to provide you with years of reliability and functionality.
Please note that these instructions are general guidelines, and it’s always recommended to refer to the specific instructions provided by the manufacturer of the patching compound and sealer you are using for the best results.
Read more: How To Fill Hole In Driveway
Conclusion
Repairing holes in your concrete driveway is a task that can be accomplished with a little time, effort, and the right materials. By following the steps outlined in this guide, you can successfully restore the integrity and appearance of your driveway, prolonging its lifespan and avoiding costly replacements.
From gathering the necessary materials to sealing the patched areas, each step plays a crucial role in achieving a professional and long-lasting repair. Remember to prioritize safety by wearing protective gloves and goggles throughout the process. Thoroughly clean the driveway, prepare the holes, and mix the concrete patching compound to ensure proper adhesion and durability.
Once the holes are filled and the surface is smooth and level, allow the patching compound to cure undisturbed. This will ensure that it gains maximum strength and durability. Finally, seal the repaired areas to protect them from moisture and other damaging elements, helping to prolong the life of your driveway.
Regular maintenance of your driveway is key to keeping it in good condition. Promptly addressing any new cracks or holes, along with regular cleaning and sealing, will help prevent further deterioration and extend the life of your driveway.
With the knowledge gained from this guide, you now have the necessary tools to tackle the task of fixing holes in your concrete driveway. Take pride in your DIY skills and enjoy the benefits of a safe, functional, and visually appealing driveway for years to come.
Remember, each driveway has its own unique characteristics and may require slightly different approaches. Always refer to the specific instructions provided by the manufacturer of the patching compound and sealer to ensure the best results.
Frequently Asked Questions about How To Fix Holes In A Concrete Driveway
Was this page helpful?
At Storables.com, we guarantee accurate and reliable information. Our content, validated by Expert Board Contributors, is crafted following stringent Editorial Policies. We're committed to providing you with well-researched, expert-backed insights for all your informational needs.


0 thoughts on “How To Fix Holes In A Concrete Driveway”