Home>Articles>How To Fix The Electrical Cord Of An Air Innovations Clean Mist Humidifier
Articles
How To Fix The Electrical Cord Of An Air Innovations Clean Mist Humidifier
Modified: August 31, 2024
Learn how to fix the electrical cord to your Air Innovations Clean Mist Humidifier with our step-by-step articles, ensuring optimal functionality and safety.
(Many of the links in this article redirect to a specific reviewed product. Your purchase of these products through affiliate links helps to generate commission for Storables.com, at no extra cost. Learn more)
Introduction
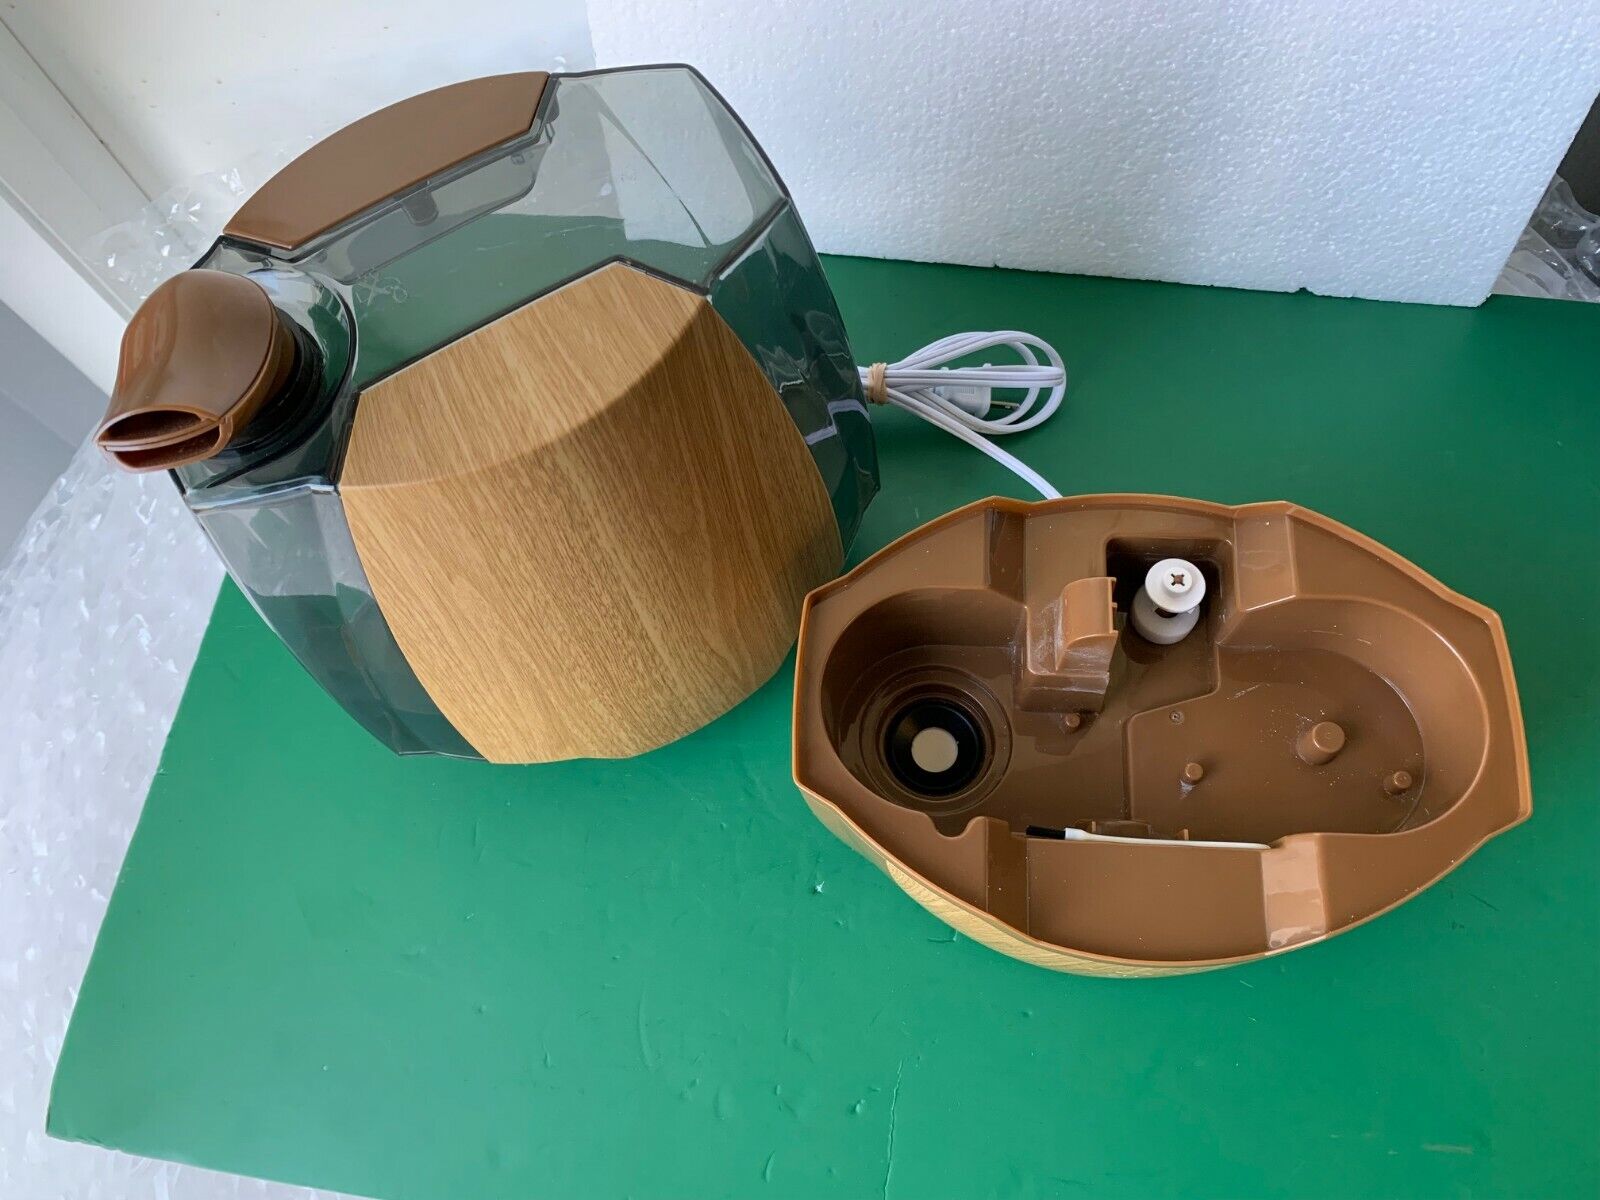
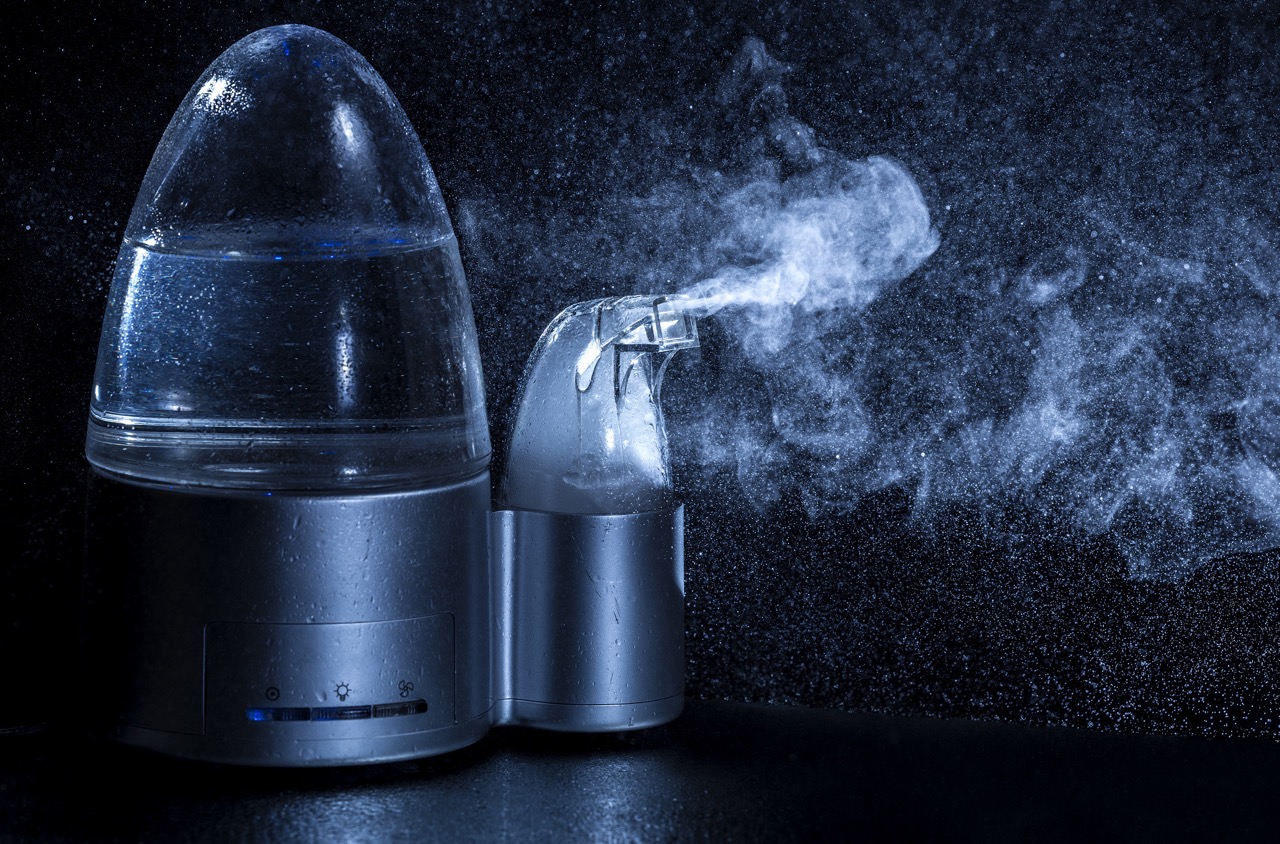
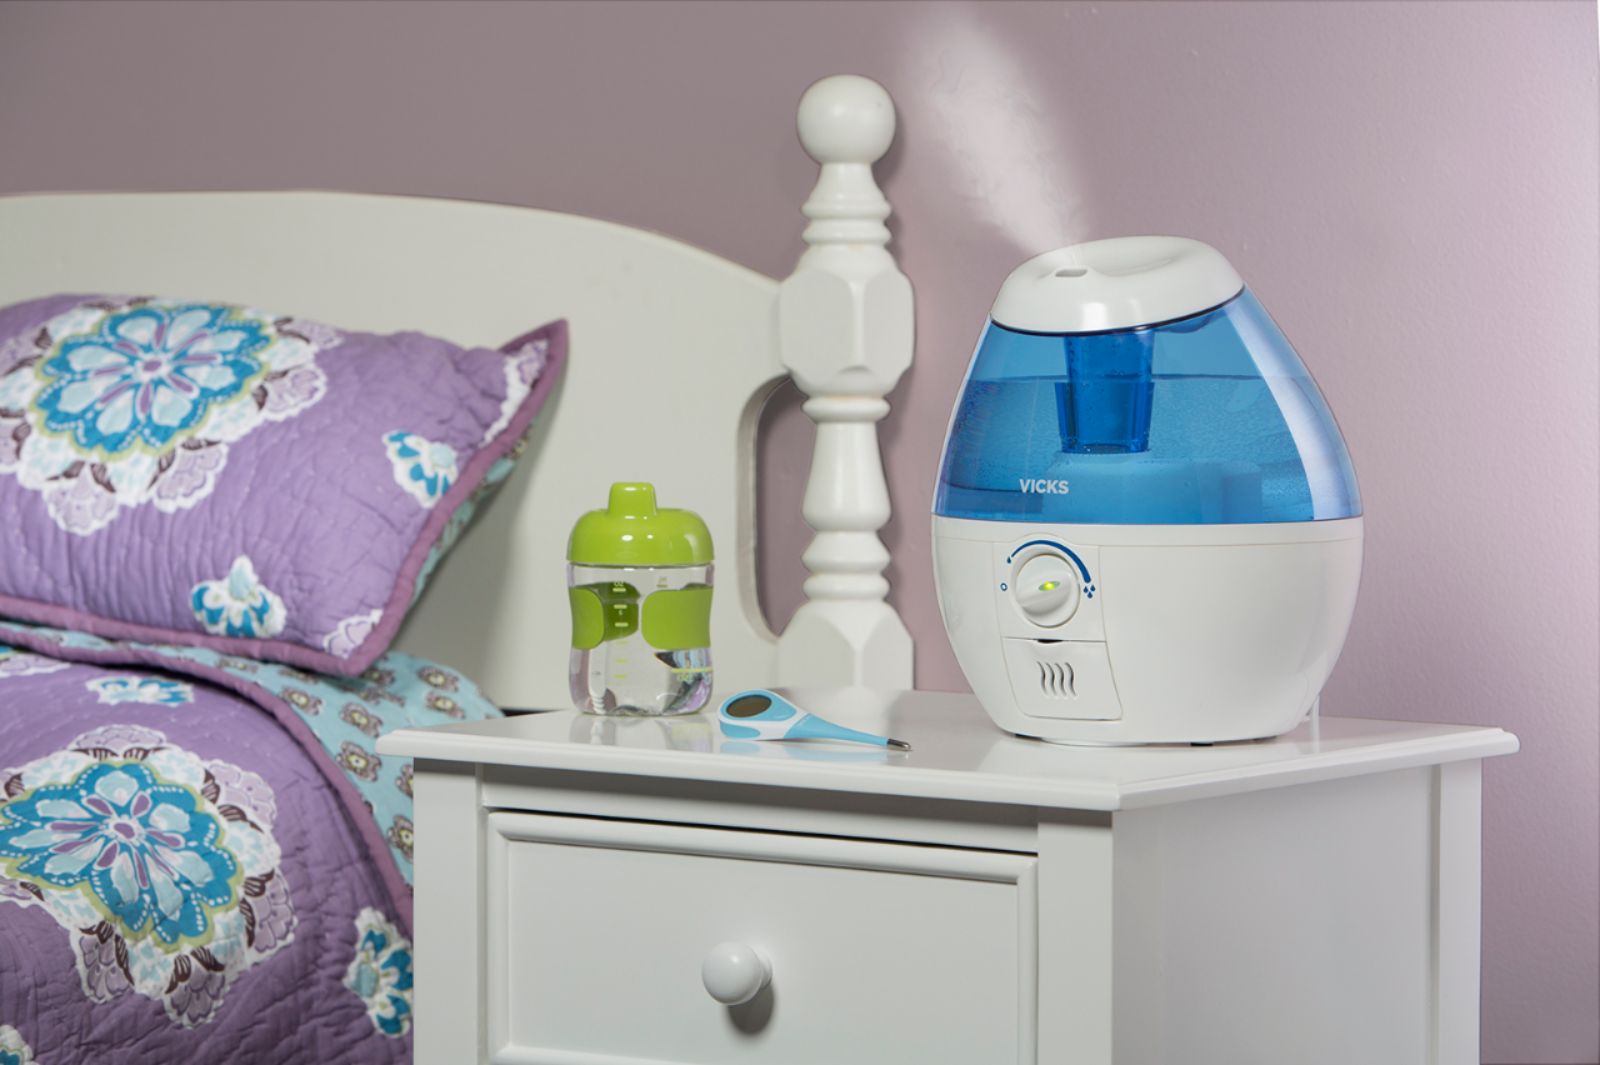
Having an air innovations clean mist humidifier in your home can provide numerous benefits, such as improving indoor air quality and relieving respiratory issues. However, like any electronic appliance, it is not immune to wear and tear, and one common problem that may arise is a damaged electrical cord.
A damaged cord can be frustrating, as it can render your humidifier useless. Luckily, fixing the electrical cord to an air innovations clean mist humidifier is a task that can be accomplished with a few simple steps and the right tools and materials. In this article, we will guide you through the process.
Before we begin, it’s essential to emphasize the importance of safety. Working with electrical components can be dangerous, so always take precautions to protect yourself. If you are uncomfortable with any step of the process or unsure of your abilities, it’s best to seek professional assistance.
Now that we have set the foundation, let’s gather the tools and materials needed to fix the electrical cord of your air innovations clean mist humidifier.
Key Takeaways:
- Safety is paramount when fixing the electrical cord of an air innovations clean mist humidifier. Always unplug the device, wear protective gear, and follow the step-by-step guide to ensure a successful and secure repair.
- By carefully assessing the damage, preparing the new cord, and following the repair process, you can extend the lifespan of your humidifier and continue to enjoy improved indoor air quality.
Read more: How To Clean An Electrical Cord
Tools and Materials Needed
Before you start the process of fixing the electrical cord of your air innovations clean mist humidifier, make sure you have the following tools and materials on hand:
- Wire cutters
- Wire strippers
- Electrical tape
- Replacement cord (same type and size as the original)
- Screwdriver (if necessary for disassembling the humidifier)
- Insulating tubing (optional, but recommended for added protection)
- Heat shrink tubing (optional, but recommended for a secure connection)
- Heat gun or lighter (if using heat shrink tubing)
Having these tools and materials readily available will ensure a smoother and more efficient fixing process. It is essential to use the correct size and type of replacement cord to ensure compatibility and safety. Always refer to the manufacturer’s guidelines or consult with a professional if you have any doubts.
Now that we have everything we need, let’s move on to the step-by-step instructions on how to fix the electrical cord of your air innovations clean mist humidifier!
Step 1: Assess the Damage
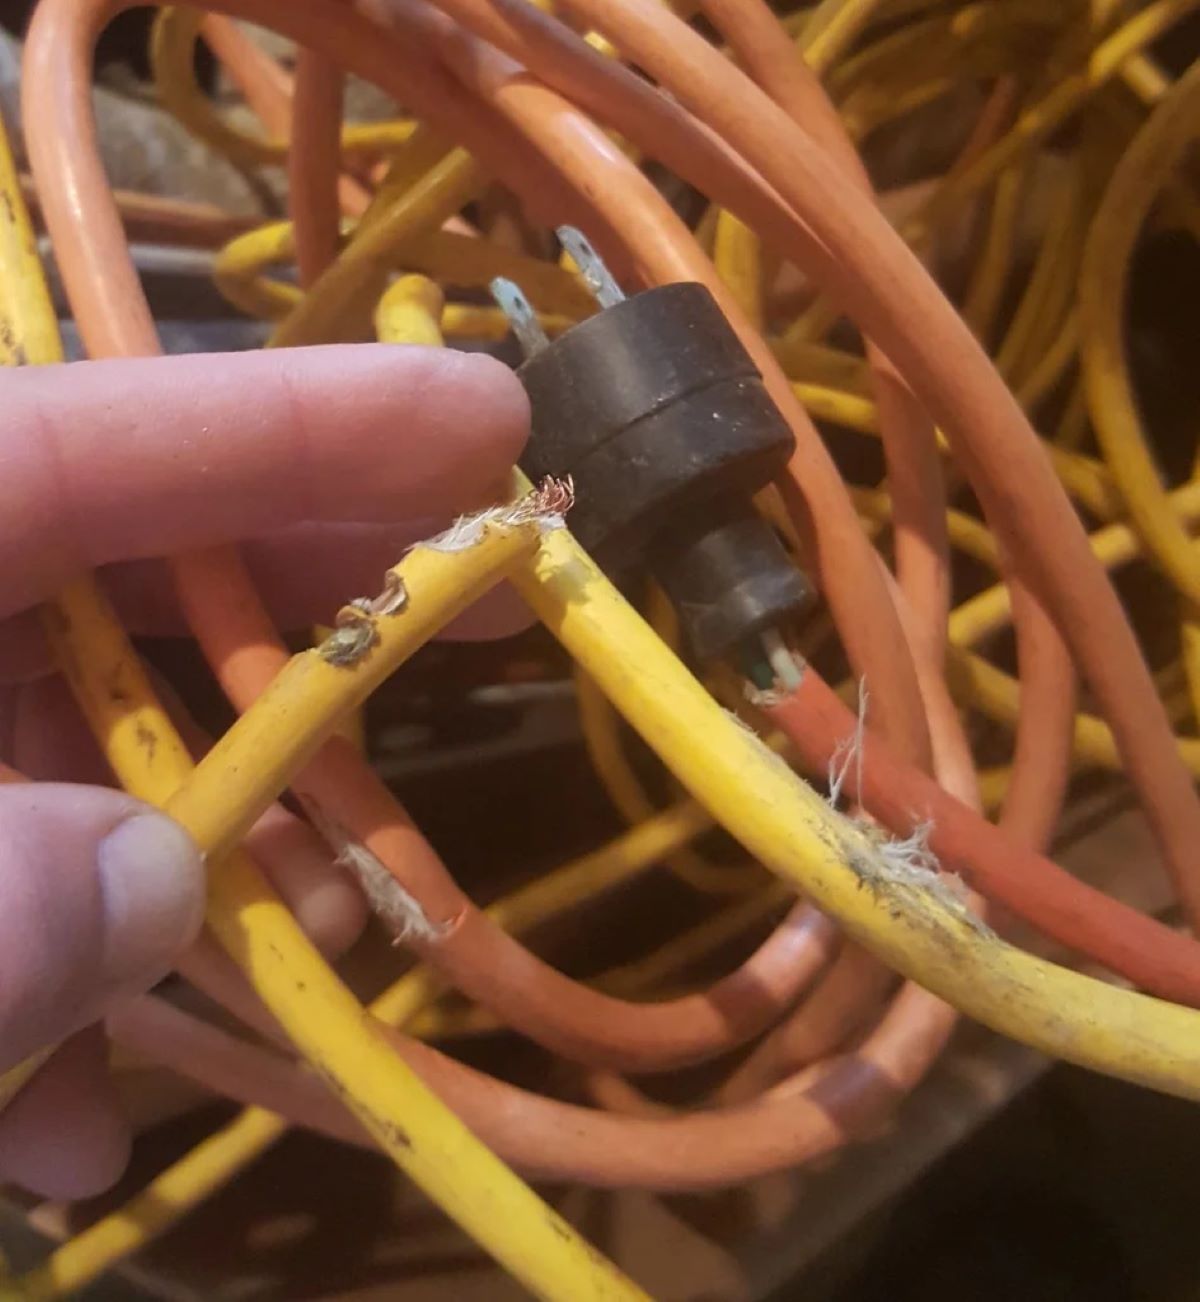
The first step in fixing the electrical cord of your air innovations clean mist humidifier is to carefully assess the damage. Inspect the cord for any visible signs of wear, such as frayed or exposed wires, cuts, or breaks. Pay close attention to the areas near the plug and where the cord enters the humidifier.
If the damage is minor, such as a small cut or tear, you may be able to make a repair without replacing the entire cord. However, if the damage is significant or extends along a large portion of the cord, it is advisable to replace the entire cord for safety reasons.
Remember to unplug the humidifier from the power source before inspecting the cord. This will help prevent any potential accidents or electric shocks while you assess the damage.
Once you have determined the extent of the damage, you can proceed to gather the necessary supplies for the next steps. If you need to replace the entire cord, make sure to find a replacement that matches the original cord in terms of size and type. This will ensure compatibility and the safe functioning of your humidifier.
Now that you have assessed the damage, let’s move on to the next step and gather the necessary supplies for the repair!
Step 2: Gather the Necessary Supplies
Now that you have assessed the damage to the electrical cord of your air innovations clean mist humidifier, it’s time to gather the necessary supplies to proceed with the repair.
Here’s a list of the supplies you’ll need:
- Wire cutters
- Wire strippers
- Electrical tape
- Replacement cord (same type and size as the original)
- Screwdriver (if necessary for disassembling the humidifier)
- Insulating tubing (optional, but recommended for added protection)
- Heat shrink tubing (optional, but recommended for a secure connection)
- Heat gun or lighter (if using heat shrink tubing)
Ensure that you have these supplies readily available before proceeding with the repair. The wire cutters and strippers will be used to remove the damaged portions of the cord and prepare the new cord for installation. The electrical tape will be used to secure and insulate the connection, while the screwdriver may be necessary if you need to disassemble the humidifier to access the cord.
Additionally, the optional supplies, such as the insulating tubing and heat shrink tubing, will provide extra protection and ensure a secure connection. These are recommended for long-lasting and reliable repairs.
Once you have gathered all the necessary supplies, you are ready to move on to the next step, where we will discuss the safety precautions that should be followed during the repair process.
Step 3: Safety Precautions
Before you begin working on fixing the electrical cord of your air innovations clean mist humidifier, it’s crucial to take proper safety precautions to ensure your well-being. Working with electrical components can be hazardous, so follow these safety guidelines:
- Always unplug the humidifier from the power source before starting any repairs. This will prevent any potential electric shocks or accidents.
- Make sure to work in a well-lit area with enough space to maneuver comfortably. Avoid working near water or in damp conditions.
- Wear protective gloves and safety glasses to shield your hands and eyes from any potential harm. This is especially important when handling sharp tools or working with live electrical connections.
- Avoid tugging or pulling the cord forcefully. Handle it gently to prevent further damage.
- If you encounter any unfamiliar or uncertain situations, it’s best to seek professional assistance. Don’t hesitate to contact a qualified technician or electrician if you feel uncomfortable or unsure about any step of the repair process.
- Keep children and pets away from your work area to prevent accidents or injury to them or yourself.
By following these safety precautions, you can minimize the risk of accidents and ensure a safe repair process. Taking the necessary precautions will help protect you and prevent any damage to your humidifier or surrounding environment.
Now that you are aware of the safety measures, let’s move on to the next step, where we will disconnect the humidifier to proceed with the repair.
Read also: 14 Best Cool Mist Humidifier for 2025
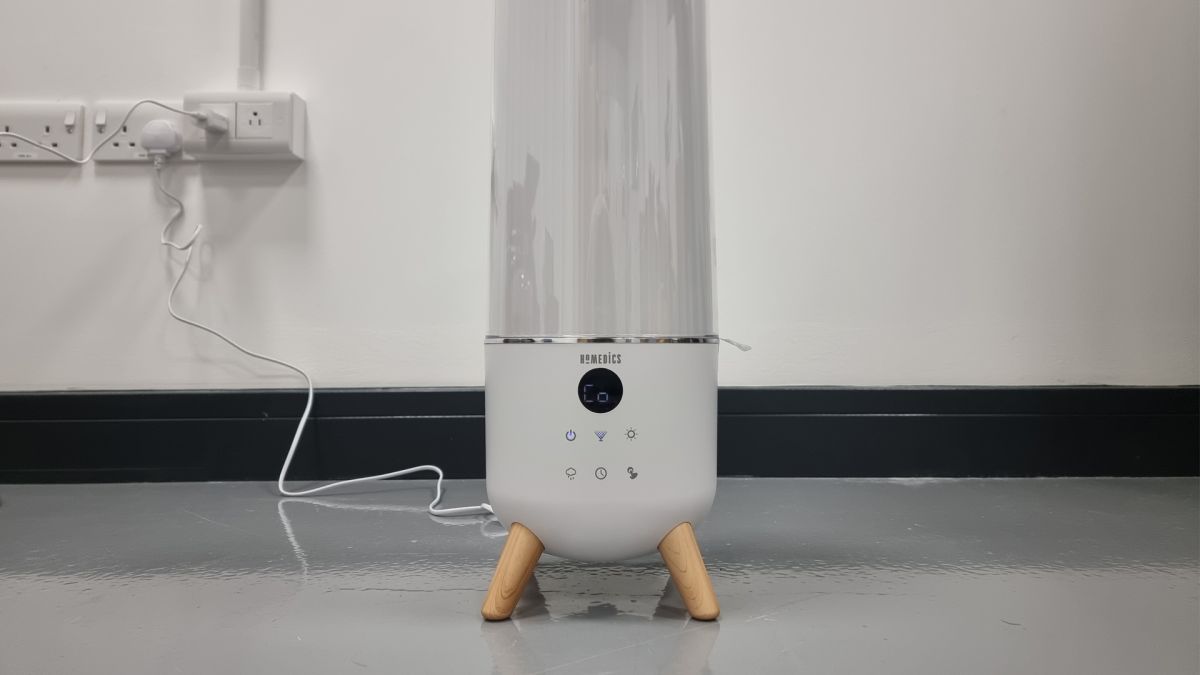
Step 4: Disconnect the Humidifier
Before you can begin fixing the electrical cord of your air innovations clean mist humidifier, you need to disconnect it from the power source to ensure your safety.
Here’s how you can disconnect the humidifier:
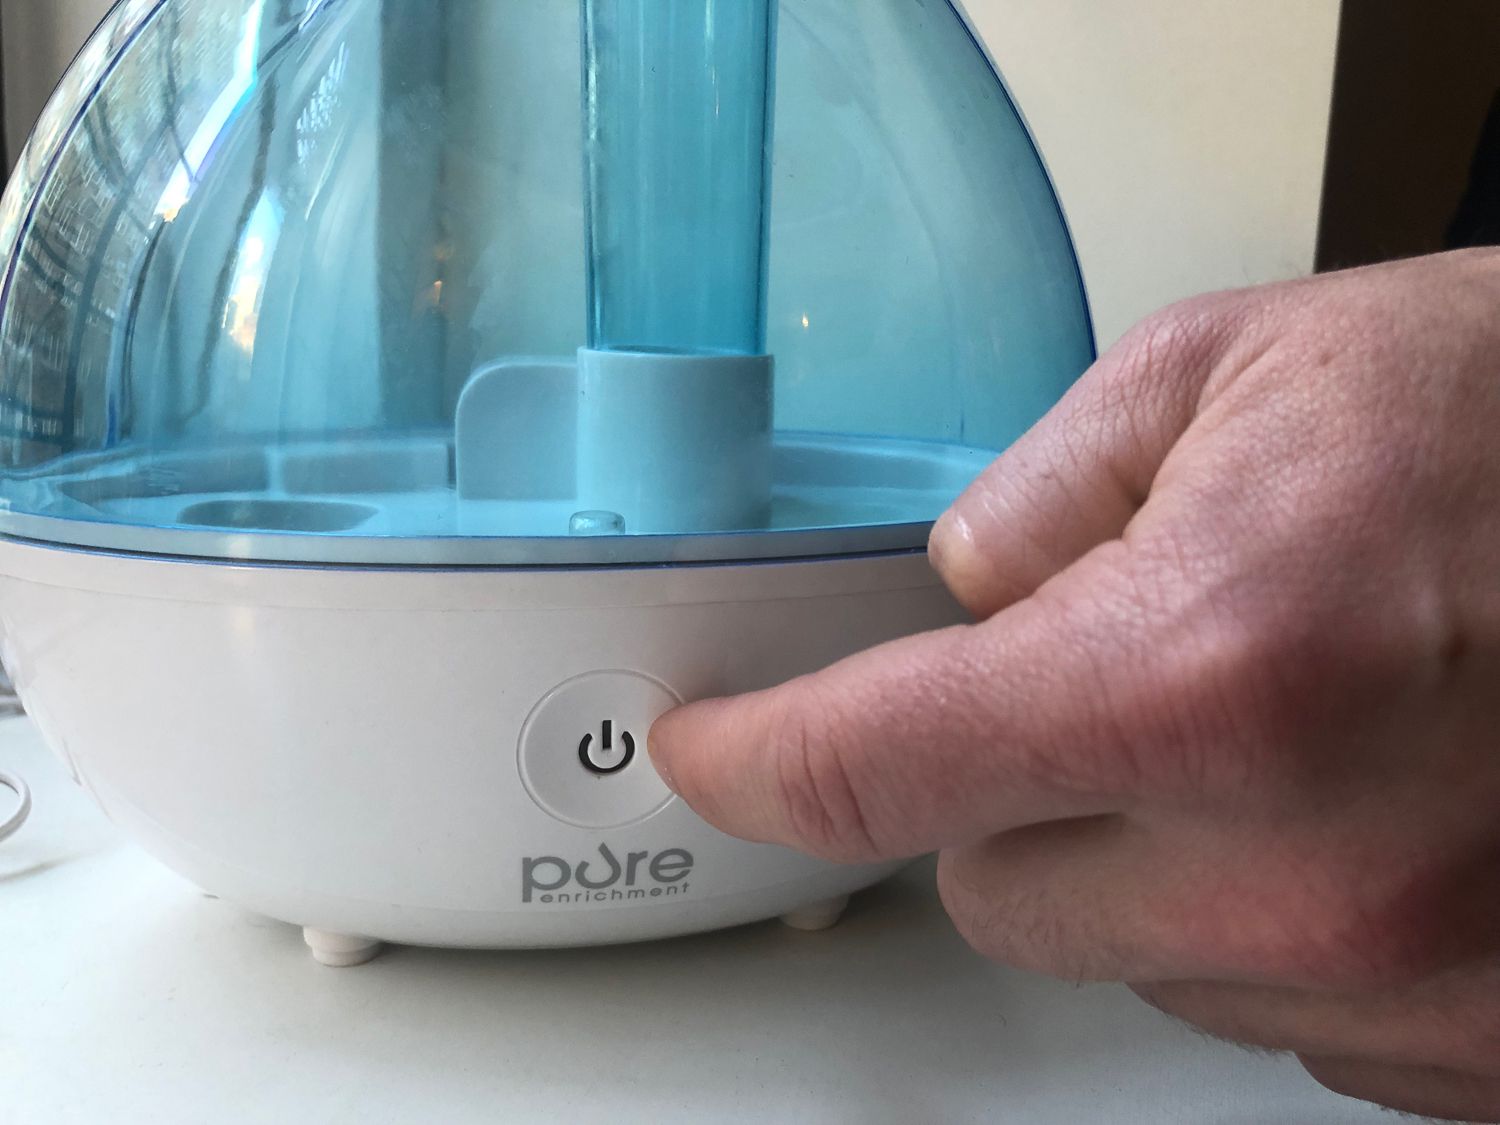
- Turn off the humidifier if it’s currently running. Locate the power switch or button and switch it off.
- Unplug the cord from the electrical outlet. Firmly grasp the plug and gently pull it out. Avoid yanking or pulling the cord, as this can cause further damage.
With the humidifier disconnected from the power source, you have eliminated the risk of electric shock and can safely proceed with the repair.
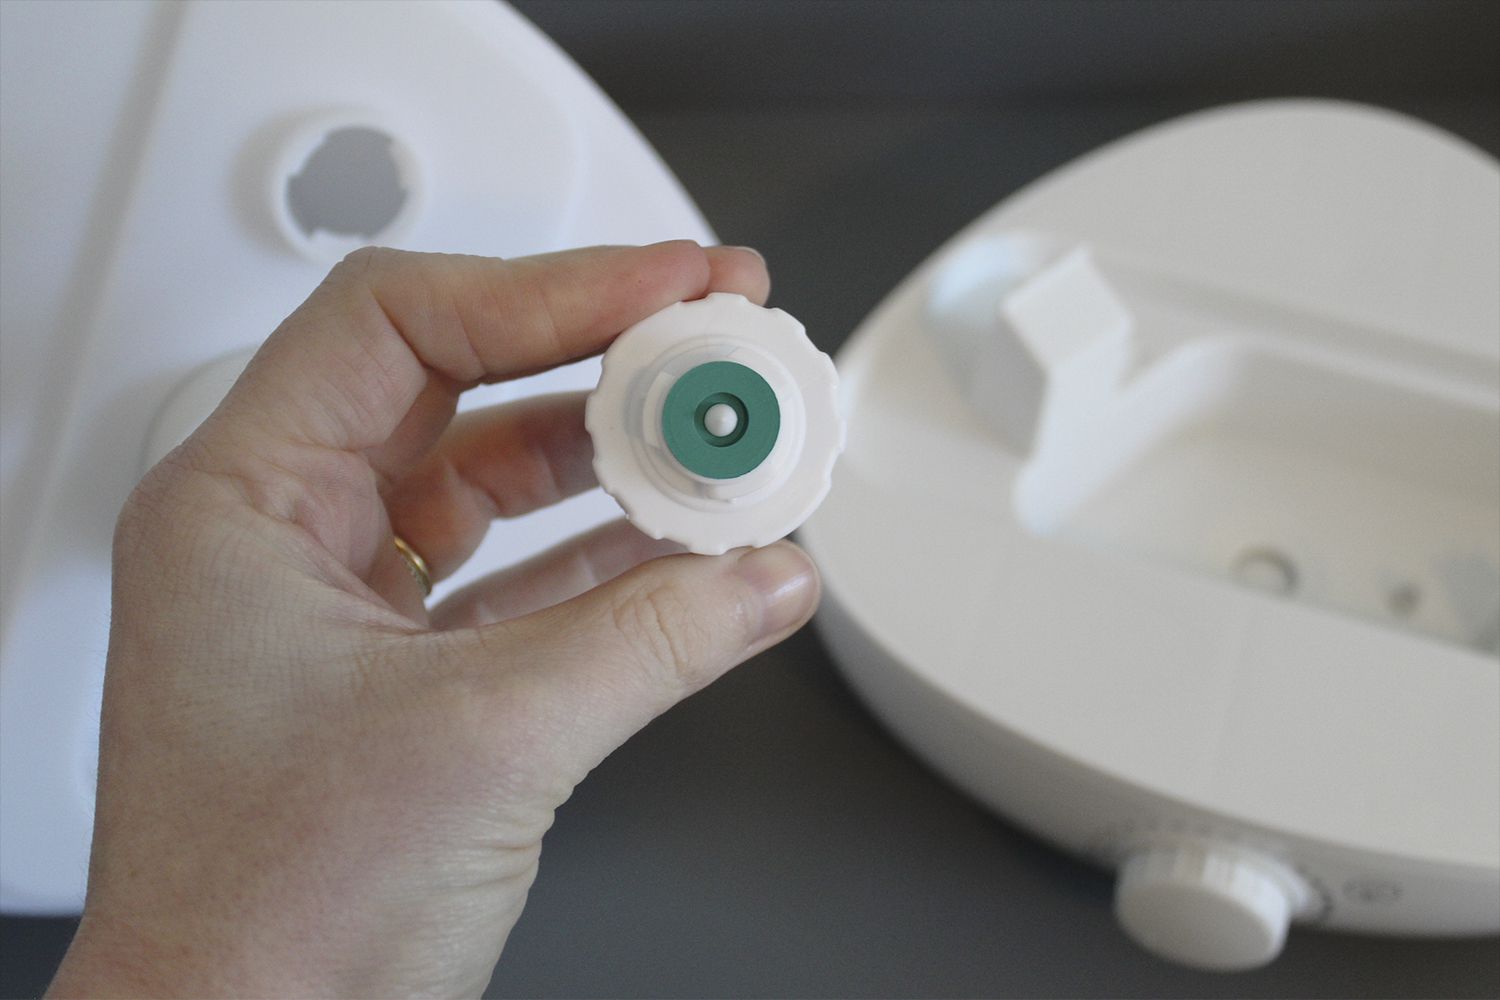
If necessary, you can also disassemble the humidifier to gain better access to the damaged cord. Refer to the manufacturer’s instructions or consult a user manual for guidance on disassembling your specific model. Use a screwdriver or any other appropriate tool to remove the necessary components, ensuring you keep track of any screws or small parts for reassembly later.
Once you have disconnected the humidifier and, if necessary, disassembled it, you are ready to move on to the next step, where we will examine the cord to further assess the damage.
Step 5: Examine the Cord
With the air innovations clean mist humidifier safely disconnected, it’s time to examine the electrical cord more closely to determine the extent of the damage.
Follow these steps to examine the cord:
- Inspect the entire length of the cord for any visible signs of damage. Look for frayed or exposed wires, cuts, breaks, or melted sections.
- Pay close attention to the areas near the plug and where the cord enters the humidifier, as these are common points of wear and tear.
- Gently run your fingers along the length of the cord to feel for any abnormalities, such as bumps, bulges, or areas that feel overheated.
- If you come across any significant damage, such as extensive fraying or exposed wires, it is advisable to replace the entire cord rather than attempting a repair. This ensures your safety and the proper functioning of the humidifier.
- If the damage is minor, such as a small cut or tear, you may be able to proceed with repairing the cord.
By carefully examining the cord, you will have a better understanding of the damage and determine the appropriate course of action. Remember, safety is paramount, so if you have any doubts or concerns about the condition of the cord, it’s always best to err on the side of caution and replace it.
Once you have assessed the cord’s condition, it’s time to move on to the next step, where we will guide you through the process of cutting and stripping the damaged portions of the cord.
When fixing the electrical cord to an Air Innovations Clean Mist Humidifier, make sure to unplug the unit before attempting any repairs. Check for any visible damage to the cord and replace it if necessary. Use electrical tape or a wire connector to secure any loose or exposed wires. If the issue persists, contact the manufacturer for further assistance.
Step 6: Cut and Strip the Damaged Portions
Now that you have examined the electrical cord and identified the damaged portions, it’s time to cut and strip those areas in preparation for the repair.
Follow these steps to cut and strip the damaged portions of the cord:
- Using wire cutters, carefully cut the cord on either side of the damaged area. Make clean, straight cuts to ensure a smooth and even surface.
- After cutting, gently tug on the cord’s ends to separate them.
- Next, use wire strippers to remove the outer insulation from the freshly cut ends of the cord. Place the cord firmly between the jaws of the wire strippers and apply slight pressure as you rotate the strippers around the cord. Be cautious not to cut into the inner wires.
- Continue stripping the insulation until you expose a sufficient length of the inner wires for the repair. The length will vary depending on the type of repair you’re performing and the length of the replacement cord if applicable.
- Inspect the stripped wires for any signs of damage or fraying. If any of the inner wires are damaged, they should be cut and stripped back further until you reach a clean and intact section.
By cutting and stripping the damaged portions of the cord, you create a clean and secure foundation for the repair. It’s crucial to ensure that the stripped wires are free from any damage or fraying, as this will impact the effectiveness and longevity of the repair.
Once you have cut and stripped the damaged portions of the cord, it’s time to prepare the new cord for installation. In the next step, we will guide you through the process of preparing the new cord.
Step 7: Prepare the New Cord
With the damaged portions of the cord cut and stripped, it’s time to prepare the new cord for installation. This step is crucial to ensure a secure and functional connection.
Follow these steps to prepare the new cord:
- If you are replacing the entire cord, ensure that you have obtained a replacement cord that matches the same type and size as the original cord. This will ensure compatibility and safety.
- Inspect the new cord to ensure it is free from any defects or damage.
- Prepare the ends of the new cord by cutting them to the appropriate length. The length will depend on the type of repair you are performing and the stripped length of the existing cord.
- Using wire strippers, strip the insulation from the ends of the new cord, exposing a sufficient length of the inner wires.
- Inspect the stripped wires for any signs of damage or fraying. If necessary, trim back the wires to expose clean and intact sections.
By properly preparing the new cord, you ensure a clean and secure connection during the repair process. It’s important to take your time with this step to make sure the new cord is in optimal condition before moving forward.
Now that you have prepared the new cord, it’s time to move on to the next step, where we will guide you through the process of connecting the new cord to the existing cord.
Read more: Which Is Better Cool Or Warm Mist Humidifier
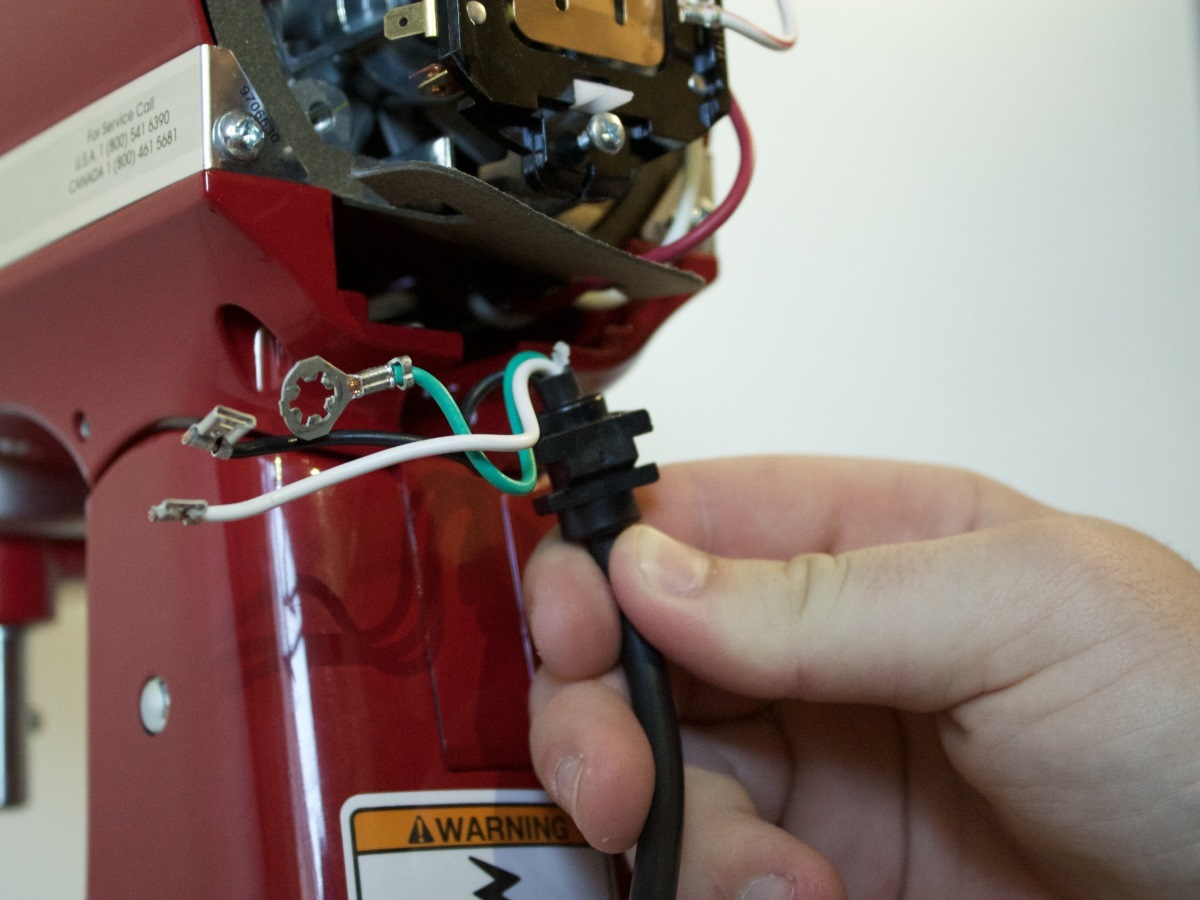
Step 8: Connect the New Cord
With both the damaged portions of the old cord and the new cord prepared, it’s time to connect them together to complete the repair. This step will ensure a secure and reliable electrical connection.
Follow these steps to connect the new cord:
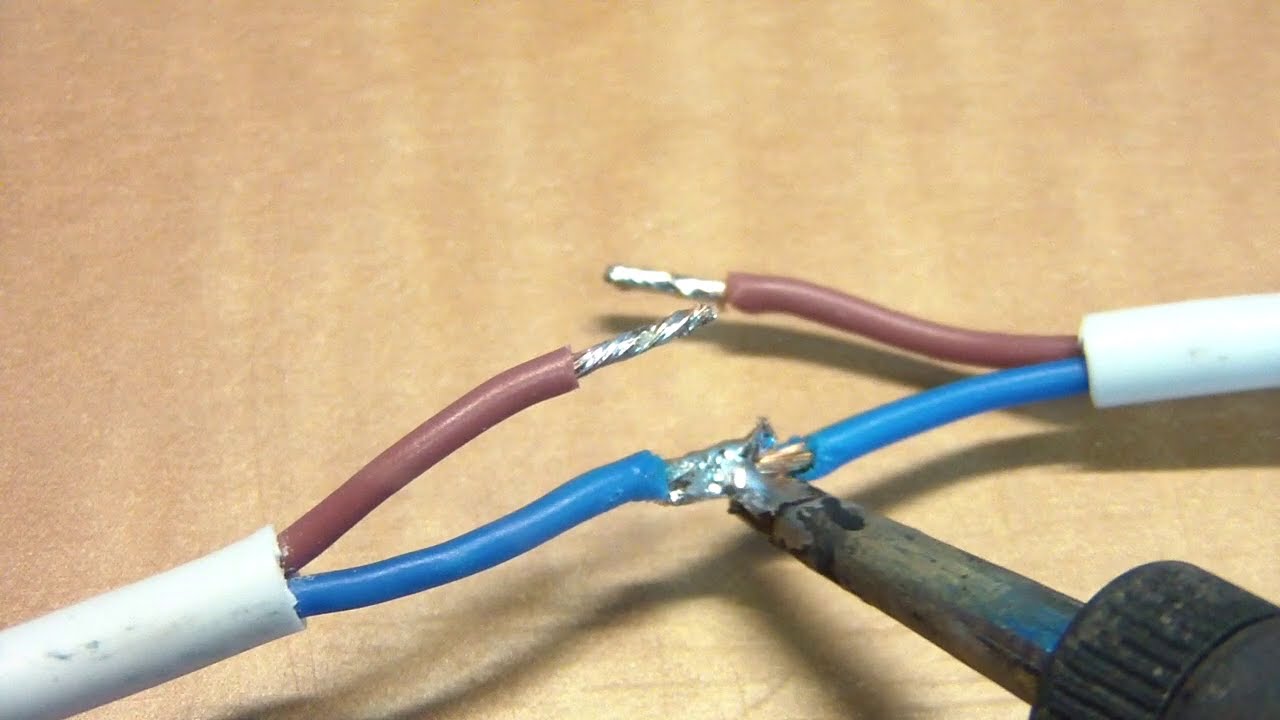
- Identify the corresponding wires on both the old and new cords. The wires are typically color-coded, with each color representing a specific function, such as live (black or red), neutral (white or gray), and ground (green or bare copper).
- Take the exposed end of the new cord and the corresponding exposed end of the old cord and align them side by side.
- Twist the strands of the matching wires together in a clockwise direction. This twisting motion helps to secure the connection and ensures good contact.
- Once the wires are twisted together, use electrical tape to wrap and insulate the connection. Start a few inches away from the connection and wrap the tape tightly around the exposed wires, overlapping it to create a tight seal. Continue wrapping the tape several inches beyond the connection to provide added protection.
- If desired, slide a piece of insulating tubing over the taped connection for added protection. This tubing acts as an extra barrier against moisture and prevents accidental touching.
- Optional: For an even more secure and professional-looking connection, you can use heat shrink tubing instead of electrical tape. Slide the heat shrink tubing over the taped connection and use a heat gun or lighter to shrink the tubing, creating a tight and sealed connection.
By following these steps, you will ensure a solid and secure connection between the old and new cords. The insulation and optional use of insulating tubing or heat shrink tubing provide added protection against electrical hazards and improve the longevity of the repair.
Now that you have connected the new cord to the existing cord, it’s time to move on to the next step, where we will insulate and secure the connection for long-lasting reliability.
Step 9: Insulate and Secure the Connection
Now that the new cord is connected to the existing cord, it’s important to insulate and secure the connection to ensure safety and long-lasting reliability.
Follow these steps to insulate and secure the connection:
- If you used electrical tape to wrap the connection, ensure that it is tightly wrapped and covers the entire exposed area. The tape should provide a secure barrier against moisture and prevent accidental touching.
- Gently tug on the taped connection to check for any looseness or gaps. If necessary, add another layer of electrical tape to ensure a secure and tight seal.
- If you opted for insulating tubing instead of or in addition to electrical tape, slide the tube over the taped connection. Ensure that it covers the entire exposed area and extends past the taped section at both ends.
- If you used heat shrink tubing, carefully heat the tubing using a heat gun or lighter. The heat will cause the tubing to shrink and create a tight, protective seal around the connection. Be cautious not to apply too much heat, as it can damage the wiring or insulation.
Regardless of the method you choose, the goal is to provide insulation and protection to the connection. This helps prevent electrical shocks, maintain the integrity of the wiring, and ensure the longevity of the repair.
With the connection insulated and secured, you are almost done with the repair process. In the next step, we will guide you through the final steps of reassembling the humidifier and testing it to ensure proper functioning.
Step 10: Reassemble and Test the Humidifier
Congratulations! You’re now in the final step of fixing the electrical cord of your air innovations clean mist humidifier. It’s time to reassemble the humidifier and test it to ensure it’s functioning properly.
Follow these steps to reassemble and test the humidifier:
- If you had previously disassembled the humidifier, refer to the manufacturer’s instructions or user manual to guide you in reassembling the various components. Make sure to reattach any screws or small parts that were removed.
- Once the humidifier is reassembled, locate the power switch or button and turn it on.
- Observe the humidifier to ensure that it is operating as expected. Check for any signs of abnormal noise or malfunction.
- Monitor the humidifier’s performance for a period of time to ensure that it is maintaining the desired humidity levels and distributing mist properly.
- If the humidifier is running smoothly and providing the intended functionality, congratulations! Your repair was successful.
- If you encounter any issues or abnormalities during testing, double-check the connection you made in the previous steps. Ensure that all components are properly connected and insulated.
- If problems persist, it’s advisable to contact a professional technician or the manufacturer for further assistance.
By reassembling and testing the humidifier, you can ensure that it’s working properly and providing the benefits of clean mist and improved air quality in your home.
With the humidifier reassembled and functional, you have successfully fixed the electrical cord of your air innovations clean mist humidifier! Enjoy the comfort and benefits it brings to your living space.
As a final reminder, always prioritize safety when working with electrical components. If you are unsure or uncomfortable with any step of the repair process, it’s recommended to seek professional assistance.
Thank you for following this guide, and we hope it has been helpful in resolving the issue with your air innovations clean mist humidifier!
Conclusion
Fixing the electrical cord of your air innovations clean mist humidifier is a manageable task that can be accomplished with basic tools and a careful approach. By following the step-by-step guide provided in this article, you have learned how to assess the damage, gather the necessary supplies, take safety precautions, disconnect the humidifier, examine the cord, cut and strip the damaged portions, prepare the new cord, connect the new cord, insulate and secure the connection, and finally, reassemble and test the humidifier.
Throughout the repair process, it’s essential to prioritize safety and take precautionary measures to avoid any potential accidents. Working with electrical components can be hazardous, so always unplug the humidifier before beginning any repairs, wear protective gear, and exercise caution when handling tools and making electrical connections.
Remember, if you feel uncomfortable or unsure about any step of the repair process, it’s best to seek professional assistance. A qualified technician or electrician can provide the expertise needed to ensure a safe and successful repair.
By fixing the electrical cord of your air innovations clean mist humidifier, you can extend the lifespan of your appliance and continue to enjoy its benefits, such as improved indoor air quality and relief from respiratory issues.
We hope that this guide has provided you with the knowledge and confidence to tackle this repair. Remember to refer back to the instructions as needed and take your time to complete each step accurately.
Thank you for reading, and we wish you success in fixing the electrical cord of your air innovations clean mist humidifier!
Frequently Asked Questions about How To Fix The Electrical Cord Of An Air Innovations Clean Mist Humidifier
Was this page helpful?
At Storables.com, we guarantee accurate and reliable information. Our content, validated by Expert Board Contributors, is crafted following stringent Editorial Policies. We're committed to providing you with well-researched, expert-backed insights for all your informational needs.


0 thoughts on “How To Fix The Electrical Cord Of An Air Innovations Clean Mist Humidifier”