
Articles
How To Fix Chewed Electrical Cord
Modified: October 20, 2024
An informative article on how to fix a chewed electrical cord. Learn step-by-step instructions and expert tips to ensure safety and prevent further damage to your cords.
(Many of the links in this article redirect to a specific reviewed product. Your purchase of these products through affiliate links helps to generate commission for Storables.com, at no extra cost. Learn more)
Introduction
Electrical cords play a vital role in providing power to our various appliances and devices. However, they are not immune to damage, and one common problem many individuals face is chewed electrical cords. Whether it’s caused by pets, pests, or even accidents, a chewed cord can pose a serious safety hazard.
When a cord is damaged, it exposes the internal wiring, which increases the risk of short circuits, electrical shocks, and even fires. Therefore, it’s crucial to address the issue promptly and effectively to ensure the safety of both yourself and your electrical devices.
In this article, we will discuss the common causes of chewed electrical cords, essential safety precautions to keep in mind, and step-by-step solutions to fix those damaged cords. Additionally, we will explore different methods that can be used to repair the chewed sections of the cord, such as using electrical tape, heat shrink tubing, liquid electrical tape, or replacing the damaged section altogether.
Before we dive into the solutions, it’s important to remember that working with electrical cords requires proper knowledge and caution. If you’re unsure or uncomfortable with the repair process, it’s always best to consult a professional electrician for assistance.
Now, let’s explore the common causes of chewed electrical cords and learn how to address this issue effectively.
Key Takeaways:
- Chewed electrical cords pose safety hazards due to exposed wiring. Repair methods include using electrical tape, heat shrink tubing, liquid electrical tape, or replacing the damaged section. Always prioritize safety and consider consulting a professional electrician if unsure.
- Common causes of chewed electrical cords include pets, pests, and accidents. To prevent future incidents, secure and organize cords properly, keep pets away, and conduct regular inspections. Prioritize safety and follow step-by-step repair methods for effective solutions.
Common Causes of Chewed Electrical Cords
Chewed electrical cords can be a frustrating and potentially dangerous problem. Understanding the common causes can help you take preventive measures to avoid these incidents in the future. Here are some of the main reasons why electrical cords are prone to chewing:
- Pets: One of the primary culprits behind chewed electrical cords is our beloved furry friends. Dogs and cats, especially puppies and kittens, have a natural tendency to chew on objects as they explore their surroundings. Electrical cords can be an appealing target for their chewing instincts. To them, cords may resemble toys or even tasty treats, leading them to give the cords a curious nibble.
- Pests: Rodents, such as mice and rats, can also be responsible for chewed electrical cords. These small creatures have constantly growing teeth that they need to keep filed down. Gnawing on things, including electrical cords, helps them achieve this. Furthermore, the insulating materials used in cords may attract rodents for nesting purposes, increasing the chances of damage.
- Accidents: Sometimes, chewed electrical cords are the result of accidental damage. Tripping over cords or getting tangled in them can cause the wires to fray and the insulation to be compromised. Pets or children playing around cords may accidentally chew on them without realizing the potential hazards they pose.
Regardless of the cause, it’s essential to address chewed cords promptly to ensure the safety of everyone in the vicinity. Taking preventive measures can help minimize the risk of future incidents.
In the next section, we will discuss some important safety precautions you should follow when dealing with chewed electrical cords.
Safety Precautions
When dealing with chewed electrical cords, it’s crucial to prioritize safety to prevent accidents or further damage. Here are some important safety precautions to keep in mind:
- Power Off: Before attempting any repairs, always make sure to unplug the affected cord from the power source. This step is vital to prevent electrical shocks or further damage.
- Inspect the Damage: Thoroughly examine the chewed cord to assess the extent of the damage. Look for exposed wires, frayed insulation, or any other signs of deterioration. It’s important to identify the exact area that needs to be repaired.
- Wear Protective Gear: To protect yourself from potential hazards, wear protective gloves, safety goggles, and appropriate clothing when handling electrical cords. This will reduce the risk of injury from sharp edges or accidental contact with live wires.
- Keep Pets Away: If pets were the cause of the damage, ensure they are kept at a safe distance while you work on the cord. Consider using pet deterrent sprays or providing alternative chew toys to redirect their attention away from electrical cords.
- Do Not Overlook Small Damage: Even minor damage to the cord, such as a small puncture or indentation, should not be ignored. Over time, these seemingly insignificant issues can escalate and compromise the cord’s integrity.
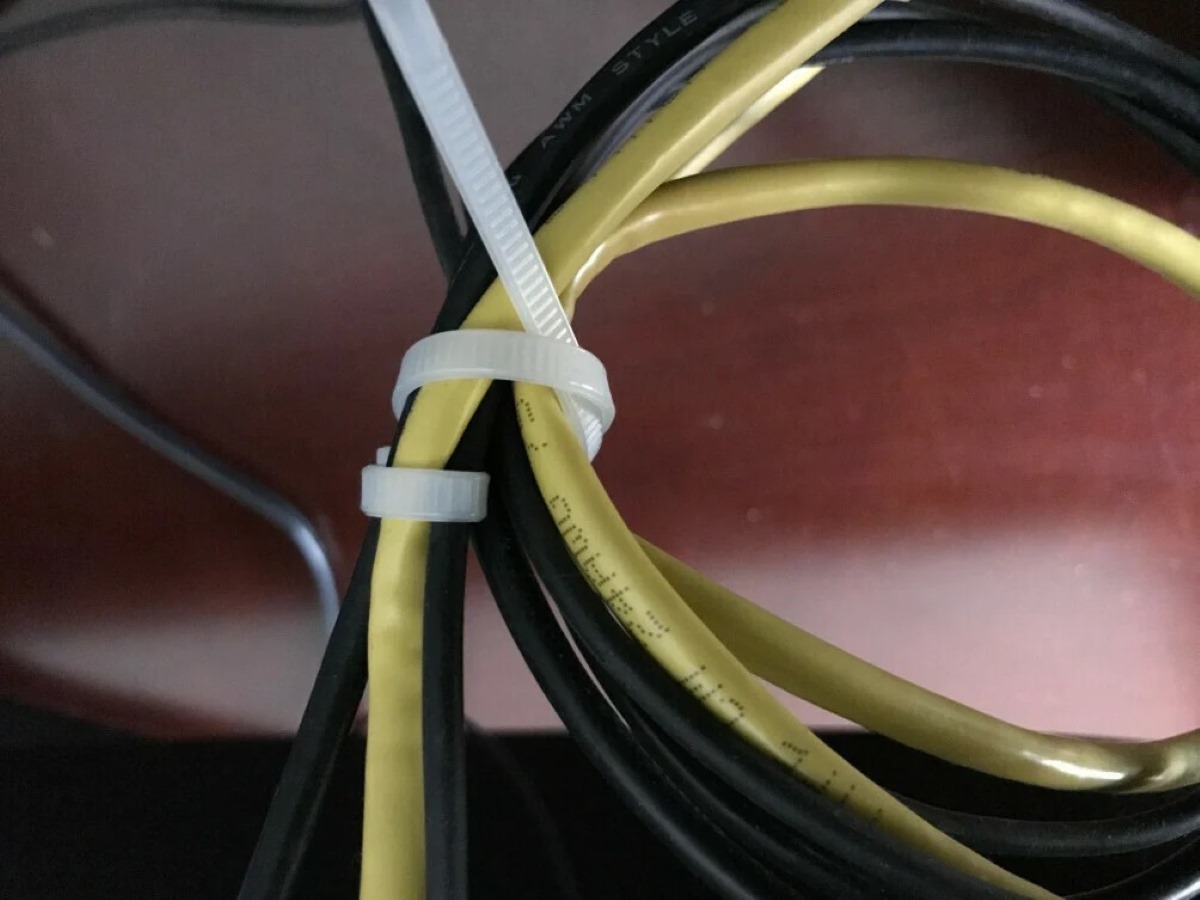
- Secure Cords Properly: To minimize the risk of future damage, make sure to properly secure and organize electrical cords. Use cable ties or cord management solutions to keep them out of reach from pets and prevent them from becoming tripping hazards.
- Regular Inspections: Periodically inspect your electrical cords for any signs of wear and tear, especially if you have pets or live in an area prone to rodent activity. Address any potential issues as soon as you notice them to avoid more significant problems down the line.
- Consult a Professional: If you are unsure about how to safely repair or address chewed electrical cords, it’s best to seek assistance from a professional electrician. They have the knowledge and experience to handle the repairs correctly and ensure the safety of your electrical system.
By following these safety precautions, you can minimize risks and protect yourself while working on chewed electrical cords. Now that we understand the precautions to take, let’s move on to the tools and materials you will need for the repair process.
Tools and Materials Needed
Repairing chewed electrical cords requires a few tools and materials to ensure a successful and safe fix. Here is a list of the items you will need:
- Electrical Tape: Electrical tape is a versatile and widely available solution for repairing minor damage to electrical cords. It provides insulation and protection to the exposed wires.
- Heat Shrink Tubing: Heat shrink tubing is a more robust and professional-grade option for repairing chewed cords. When heated, it shrinks and creates a tight seal around the damaged area, providing excellent insulation and protection.
- Liquid Electrical Tape: Liquid electrical tape is a convenient solution to repair small cuts or exposed wires. It forms a rubbery coating when applied and dries to provide insulation and protection.
- Wire Cutters: Wire cutters are essential for removing the damaged section of the cord and preparing it for repair.
- Wire Strippers: Wire strippers are used to remove the insulation from the wires, enabling you to make proper connections when repairing the cord.
- Heat Gun or Lighter: If you are using heat shrink tubing, you will need a heat gun or a lighter to heat the tubing and make it shrink around the damaged area.
- Scissors: Scissors are required for cutting the electrical tape or trimming excess material from heat shrink tubing.
- Clean Cloth and Isopropyl Alcohol: Before applying any repair method, it’s crucial to clean the damaged area with a clean cloth and isopropyl alcohol to remove any dirt or residue.
Remember, it’s essential to use high-quality tools and materials to ensure a safe and effective repair. Using improper or low-quality items may compromise the integrity of the repairs or lead to further damage.
Now that you have gathered the necessary tools and materials, let’s move on to the step-by-step guide to fix chewed electrical cords using various methods.
Step-by-Step Guide to Fix Chewed Electrical Cords
Repairing chewed electrical cords can be done using several methods, depending on the extent of the damage and the materials available. Here is a step-by-step guide to help you fix chewed electrical cords:
Read more: How To Fix Cut Electrical Cord
Method 1: Electrical Tape
- Start by cleaning the damaged area with a clean cloth and isopropyl alcohol to ensure a clean surface for the repair.
- Inspect the exposed wires and make sure they are intact. If any wires are cut or damaged, you may need to strip the insulation and reconnect them.
- Begin wrapping the damaged section of the cord tightly with electrical tape. Start a few inches before the damaged area and continue a few inches past it to provide sufficient coverage.
- Overlap the layers of tape as you wrap, ensuring a secure and uniform covering. Make sure there are no gaps or exposed wires.
- Once the damaged section is completely covered, continue wrapping a few more layers of tape to reinforce the repair.
- Smooth down the tape by running your fingers along the surface to ensure it adheres properly.
Method 2: Heat Shrink Tubing
- Clean the damaged area using a clean cloth and isopropyl alcohol. Ensure the surface is dry before proceeding.
- Identify the appropriate size of heat shrink tubing for the damaged section of the cord. It should be slightly larger than the diameter of the cord.
- Cut a piece of heat shrink tubing slightly longer than the damaged section.
- Slide the heat shrink tubing over the damaged area, ensuring it covers the exposed wires completely.
- Use a heat gun or a lighter to apply heat evenly to the tubing, moving it back and forth. The tubing will shrink and form a tight seal around the damaged area.
- Avoid overheating the tubing, as it may cause damage. Follow the manufacturer’s instructions for the proper heating technique.
- Allow the tubing to cool and inspect the repair. It should be tight and secure.
Method 3: Liquid Electrical Tape
- Wipe the damaged area clean with a cloth and isopropyl alcohol to remove any dirt or residue.
- If the damaged section has exposed wires, strip a small portion of the insulation to make proper connections.
- Apply a thin, even layer of liquid electrical tape over the damaged section, covering the exposed wires completely.
- Allow the first layer to dry as per the manufacturer’s instructions.
- Apply one or two more layers of liquid electrical tape, allowing each layer to dry completely before applying the next.
- Inspect the repair to ensure a smooth, sealed surface. If needed, apply additional layers for added protection.
Method 4: Replace the Damaged Section
- For severe damage or when the cord cannot be effectively repaired with other methods, it may be necessary to replace the damaged section.
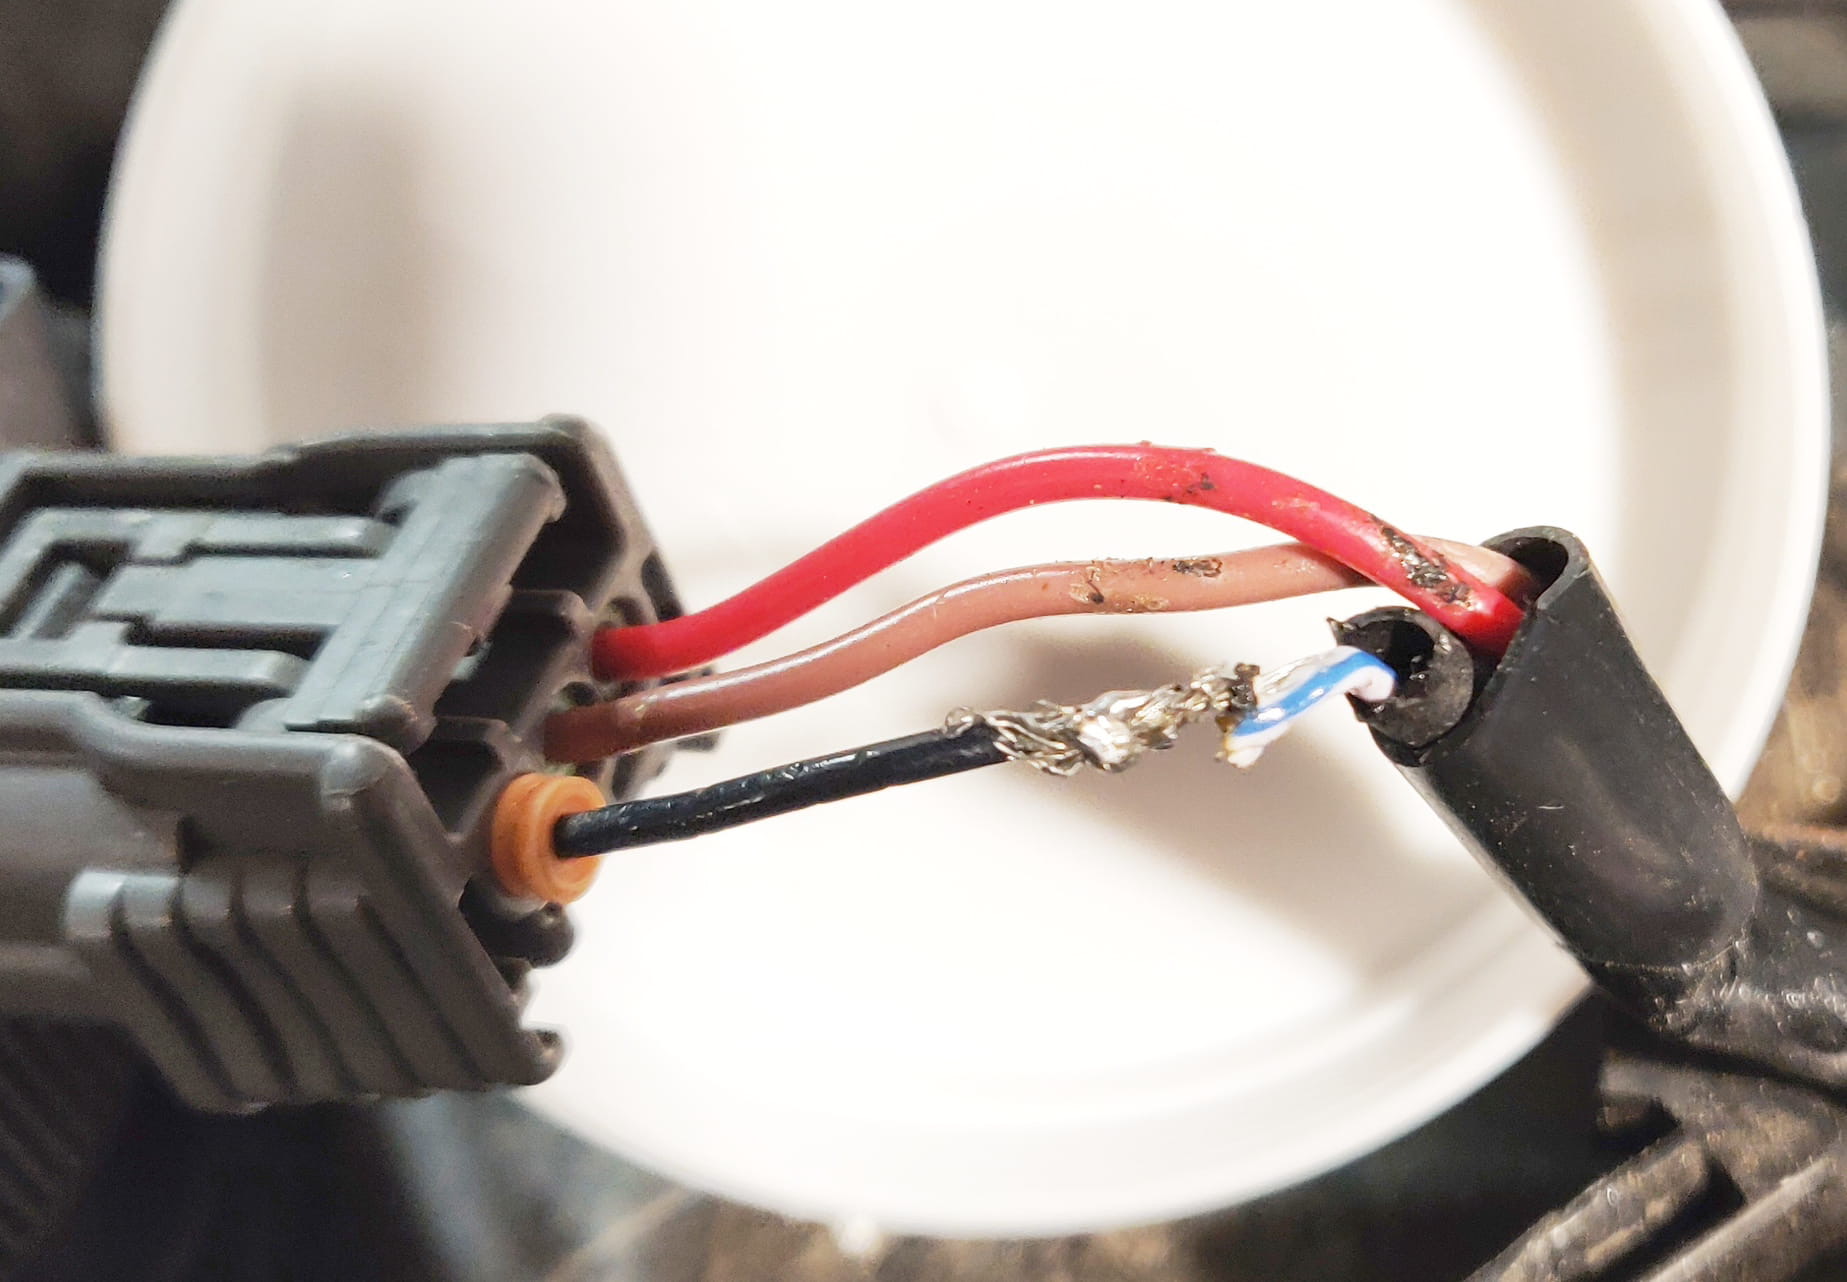
- Using wire cutters, remove the section of the cord that is chewed or damaged. Cut a few inches on either side to ensure a clean area for connection.
- Strip the insulation from the newly cut ends of the cord to expose the wires.
- If applicable, attach a replacement plug or connector to one end of the cord following the manufacturer’s instructions.
- Connect the wires of the replacement plug or connector to the corresponding wires on the other end of the cord, ensuring a secure and proper connection.
- Use wire connectors or electrical tape to secure and insulate the connection.
- Test the cord to ensure it is functioning properly before using it.
Remember to follow safety precautions and exercise caution when handling electrical cords. If you are unsure or uncomfortable with any step of the repair process, consult a professional electrician for assistance.
By following these step-by-step instructions and using the appropriate repair method, you can effectively fix chewed electrical cords and restore their safety and functionality.
In the next section, we will recap the different methods we discussed and conclude the article.
Read more: How To Fix Electrical Cord On Vacuum
Method 1: Electrical Tape
Electrical tape is a widely available and versatile solution for repairing minor damage to electrical cords. It provides insulation and protection to the exposed wires, making it an effective method for fixing chewed electrical cords. Here’s a step-by-step guide on how to use electrical tape to repair a chewed electrical cord:
- Clean the damaged area: Start by cleaning the damaged section of the cord with a clean cloth and isopropyl alcohol. This will remove any dirt or residue, ensuring a clean surface for the repair.
- Inspect the exposed wires: Take a close look at the exposed wires and make sure they are intact. If any wires are cut or damaged, you may need to strip the insulation and reconnect them before proceeding.
- Wrap the damaged section: Begin wrapping the damaged section of the cord tightly with electrical tape. Start a few inches before the damaged area and continue a few inches past it to provide sufficient coverage.
- Overlap the layers: As you wrap, make sure to overlap the layers of electrical tape. This will ensure a secure and uniform covering. Avoid leaving gaps or exposed wires by ensuring each layer overlaps the previous one.
- Reinforce the repair: Once the damaged section is completely covered, continue wrapping a few more layers of electrical tape to reinforce the repair. The additional layers will provide extra insulation and protection.
- Smooth down the tape: After completing the wrapping, use your fingers to smooth down the tape and ensure it adheres properly. This will help prevent it from loosening or peeling off over time.
It’s important to note that electrical tape is best suited for minor damage and temporary repairs. While it can provide a functional fix, it may not have the durability or longevity of other repair methods, such as heat shrink tubing or replacing the damaged section. Therefore, it’s advisable to monitor the repaired cord and consider a more permanent solution if needed.
Remember to exercise caution when working with electrical cords and follow the necessary safety precautions. If you’re unsure about the extent of the damage or uncomfortable with the repair process, it’s always best to consult a professional electrician for assistance.
In the next section, we will discuss another method to fix chewed electrical cords: heat shrink tubing.
Method 2: Heat Shrink Tubing
Heat shrink tubing is a more robust and professional-grade solution for repairing chewed electrical cords. When heated, it shrinks and creates a tight seal around the damaged area, providing excellent insulation and protection. Here’s a step-by-step guide on how to use heat shrink tubing to fix a chewed electrical cord:
- Clean the damaged area: Begin by cleaning the damaged section of the cord with a clean cloth and isopropyl alcohol. This will remove any dirt or residue and ensure a clean surface for the repair.
- Select the appropriate size: Identify the size of heat shrink tubing that is slightly larger than the diameter of the cord. It’s important to choose the right size to ensure a proper fit.
- Cut the tubing: Cut a piece of heat shrink tubing that is slightly longer than the damaged section of the cord. This will allow for some overlap on both ends.
- Slide the tubing: Slide the heat shrink tubing over the damaged area, ensuring that it covers the exposed wires completely. Position it so there is some tubing extending beyond each end of the damaged section.
- Heat the tubing: Use a heat gun or a lighter to apply heat evenly to the heat shrink tubing. Move the heat source back and forth, heating the tubing along its length. As the tubing heats up, it will shrink and form a tight seal around the damaged area.
- Ensure proper sealing: Avoid overheating the tubing, as it may cause damage. Follow the manufacturer’s instructions for the proper heating technique. It’s important to check that the tubing has fully shrunk, creating a secure and sealed protection around the damaged section.
- Allow cooling and inspect: Once the heat shrink tubing has shrunk and cooled down, inspect the repair. Ensure that the tubing is tightly sealed, free from gaps, and adequately covers the exposed wires. It should provide a sturdy and reliable fix.
Heat shrink tubing offers a more durable and long-lasting solution compared to electrical tape. It provides better insulation and protection against moisture, dust, and other potential contaminants. However, it requires the use of heat, so it’s essential to follow safety precautions and be cautious when applying the heat source.
Always refer to the manufacturer’s instructions and use the appropriate tools and techniques when working with heat shrink tubing. If you’re unsure about the repair process or if the damage is extensive, it’s recommended to consult a professional electrician for assistance.
In the next section, we will discuss another method to repair chewed electrical cords: using liquid electrical tape.
If your electrical cord has been chewed, unplug it immediately and assess the damage. If the damage is minimal, you can use electrical tape to cover the exposed wires. For more extensive damage, it’s best to replace the cord altogether to avoid any safety hazards.
Method 3: Liquid Electrical Tape
Liquid electrical tape provides a convenient and effective solution for repairing small cuts or exposed wires on chewed electrical cords. It forms a rubbery coating when applied and dries to provide insulation and protection. Here’s a step-by-step guide on how to use liquid electrical tape to fix a chewed electrical cord:
- Clean the damaged area: Start by cleaning the damaged section of the cord with a clean cloth and isopropyl alcohol. This will ensure a clean surface for the repair and remove any dirt or residue.
- If needed, strip the wires: If the damaged section has exposed wires, you may need to strip a small portion of the insulation to make proper connections. Use wire strippers to remove the insulation carefully.
- Apply a thin layer: Apply a thin, even layer of liquid electrical tape over the damaged section, making sure to cover the exposed wires completely. You can use a brush or the built-in applicator that comes with the liquid electrical tape product.
- Allow drying time: Allow the first layer of liquid electrical tape to dry as per the manufacturer’s instructions. The drying time will vary depending on the product, so be sure to follow the recommended waiting period.
- Apply additional layers if needed: Apply one or two more layers of liquid electrical tape, allowing each layer to dry completely before applying the next. This will provide additional insulation and protection to the repaired section.
- Inspect the repair: Once the final layer is dry, inspect the repair to ensure a smooth, sealed surface. Check for any gaps or areas that may need additional coverage. If needed, apply another layer of liquid electrical tape to reinforce the repair.
Liquid electrical tape is particularly useful for repairing small cuts or exposed wires, as it forms a flexible and durable coating. It provides insulation against moisture, corrosion, and other potential contaminants. However, it’s important to follow the manufacturer’s instructions regarding the application and drying time to ensure a proper repair.
Keep in mind that liquid electrical tape may not be suitable for larger or more extensive damage. In such cases, it’s advisable to consult a professional electrician or consider other repair methods such as heat shrink tubing or replacing the damaged section.
By following the steps above and using liquid electrical tape correctly, you can effectively repair chewed electrical cords and restore their functionality and safety.
In the next section, we will discuss an alternative method to repair chewed electrical cords: replacing the damaged section.
Method 4: Replace the Damaged Section
In cases where the damage to the chewed electrical cord is severe or the previous repair methods are not sufficient or appropriate, it may be necessary to replace the damaged section altogether. Here’s a step-by-step guide on how to replace the damaged section of an electrical cord:
- Determine the extent of the damage: Assess the chewed cord and identify the section that needs to be replaced. Cut a few inches on either side of the damaged area to ensure a clean area for connection.
- Strip the insulation: Use wire cutters to remove the damaged section of the cord. Then use wire strippers to remove the insulation from the newly cut ends of the cord, exposing the wires.
- If applicable, attach a replacement plug or connector: If necessary, attach a replacement plug or connector to one end of the cord following the manufacturer’s instructions. Ensure that the new plug or connector is compatible with the electrical device you will be using.
- Connect the wires: Connect the wires of the replacement plug or connector to the corresponding wires on the other end of the cord. Ensure a secure and proper connection by twisting the wire ends together and using wire connectors or electrical tape to secure and insulate the connection.
- Test the cord: Before using the repaired cord, test it to ensure it is functioning properly. Plug it into a power source and check that the device or appliance connected to it is working as expected.
Replacing the damaged section of an electrical cord provides a more comprehensive and reliable solution than simply repairing the chewed area. It ensures the integrity and safety of the electrical connection, especially for cords that are frequently used or carry higher voltages.
Remember to follow safety precautions when handling electrical cords and connections. If you are unsure about the repair process or if the damage is extensive, it’s best to consult a professional electrician for assistance. They can guide you through the replacement process and ensure a proper and safe repair.
By following the steps above, you can effectively replace the damaged section of a chewed electrical cord and restore its functionality and safety.
In the next section, we will recap the different repair methods discussed and conclude the article.
Conclusion
Chewed electrical cords can be a common and potentially hazardous issue that many people face. Whether caused by pets, pests, or accidents, it’s important to address the problem promptly and effectively to ensure safety. In this article, we discussed various methods to fix chewed electrical cords, including using electrical tape, heat shrink tubing, liquid electrical tape, or replacing the damaged section.
We started by exploring the common causes of chewed electrical cords, such as pets, pests, or accidents. Understanding these causes can help prevent future incidents by taking appropriate preventive measures.
To ensure safety while working with chewed electrical cords, we highlighted important safety precautions to follow. These include powering off the cord, wearing protective gear, inspecting the damage, and keeping pets away from the repair area.
We then provided a list of tools and materials needed for the repair process, including electrical tape, heat shrink tubing, wire cutters, wire strippers, and more.
The step-by-step guides for each repair method offered clear instructions on how to fix chewed electrical cords. We discussed the use of electrical tape for minor damage, heat shrink tubing for a more robust solution, liquid electrical tape for small cuts or exposed wires, and replacing the damaged section for severe damage.
It’s important to note that while these methods can provide temporary fixes, it’s always advisable to monitor the repaired cord and consider a more permanent solution if needed. Additionally, when in doubt or faced with extensive damage, consulting a professional electrician is the best course of action.
Ultimately, addressing chewed electrical cords is crucial for the safety of both individuals and electrical devices. By following the guidelines and steps outlined in this article, you can effectively repair chewed electrical cords and restore their functionality, ensuring a safer environment in your home or workspace.
Remember, handling electrical cords can be dangerous, so always prioritize safety and exercise caution when working with them.
Frequently Asked Questions about How To Fix Chewed Electrical Cord
Was this page helpful?
At Storables.com, we guarantee accurate and reliable information. Our content, validated by Expert Board Contributors, is crafted following stringent Editorial Policies. We're committed to providing you with well-researched, expert-backed insights for all your informational needs.


0 thoughts on “How To Fix Chewed Electrical Cord”