Articles
How To Clean An Electrical Cord
Modified: January 19, 2024
Learn the best techniques to clean electrical cords with our informative articles. Keep your cords safe and efficient with our expert tips and guidelines.
(Many of the links in this article redirect to a specific reviewed product. Your purchase of these products through affiliate links helps to generate commission for Storables.com, at no extra cost. Learn more)
Introduction
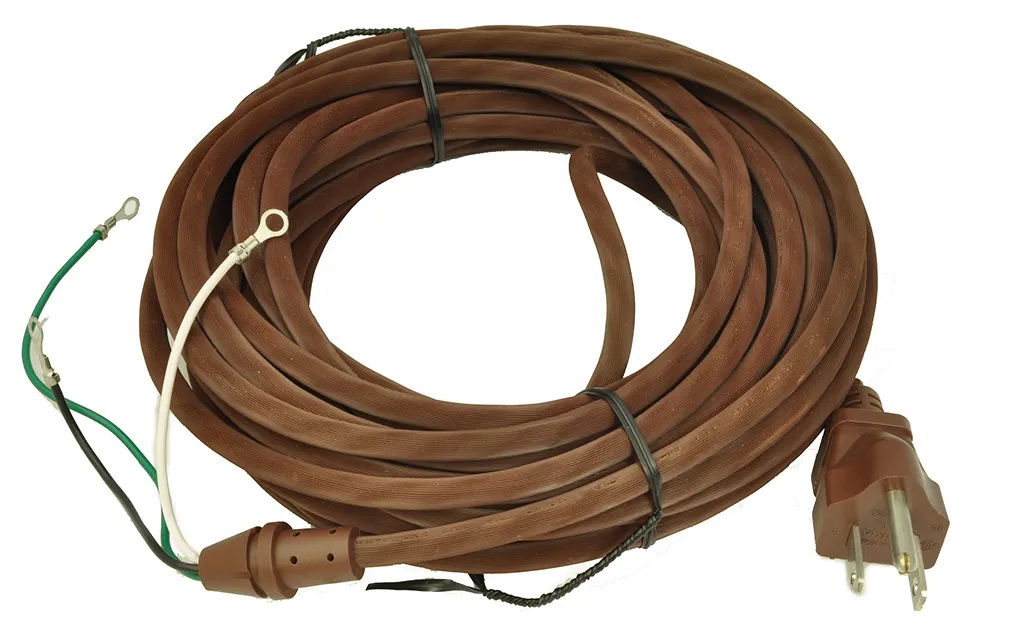
Electrical cords are an essential part of our modern lives, powering our devices and appliances and keeping us connected to the world. However, over time, these cords can accumulate dust, dirt, and even spills, which can affect their performance and pose a safety risk. Cleaning your electrical cords regularly not only helps to maintain their functionality but also ensures your safety.
In this article, we will guide you through the steps to clean your electrical cords effectively and safely. But before we dive into the cleaning process, let’s go over some essential safety precautions.
Key Takeaways:
- Regularly cleaning and maintaining electrical cords is crucial for both safety and longevity. Follow safety precautions, use gentle cleaning supplies, and inspect for damages to ensure optimal functionality.
- Proper storage of electrical cords is essential to prevent damage and maintain their integrity. Coil and secure cords neatly, store in a dry location, and regularly inspect for any signs of wear and tear.
Read more: How To Tie An Electrical Cord
Safety Precautions
Before you begin cleaning your electrical cord, it’s important to take certain safety measures to protect yourself and prevent any accidents. Here are some key precautions to keep in mind:
- Always unplug the electrical cord from the power source before cleaning it. This step is crucial to avoid the risk of electric shock.
- Ensure that your hands are dry during the entire cleaning process. Water and moisture can conduct electricity, increasing the risk of electrocution.
- Avoid using harsh chemicals or abrasive materials, as they can damage the cord’s insulation or connectors.
- If the cord is damaged, frayed, or showing signs of wear and tear, do not attempt to clean it. Instead, consider replacing it to ensure safety.
By following these safety precautions, you can minimize the risk of accidents and ensure a safe cleaning process. Now, let’s move on to the supplies you’ll need to clean your electrical cord.
Key Takeaways:
- Regularly cleaning and maintaining electrical cords is crucial for both safety and longevity. Follow safety precautions, use gentle cleaning supplies, and inspect for damages to ensure optimal functionality.
- Proper storage of electrical cords is essential to prevent damage and maintain their integrity. Coil and secure cords neatly, store in a dry location, and regularly inspect for any signs of wear and tear.
Read more: How To Tie An Electrical Cord
Safety Precautions
Before you begin cleaning your electrical cord, it’s important to take certain safety measures to protect yourself and prevent any accidents. Here are some key precautions to keep in mind:
- Always unplug the electrical cord from the power source before cleaning it. This step is crucial to avoid the risk of electric shock. Attempting to clean a cord that is still connected to a power source can be extremely dangerous.
- Ensure that your hands are dry during the entire cleaning process. Water and moisture can conduct electricity, increasing the risk of electrocution. Dry your hands thoroughly and, if necessary, use rubber gloves to provide an extra layer of protection.
- Avoid using harsh chemicals or abrasive materials on the electrical cord. These can cause damage to the cord’s insulation or connectors, compromising its safety and functionality. Stick to mild cleaning solutions and gentle materials to prevent any potential harm.
- Inspect the cord for any visible damage, such as frays, cuts, or exposed wires. If you notice any signs of wear and tear, do not attempt to clean the cord. Using a damaged cord can lead to electrical shocks or fires. In such cases, it is best to replace the cord with a new one.
- Keep the cord away from heat sources, water, and flammable substances. Exposing the cord to extreme temperatures, liquid spills, or combustible materials can result in electrical hazards or accidents. Store your electrical cords in a safe and dry location to prevent any accidental damage.
- If you are unsure about cleaning a particular type of cord or if the cord is part of a complex electrical system, it’s always best to consult a professional. They can provide you with the necessary guidance and ensure that the cleaning process is done safely and accurately.
By following these safety precautions, you can minimize the risk of accidents and ensure a safe cleaning process for your electrical cord. Now that we have covered the necessary safety measures, let’s move on to the supplies you’ll need.
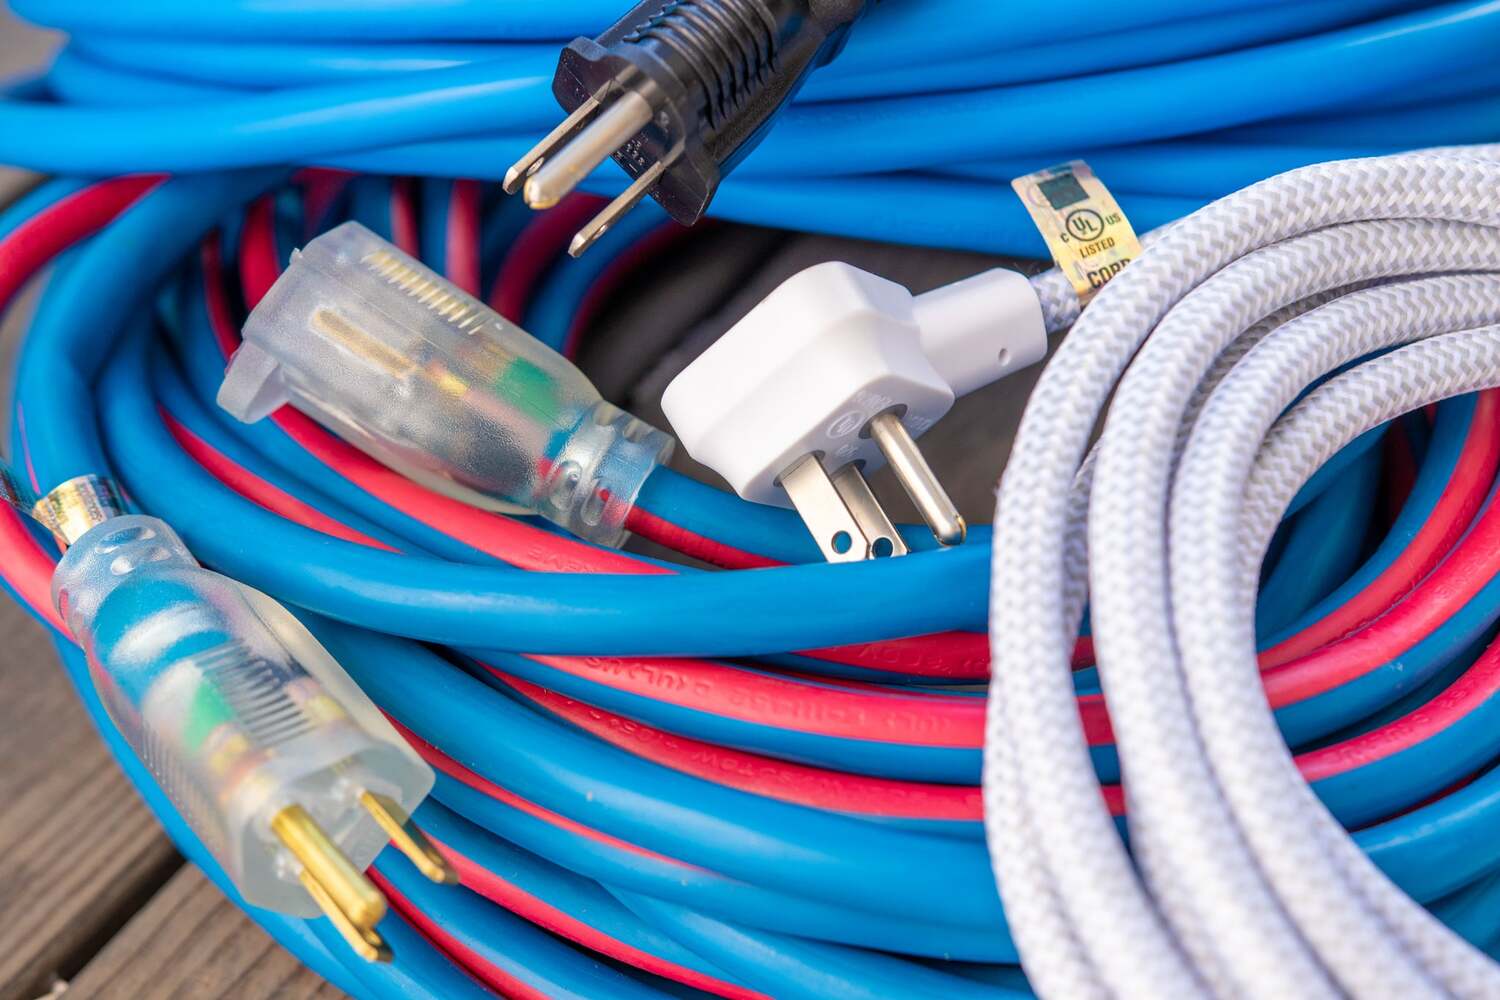
Supplies Needed
Before you embark on cleaning your electrical cord, gather the necessary supplies to ensure a thorough and effective cleaning process. Here are the supplies you’ll need:
- Mild soap or detergent: Choose a gentle soap or detergent that is suitable for delicate surfaces. Avoid using harsh chemicals or abrasive cleaners, as they can damage the cord’s insulation.
- Warm water: Fill a bucket or basin with warm water to create a cleaning solution. The water should not be too hot, as it can potentially damage the cord.
- Soft cloth or sponge: Select a soft cloth or sponge that is lint-free and non-abrasive. This will help to clean the cord without causing any scratches or damage to the surface.
- Cotton swabs: These small cotton-tipped tools are ideal for cleaning hard-to-reach areas or crevices in the cord.
- Rubber gloves: If preferred, you can wear rubber gloves to protect your hands from any potential hazards while handling the electrical cord.
- Towel or drying rack: After cleaning the cord, you’ll need a clean, dry surface to place it on for drying. A towel or a drying rack can be used for this purpose.
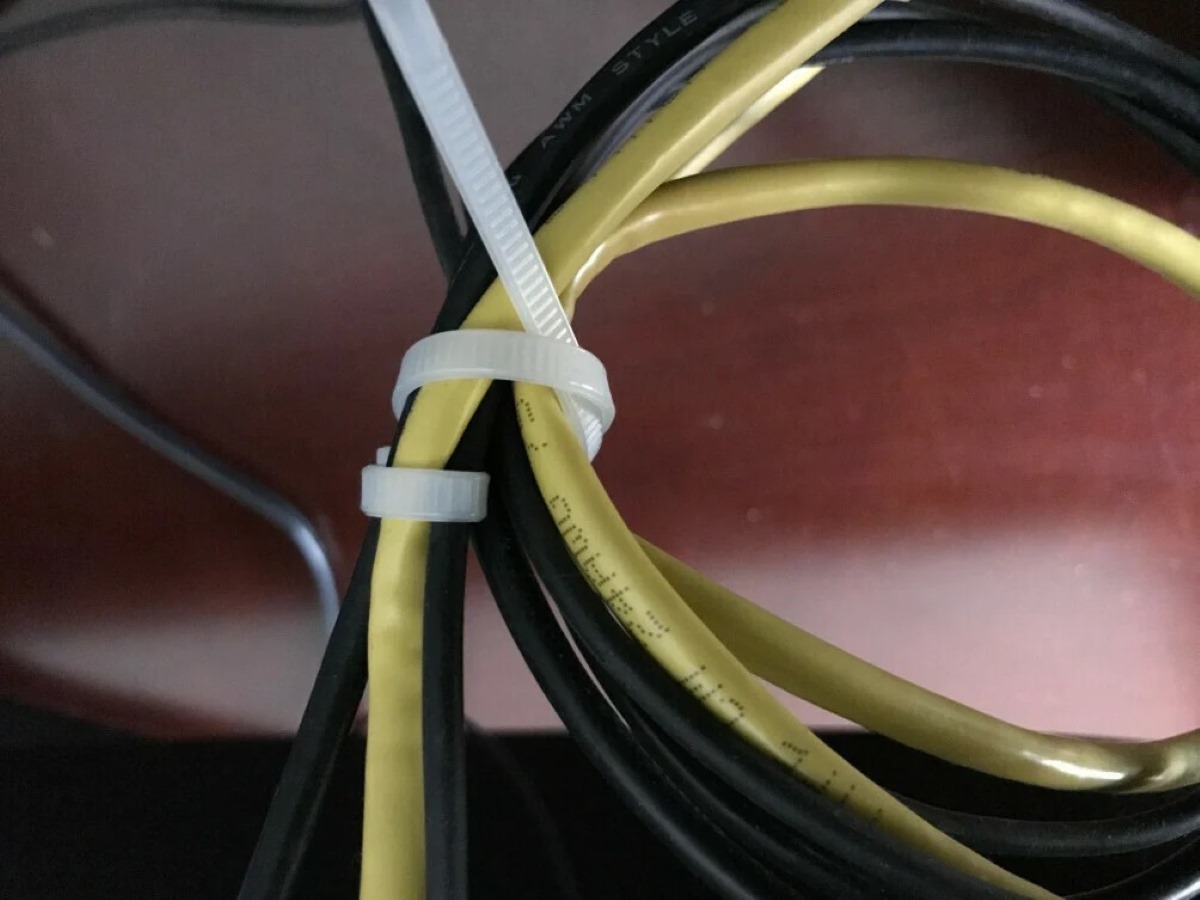
- Cable ties or cord organizers (optional): If you want to keep your electrical cords neatly organized after cleaning, consider using cable ties or cord organizers to bundle and secure them together.
Having these supplies on hand will make the cleaning process easier and more efficient. Now that we have the necessary supplies ready, let’s move on to the step-by-step process of cleaning an electrical cord.
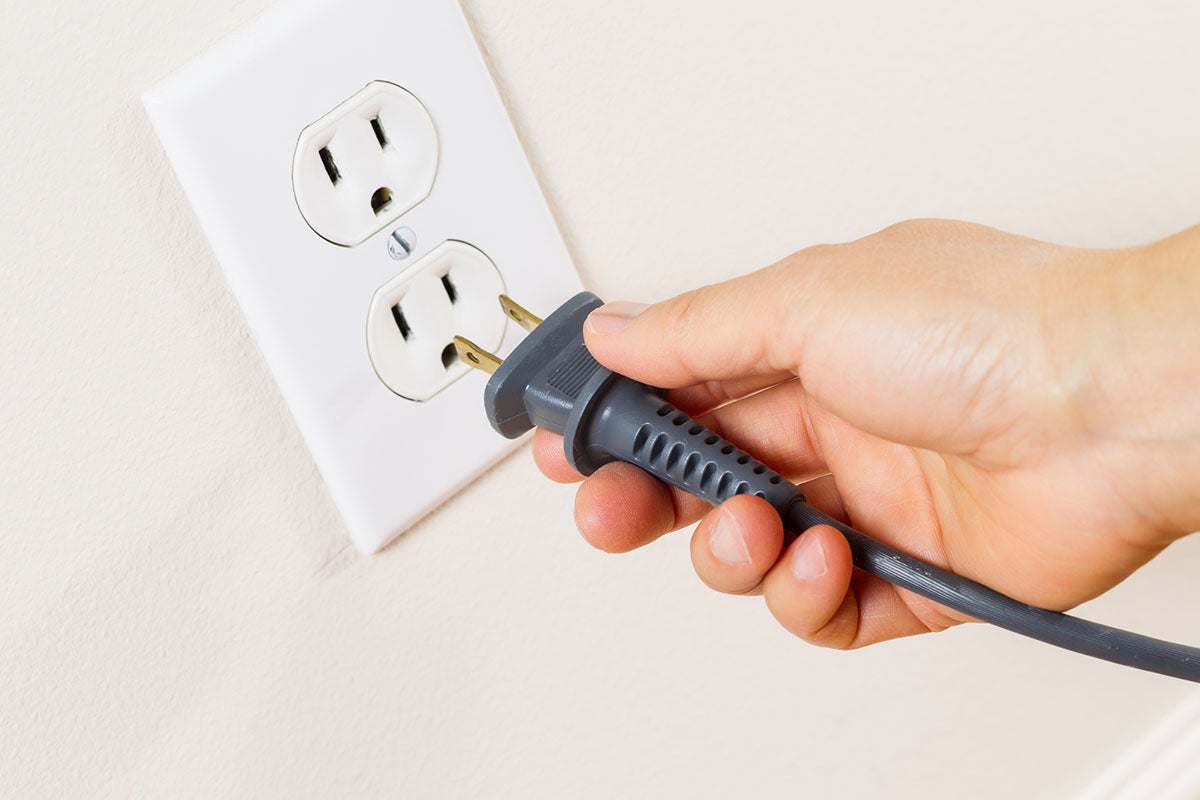
Step 1: Unplug the Electrical Cord
The first and most crucial step in cleaning an electrical cord is to unplug it from the power source. This step is essential for both your safety and the safety of the cord itself.
Ensure that the device or appliance connected to the cord is turned off before unplugging it. This minimizes the risk of accidentally turning on the device while handling the cord.
Once you have confirmed that the device is turned off, locate the power outlet and gently pull out the plug from the socket. Avoid tugging on the cord itself as this can strain the wires and potentially damage the cord.
Be cautious when handling the plug, especially if it has been in use recently. Plugs can sometimes retain a small amount of residual electrical charge even after being unplugged. It’s best to hold the plug firmly and avoid touching the metal prongs directly.
After you have successfully unplugged the electrical cord, you can proceed to the next step of the cleaning process. Remember to keep the cord unplugged throughout the entire cleaning and drying process to ensure your safety.
Now that the cord is disconnected from the power source, we can move on to step 2: Removing any dust or debris from the cord.
Read more: How To Cut An Electrical Cord
Step 2: Remove Any Dust or Debris
Now that you have unplugged the electrical cord, it’s time to remove any dust or debris that has accumulated on its surface. Dust and dirt can hinder the cord’s performance and potentially cause overheating or electrical issues.
Start by carefully inspecting the entire length of the cord. Look for areas where dust, lint, or other particles may have settled. Pay special attention to any bends or crevices where debris tends to accumulate.
To remove the dust and debris, you can use a soft cloth or a dry sponge. Gently wipe the surface of the cord, applying light pressure to dislodge any particles. Avoid rubbing the cord too vigorously, as this can cause friction and potentially damage the insulation.
If the cord has stubborn debris that cannot be easily removed with a cloth or sponge, you can use a small brush with soft bristles to gently sweep away the particles. Be careful not to apply excessive force or use a brush with stiff bristles, as this can scratch or damage the cord.
For hard-to-reach areas or tight spaces, you can use a cotton swab dipped in a small amount of warm water and mild soap. Gently scrub the area to remove any dirt or grime. Make sure to wring out any excess water from the cotton swab to prevent water from seeping into the cord.
Continue cleaning the entire length of the cord, periodically inspecting for any remaining debris. Once you are satisfied that the cord is free from dust and debris, you can proceed to the next step: wiping down the cord with a damp cloth.
Unplug the electrical cord before cleaning. Use a damp cloth with mild soap to wipe down the cord, then dry thoroughly before plugging back in. Avoid getting the plug wet.
Step 3: Wipe Down the Cord with a Damp Cloth
Now that you have removed the dust and debris from the electrical cord, it’s time to give it a thorough cleaning by wiping it down with a damp cloth.
Start by dampening a clean, soft cloth with warm water. Make sure to wring out any excess water so that the cloth is only slightly damp, not soaking wet. Excessive moisture can damage the cord’s insulation or connectors.
Gently hold the cord with one hand and use the damp cloth to wipe down its entire length. Move the cloth in a smooth motion, applying light pressure to remove any remaining dirt or stains. Focus on any areas that may be visibly soiled or sticky.
When wiping down the cord, it’s important to avoid using harsh chemicals or abrasive cleaners as they can damage the cord. Stick to using warm water or a mild soap solution, if necessary.
Pay attention to any bends or twists in the cord, as these areas are more prone to accumulating dirt. Use your fingers to grip the cloth and run it along these sections to ensure a thorough clean.
If you encounter any stubborn stains or sticky residue, you can try using a mild soap solution. Mix a small amount of mild soap with warm water and use a separate cloth dampened with this solution to gently rub the affected area. Remember to remove any soap residue by rinsing the cloth with clean water and wringing it out before wiping the cord again.
Once you have wiped down the entire length of the cord, take a few moments to inspect it for any remaining dirt or stains. If required, repeat the process until the cord looks clean and free of any visible grime.
Now that the cord is clean, it’s important to pay attention to hard-to-reach areas that may require specialized cleaning. In the next step, we will discuss how to clean those areas effectively.
Step 4: Cleaning Hard-to-Reach Areas
While wiping down the electrical cord with a damp cloth can effectively remove dirt and grime from most areas, there may be hard-to-reach spots that require additional attention. These areas can include connectors, plugs, and other intricate parts of the cord.
To clean hard-to-reach areas, you can make use of a cotton swab dipped in a small amount of warm water or a mild soap solution. Gently insert the cotton swab into the crevices and corners, being careful not to apply excessive force that may damage the cord.
Twist the cotton swab in a circular motion to remove any accumulated dirt or debris. Pay close attention to the connectors and plugs, as these areas can gather dust and grime easily. You may need to use multiple cotton swabs to clean the entire cord thoroughly.
For connectors and plugs, it’s essential to ensure they are completely dry before reconnecting them or plugging them back into a power source. Use a dry cloth or allow them to air dry naturally to prevent any moisture from causing electrical issues.
If the hard-to-reach areas are heavily soiled or sticky, a small soft-bristled brush can also be used to gently remove the dirt. Be cautious not to brush too vigorously, as this may cause damage to the cord’s insulation or connectors.
After cleaning the hard-to-reach areas, take a moment to inspect the cord and ensure that all dirt and grime have been effectively removed. If needed, go back and repeat the previous steps to ensure the entire cord is clean.
Now that we have thoroughly cleaned the electrical cord, it’s time to move on to the next step: drying the cord properly.
Step 5: Drying the Cord Properly
After cleaning the electrical cord, it’s important to ensure that it is dried properly before using or storing it. Moisture on the cord can pose a risk of electrical shock or damage to the cord’s components.
To begin the drying process, you should start by using a clean, dry cloth to gently pat the cord. Carefully remove any excess water that may be present on the surface. Be thorough in this step to ensure that no moisture remains.
Next, you can either air dry the cord or use a drying rack specifically designed for electrical cords. If you choose to air dry, find a clean and well-ventilated area to place the cord. Lay it flat on a dry surface, making sure that it is not tangled or kinked. Avoid exposing the cord to direct sunlight or heat sources, as excessive heat can damage the insulation.
If you prefer using a drying rack, select one that allows the cord to hang freely without any twists or bends. Gently drape the cord over the rack, ensuring that it is straight and not bundled with other cords. This method promotes proper airflow and speeds up the drying process.
Allow the electrical cord to dry completely before using or storing it. The drying time may vary depending on the humidity level and the thickness of the cord. It’s important to be patient and not rush the process to avoid any potential damage caused by residual moisture.
During the drying process, periodically check the cord for any signs of moisture. If you notice any damp areas, continue drying until the entire cord is completely dry to the touch.
Once the cord is dry, you can proceed to the next step: inspecting it for any damages or signs of wear and tear.
Read more: How To Store An Electrical Cord
Step 6: Inspecting for Damages
After cleaning and drying the electrical cord, it’s important to conduct a thorough inspection to check for any damages or signs of wear and tear. Identifying and addressing these issues promptly can help prevent potential electrical hazards and ensure the longevity of the cord.
Begin by carefully examining the entire length of the cord, paying close attention to any visible signs of damage, such as frayed or exposed wires, cuts, or bulges. Inspect the connectors, plugs, and any other components for any cracks or loose parts.
If you notice any visible damage or wear on the cord, it is strongly recommended not to attempt to repair it yourself. Using a damaged cord can pose serious safety risks. Instead, consult a professional electrician or consider replacing the cord altogether.
In addition to visible damage, check for any abnormalities in the cord’s functionality. Plug the cord back into a power source and test the device or appliance to ensure it is functioning properly. Monitor for any flickering, arcing, or power fluctuations, as these may indicate internal issues with the cord.
If you have any doubts about the condition of the cord, it’s best to err on the side of caution and seek professional advice. An electrician can provide a more in-depth assessment and recommend the appropriate course of action.
By conducting a thorough inspection, you can identify and address any damages or potential hazards associated with the electrical cord. If the cord passes the inspection, you can move on to the final step: proper storage of the electrical cord.
Step 7: Proper Storage of Electrical Cord
Proper storage of your electrical cord is crucial to maintain its condition and prolong its lifespan. When not in use, the cord should be stored in a way that prevents tangles, damage, and exposure to harmful elements. Here are some tips for effective cord storage:
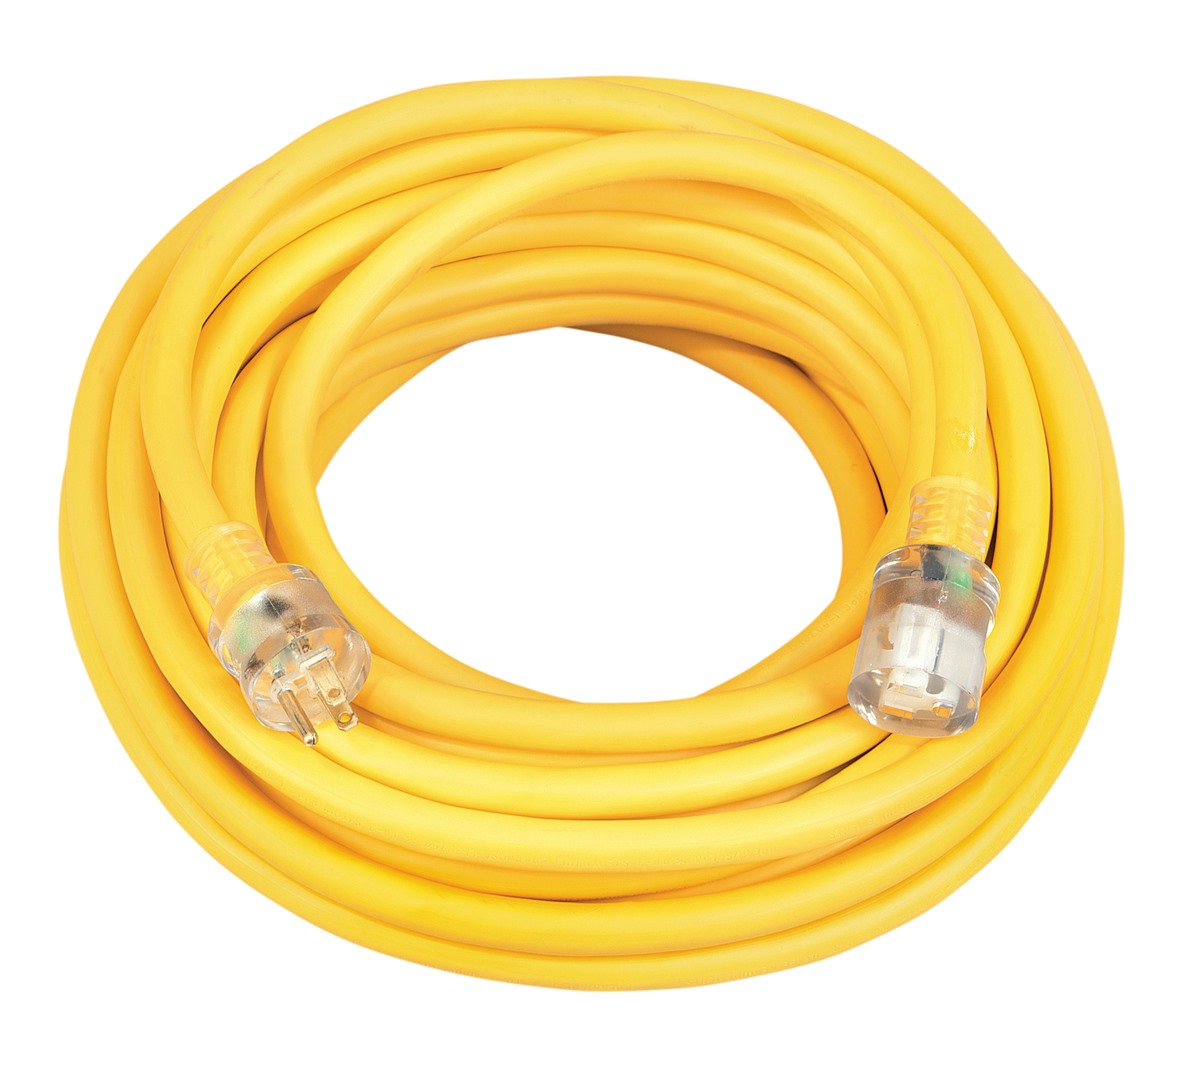
1. Coiling the Cord: Start by neatly coiling the cord in loops, making sure to avoid any twisting or kinking. This helps to prevent knots and tangles when you need to use the cord again. Avoid tying the cord too tightly, as this can cause stress on the wires.
2. Securing the Coiled Cord: Use cable ties or cord organizers to secure the coiled cord. These accessories help to keep the cord neatly bundled and prevent it from unravelling or becoming tangled with other cords.
3. Choosing the Right Storage Location: Select a cool, dry, and well-ventilated area for storing your electrical cord. Avoid areas prone to excessive moisture, direct sunlight, or extreme temperatures. Moisture and heat can deteriorate the cord’s insulation and affect its performance.
4. Protection from Physical Damage: Store the cord away from sharp objects, heavy items, or anything that could potentially crush or puncture it. This helps to prevent accidental damage that can compromise the cord’s safety and functionality.
5. Organized Storage Solution: Consider using storage reels, cord holders, or specially designed cord storage containers to keep your cords organized and easily accessible. These solutions help maintain the cords’ integrity and make it convenient to locate and retrieve them when needed.
6. Labeling: If you have multiple electrical cords to store, labeling them can help you easily identify and differentiate between them. Use adhesive labels or color-coded tags to indicate which device or appliance the cord belongs to.
7. Regular Inspection: Periodically check the stored cord for any signs of damage, such as frays or exposed wires. If you notice any issues, replace or repair the cord before using it again.
By following these storage practices, you can keep your electrical cords in good condition and ensure they are ready for use when needed. Proper storage not only helps maintain the cord’s functionality but also minimizes the risk of accidents or electrical hazards.
With the completion of step 7, you have successfully cleaned and stored your electrical cord. By doing so, you have taken important measures to ensure safety and maintain the cord’s longevity.
Remember, always prioritize your safety when cleaning or handling electrical cords. If you have any doubts or concerns, it is best to consult a professional electrician for assistance.
By following these guidelines, you can maintain your electrical cords properly and enjoy their reliable performance for years to come.
Conclusion
Cleaning and maintaining your electrical cords is not only essential for their longevity but also for your safety. Regular cleaning helps to remove dust, dirt, and debris that can hinder their performance and pose safety risks. By following the step-by-step process outlined in this article, you can effectively clean your electrical cords and ensure their optimal functionality.
It is important to always prioritize your safety when handling electrical cords. Unplug the cord from the power source before cleaning, keep your hands dry, and avoid using harsh chemicals or abrasive materials that can damage the cord. Additionally, thoroughly inspect the cord for any damages or signs of wear and tear. If any issues are detected, consult a professional electrician or consider replacing the cord.
Proper storage of electrical cords is equally important. Coil the cord neatly, secure it with cable ties, and store it in a cool, dry place away from potential hazards. Regularly inspect stored cords for any damages and label them for easy identification.
By incorporating these practices into your routine maintenance, you can extend the lifespan of your electrical cords and ensure their safe and efficient operation. Remember, if you have any doubts or concerns, it is always advisable to seek professional guidance.
Take the time to care for your electrical cords, and they will continue to serve you reliably and safely for years to come.
Frequently Asked Questions about How To Clean An Electrical Cord
Was this page helpful?
At Storables.com, we guarantee accurate and reliable information. Our content, validated by Expert Board Contributors, is crafted following stringent Editorial Policies. We're committed to providing you with well-researched, expert-backed insights for all your informational needs.


0 thoughts on “How To Clean An Electrical Cord”